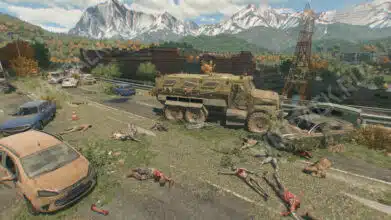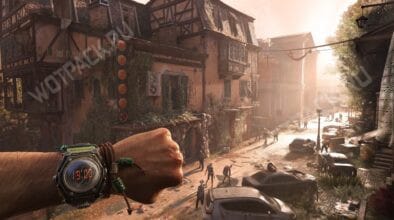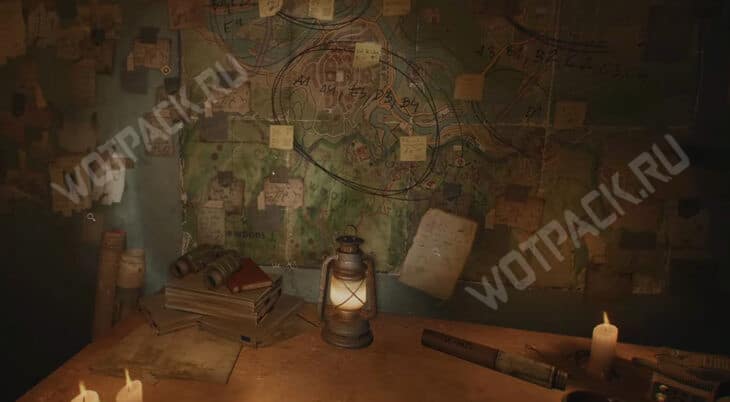
Treasure maps help you find hidden locations with epic and legendary gear in Dying Light: The Beast. Drawings with markings can be found in safe places, near shops, or in the homes of local bandits looking to get rich. Following the clues will help you stock up on crafting materials and make your survival in the contaminated zones easier.
Treasure hunts often involve puzzles and clearing monsters in the Forgotten Realms, making collecting items in these dangerous lands significantly more challenging. Prepare for your foray in advance and follow the tips in the guide to save time solving puzzles and obtaining legendary weapons.
Where to find all maps and treasures in Dying Light: The Beast
Hidden in Castor Woods County 20 treasure maps, which will point to hidden treasure caches. Some of them will be found while completing side quests, and you'll delve into the residents' histories thanks to additional details from letters. Others will be encountered while exploring the world and will reveal the location of abandoned bunkers with safes or they will follow the trail of robbers who rob the houses of deceased owners.
Look for paintings and jewelry at the marked locations as you progress to avoid losing experience after being killed by zombies and wasting time retracing your steps. Prepare resources for crafting lockpicks in advance, as some rooms are inaccessible. If a clue leads to a safe, read the letters containing the code. Otherwise, you may receive a mission to find an already unlocked safe.
Collecting all the treasures will allow you to upgrade your gear and weapons to more powerful options and prepare Kyle for the challenges and plot twists that lead to the end of the game.
Map A1
It's easy to pick up a hint after completing the task Rise and Awakening at the beginning of the campaign storyline.
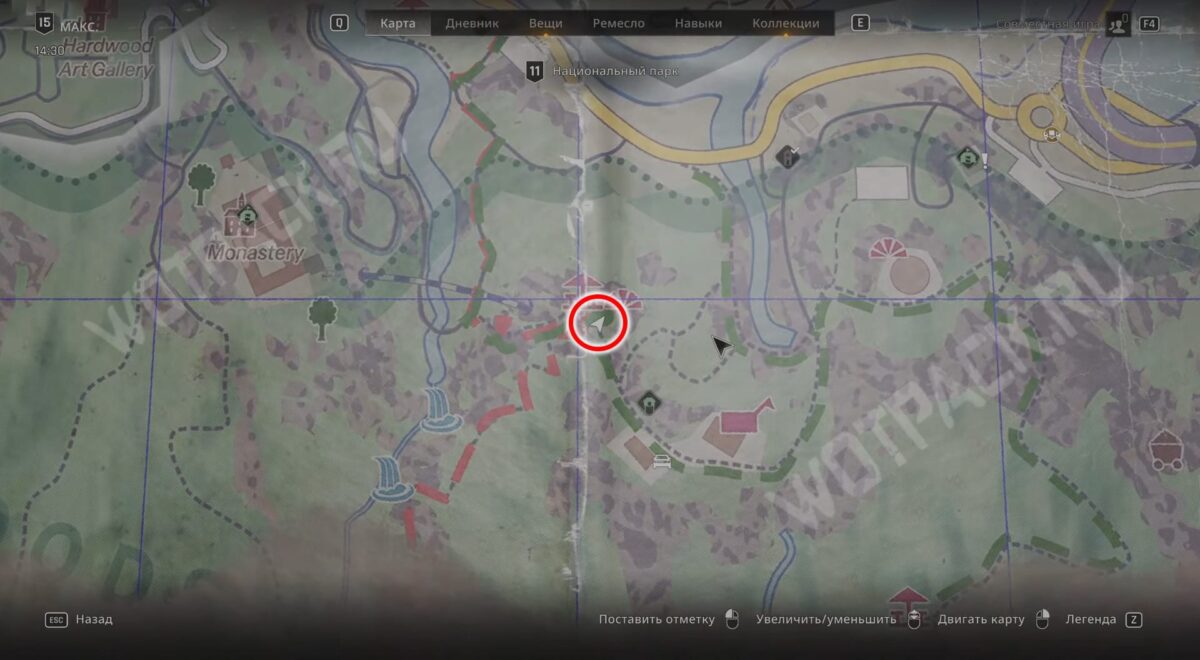
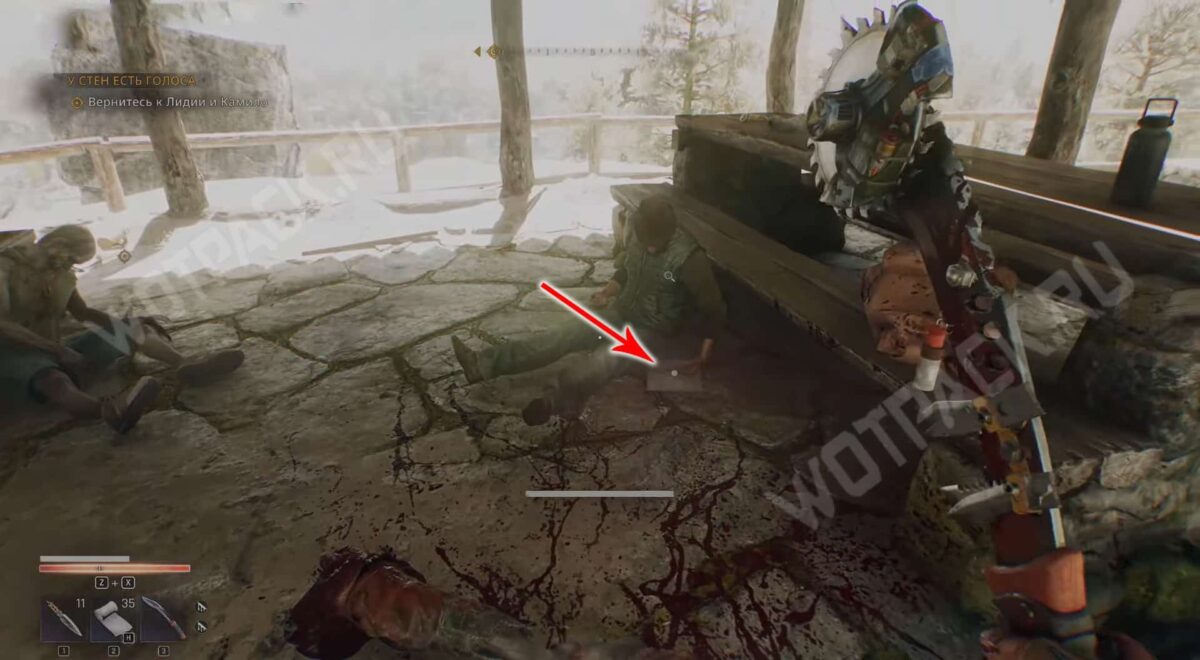
East of the Monastery, find a gazebo in the forested area of the National Park. Clear out the crowd of infected and explore the dining area under the roof. Pick up the sketch near one of the benches, under the arm of a dead camper.
Where is treasure A1 located?
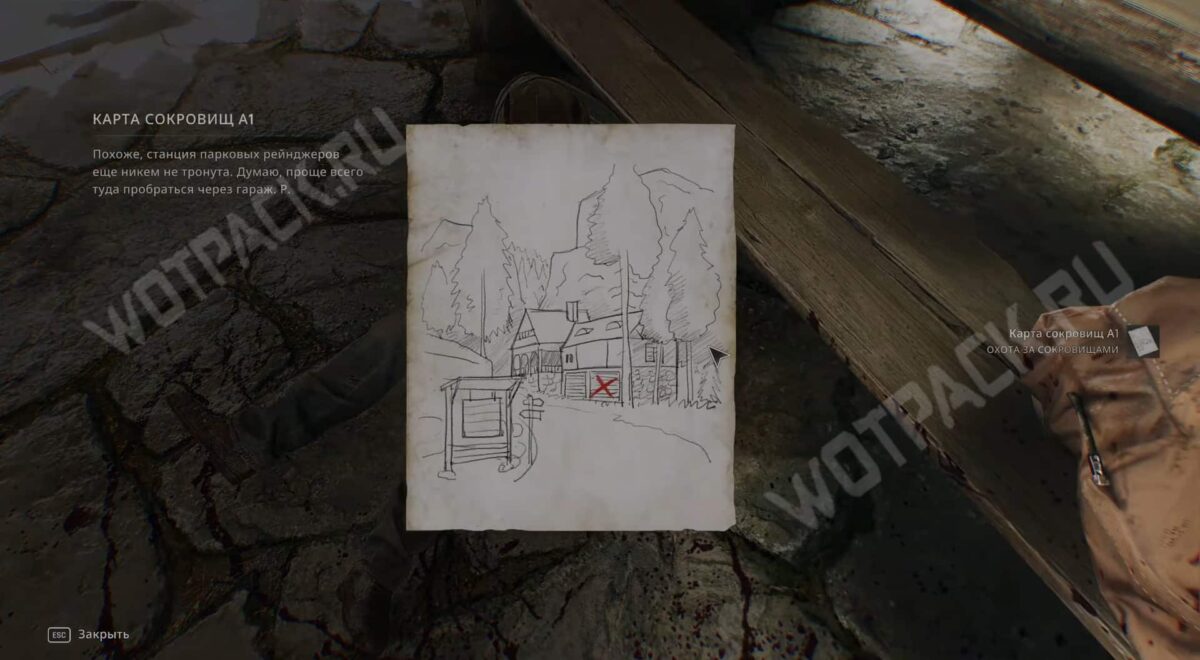
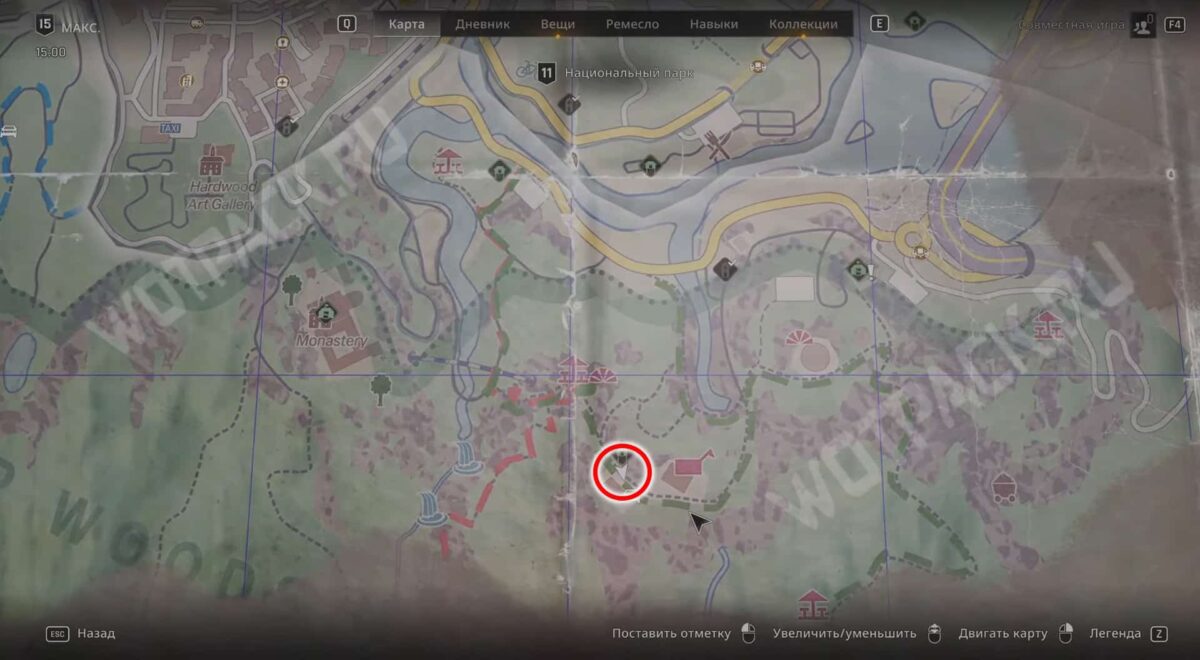
Head southeast of the park to the Mountain Refuge safehouse. Climb onto the green container to the right of the station and crawl through the metal hatch on the roof.
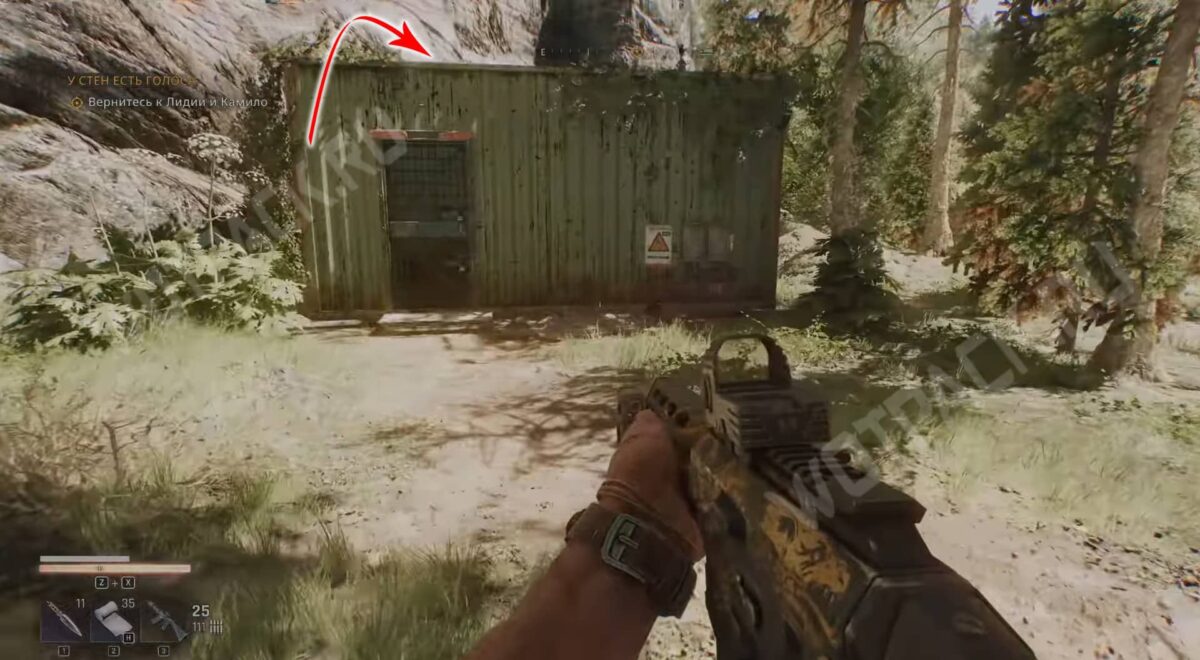
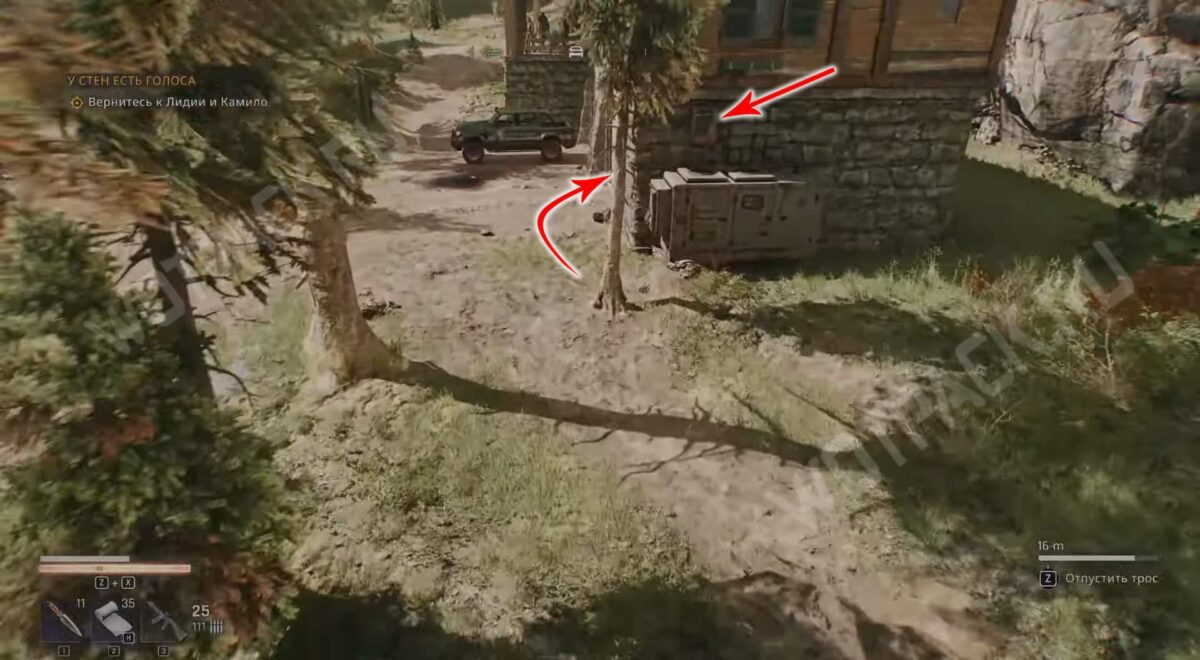
Once inside, turn on the generator and run the wire through the upper hatch to the electrical panel of the building opposite. Once the house is powered, the automatic gate will rise. Defeat the zombies that run out of the building and pick the lock inside the garage. In the small closet with drawers for personal belongings, take legendary Igla submachine gun on the table.
Map A2
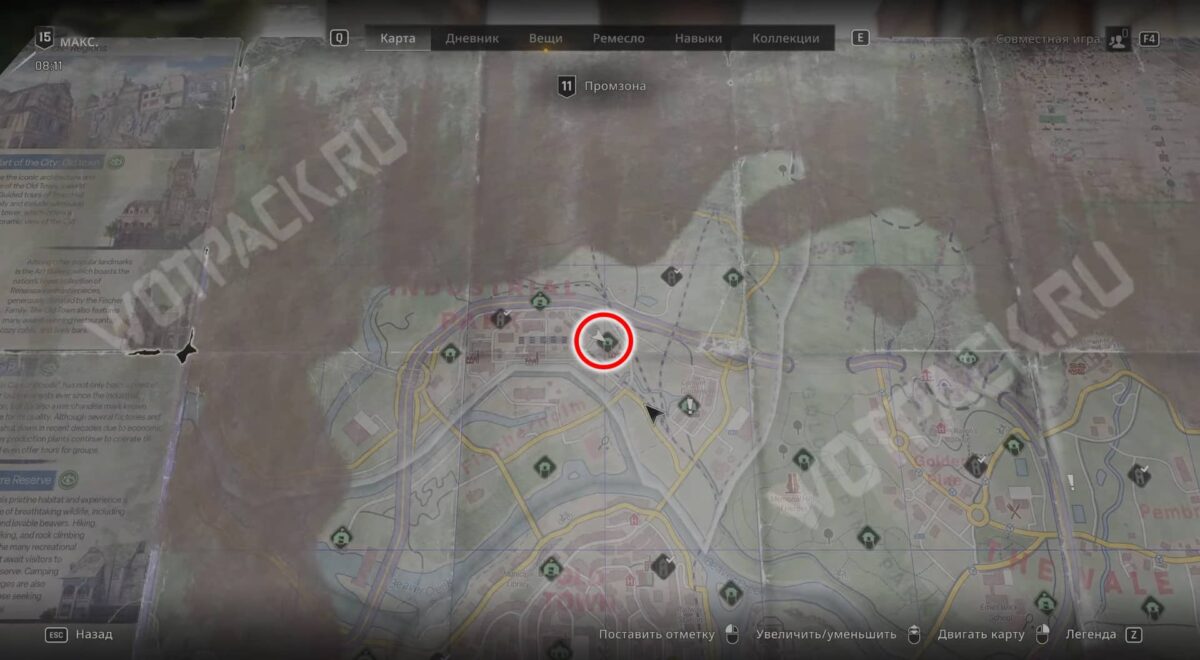
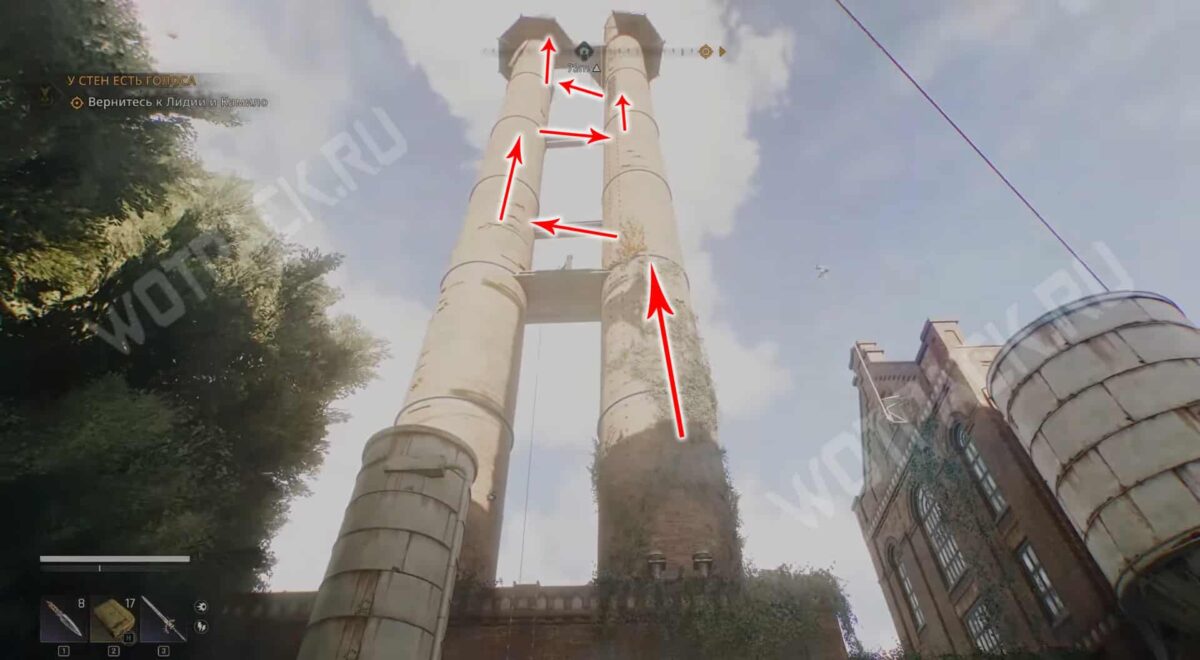
В industrial zone climb onto the roof of the red house and jump from there to a safe building, tower In the area around the pipes. Using the collapsed brickwork and iron beams, move from one pipe to another along the steel platforms. This will allow you to climb up and activate the checkpoint.
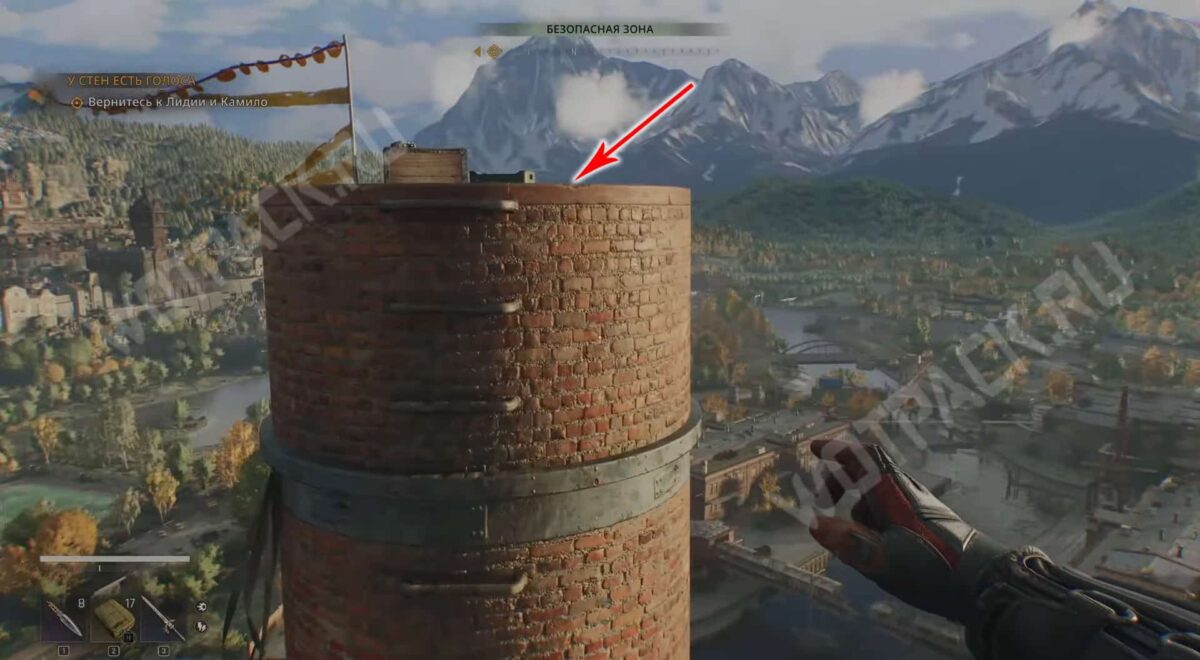
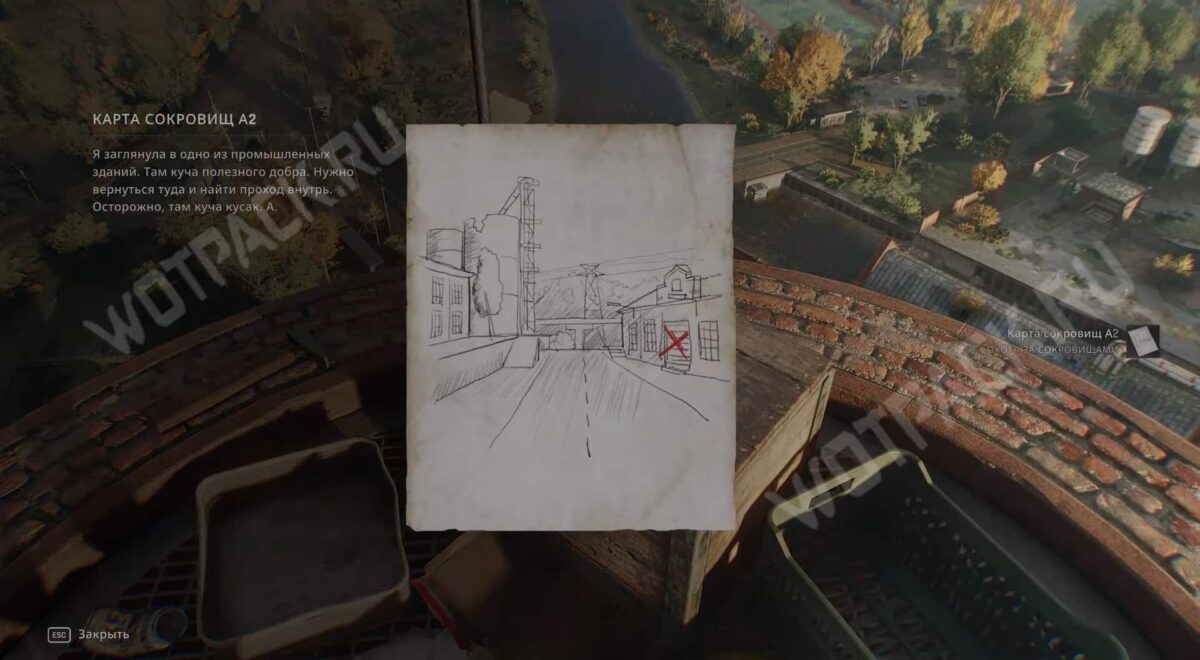
At the top of the right tower, with homemade flags and supplies, hidden is Anna's abandoned letter and a drawing.
Where is treasure A2 located?
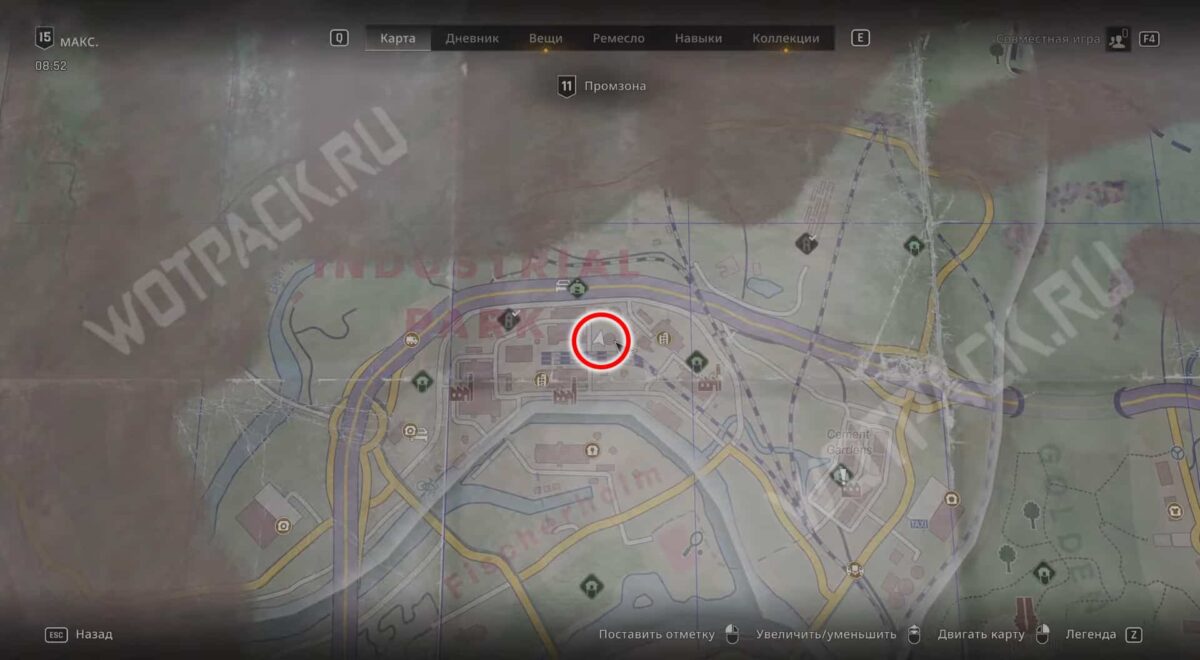
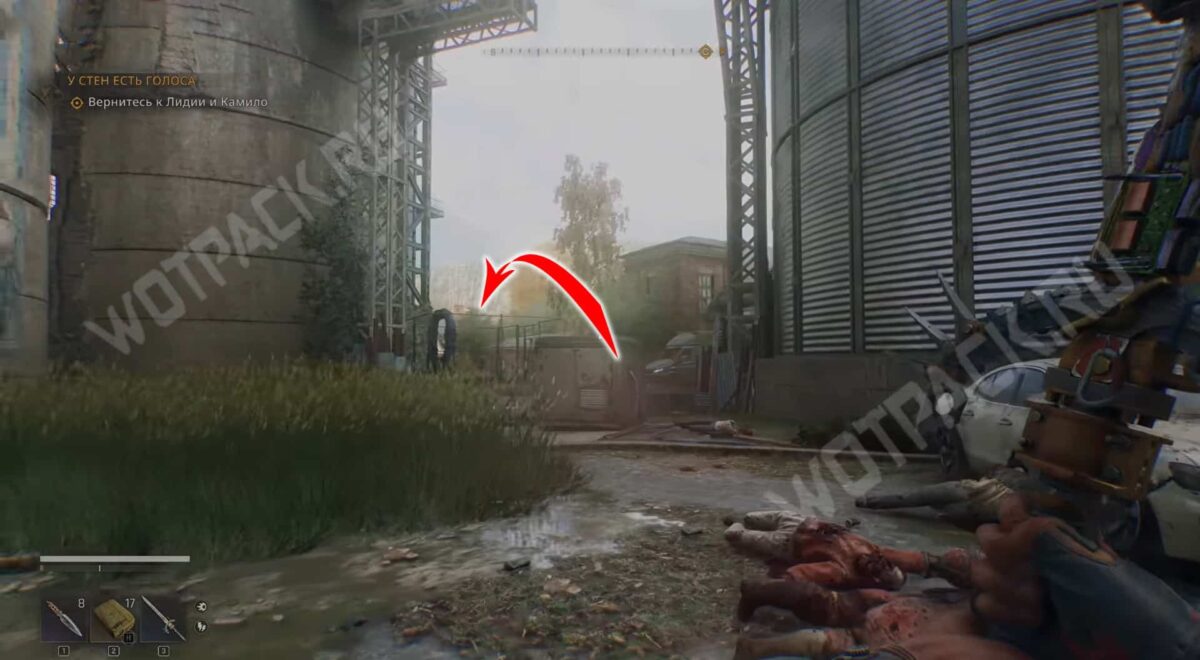
Move west from the sketch to the industrial area with the storage tanks. Following the notes, climb over the chain-link fence near one of the storage tanks. Jump into the flooded basement through the hatch and swim toward the left opening.
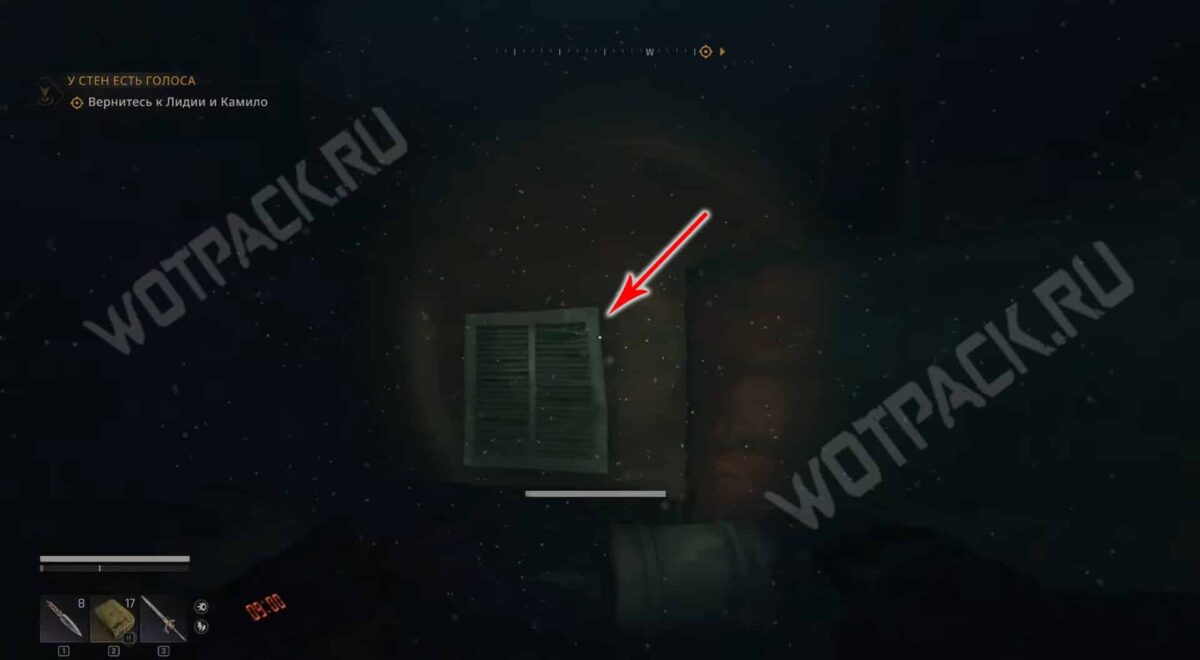
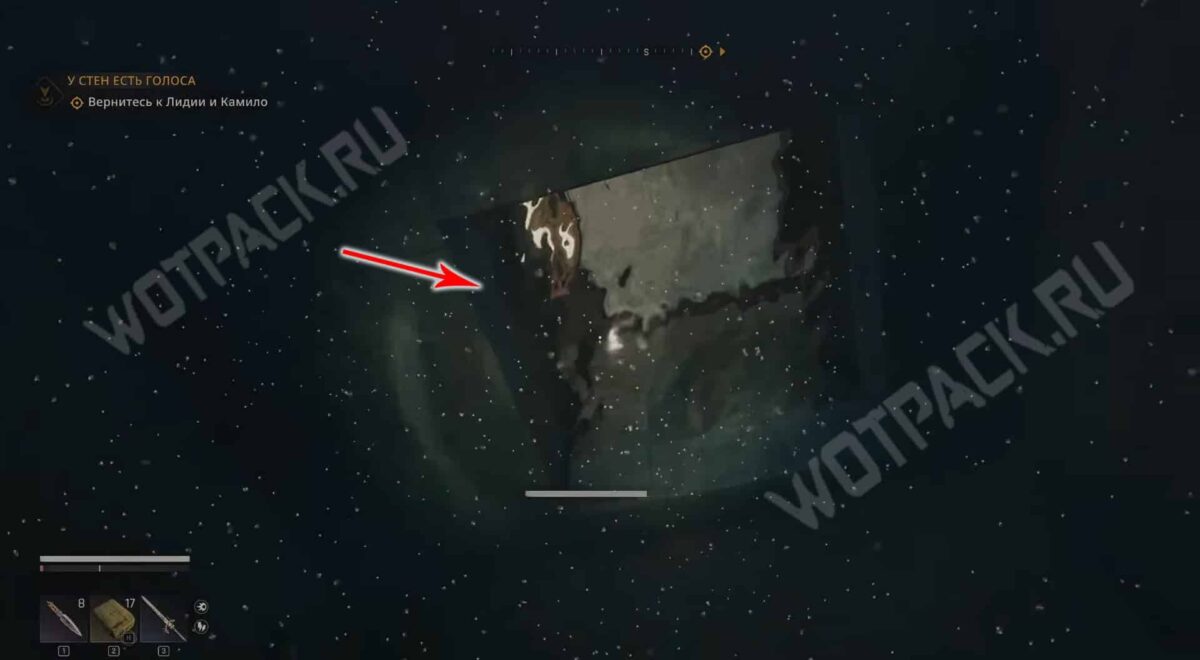
Break down the ventilation duct grate and move through it to another room. Turn left and go through the hatch to the floor above. Turn on the generator in the technical compartment.
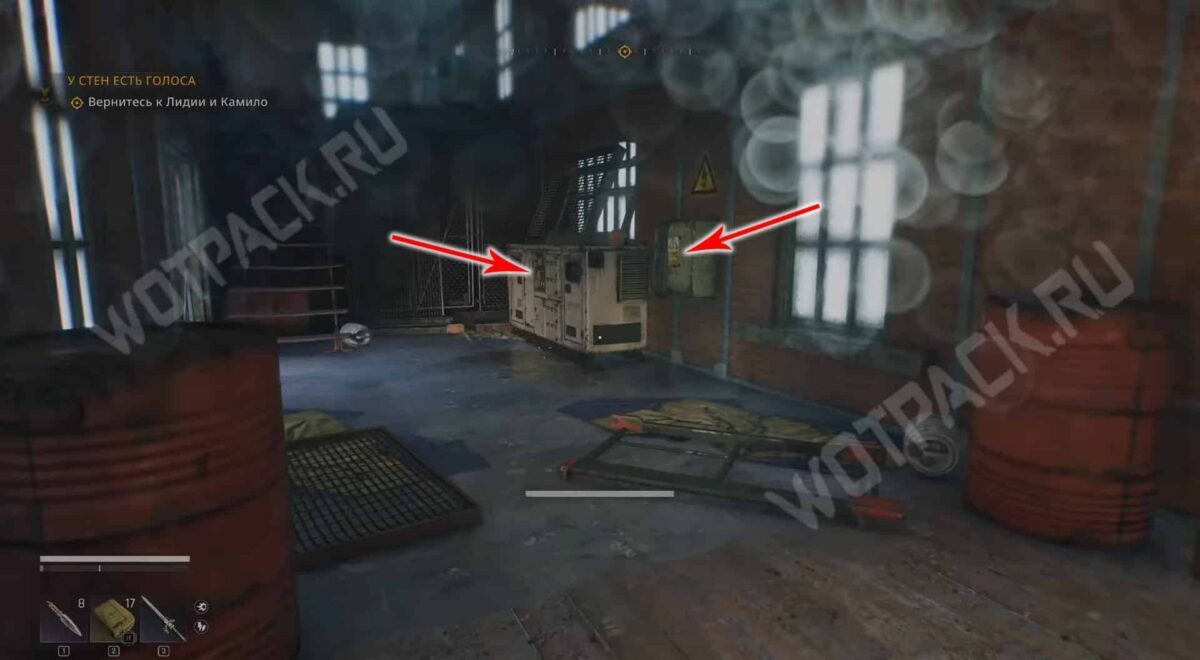
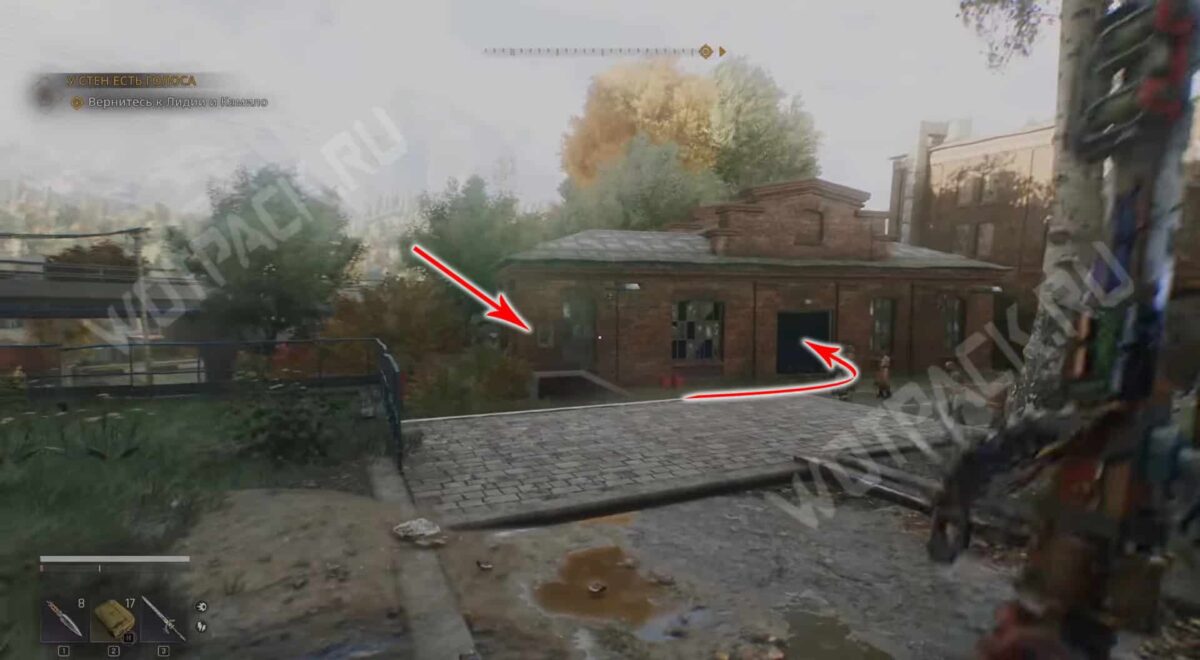
Take the cable from the panel to the right of the generator and exit the same way. Run the cable to the brick building opposite the reservoir and open the automatic gate. Inside, eliminate the Electric Infected and use the master key to pick the lock on the room to the left. This will lead you to the room with epic Rogue's Pants.
Map A3
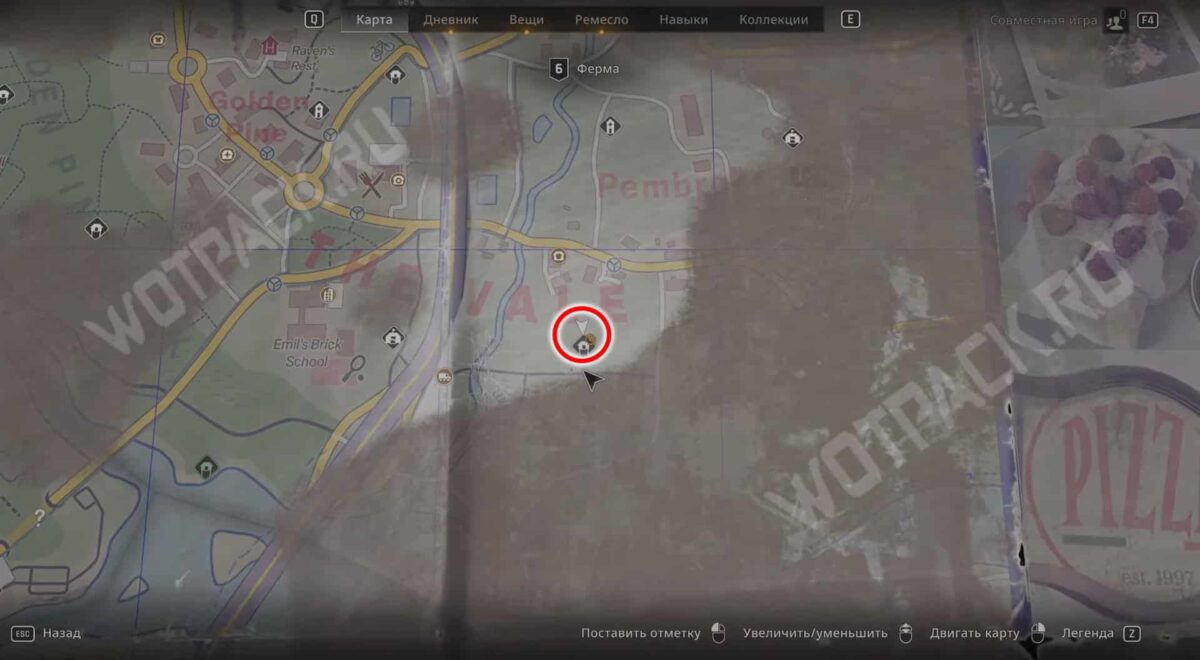
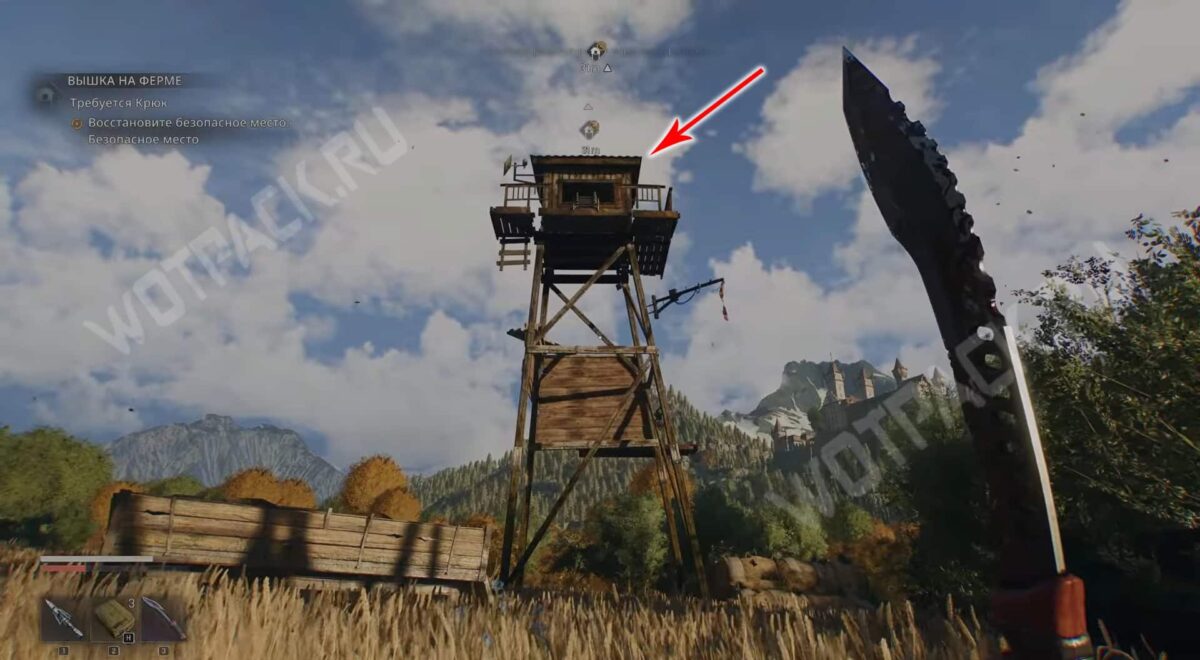
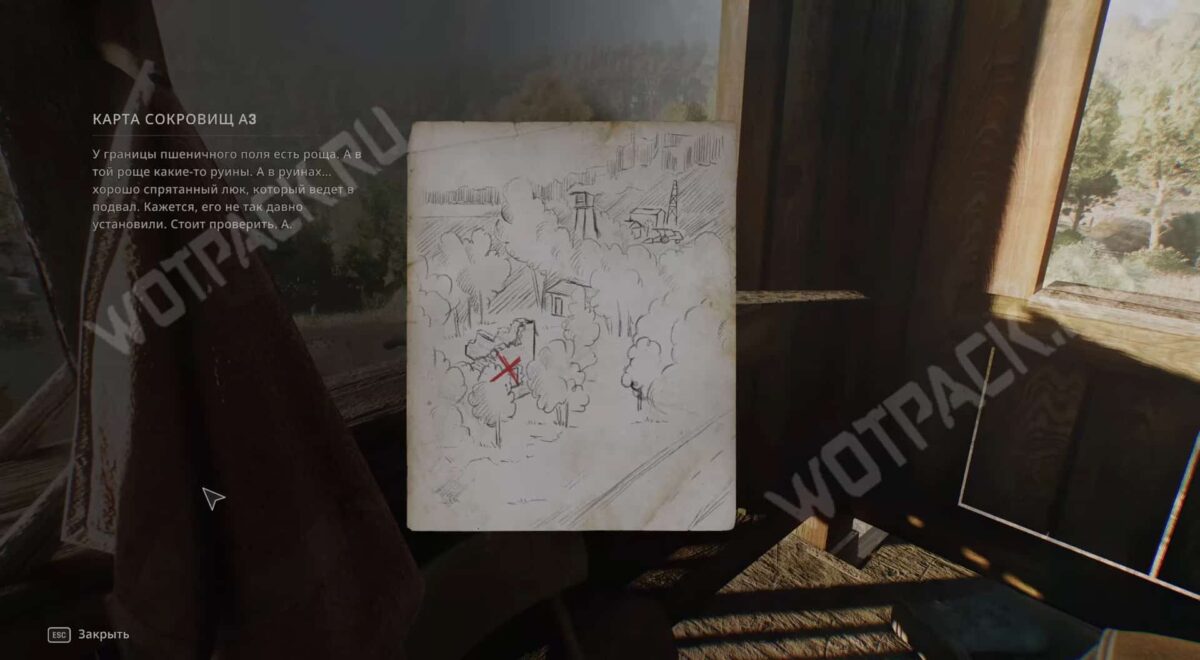
In the eastern part of Castor Woods, get to towers on the farmGo up to the safe house and pick up the sketch on the windowsill.
Where is the A3 treasure located?
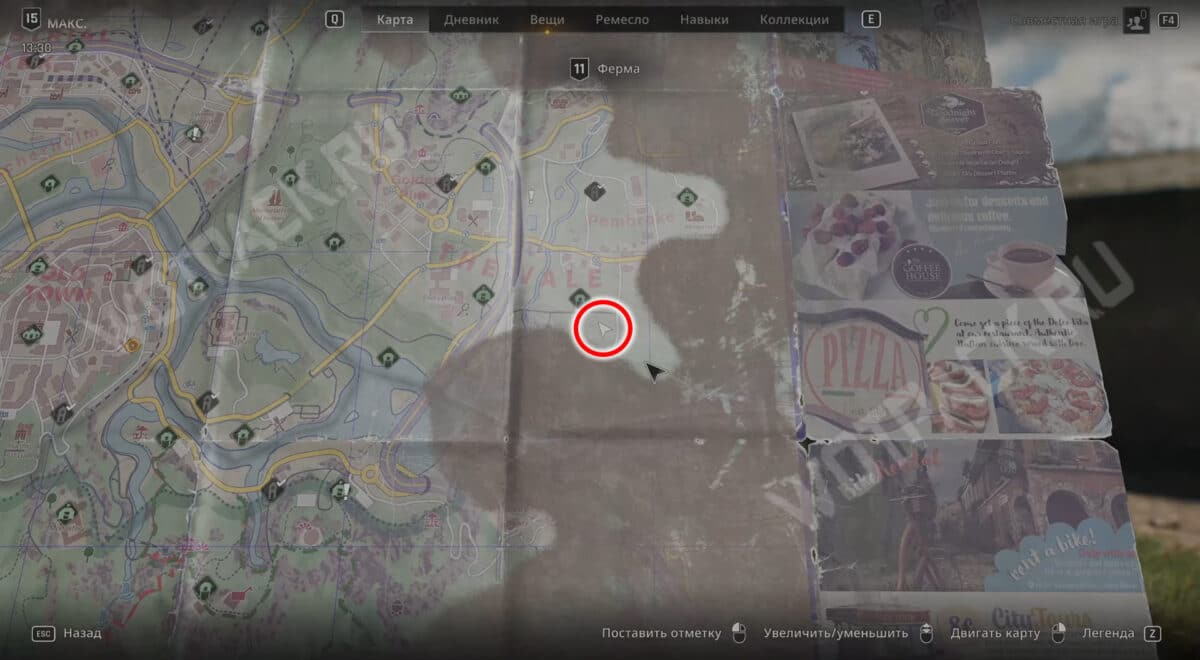
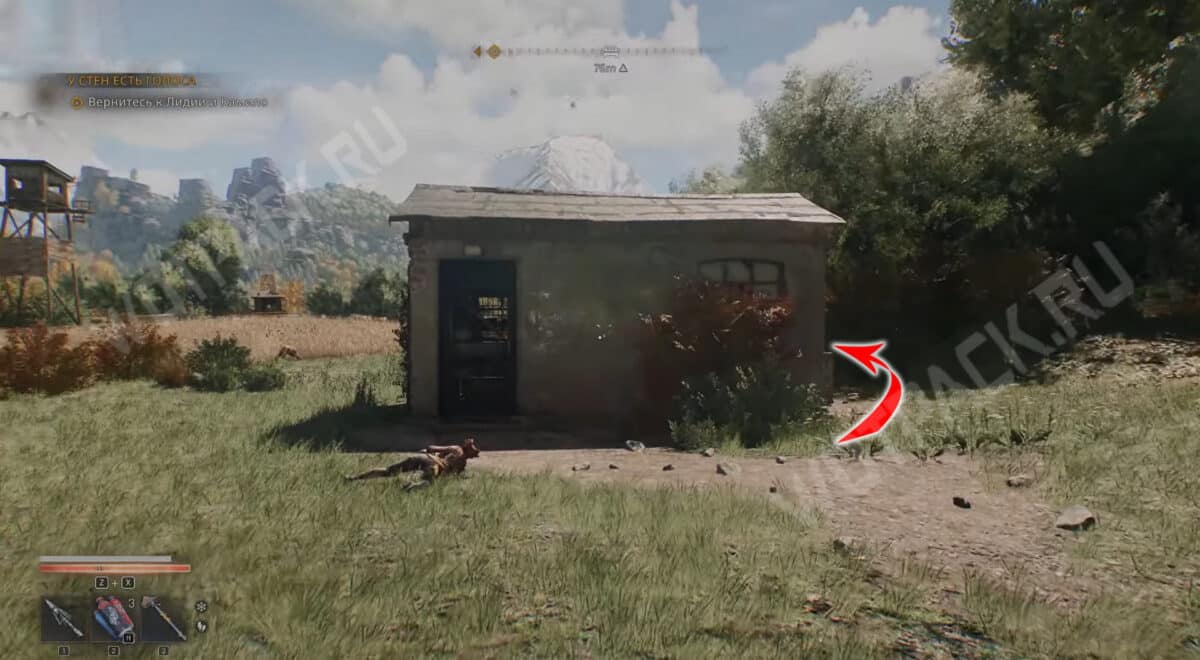
Proceed southeast of the farmstead to a small concrete building. On the right side of the building, smash two wooden crates and enter through the vent.
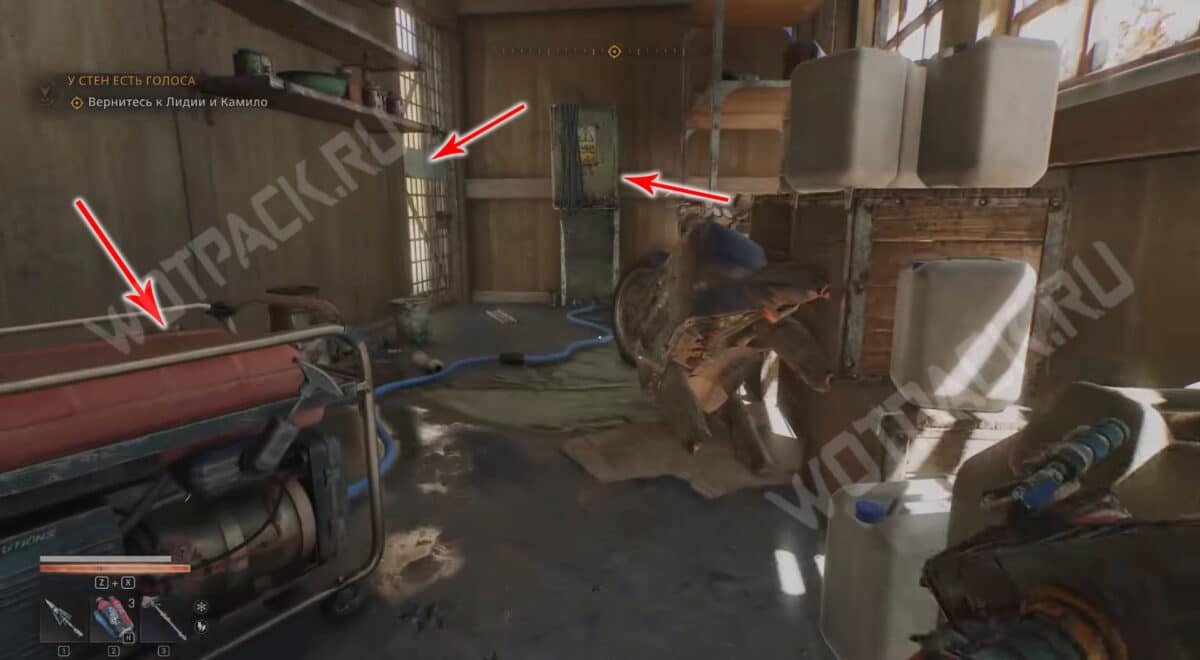
Turn on the generator and unlock the iron door from the inside to shorten the path to the next location. Run the wire to the control panel on the second floor of the red building opposite the house.
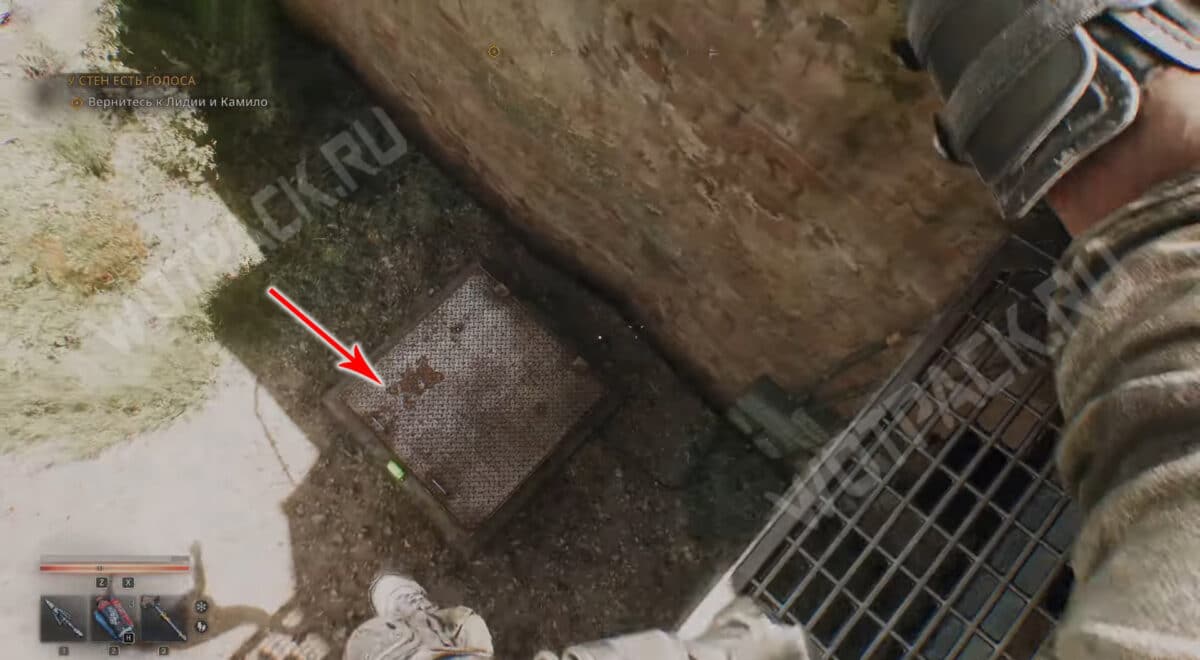
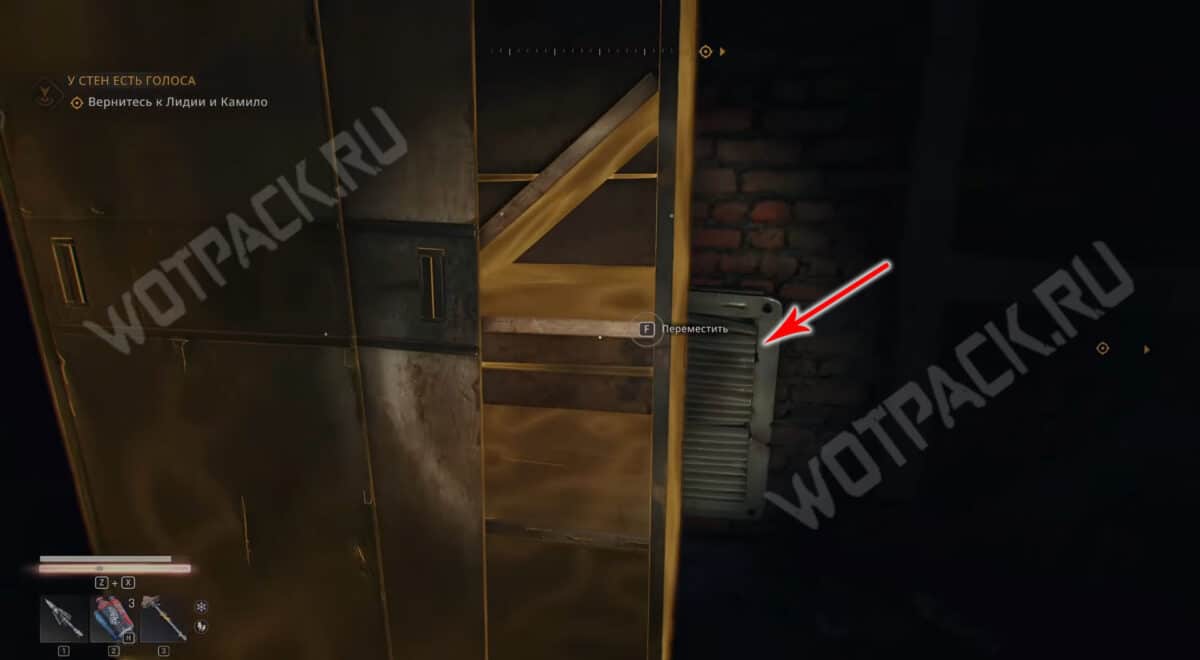
Jump to the ground and descend through the unlocked iron hatch. Move the cabinet in the basement so that the ventilation grille is visible. After removing it, move to the room with two locked storage boxes. Without power, access to the other rooms will be blocked.
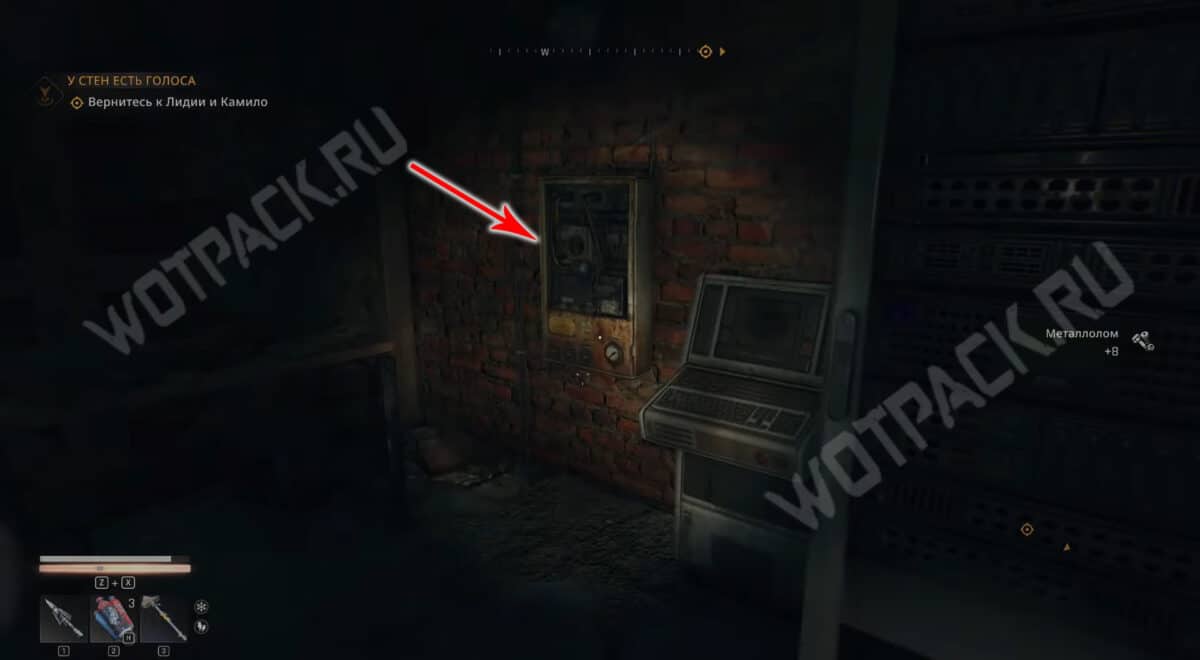
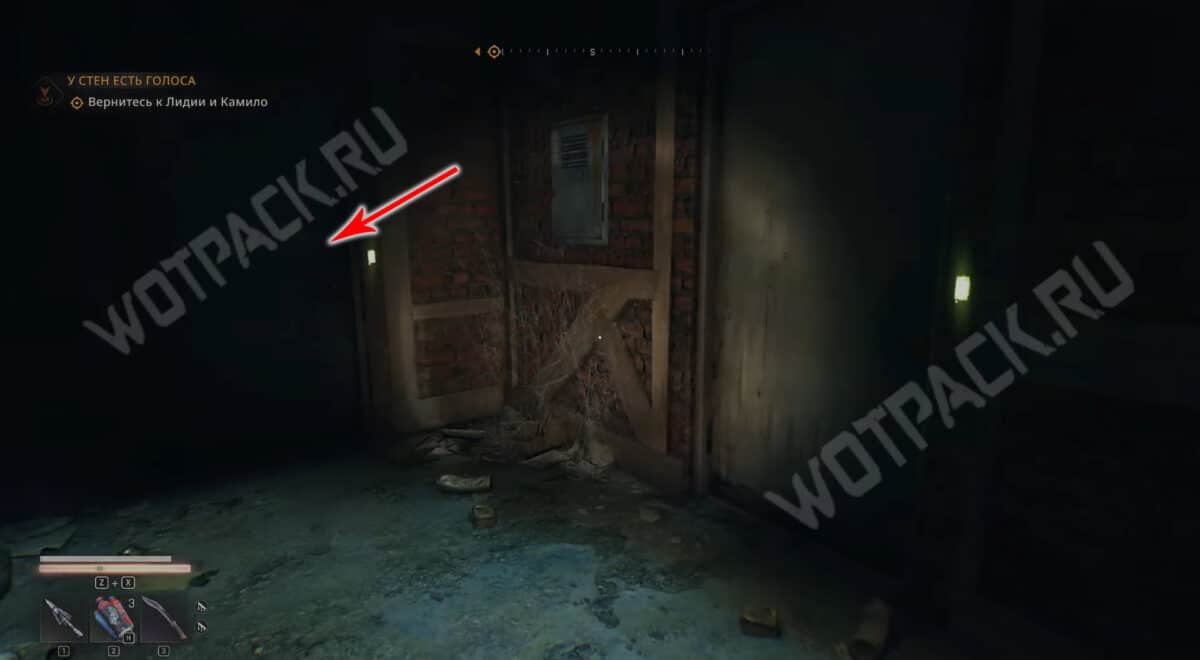
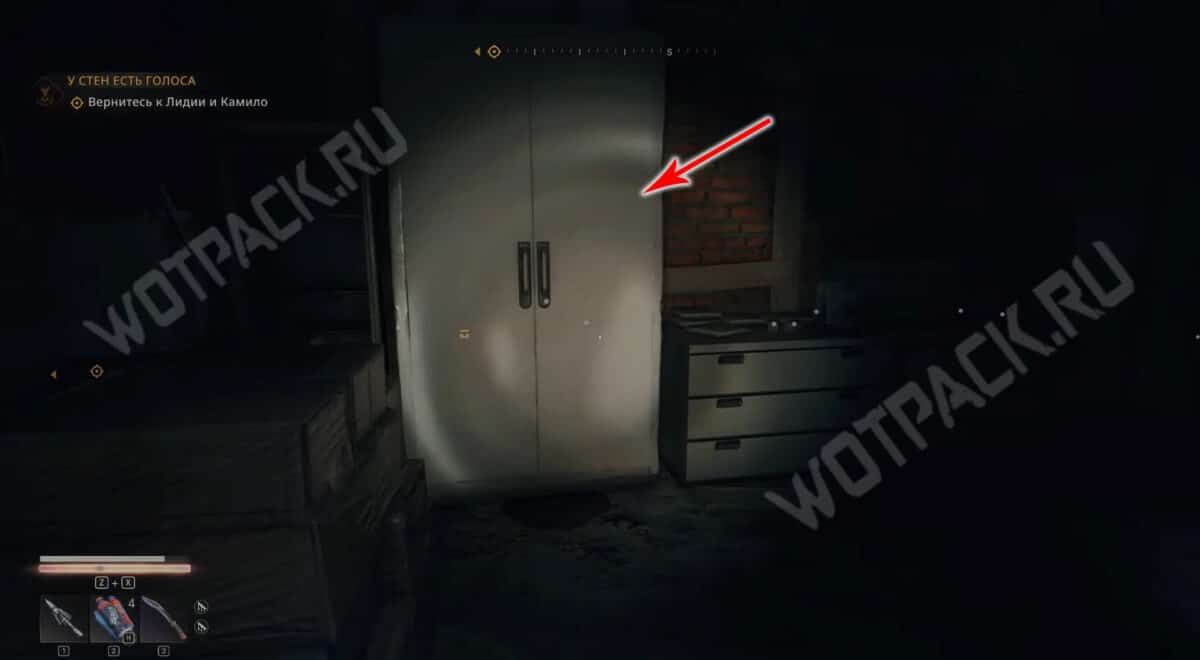
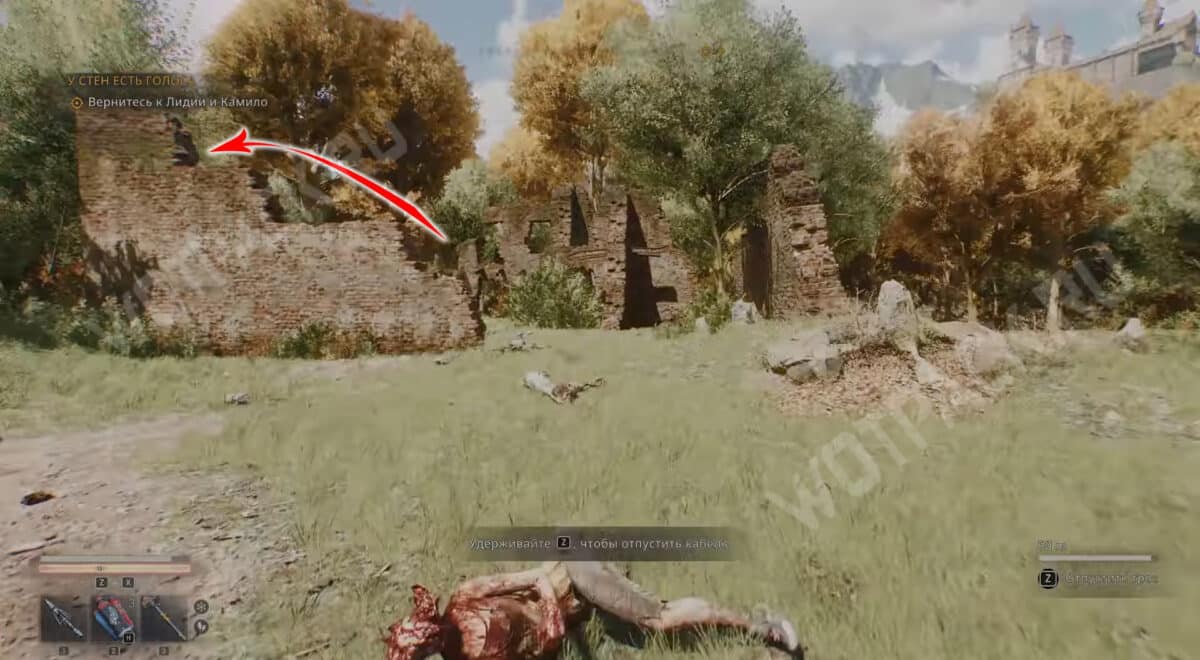
Get outside, pull the wire from the electrical panel near the ruins of the abandoned building, and connect it to the terminal in the far room of the basement. Once power is restored in the bunker, open the left door in the hallway and enter the underground laboratory. Pick the lock on the white cabinet and retrieve the legendary Eraser rifle on the shelf.
Map A4
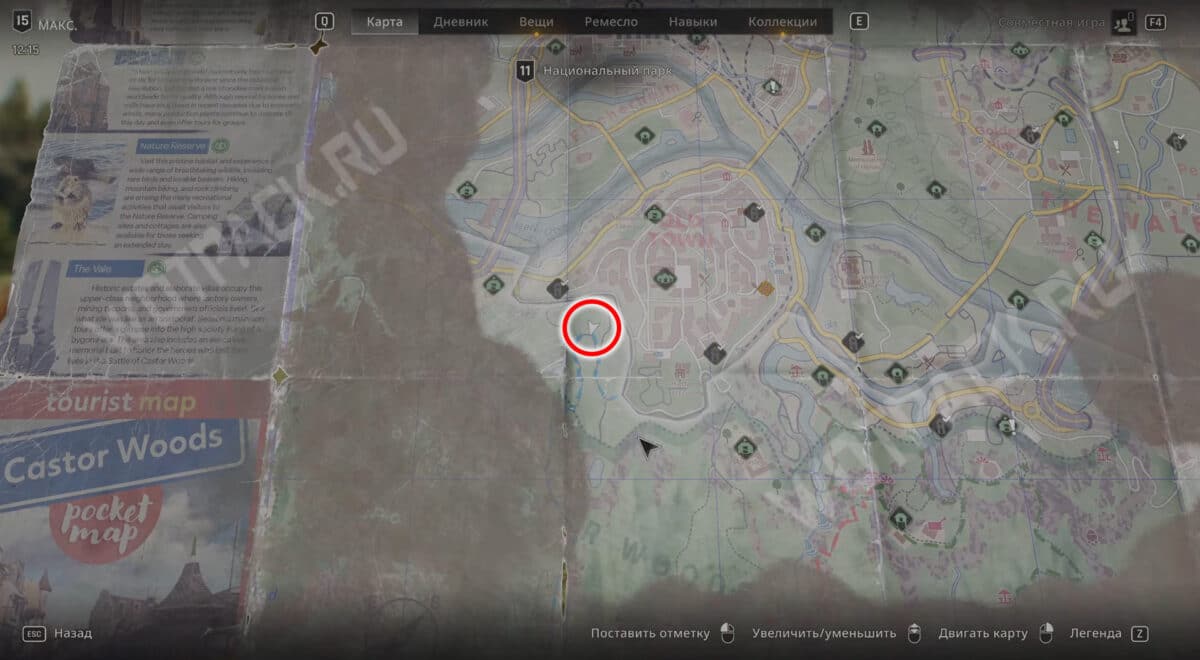
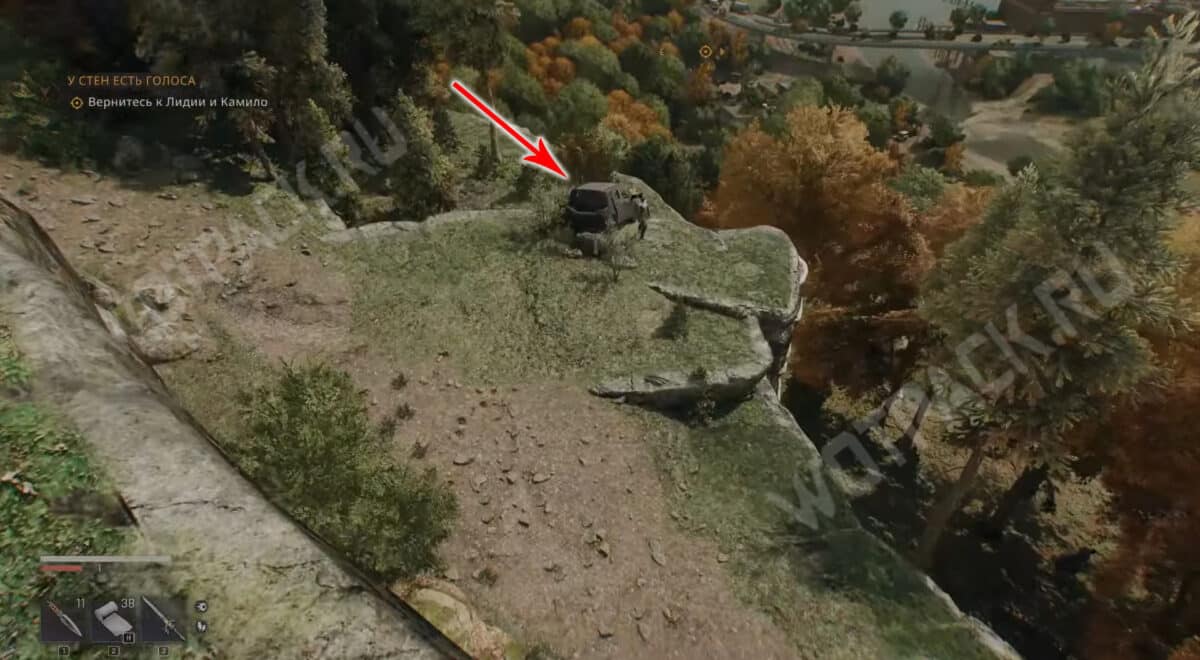
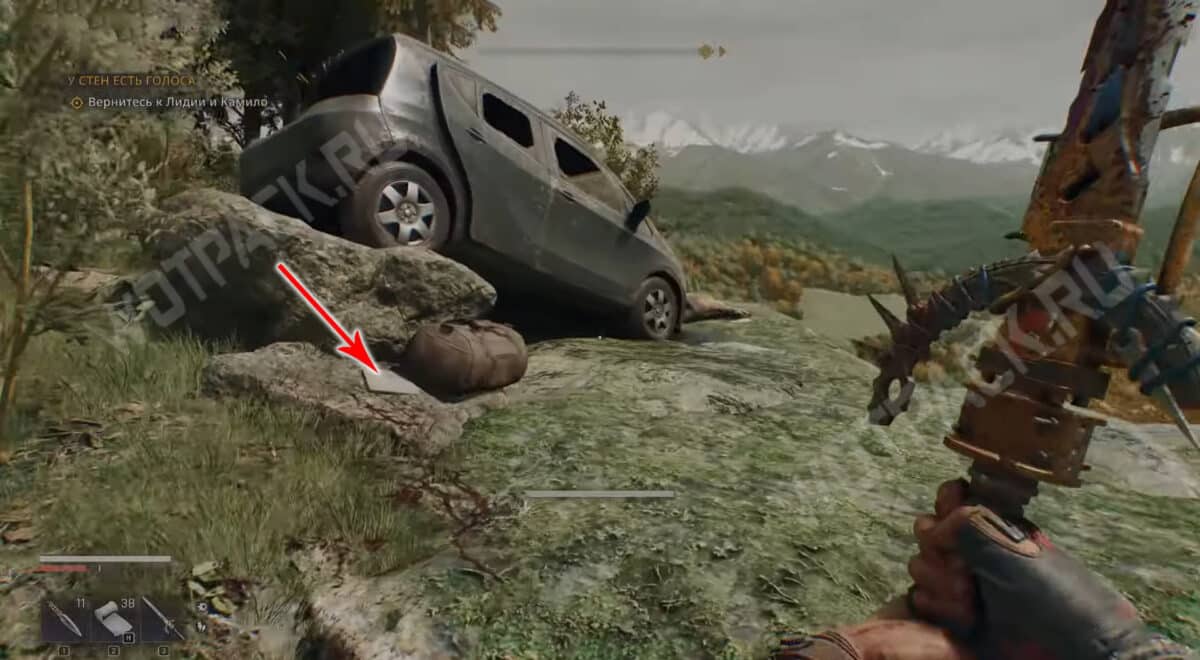
Southwest of the Town Hall, find an abandoned car on a cliff and pick up the leaflet with the clue near the right rear wheel of the car.
Where is the A4 treasure located?
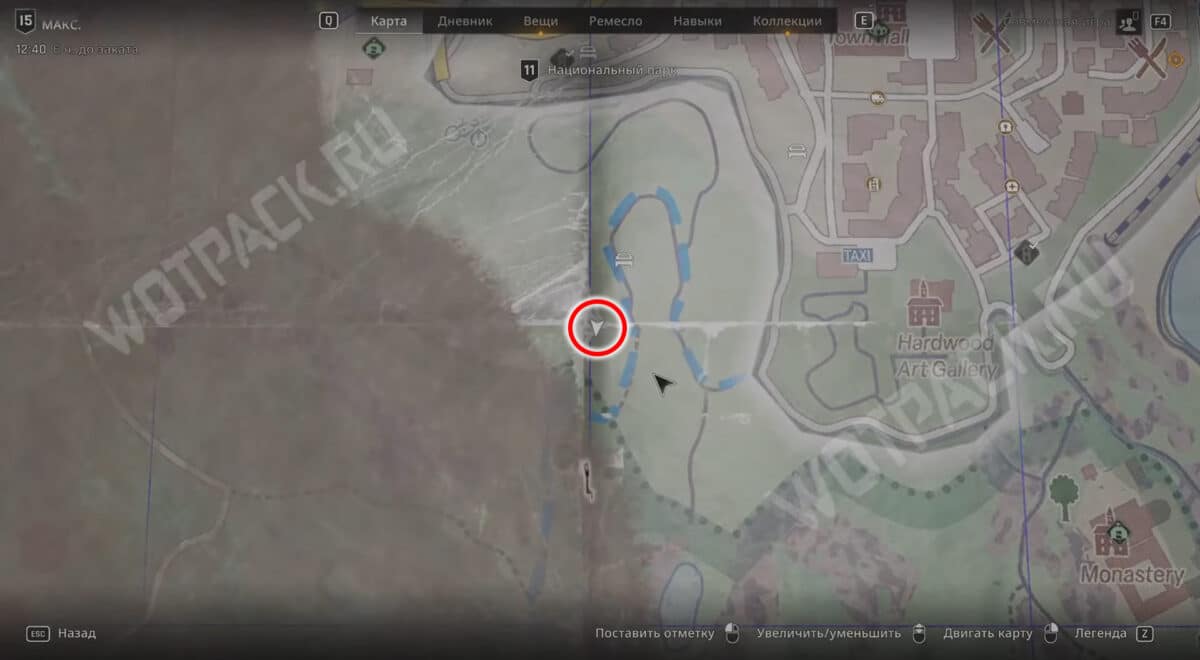
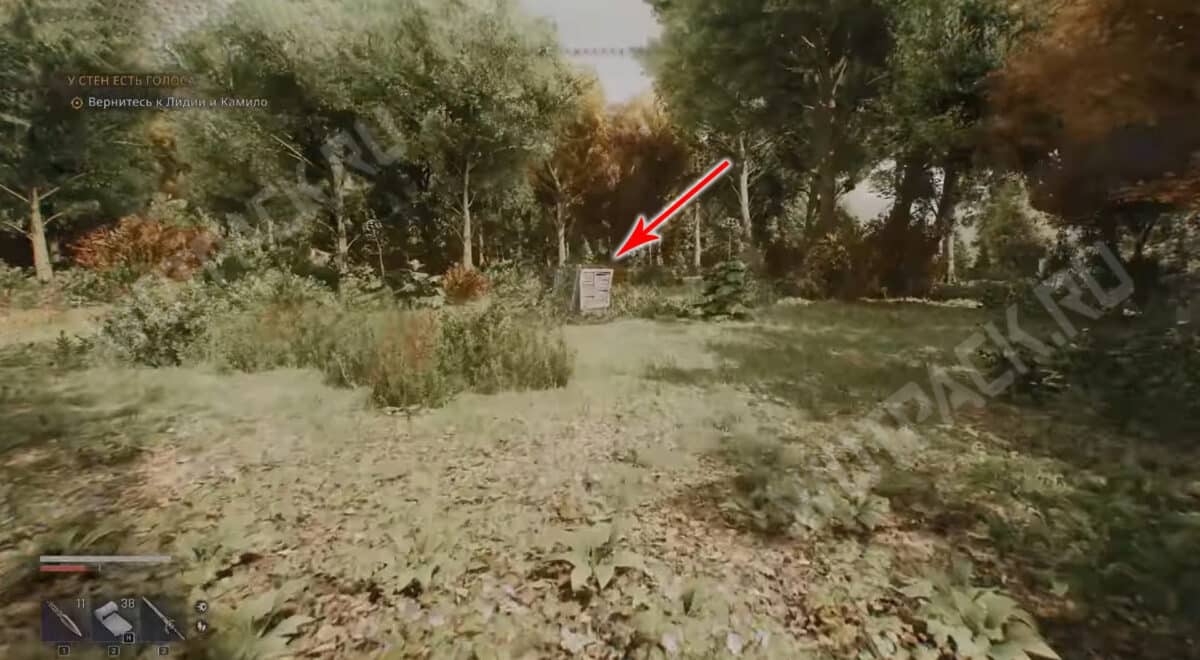
Continue southwest and reach the shelter's ground-level ventilation outlet. Remove the grate and enter the bunker.
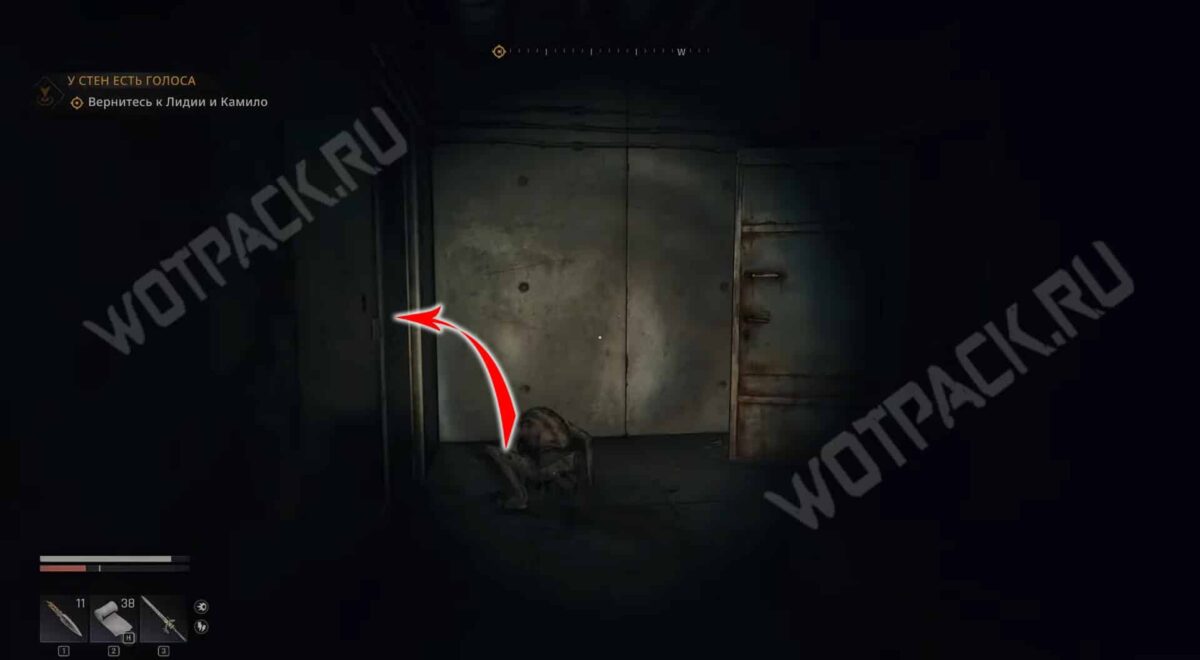
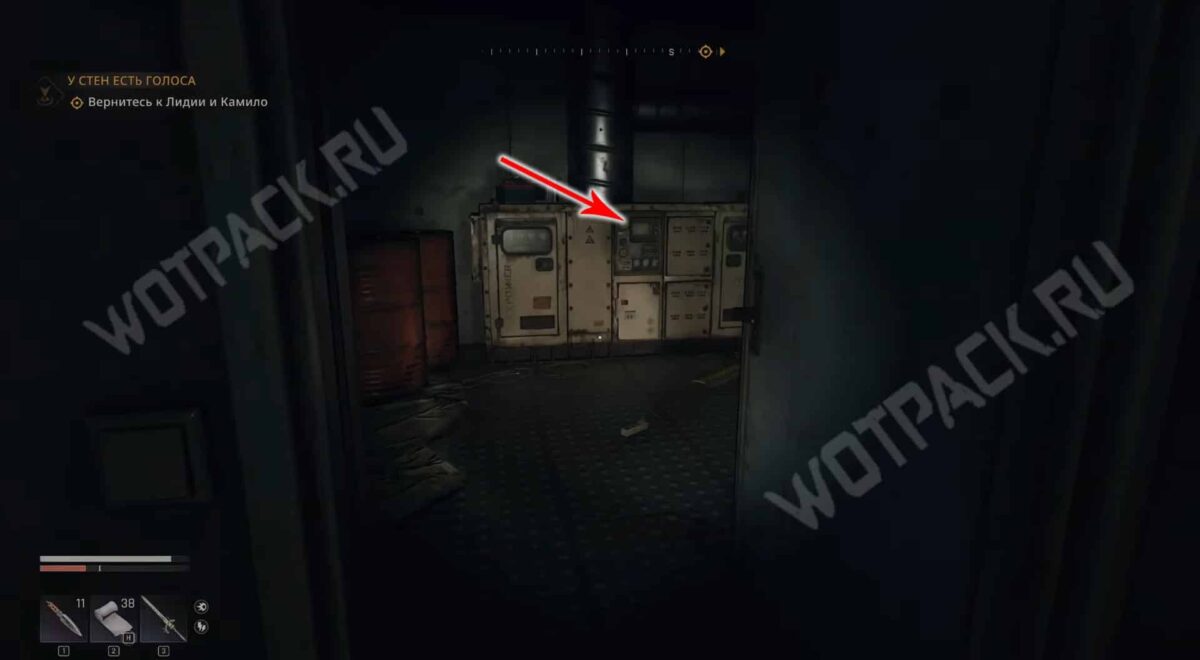
Go forward, then turn left and pick the lock in the far room. Turn on the generator there and deal with the awakened infected.
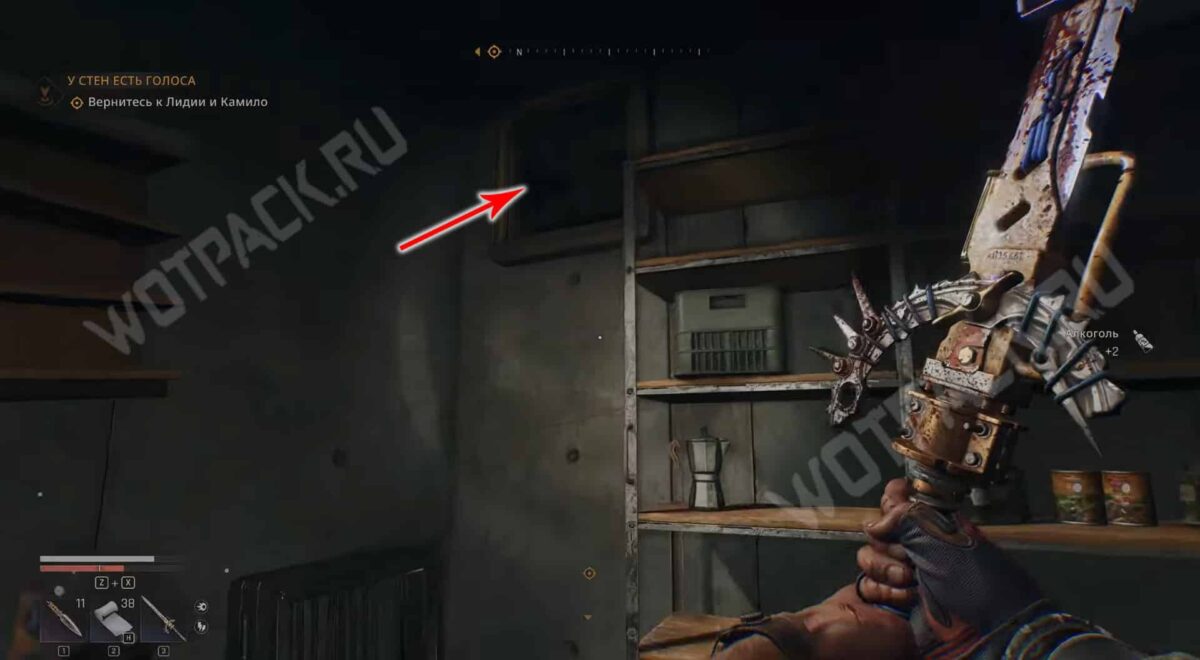
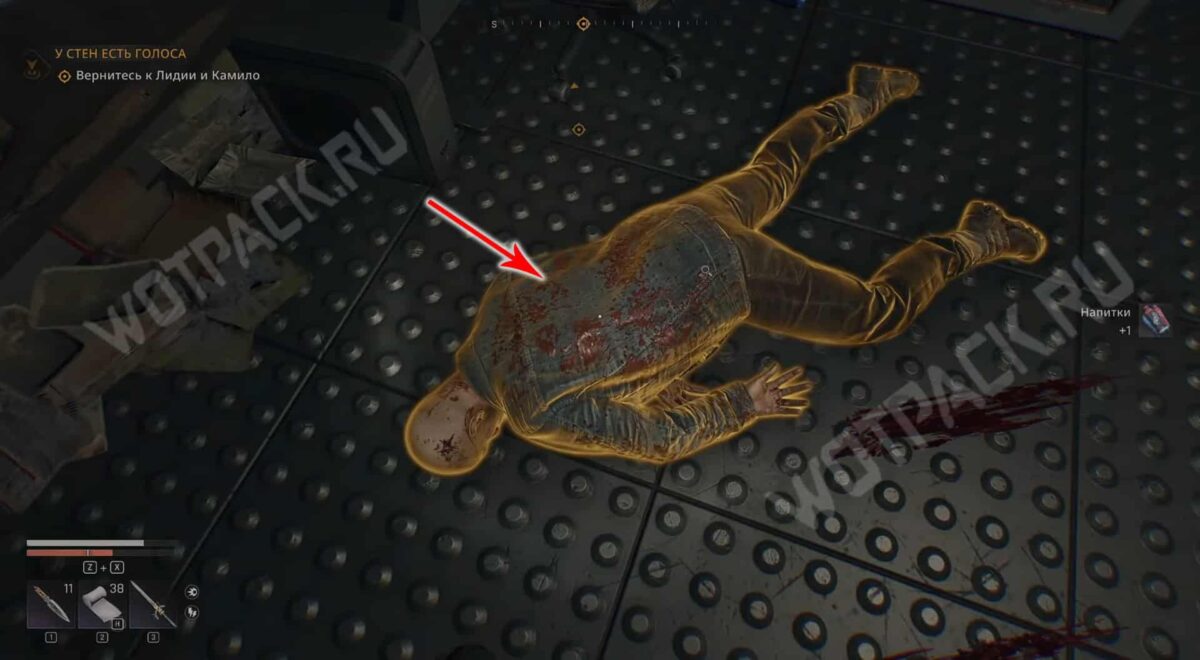
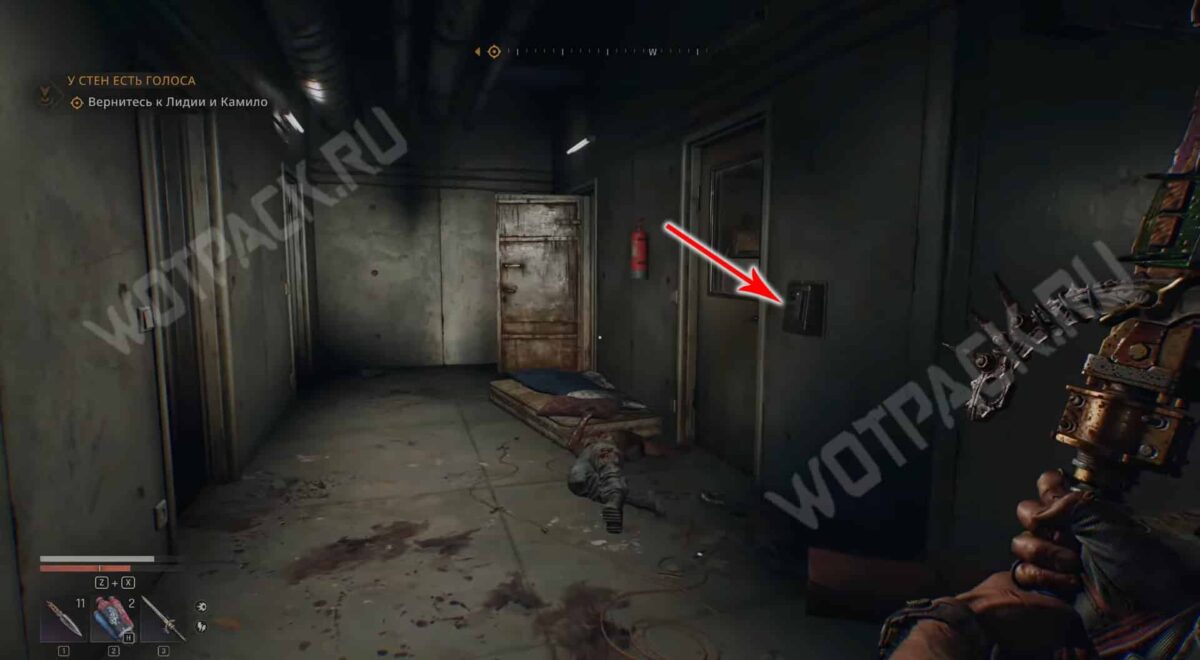
Look into the room on the right down the hallway and crawl through the ventilation pipe to another room with the dead Judgment Dan. Turn the man's body over and take his pass. Return to the hall and unlock the room on the right with the key. The items are stored inside. legendary UV lamps и Epic Rogue Jacket.
Map B1
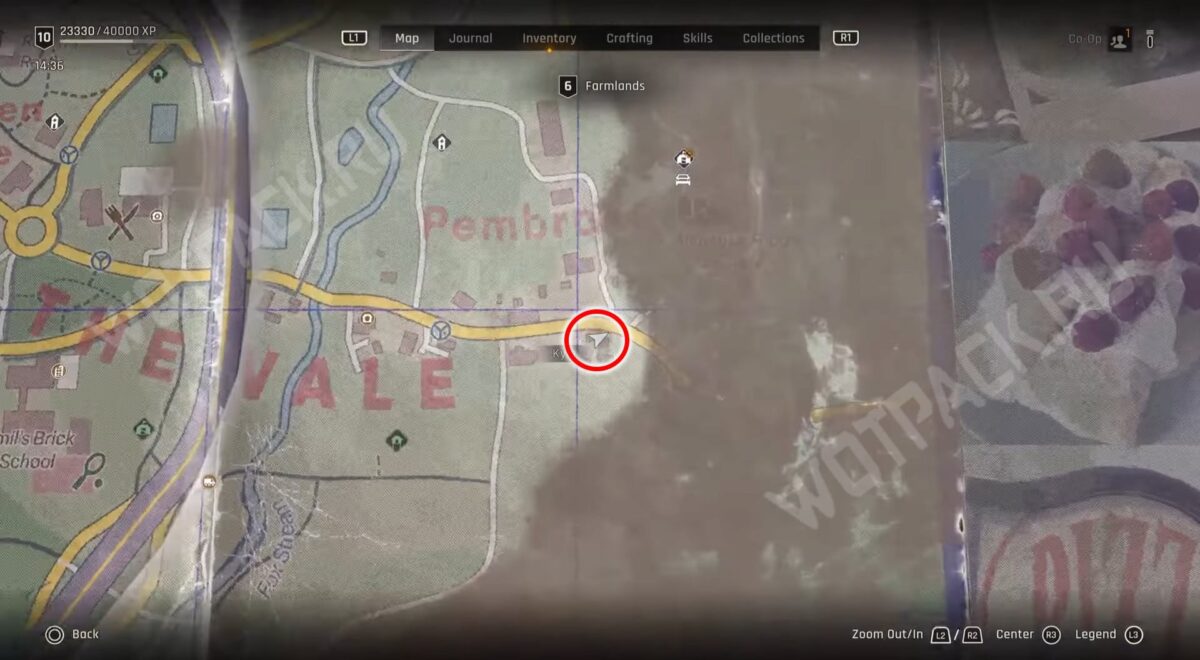
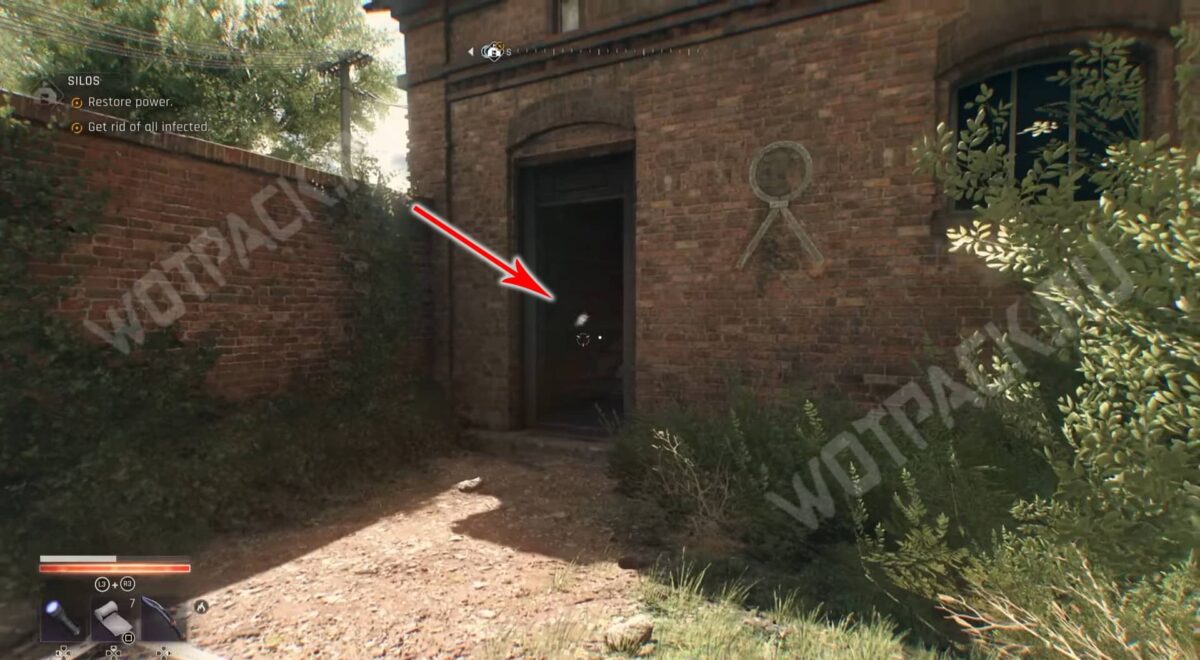
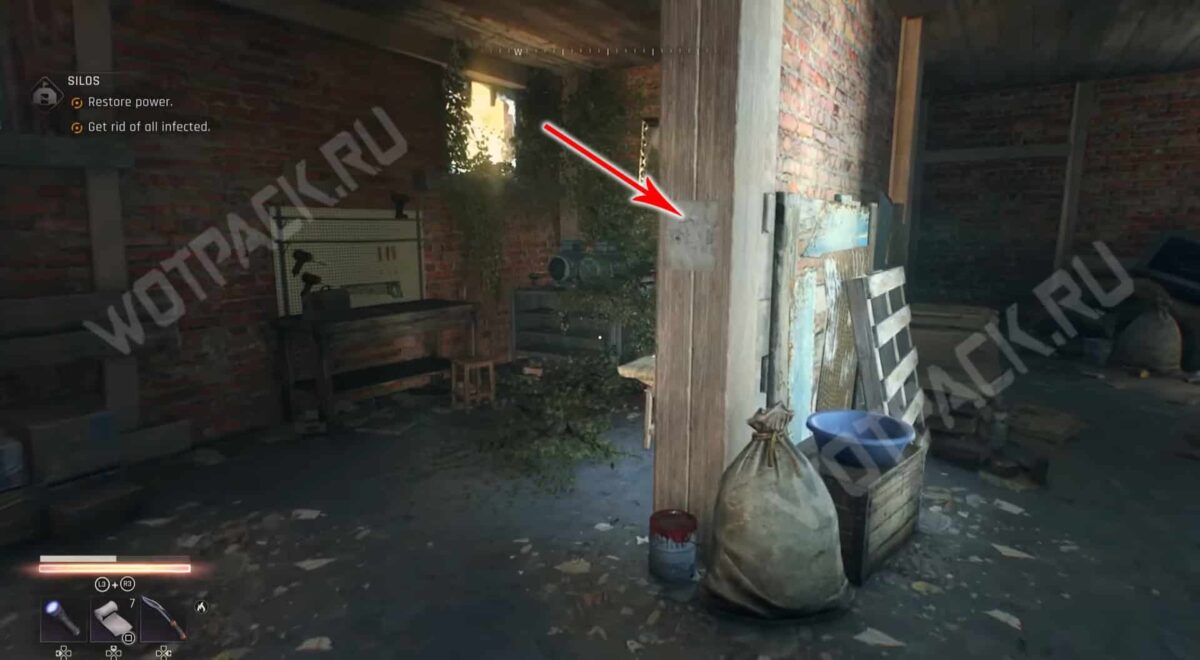
Head east through the Farms area, enter the brick building with the white stone medal symbol at the main road, and grab the picture nailed to the wooden end of the wall.
Where is treasure B1?
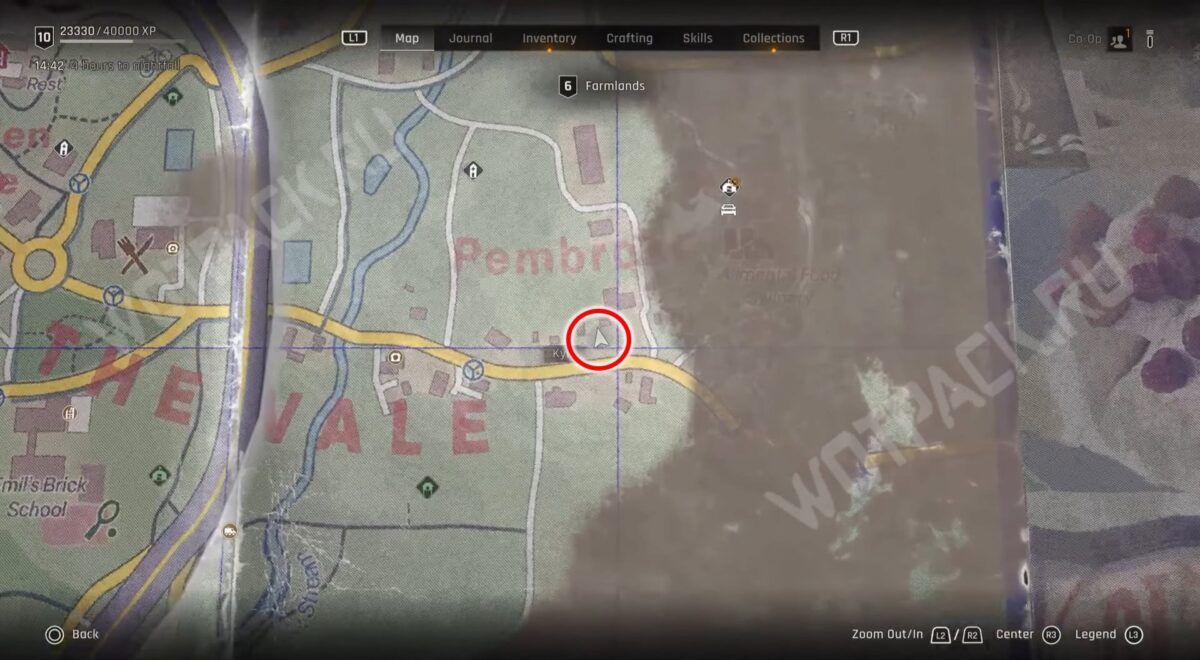
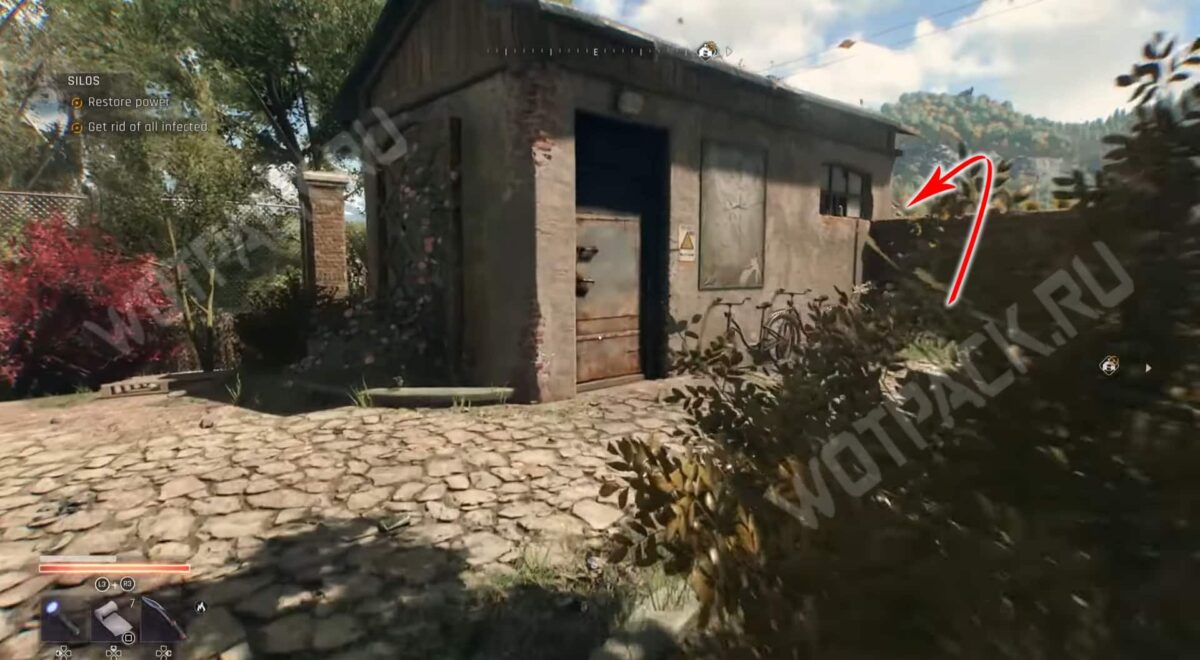
Turn west of the Farms and visit the abandoned farmstead near where the schematic was found. Go around the barn and crawl through the ventilation duct at the back of the house.
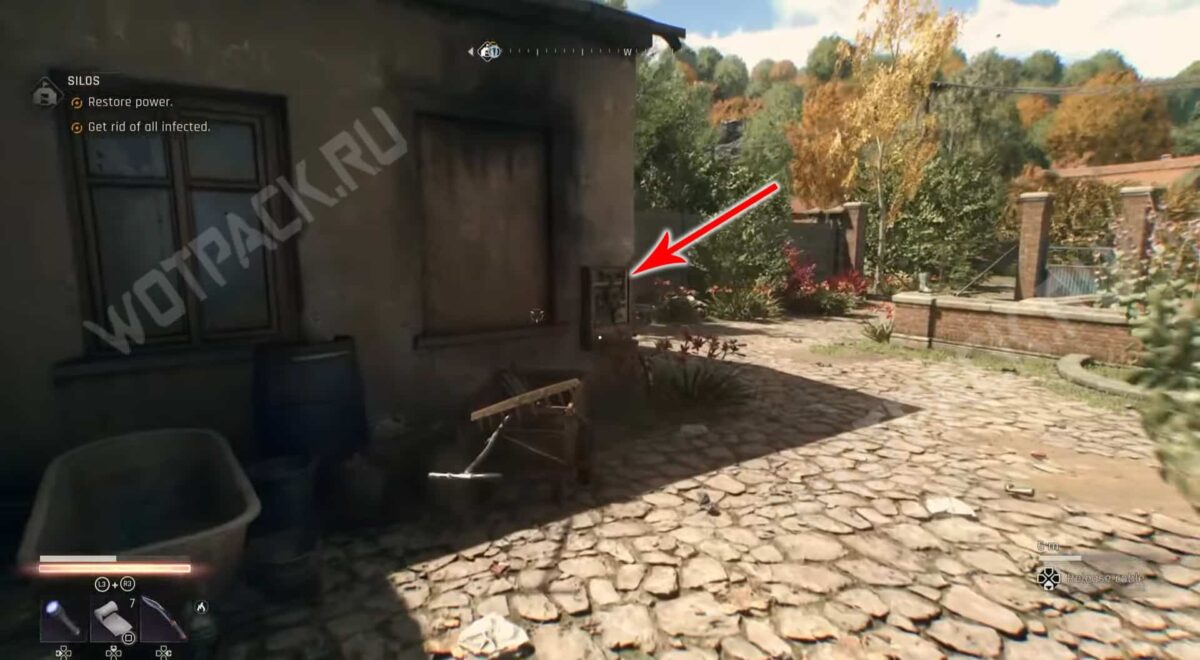
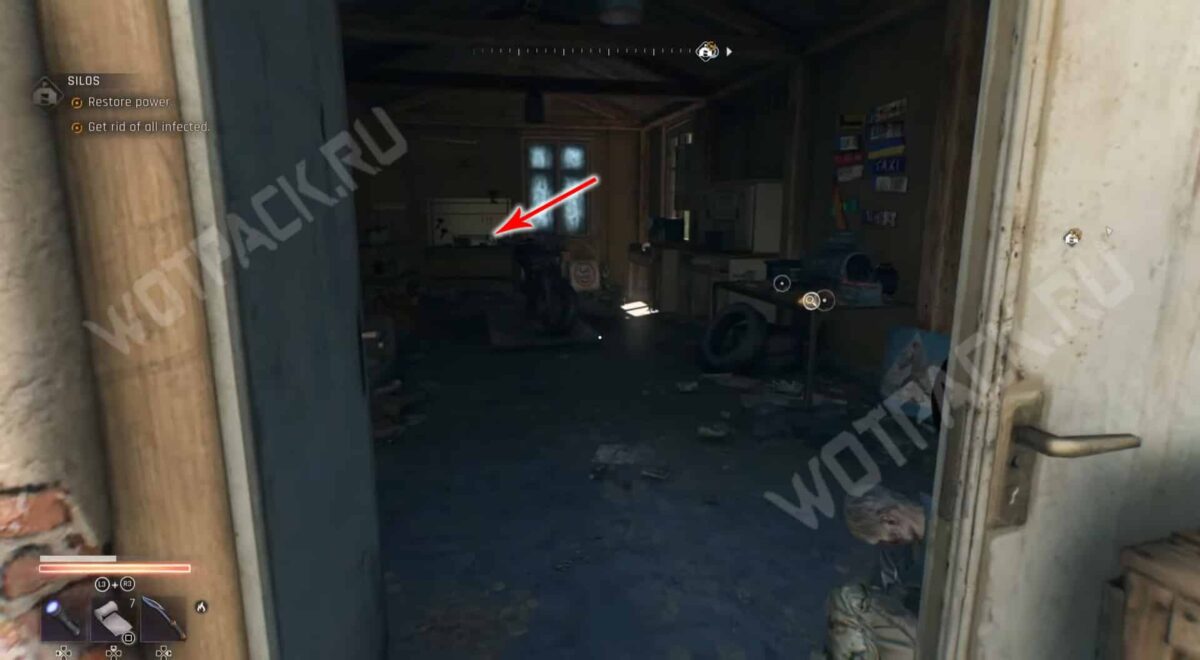
Open the iron door in the barn and turn on the generator. Run the wire to the panel on the wall of the garage opposite the building with the power supply and unlock the gate on the right side of the building. Inside, grab the Legendary Statement shotgun.
Map B2
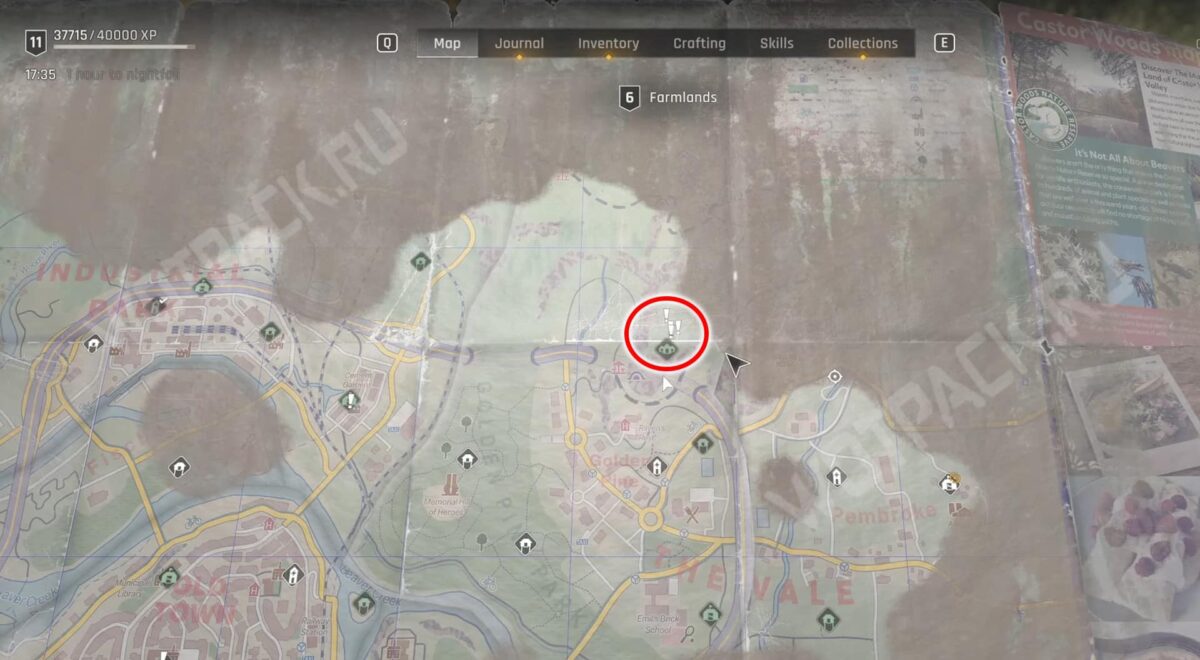
You will be able to get a hint during the course of completing the task. "Sign of love". Get it from Jenna in the Exile's Cave in the area marked on the map.
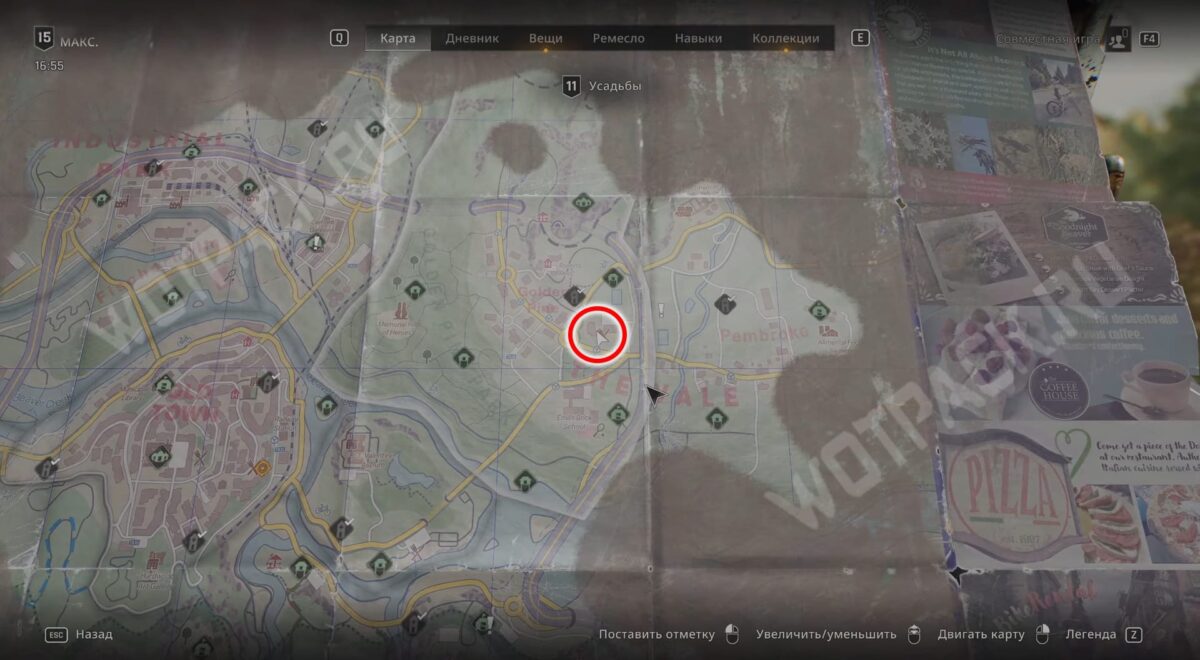
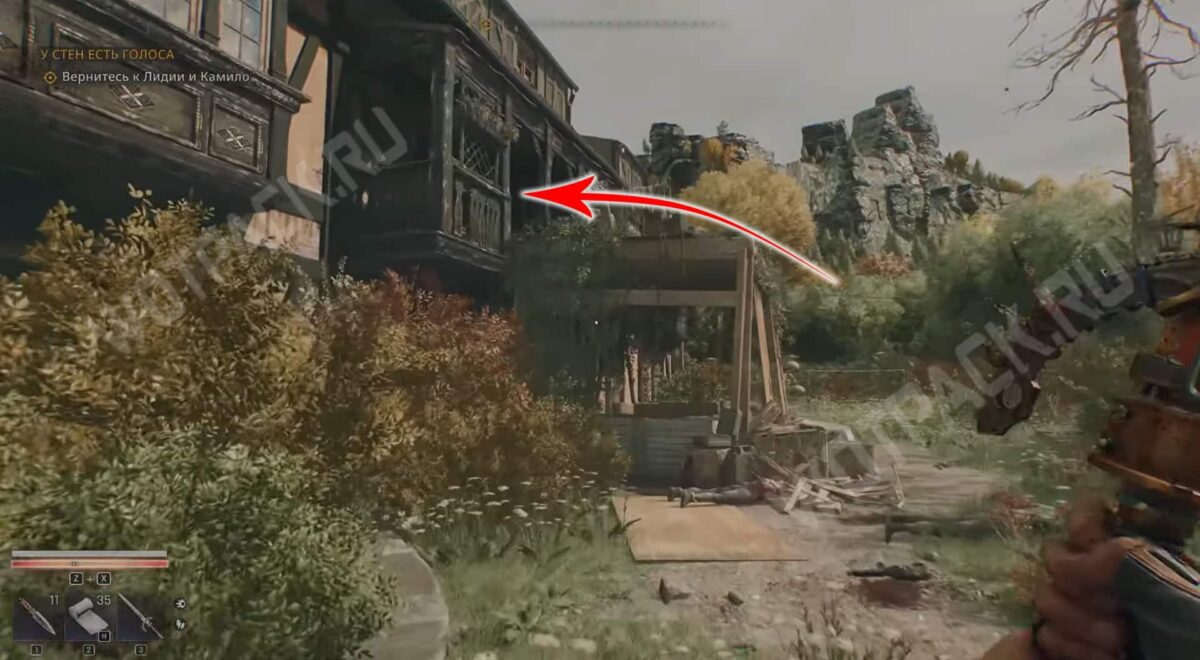
Following the quest markers, reach the southern roundabout in the Estates area and enter the woman's house by picking the front door.
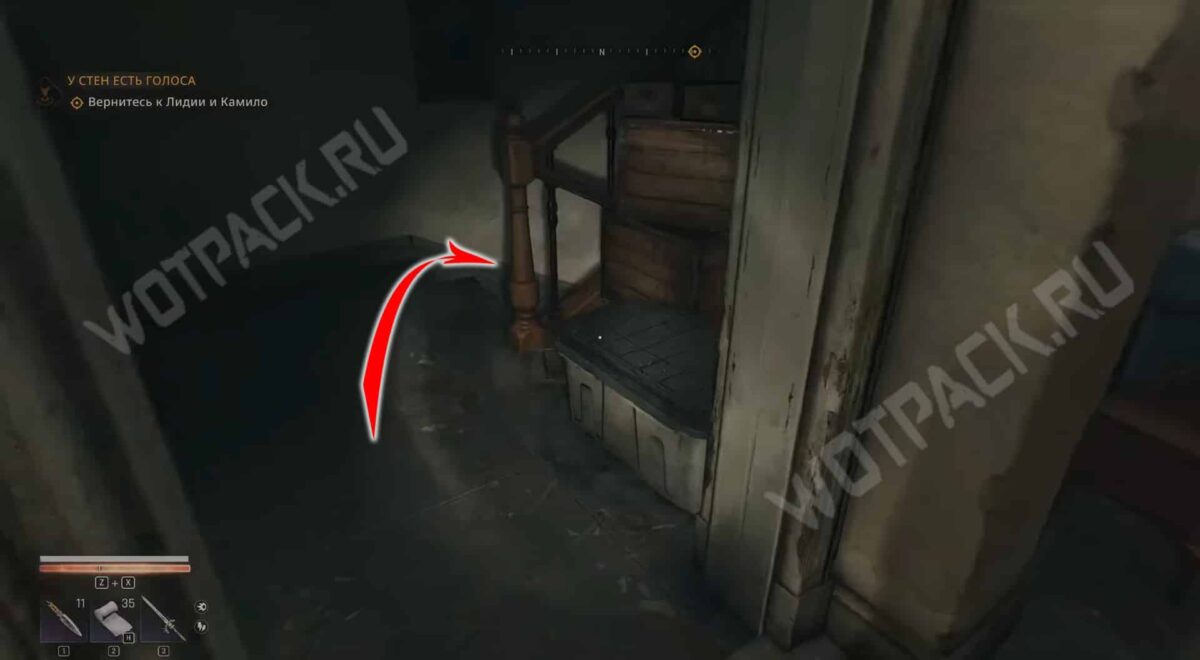
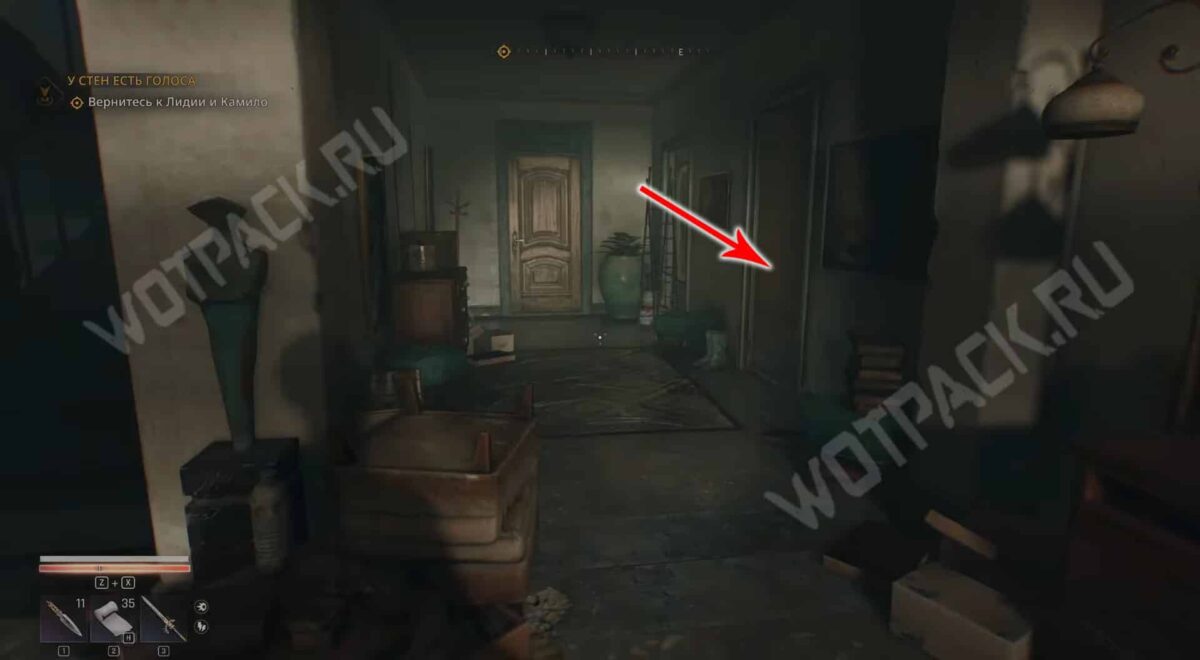
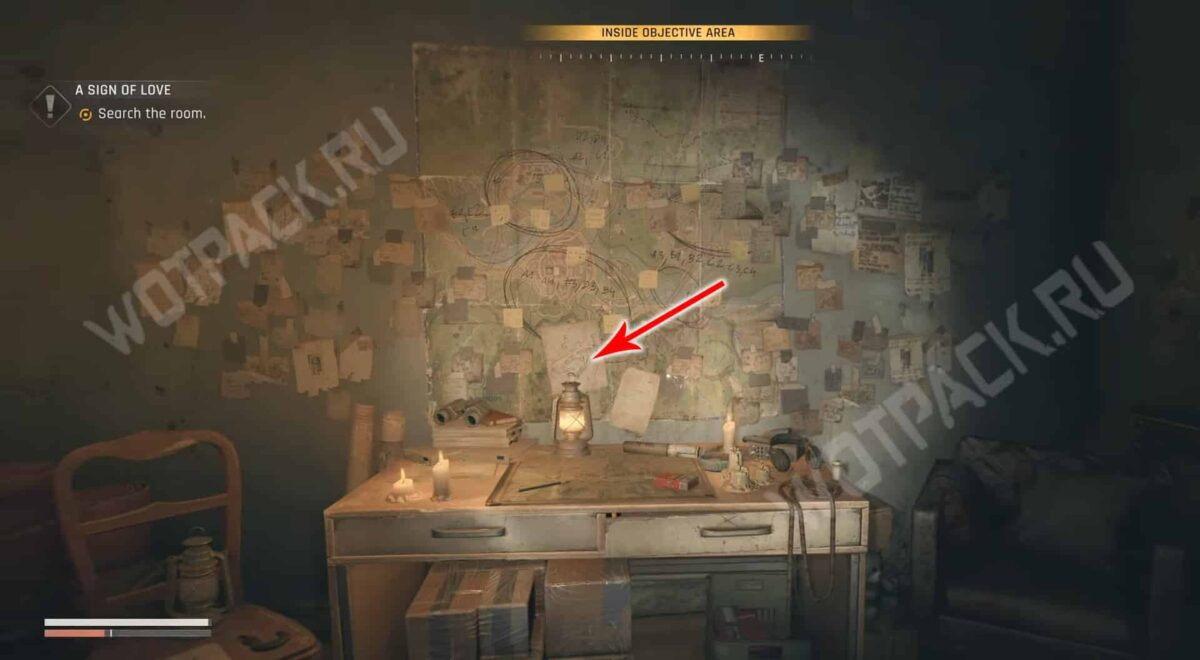
Go down one floor and open the second room on the right. On the wall, you'll see a list of the locations of all the jewels, along with a sketch attached.
Where is treasure B2?
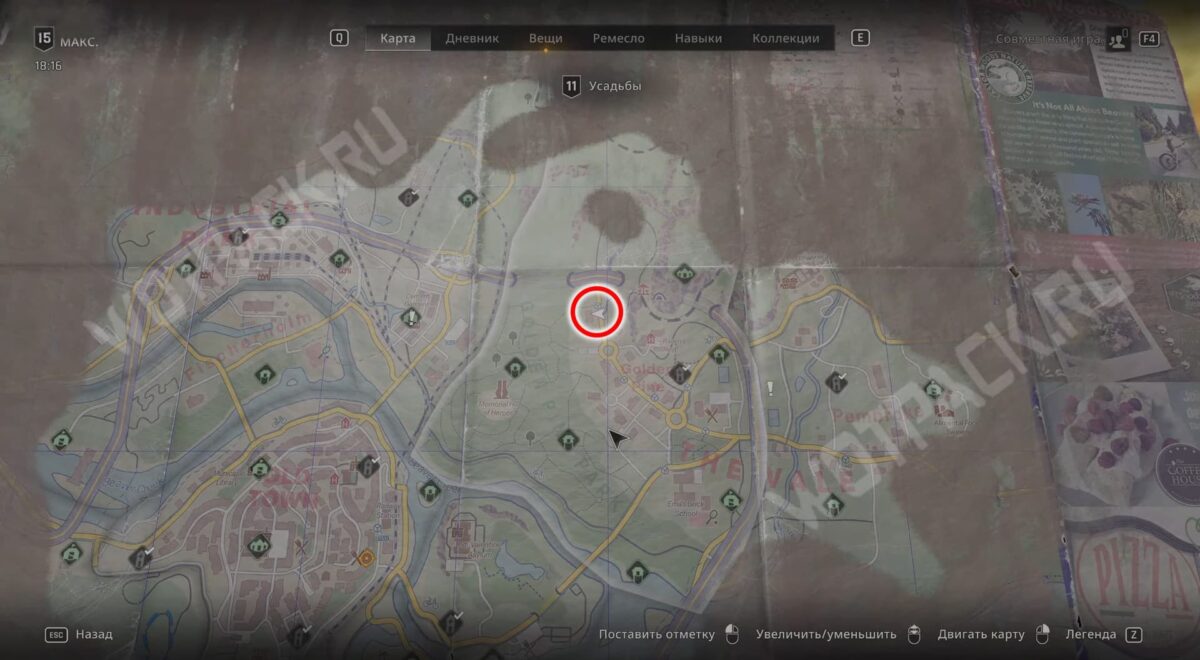
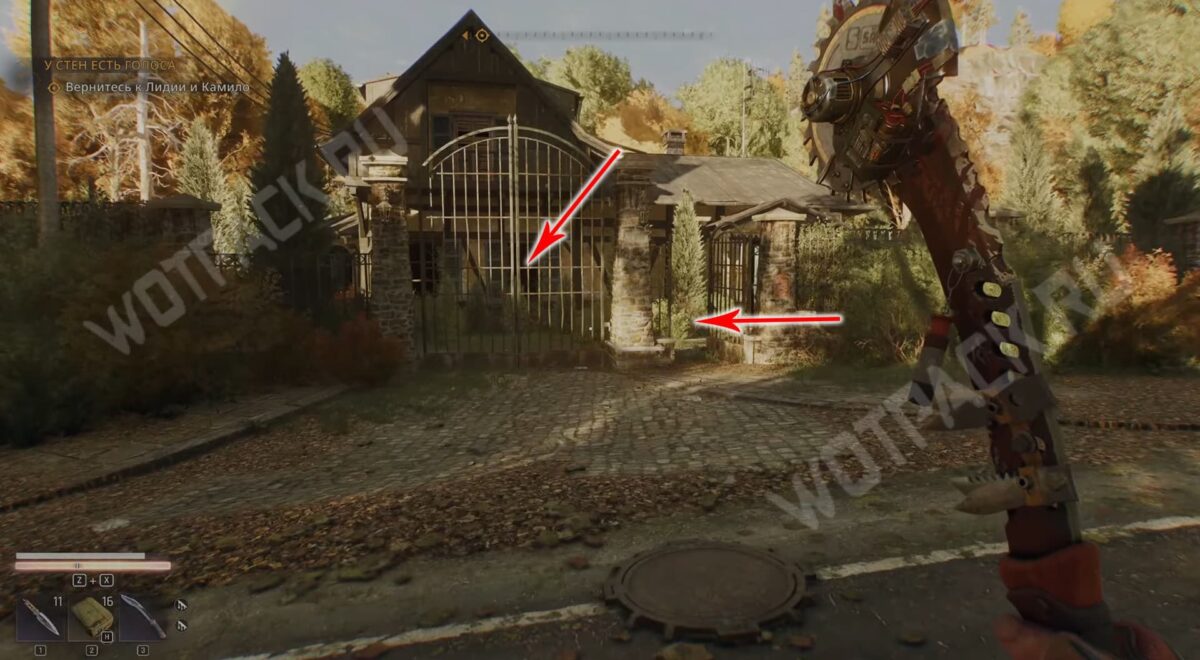
Head northwest of the Homestead area and enter the country house window to the right of the Toiletries Shop.
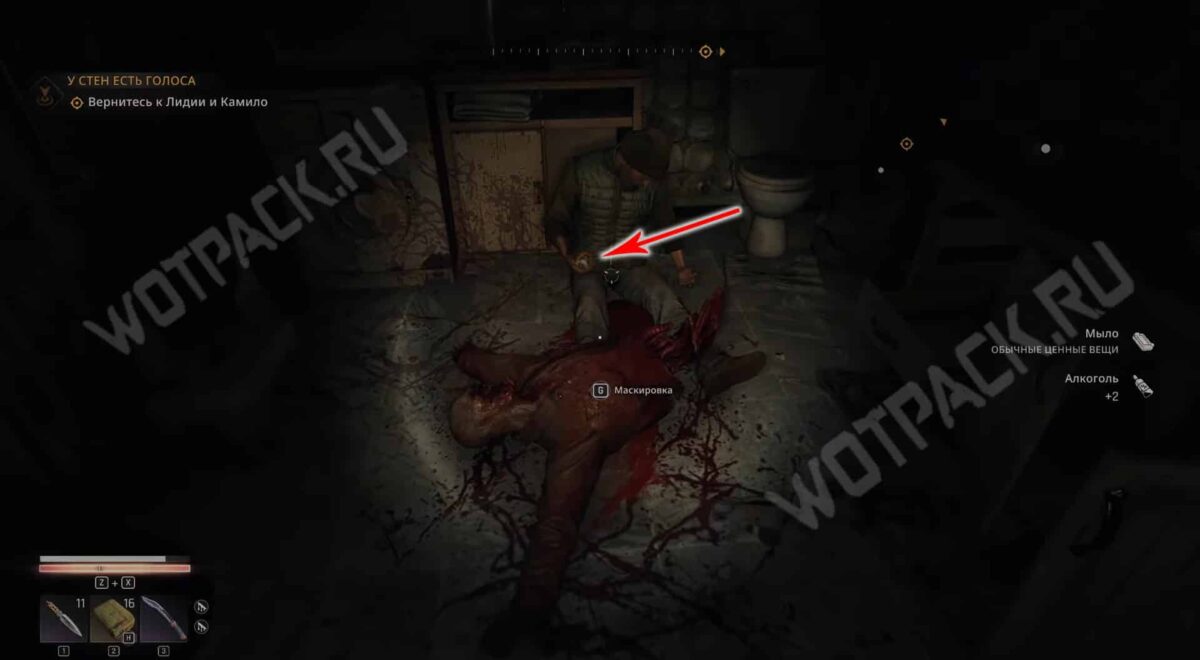
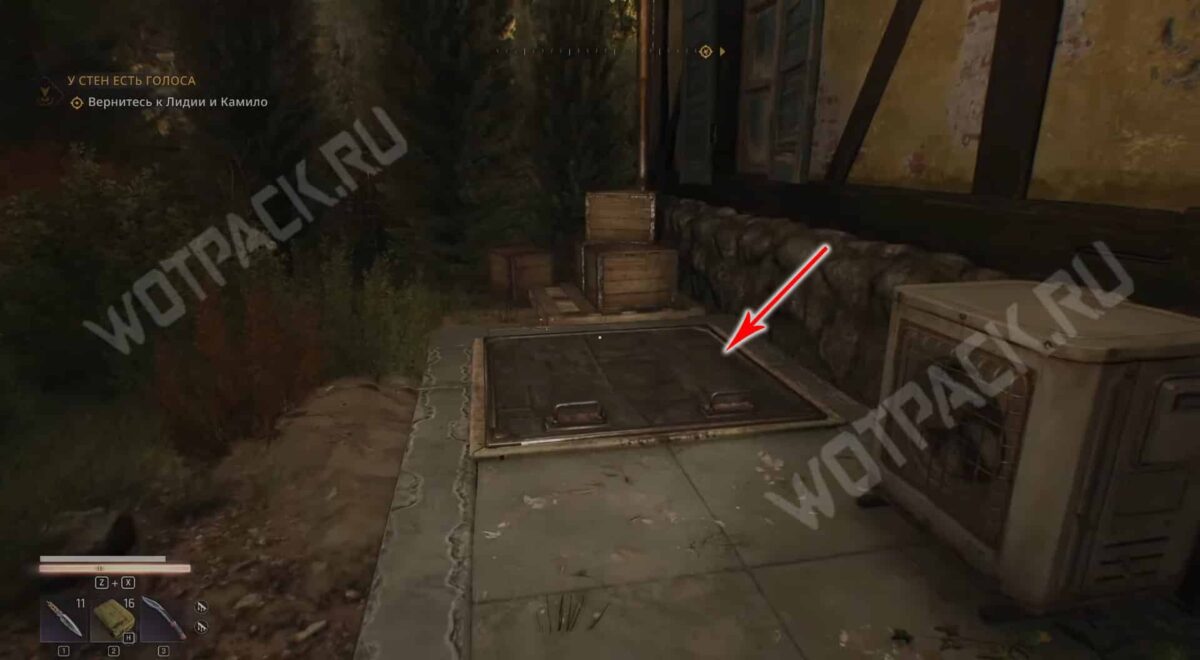
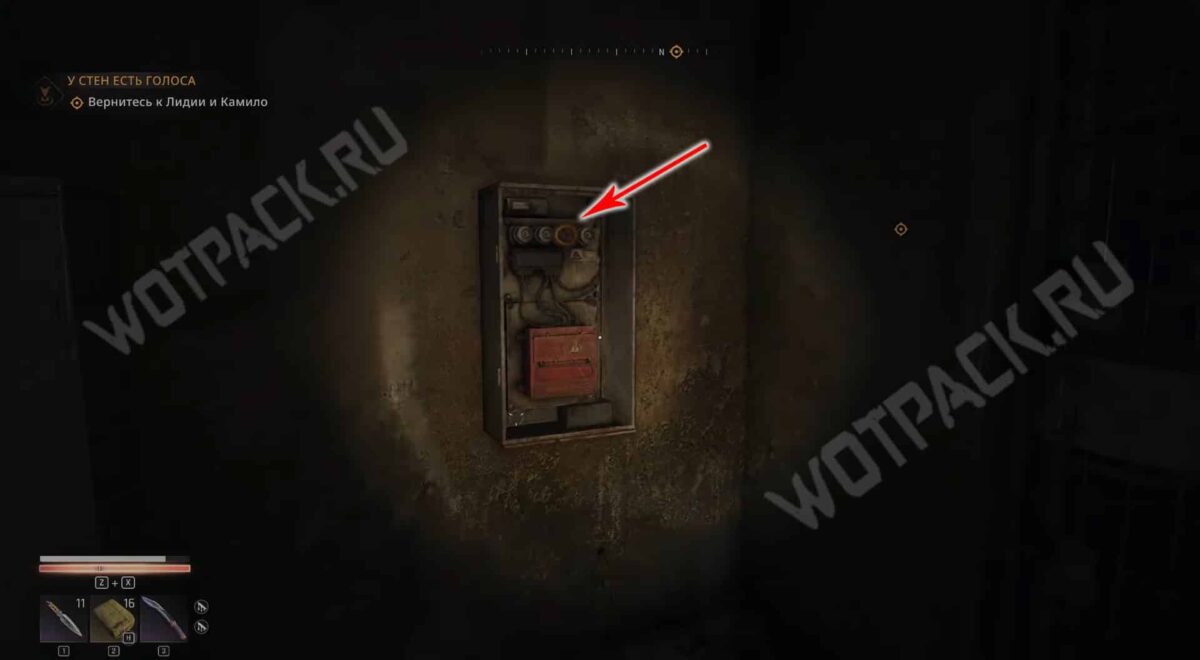
In the bathroom, pick up the fuse from the corpse and exit through the broken window into the backyard. Go down the hatch and replace the fuse in the bunker's fuse box to turn on the power.
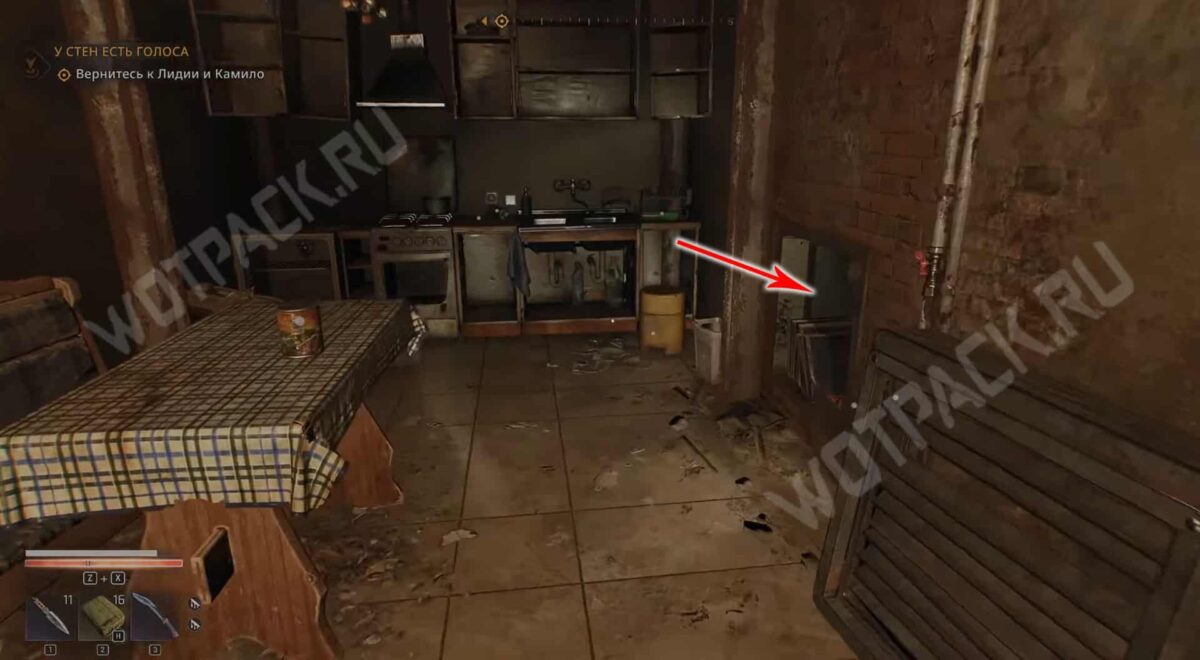
On the right, open the barred door, read the letter on the bed in front of the entrance and unlock the safe, indicating the date of the concert. «02.02.19». It lies in it. the legendary revolver "Dawn".
Don't forget to read the entries with loot box combinations to fully complete the research. A separate guide explains where to find all safe codes.
Map B3
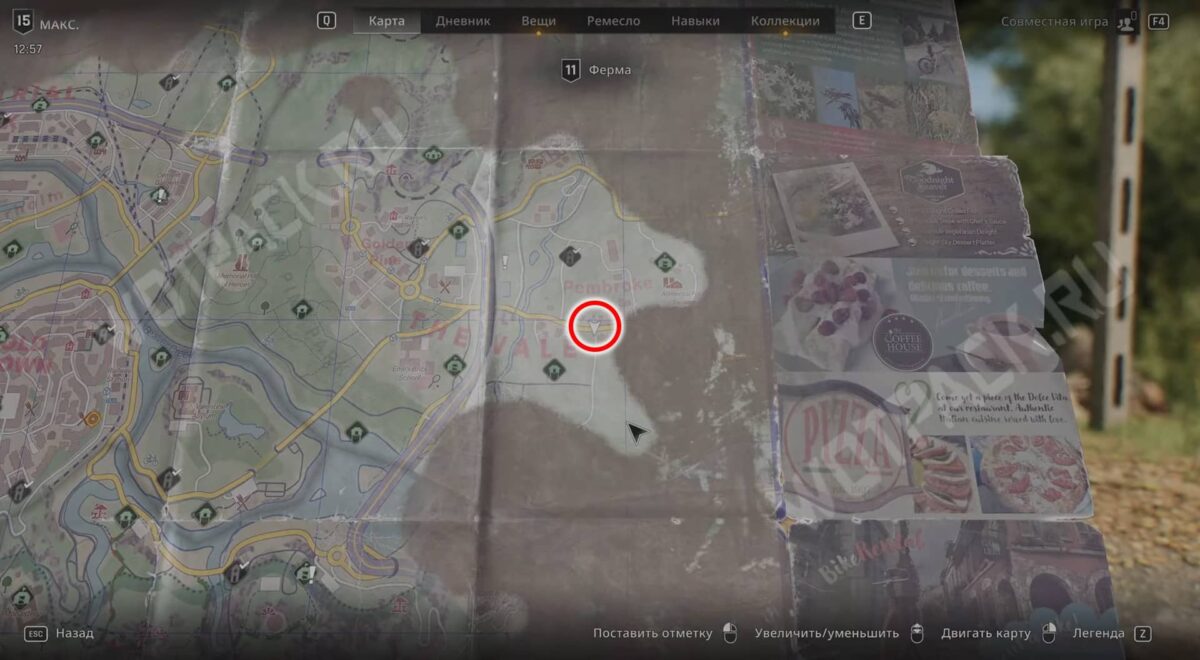
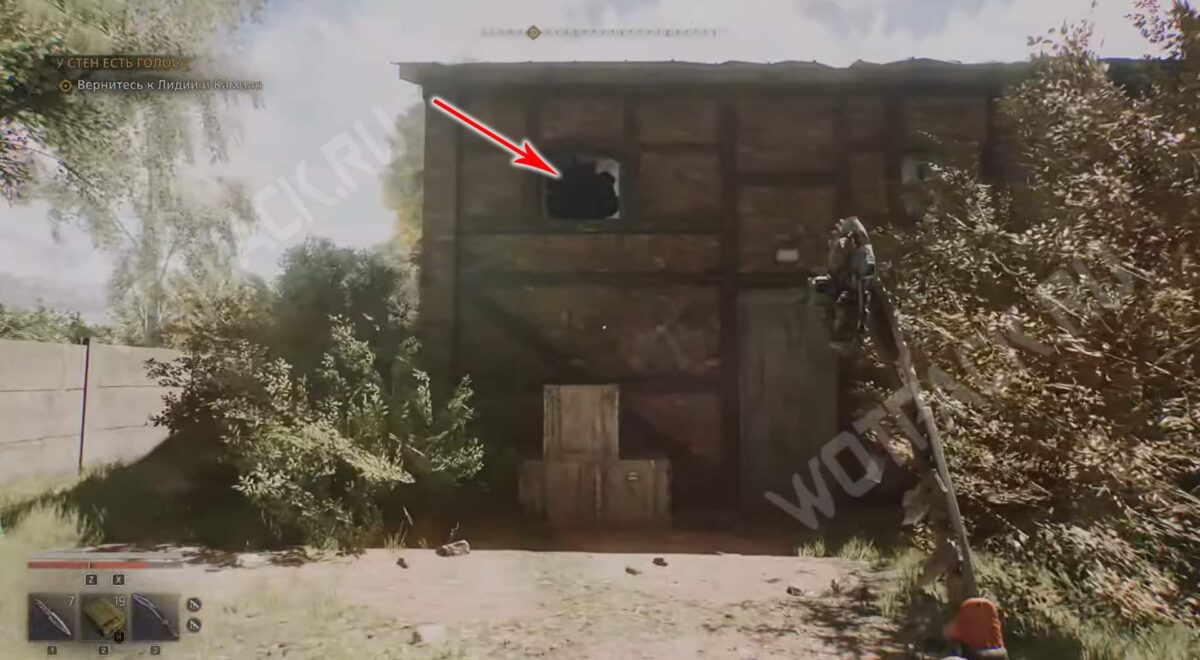
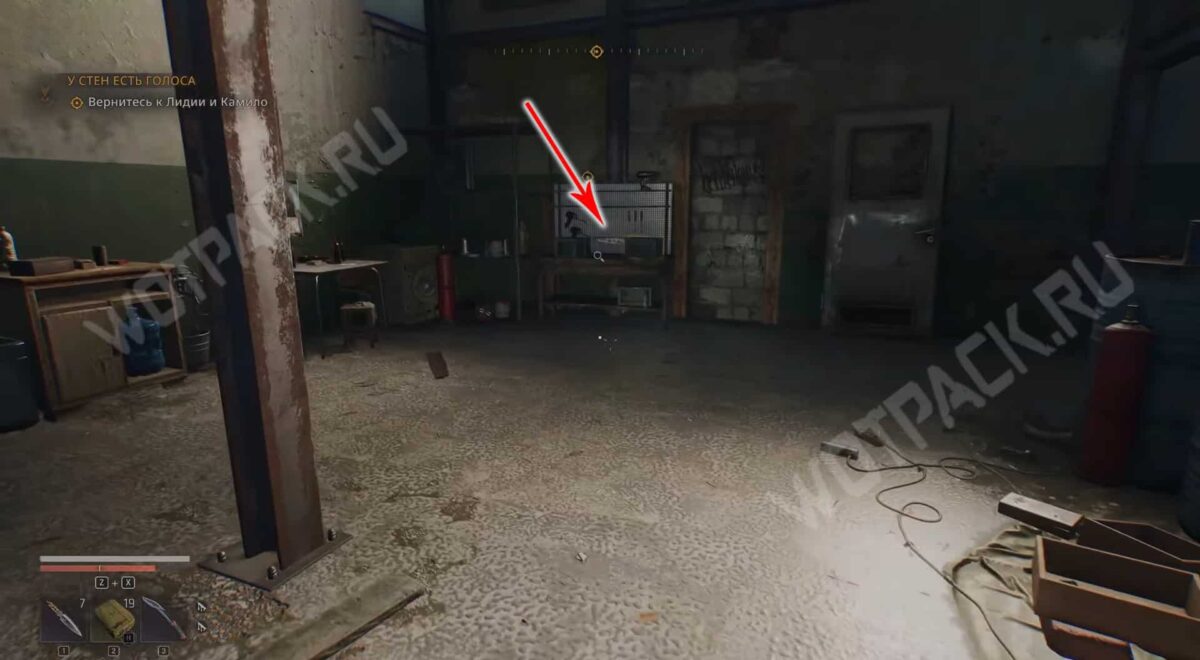
You will receive the drawing during the quest. "The Last Wish" Amelia gives you the key in the Exiles' Cave. The mission chain will lead you to a bandit warehouse with safes. Enter the base through the broken window. On the far left table, between two drawers, pick up the desired sheet with the location of the valuables.
Where is treasure B3?
We recommend taking your time opening the treasure chests to better immerse yourself in the story arc.
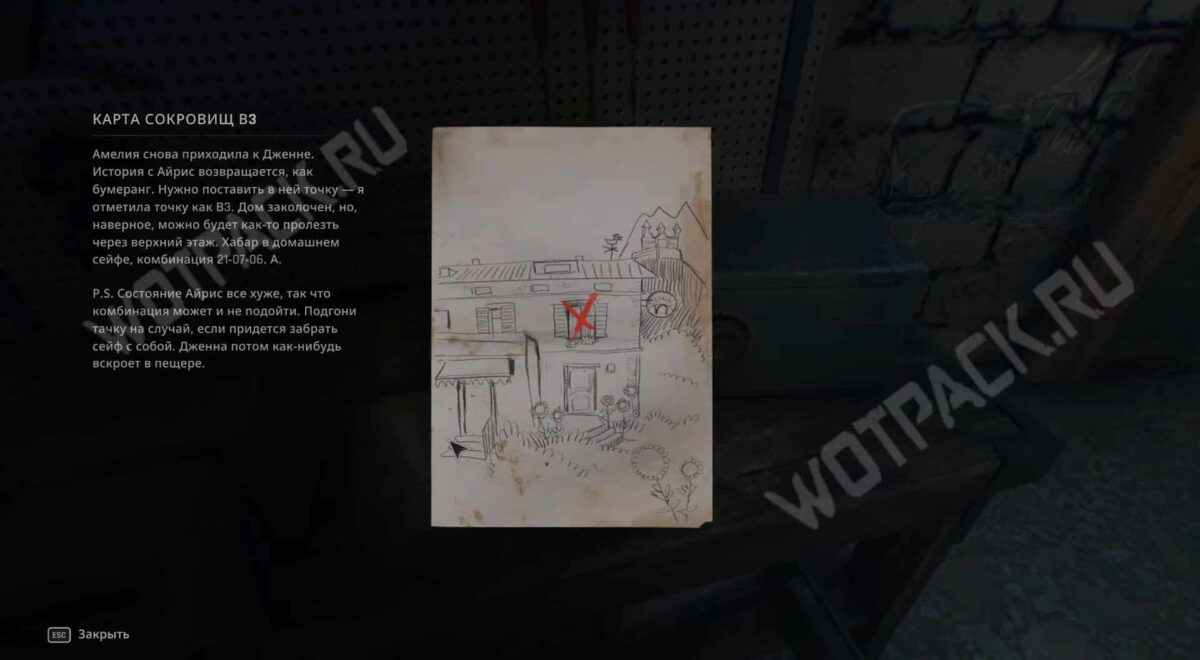
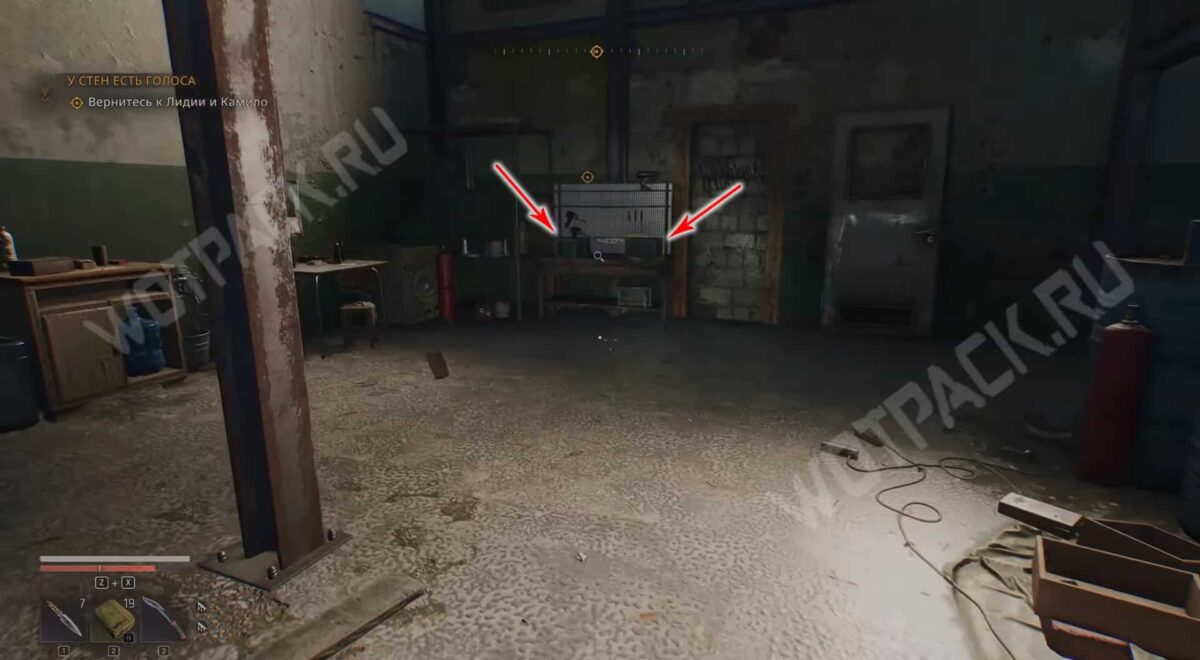
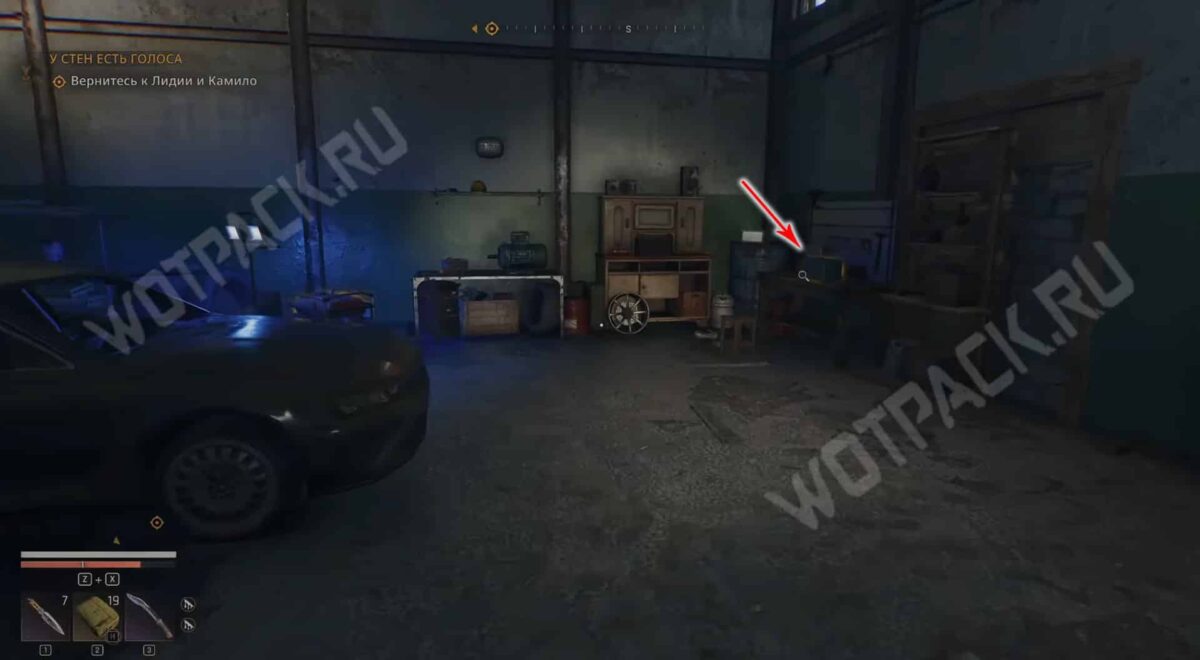
The drawing is connected to a secondary quest and, as part of a quest chain, will help you crack three safes in the thieves' hideout. In the location where you picked up the sketch, open two containers with the following combinations: «20 07 06» for the left, «11 07 08» for the right one. In the left container you will find an item Iris's Music Box You'll need it to complete the mission. Another box is located on the far table on the right; the code will work for it. «71 61 45» from a letter lying nearby.
Map B4
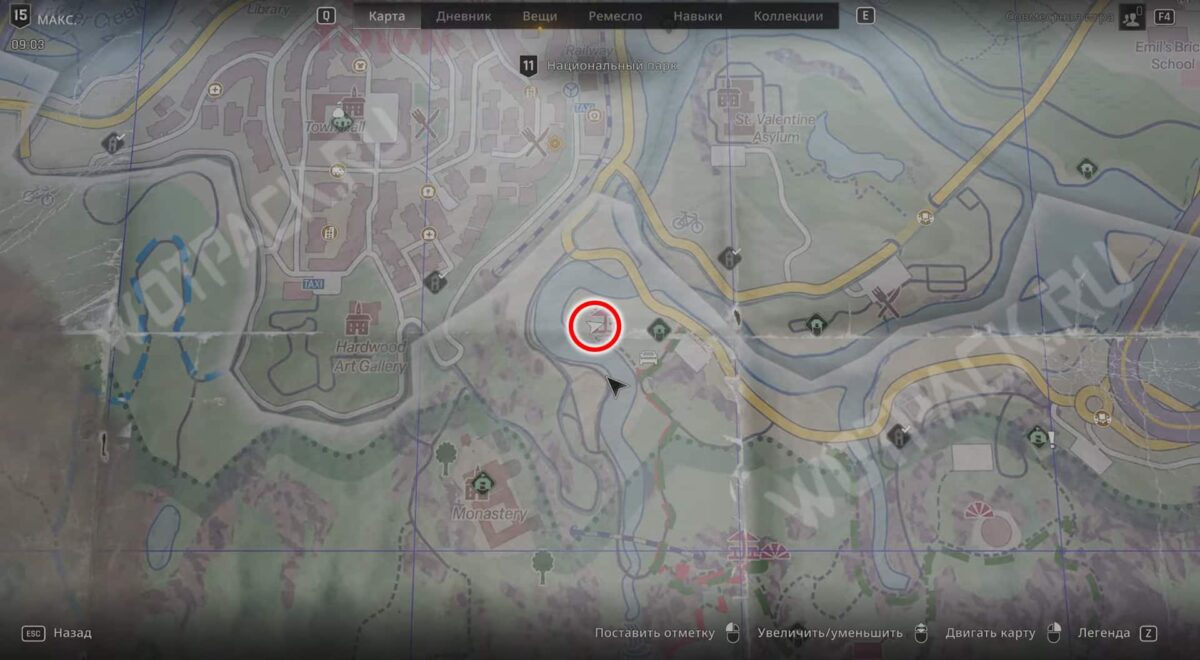
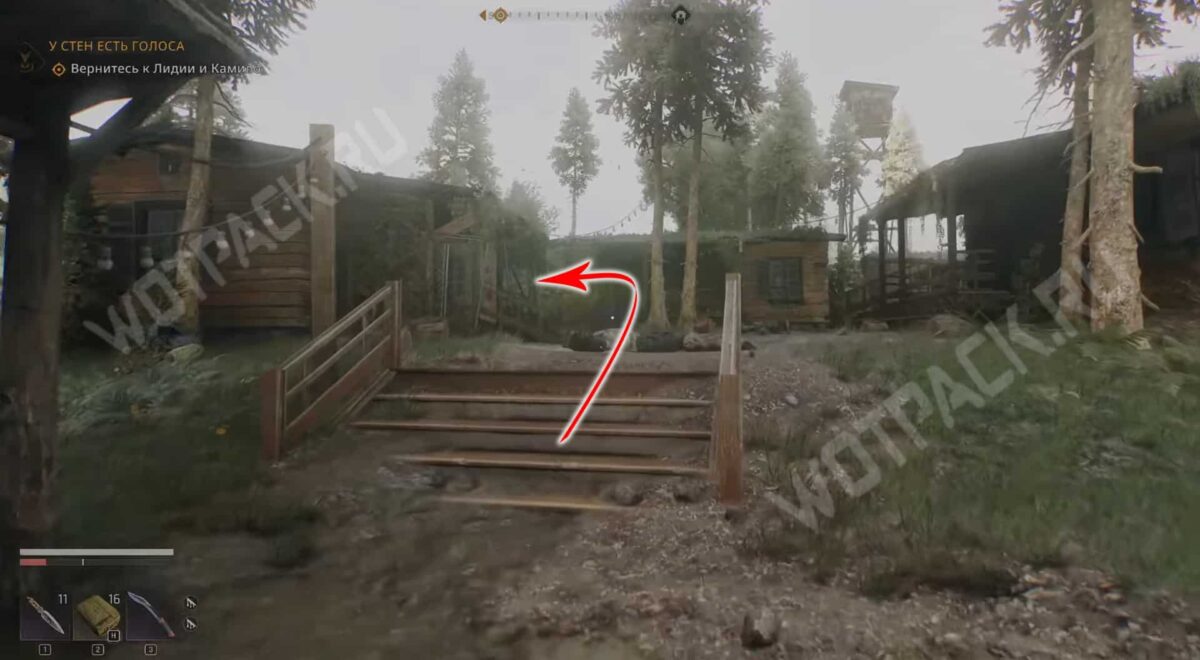
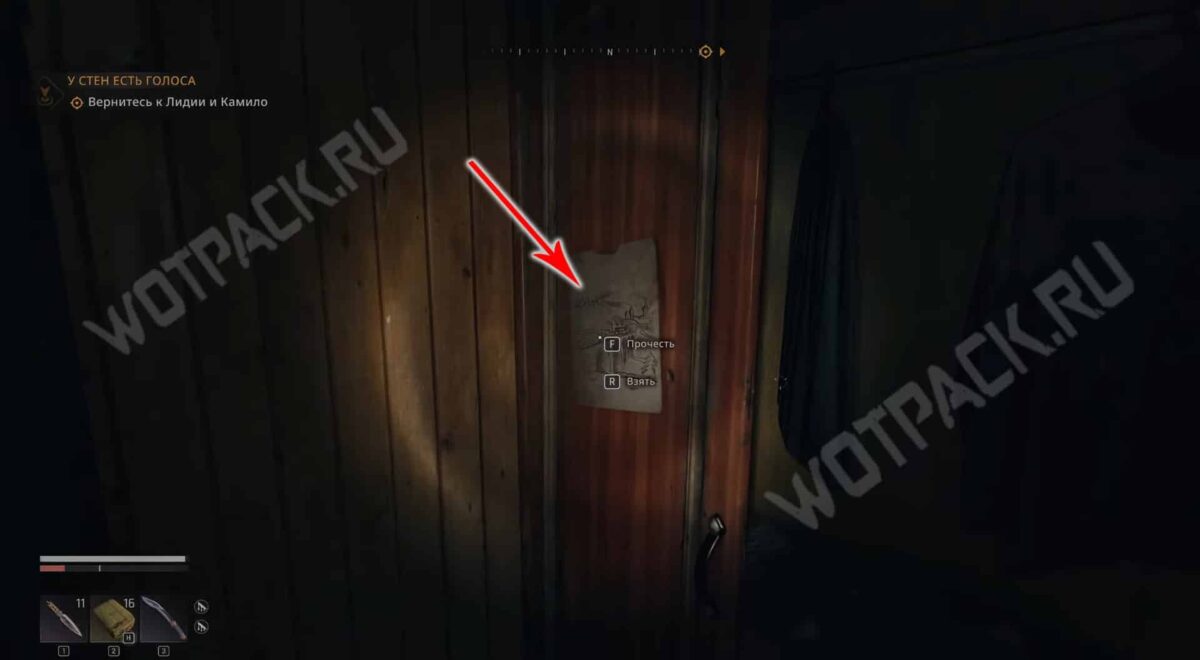
Southeast of the Town Hall in the National Park, look inside the forest cabin on the left near the river. Look for a schematic diagram on the closet door.
Where is treasure B4?
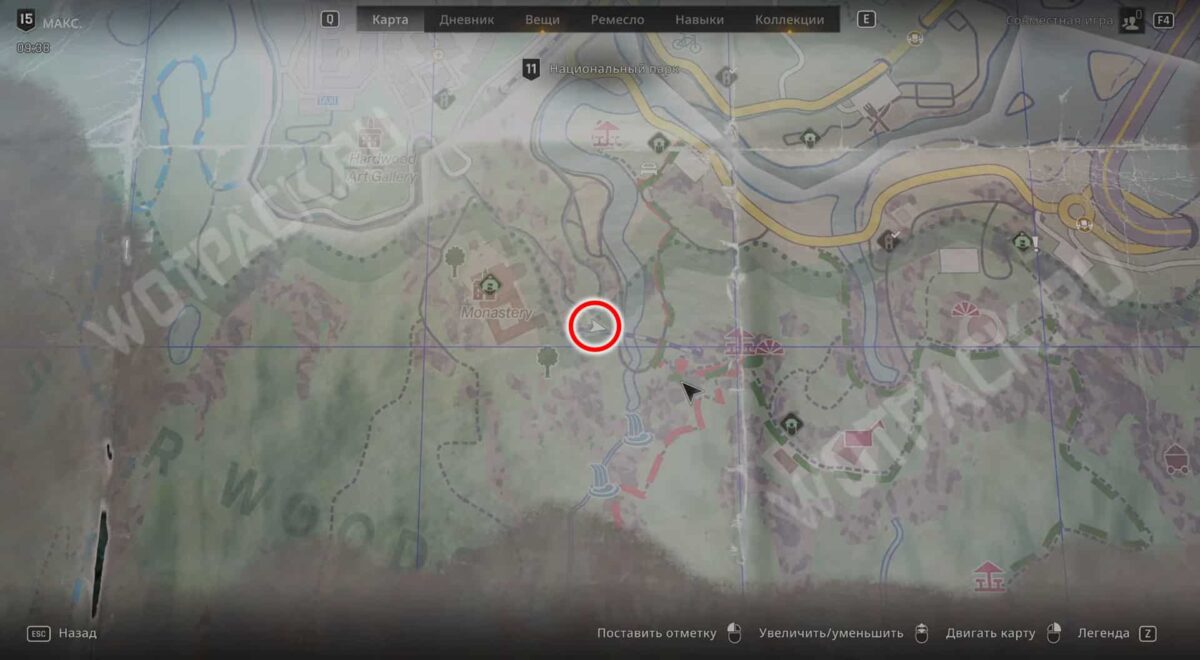
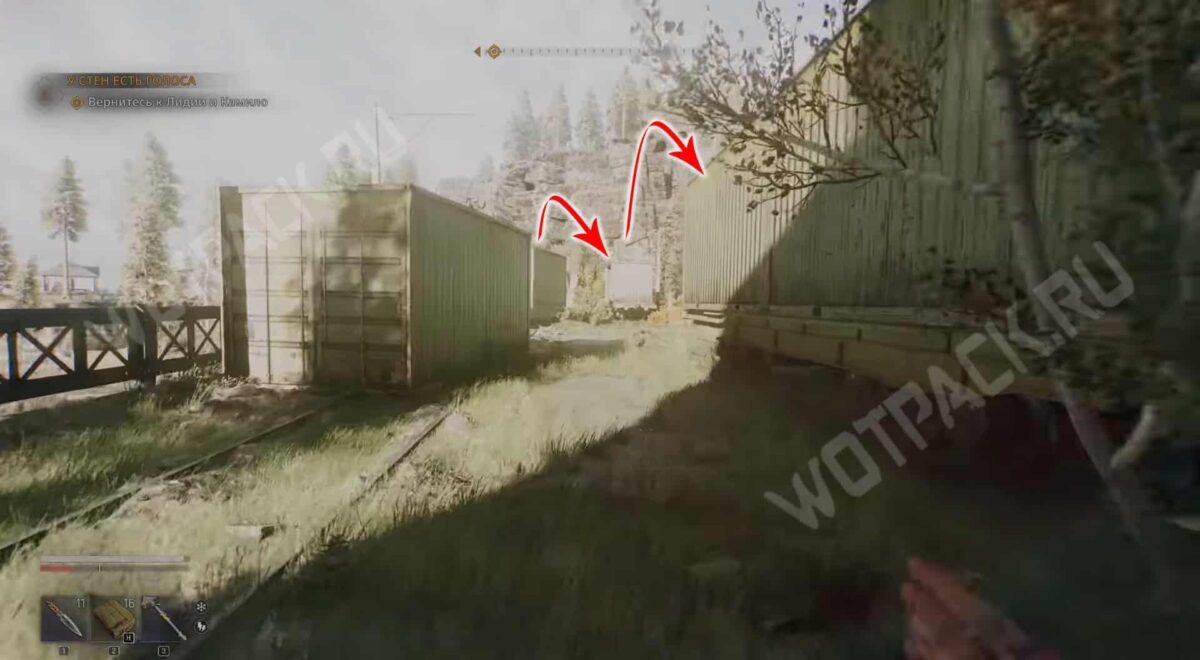
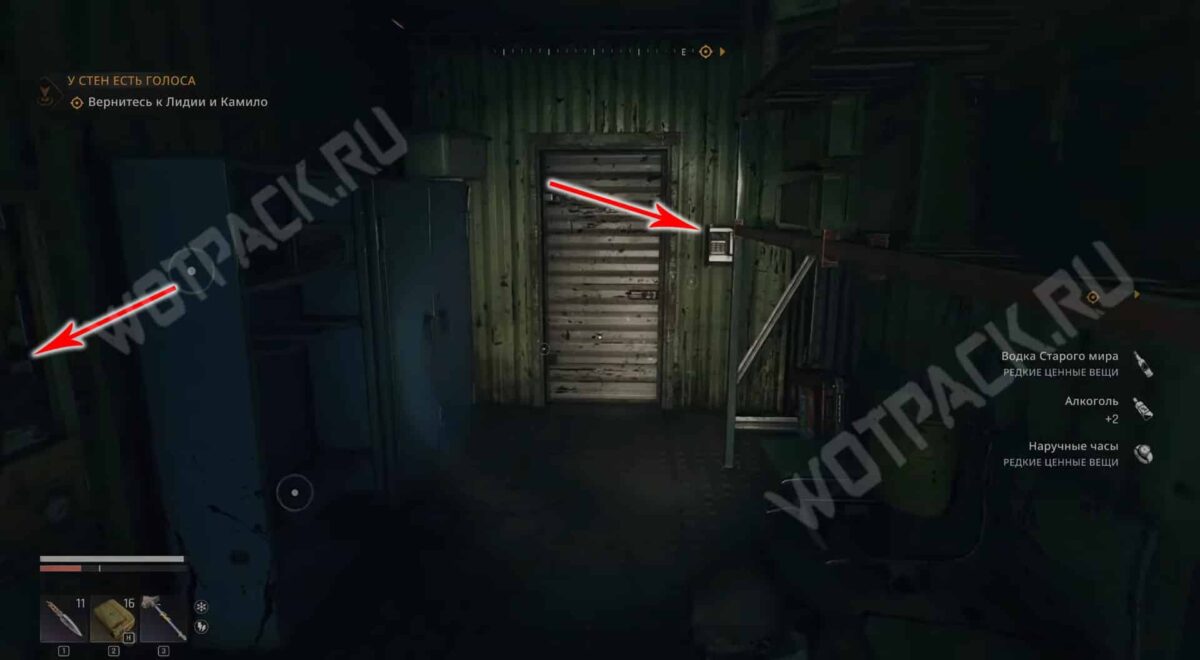
Go down to the railway bridge to the east of monastery and pick the locks on all the cars. Kill the zombie in the far left container and search it to get the convoy access card. Then turn on the generator in the open block and run the wire to the right car with the switchboard. Once the power is restored, unlock the automatic door with the pass and collect the The legendary pistol "Elite".
Map C1
At this point you can also pick up the safe by entering the combination "22 44 66". Part of the cipher is written under a cardboard box on the table. The rest of the code is inserted into the numerical sequence according to the pattern.
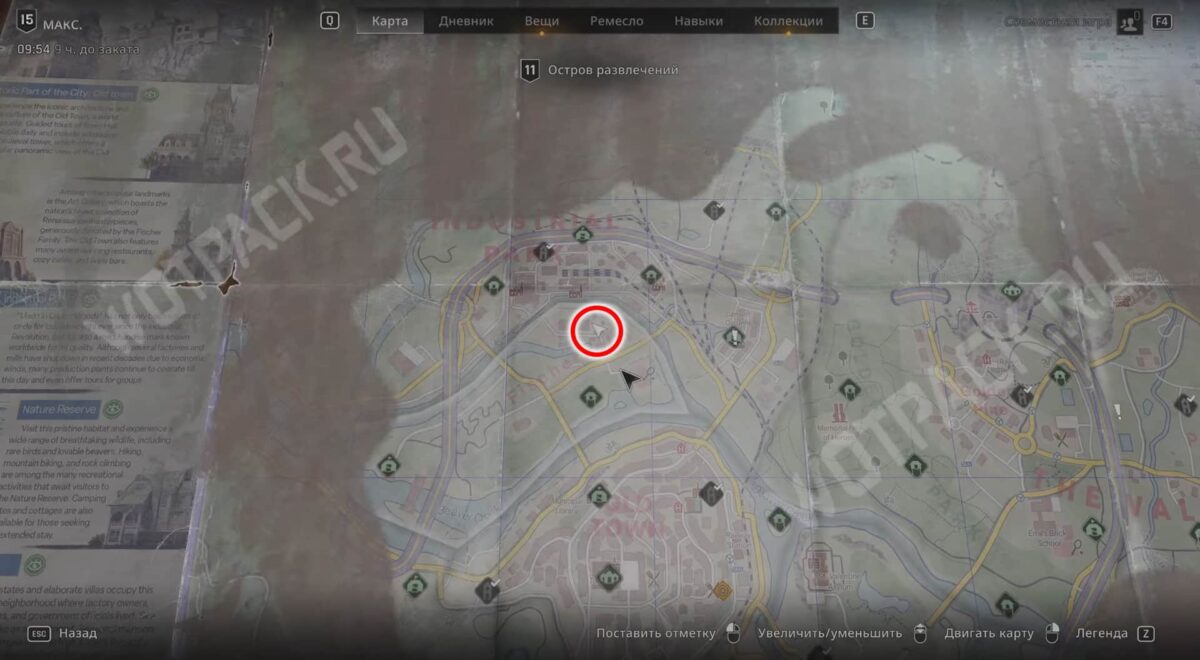
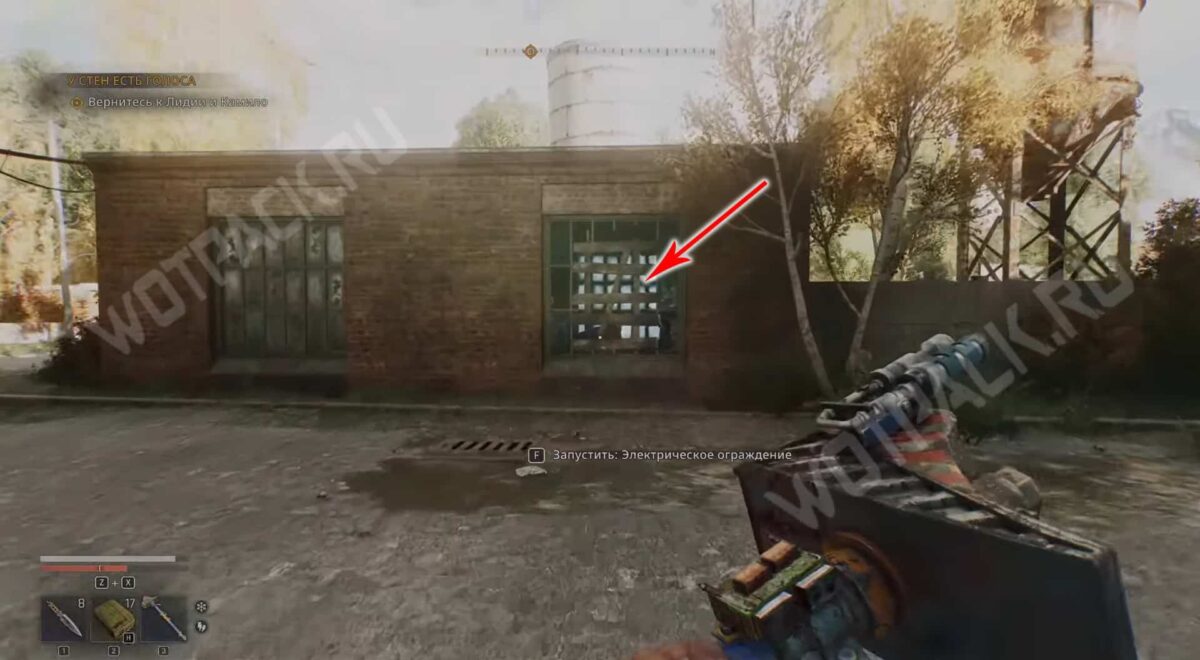
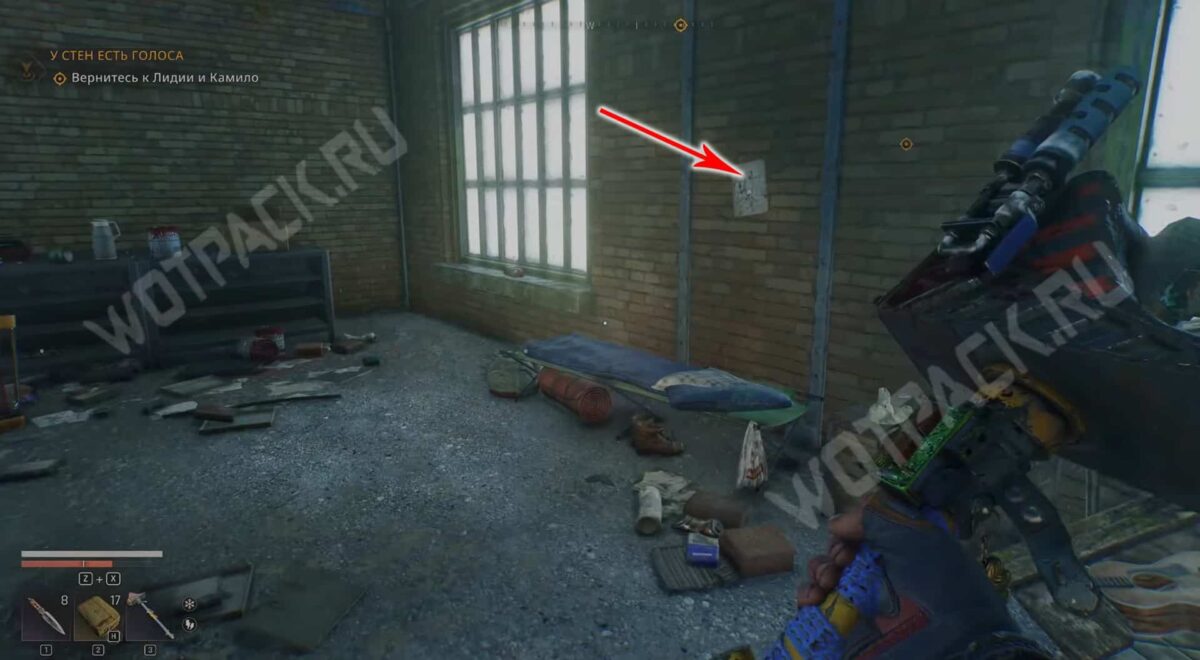
In the northeast corner of Entertainment Island, enter the small brick building next to the Taurus hypermarket. There's a drawing on the wall near the metal folding cot.
Where is treasure C1?
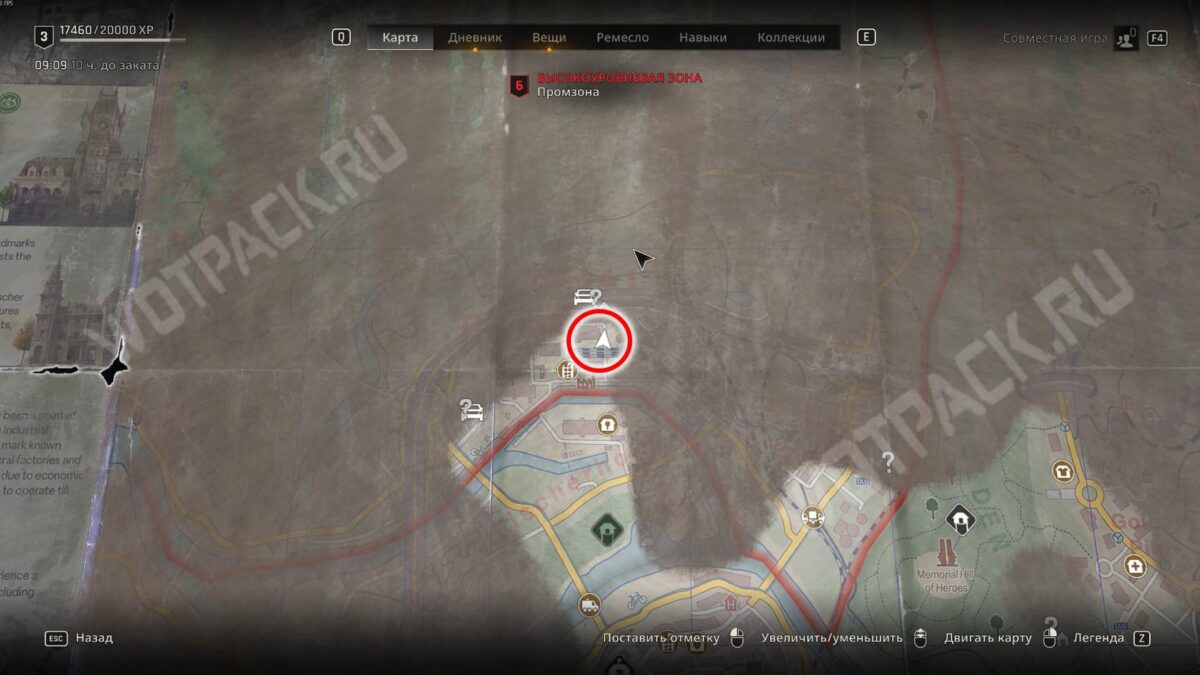
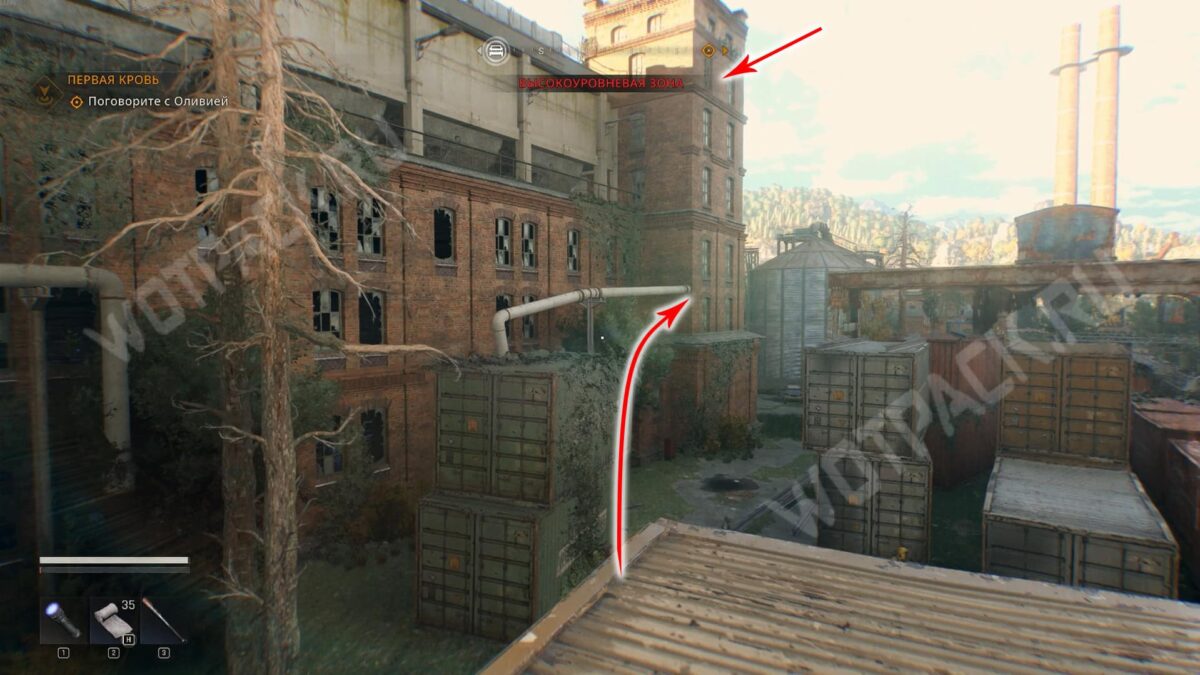
Head to the shipping container unloading area at the factory. Climb the pipe to the red building and climb up to the second-to-last floor. If you're having trouble climbing the window frames, try standing on the low tide. Double-tap the spacebar to perform a double jump, or use a power jump. This will allow you to grab onto a ledge or side of the next floor.
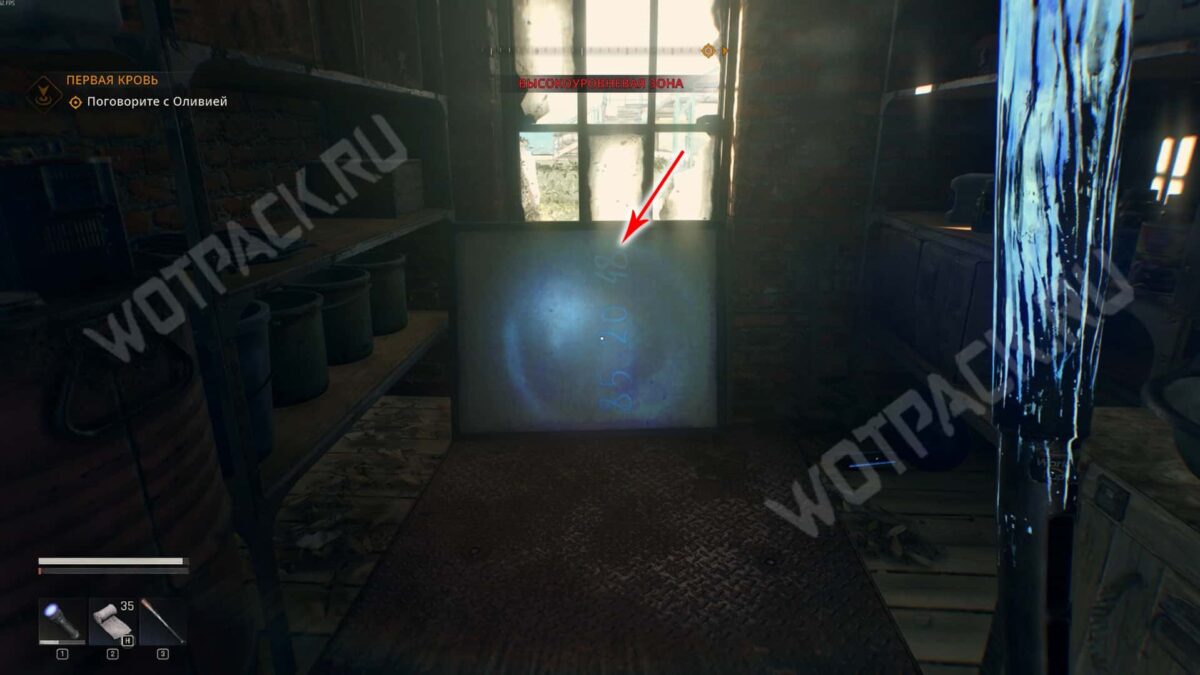
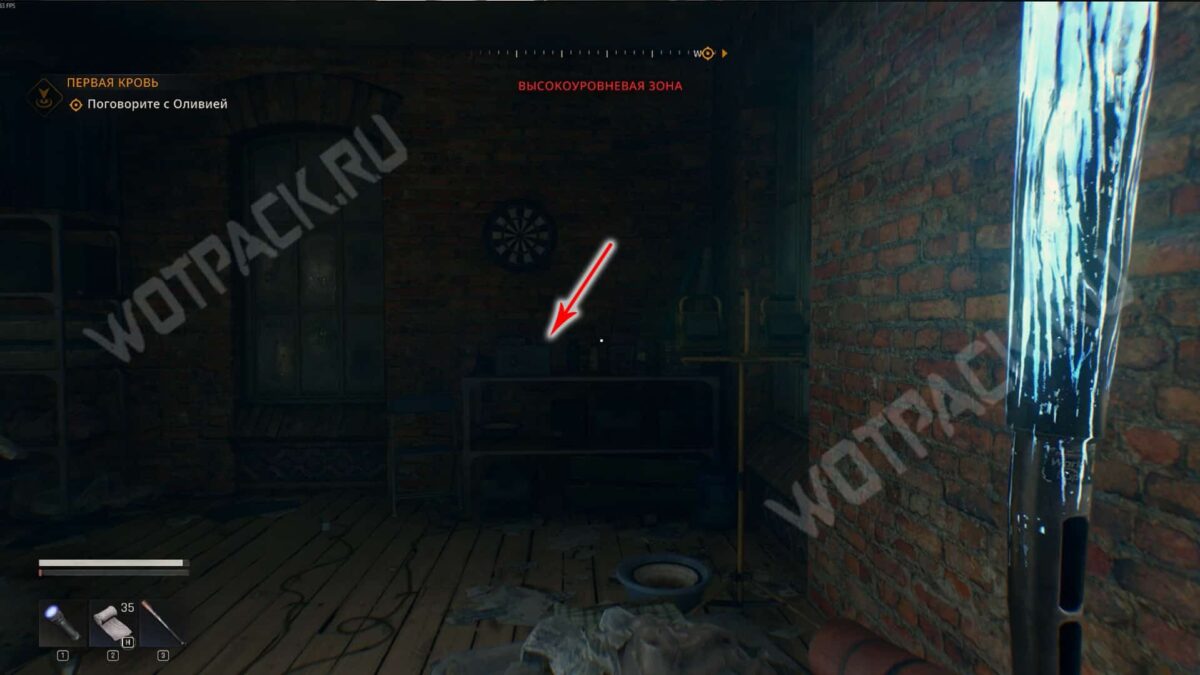
Break the wooden bars nailed to the window and search the room. Inside, open the safe with the code. "85 20 48", which is visible on the white board under the light of a UV flashlight, and take Army first aid kit and ammunition.
Map C2
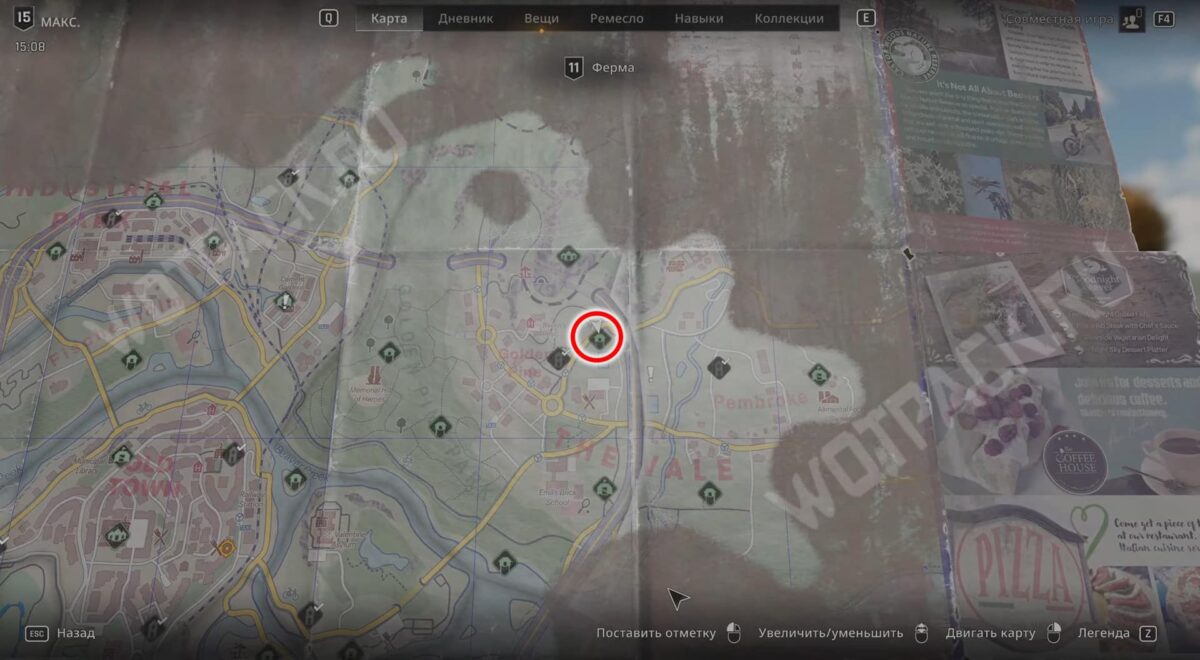
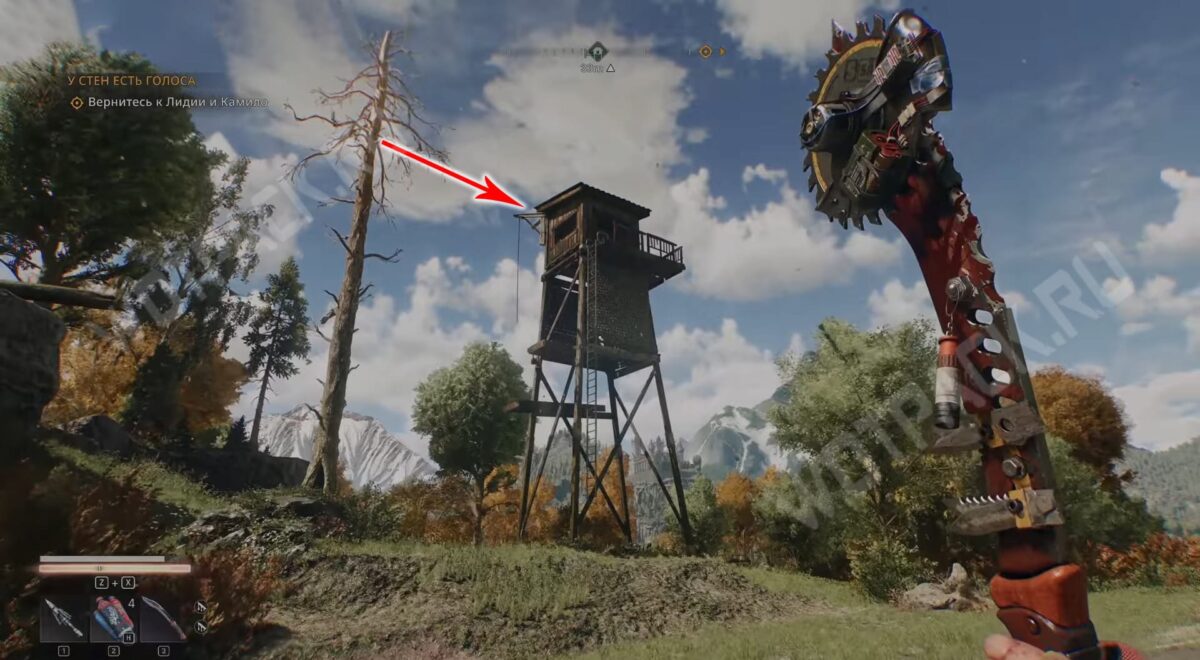
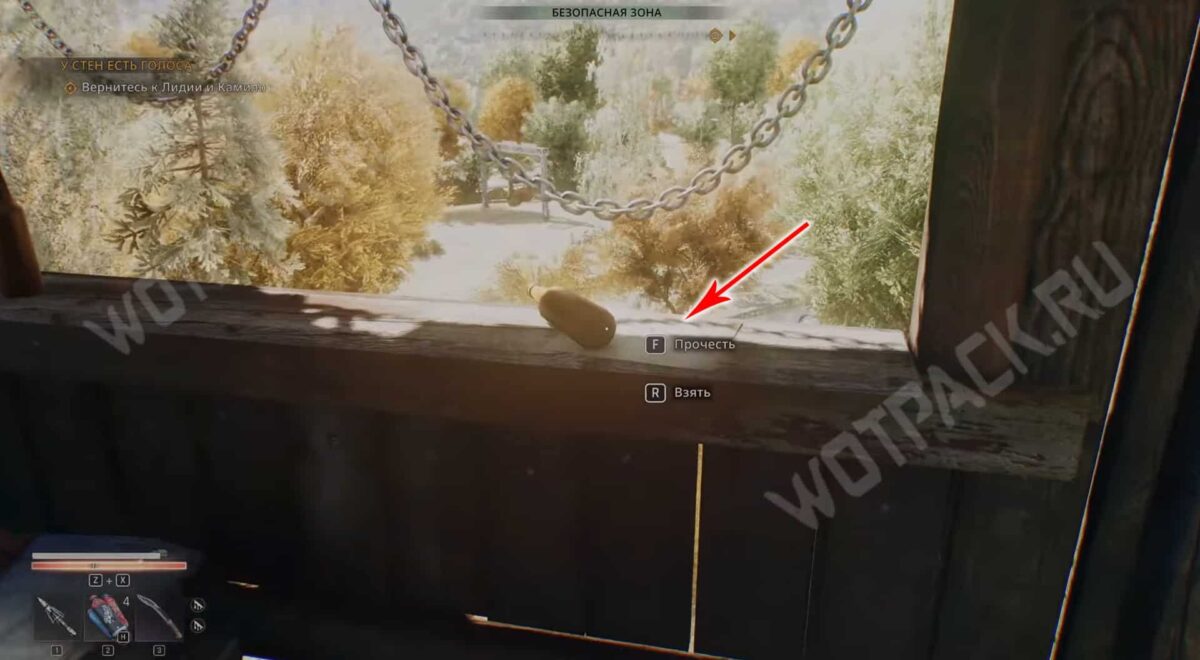
In the Estates, activate the eastern tower On the highway. Run down the hill to the left and jump from the fallen log to grab the needleless pine branch and swing over to the wooden platform of the shelter. There's a loot map on the windowsill in the closet.
Where is treasure C2?
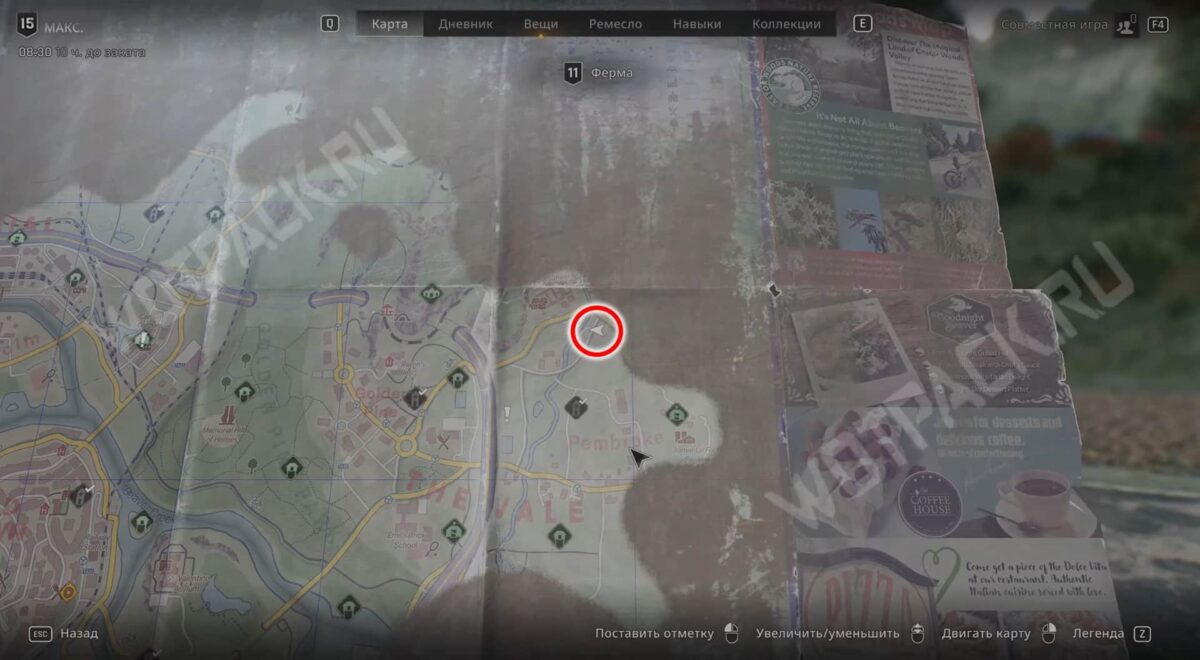
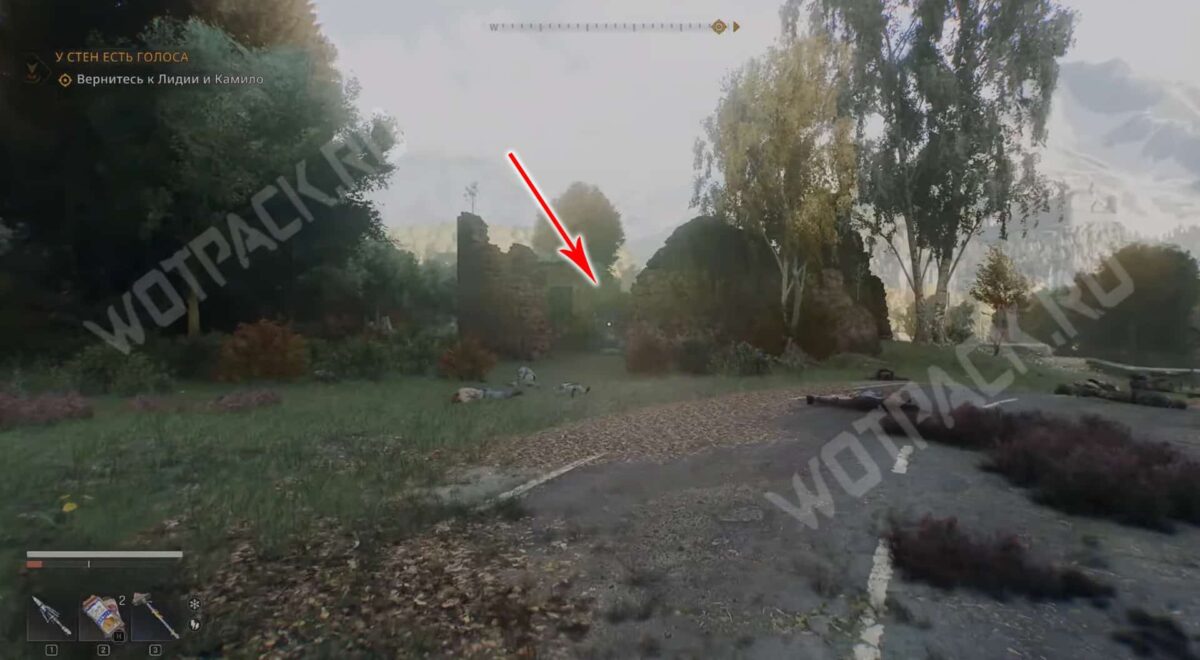
Head northeast from the safe spot where the drawing was collected. On the side of the road, you'll see the ruins of a brick house with a secret shelter in case of disaster.
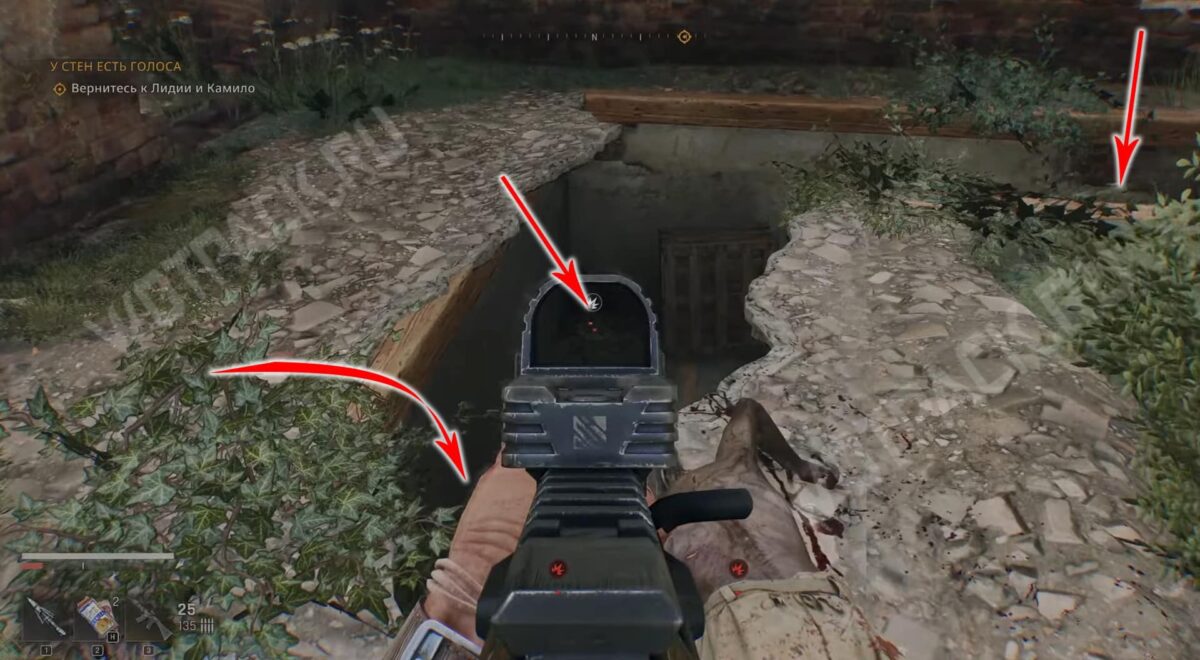
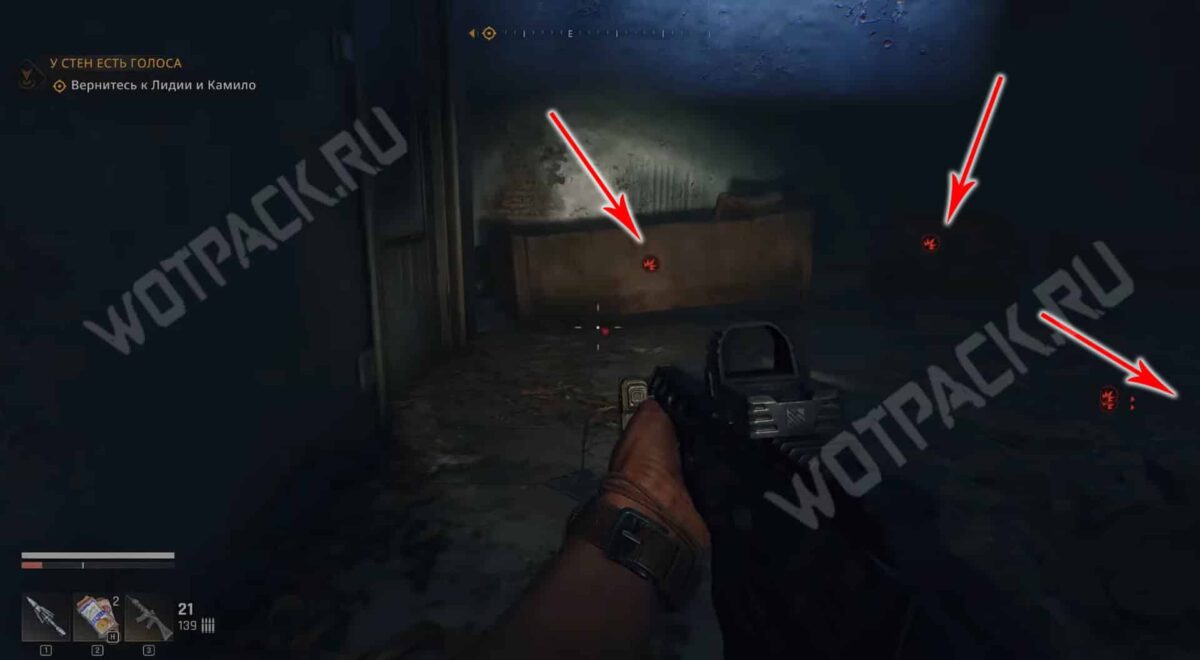
Clear the way by detonating the mines on the stairs with firearms or small arms, and go down into the bunker, where you need to defuse several more explosive devices on the floor.
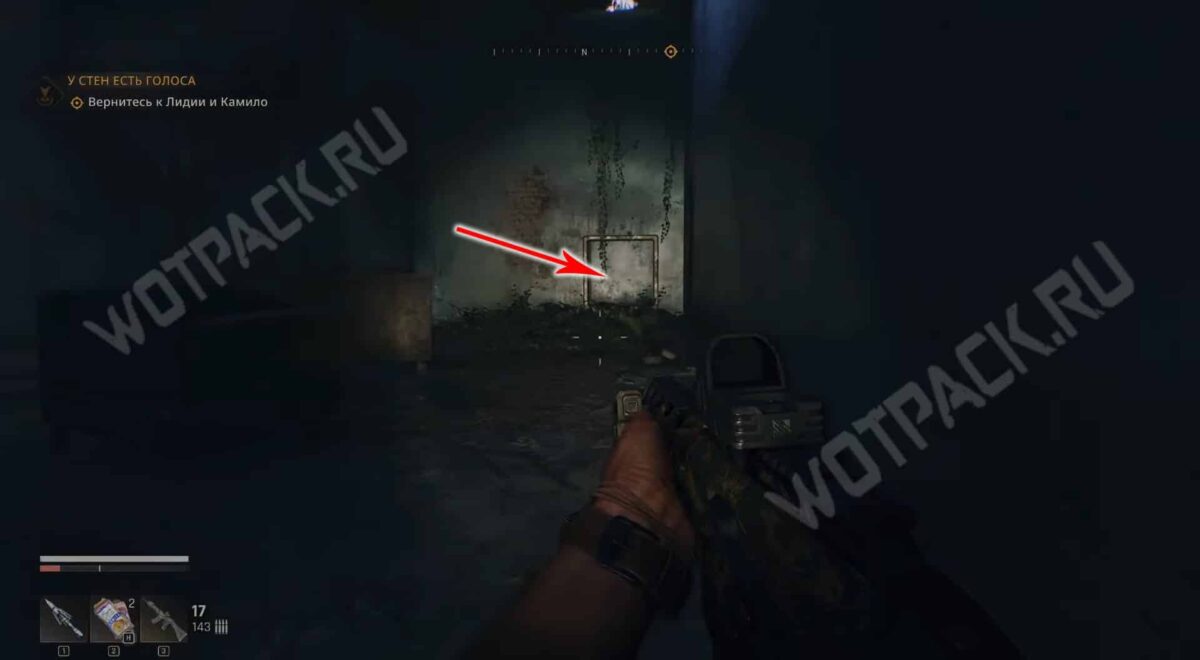
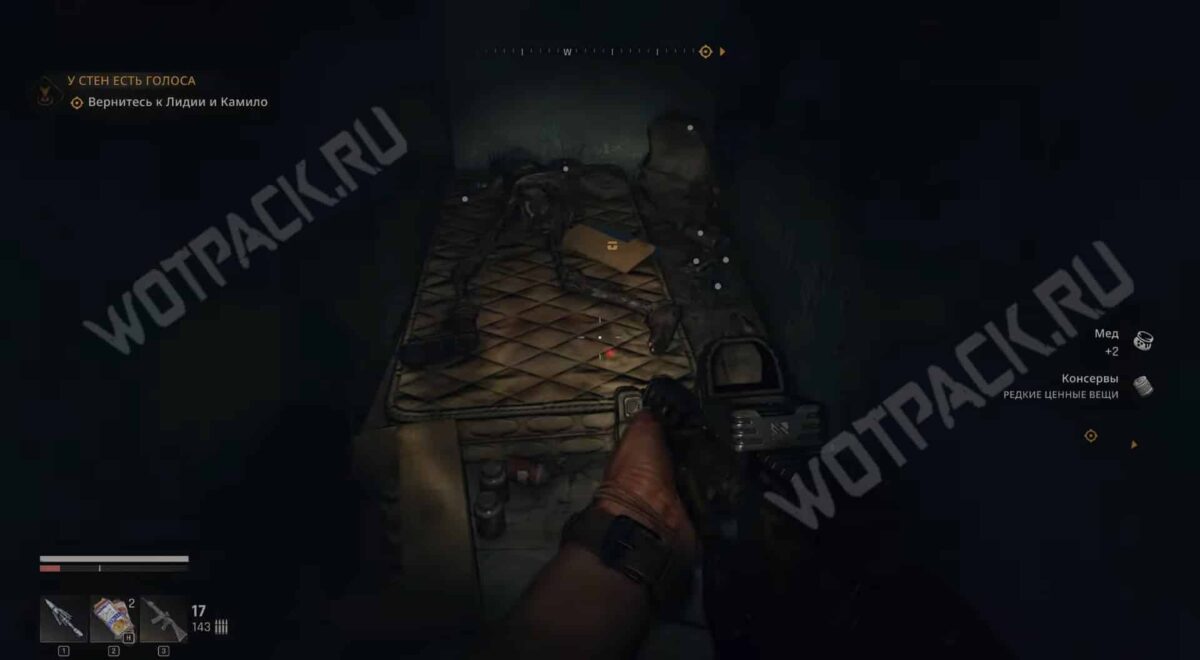
Once the traps are destroyed, make your way through the hole in the left wall into the narrow corridor. Go to the end and pick up the corpse on the mattress. Inferno blueprint and legendary mines.
Map C3
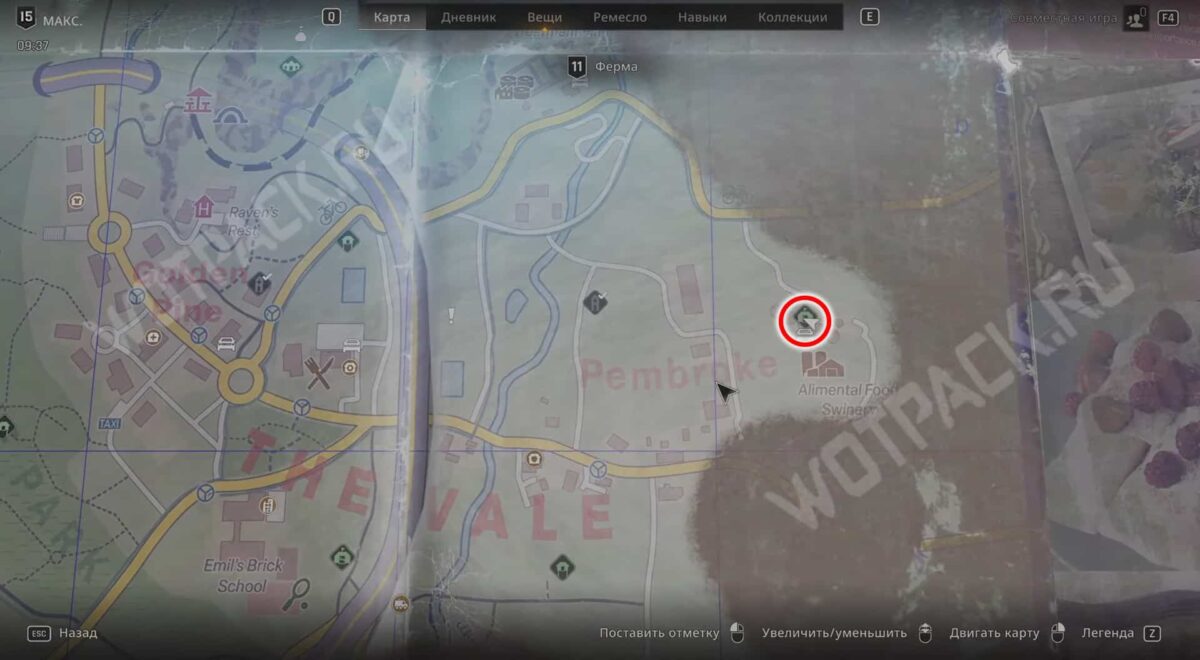
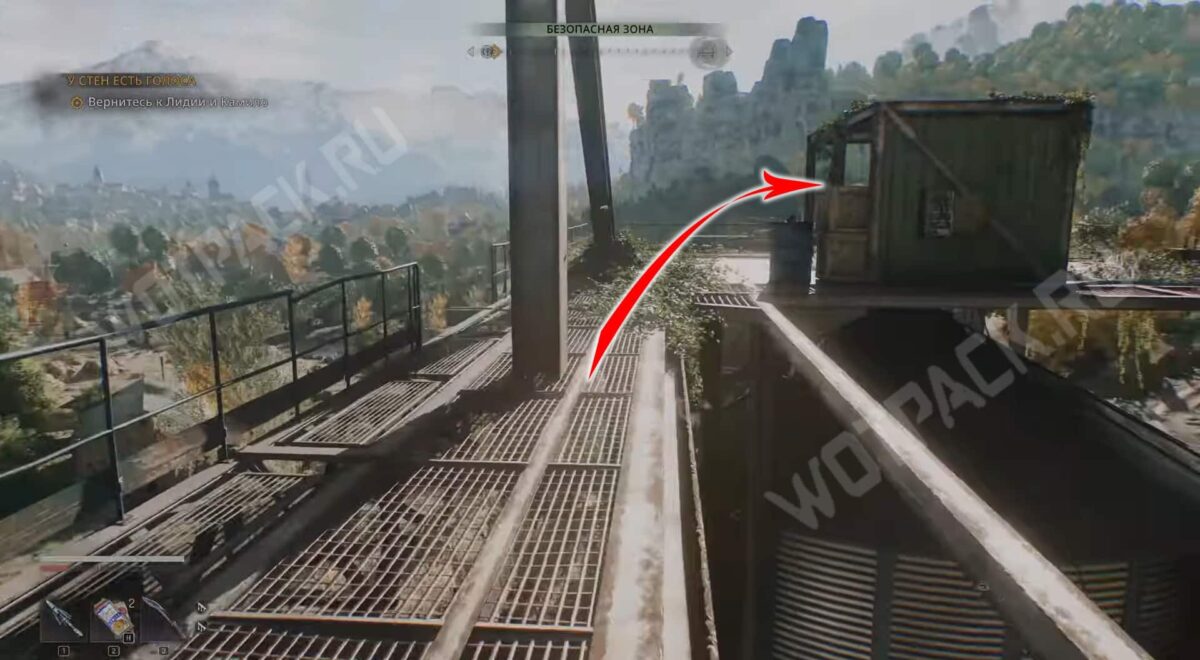
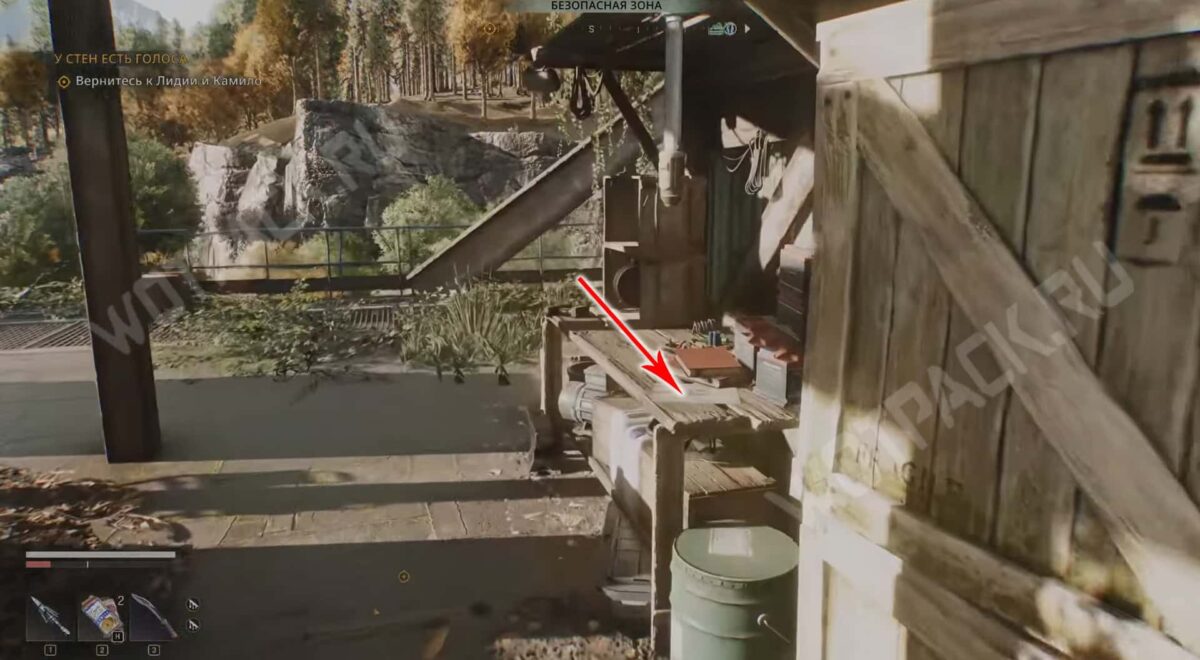
Visit the safe area of the Granary on the Farm grounds. Climb onto the upper iron platform of the tanks and examine the green open container. The sketch you need is on the table.
Where is treasure C3?
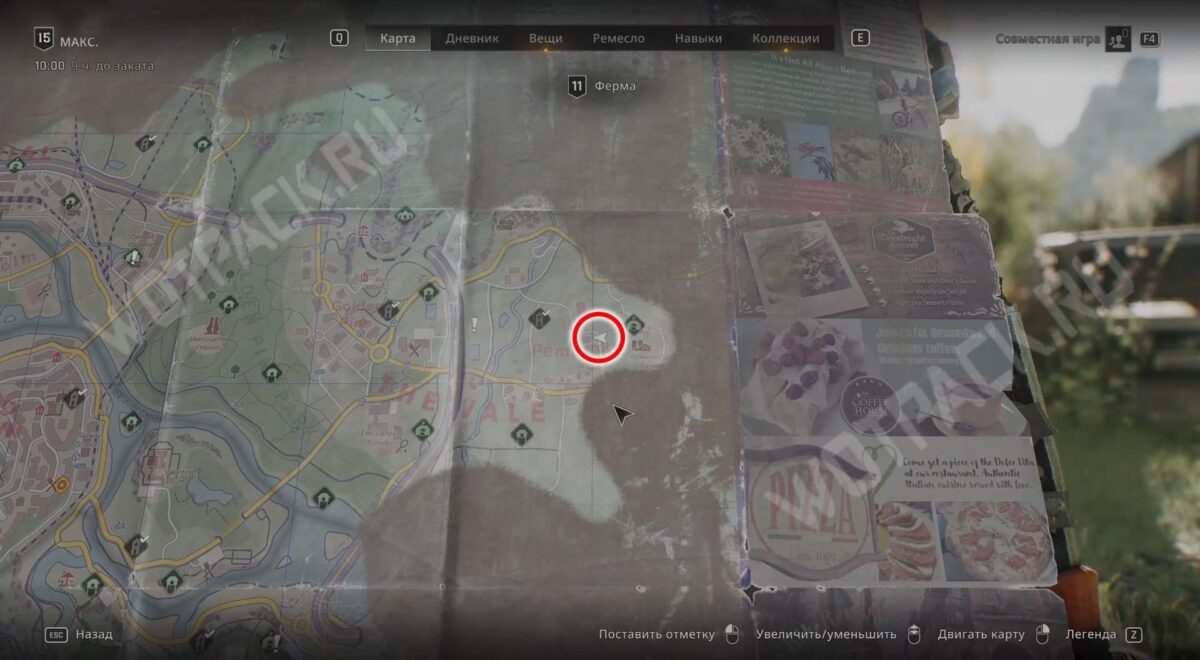
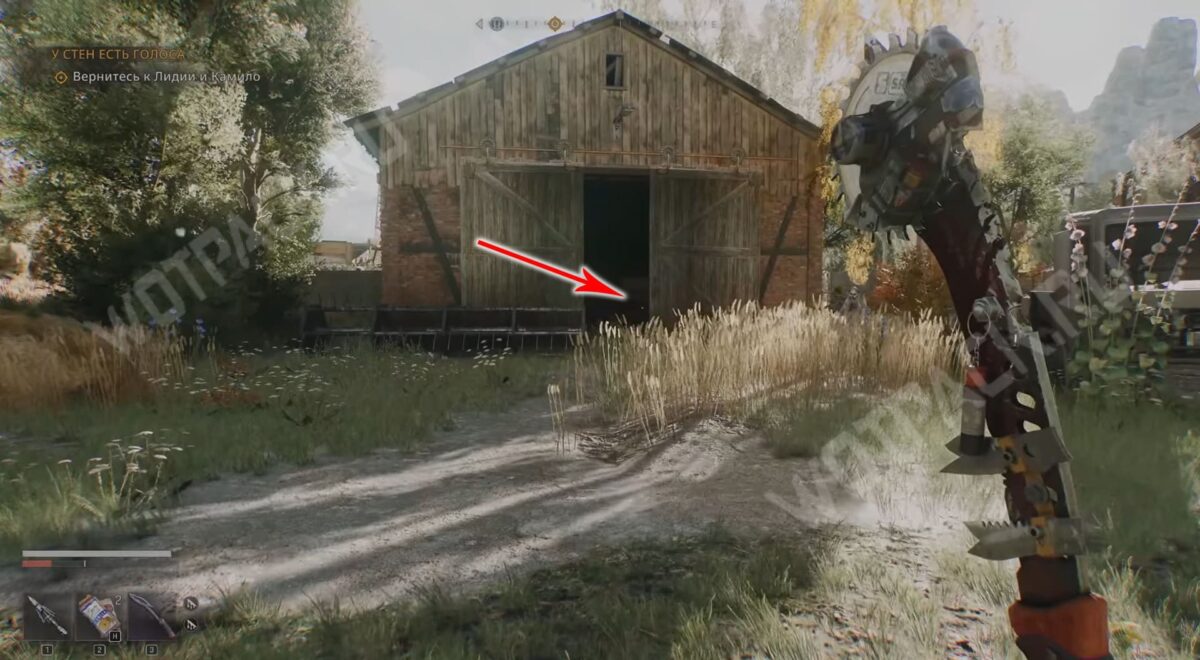
Move west from the checkpoint and approach the abandoned barn.
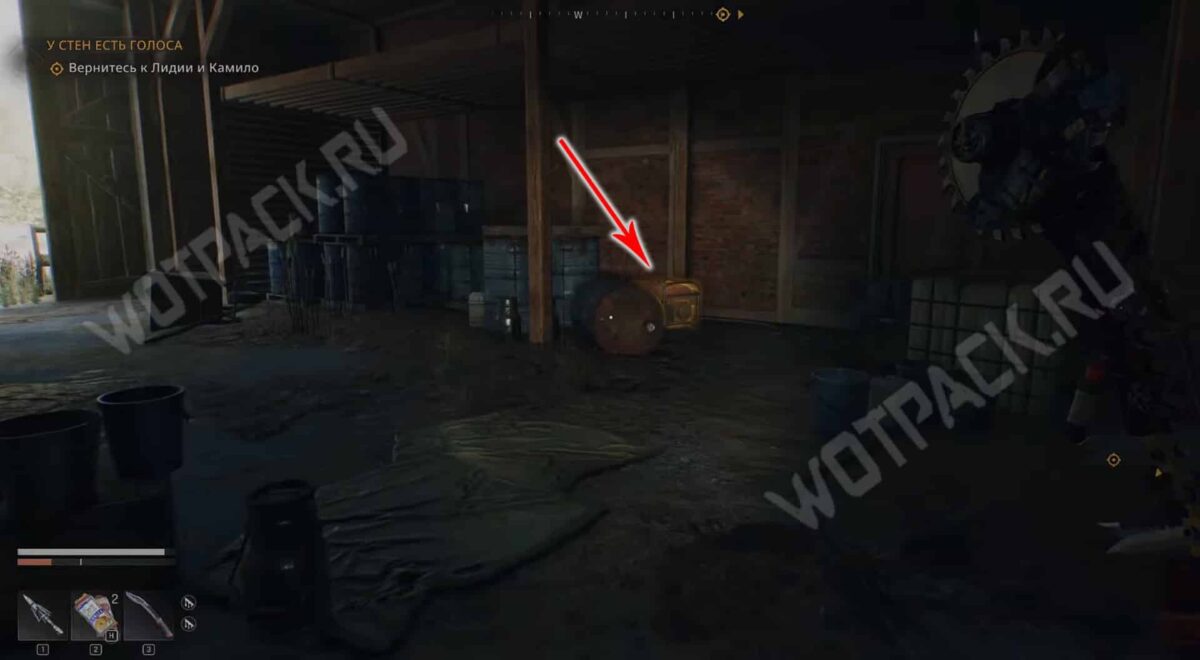
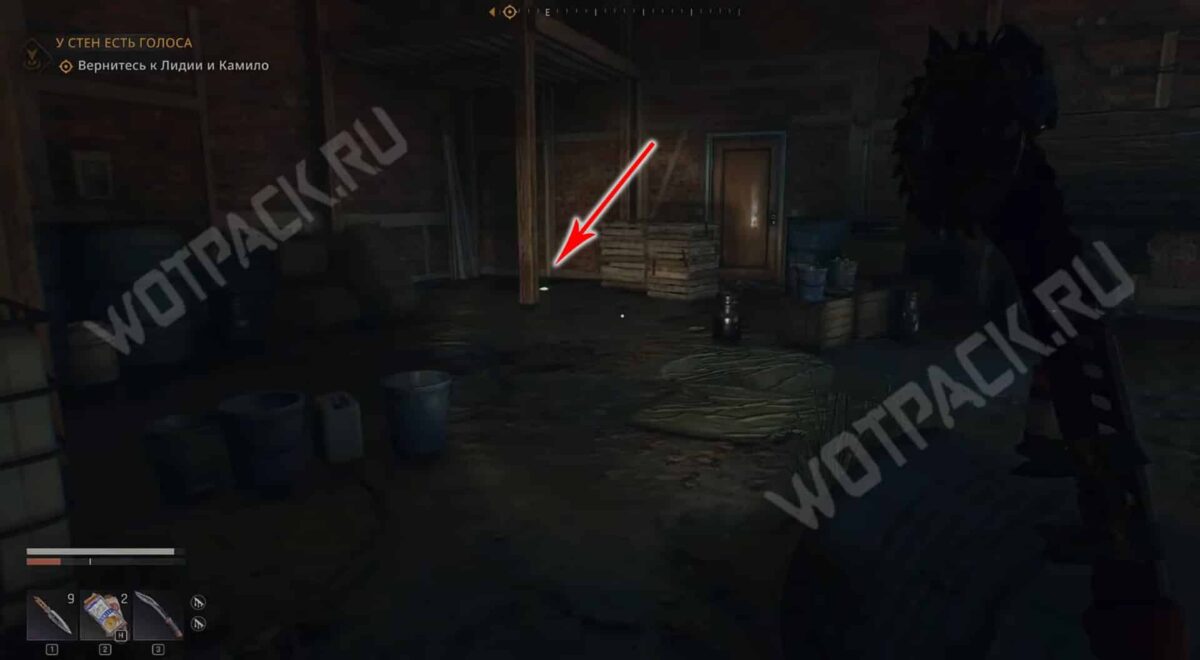
Inside the building, turn on the generator and open the hatch under the wooden platform. When you go down, be careful, as the water in the basement is electrified and can damage you.
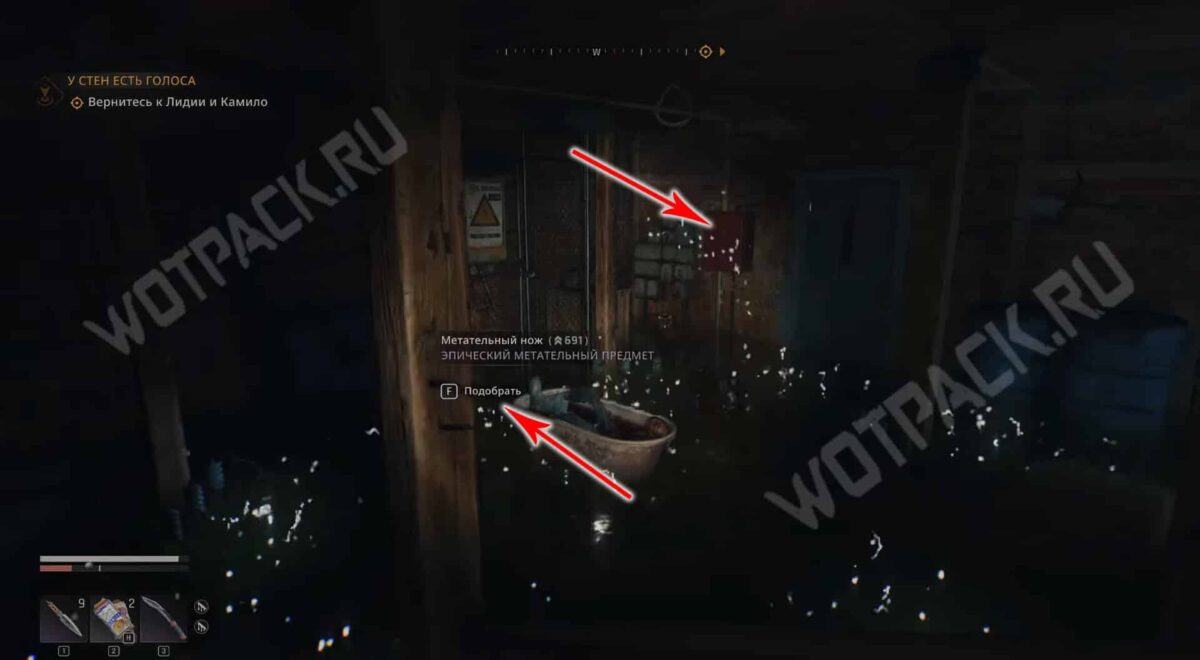
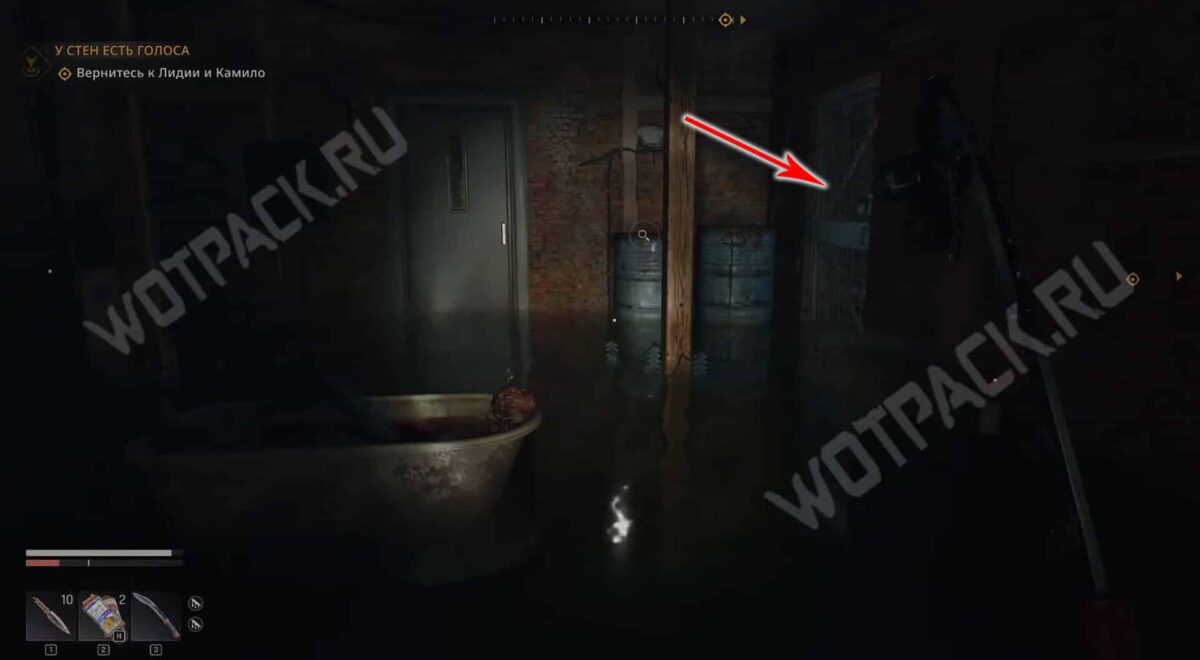
Take the throwing knife stuck in the wooden support and aim it at the shield. This will disable it and make it easier to explore the room. Wait for the water to de-energize and then reach the barred door. Pick the lock with the master key and collect epic equipment on a homemade workbench.
Map C4
In this place you can pick up some jewelry from the vending machines. Take a look inside. manual with all safes, to find the letter with the code for the mailbox.
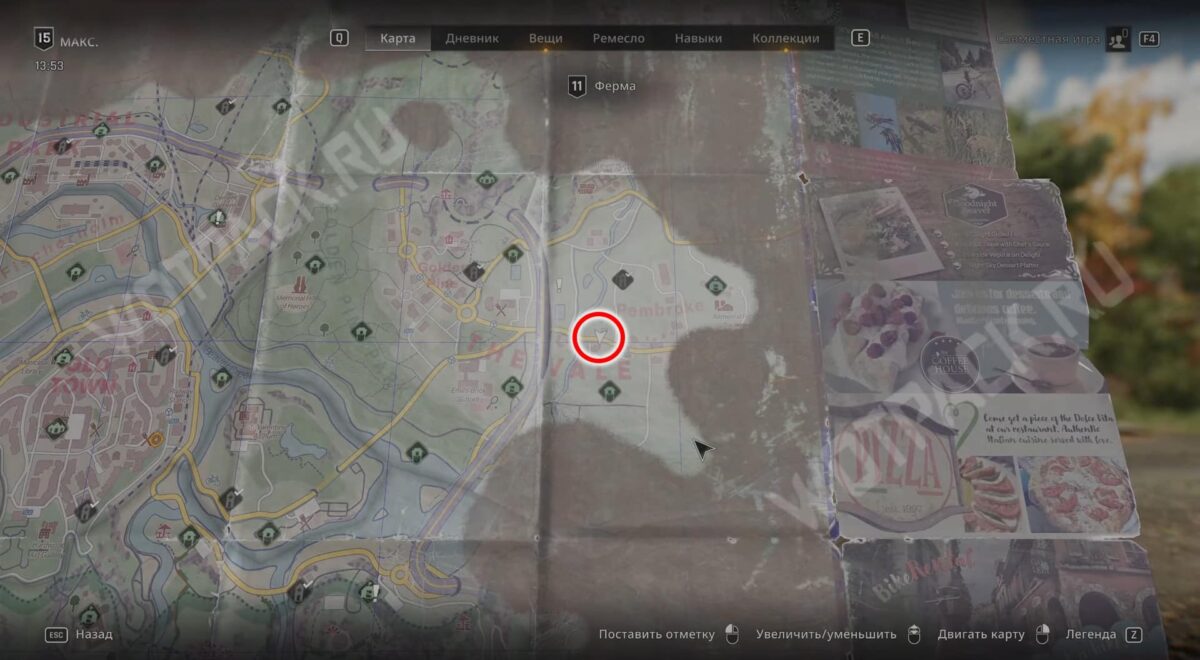
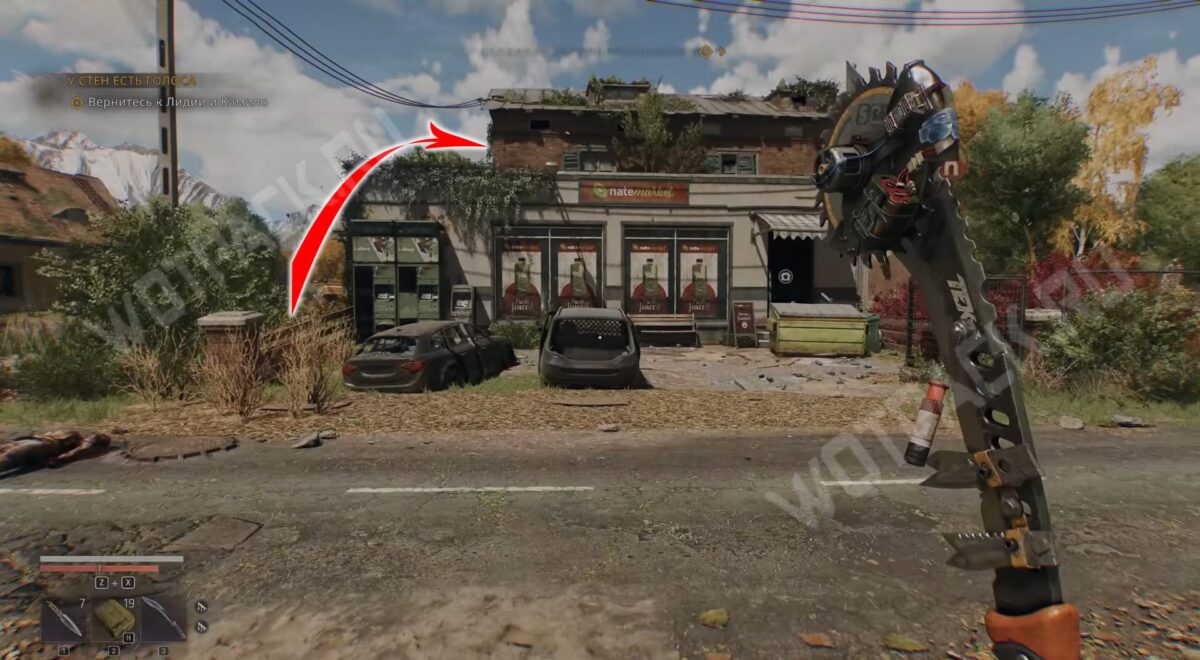
Head to the Natemarket store in the farmstead and climb up the building by jumping off the roof of the broken car and the parcel machines.
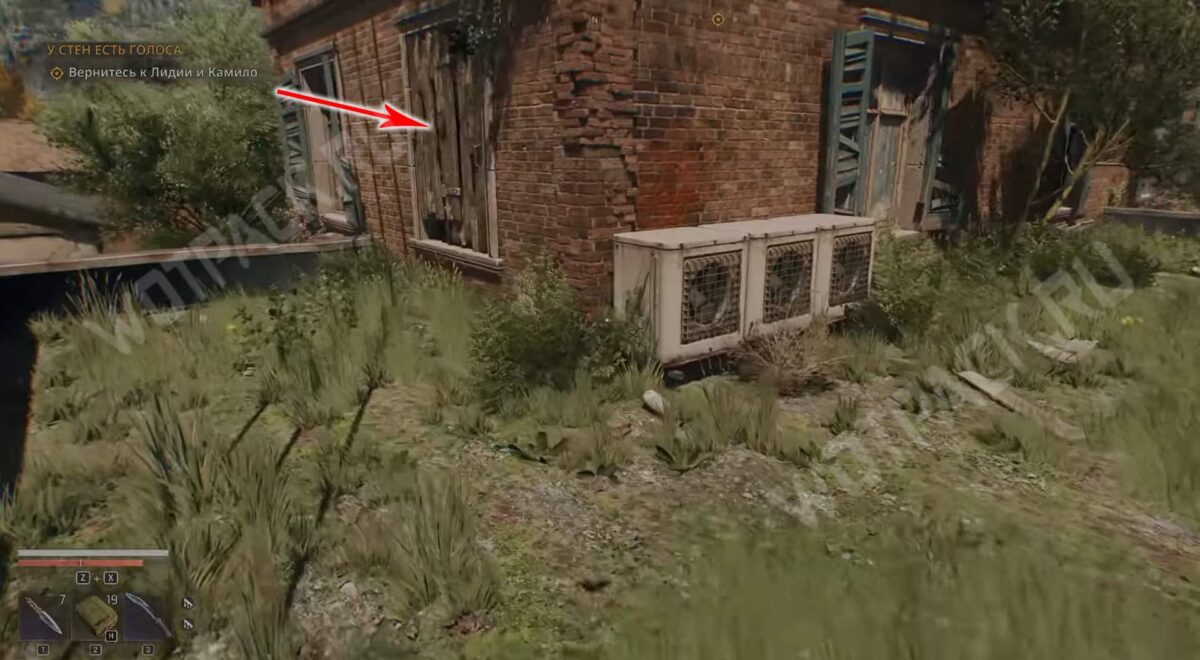
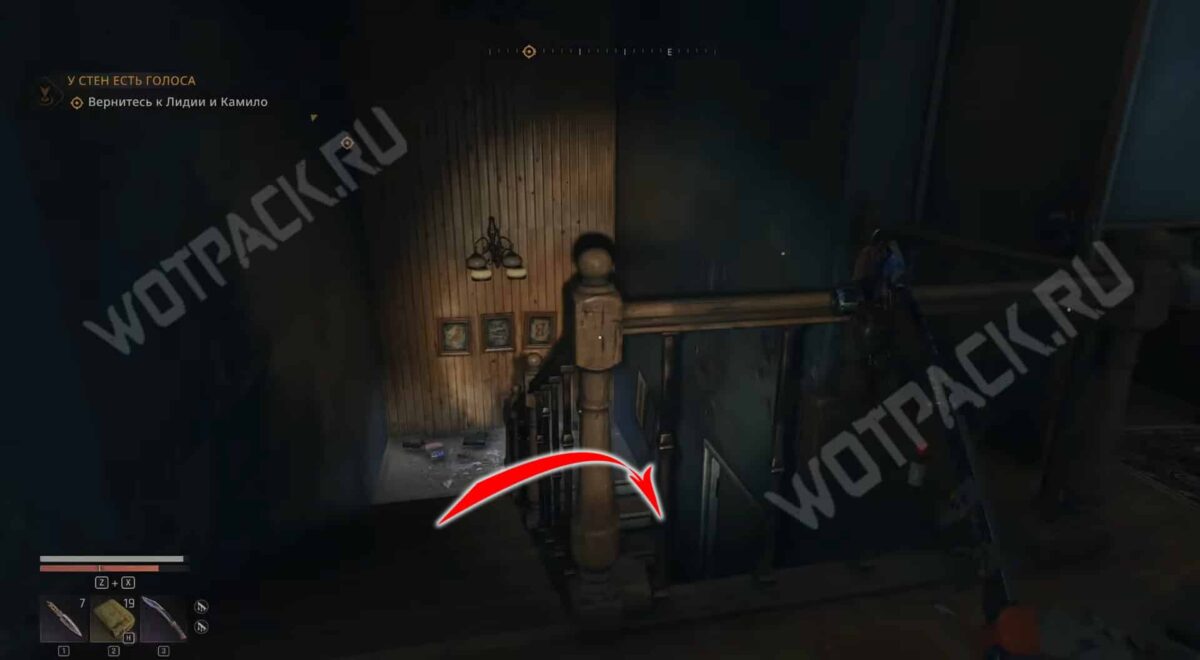
Break the wooden planks by the window and enter the brick annex. Go down one floor and pick the lock on the central door in the hallway. Continue down the stairs until you reach the sales area.
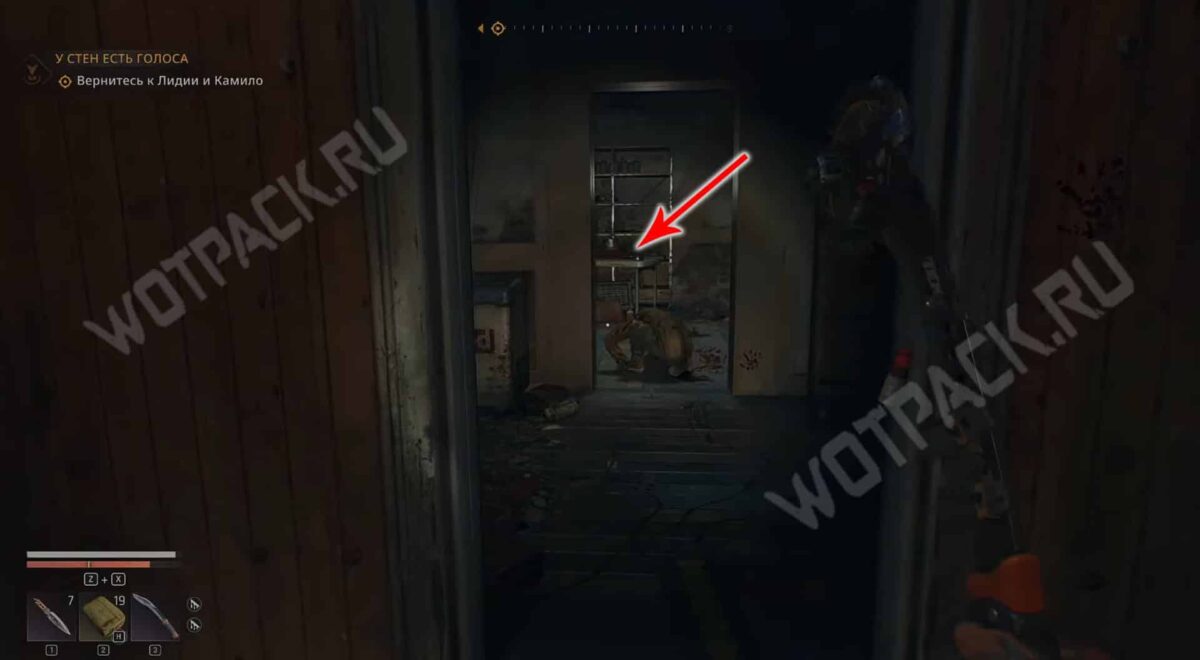
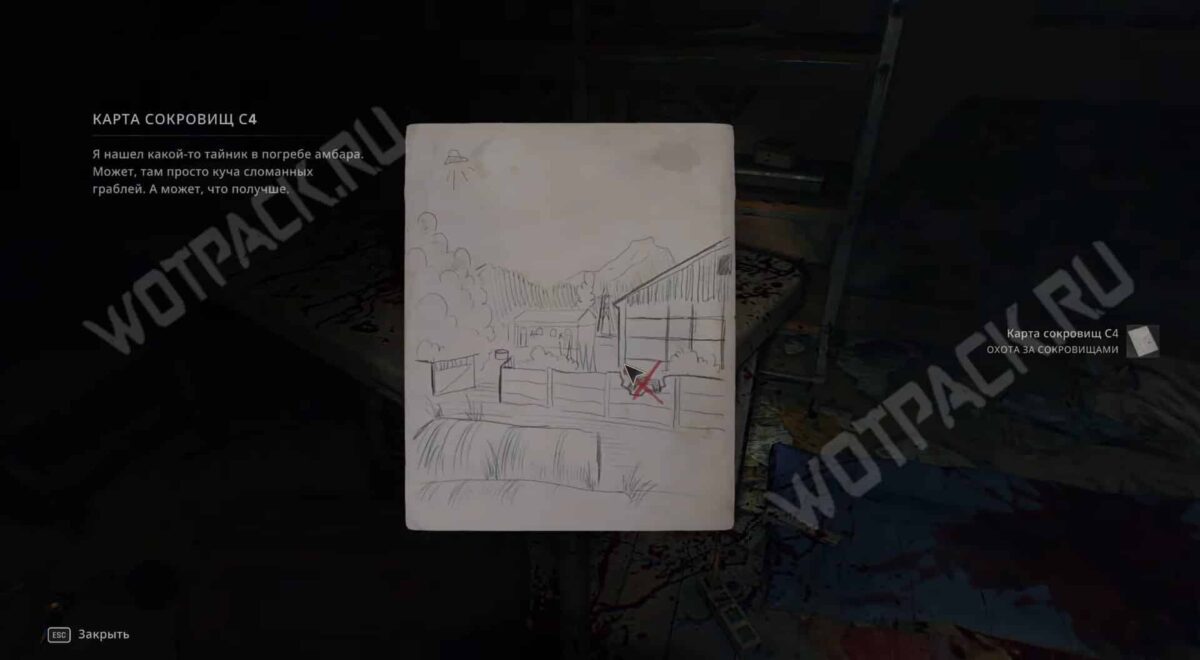
Turn right and enter the back room, which resembles a warehouse. On the table with a compact camp stove and a saucepan lies the sketch you're looking for.
Where is treasure C4?
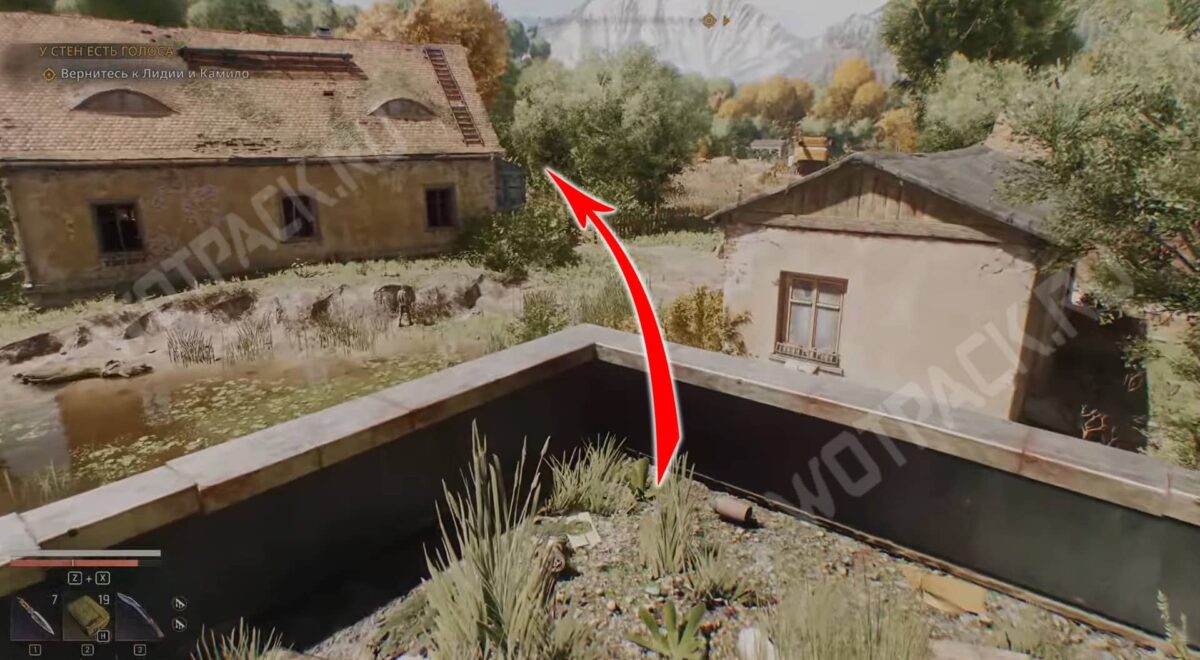
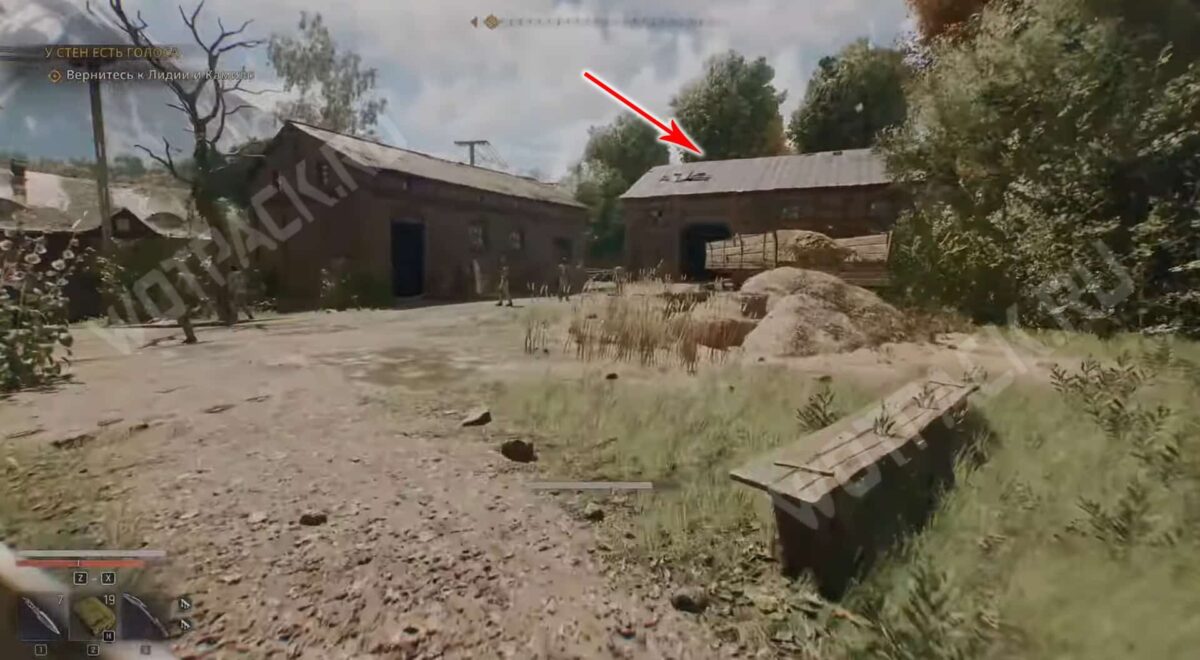
Leave the store, go behind the yellow house opposite, and head to the barn on the right. There's a locked automatic hatch against the left wall of the building. It can be unlocked by turning on the power.
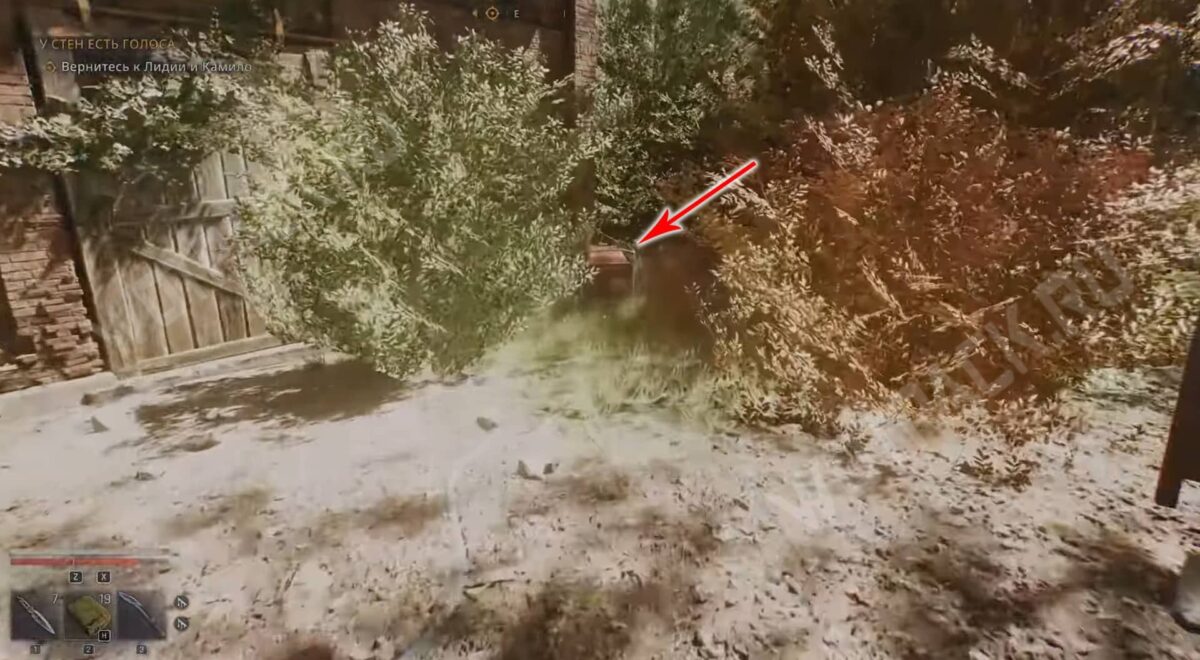
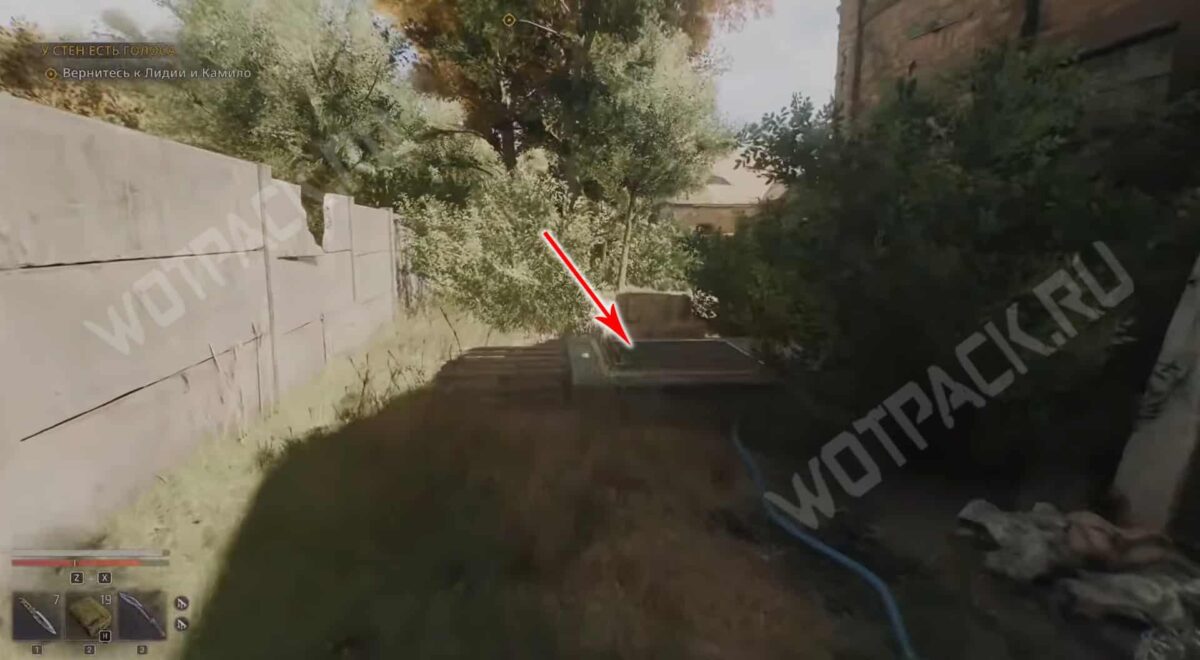
Go around the building and turn on the generator hidden in the bushes at the back of the yard. Once power is restored, return to the hatch and descend into the basement.
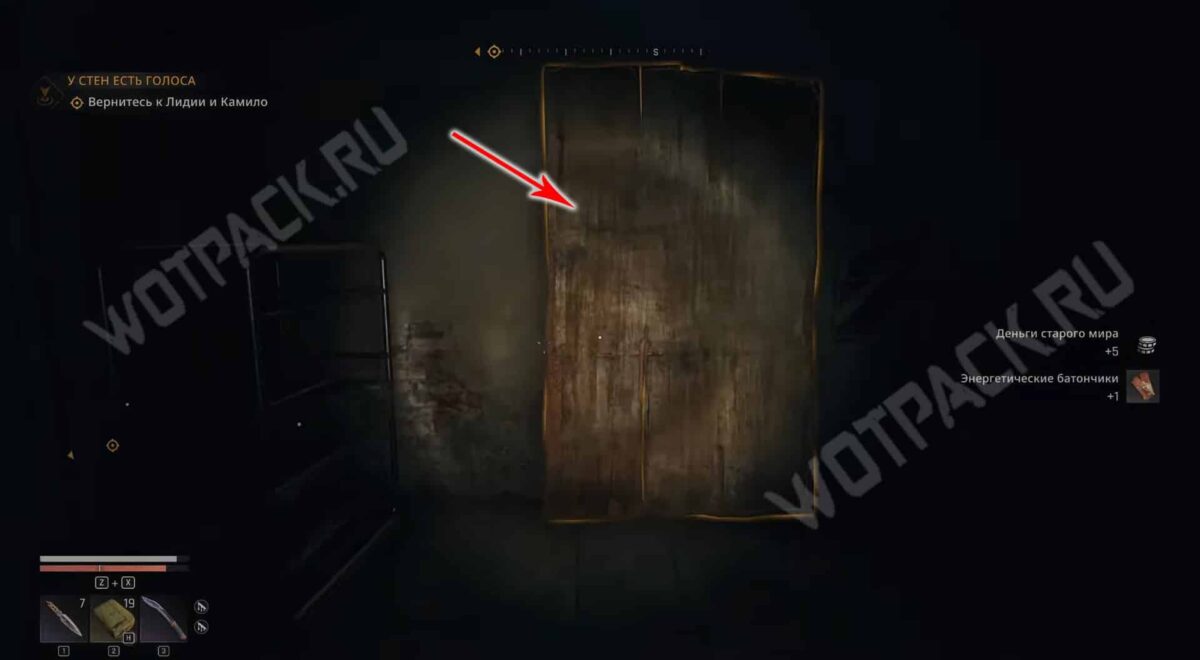
Move the wooden board and crawl into the ventilation duct. In the room with the hanged man, pick up loot of epic rarity.
Map D1
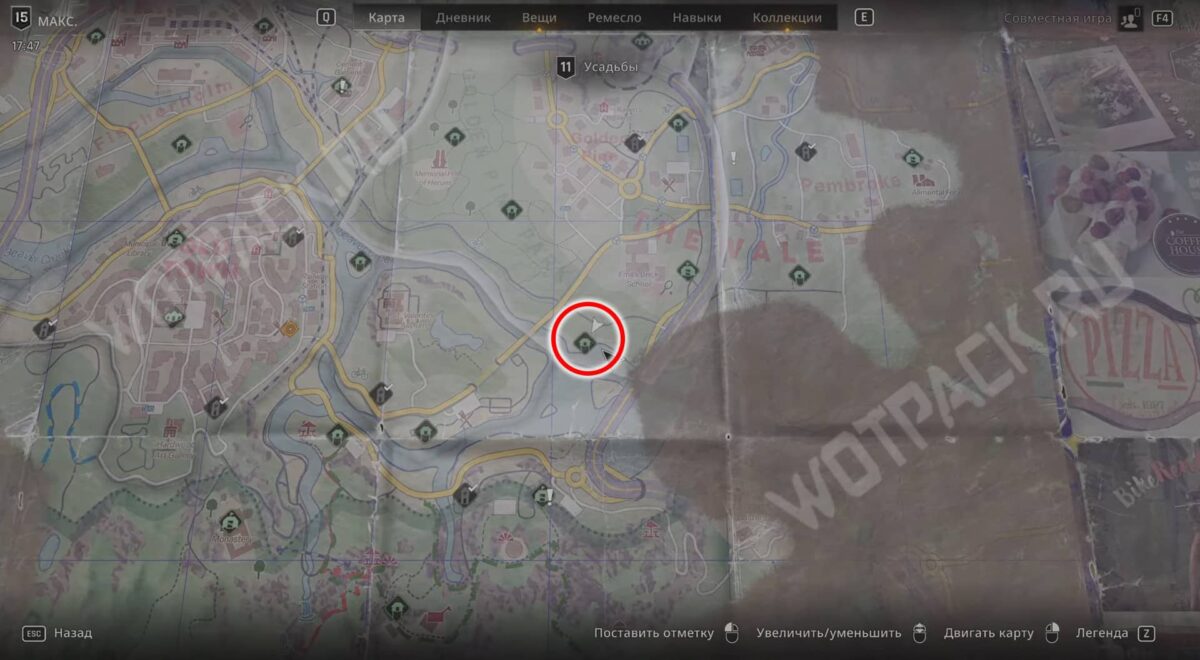
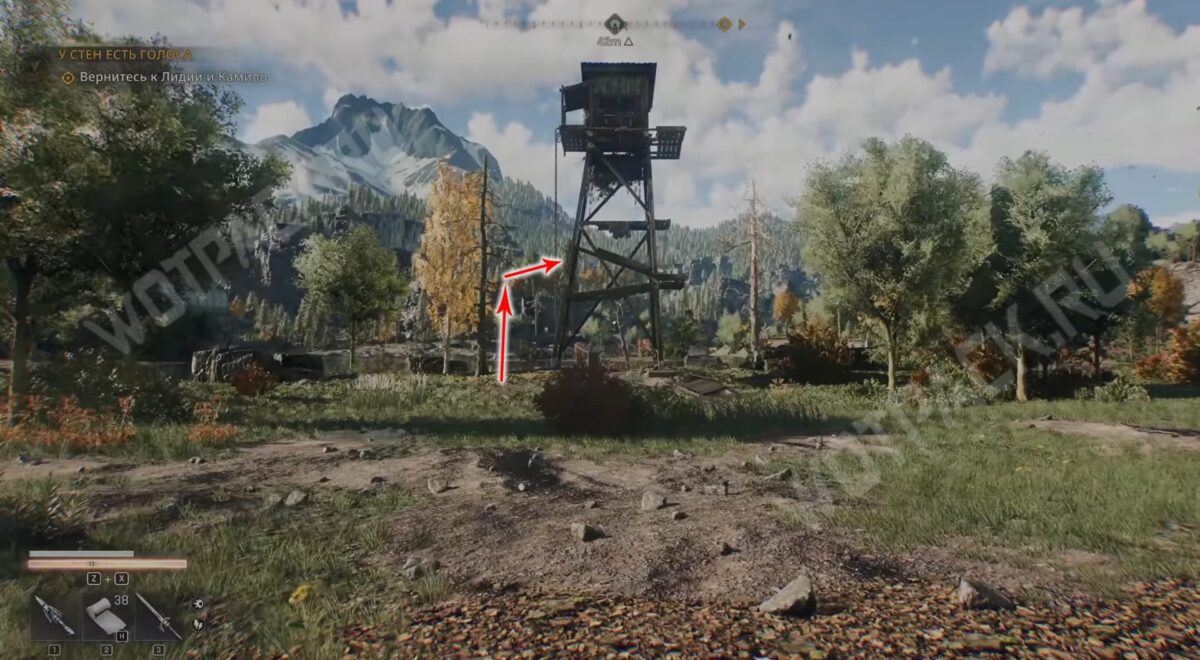
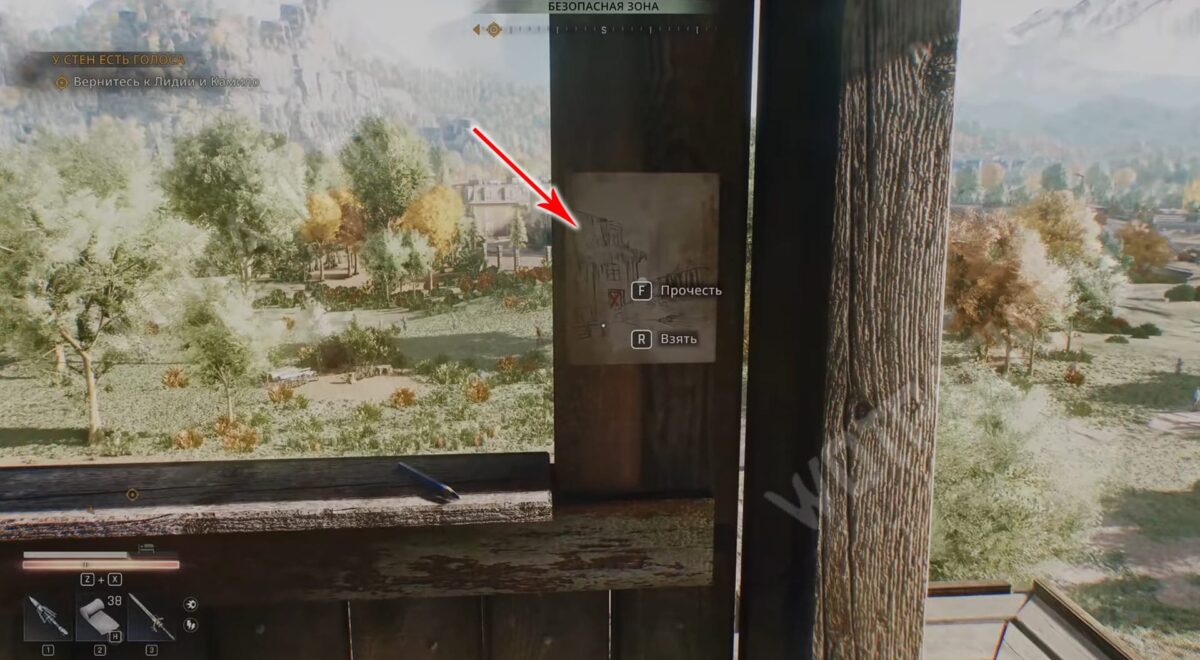
Head to the southern coast of the Estates to the Tower by the river. Climb the nailed planks up the tree and jump to grab the window frame of the checkpoint. This will make it easier to reach the base's rungs and activate the checkpoint in the closet. Remove the drawing from the wall of the house.
Where is the D1 treasure located?
The treasure is easy to pick up while completing a task "The Last Bell".
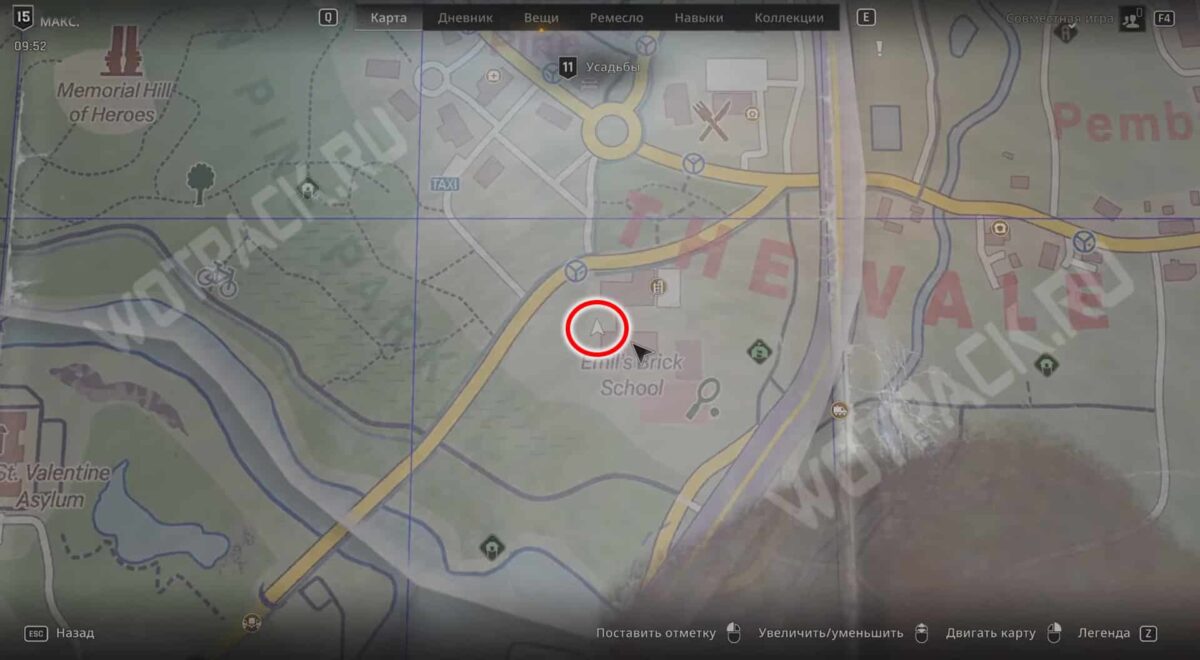
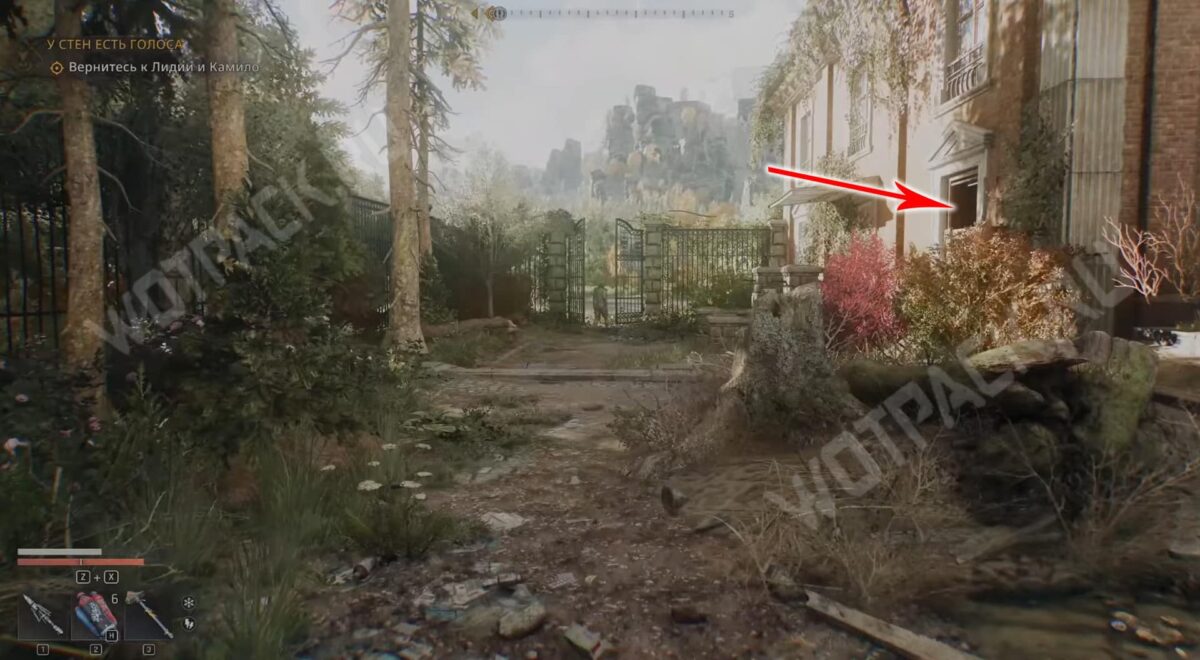
Head northeast to Emil Brick's school. Enter the building through the half-boarded window.
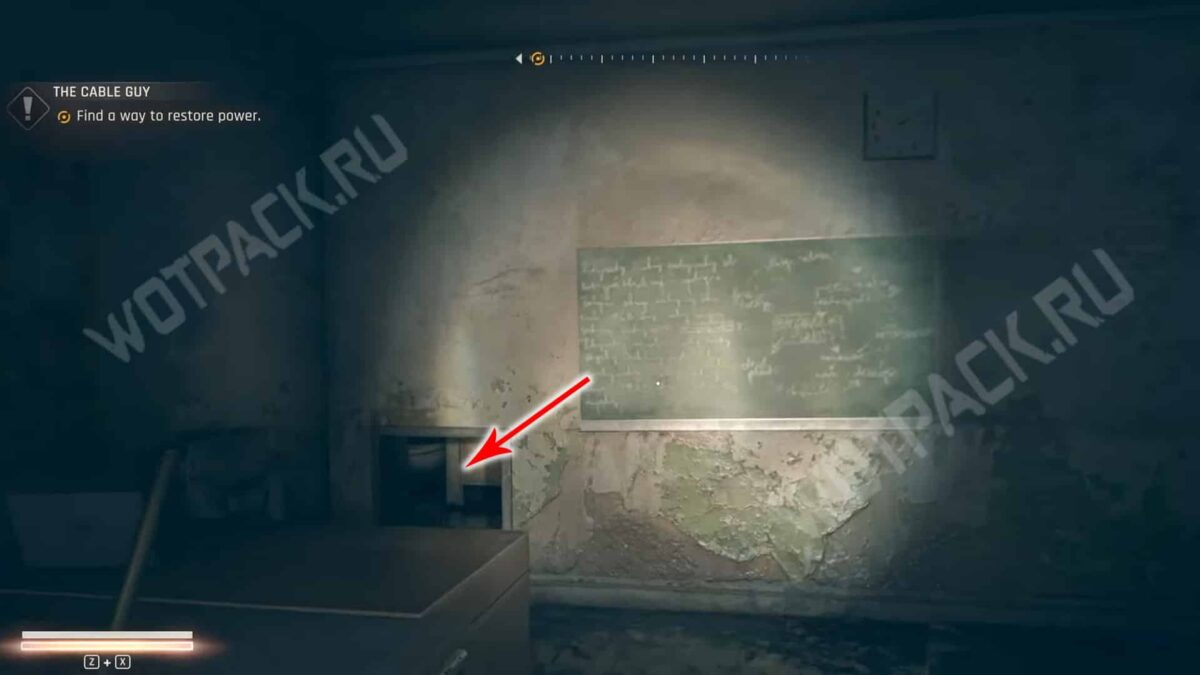
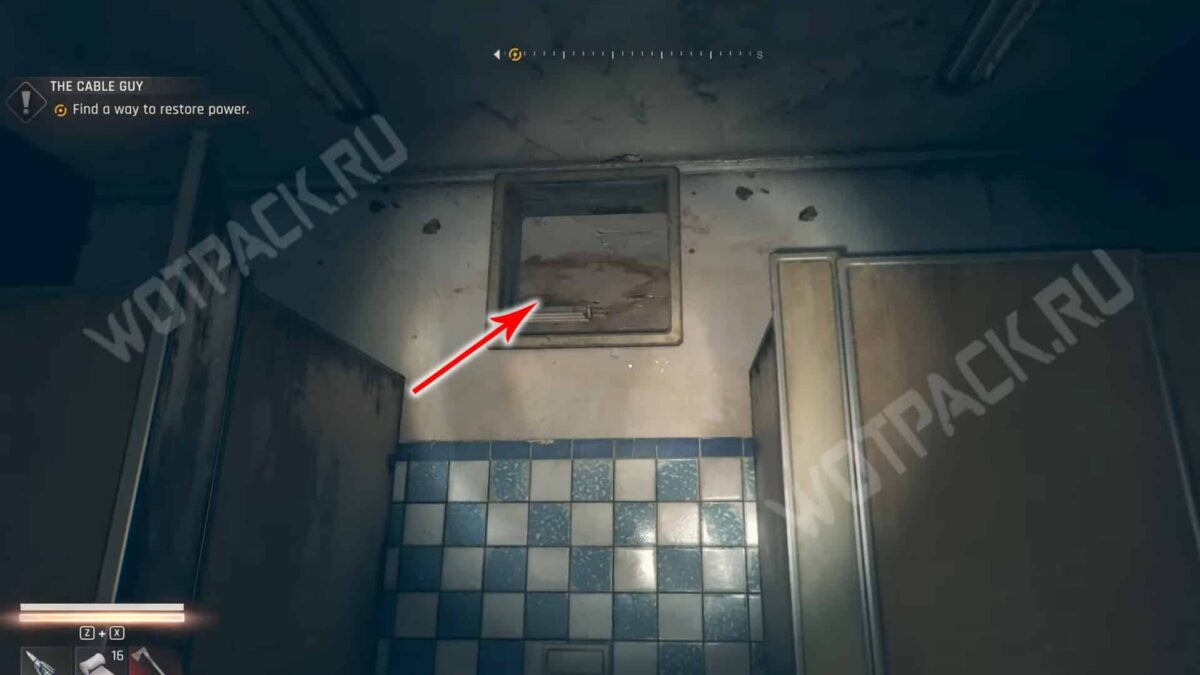
To get out into the corridor, crawl through the ventilation duct in the office and toilet twice and turn left towards the exit from the toilet.
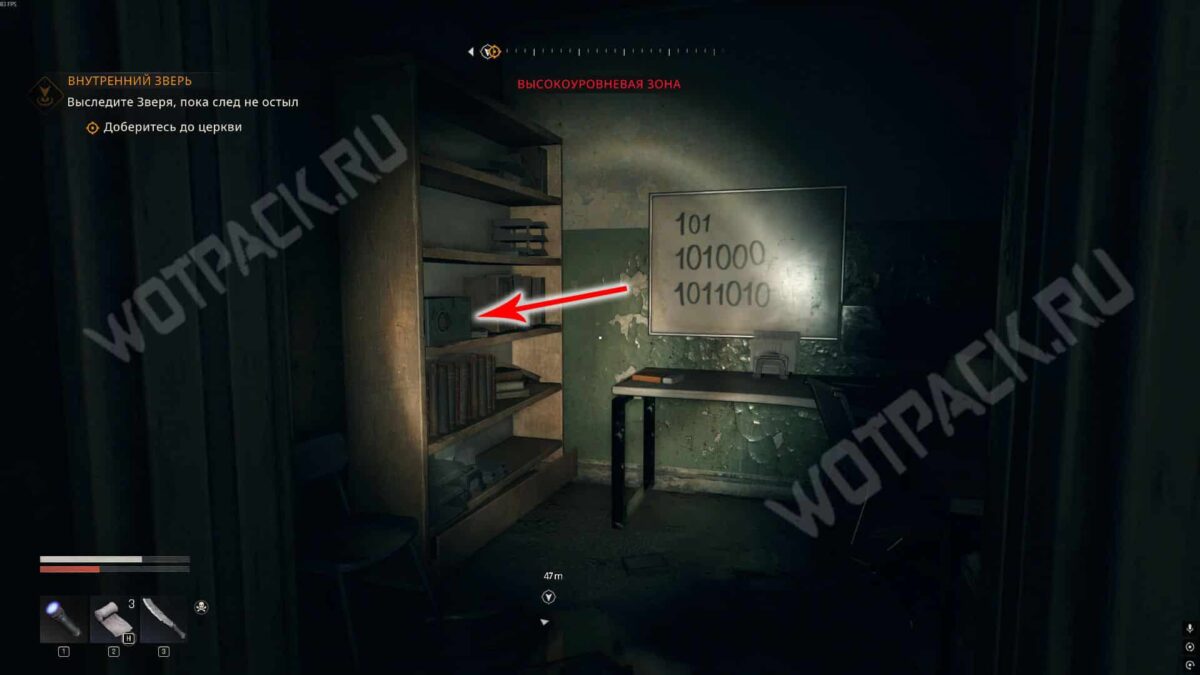
In the immediate left room, you'll notice a board with ones and zeros. Convert the numbers from binary to decimal to get the code. «05 40 90» from the safe on the shelves of the closet.
Map D2
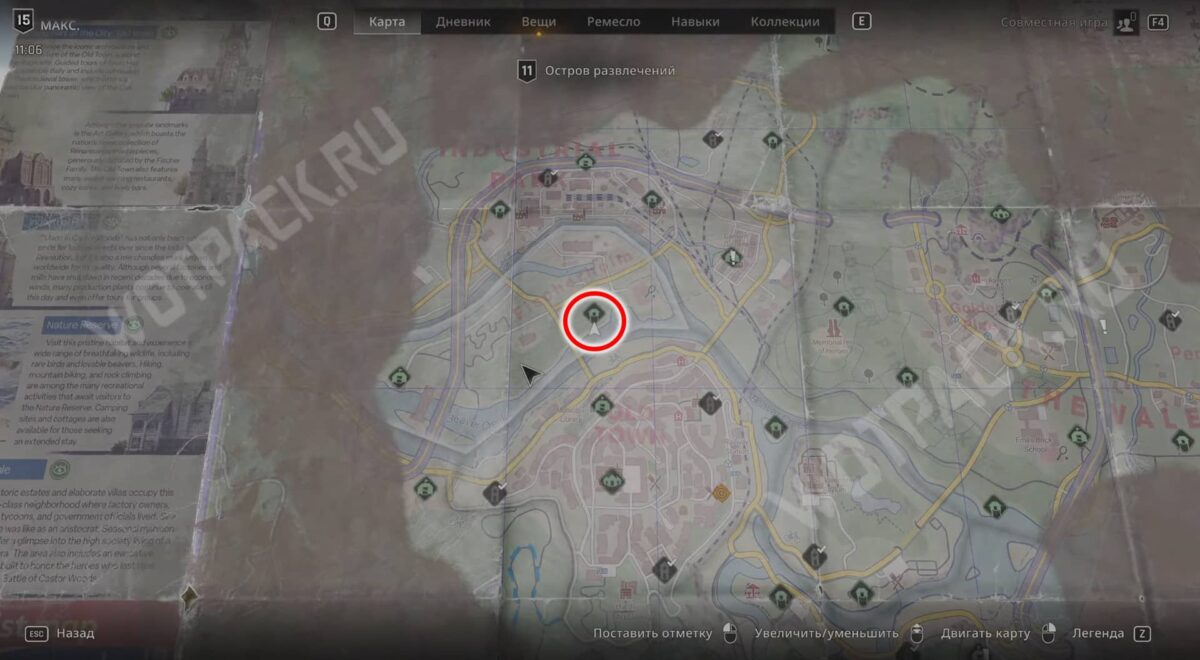
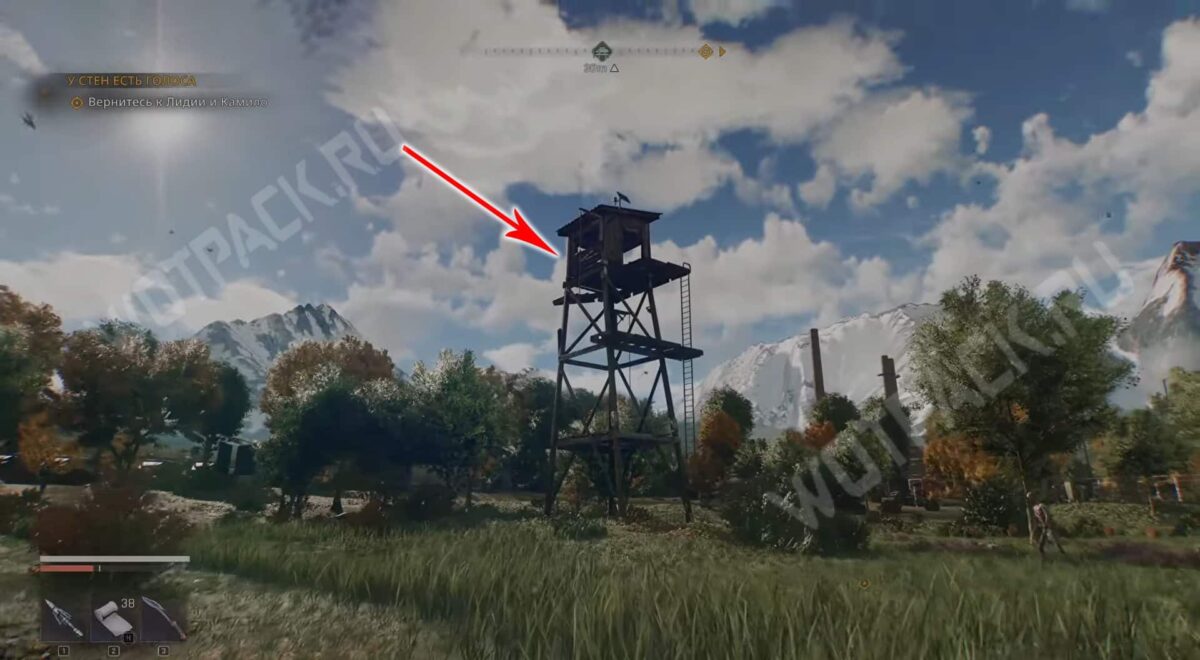
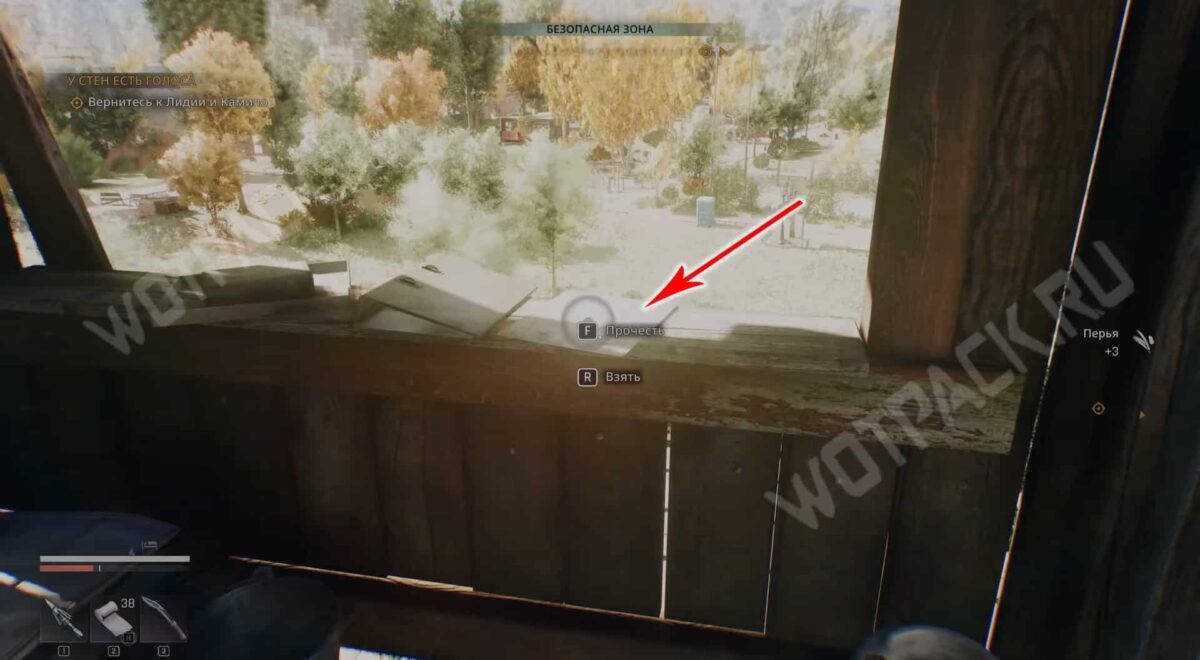
In the east of Entertainment Island, visit the safe tower. Climb the structure and pick up the sketch on the windowsill.
Where is the D2 treasure located?
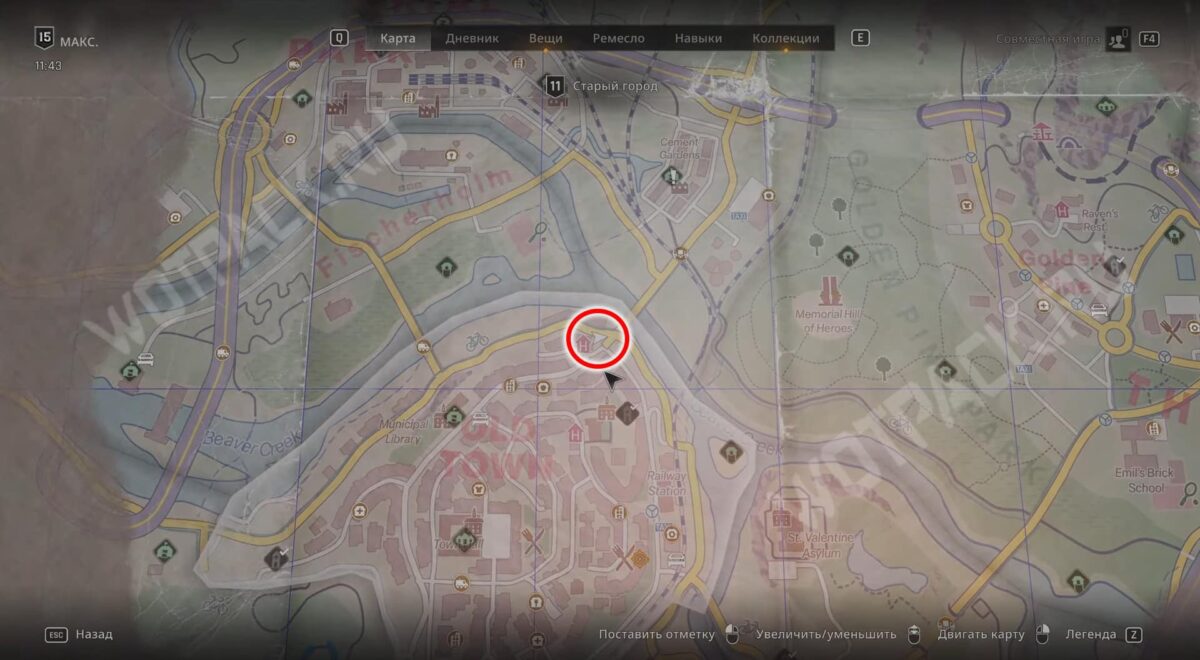
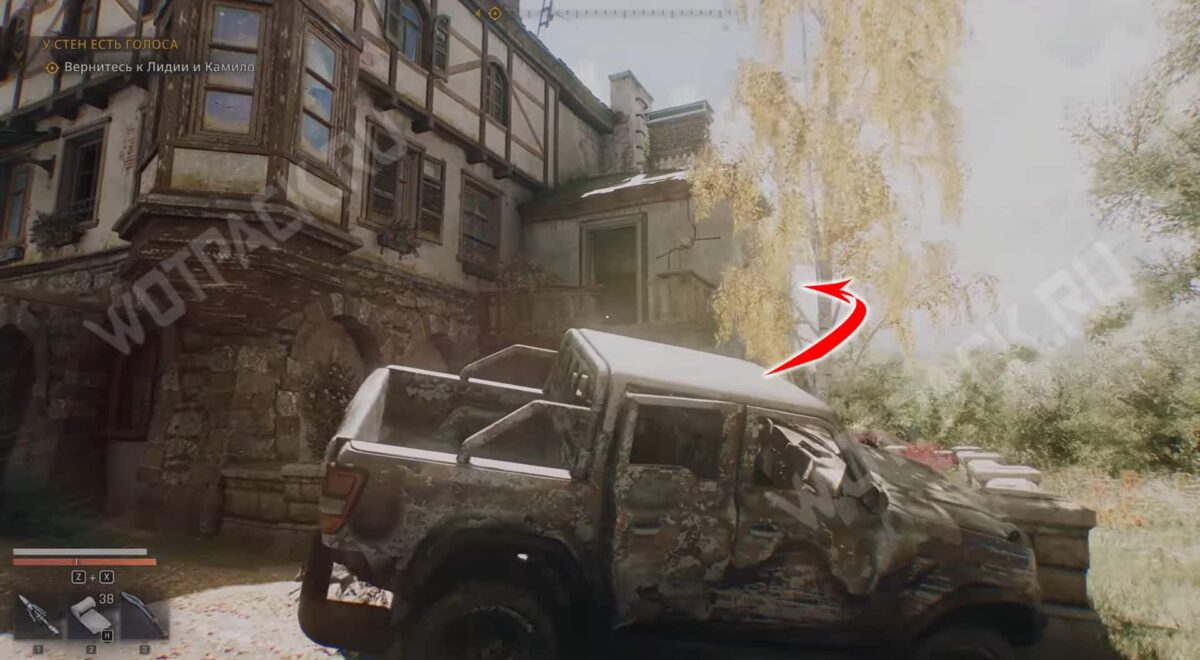
The clue leads to the northwest part of the Old Town. Go to the yellow bridge and turn left toward the house by the waterfront.
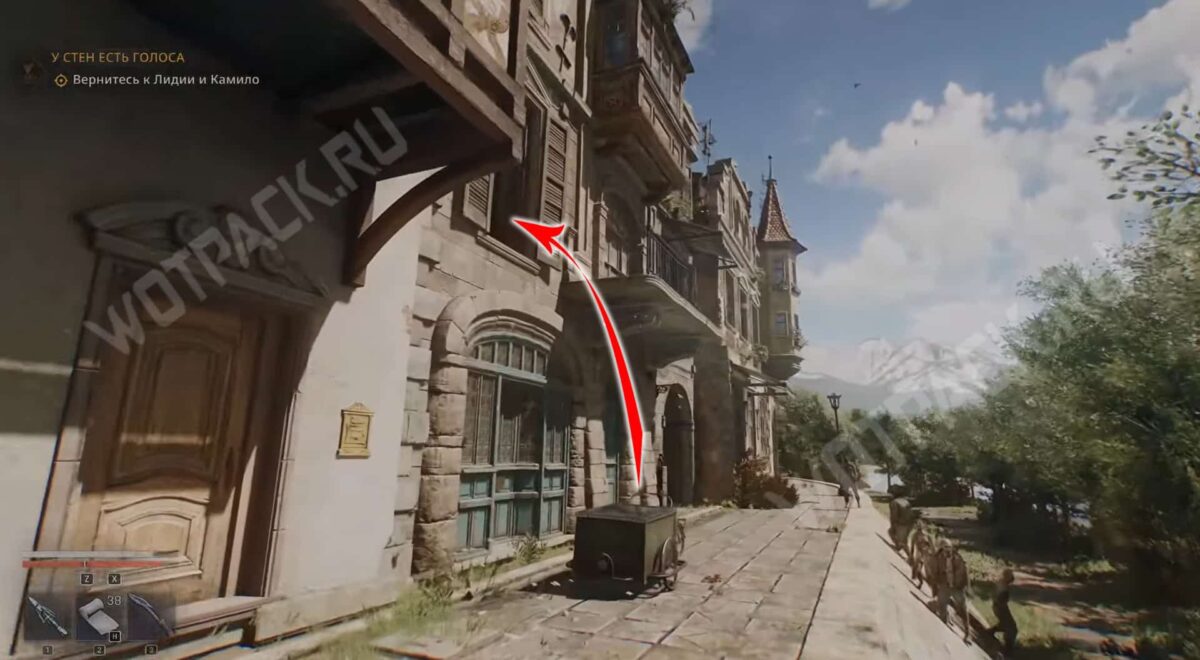
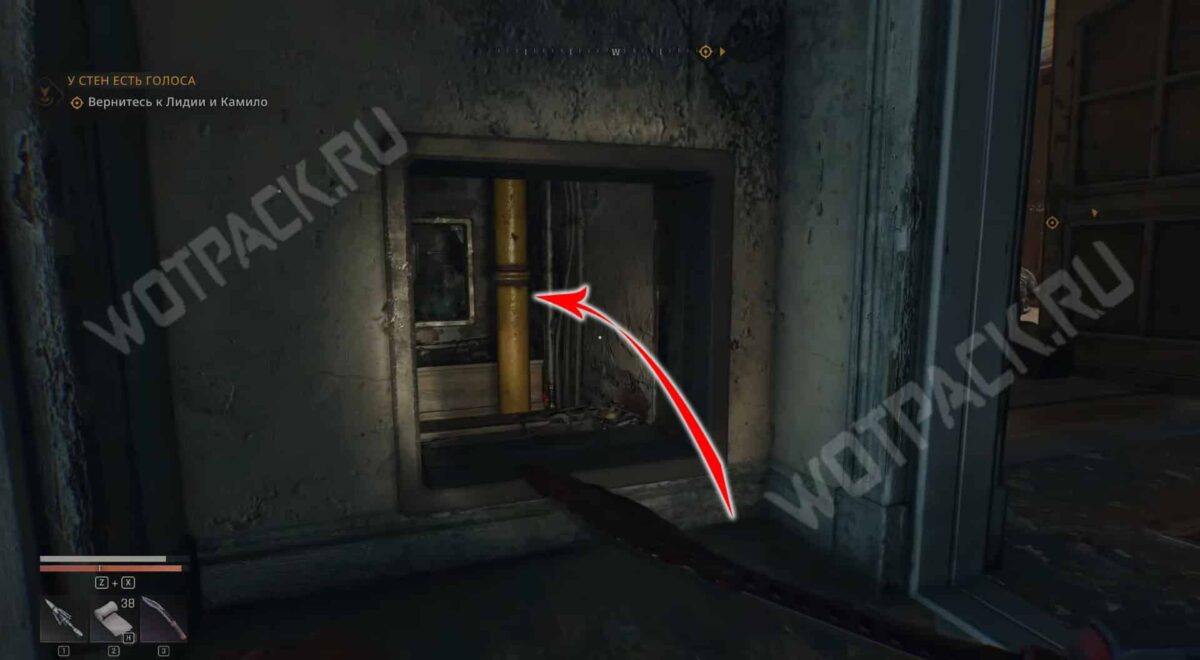
Stand on the green wheeled bench and jump into the open apartment window. Go out into the hallway and turn around. You'll see an open heating system on the left. Climb the pipe to the floor above.
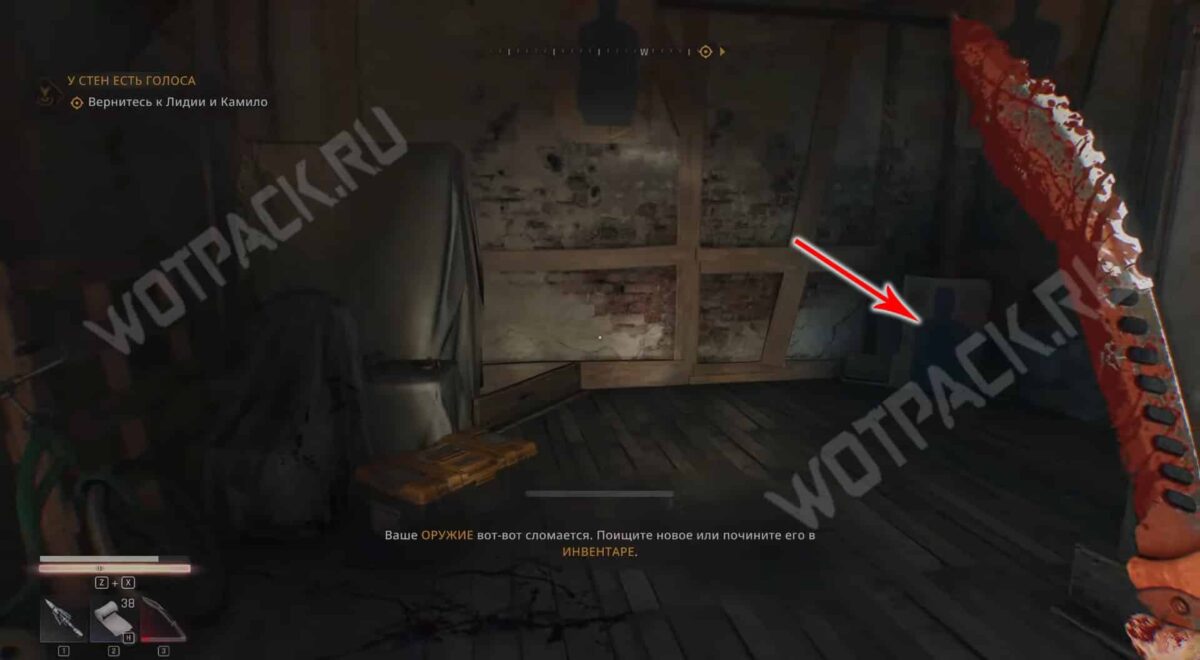
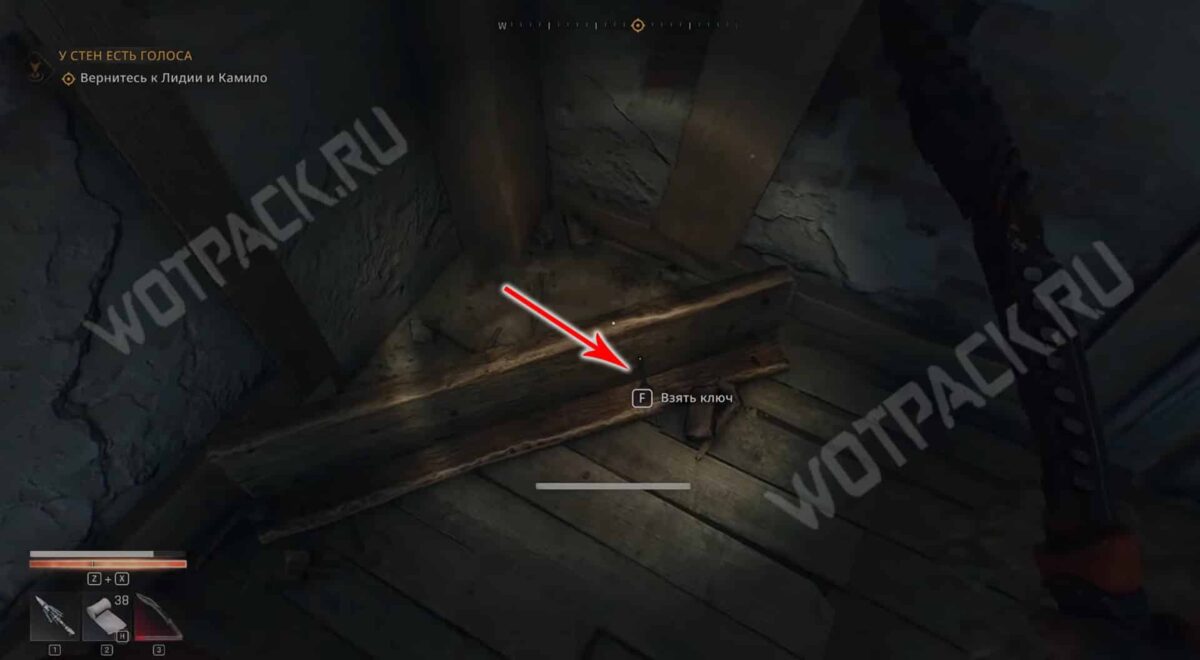
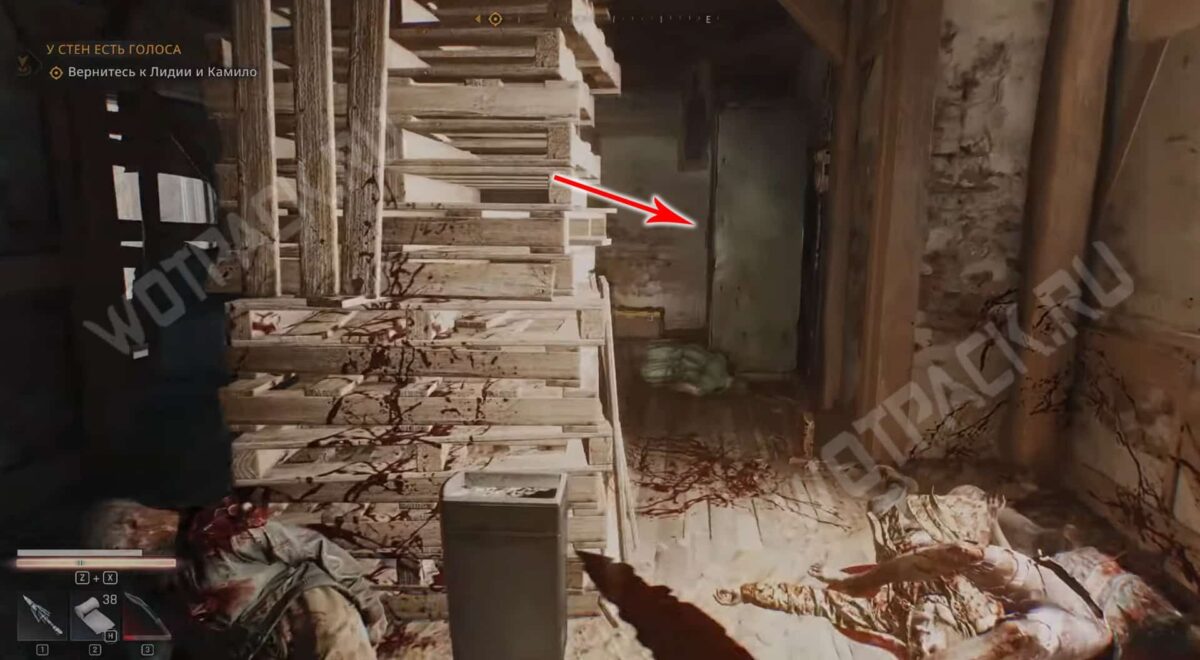
In the target room, destroy the cardboard cutout in the right corner with a throwing knife. Beneath it is the key to the white cabinet containing the epic item. submachine gun "Mercenary".
Map D3
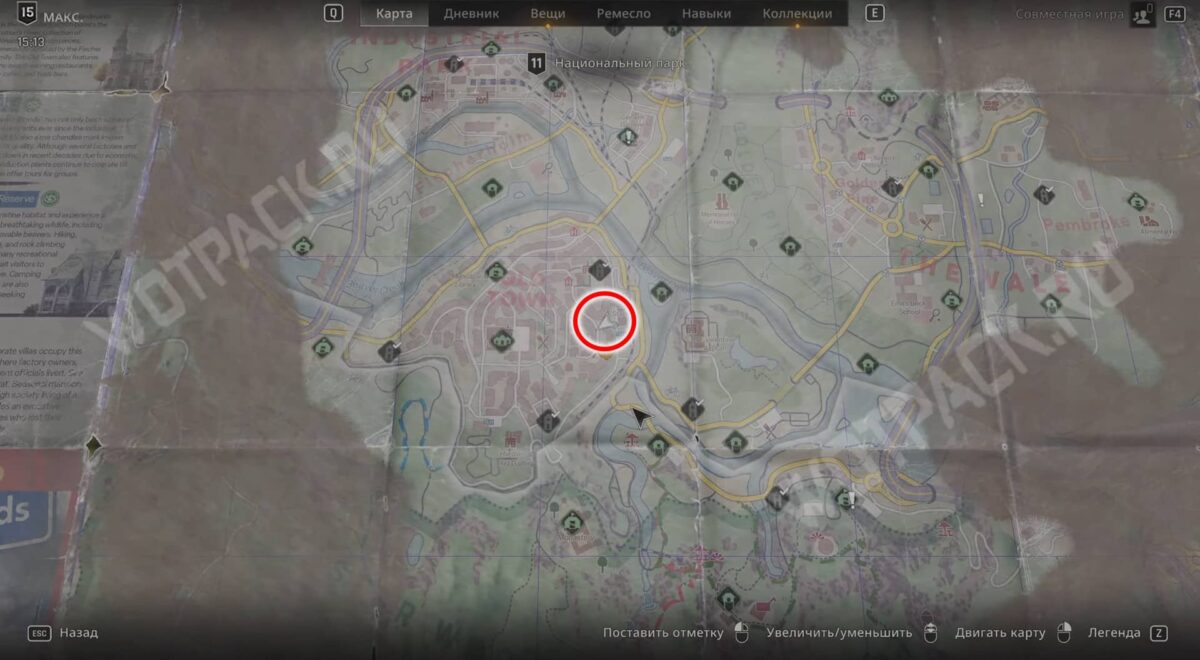
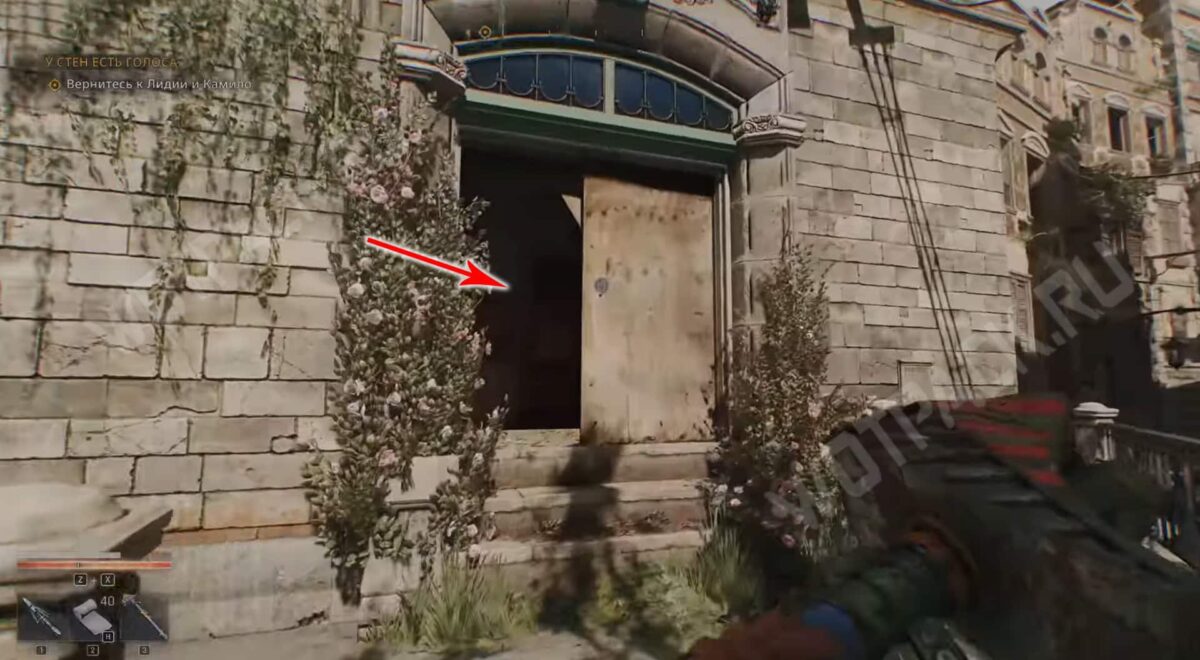
Head to the apartment at the train station in the east of the Old Town and enter the house through the half-open doorway.
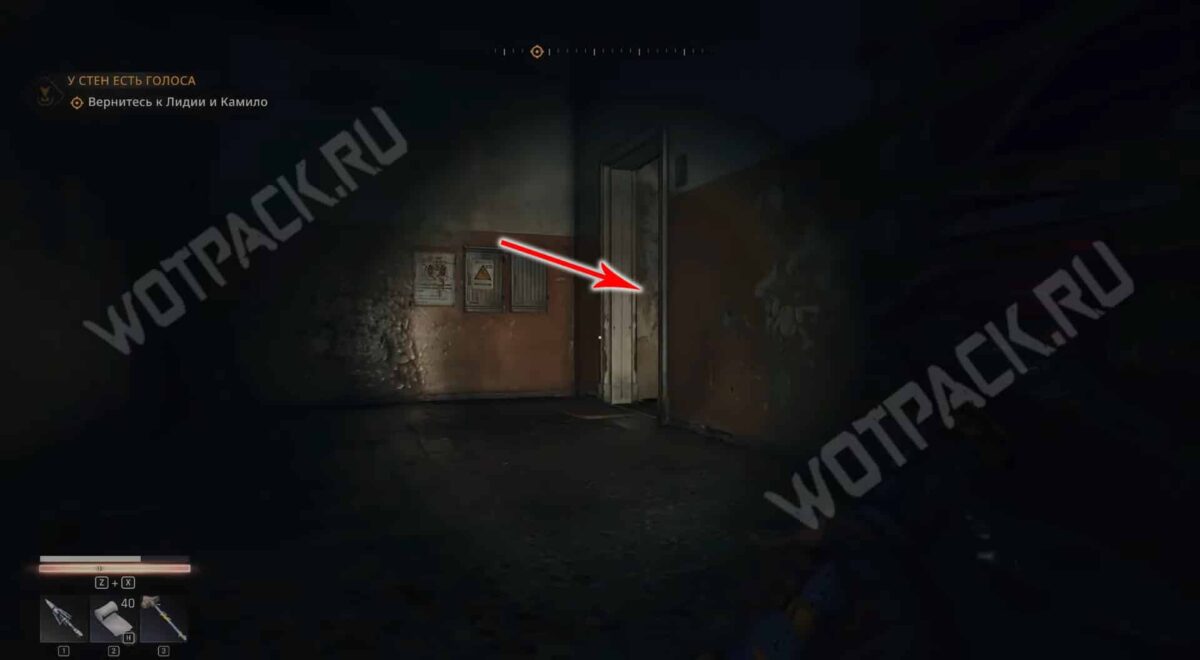
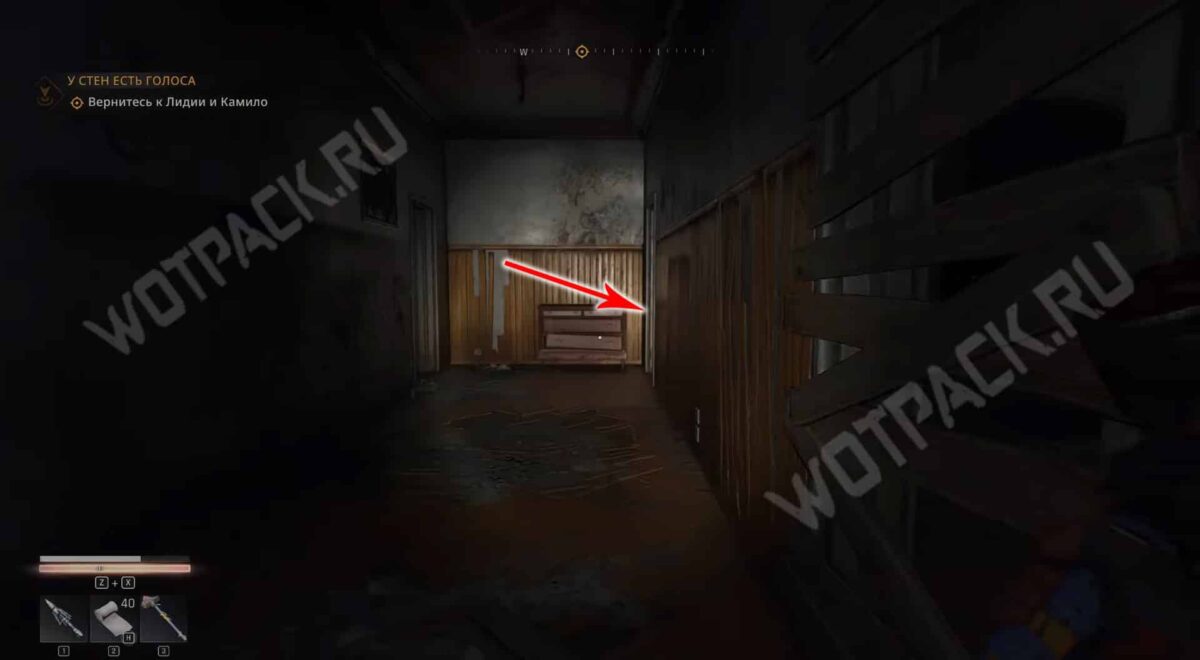
Turn left in the hallway, then through the foyer into the kitchen on the right. In the dining room, jump up to the ventilation pipe marked with red and white tape and crawl into the bedroom on the floor above.
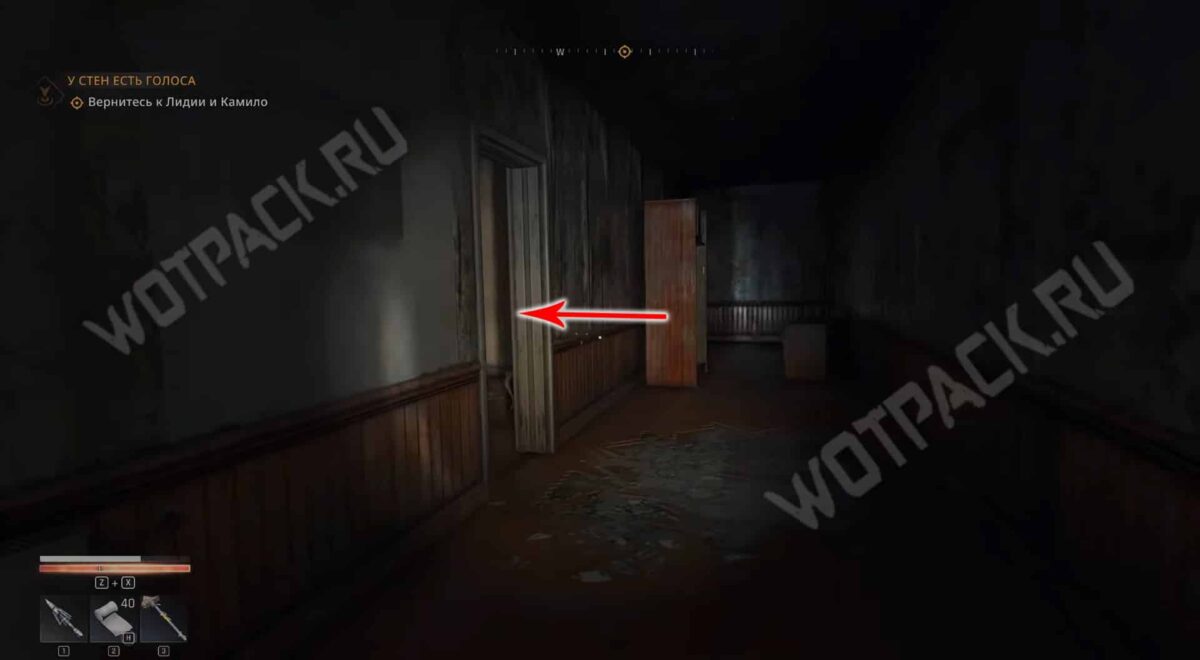
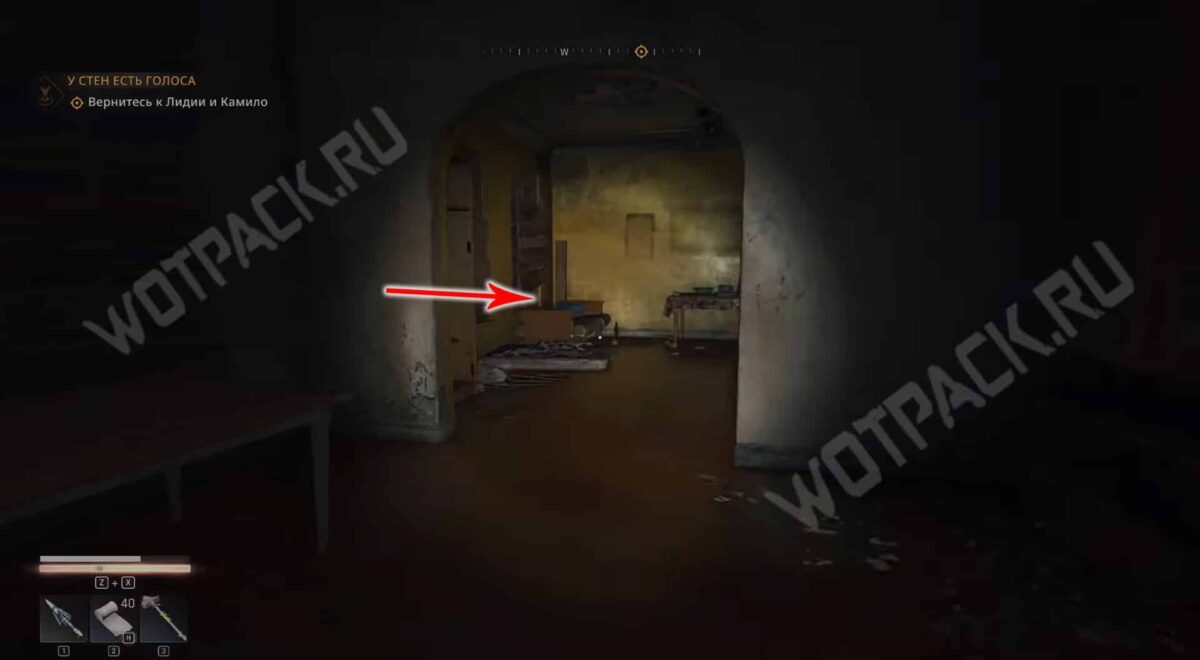
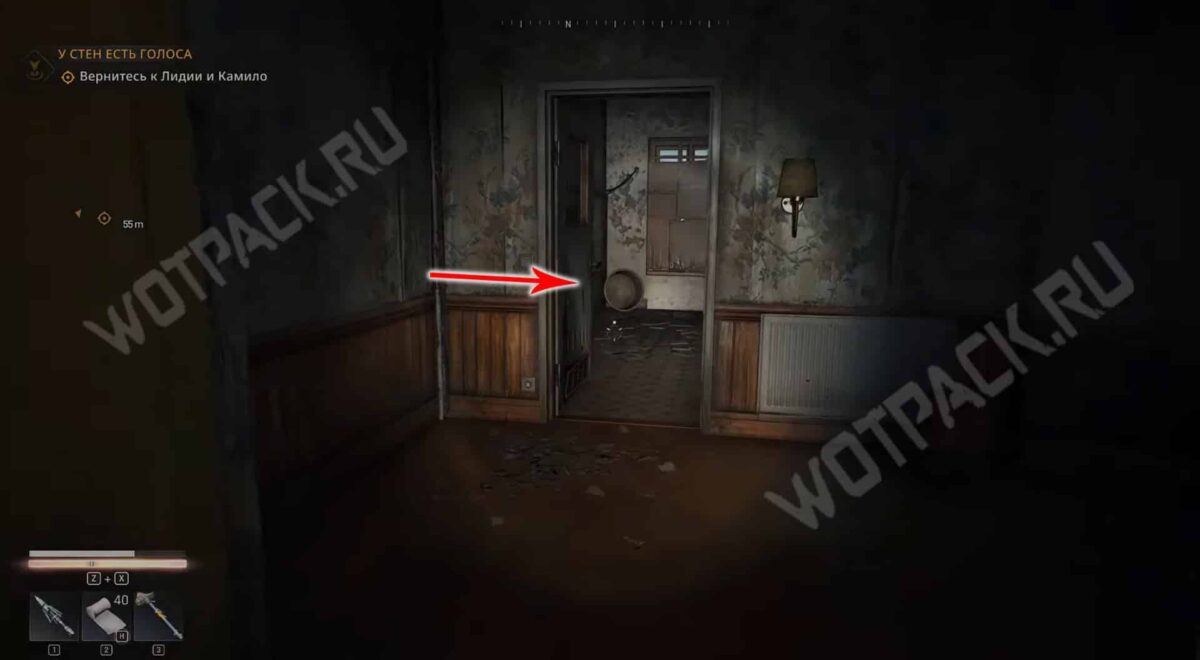
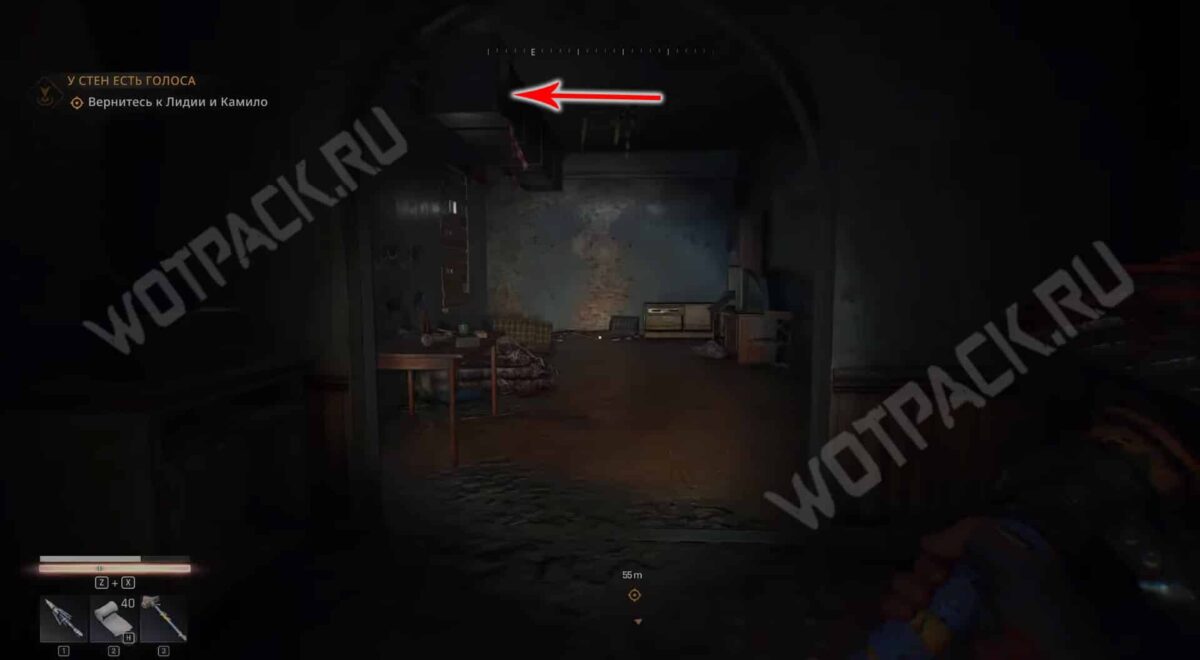
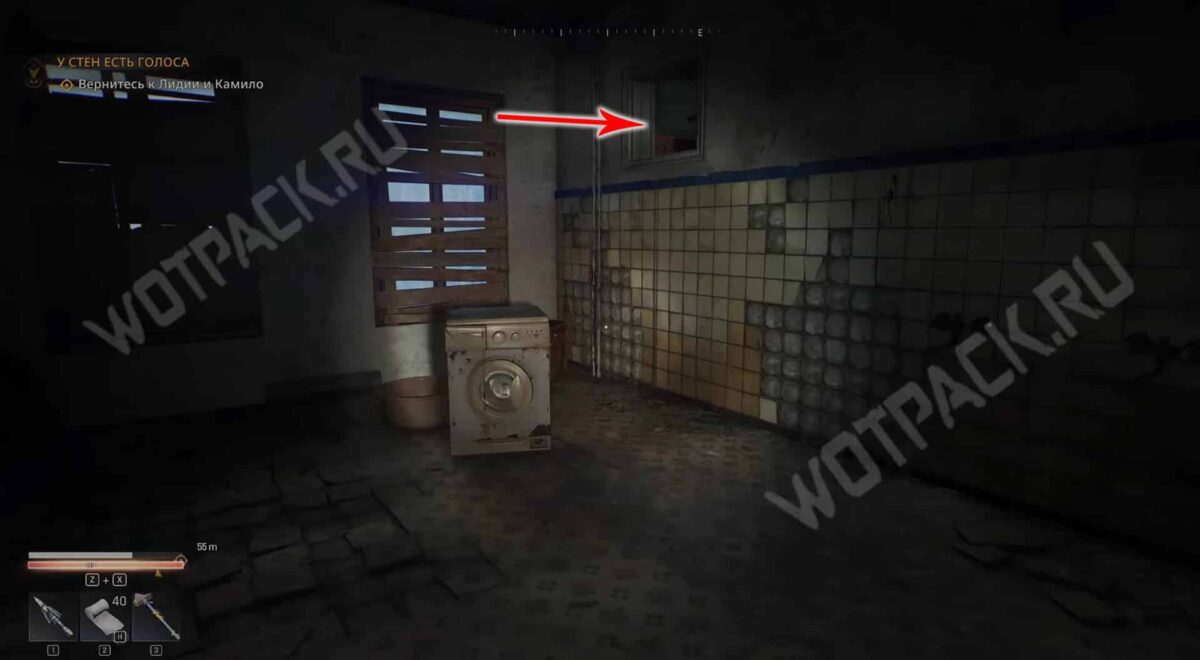
Leave the room and go through the right opening, then turn into the room with yellow walls and go out to the bathroom with a washing machine.
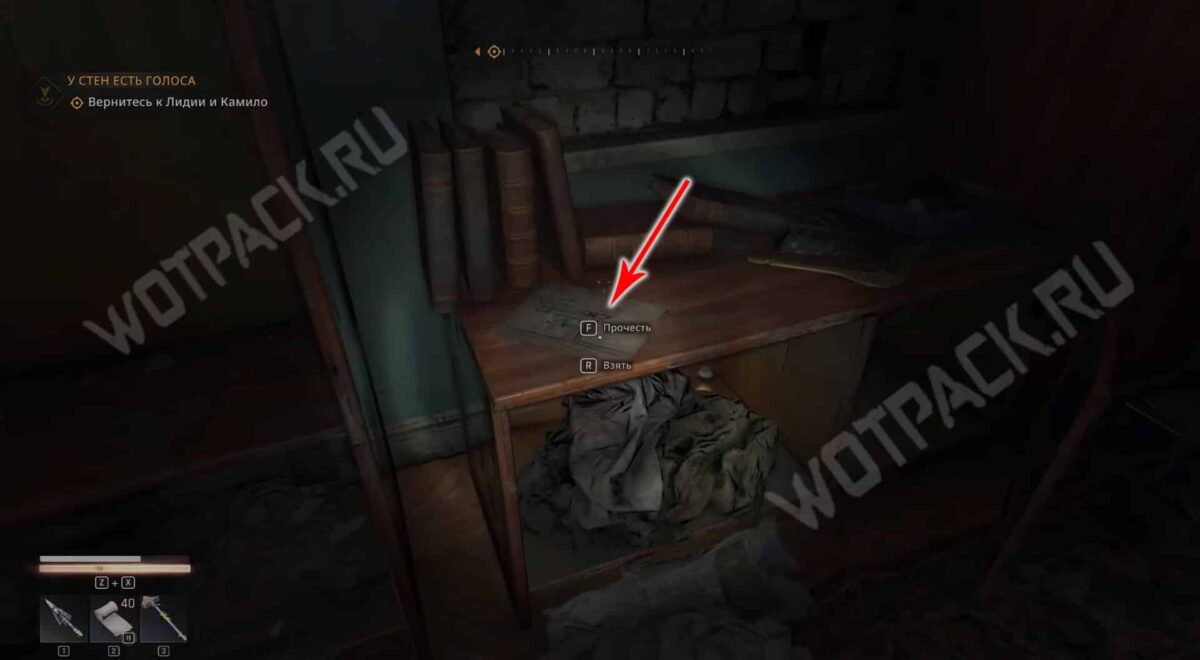
Crawl through the hole in the wall into a small closet with personal belongings; the sketch you're looking for is on the nightstand with books.
Where is the D3 treasure located?
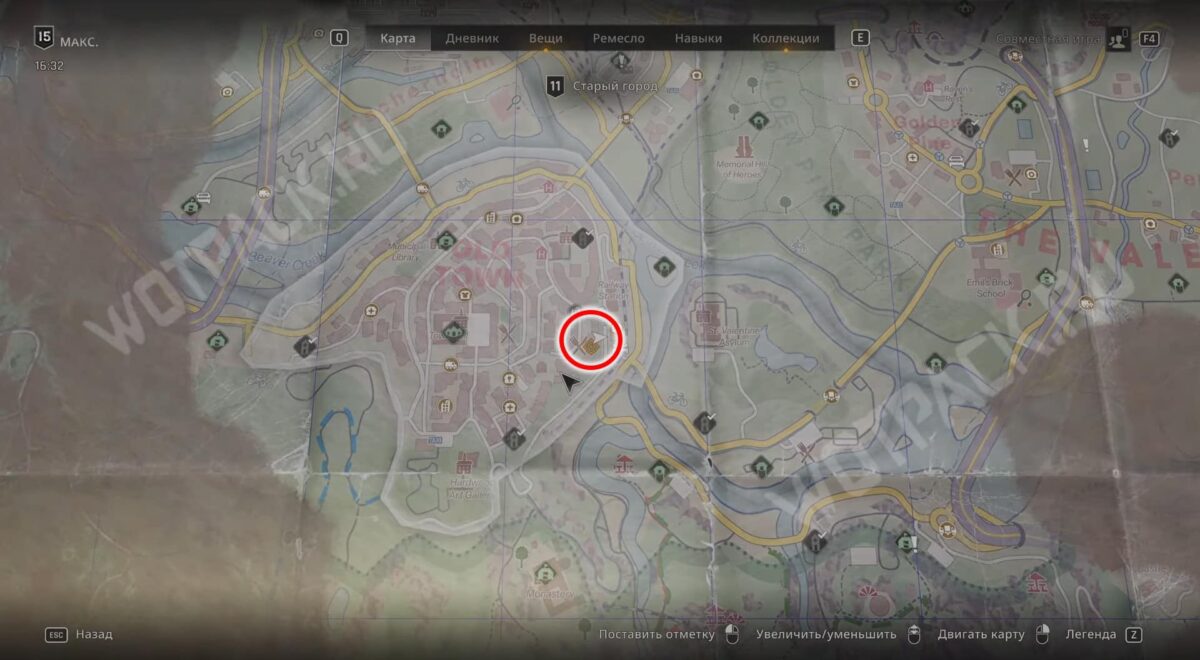
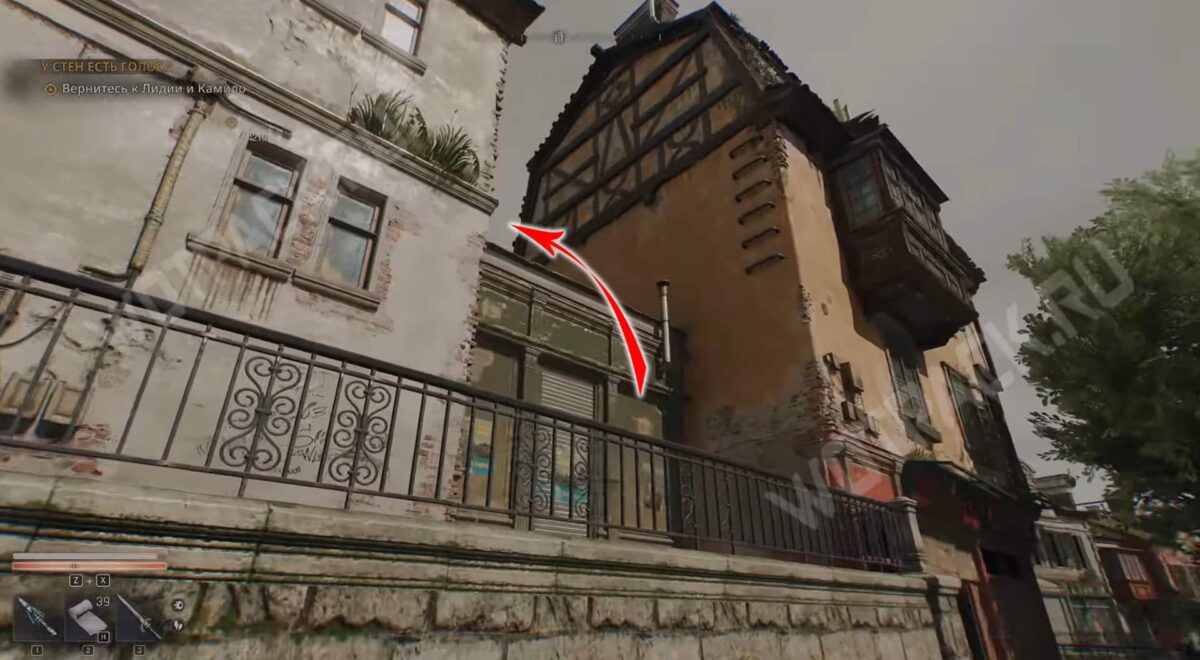
Move southeast from the train station apartment and jump onto the roof of the green kiosk.
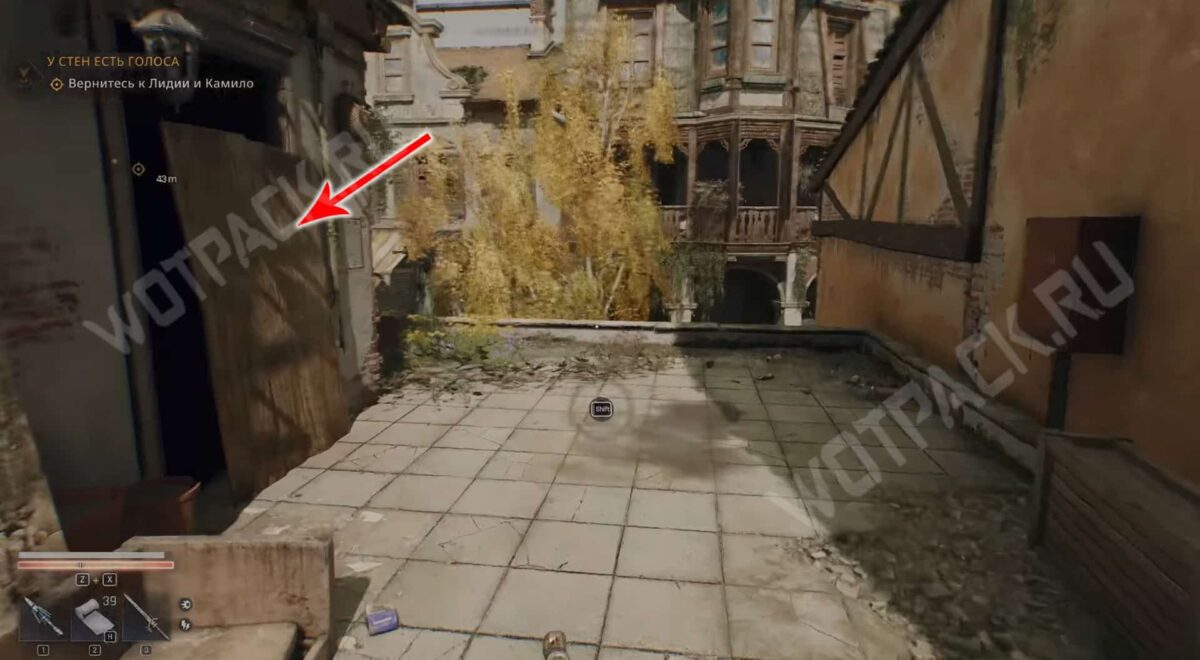
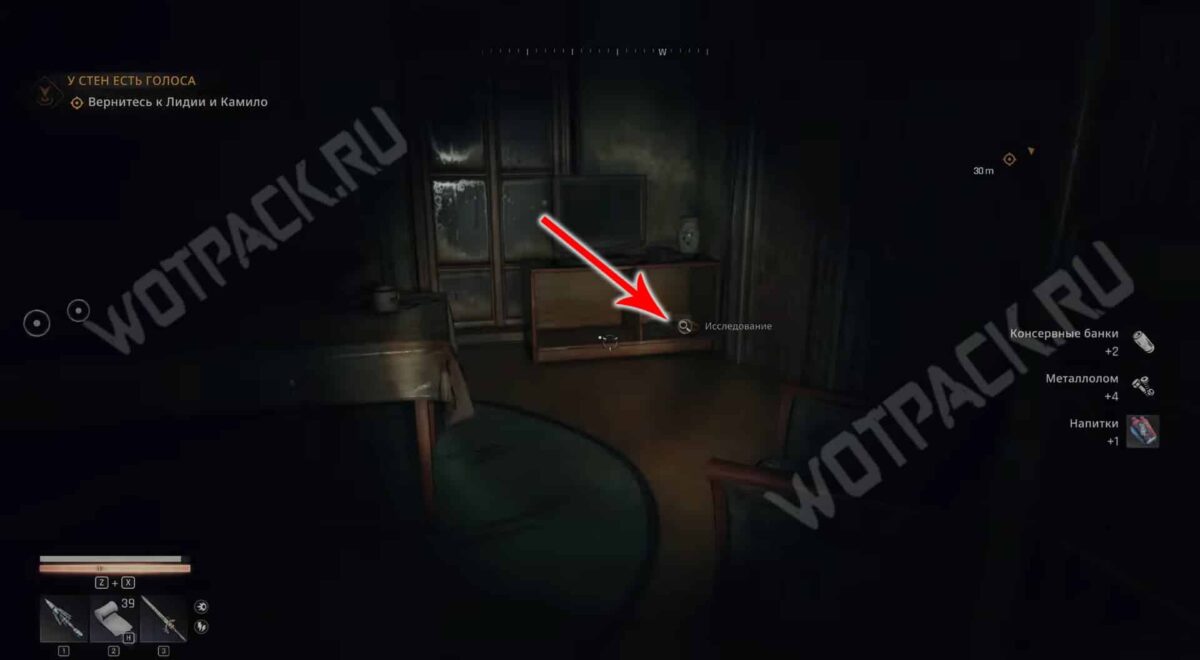
Move the wooden board on the left and pick the door lock. In the far left corner, read the note asking you to call at exactly "12:25:55".
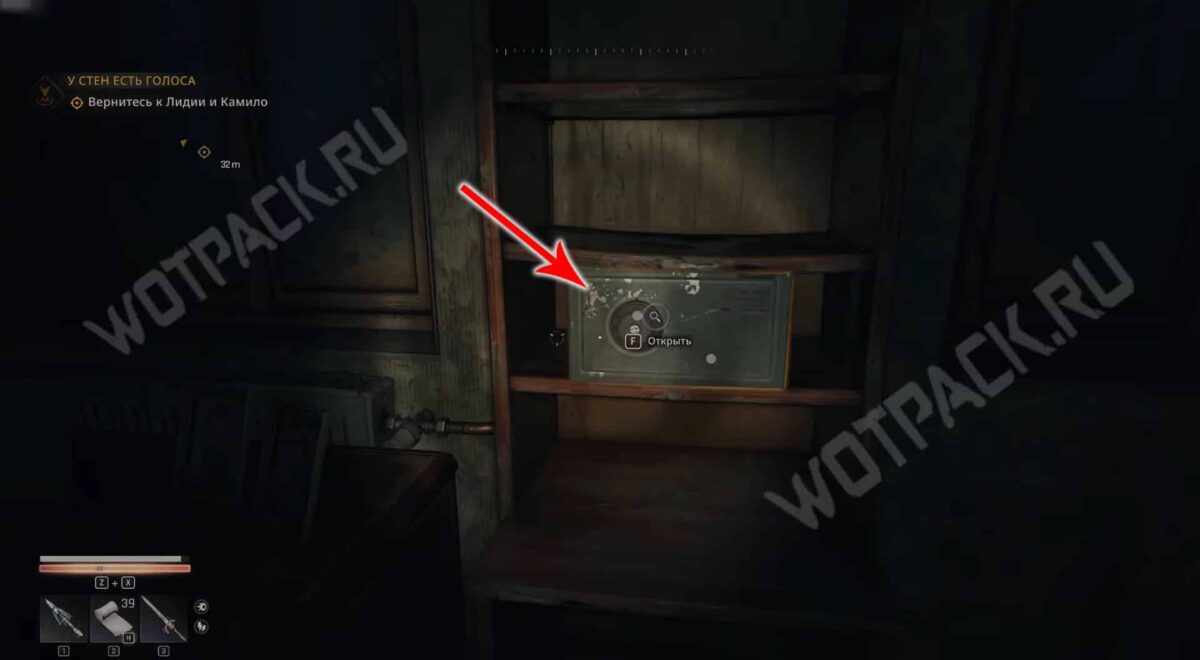
Use the combination to open the safe on the cabinet on the right and collect the legendary Regeneration Booster and the Army First Aid Kit.
Map D4
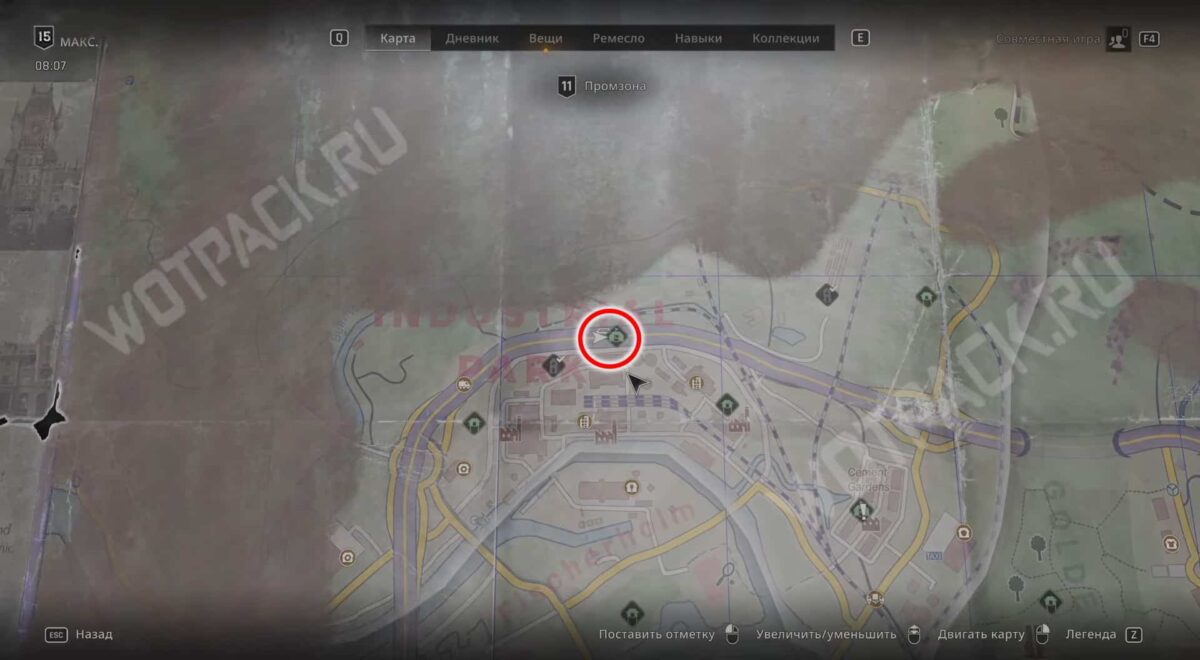
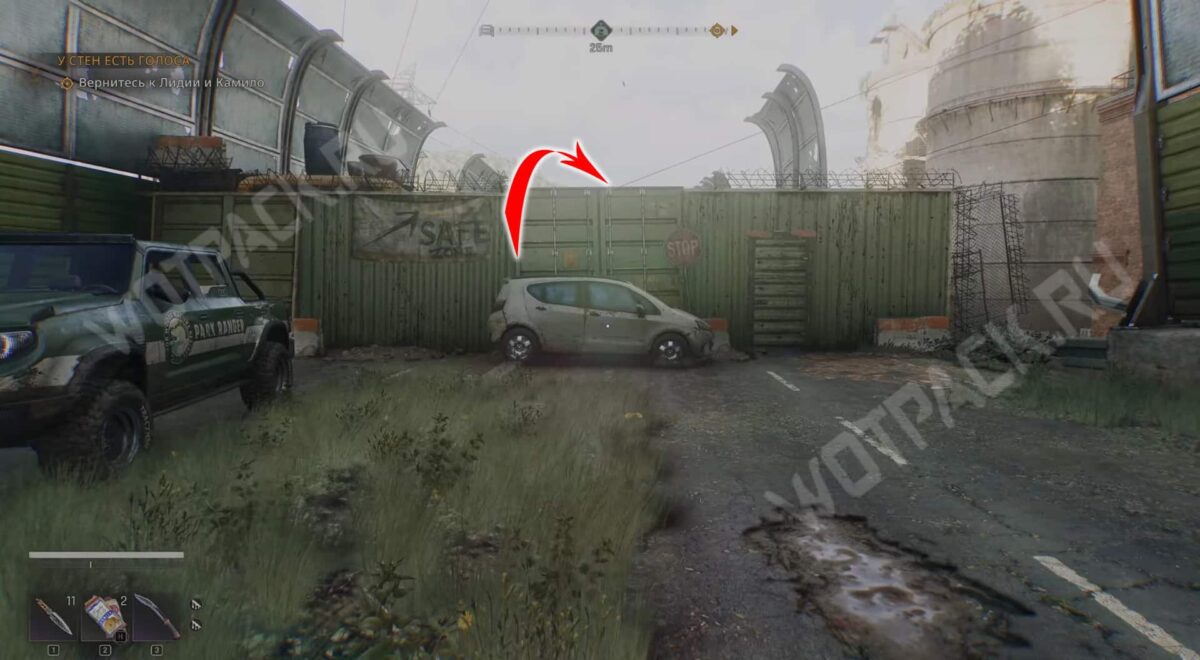
Visit the Bus Shelter north of the train unloading area in the industrial zone. Jump over the green fence by climbing onto a passenger car.
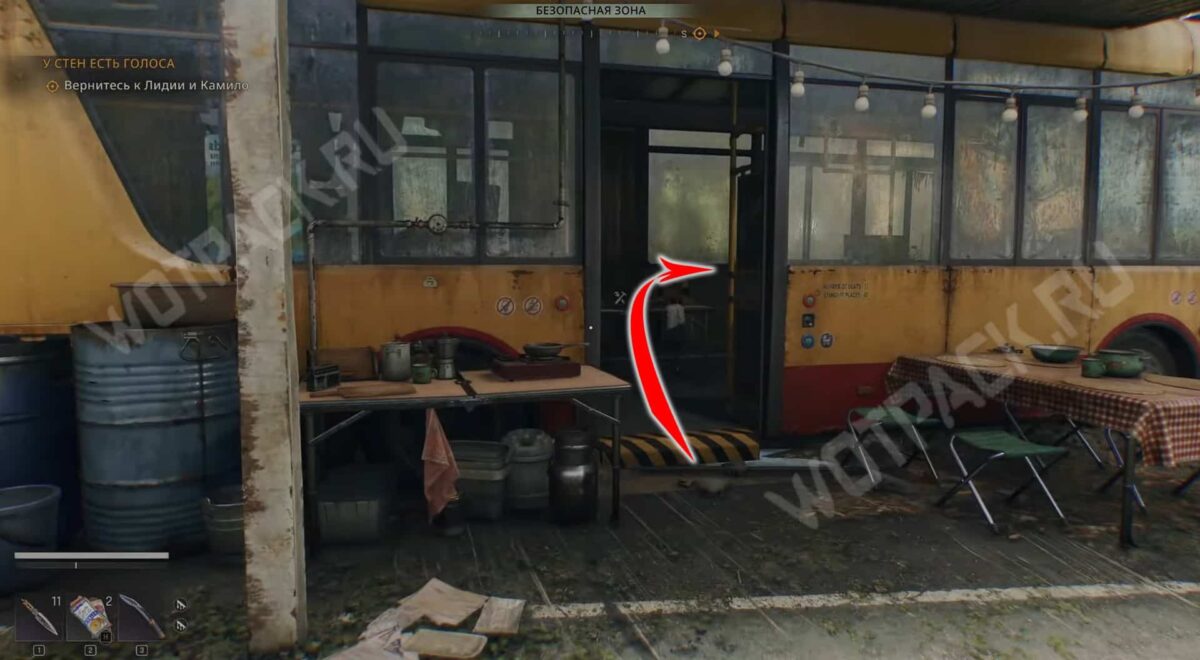
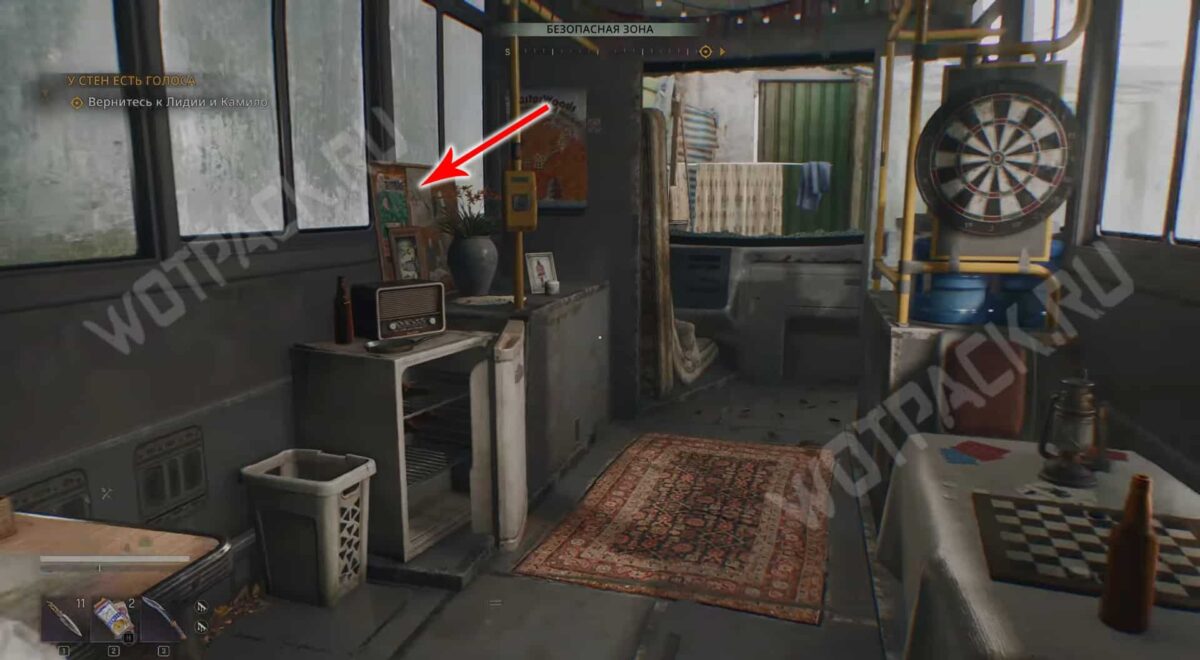
Enter the left yellow bus and take the diagram from the board near the flower pot.
Where is the D4 treasure located?
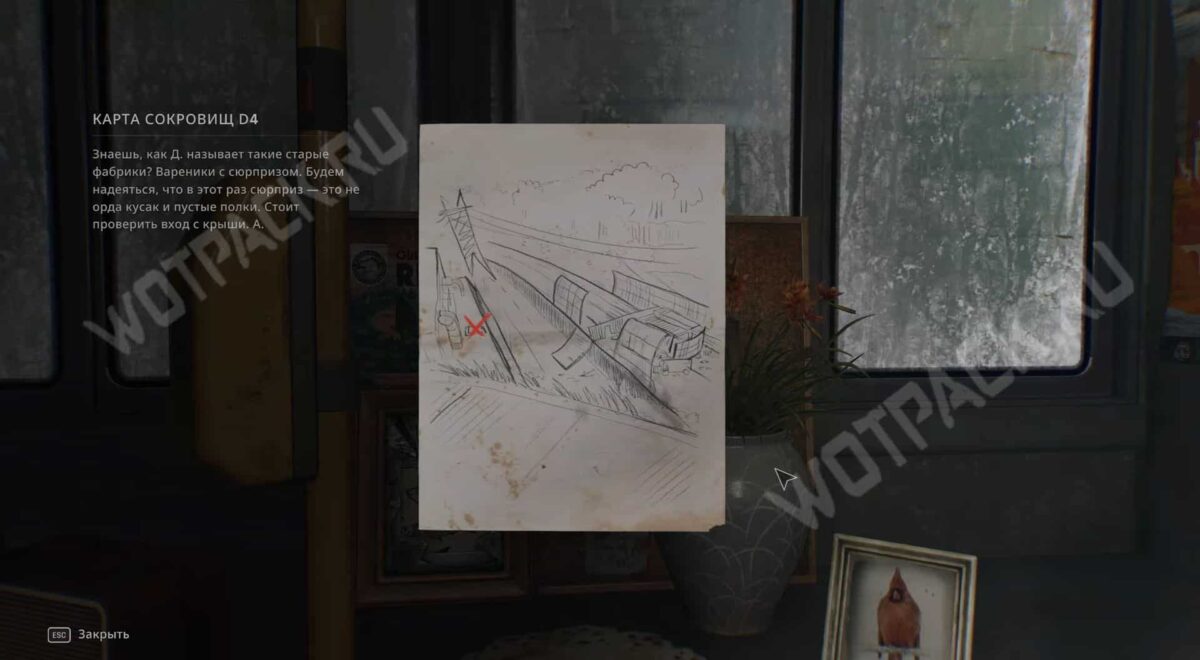
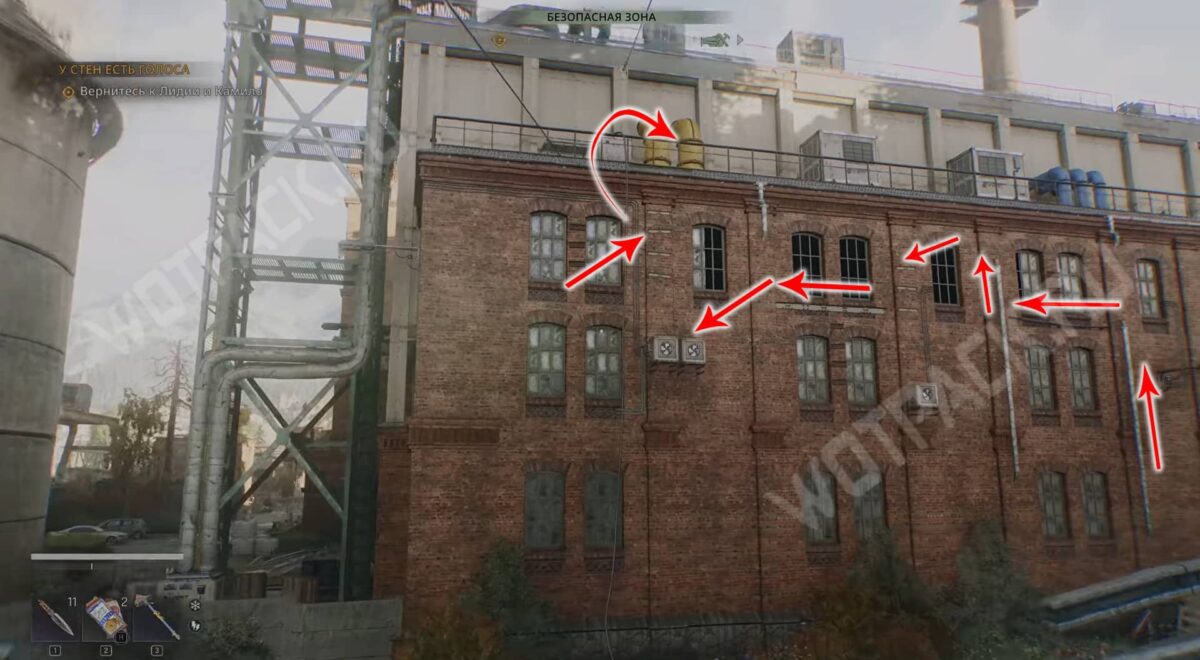
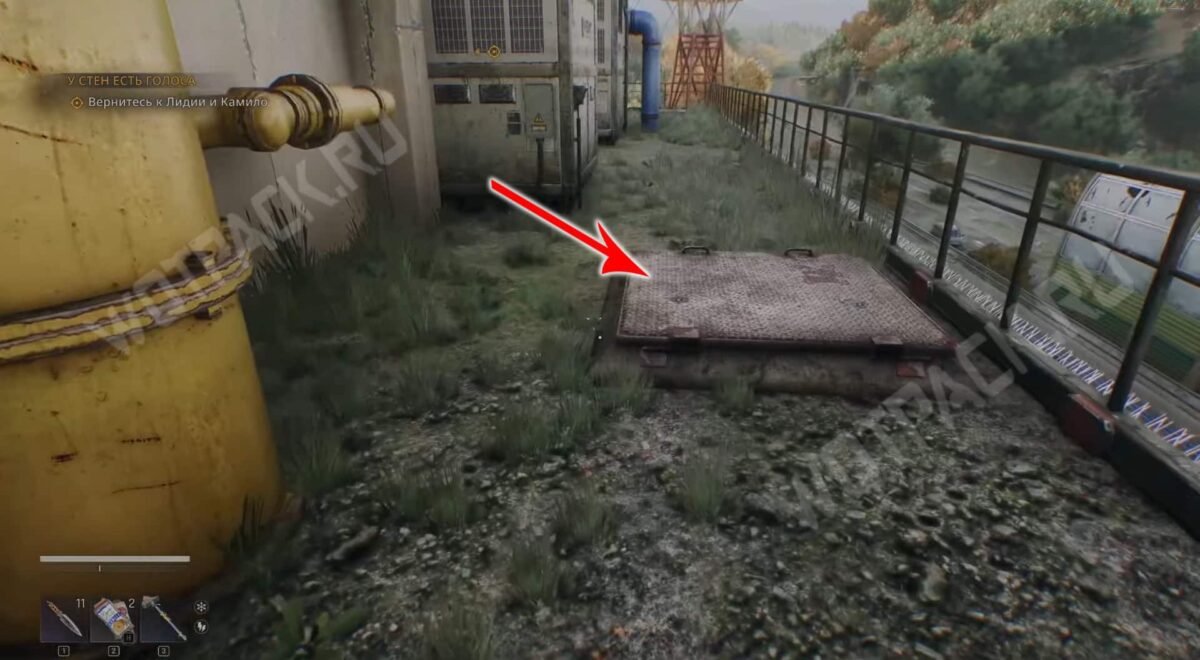
From the point where you took the drawing, descend the bridge and climb up the red brick building via the storm drain. Grab the metal bar under the windows and move to the left pipe. Jump to the steel ledges by the windows and continue left. Reach the air conditioners and climb up the metal rungs to the roof. Open the iron hatch and enter the factory. Collect the loot inside. Epic two-handed axe "Jaw" and the "Heat" pommel modification scheme.
E1 Map
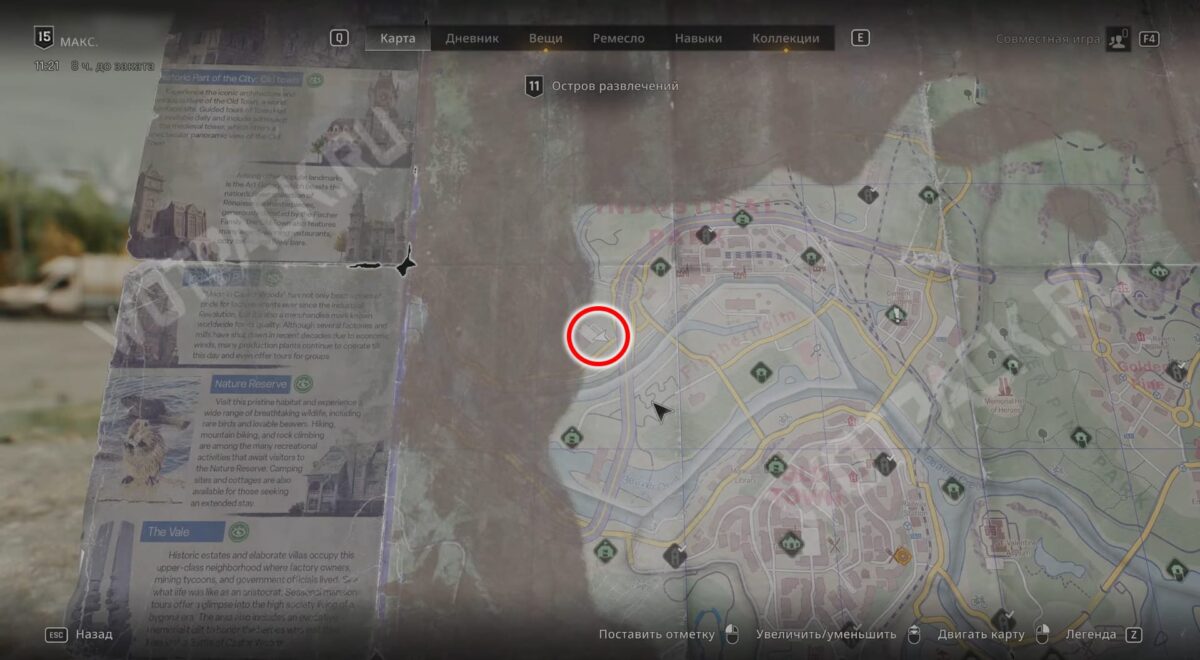
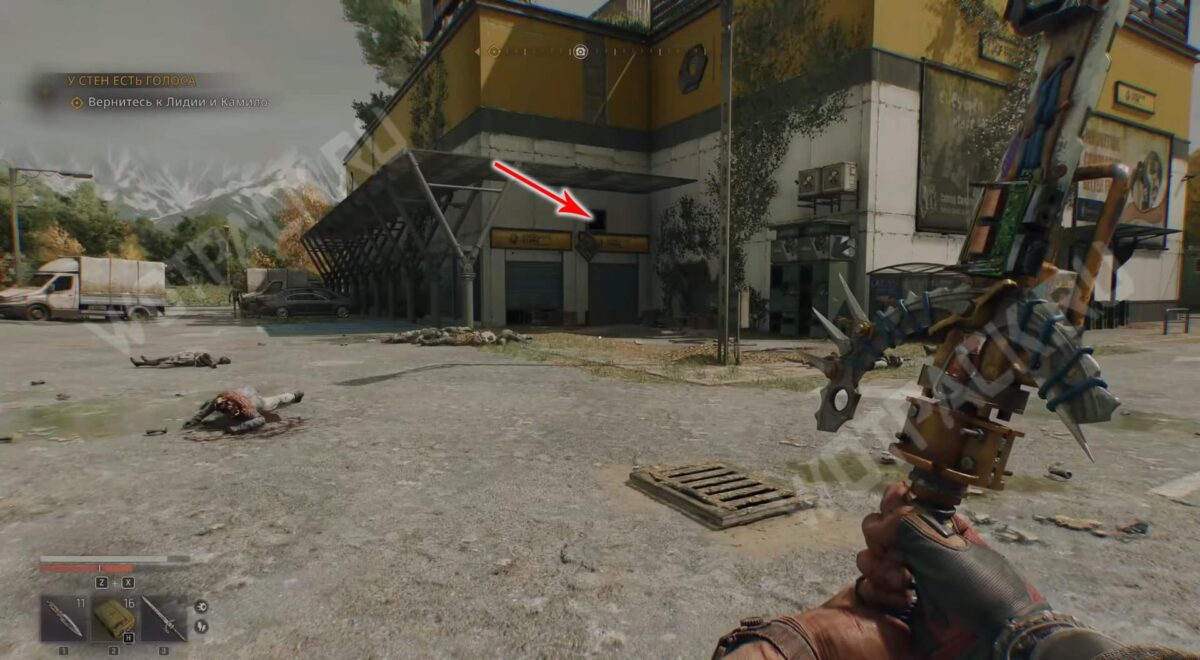
Look inside the hardware store on the left side of the highway in the western industrial zone. Enter the sales area through the hatch above the automatic gate.
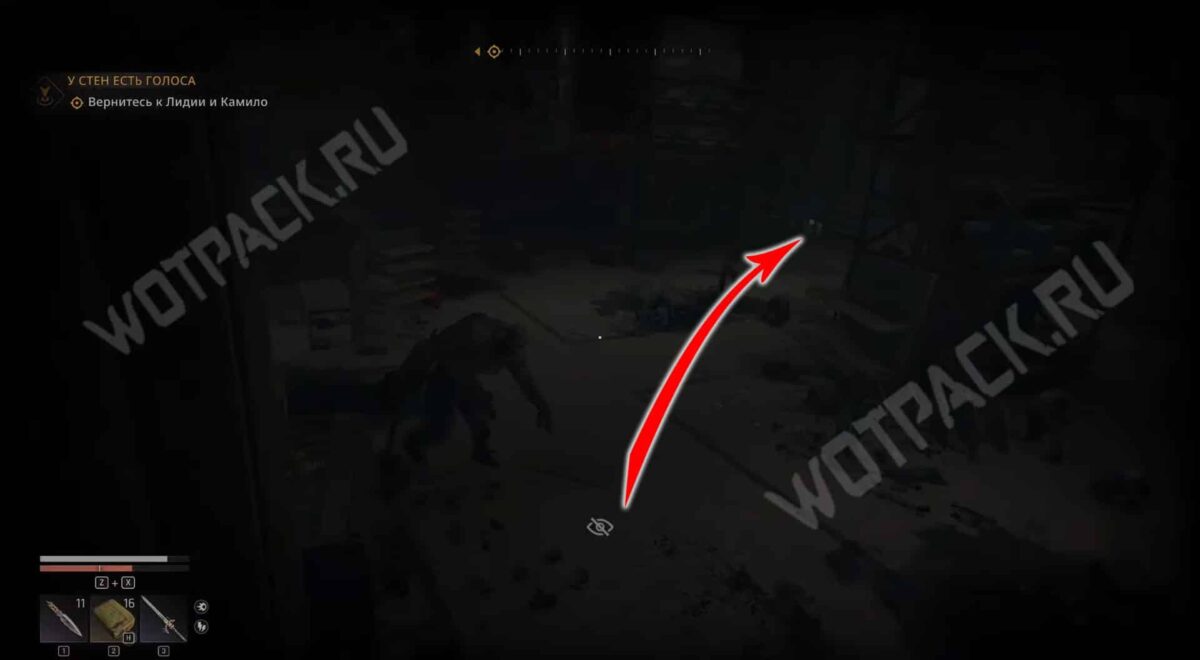
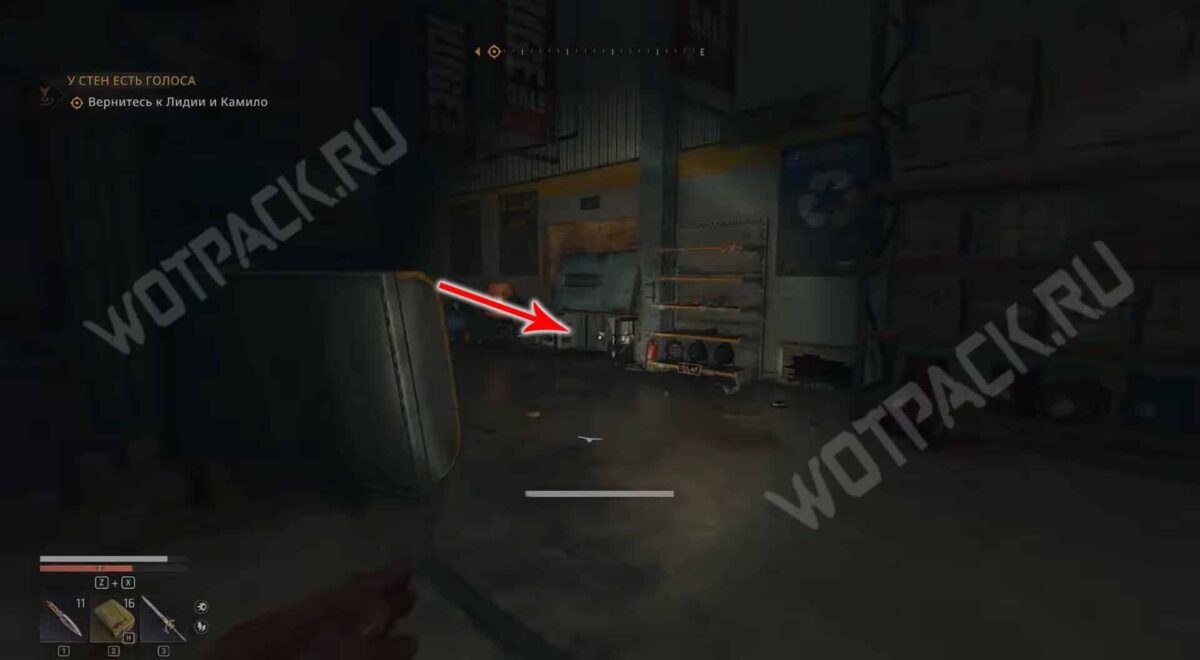
Run to the opposite side of the room. You can choose to fight the strengthened monsters or crawl through unnoticed. Crawl under the rubble into the corridor.
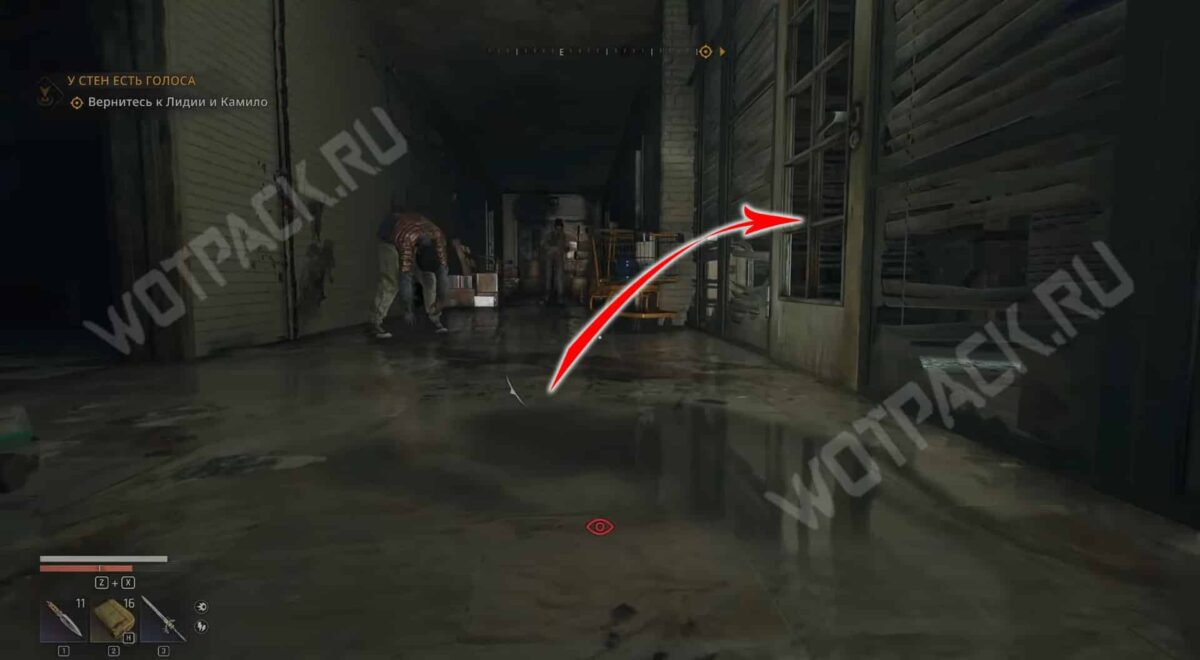
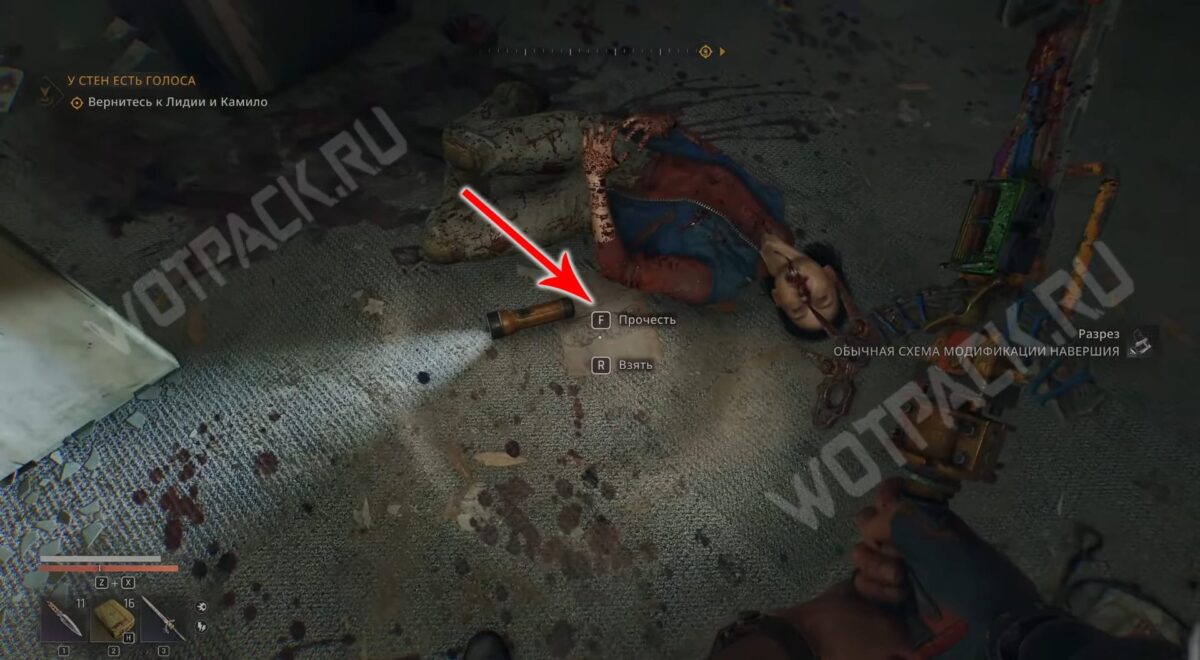
Pick the lock on the right door leading to a small office. There's a piece of paper with a clue on the floor near the body of the girl with the lantern.
Where is the E1 treasure located?
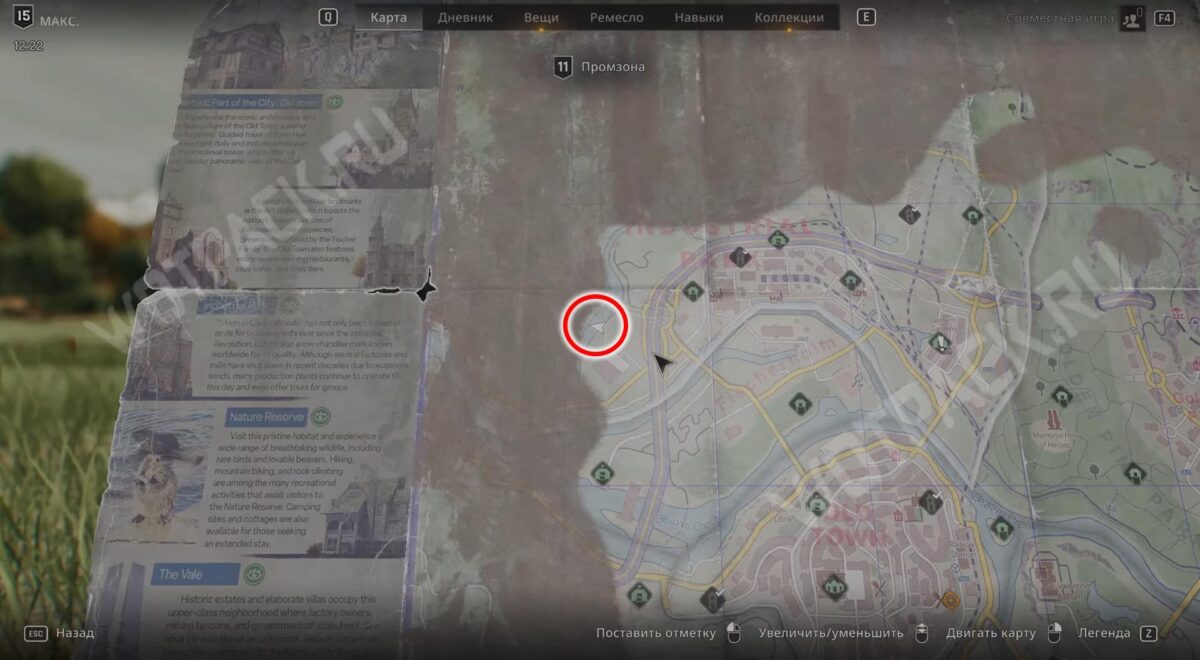
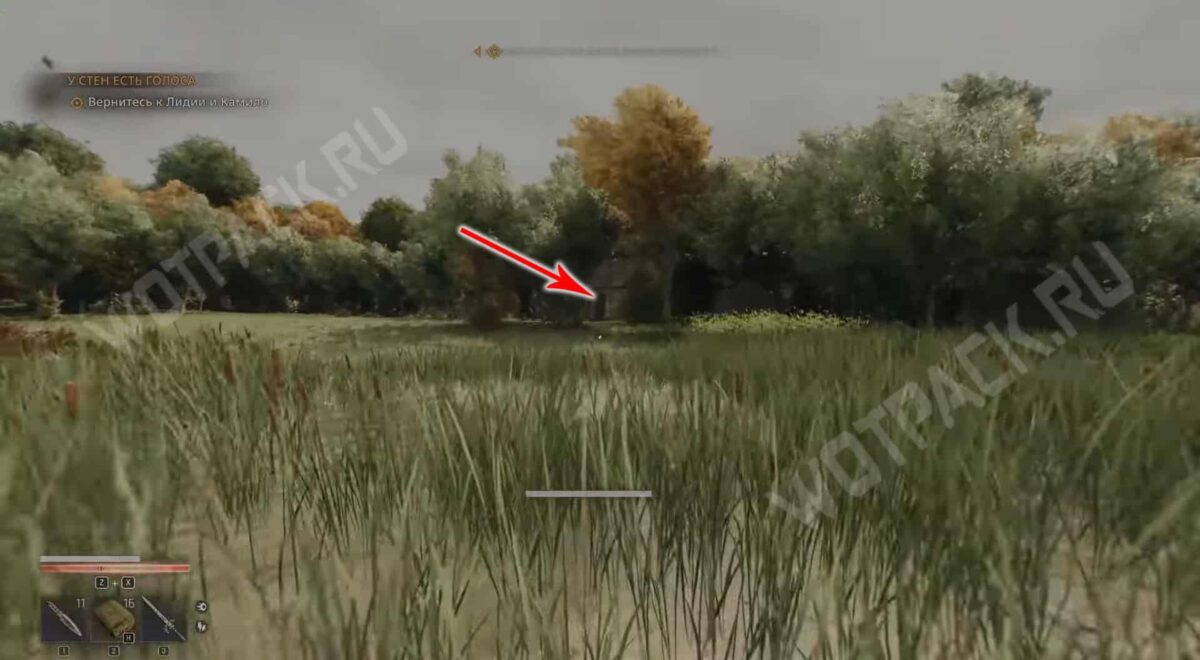
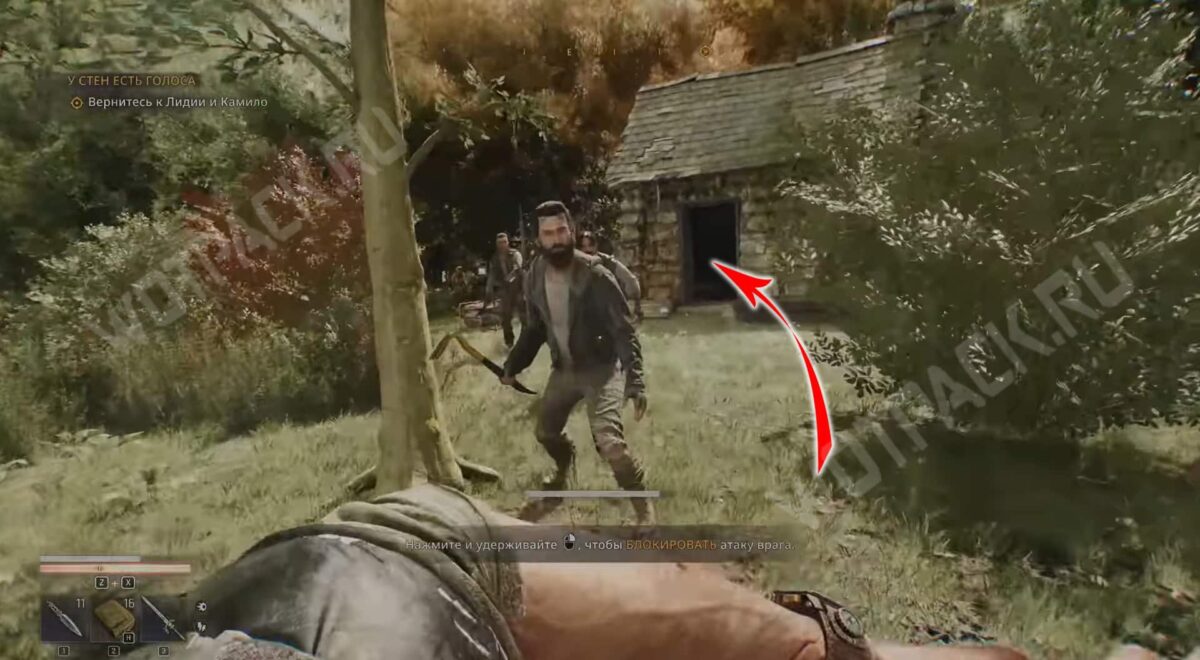
Head north from the store to the riverbank. Cross the field to the mossy shack and defeat the local vagrants. Pick up the Epic one-handed axe "Ice Pick", Rogue's Cut-Off Gloves и Old World Whiskey.
E2 Map
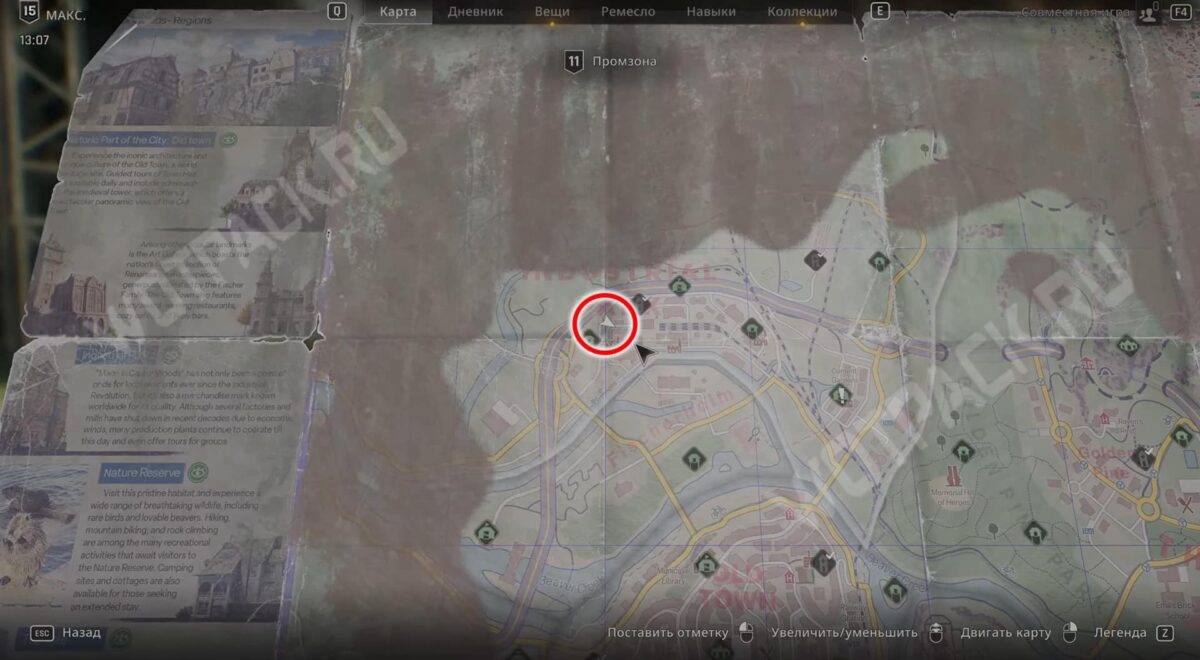
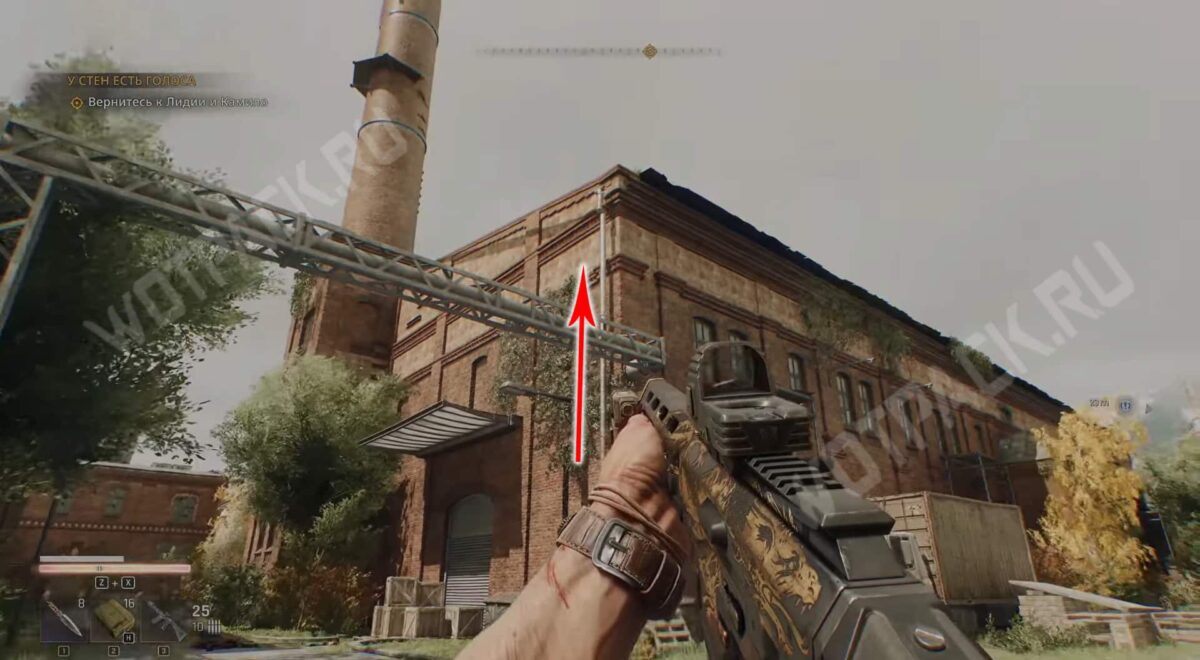
Get to the western factory in the industrial zone and climb up the drain pipe to the roof.
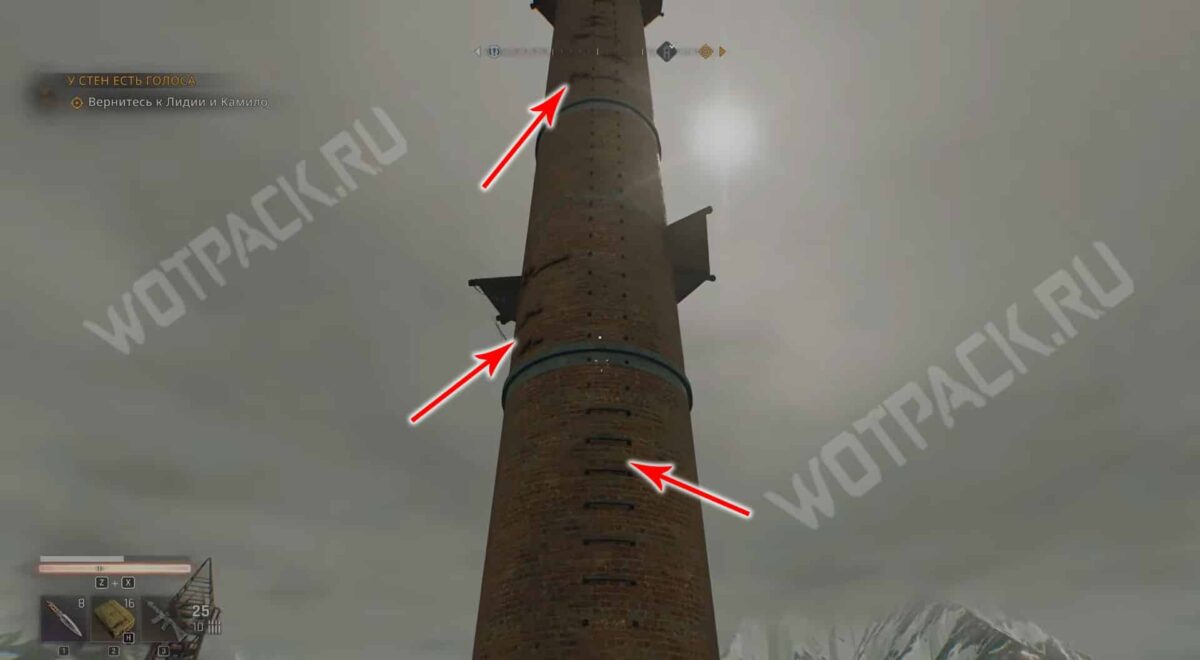
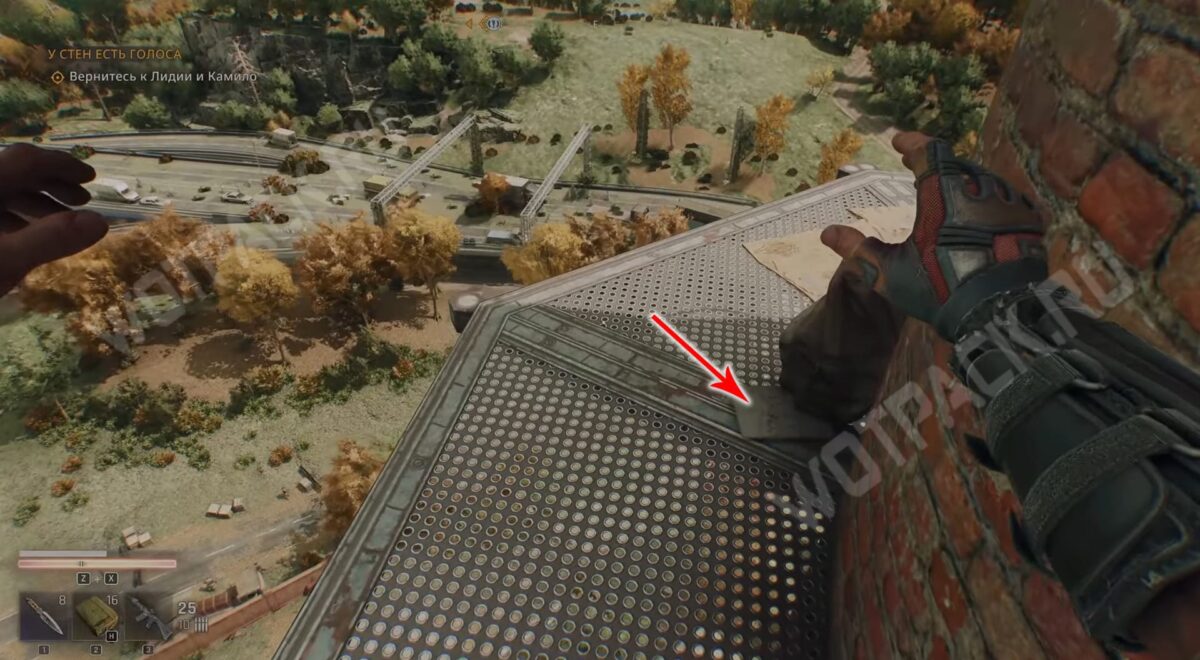
Climb the tower, clinging to the collapsed brickwork and handrails. On the iron platform next to the backpack, pick up the loot location fragment.
Where is the E2 treasure located?
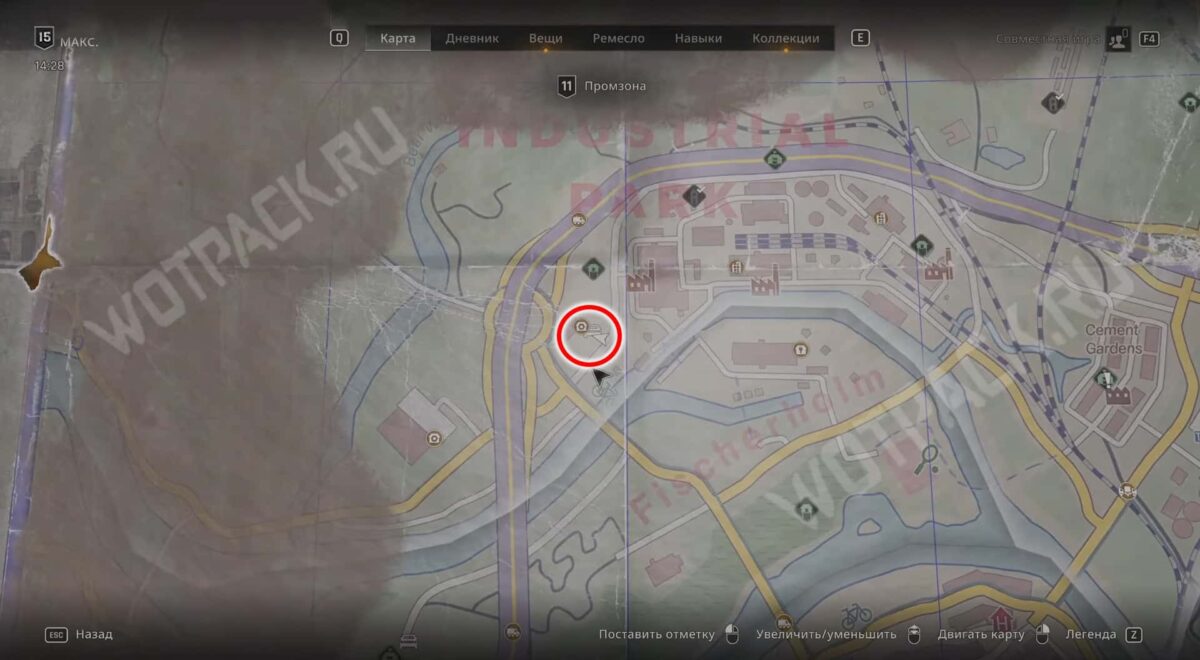
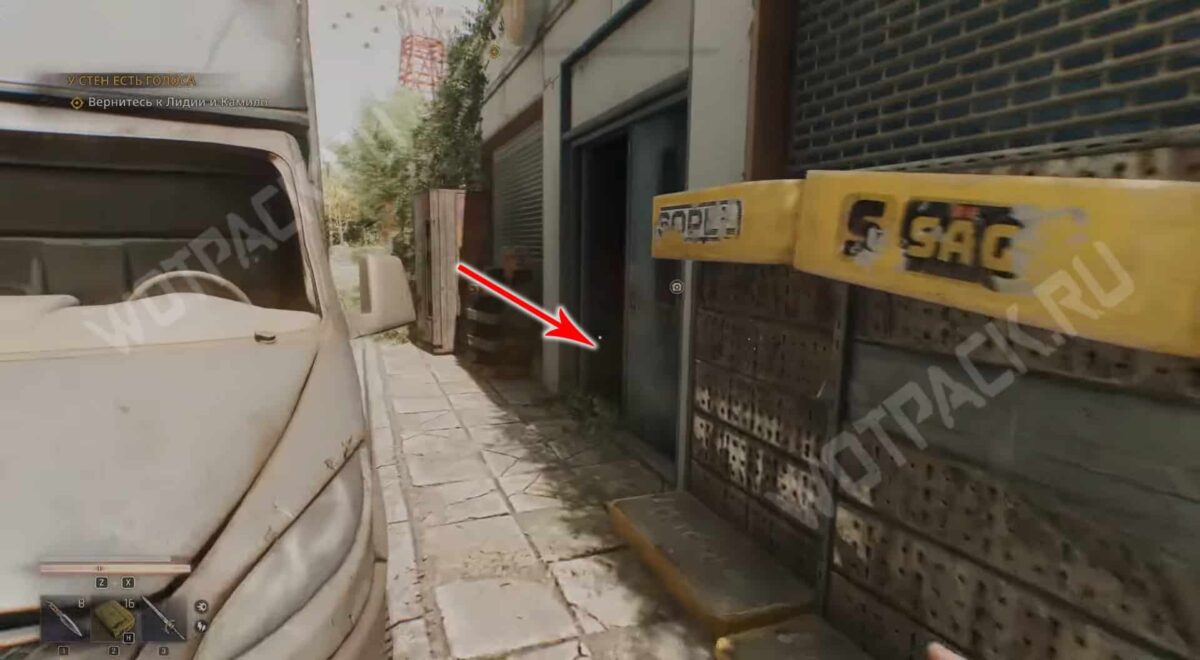
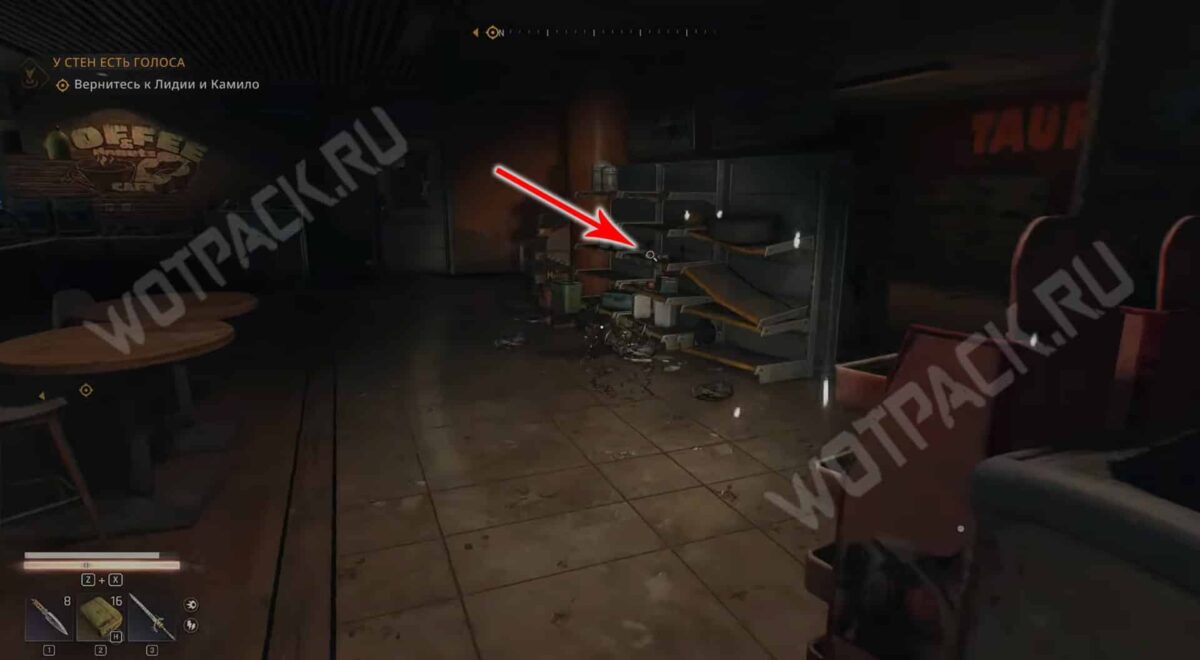
Head southwest to the Taurus Gas Station and enter the minimarket through the half-collapsed opening. Grab the fuse from the shelf in the sales area.
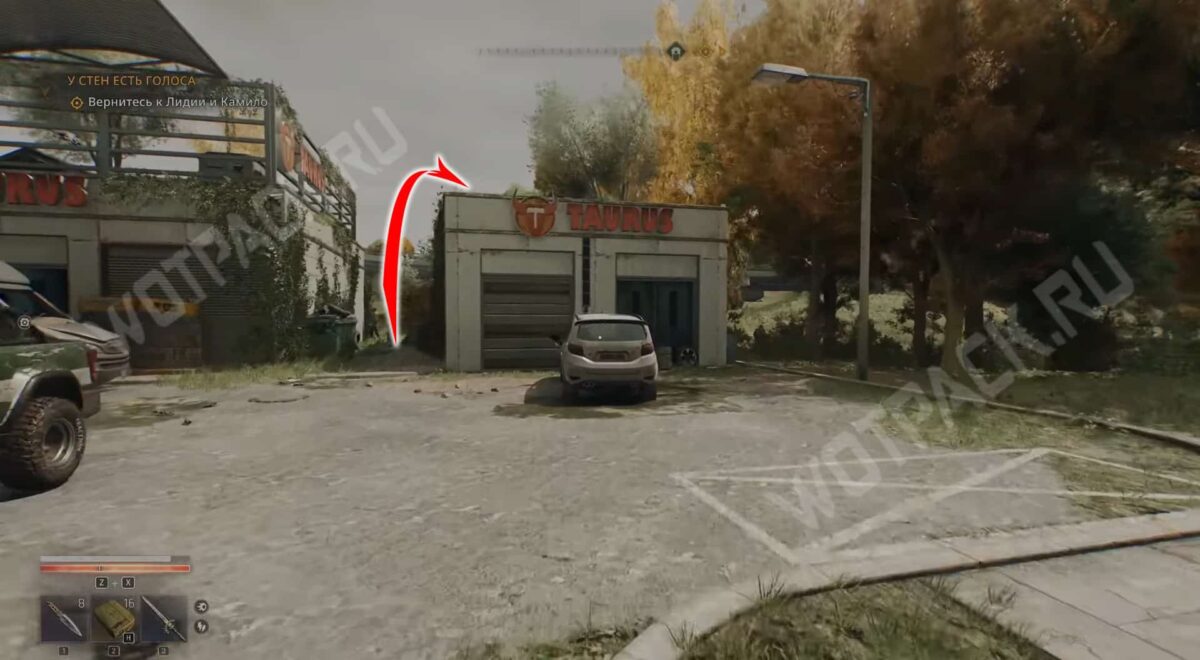
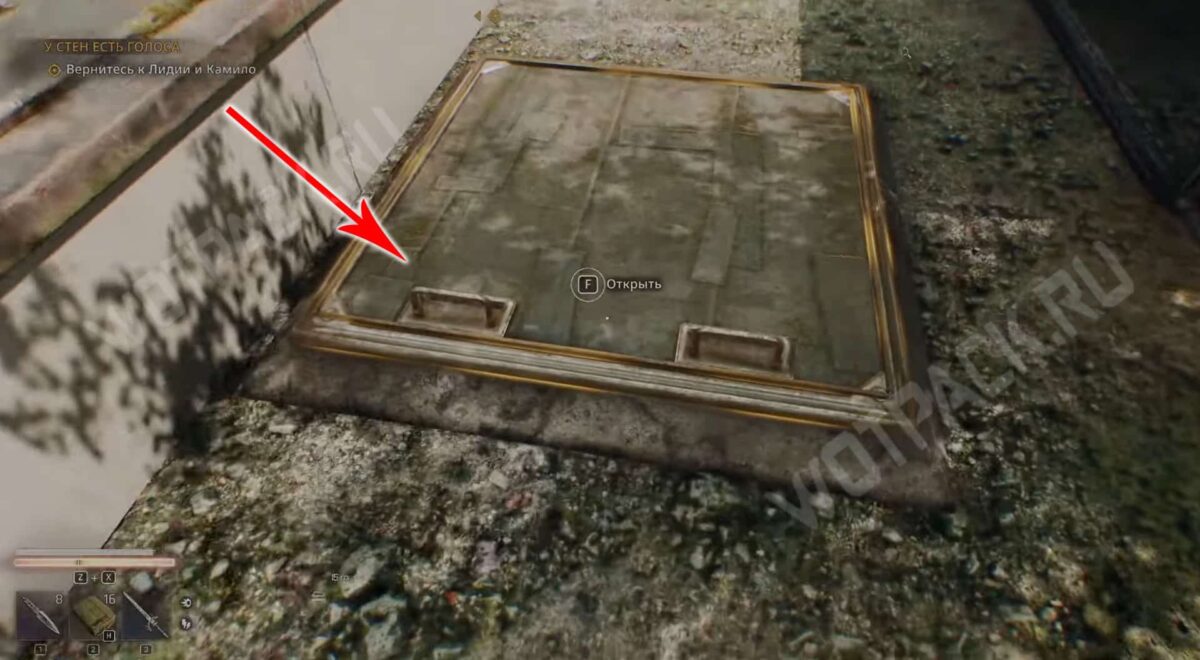
Go outside and climb onto the roof of the small tire shop on the right. Open the hatch, remove the cover from the blown fuse box opposite, and replace the component.
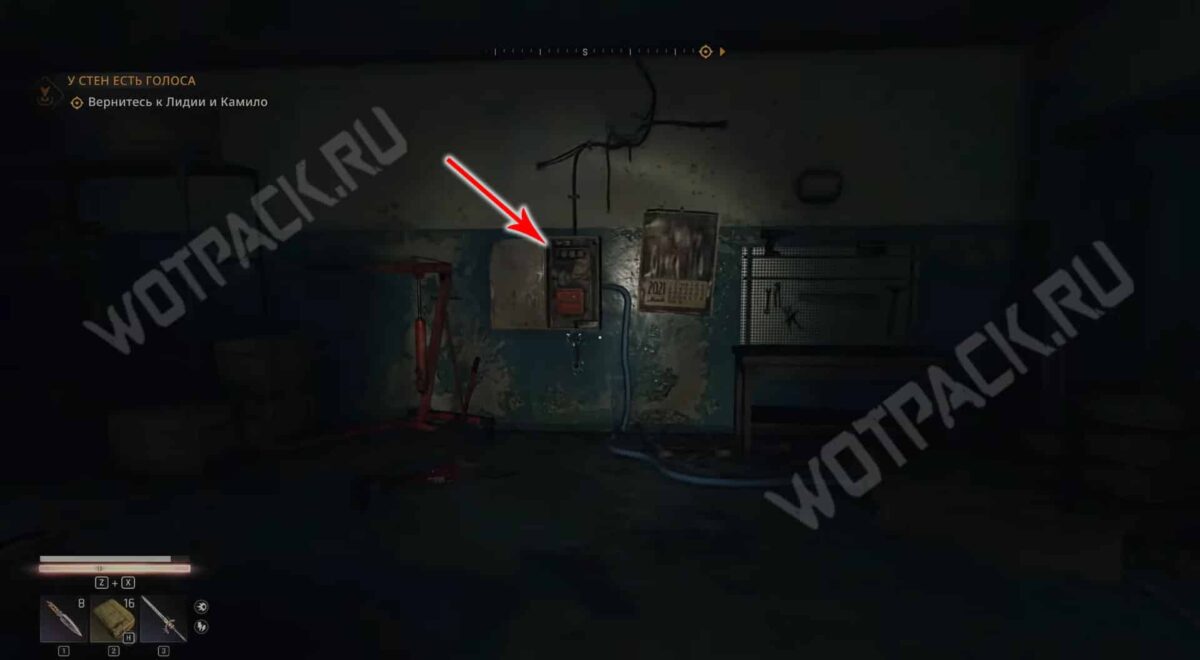
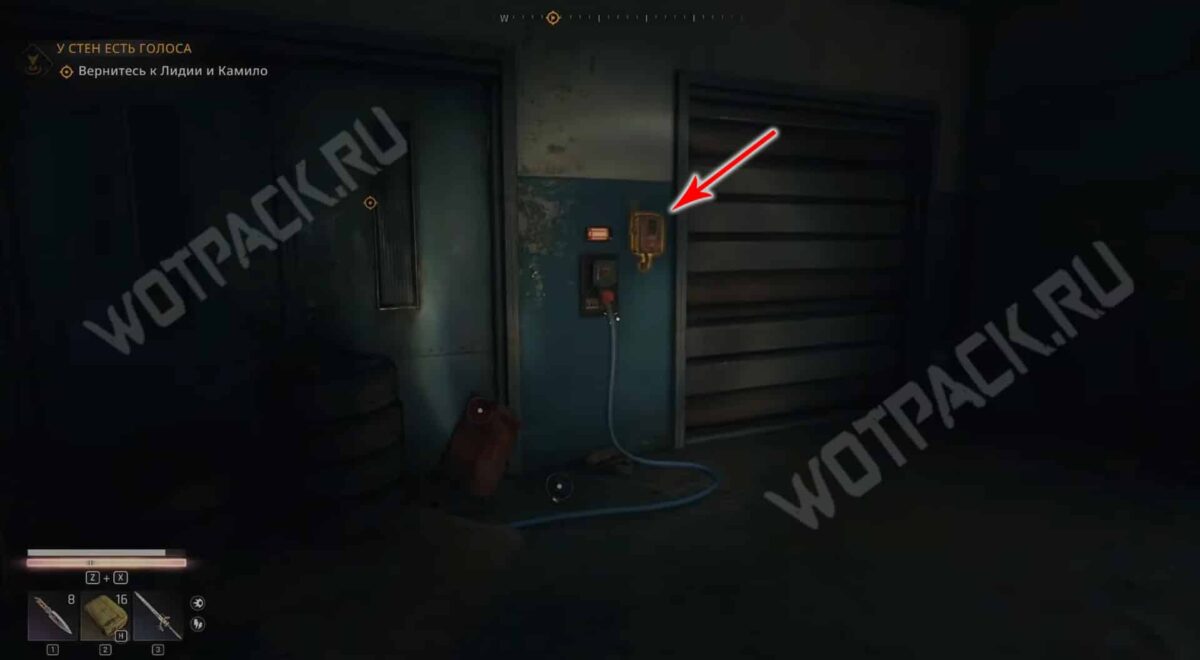
Pull the lever to the automatic gate and repel the invading infected. Once power is restored, the organization's boss's office will open.
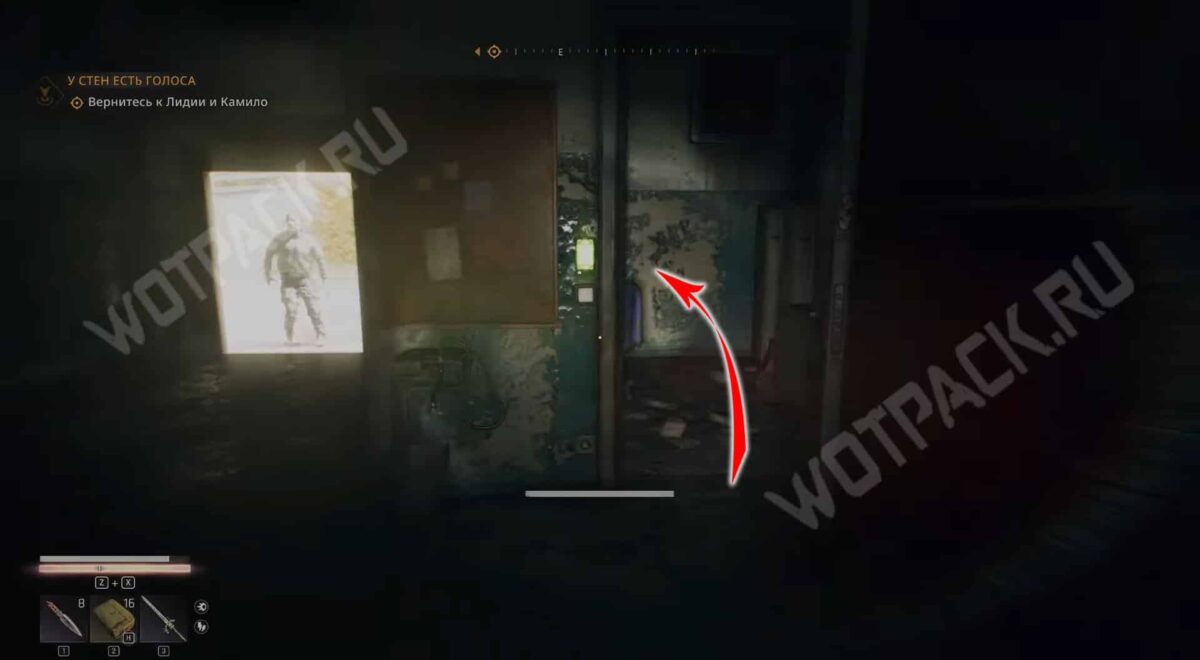
Look into the boss's closet and pick up legendary Army First Aid Kit, Damage Booster, UV Torch, and the Epic Scooter Handlebar weapon.
E3 Map
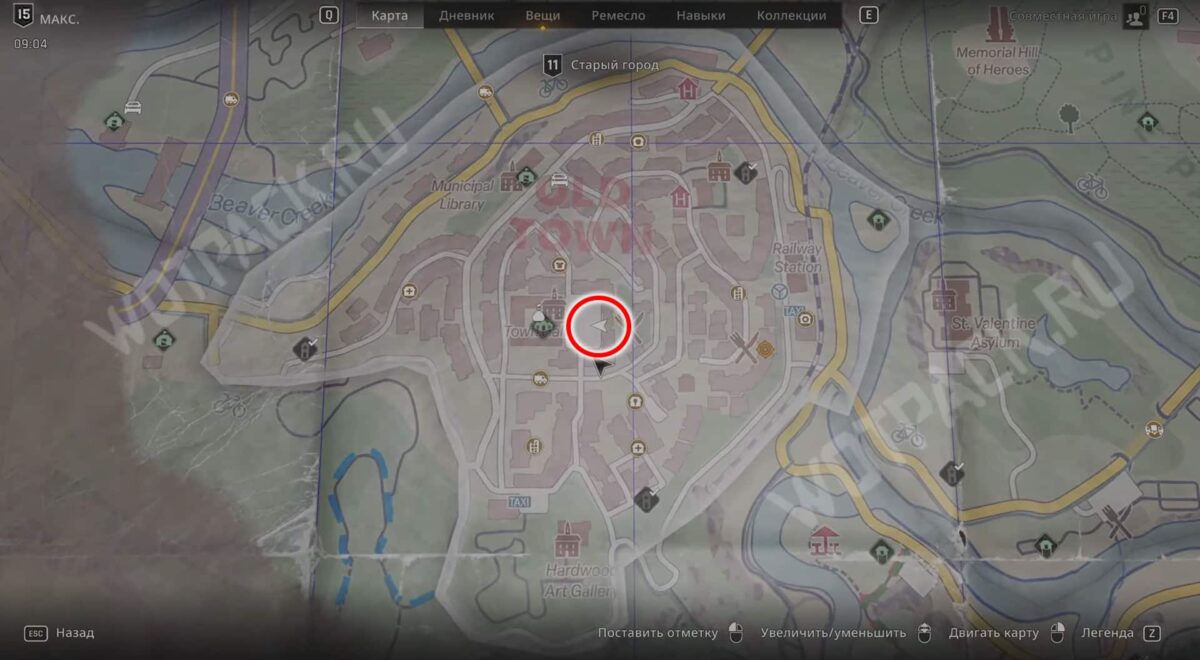
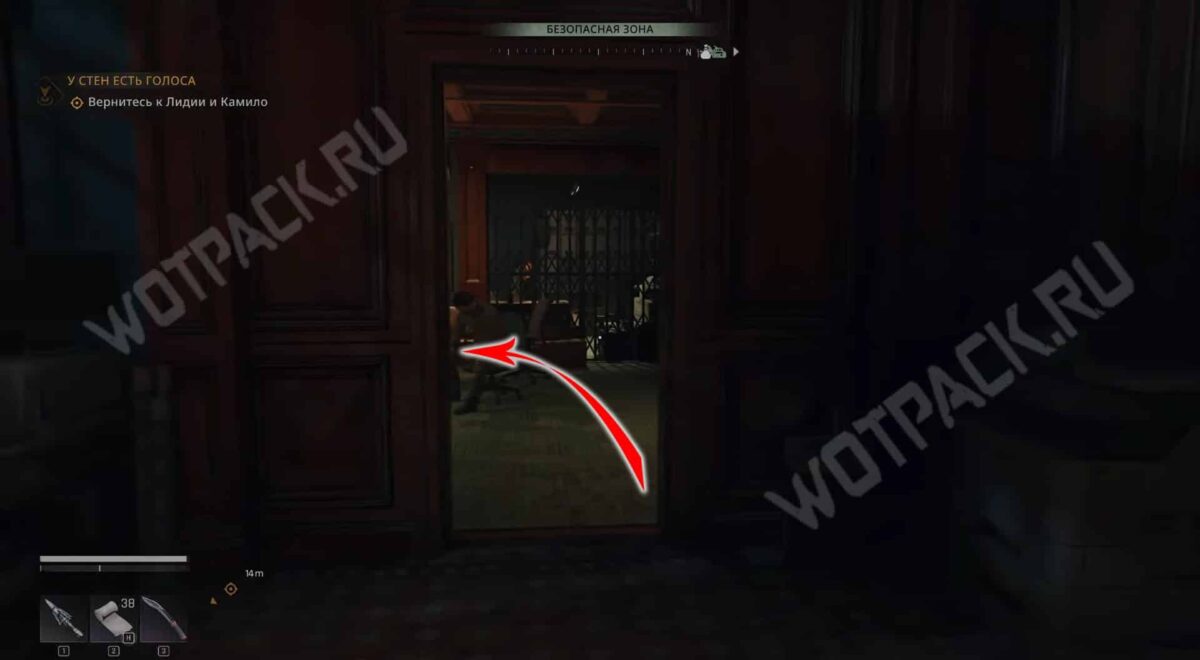
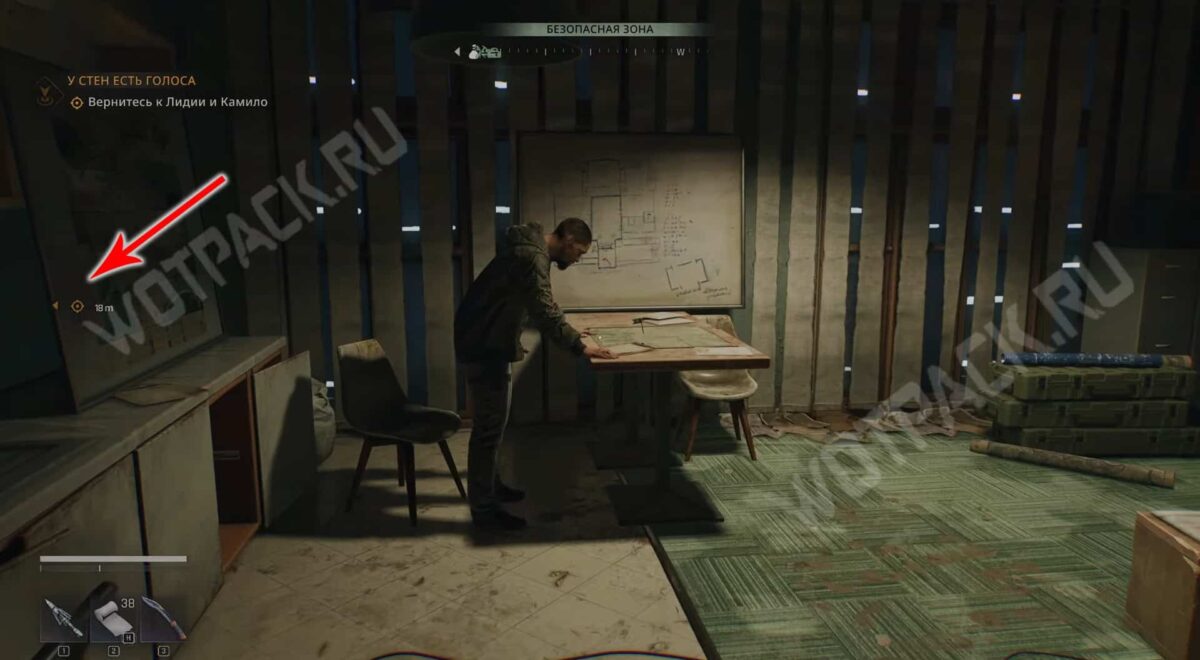
Enter the Town Hall through the main entrance, turn left, then into the room on the right, and proceed to the documents room. The sketch you need is hanging on the painting above the desk.
Where is the E3 treasure located?
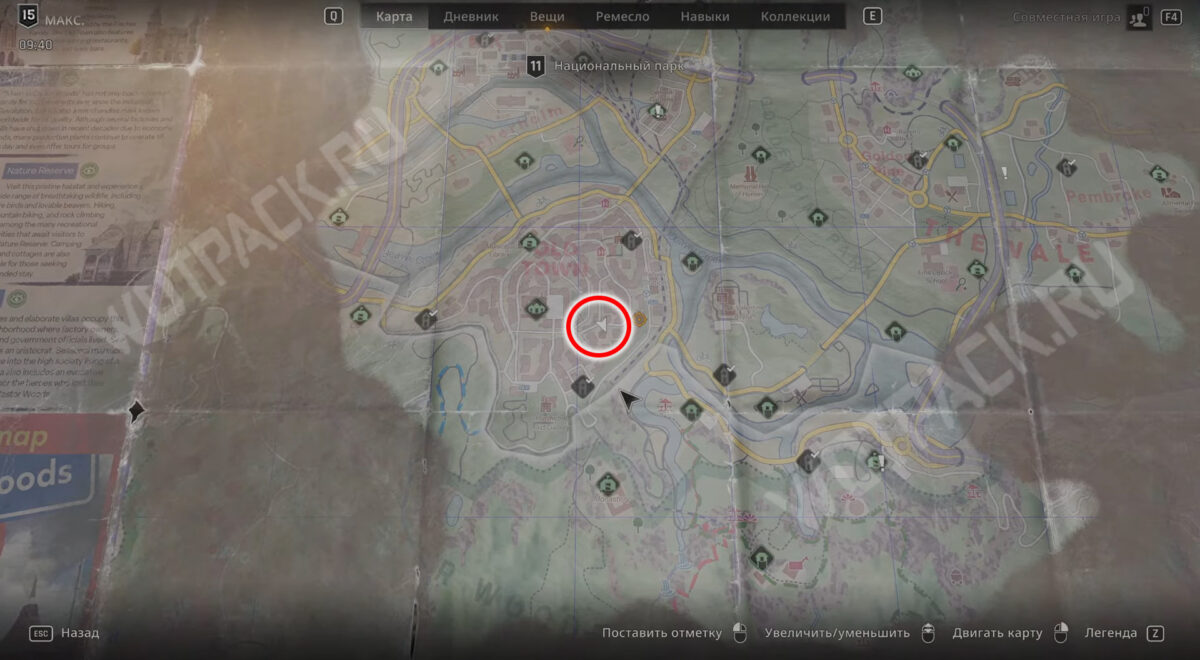
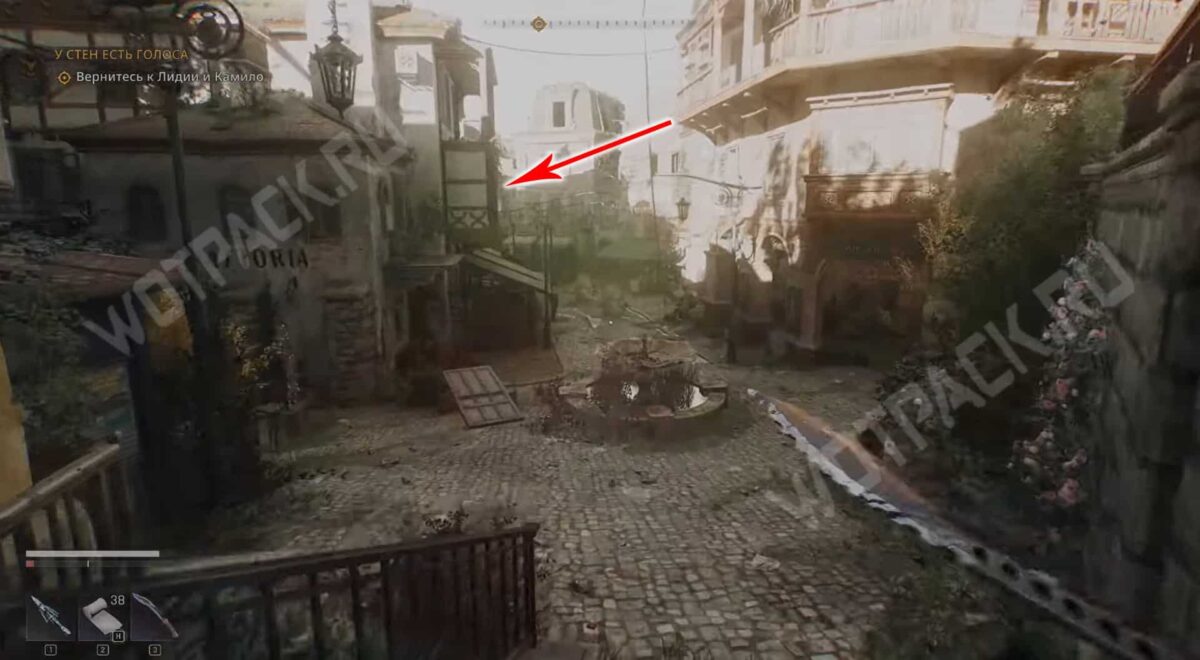
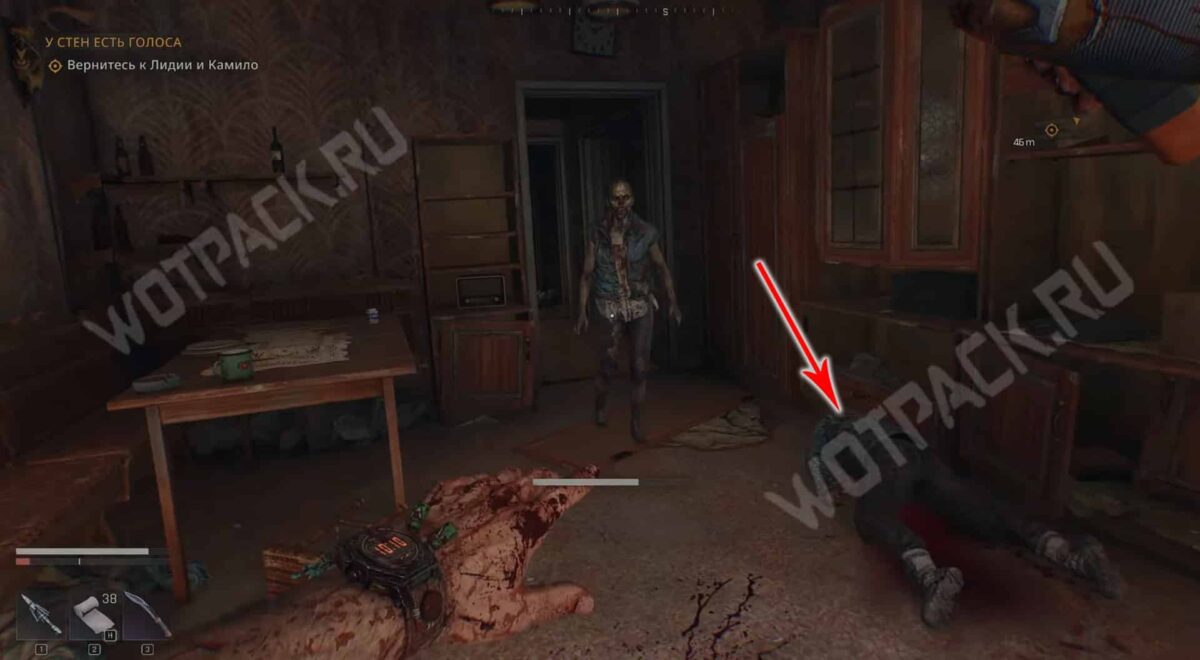
Head to the eastern part of the Old Town. Climb through the window of the apartment in the white building above the Italian restaurant and examine the man's corpse. Take the key underneath and head towards the bell tower.
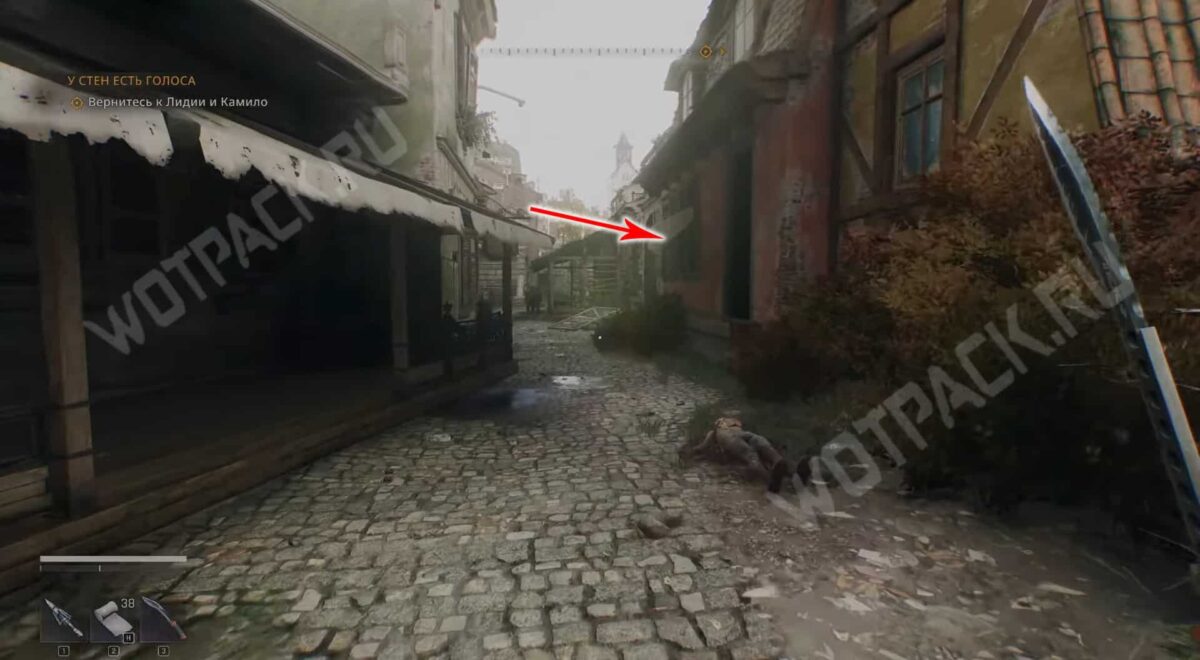
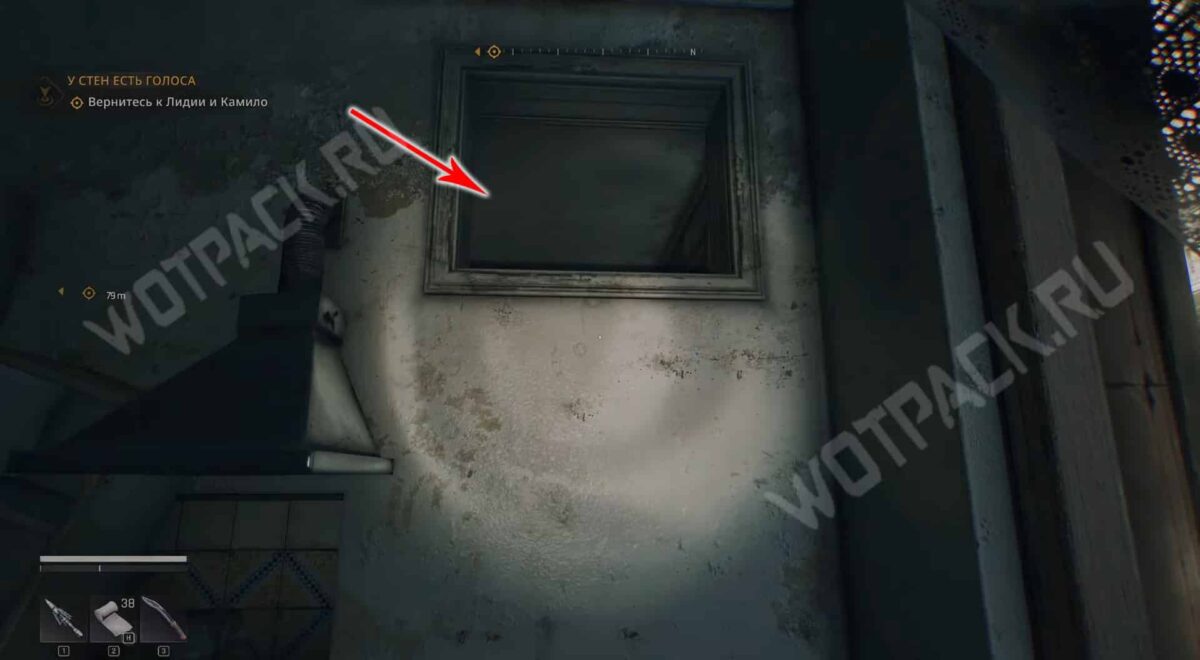
In the narrow street opposite the building with the bells, enter the red house through the open window. Move to the other room through the hole in the wall on the right and move the cabinet blocking the passage.
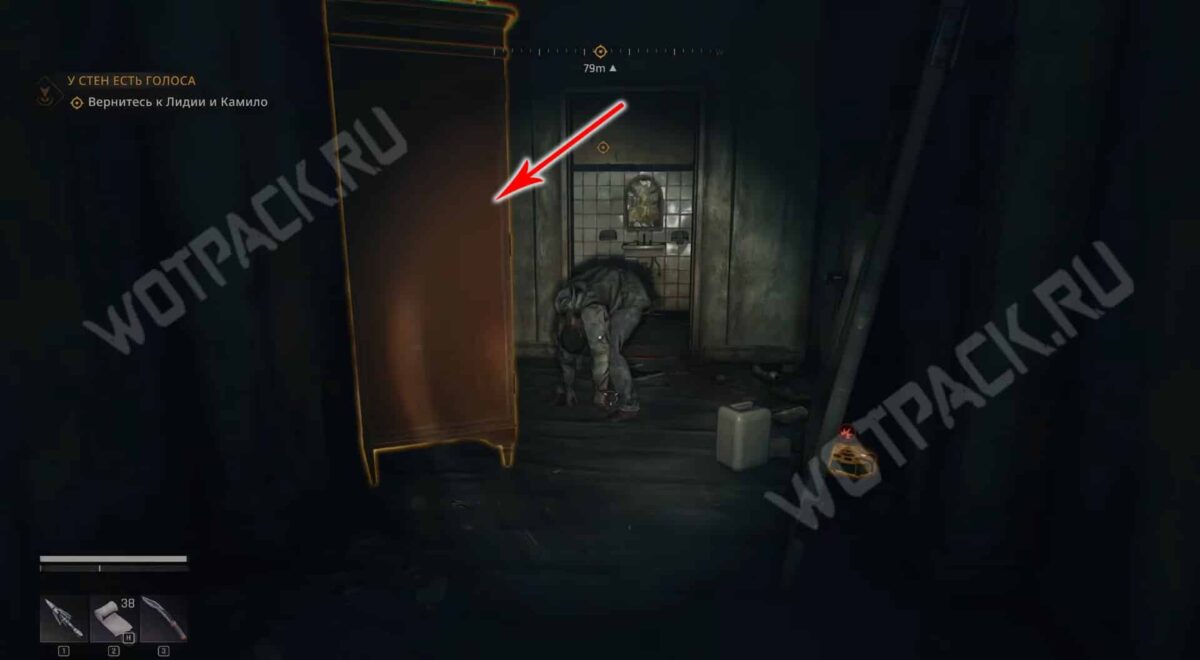
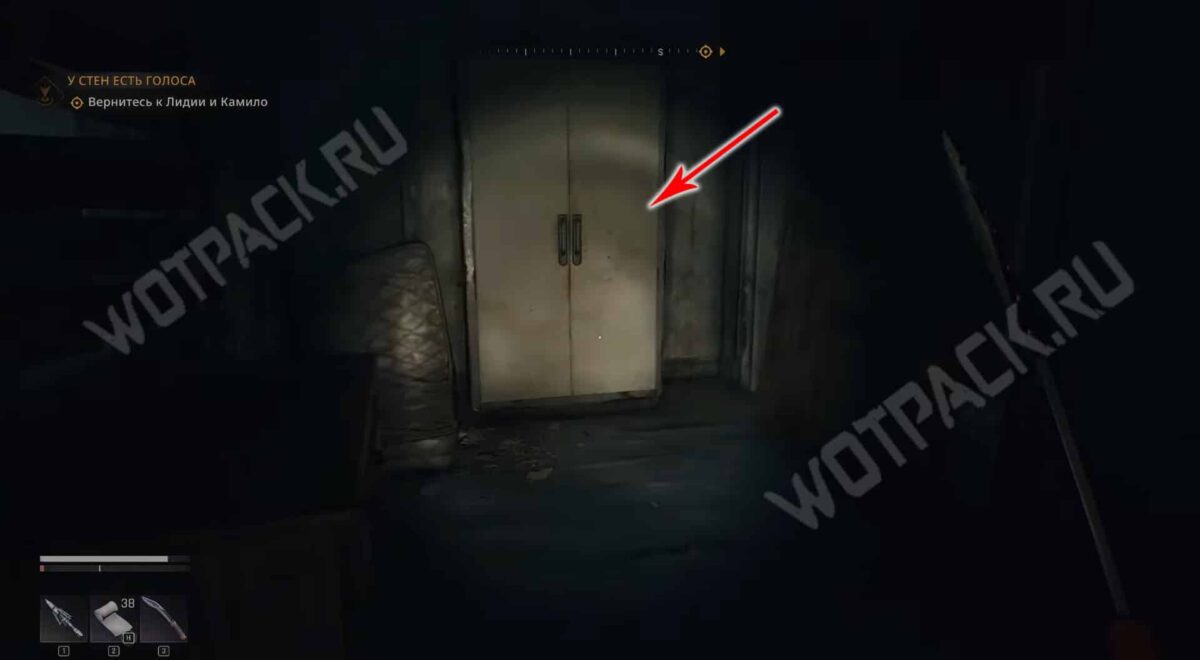
In the room, open the white cabinet with the key and take it legendary Stamina Booster and Army First Aid Kit.
E4 Map
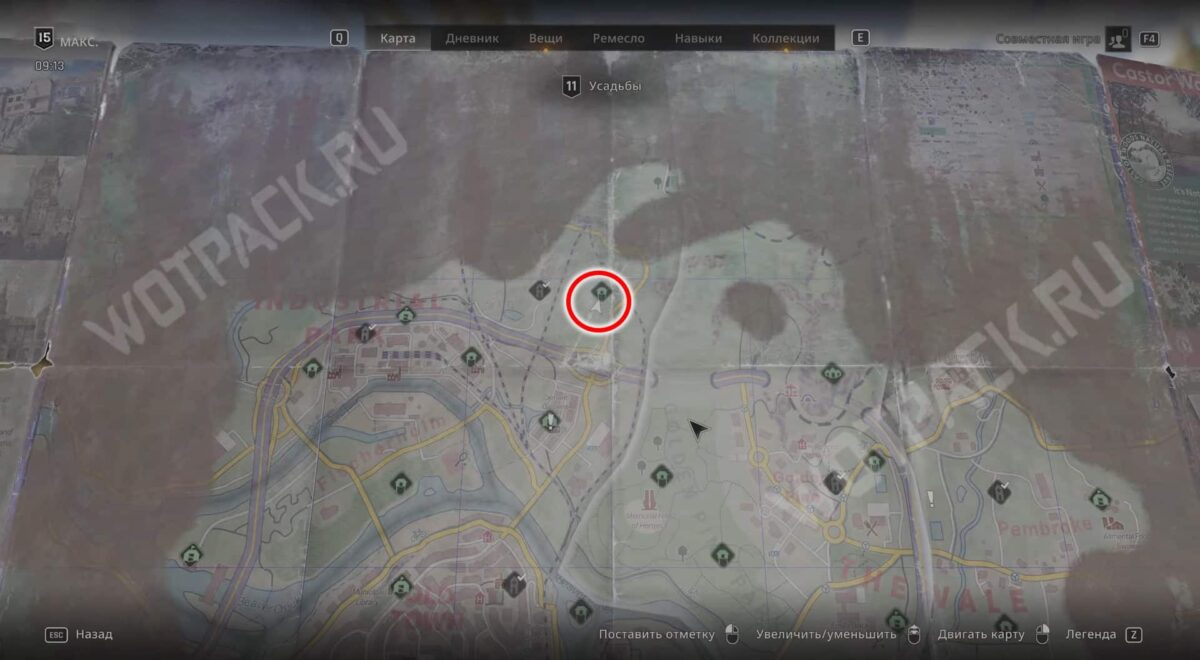
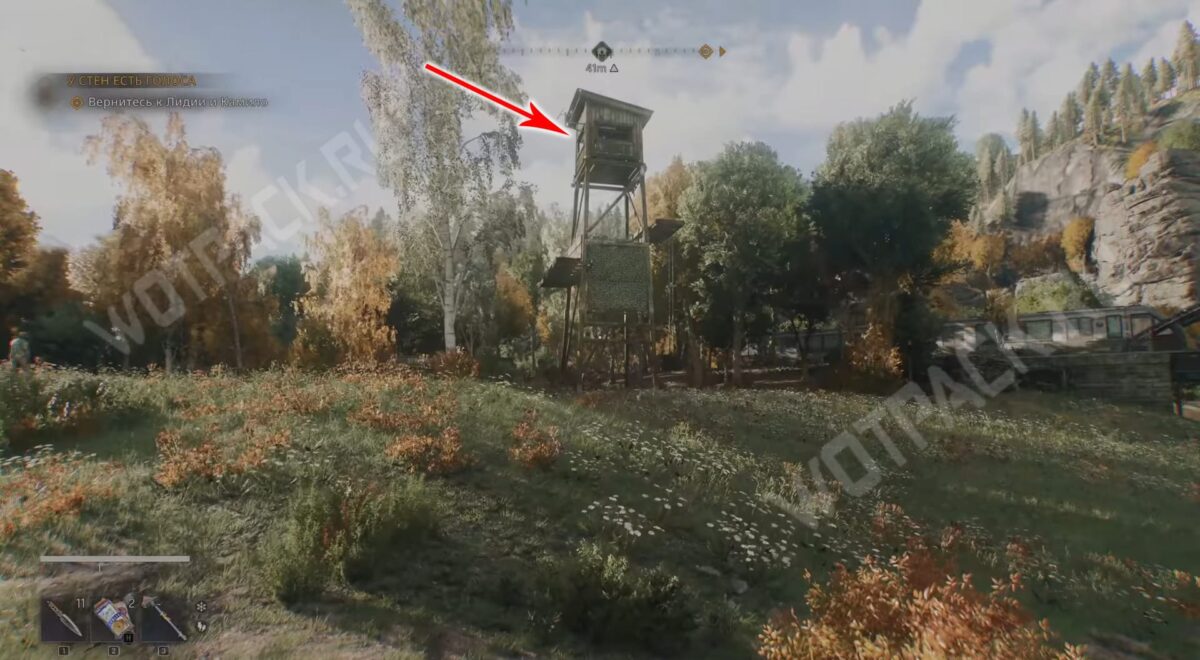
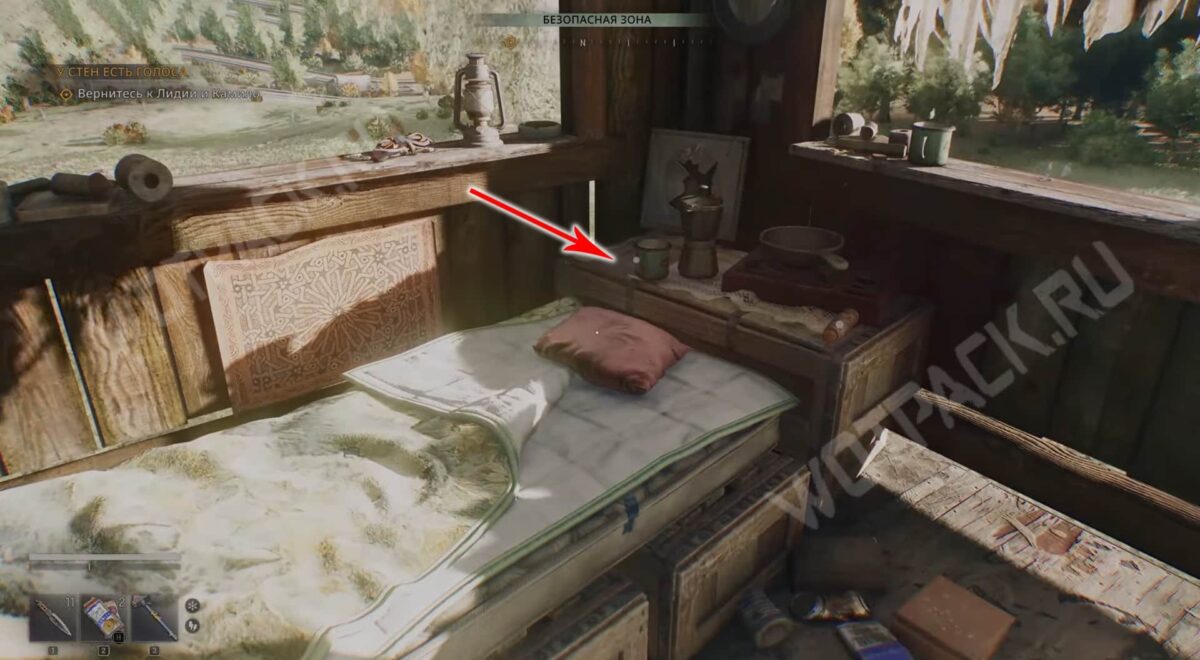
In the northeast industrial zone, activate the safehouse at the cargo station. Pick up the drawing on the nightstand near the broken mirror.
Where is the E4 treasure located?
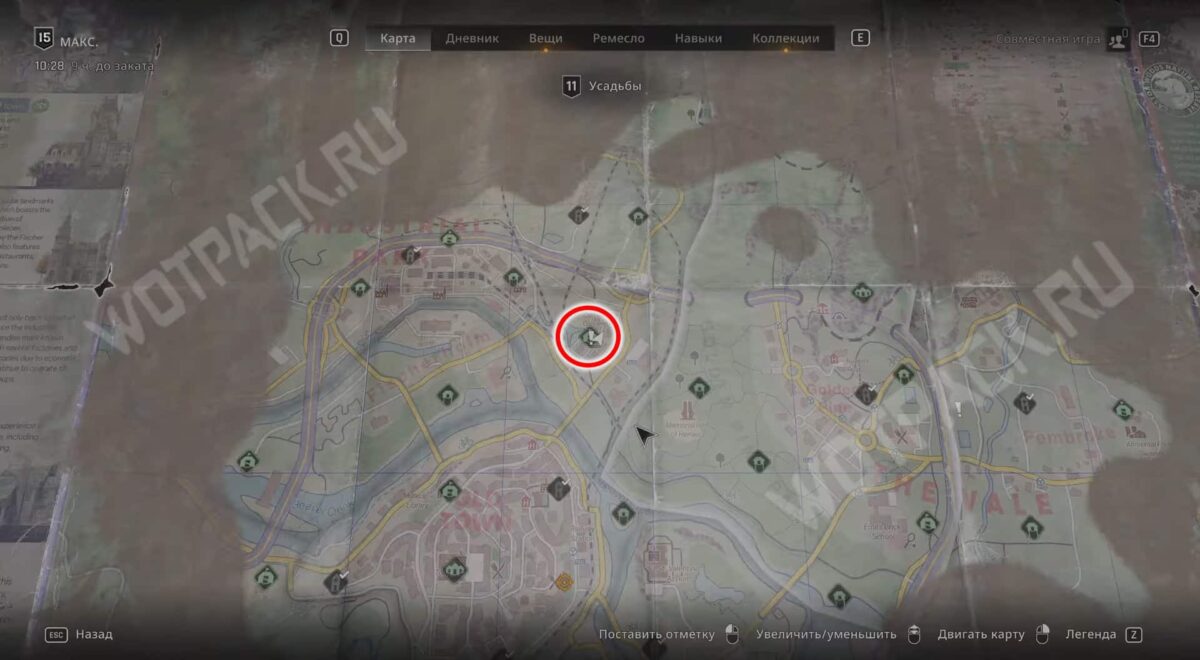
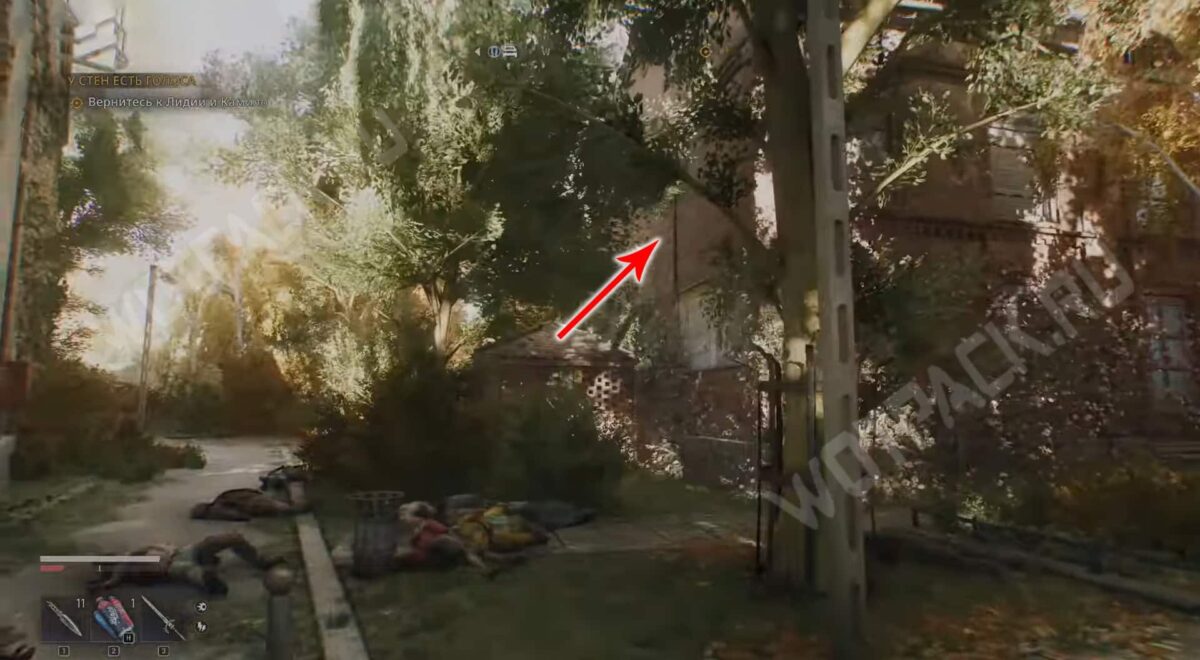
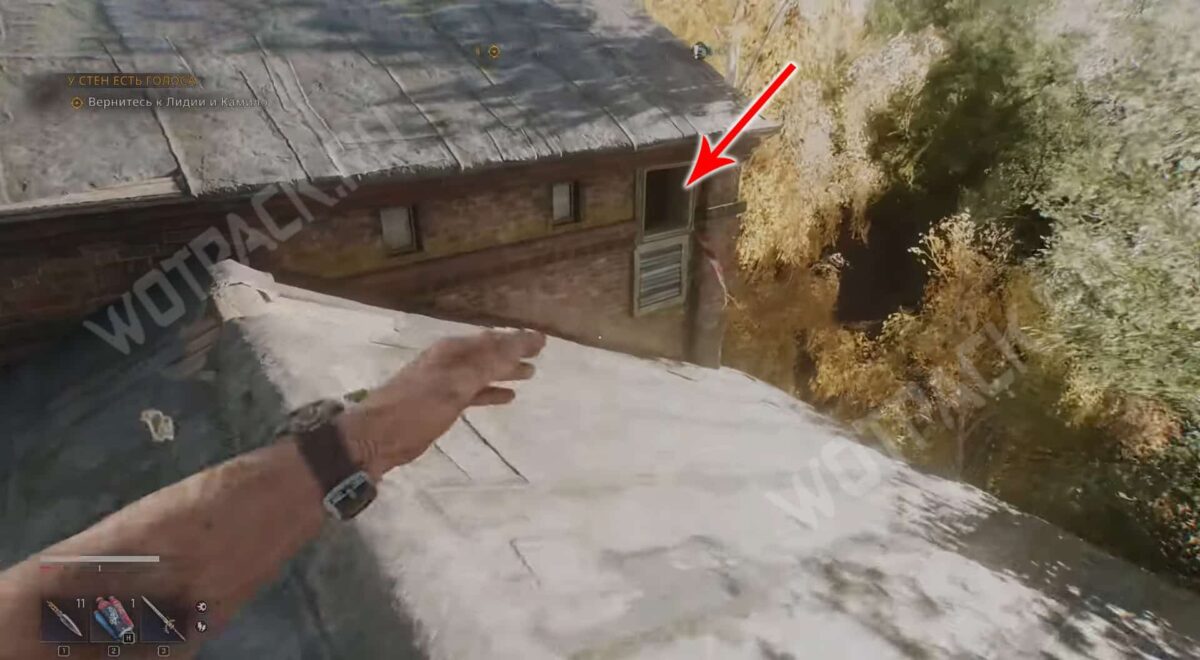
Move southwest to the Old Shelter checkpoint. Climb onto the roof of the brick building via the rain gutter and enter through the ventilation duct.
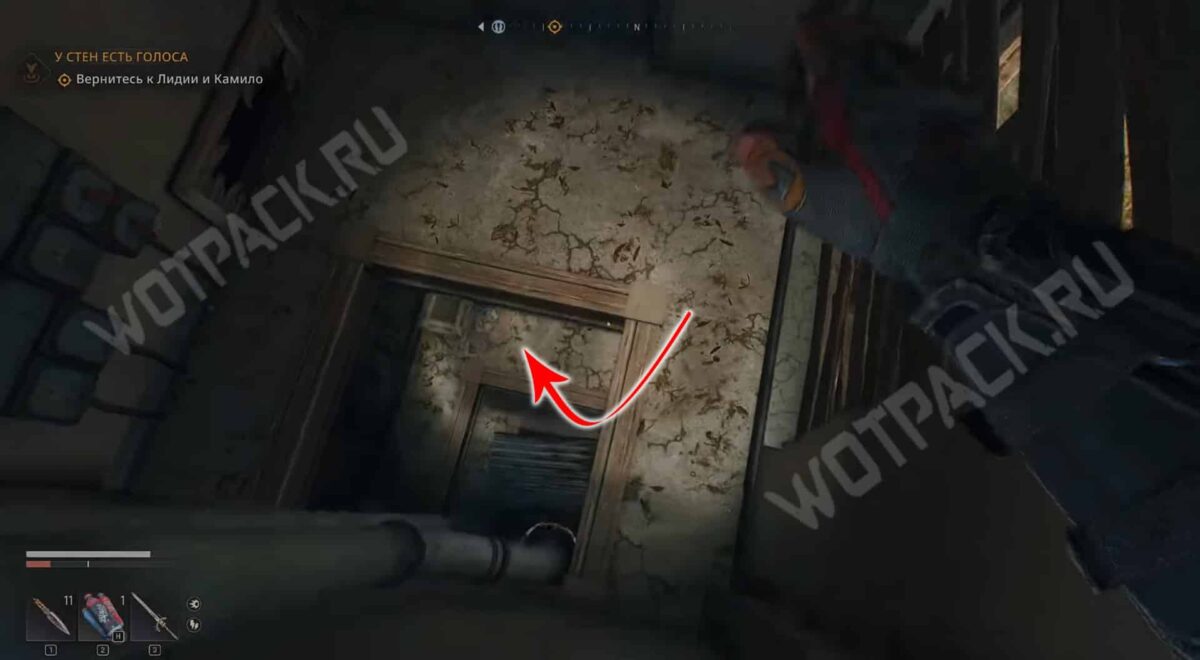
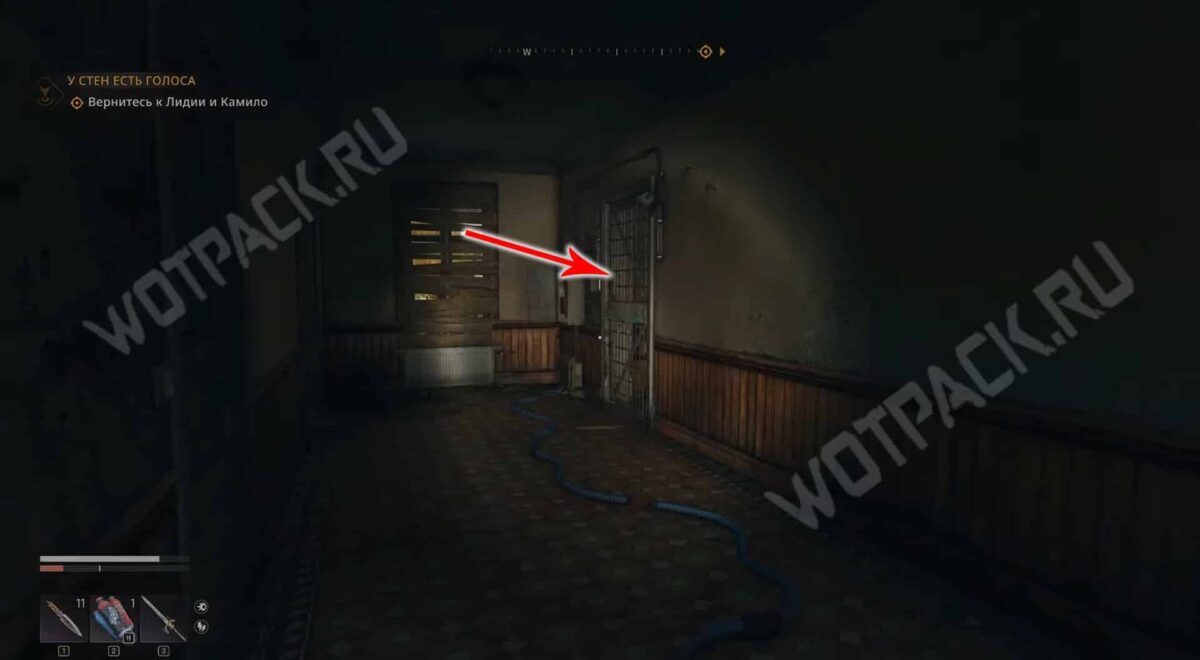
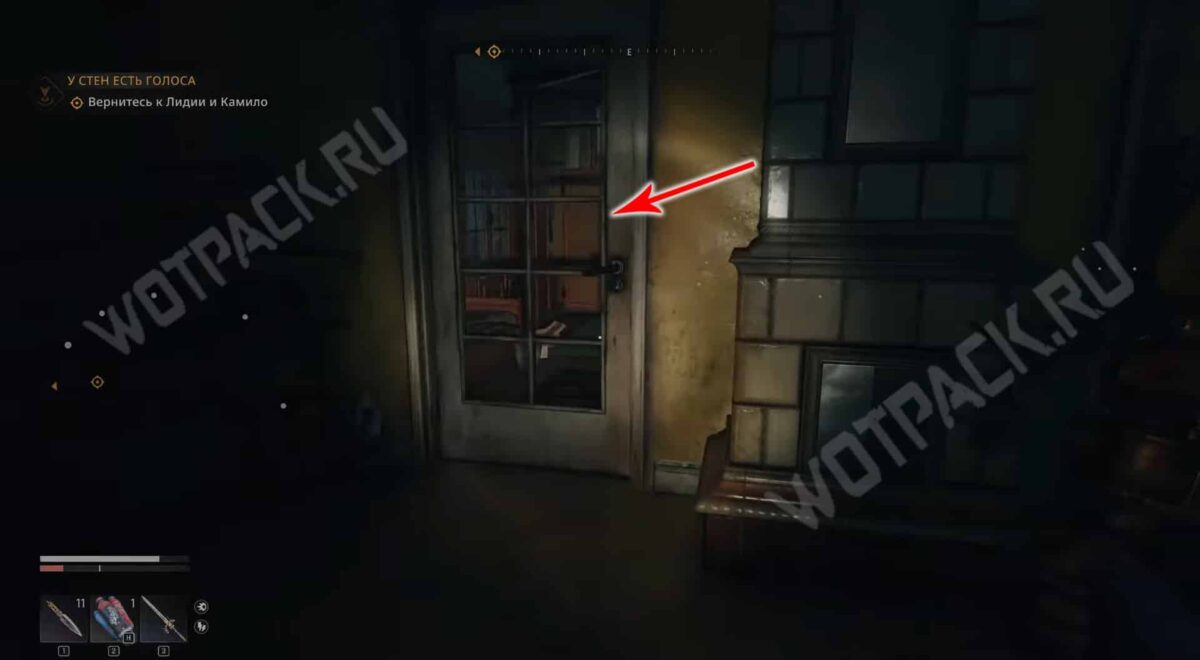
Go down the pipes to the floor below and open the barred door in the hallway. In the apartment, go to the bedroom and pick up the legendary C4 explosive.
Video guide showing where to find all the cards:
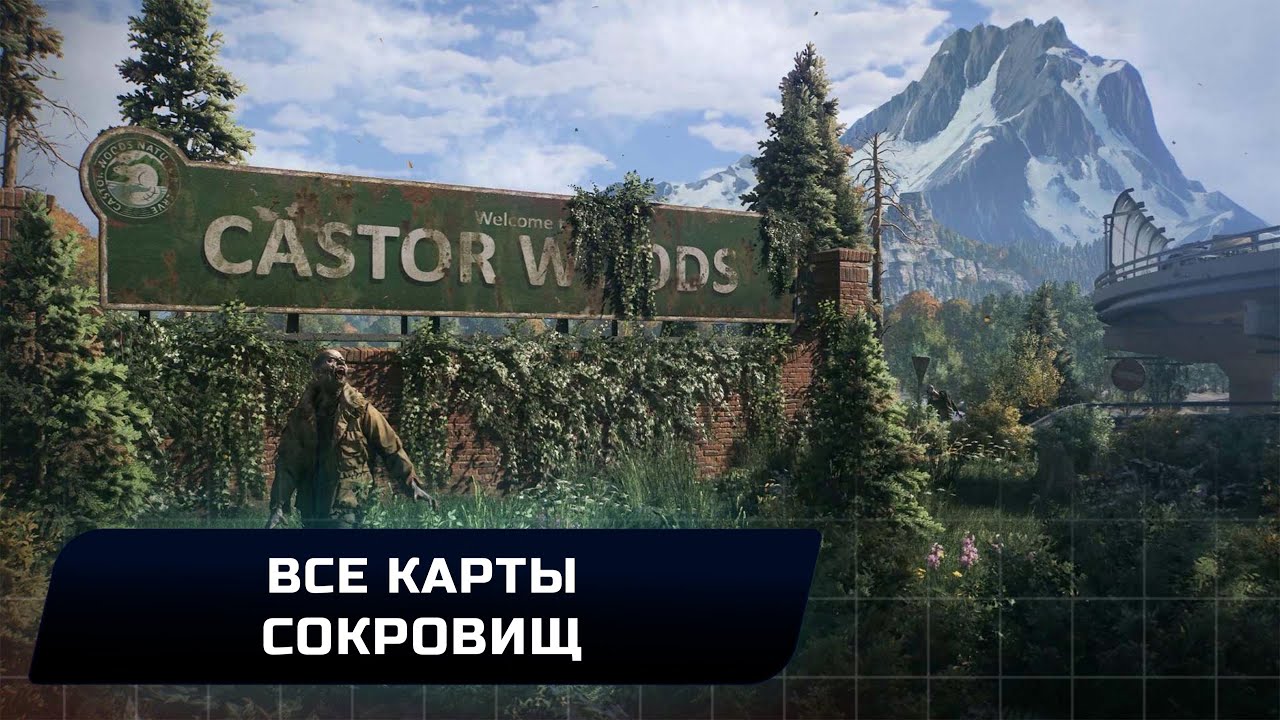
Treasure maps will make it easier to find rare weapons and equipment and help you acquire the resources you need to survive in Dyne Light: The Beast. Follow the clues and explore abandoned domains to assemble a powerful set for combat with chimeras and take revenge on the Baron.