

Tlatzacuilotl in Genshin Impact - a researcher of the golden city, who is an elite enemy from among local legends of Natlan, which can be defeated in the Night's Trial. The enemy is endowed with a large amount of health and protection, so you will have to use special mechanics to fight him. After defeating him, you can unlock a combat achievement and earn Primogems as a reward.
In this guide, we'll look at how to find and defeat Tlatzacuillotl to unlock the achievement and collect the full list of rewards. We'll look at all the abilities of a strong enemy and ways to activate special dodge, and also provide a list of tips for completing the challenge comfortably.
How to Get the Tlatzacuilotl Achievement in Genshin Impact
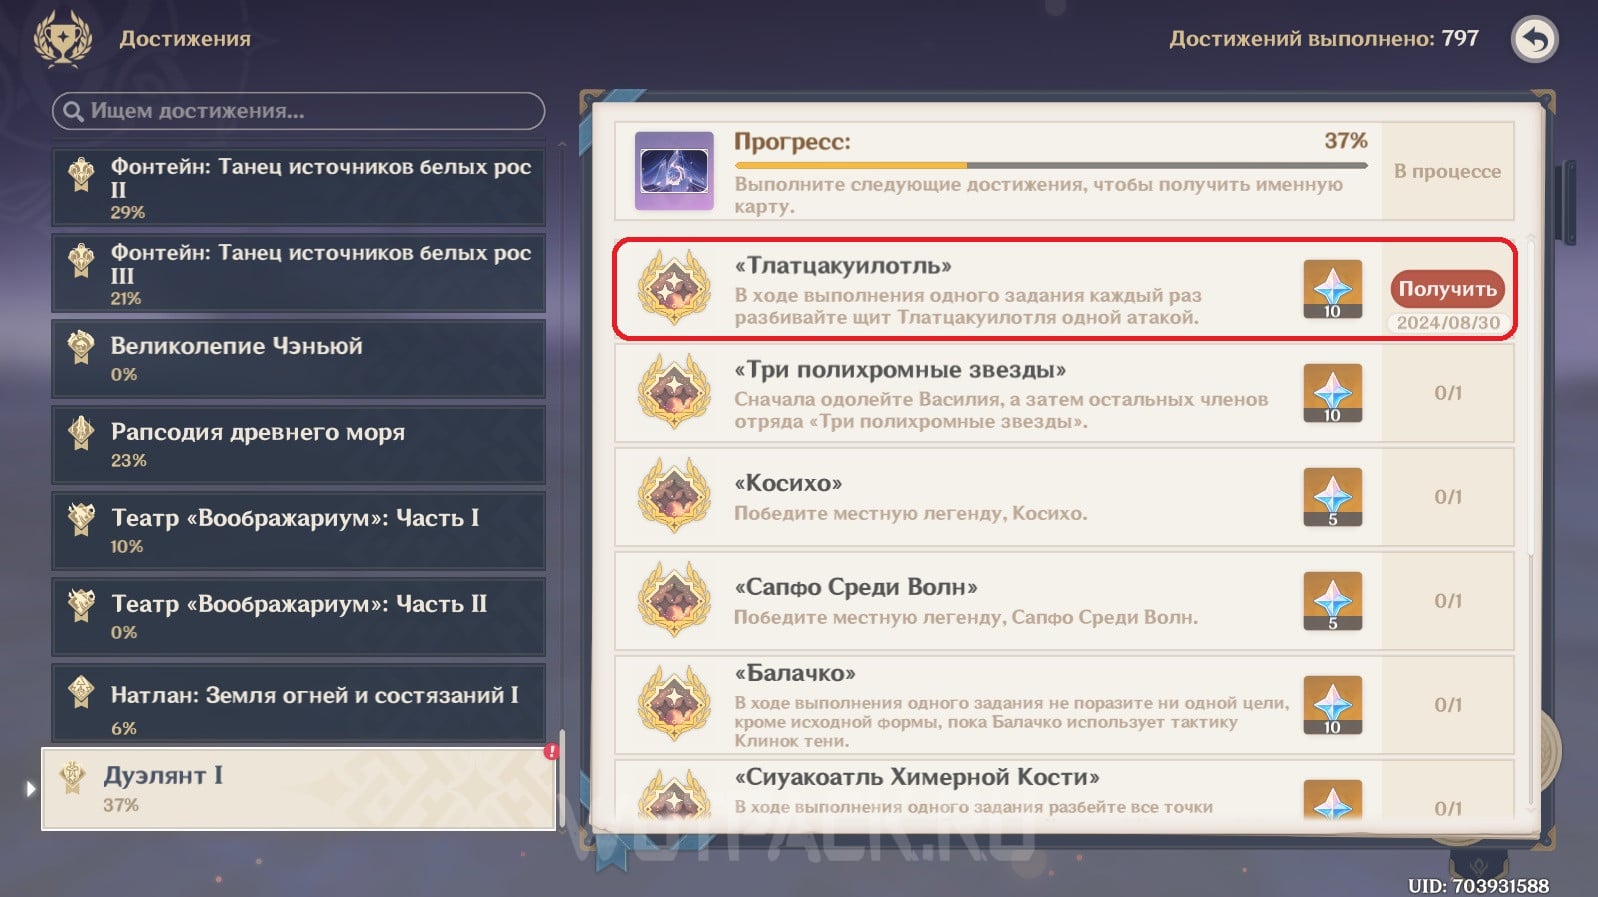
The achievement is completed in several approaches: the first time you need to defeat Tlatzacuillotl, in subsequent battles you need to fulfill special requirements. For each condition that is counted, a reward is given, which depends on the difficulty:
- Condition for 5 Source Stones: Defeat the local legend, Tlatzacuilotl.
- Condition for 10 Primogems: During a single quest, break Tlatzacuilotl's shield with one attack each time.
- Condition for 20 Source Stones: Defeat Tlatzacuilotl without being hit by his attacks.
Where to find Tlatzacuilotl in Natlan
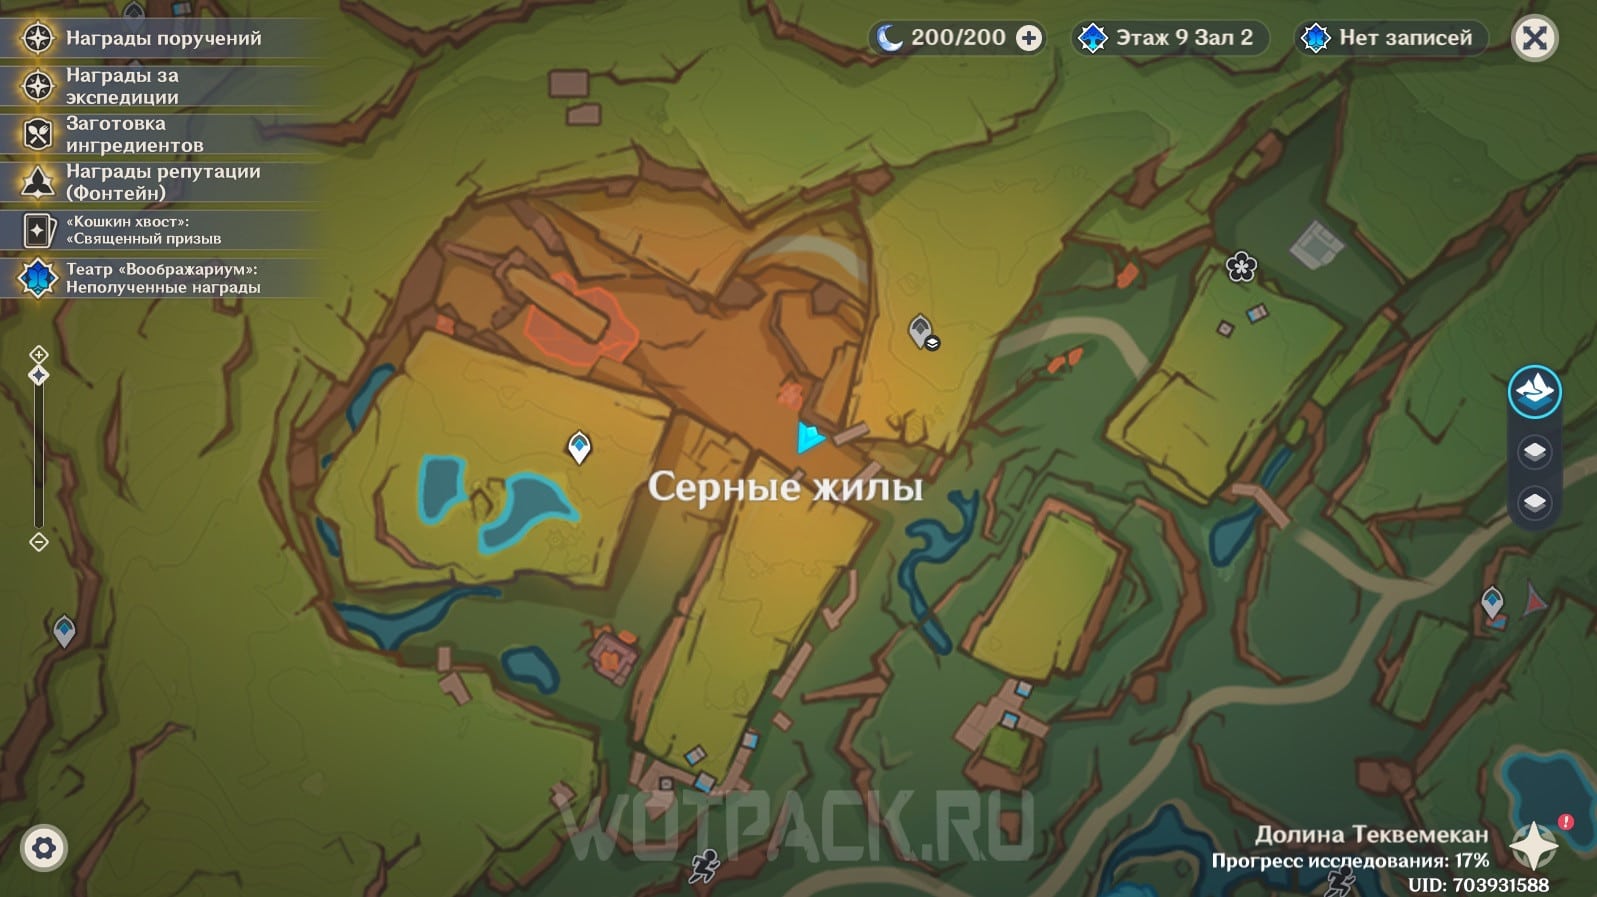
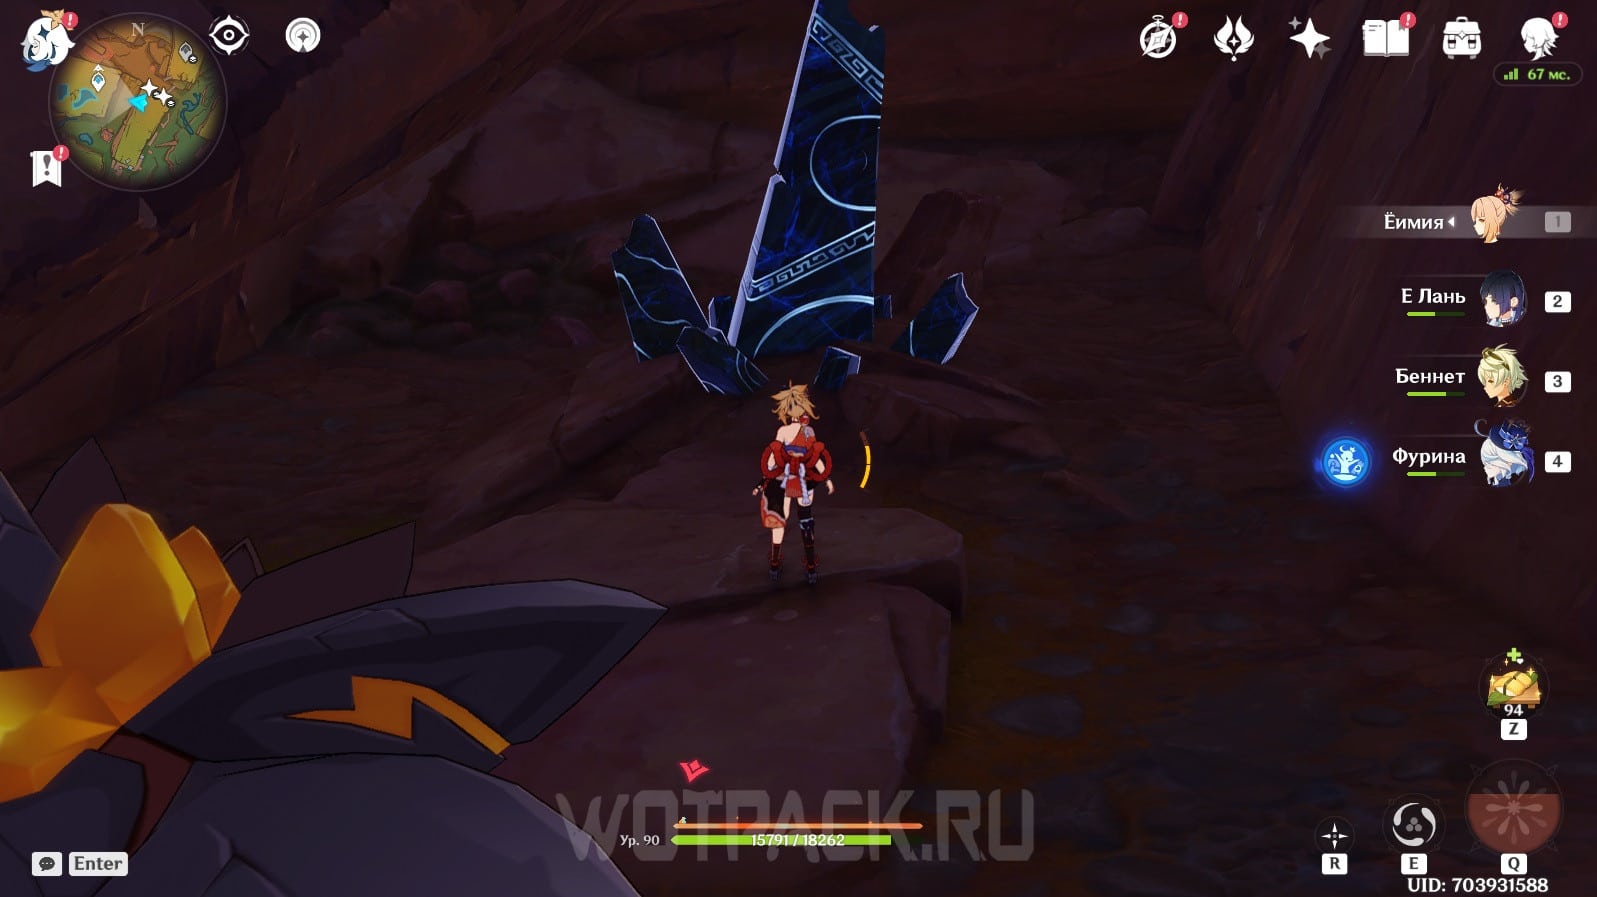
Tlatzacuilotl is located in the Sulfur Veins area. You can fight the local legend in the Night Realm, using the obsidian totem pole in the Sulfur Veins location. Solve riddle with resonating stones to open access to the totem.
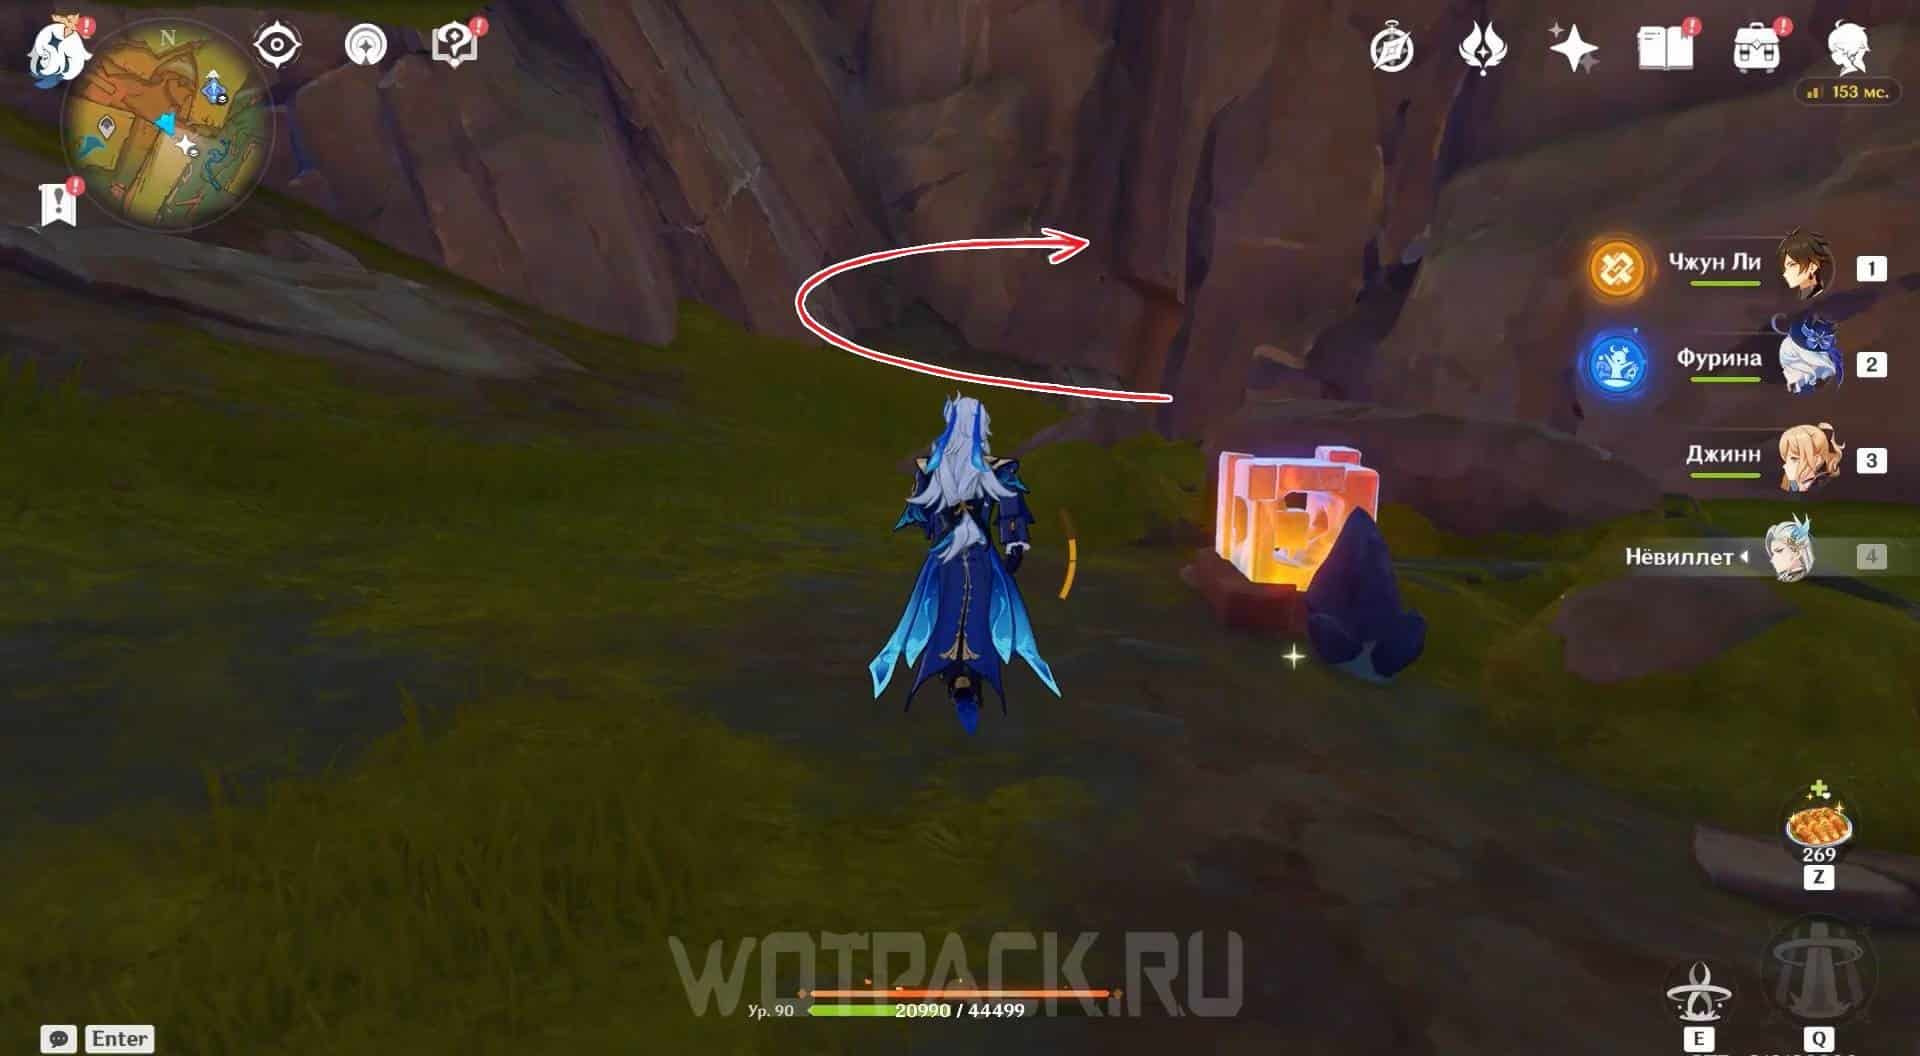
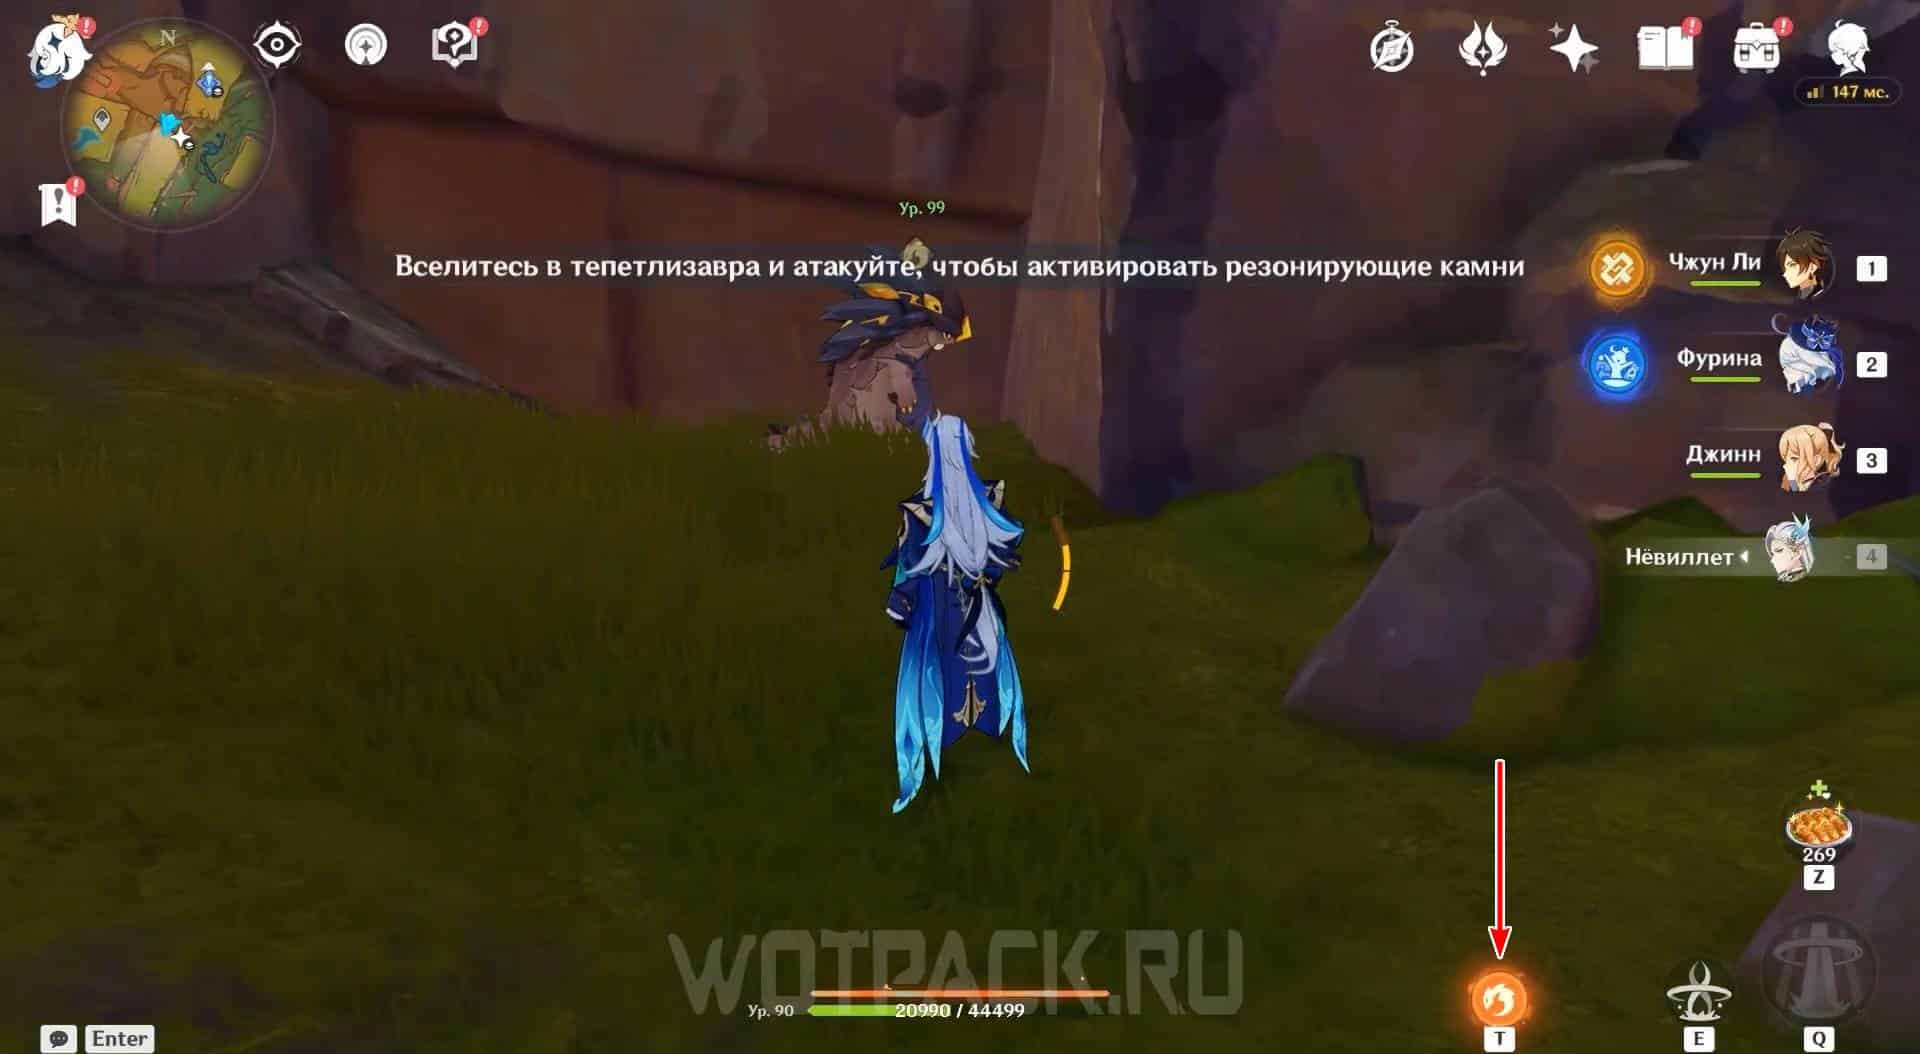
Use the teleport point to the Sulfur Veins and drop down into the canyon. Follow the eastern exit to find a square crystal and a digger. Tepetlisaurus around the corner.
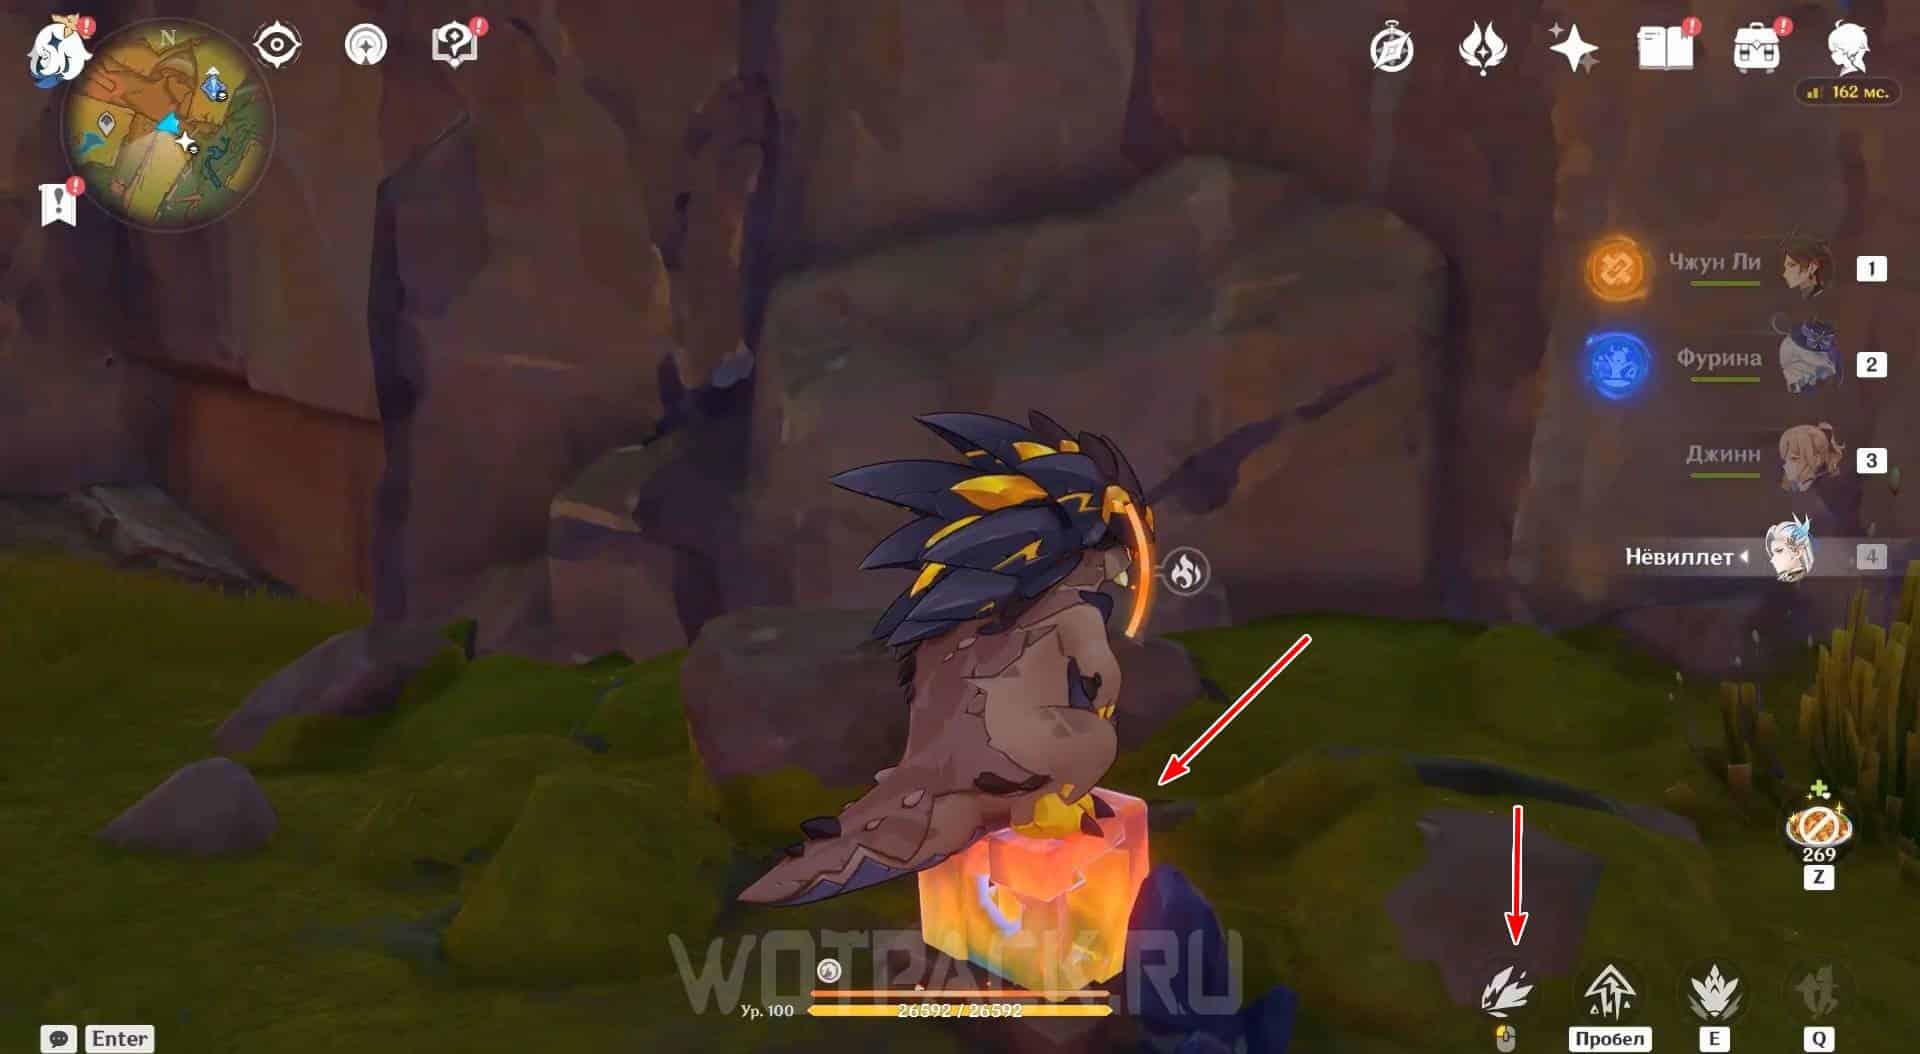
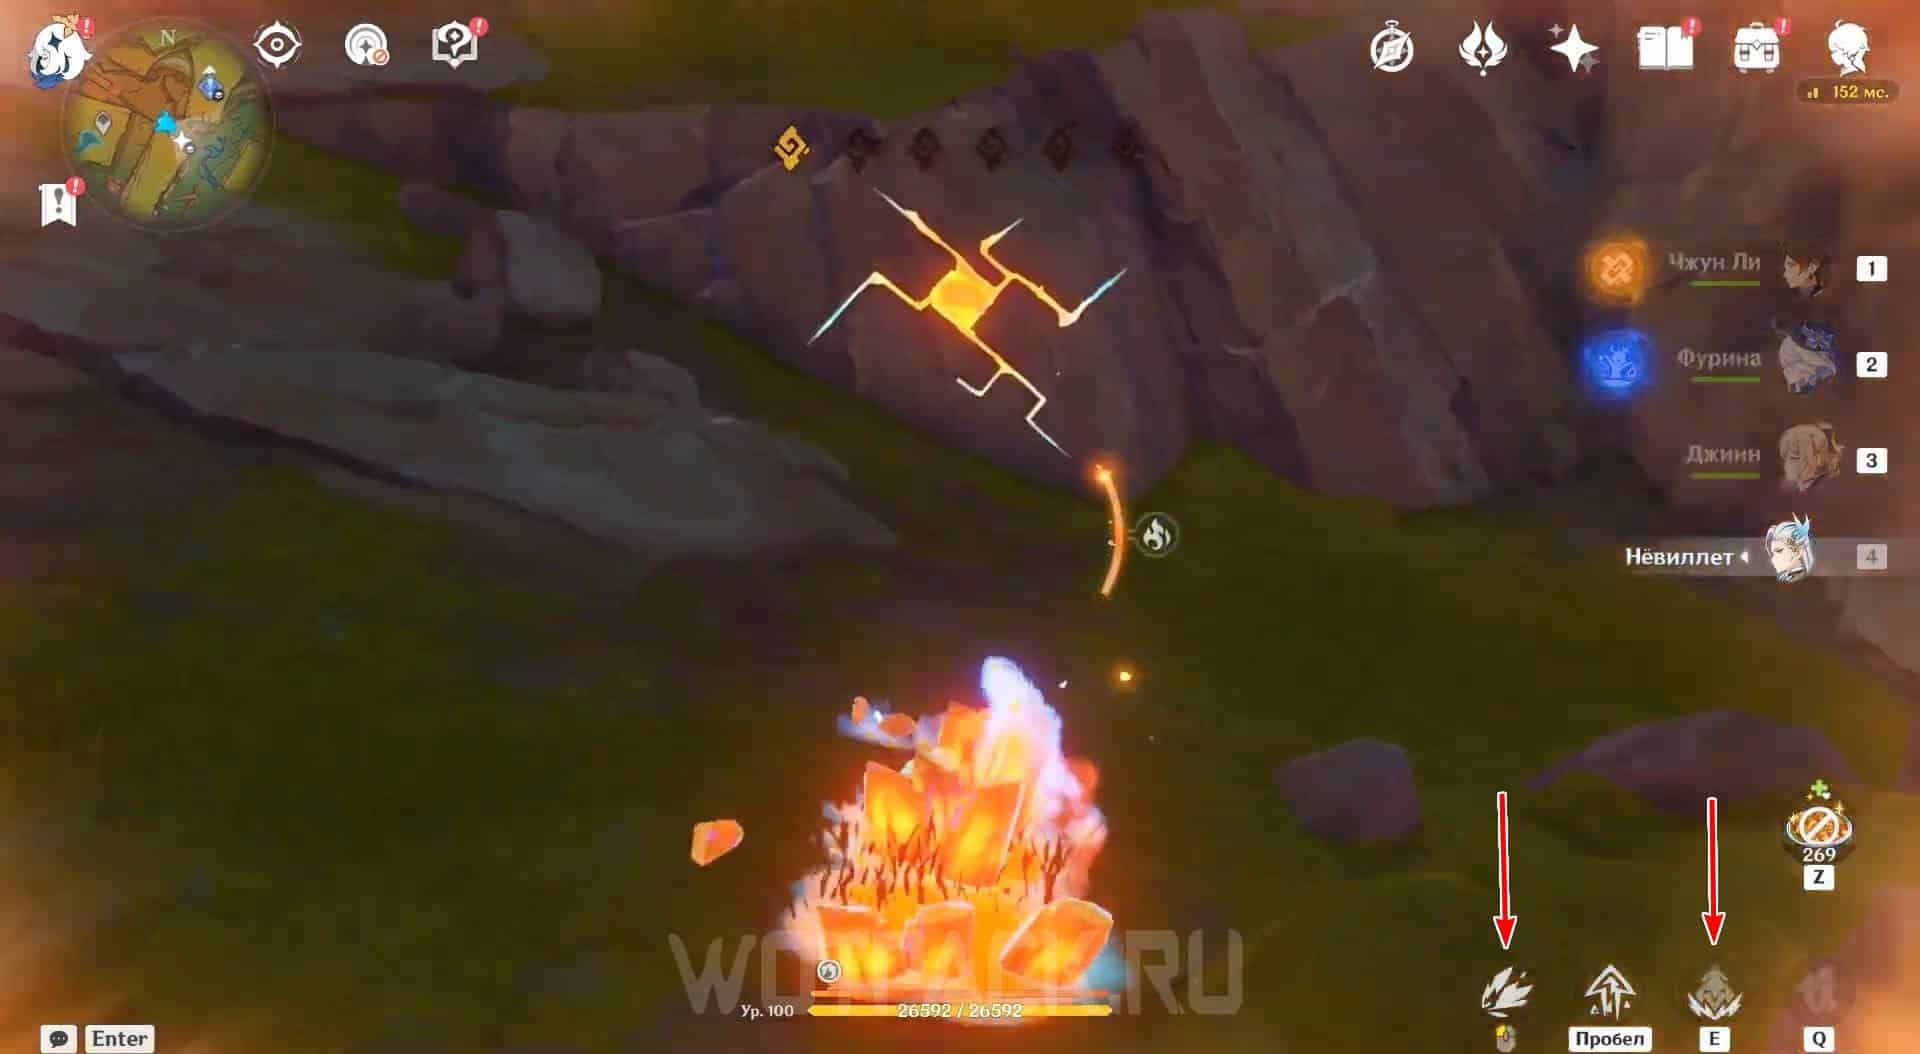
Use the soul transmigration function (Т”) and return to the resonating crystal. Attack the object with the usual basic attack button and move underground with the Tepetlizaur skill (“Е»).
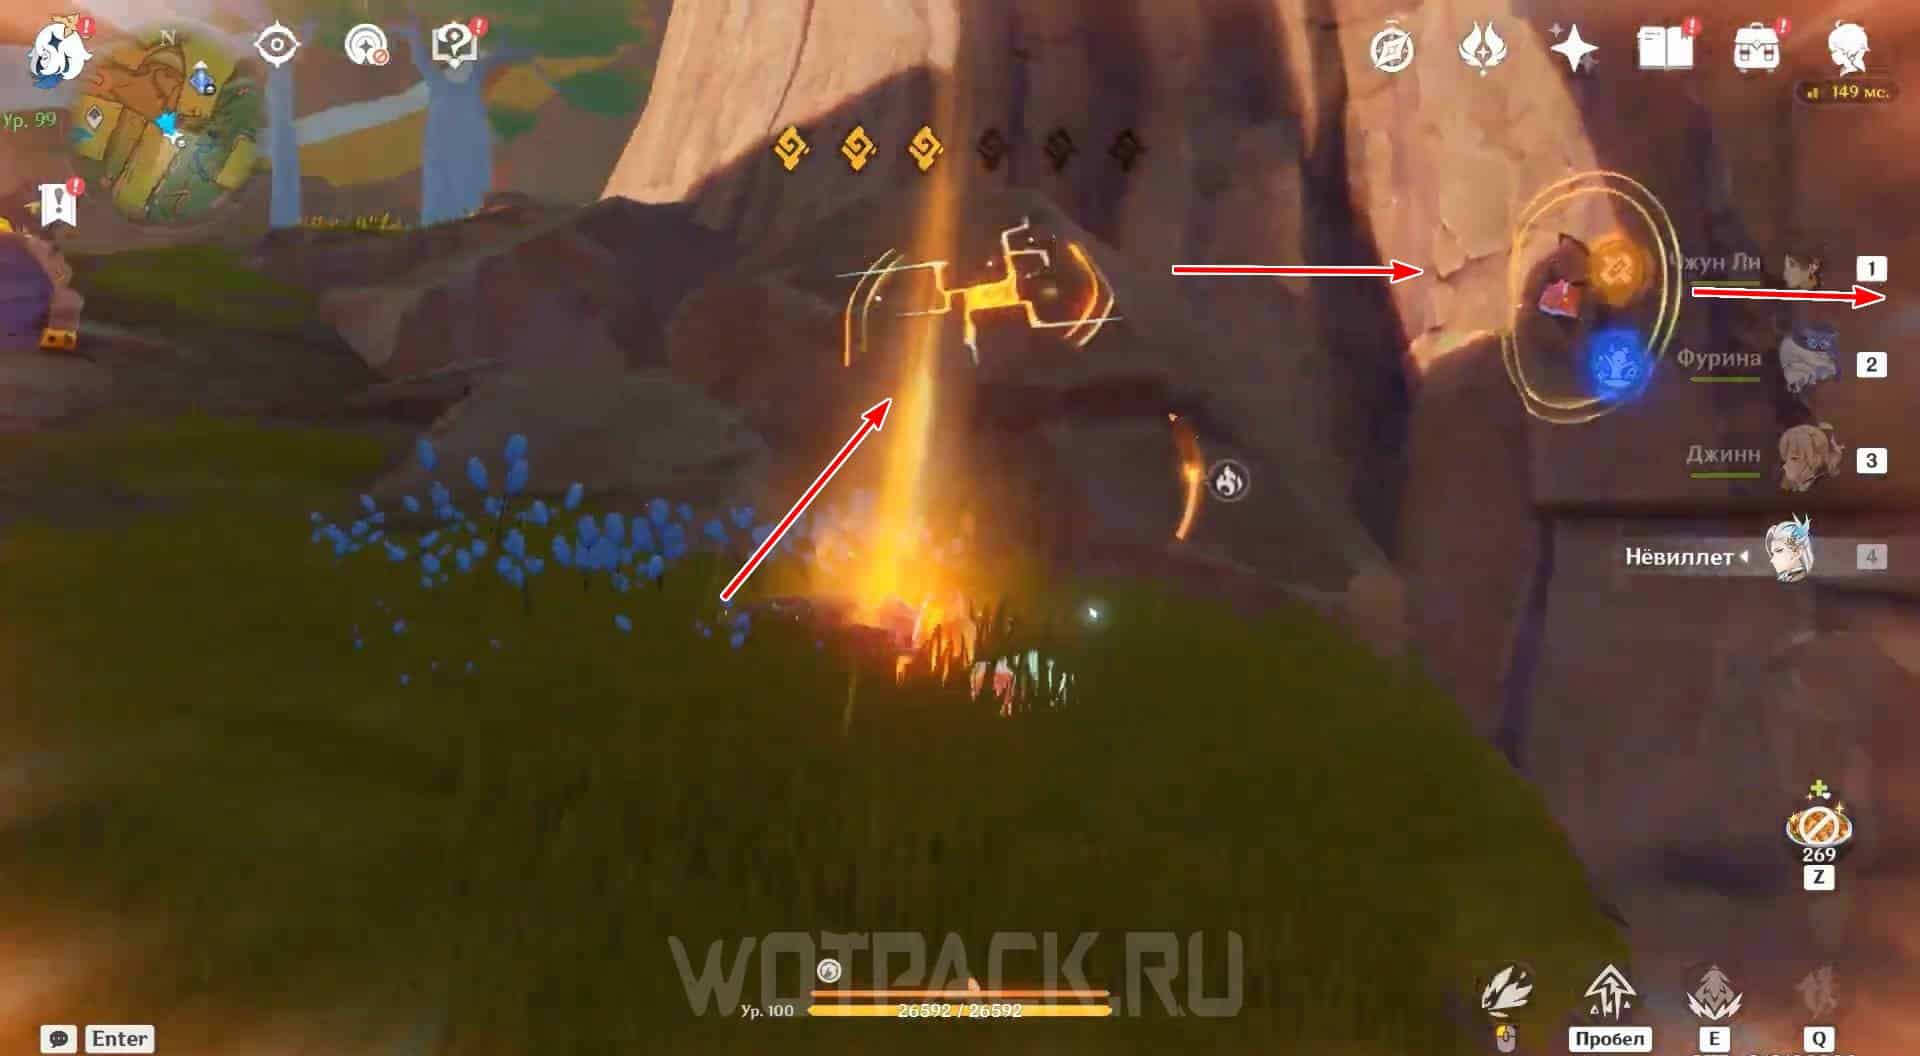
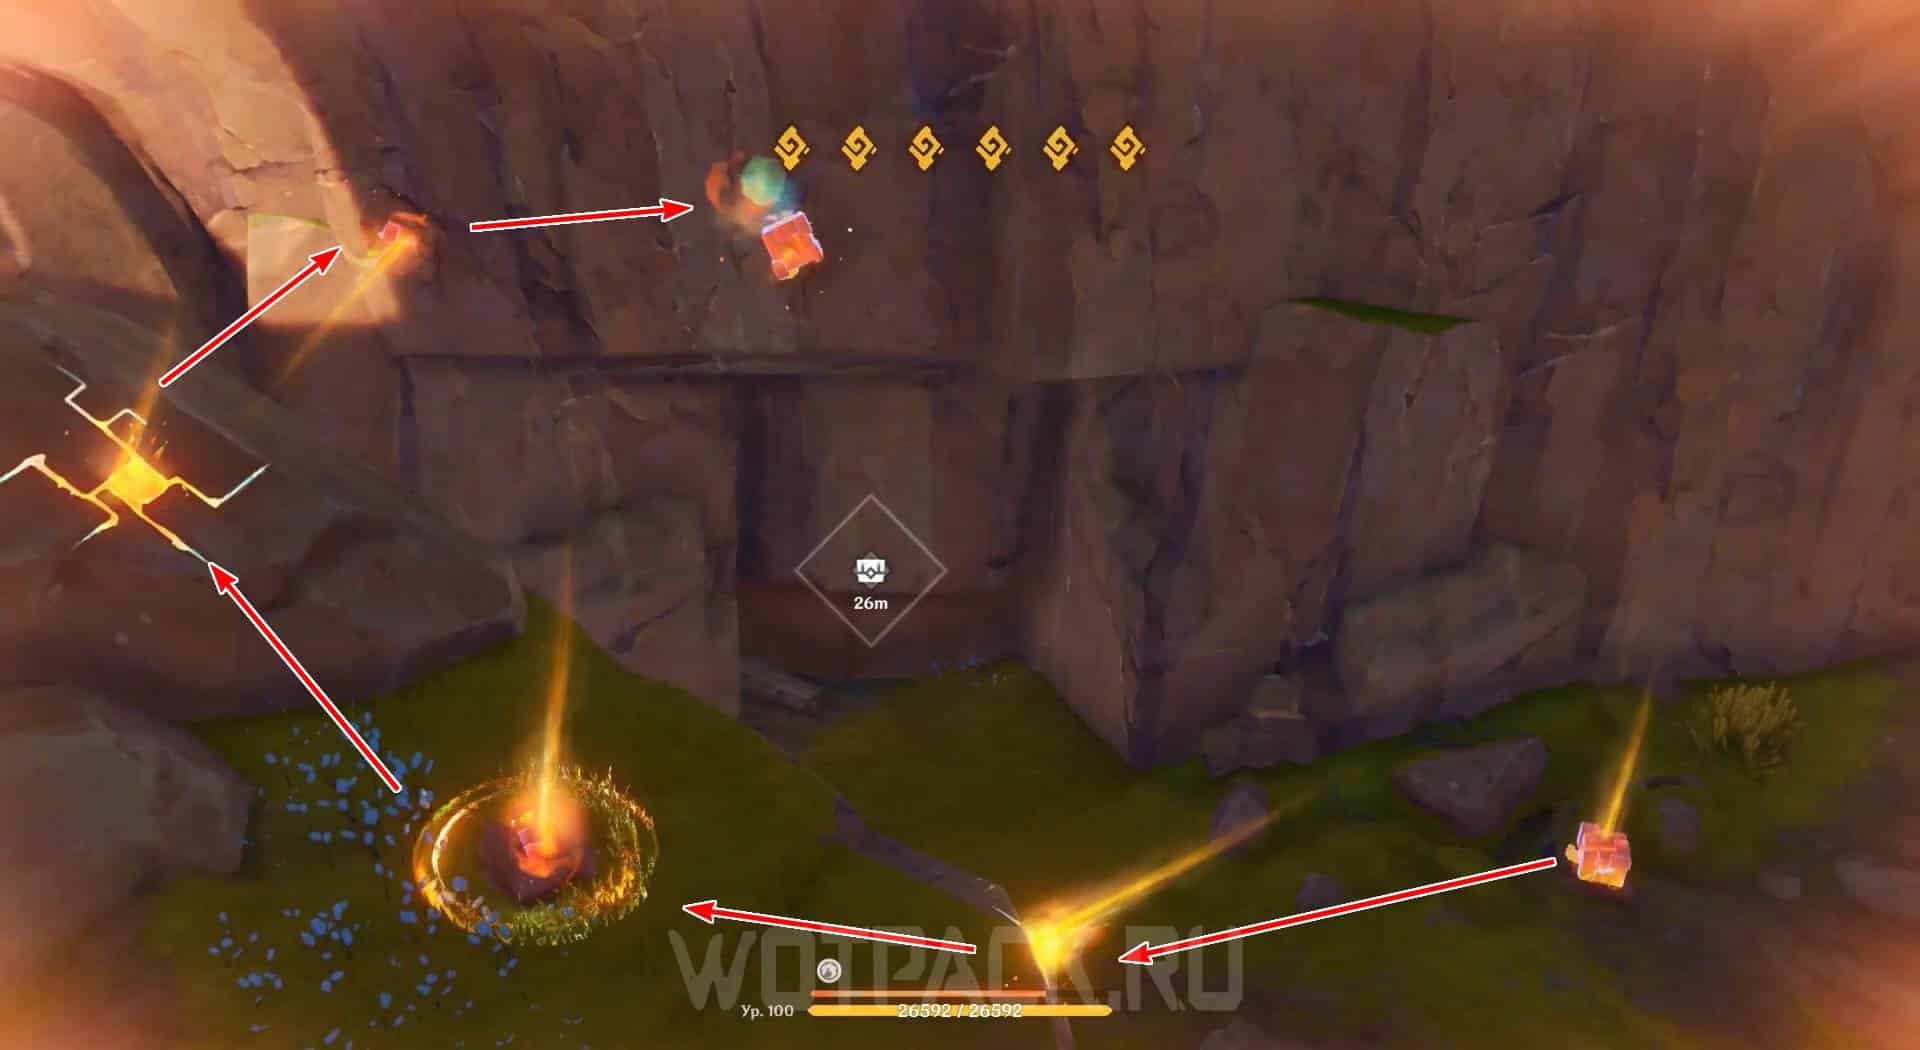
The next task is to activate all the puzzle elements in sequence. Get to the two marks on the ground and crawl towards the wall. Hit the final resonating crystal to solve the puzzle.
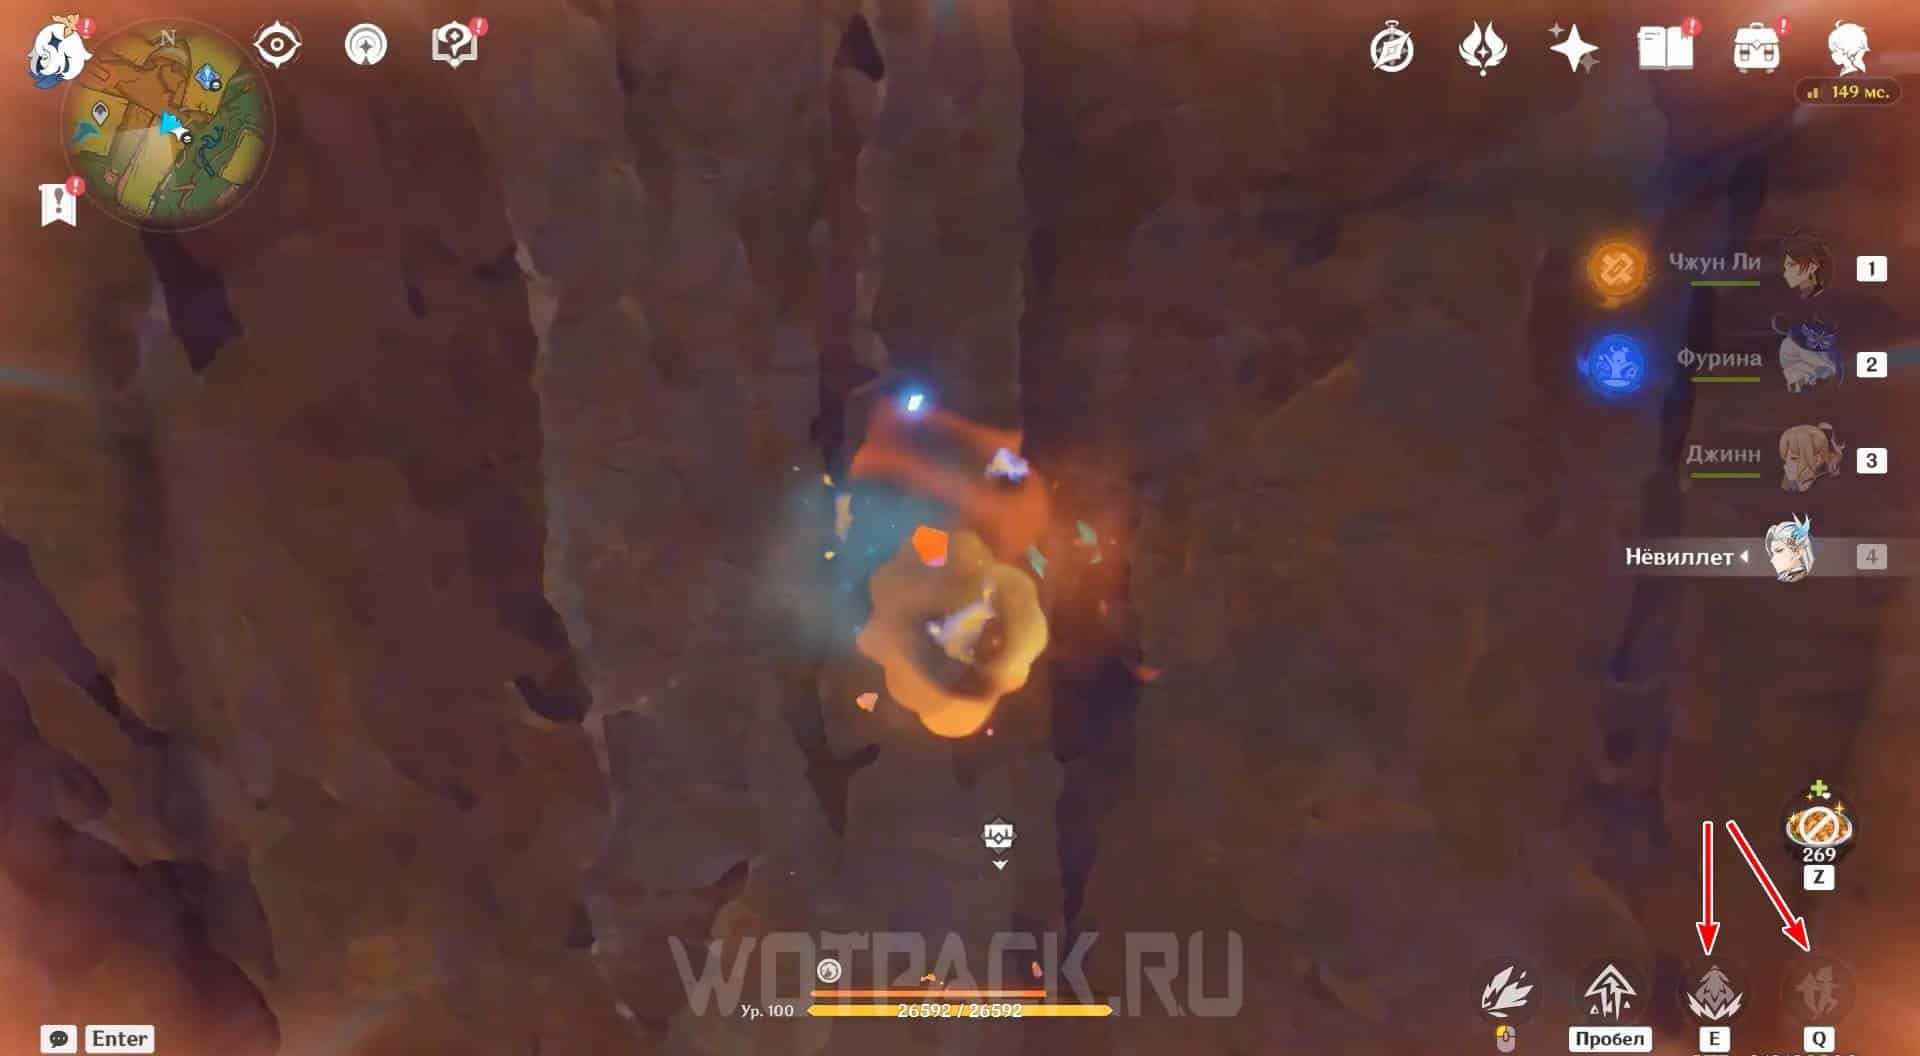
You can get out of the array using the skill button ("E"), and leave the appearance of the tepetlizaur by clicking on the icon with the little man ("Q»). Go deeper into the resulting opening and interact with the obsidian pillar.
How to defeat Tlatzacuilotl
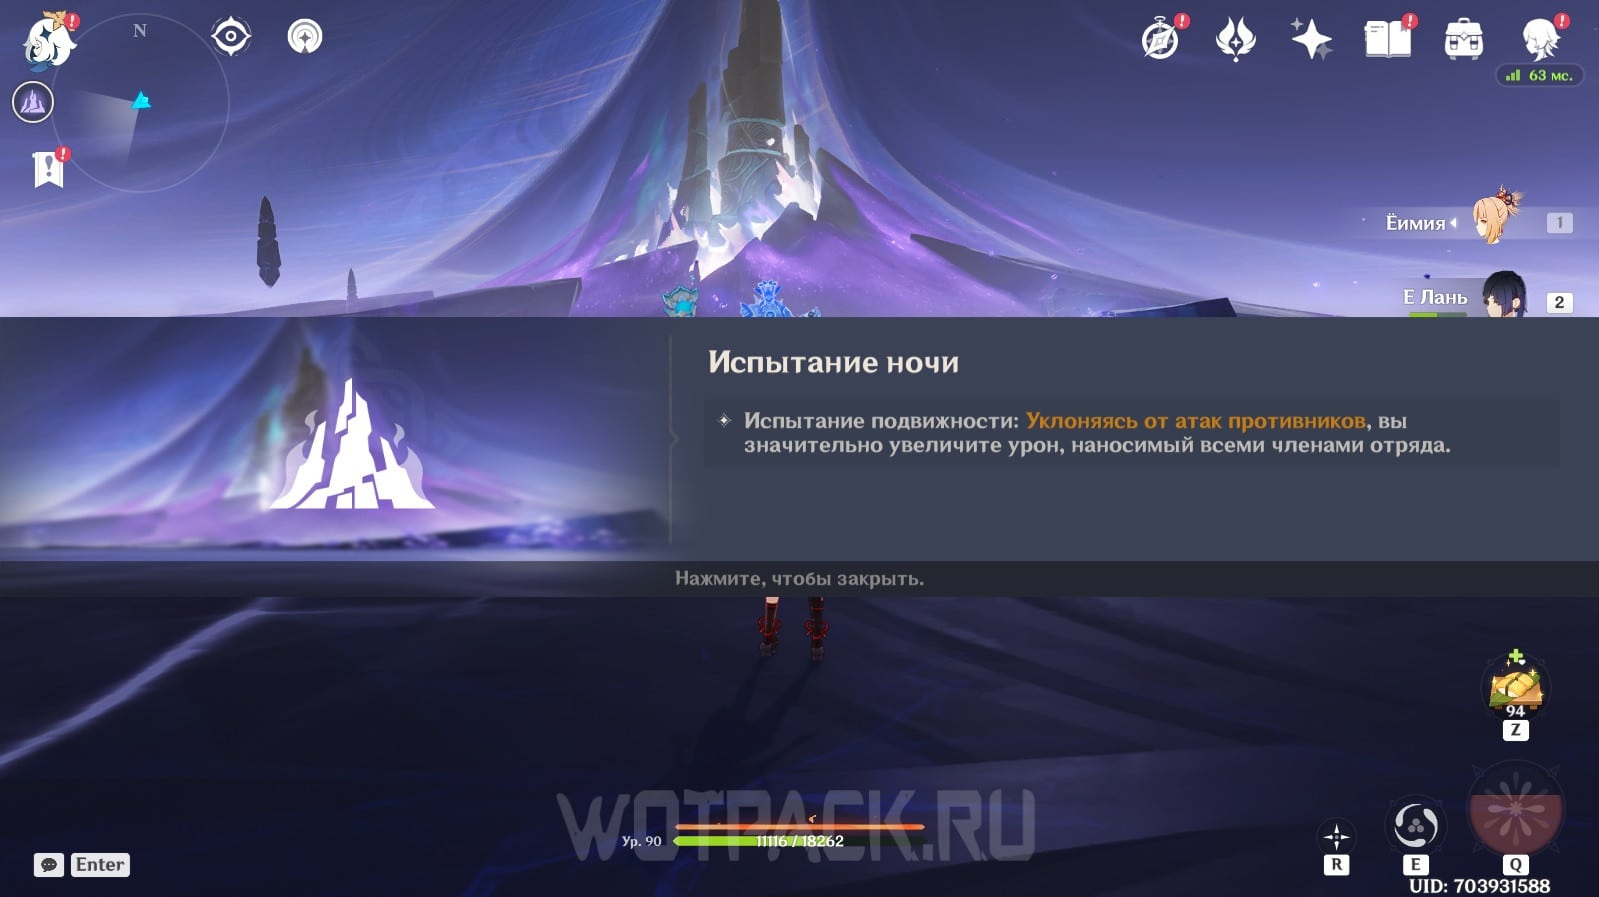
The battle with the local legend has a special mechanic of dodging and stacking. Regular attacks inflict insignificant damage to the enemy regardless of the level, and using the proposed mechanics gives a huge advantage in battle. Below we will consider in detail the dodging system, enemy strikes and present a list of recommendations for the battle.
How to dodge golden city explorer attacks
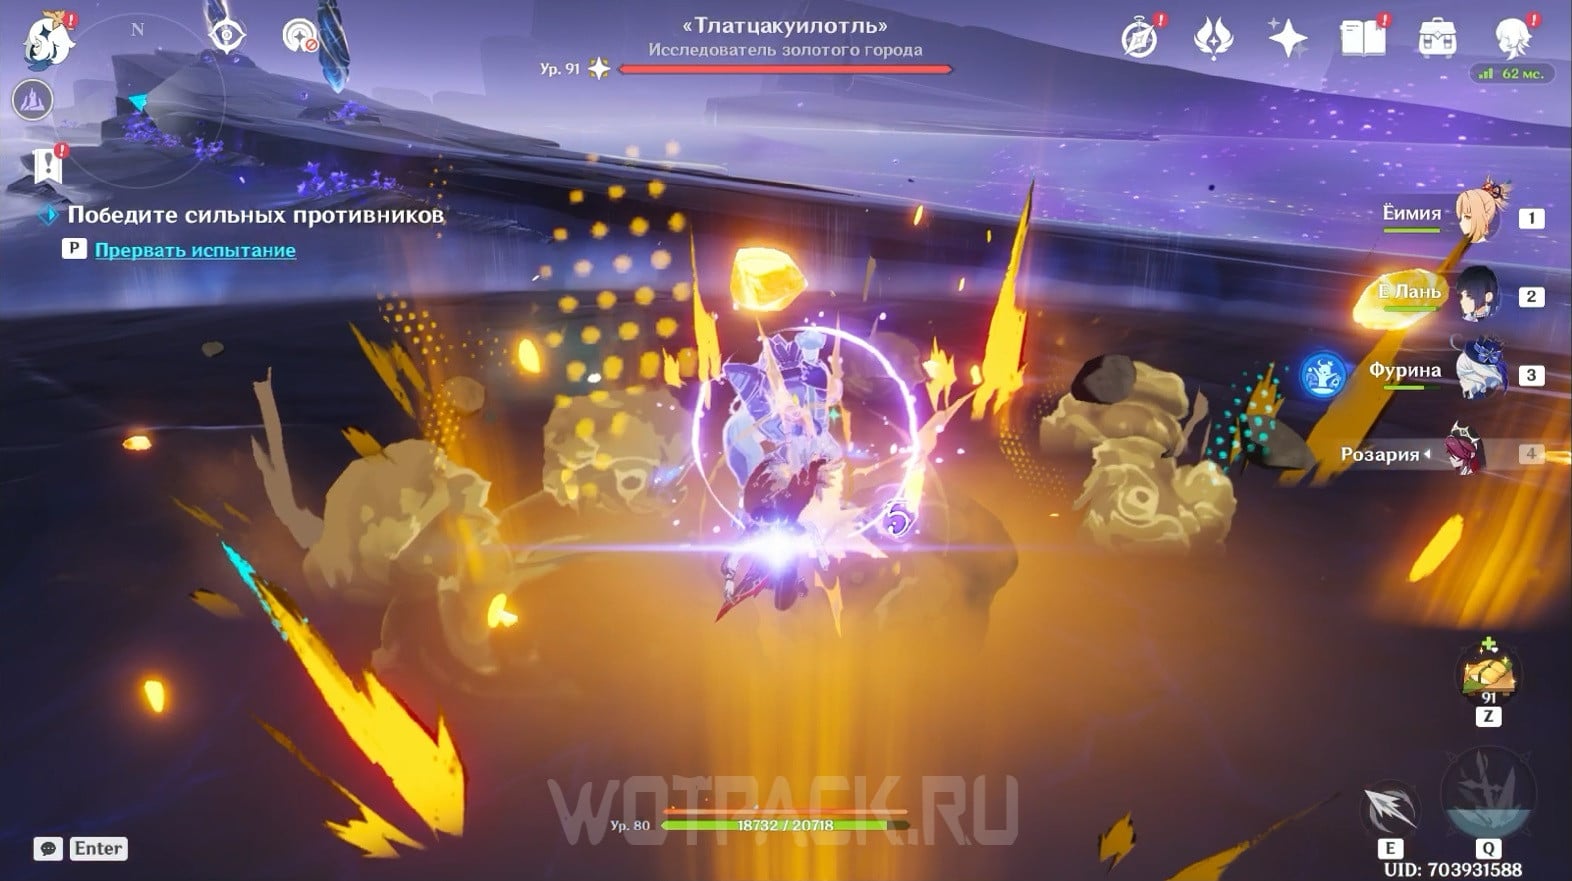
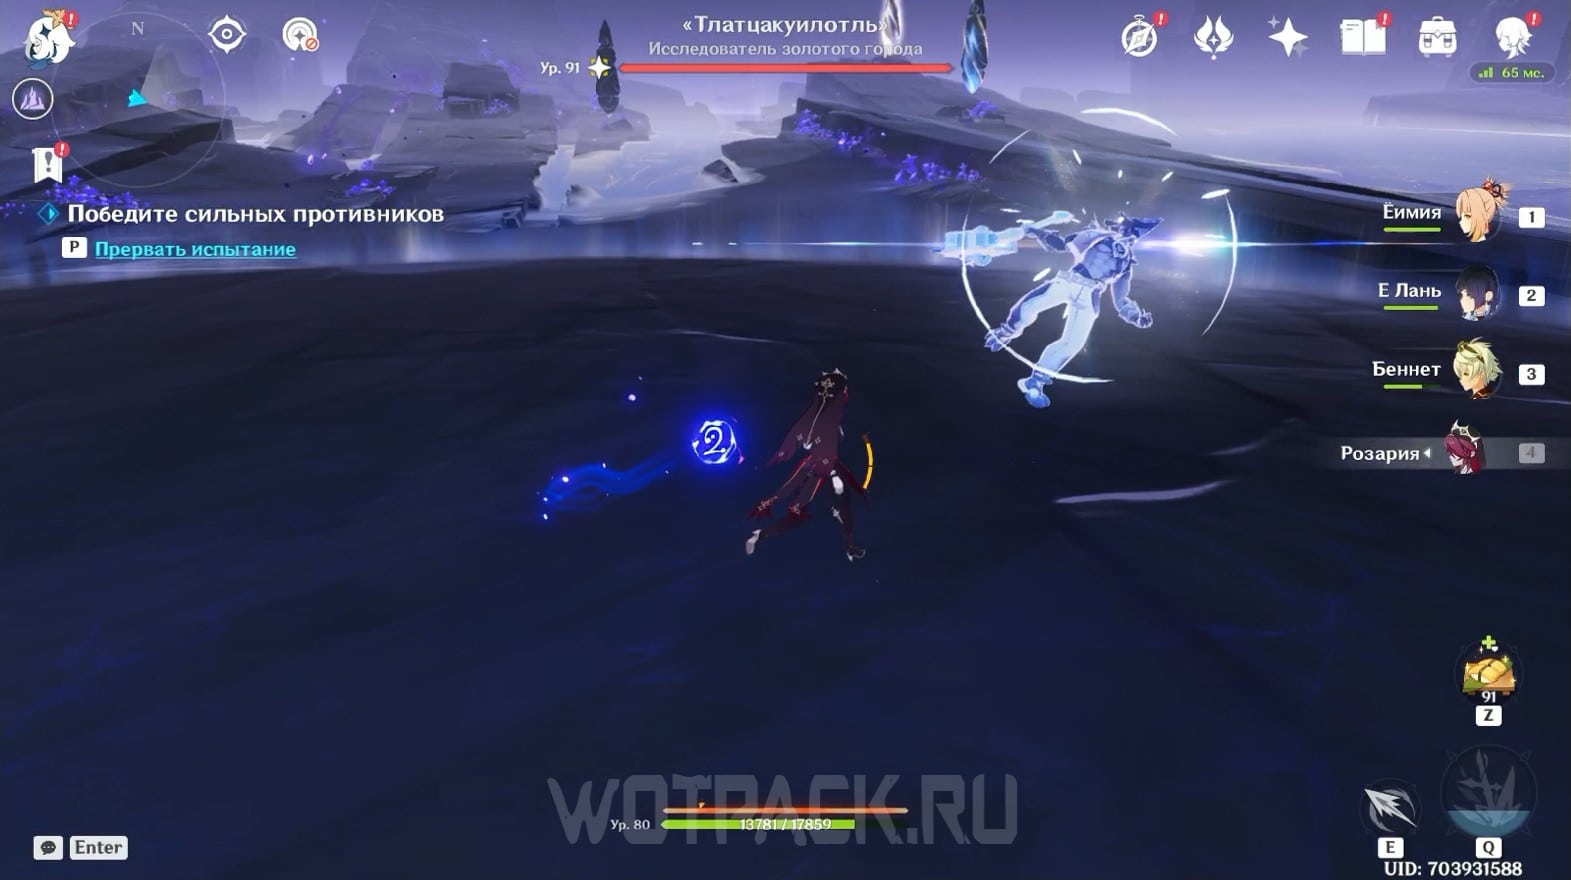
Tlatzacuillotl's skills that can be specially dodged can be identified by a distinctive glow and a special sound. When you notice the flash, press the dash button to activate the special mechanic.
The timing of the dodge is individual because depends on the player's reaction and the device's response. Play a few test battles to see what's easiest to navigate - the white flash, the sound, or the ability animation.
Let's take a separate look at the stacking system and the legend's especially dangerous combinations of attacks:
- Dodging most skills at the right moment gives the active character stacks. You can accumulate 6 in total. Each stack increases the damage dealt by the next hit by 100. If you do not receive new stacks for a long time, the counter will reset.


- Special dodge only works in close proximity to the enemy. If the attack is clearly unable to hit the hero on the field, a regular dash is activated. A successful dodge is accompanied by a character slowdown and a special stacking effect.

- Note that the enemy alternates between single-hit attacks and complex combinations. The former includes a Geo attack with a boulder and a vertical strike on the ground.


- Before the usual three-hit combo, Tlatzacuillotl takes a swing and then performs several circular movements, on which the special dodge does not work. The chain ends with a quick downward strike, which is relatively difficult to dodge and better to keep the distance.

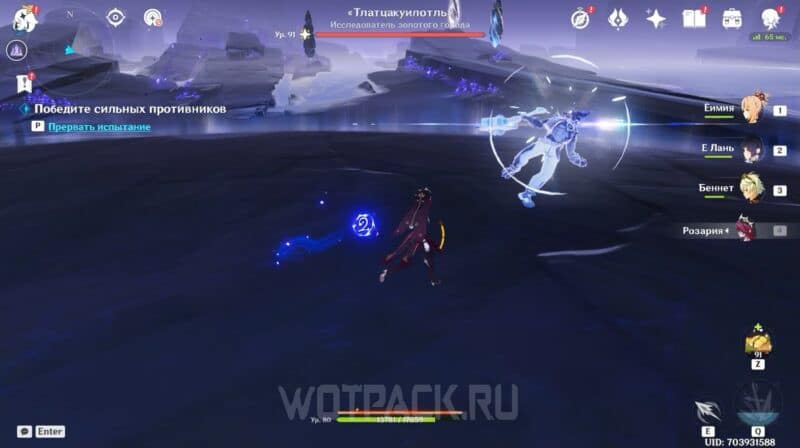
- In the second phase, under the shield, he can use a long combination of 5 circular strikes. The easiest way is to sidestep the first one, for the rest you will need to get used to the enemy's movements.







Tips for fighting the Golden City Explorer
Follow the guidelines below to defeat the Golden City Explorer and claim all the rewards for the associated achievement:
- Take the fighter you are used to as your active character. Despite similar models and animations, it is difficult to dodge for an unfamiliar hero. Also, do not take healers and shielders who deal damage to your team - they will waste charges and prevent you from completing the second condition of the achievement.
- The enemy spends a long time in the arena without a shield, so you can freely spend stacks in the early stages of the battle. Use a basic attack after a successful dodge to consistently knock down the health bar.
- To complete the second part of the achievement you will need to accumulate 3 glassesWhen the enemy has a barrier, strike.
- Note that for the third achievement, you can't get hit by him. Dodge the attacks you can, and avoid the rest. If you get hit, restart the battle.
Rewards
For successfully completing the test in the Kingdom of Night you can get 5 Primogems and achievement. In repeated battles, complete special objectives to earn an additional 30 Primogems.
We hope this guide helped you find and defeat Tlatzacuilotl in Genshin Impact. If you have any questions, feel free to ask. in comments. Read the guide for everything achievements from the “Duelist I” category and stay tuned for new releases Genshin Impact guides on our website.







There's a simple tip for the third difficulty: take Freeze, so you can manage to kill the legend after the stun, without letting him get out of the state in which he takes damage.
For example, I took Furina (a hill stance for the second difficulty + between replays), Elan, and Chicha, with Yoma in the 4th slot after another Legend. In the end, I just stood on Chicha with auto attacks under the Furina + Elan's ultimate, and the timing was perfect. If I had a buffer like Coffee in the 4th slot, it would have been even easier since there wouldn't have been a damage drawback + additional cryo status.
Overall, it's not difficult, but it does require a bit of practice. For the first two achievements, feel free to take the heal; it'll likely come in handy, and you can practice for the third achievement. For the last one, it's best to go with just one character and not use the skills of others, otherwise you can confuse yourself and miss an attack (especially the Moonlings; everything blinks and confuses them; I restarted like that so many times when I stunned the boss and then couldn't escape). A little practice and you're sure to succeed.
It's very easy to get through Freeze. I had a pack with Skrik, Furina, Barbara, and Rosaria. 3rd achievement: I only dodged the first few attacks: I dodged once, ran away, and immediately hit (for Barbara, but it doesn't really matter). Then he cast a shield on himself—I dodged once, ran away, and did that twice more to get three stacks and hit. Then I froze him and calmly finished him off.
I completed the 3rd achievement solo with Ye Lan. I stood close to the enemy and pressed Shift just a little after the flash. Then I ran back a bit and fired. Even one stack adds a decent amount of damage.
I don't know how people get through this in just 1-2 tries. I've been playing without a shield for a year and haven't had any real problems surviving, but I still spent about 40 minutes retracing this miracle. What I can say is: 1) Spearmen really do work better (I tried the first half hour as Bennett, then 10 minutes as Chevreuse); 2) Special thanks to the guy below who wrote about the flash. You need to hold down RMB half a second after this flash; 3) Kill your character between retraces to make it easier to keep track of his HP (I finished him off a couple of times this way, even though I lost a little HP somewhere along the way); 4) Stacks count both at close range and at a short distance, but it's easiest to stand point-blank and dash to the right. Even if you stay in the hit zone, the stack has already been counted, there will be no damage. Good luck everyone)