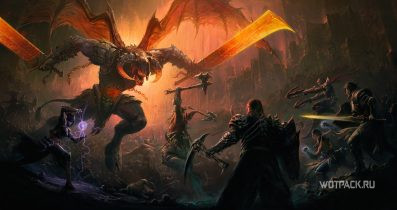
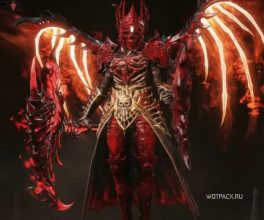
Rift of the Mad King в Diablo Immortal - The first dungeon in the game. It is also one of the most popular dungeons, as it gives a large amount of experience and offers a high chance of dropping a legendary item or set.
This guide provides detailed information about monsters and location items, as well as strategies for fighting the main opponents (bosses).
Where to find the Mad King's Rift in Diablo Immortal
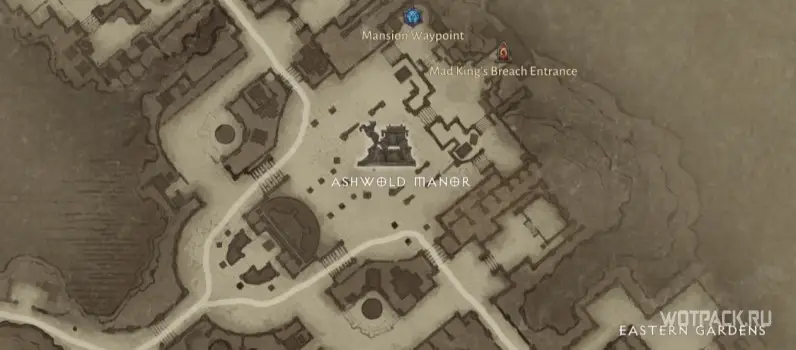
The Mad King's Rift is located in the northeastern part of Ashwold Cemetery.
How to get into the Mad King's Rift
The dungeon opens between 17 и 20 levels during the passage of the story in the location Ashwold Cemetery. In the process of completing important missions, the player learns that Letes (Lethes) took possession of one of the fragments of the stone of the world and with the help of his power he intends to resurrect the dead in order to find the sacred tombs of Queen Asylla (Asylla).
While the necromancer Xul holds Letes down in battle, the protagonist, alone or as part of a group, must enter the Mad King's Rift to stop the traitor from taking the Skeleton King's soul.
How to complete the Rift of the Mad King in Diablo Immortal
General Information and Tips
The dungeon is made up of three floors.
The most efficient way to progress is to move to the end of each room, killing all the enemies on the way, until the boss spawn is reached. In the dungeon's throne room, in turn, players will encounter three magical barriers, for the destruction of which you will have to defeat all the monsters.
How to kill Sir Gorash [Sir Gorash]
Sir Gorash was a loyal knight in the kingdom of Khanduras (Khanduras), until from the curse of King Leoric did not pass under the auspices of hell.
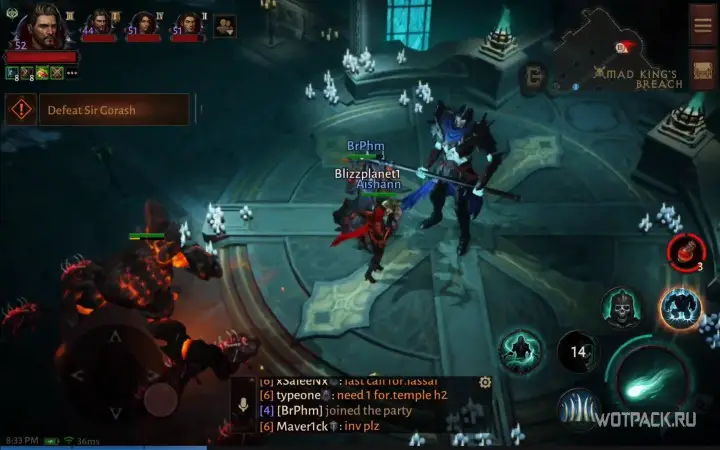
As soon as Sir Gorash appears on the peculiar arena, hit the rats hiding at his left side.
Immediately after the characteristic vocal outcry, the boss will create a wall - a kind of trap that will drag everyone who was in the attack area. Of course, it can be avoided by dodging in time to take a position behind the armored skeleton and unhindered deal devastating damage.
Attacks to watch out for:
- From time to time Sir Gorash calls beam, rotating around its axis. Moving from it in the same direction, you can avoid damage.
- Turning to face one of the heroes, the boss will start preparing for a powerful AoE strike. The character, to which the enemy is leaning, must immediately step aside or jump back. Otherwise, attacking with an ax on the ground will take away most of his health.
- Appeal helper skeletons - An ability that ranged classes should deal with on their own, leaving room for melee to continue dealing the main damage against the main opponent of the room.
How to kill Manoruk the Gatekeeper
Manoruk is the second boss in the Mad King's Rift dungeon. To get to it, follow to the end of the courtyard gate.
The main boss attacks to watch out for are:
- Monohand, like Gorash, will summon skeletons. Kill these mobs (especially archers) so that the squad is not attacked by a continuous horde of enemies from time to time - ranged ones are the easiest to deal with.
- Boss creates large area field. When the inner circle reaches the outer edge, the area explodes and deals high damage to all players in the area, knocking them back.

When Monoruk has about 50% HP, it calls three moving walls, consisting of skeletal skulls that fill the entire arena. Their damage can be avoided in the safe zones in the center of the room.

During this attack, Necromancers can summon a wall of bone to absorb skull damage, and Crusaders - apply a shield that absorbs incoming damage to all team members.
How to kill the Skeleton King [Skeleton King]
How to get to the boss
Third room in the Mad King's Dungeon starts at the foot of the stairs leading to the throne room.
It is guarded by two gargoyles - they can be ignored by moving to the end of the room. However, most of the enemies running behind will still have to be killed to disable barrier, which blocks the way forward.

When the barrier falls, focus on the ones that appear. archers, and after - on warriors. If necessary, drink a health potion to restore spent HP, and then open a treasure chest nearby - it will replenish the expended saving flasks.
next barrier unlocked after killing all the skeletons. If it still doesn't skip ahead, it's likely that one (or more) mobs have been skipped in the area next to the south wing stairs.

In the next zone, the heroes will meet again two gargoyles and several royal guards. Kill them to disable the barrier leading to the throne room.
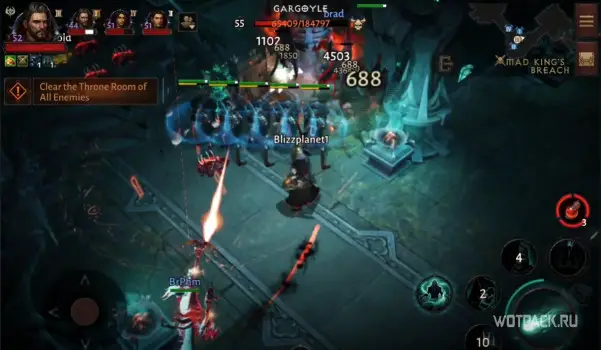
After clearing the opened room of all enemies: first kill the royal spearman, as he attacks from afar.

Then approach the throne for the boss to appear.
How to kill the boss
The Skeleton King has several special skillswhich can be avoided by stepping aside. First attack happens shortly after the start of the battle: if you see a large turquoise circle, then the boss is about to hit the ground with his weapon - this will deal a lot of damage and stun players who fall into the area of effect. Before the strike, a voice-over will sound: “Bow before your rightful king«.

If the boss loses 1/3 health, summons a horse and mounts. After a while, a much larger circle can be seen, which will signal the area of effect around the Skeleton King, in which case it is better to move away.

In addition, once the battle starts, the room will be surrounded by three ghostly wallsgradually narrowing towards the center. Try to stay away from them.

turquoise line signals that the boss is about to attack in that direction. Move away or he will knock you back and deal instant damage.

When defeated, the Skeleton King may drop a Legendary item and/or item set based on the percentage of Magical Find stats.
Rewards for completing the Rift of the Mad King
Depending on the characteristics of the magical find, the chances of getting a set from any of the bosses in the Mad King's dungeon increase. The following lists mainly items with the attribute Strength, but you can also find items with Intelligence here:
- bloody hand (Glove) – BP 1+
- Fairfleet / Fairfleet – BP 2+
- Issatara Rest (Amulet) – BP 2+
- Call of Light / Luminaries Urge (Gloves) – BP 1+
- Shepherd and Mother / Shepherd and Mother (Ring) – BP 2+
- Storm-Tack of Shal'baas (Belt) – BP 1+