The Wight Halls of the Brush Wastes in enshrouded - the most difficult and longest level 25 undead dungeon. The dungeon will test the player's combat skills and ability to control a glider, but as a reward will give a lot of legendary weapons and resources.
In this guide, we'll tell you where to find and how to get through the Halls of the Wights of the Thorn Wastes, so as not to get lost in the underground corridors and solve puzzles with barriers.
Where are the Wight Halls in the Thorn Wastes?
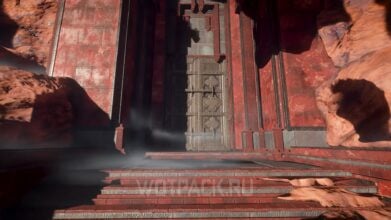
 To find the Wight Halls of the Brush Wastes, go to the northeastern plateau, which is located in the upper right part of the Ambervale map. The entrance to the dungeon is located south of the East Lapis settlement, in which it is hidden loom for the hunter. To dispel red Veil, enveloping the region, pump up the level of the universal Flame to 5.
How to open the halls of the wights
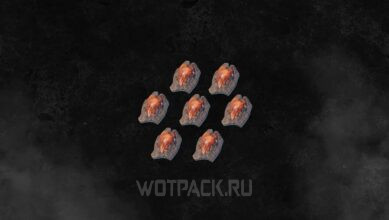
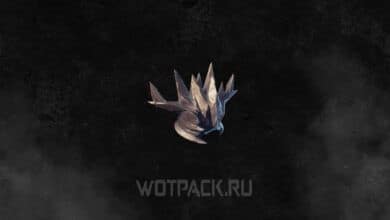
 Collector craft a Bone Key from the Brush Wastes using the following materials:
- Ectoplasm Shard (100);
- Huge bones (2) - obtained from Cyclops wights in the halls of the Rampant Forest and the Nomad Highlands.
The recipe for the key in question will unlock after completing the Halls of the Wights in the Nomad Highlands.
Recommended items for completing the dungeon
Special mounts are vital to traversing the Wight Halls of the Brush Wastes:
- Be sure to find Ghost Glider. Without it, it is almost impossible to fly through the long underground gorges with the red swaddled floor. The glider is in a chest at the top of the Sun Temple.

- Take the best hook with you: the better this tool, the less chance you have of falling into an abyss due to loss of stamina.

Other tips on how to resist level 25 undead:
- Ectoplasm soups from the Collector reduce maximum health, but increase damage to wights.

- Lack of health can be compensated armor 23-25 levels with health bonuses.
- Take at least 2 working weapons. There are forges in the dungeon where you can repair equipment, but there are also a lot of enemies.
- Vessels for summoning skulls are flying turrets that cope with part of the hordes of enemies. Ask a collector to create these.

- Do it with alchemist at least 20 of the best healing potions, ask the huntress to craft at least 20 bandages, take food to enhance parameters and bonfires to restore rest bonuses.
- Bone weapons against wights with “Holy” buffs that deal +10% damage to undead – the best solution when choosing weapons.


This walkthrough relies on a very safe strategy with using a bow. We recommend taking this particular type of weapon.
How to complete the Wight Halls in the Brush Wastes in Enshrouded
Halls of the Wights - a long linear dungeon separated by magical barriers. Dispel barriers, destroying enemies with rune icons above their heads, and go to the end.
First magical barrier


Enter the dungeon, open the lattice gate and teleport. Activate the checkpoint (Altar of Flame), go up the stairs and enter a long corridor littered with bones, where there are many skeletons. Destroy magical totems that summon skeletons to reduce the number of enemies. Follow the linear path, down the stairs, to a door opened by the Collector's Bone Key.


In a new, vast cave below, a platform has been erected leading to a magical barrier. The task here is to interrupt 4 enemies с green runes above your head. If you are experiencing difficulties in open combat, then shoot the enemies from above with a bow. Once you shoot everyone, move on.
Second magical barrier

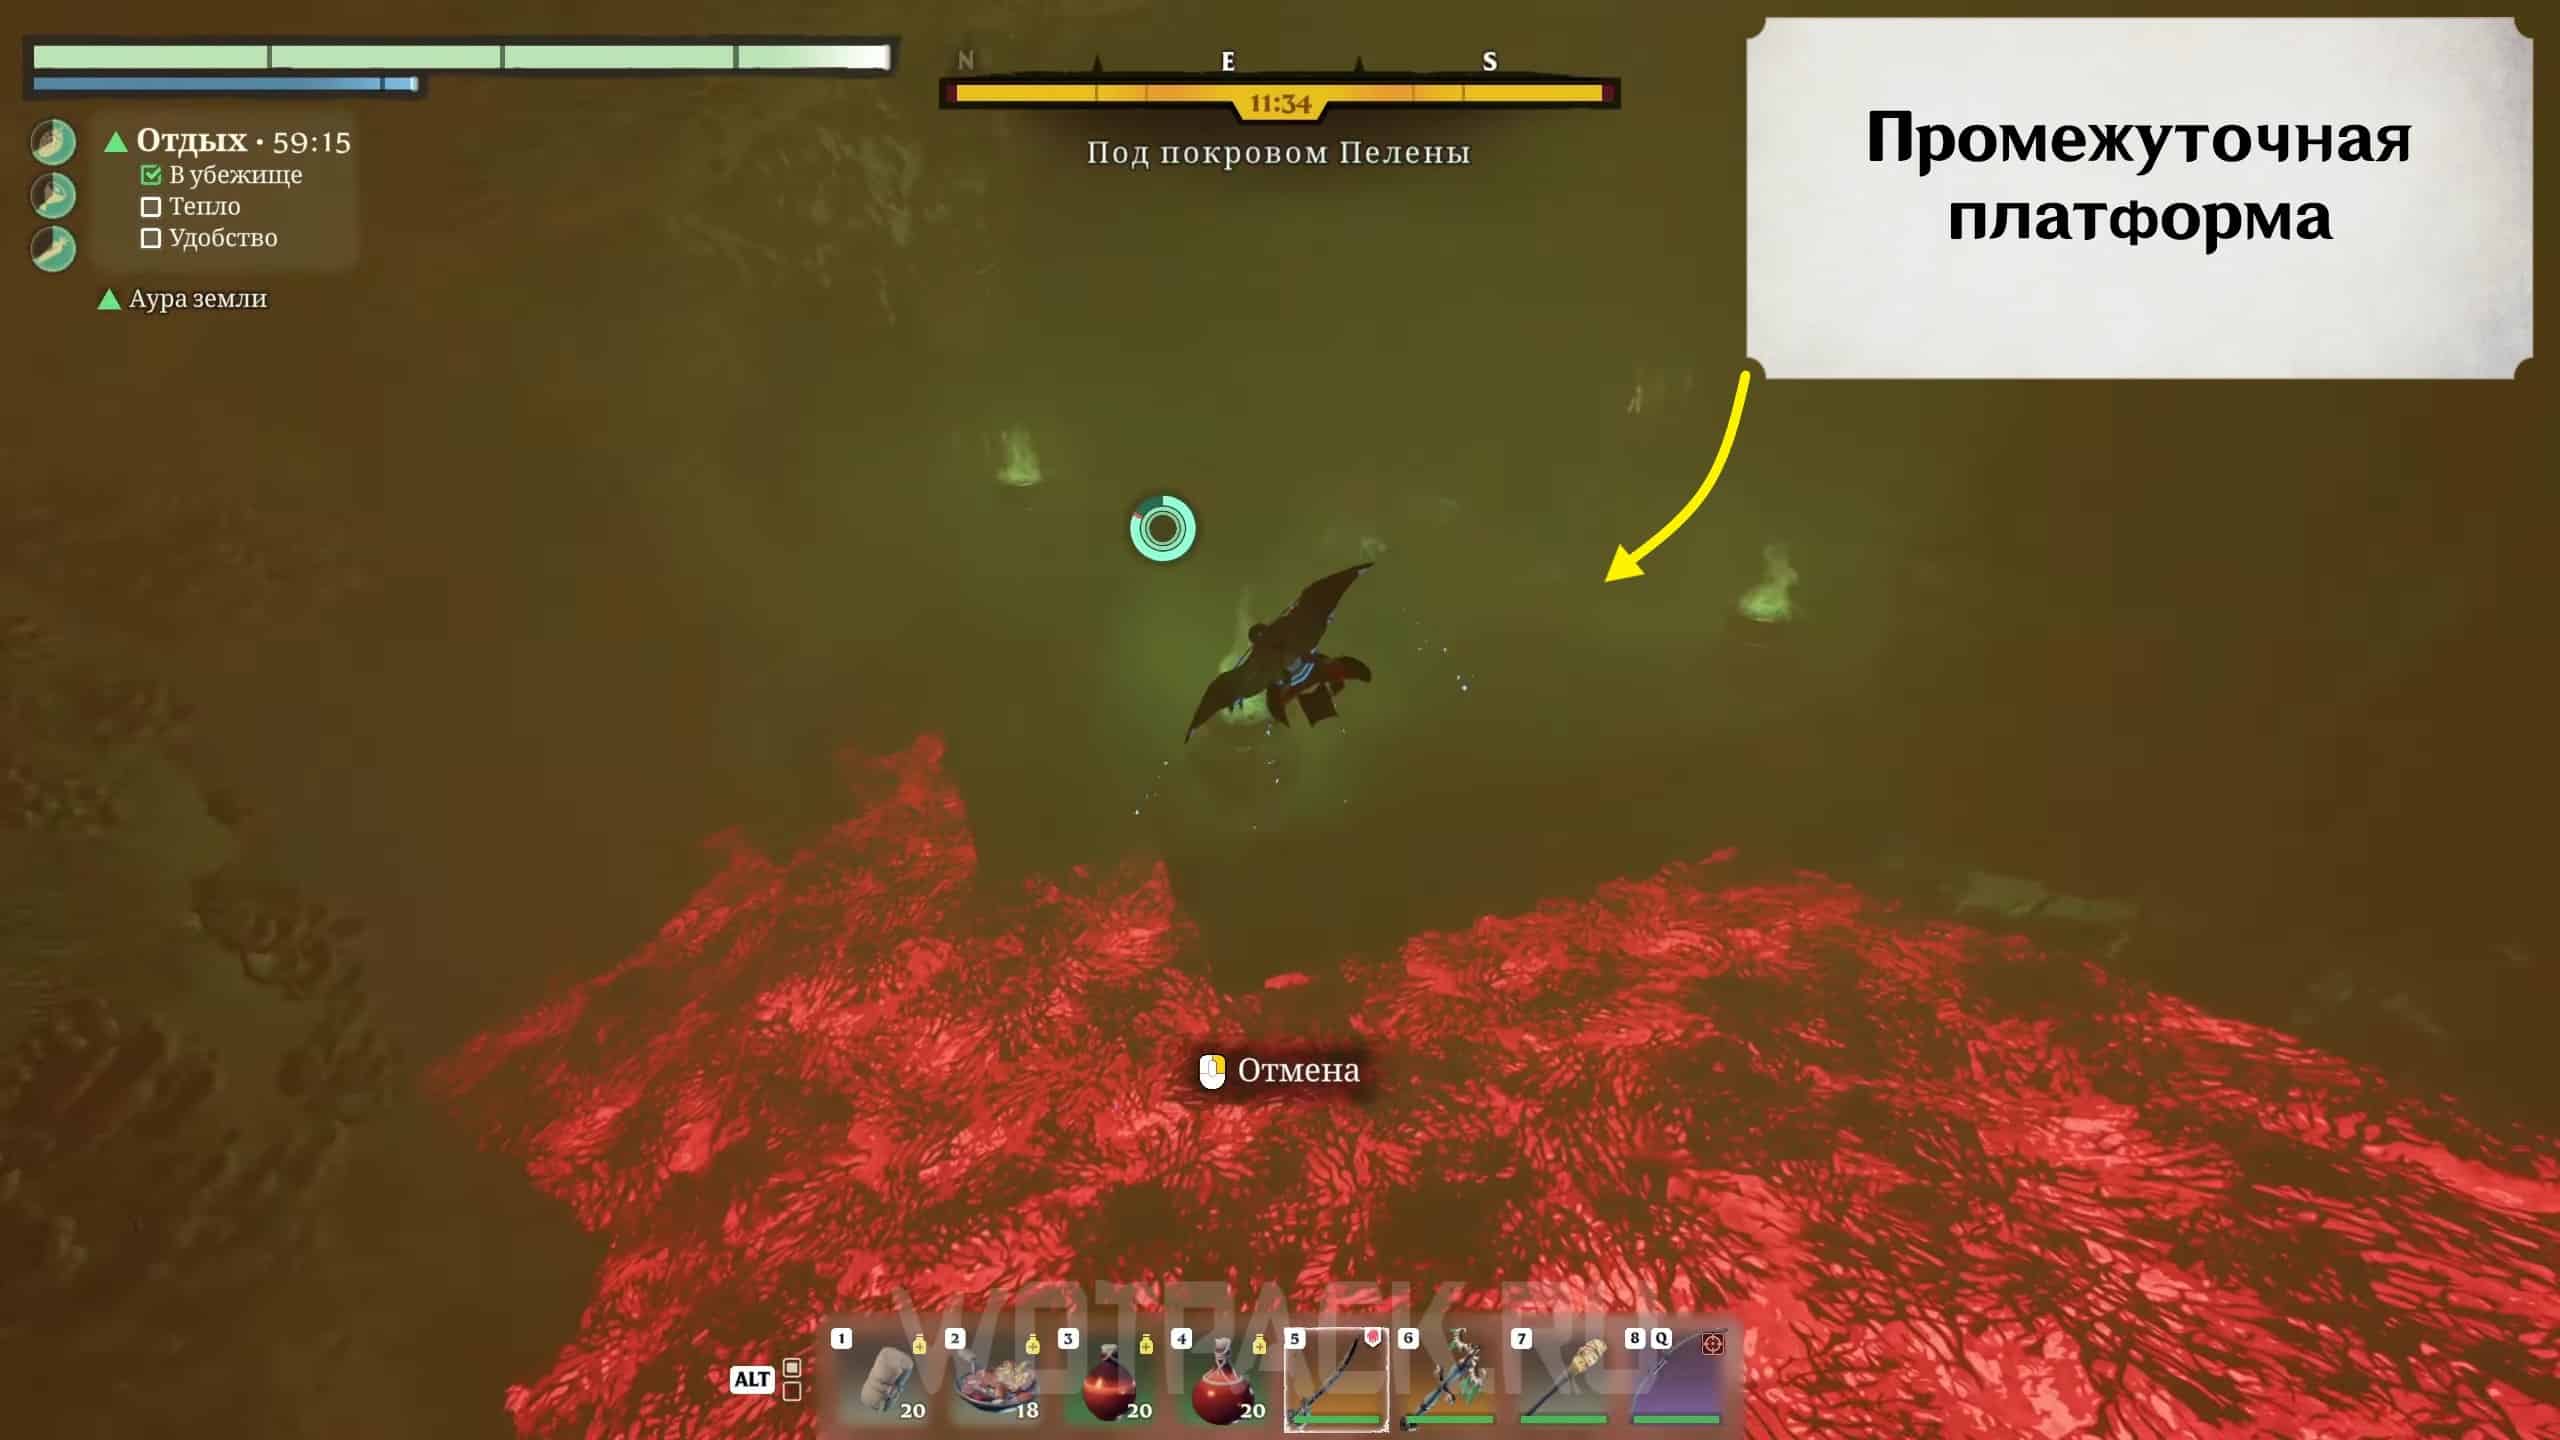
Save at the altar and repair the weapon at the forge. The next cave is a long descent, traversable only by a ghost glider. While flying, try not to hit obstacles and adjust your altitude by soaring (Space) to get to intermediate platform.
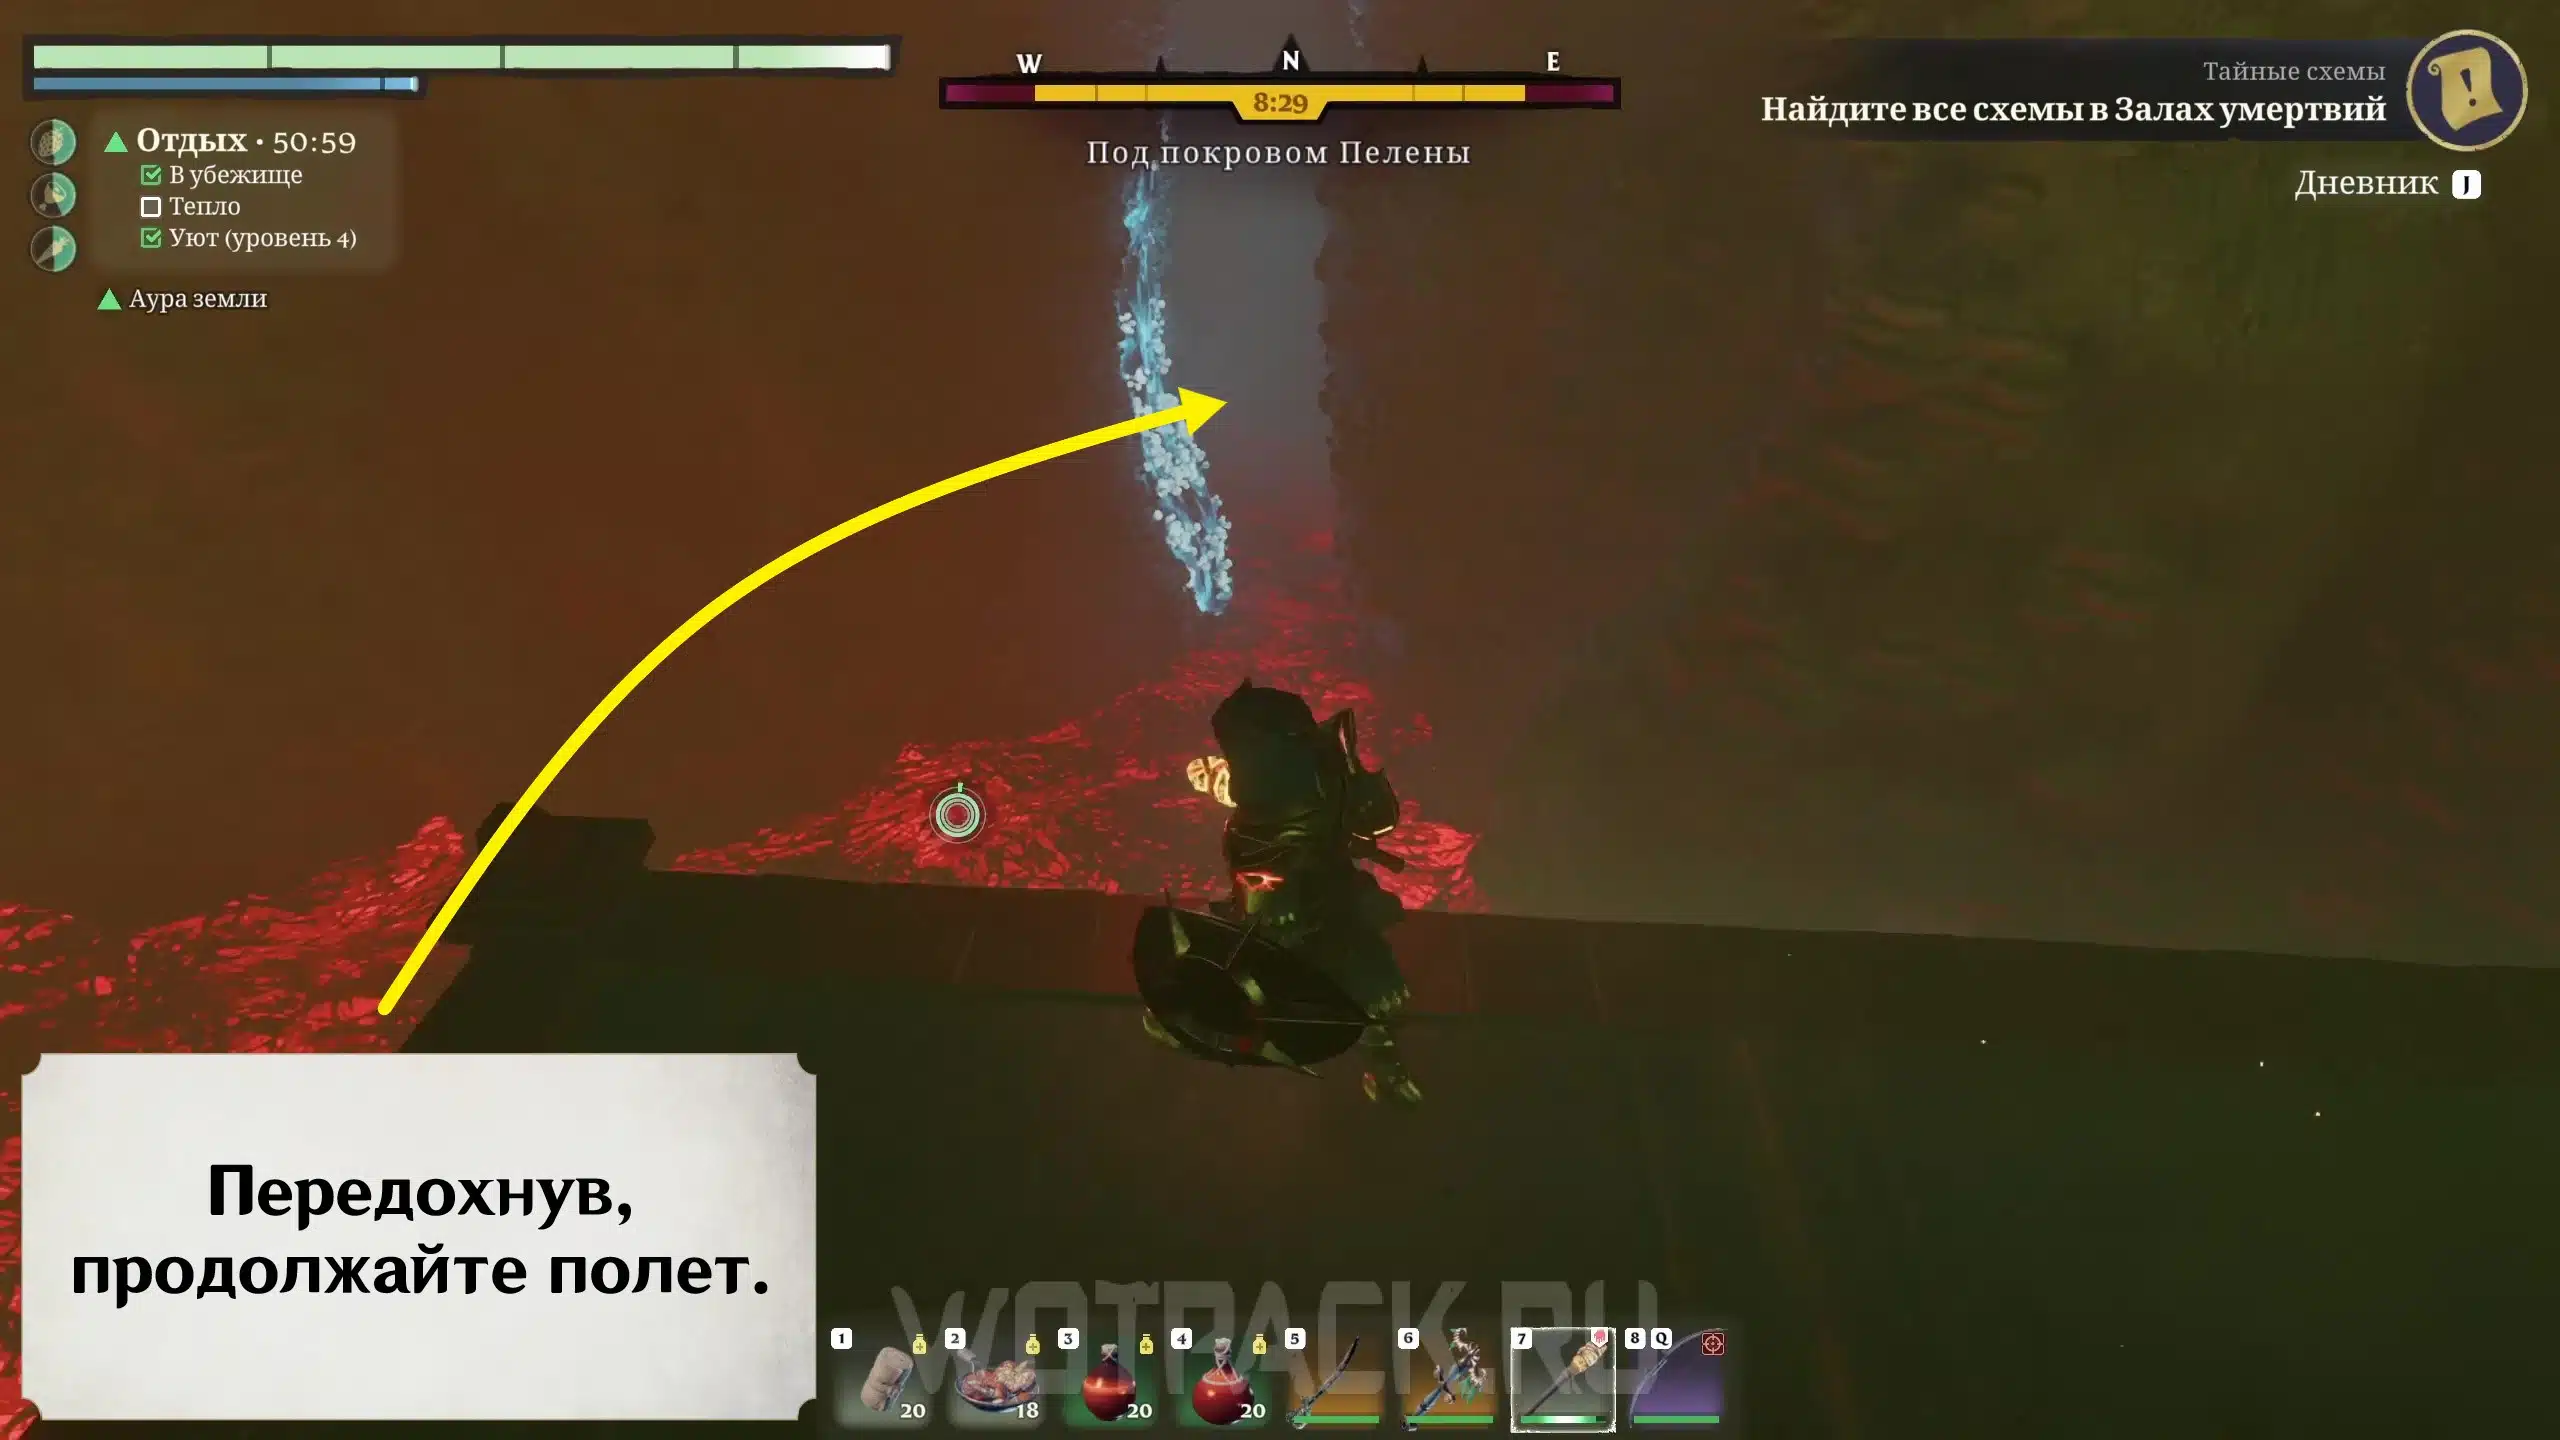

 Standing on the intermediate platform, look north and continue flying through the long cave. The descent will lead to a vast arena with a cyclops and a magical barrier. Kill the Cyclops with the green rune above his head. If you have difficulty at this stage, try the following:
- Use a double jump.
- Deploy the glider, use soaring.
- Land on the narrow ledges that are on the walls of the arena. You can stand on such ledges.
- Shoot the cyclops with a bow while standing on the ledge.
 As soon as the mini-boss falls, the game will notify you that the barrier has been unlocked. There is also a locked room with loot in the western wall of the arena, which can be opened by activating yellow switches under the ceiling. Shoot the switches to unlock bonus equipment.
Third magical barrier
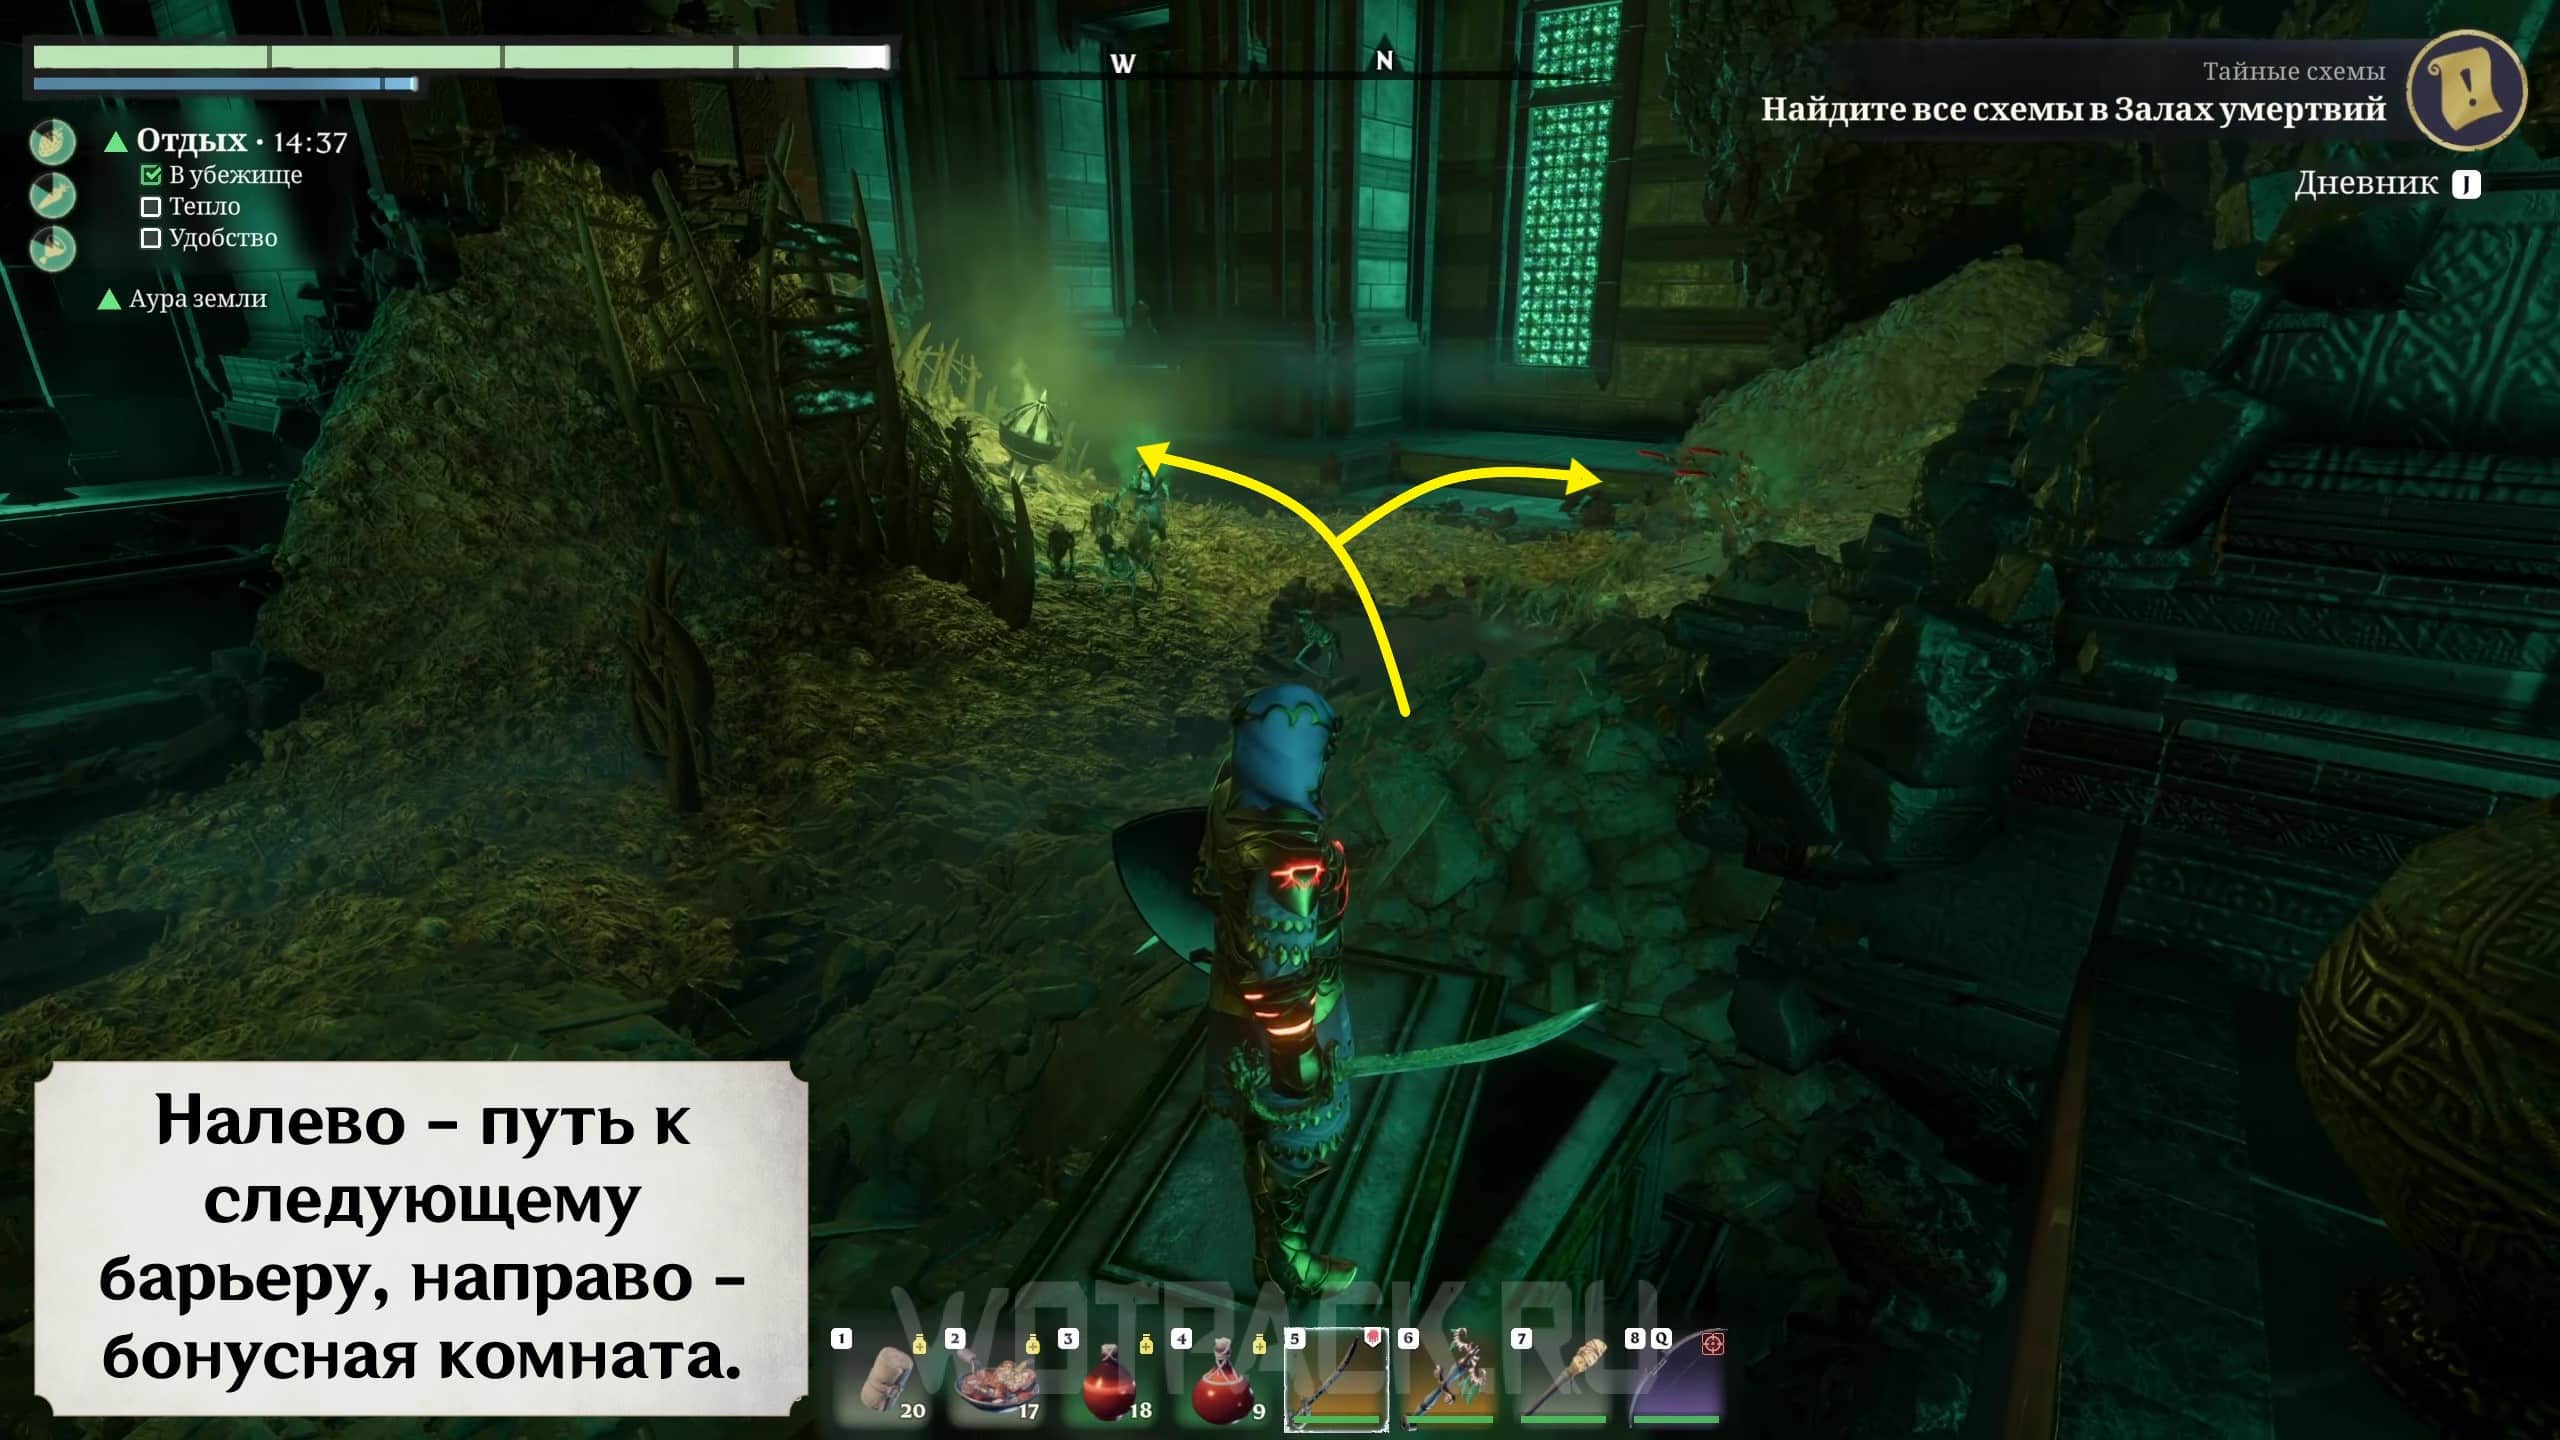 Go through the next checkpoint and enter the bone corridor. Here's the fork:
- to the left - further along the plot;
- to the right - to the room with a bonus reward, which is opened with the Bone Key of the Halls of the Wights.


 After collecting the prize, take the left path from the checkpoint. Go down the spiral staircase into the Veil. Open the large door in the swaddled hall with the bone key. Follow the linear path to the grated door (north), open it, go straight to the exploding specimens and their nests, and from there go right (east) and up the stairs.
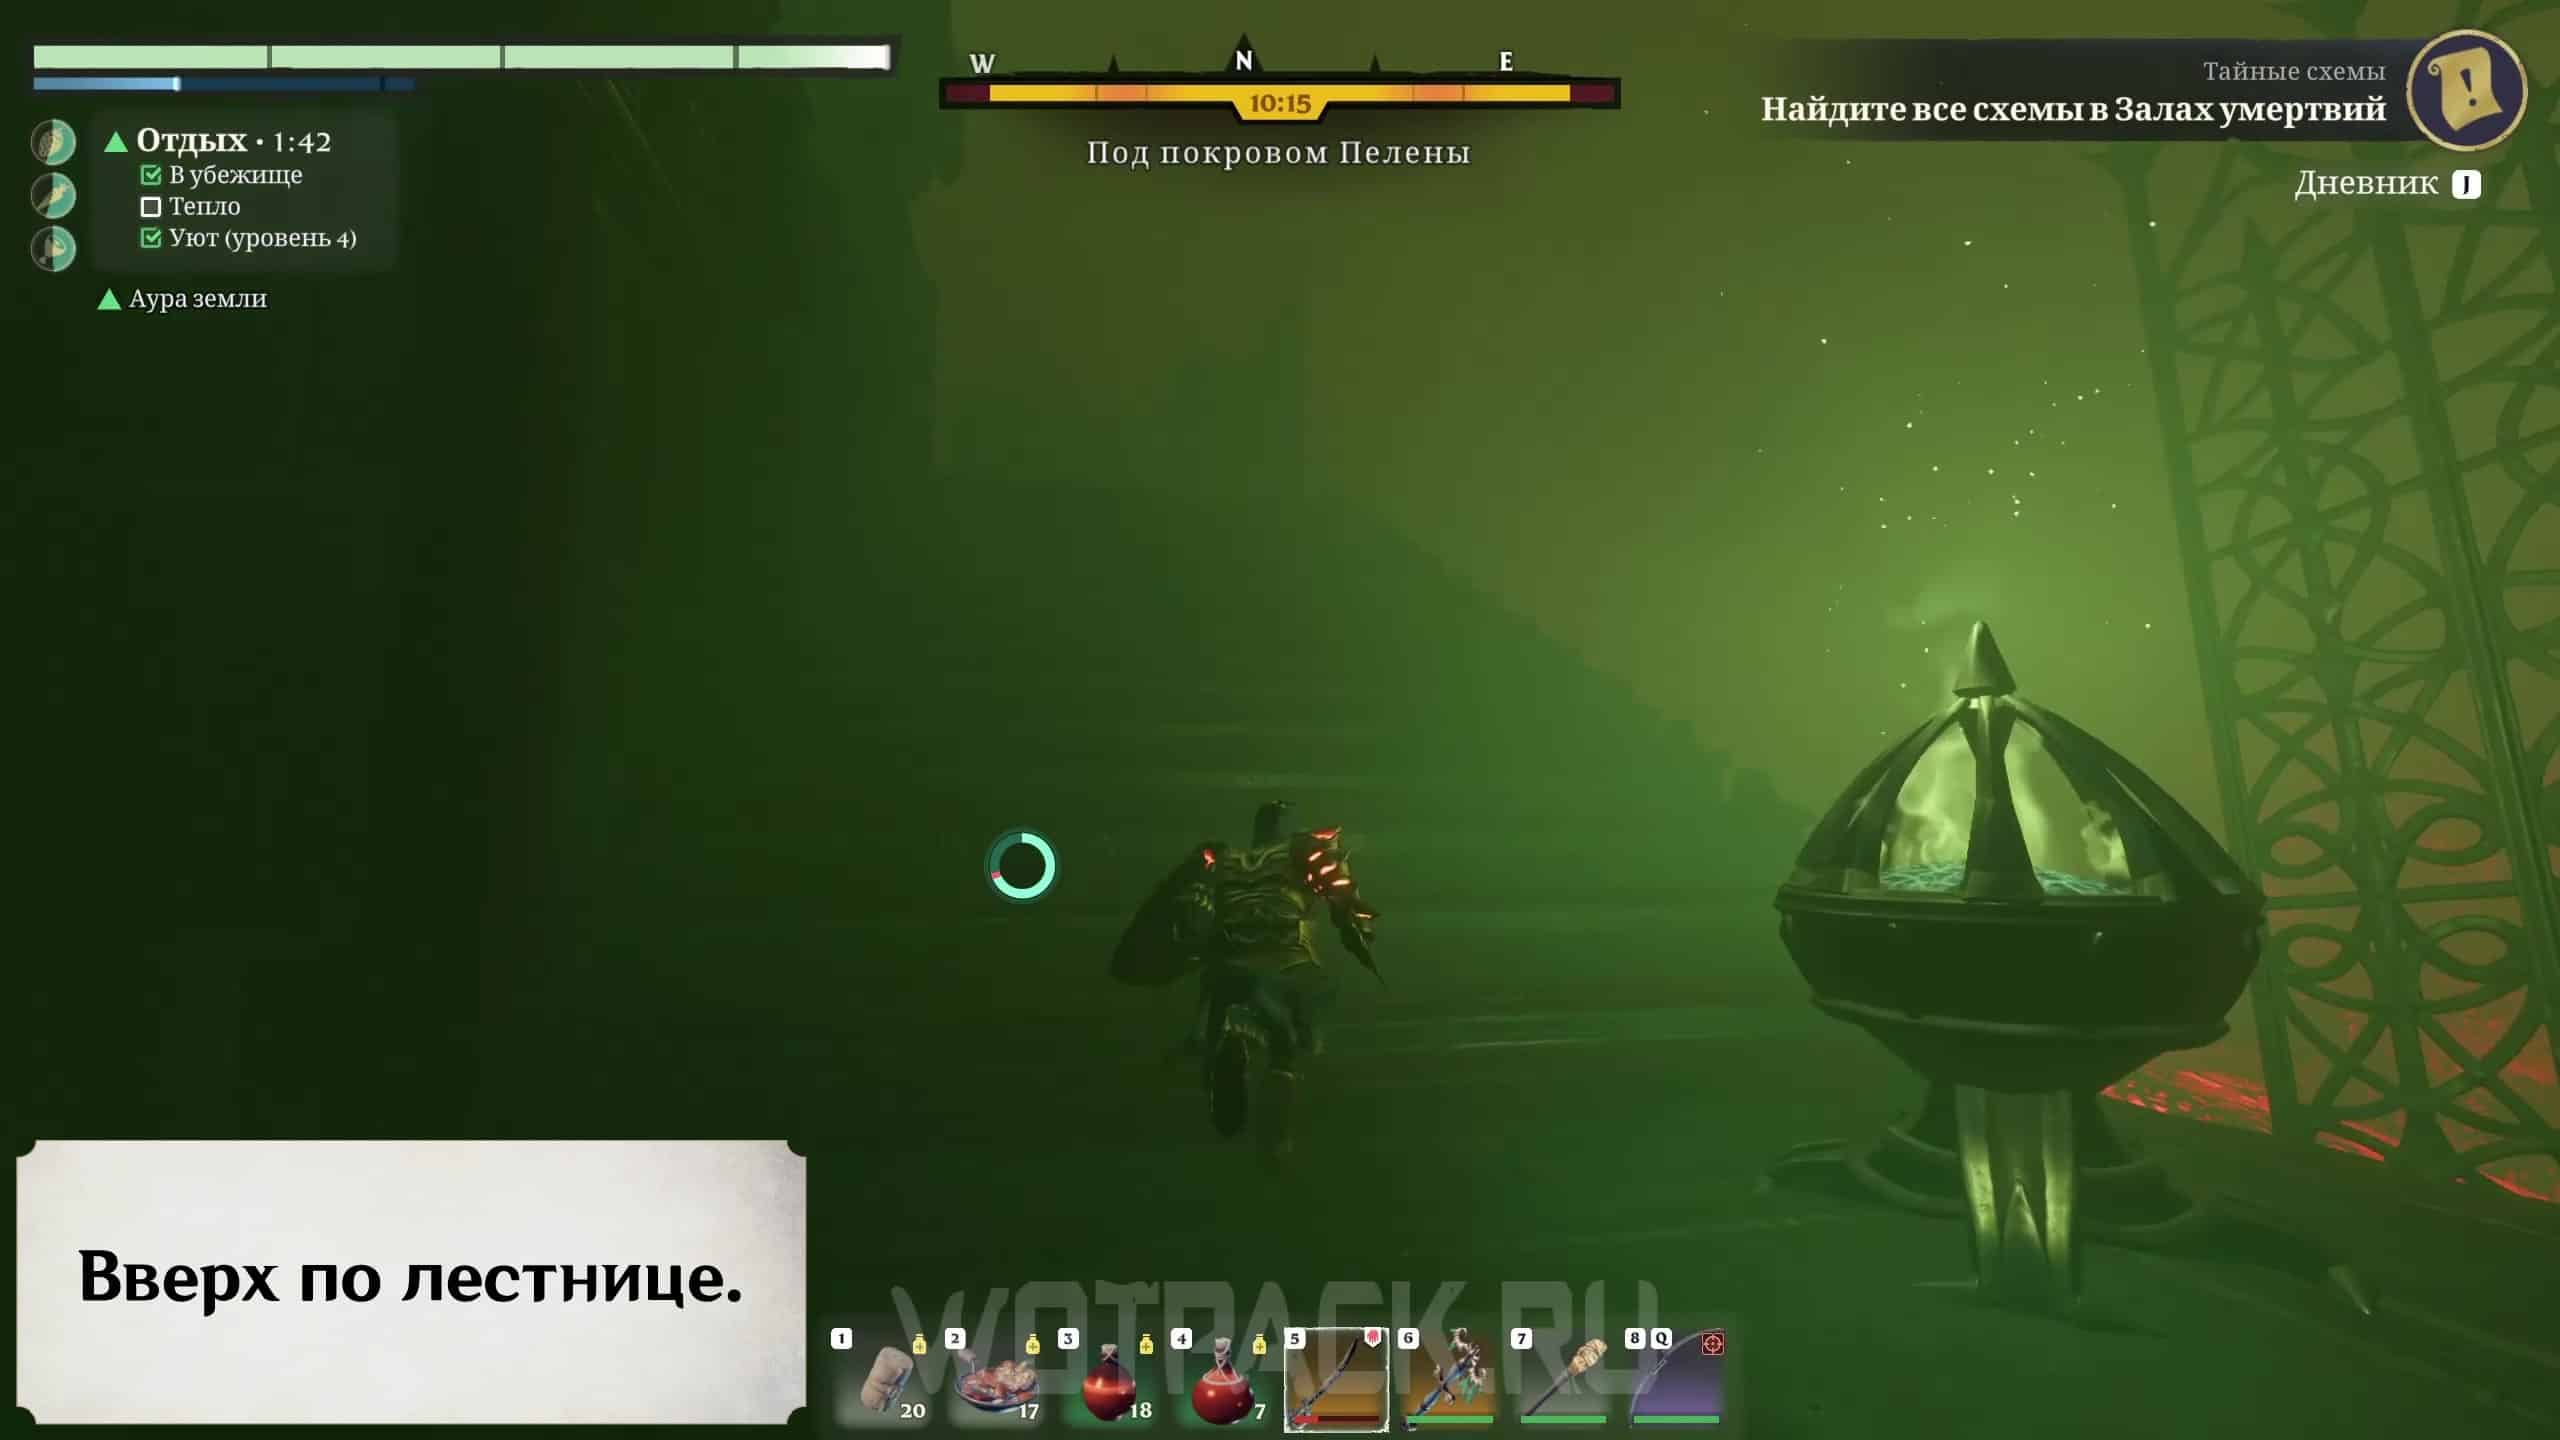
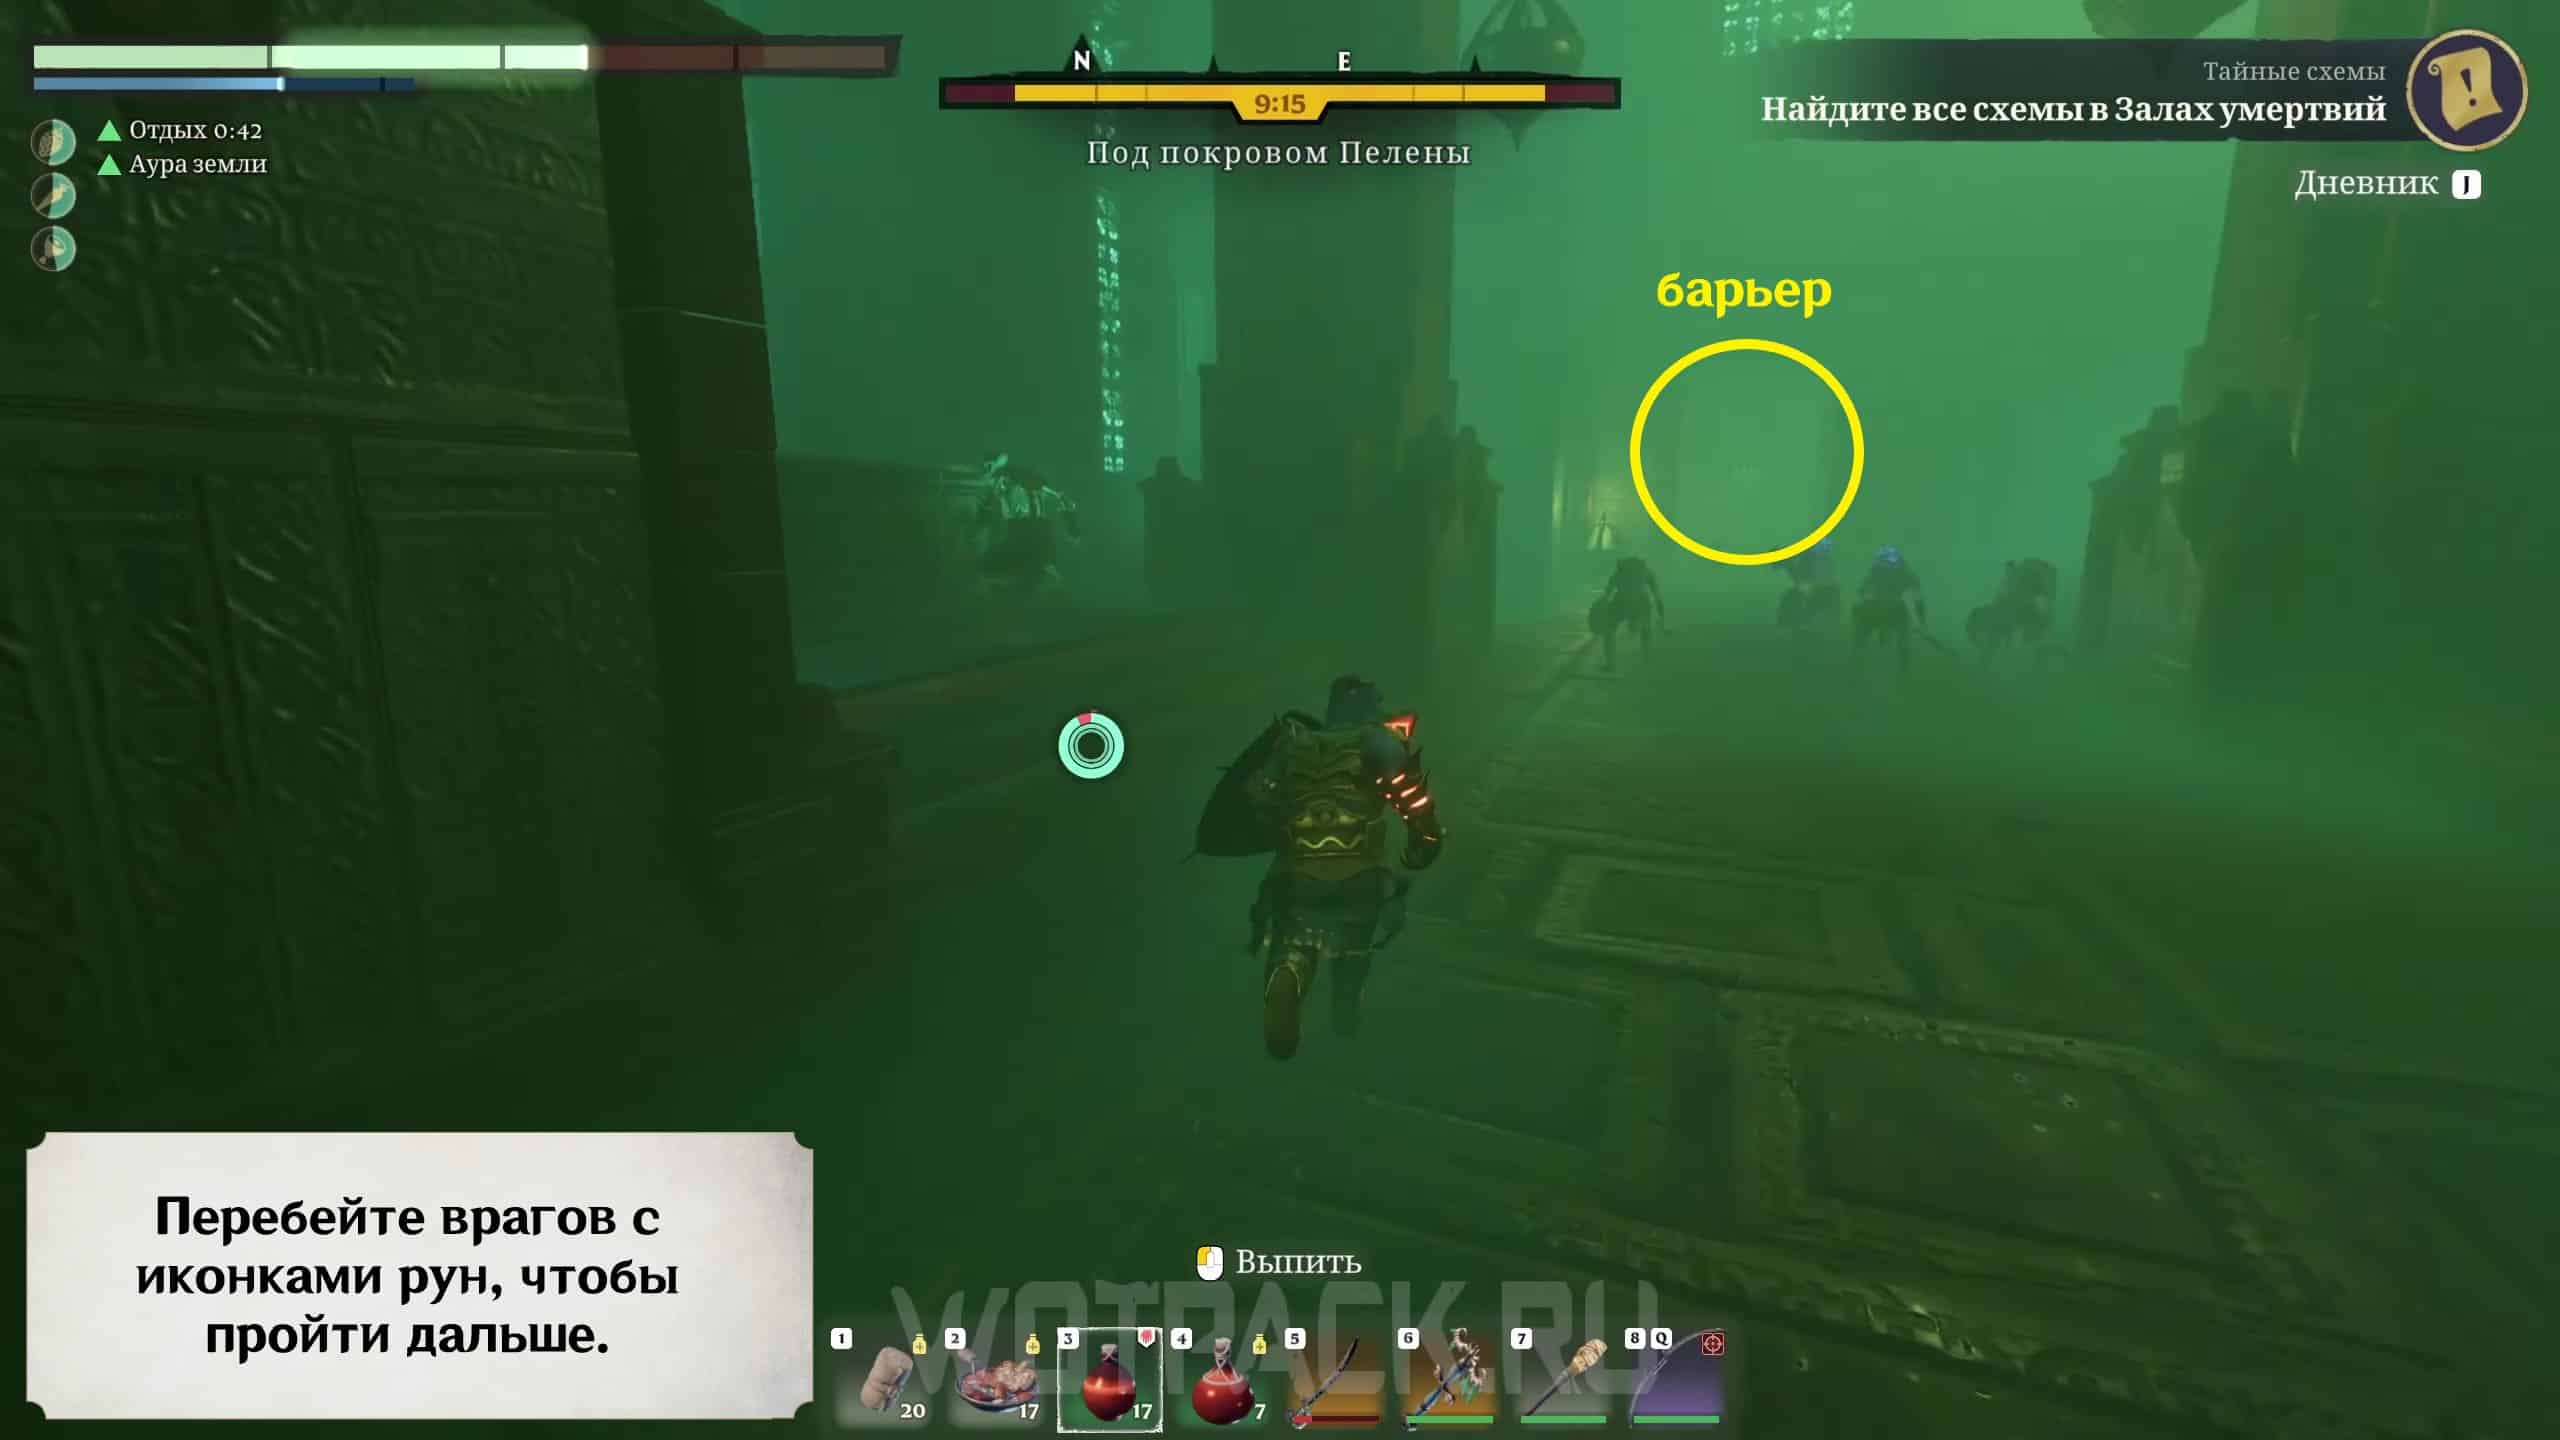
Go up the stairs to a room with a magical barrier. Here, destroy several strong enemies with rune icons, including skeleton legionnaires, to advance further. After removing the barrier, continue climbing.
Fourth magical barrier

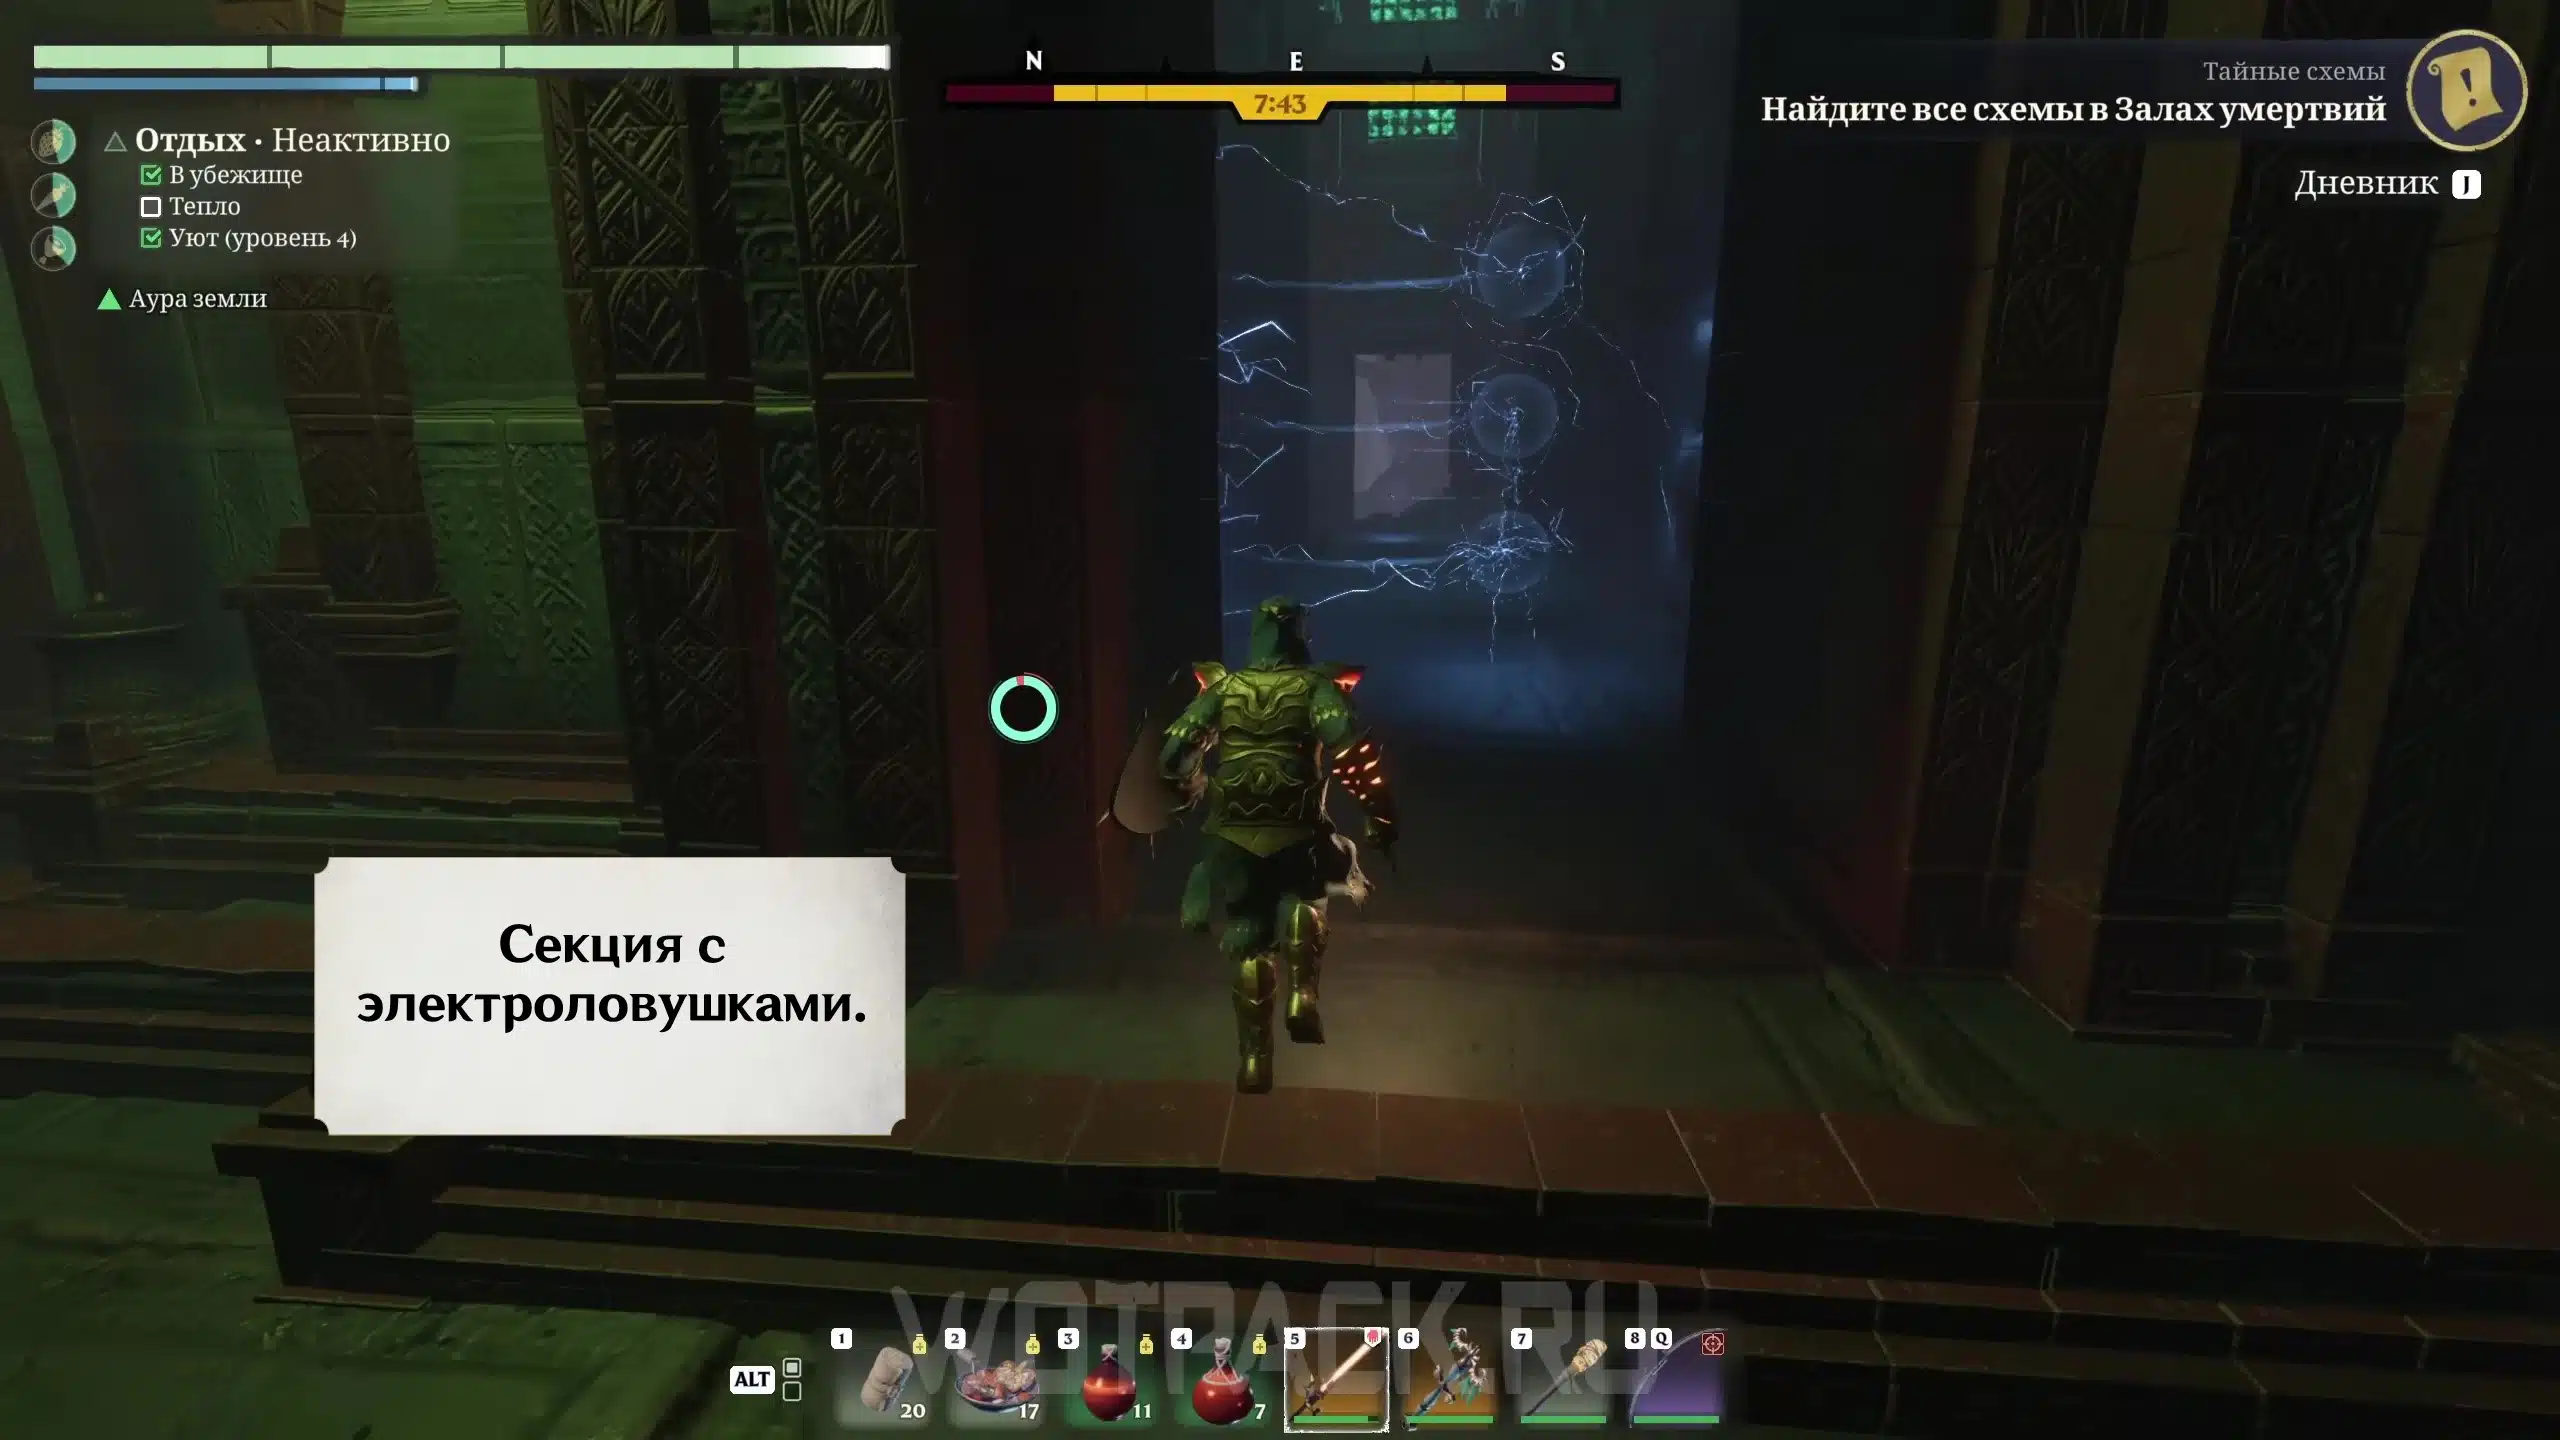


Climb up using the hook and bars. Along the way, be sure to go through the grated door to activate the Altar of Flame. Jump through the section with the electric trap turrets and exit to the cliff, from where you glide east to the platform.


Having successfully landed, enter the room with swaddled enemies, go through it and climb the stairs, fighting off enemies along the way. Climb up the grate and enter a room with a huge bone totem. Behind it is another magical barrier. Kill 1 enemies with rune icons above their heads to advance.
Fifth magical barrier
 Having dispelled the barrier, use the hook to climb higher to the balcony under the bridge. From the balcony, use the grappling hook to move to another part of the cave, to the north, along the underside of the bridge, to which the crossing points for the grappling hook are attached.

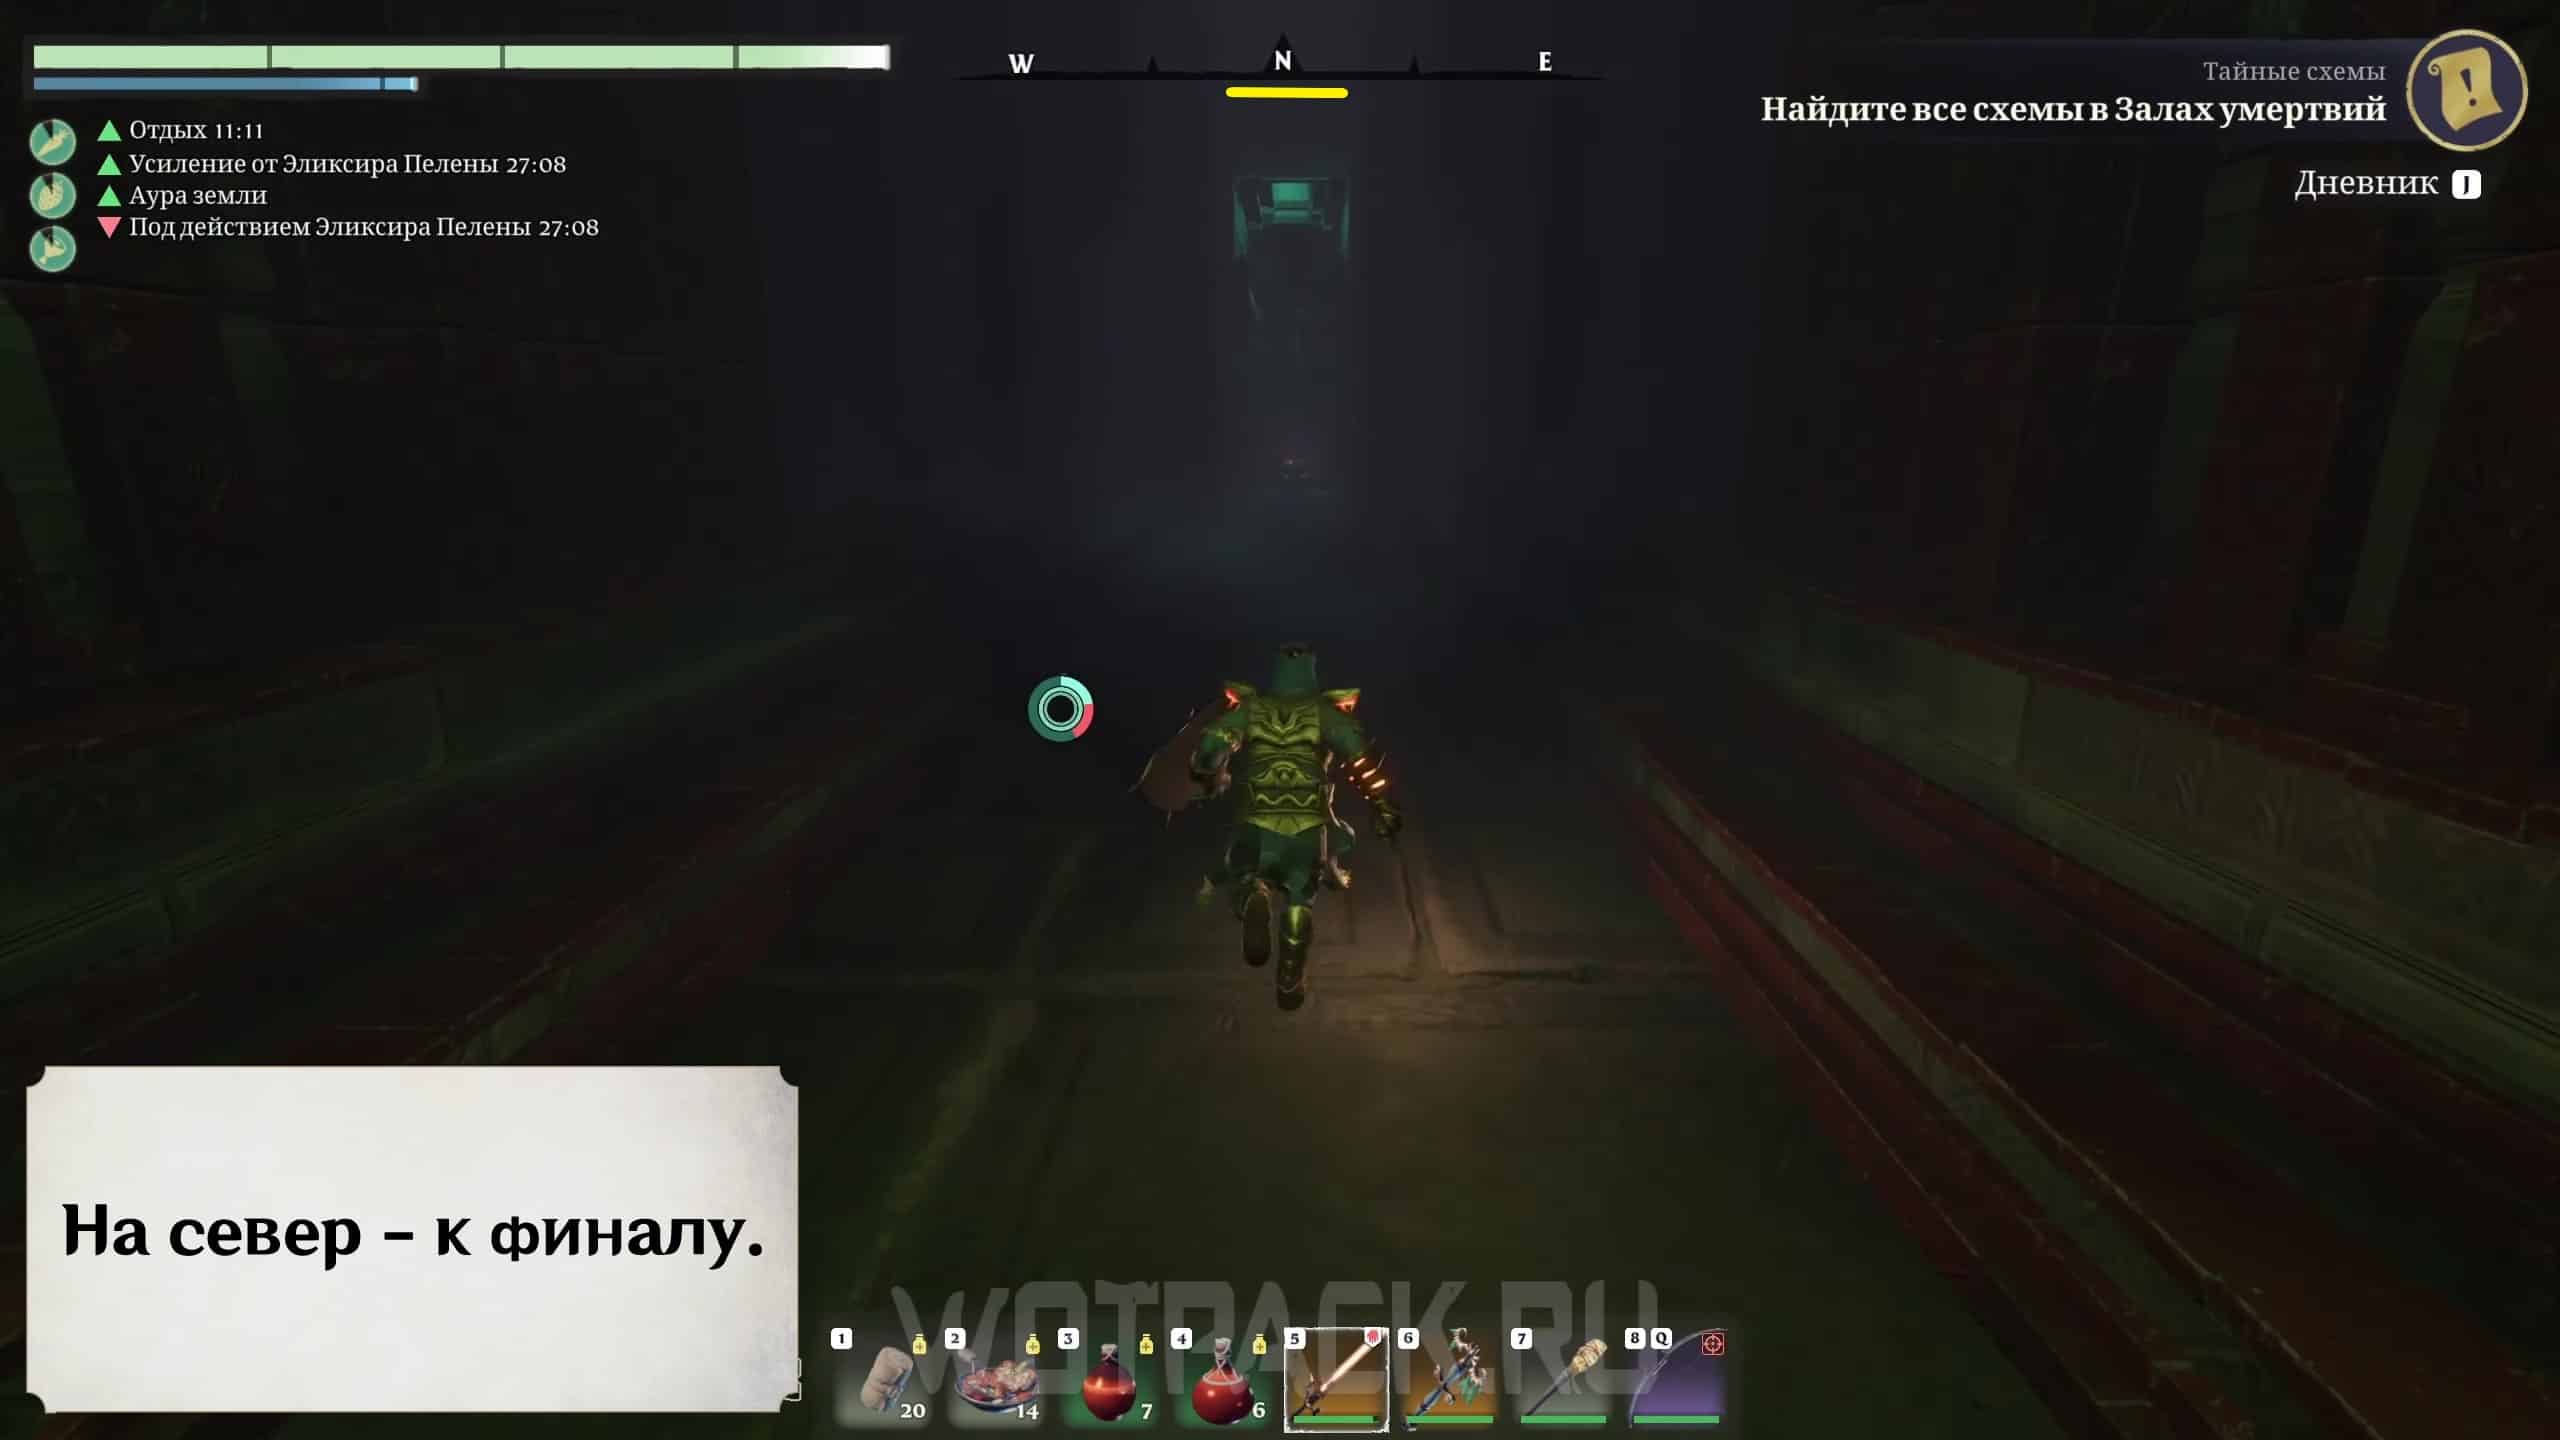

Having made it to the other side under the bridge, look to the left (west) and go up to the bridge, passing the section with the hook and grate. Once on the bridge, go to the next checkpoint (north) or pick up secret scheme to the south behind a lattice door. The door opens with a yellow switch above it.
 At the bridge, head north to a checkpoint, and after that, to the longest cave section with a red floor, which you need to cross with a glider. If you fall, try to quickly double jump, open the glider and soar (Space) to gain altitude again.


Enter the final arena with magical barrier. Kill first 2 Cyclops wights with rune icons. There is nothing better than the tactic of shooting cyclops from high ledges, so use it. After the Cyclopes will appear sickle: he flies and throws sickles, so you won’t be able to shoot him from a safe place, but you can’t always reach him in close combat. The ideal strategy is to get close to him and cut him down in close combat, so the sickles will miss the hero's model. If you can’t reach it, then shoot at him with a bow and try to dodge the sickles while somersaulting forward. The death of the scythe will remove the 5th magic barrier. Now you can go for your reward.
Rewards
 The main reward for completing the Halls of the Wights in the Brush Wastes is a level 25 legendary bone weapon found in the tomb of the last room.
We hope that the article helped you complete the Wight Halls of the Brush Wastes in Enshrouded. Feel free to leave questions and thoughts about local dungeons in comments. Read other guides on enshrouded in the relevant section of our website.