
In Genshin Impact, the "Surveying & Mapping Studies" event is dedicated to the science of landscape research and the creation of earthly images. To share experiences, the Knights of Favonius, led by Chief cartographer Mika are conducting large-scale maneuvers in Mondstadt. Accept the invitation and demonstrate your orienteering skills.
In a given area, search for abandoned beacons and pinpoint their locations to create a map. This article describes all the calibration targets for each step.
Placement options may vary among players. If you don't find yours among those presented in the guide, reset the challenge and start over.
How to start the event
Access to game stages will be unlocked under the following conditions:
- reach 20th adventure rank or higher;
- complete "Song of the Dragon and Freedom".
To avoid potential plot spoilers, it is recommended to start the event after completing the True Moon chapter. The event will last from 10 to 20 April, 2026.
Tutorial
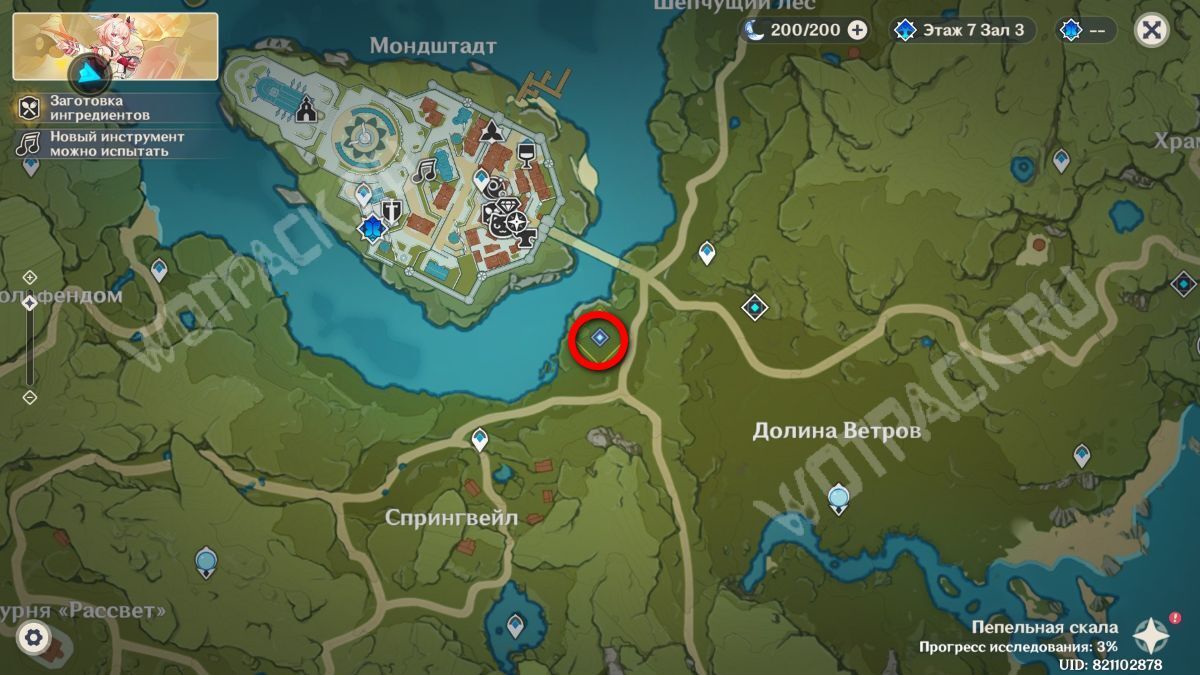
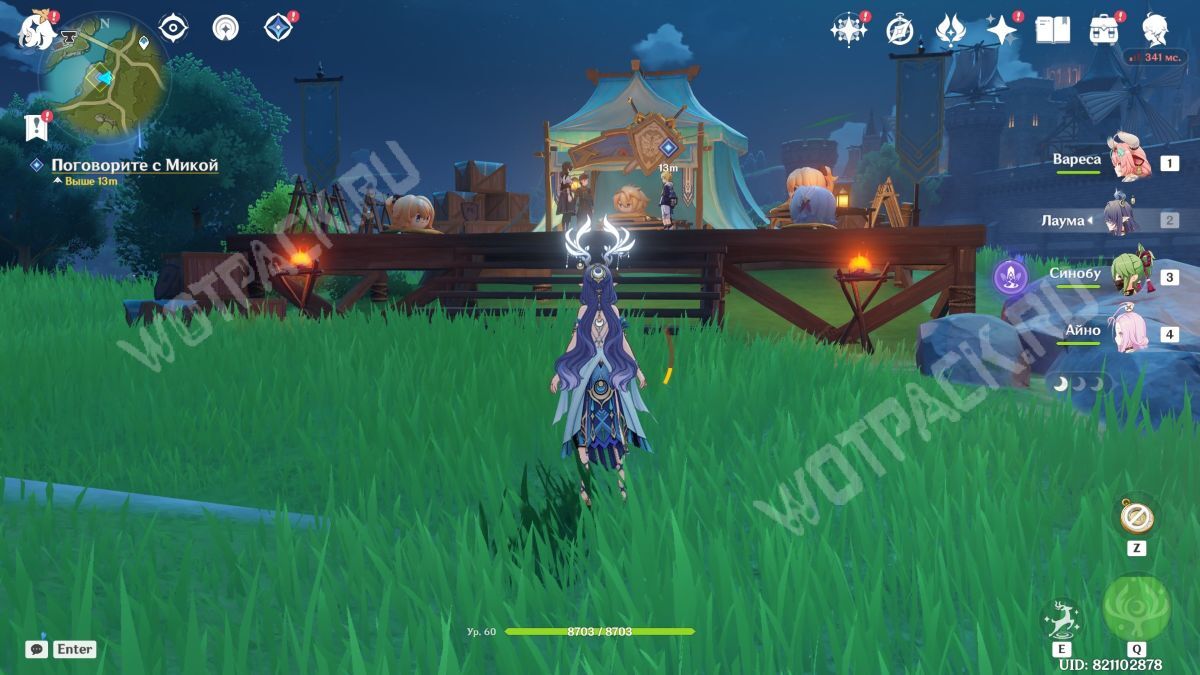
Travel to Mondstadt and speak with Mika near Springvale. He and the other knights are exchanging cartography information and asking Traveler to participate in the challenge.
Rewards:
- Adventurer's Experience ×4.
- Mora ×10000.
Patrolling the Rolling Hills
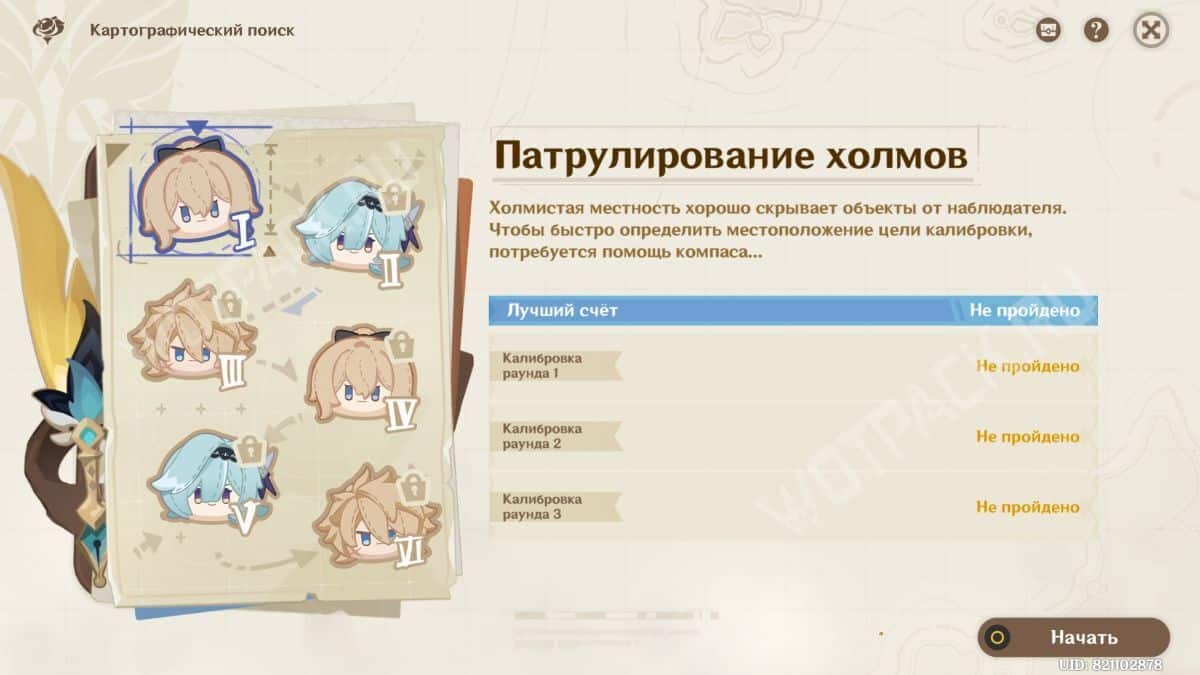
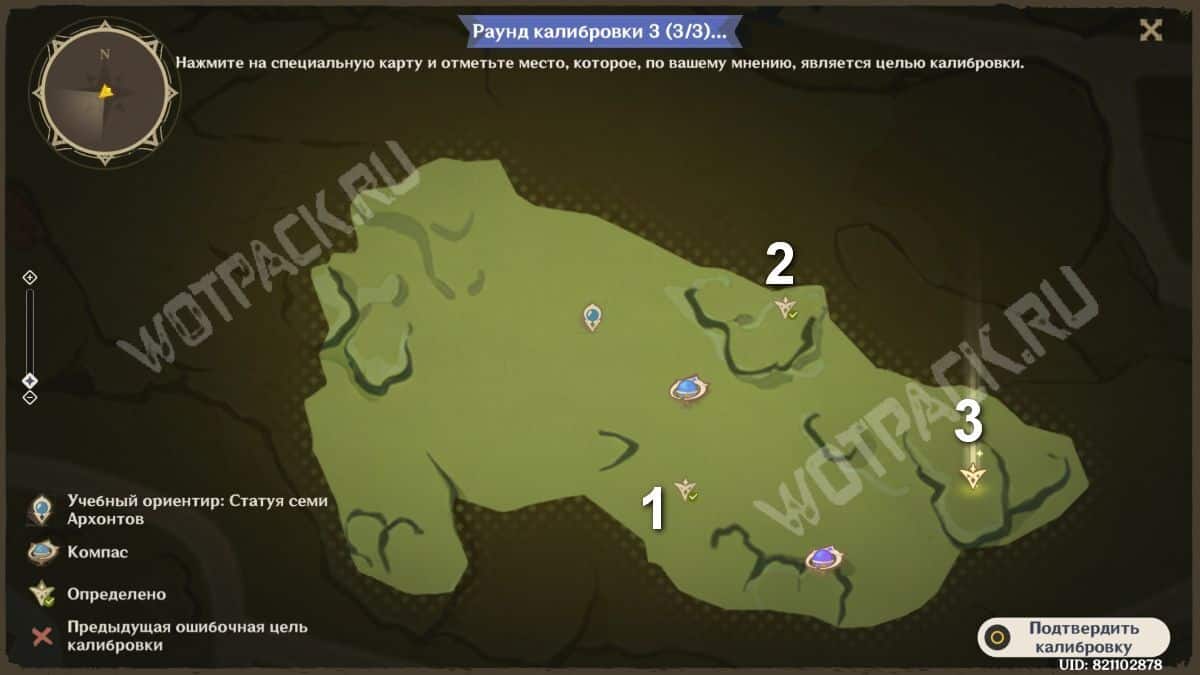
The first stage takes place in Windwail Highland. Mark two compasses and three objectives to complete.
First Round
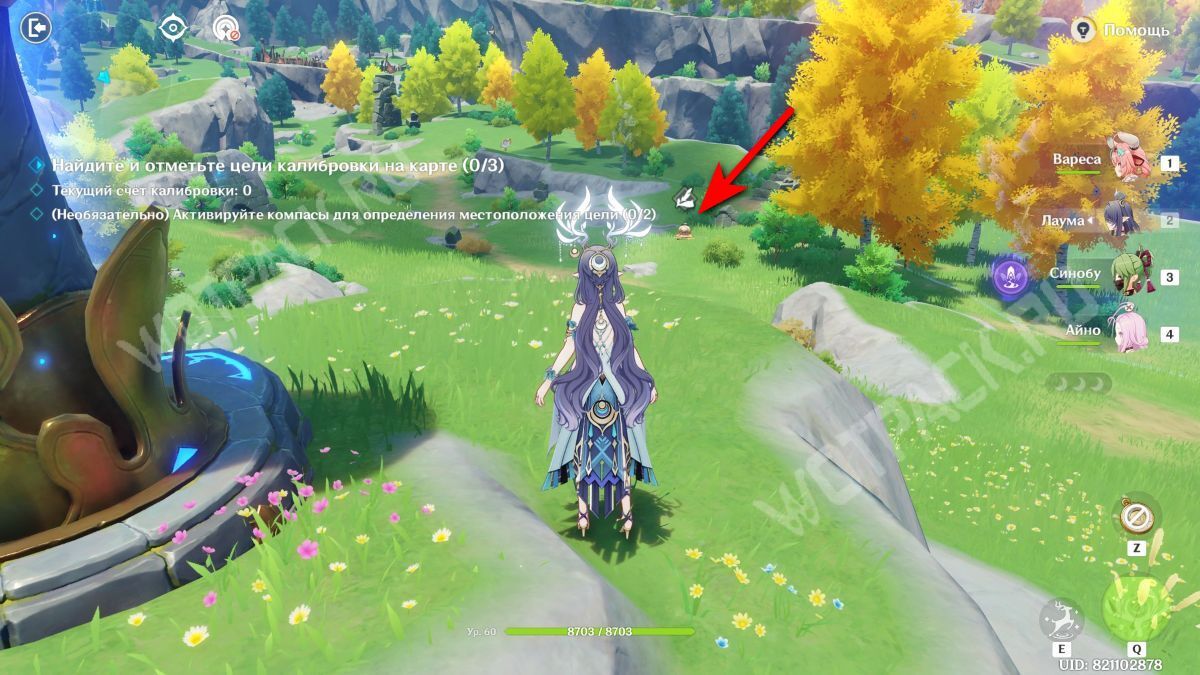
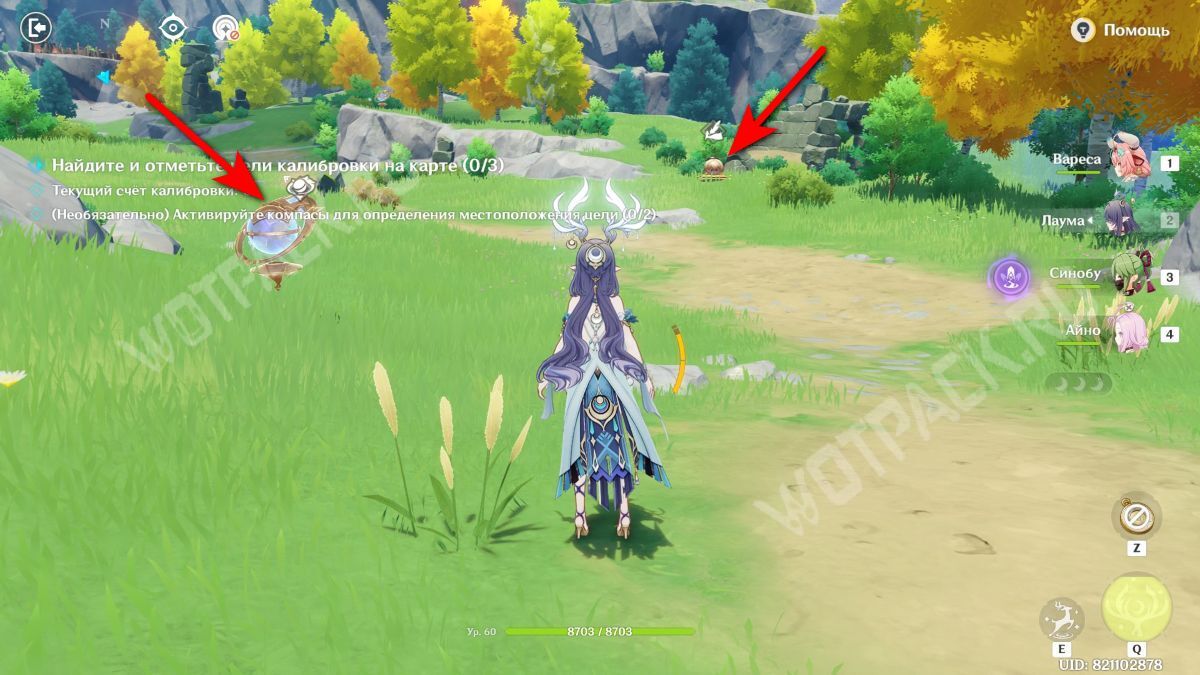
The location is southeast of the Archon Statue. Using the nearby path as your guide, begin heading in that direction and activate the compass along the way.
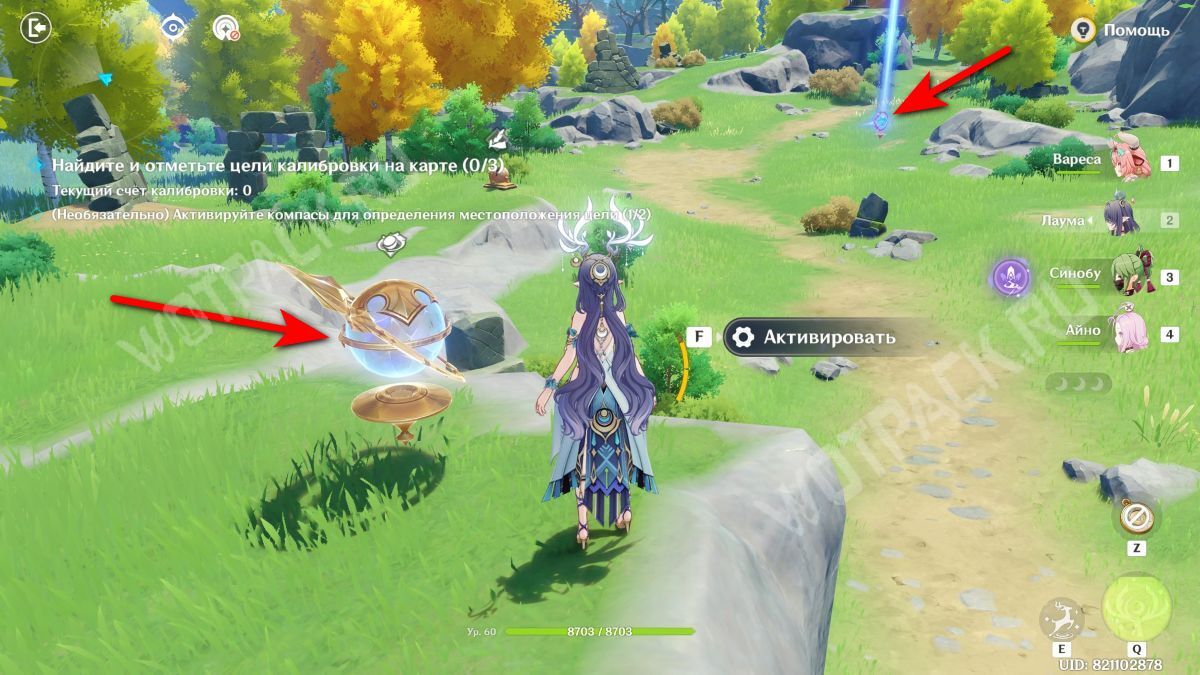
For convenience and accuracy of measurements, immediately mark the second compass - it is a little further away from the target, at the edge of the ledges.
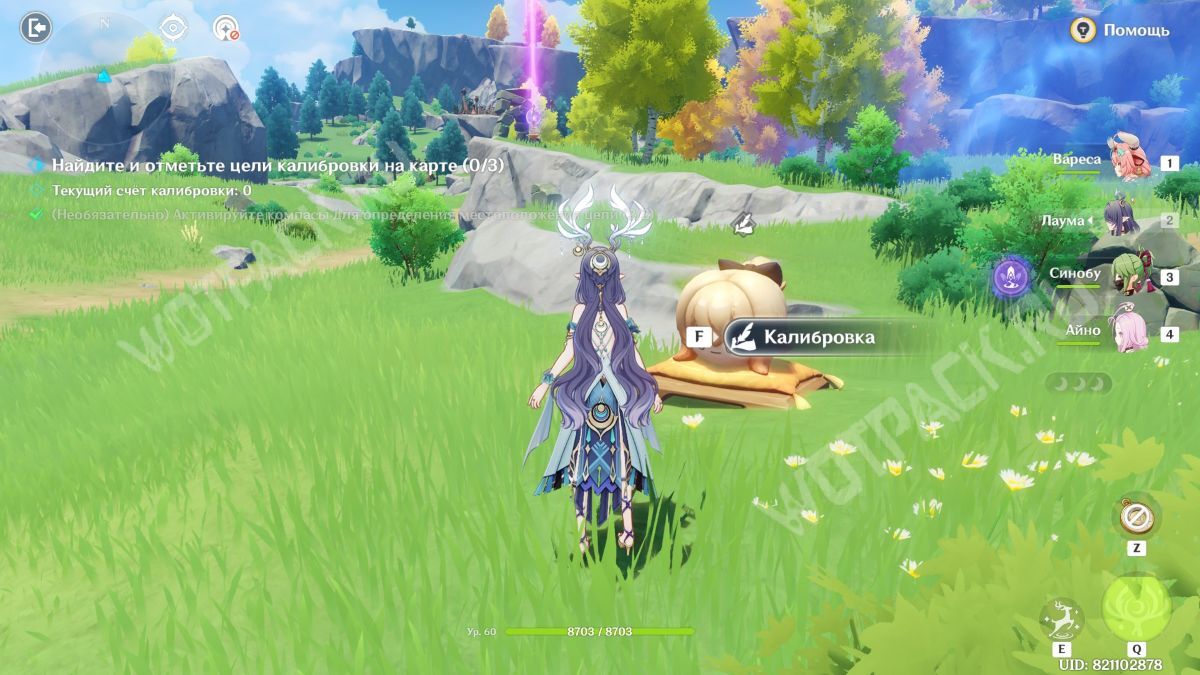
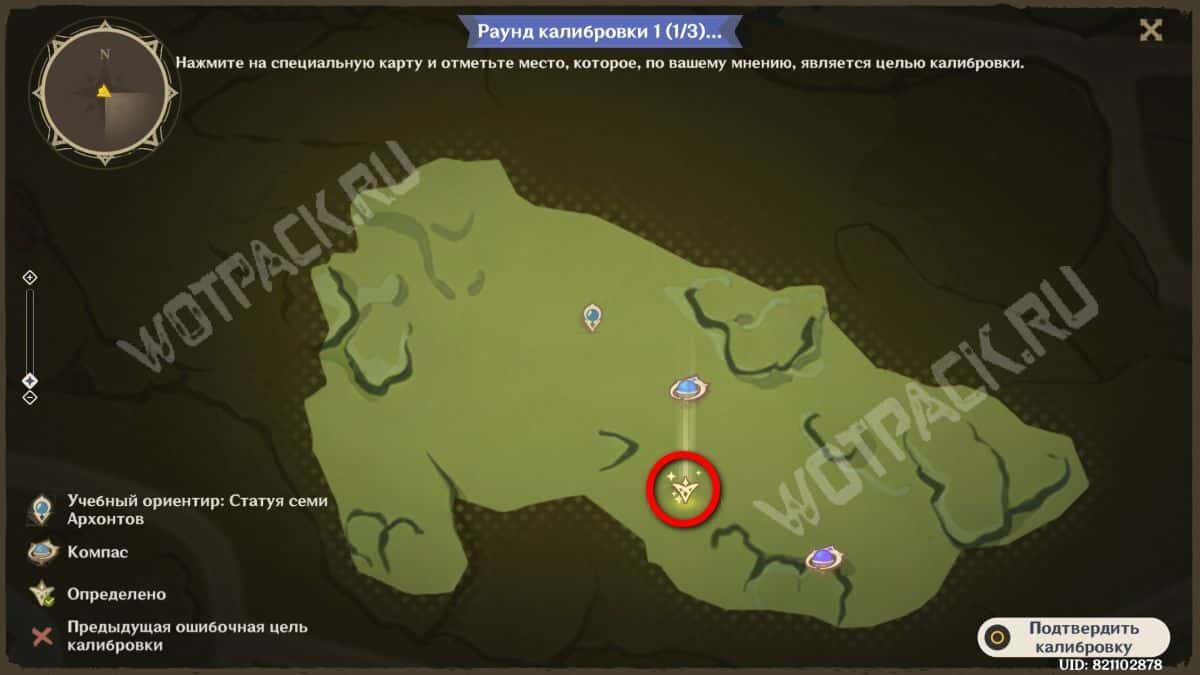
Return to the object and click "Calibrate." Mark it by placing the beacon exactly north of the first compass, midway between the lines representing the terrain's unevenness.
Second round
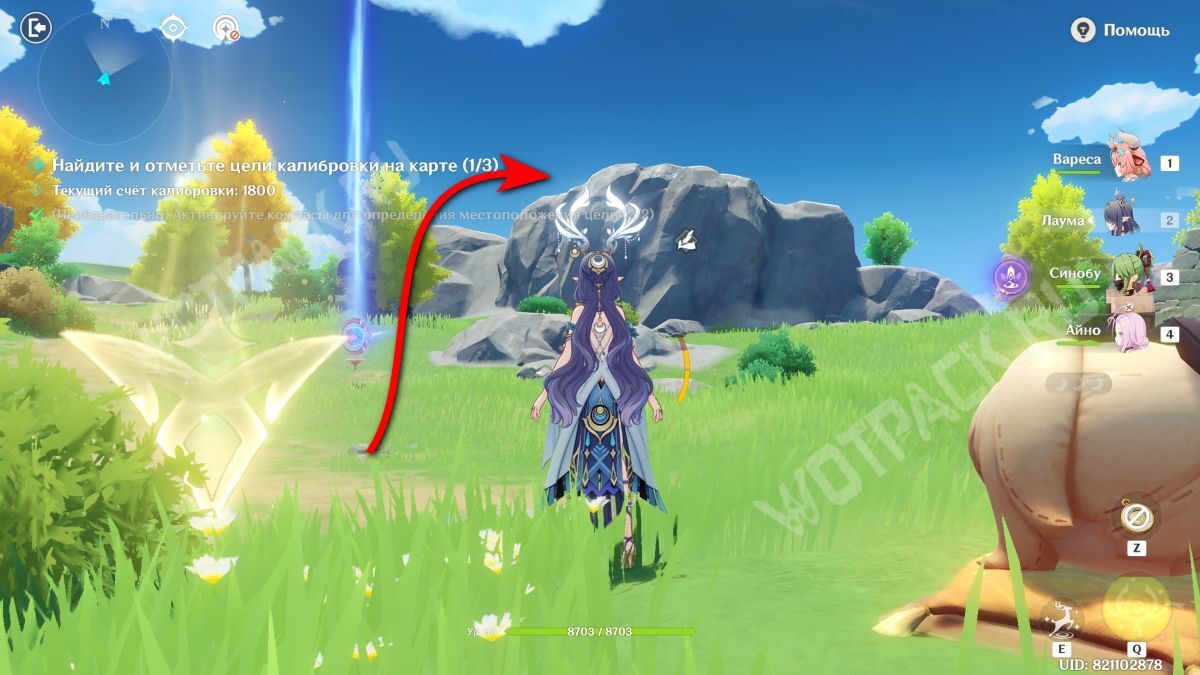
The second object is located to the northeast of the first landmark.
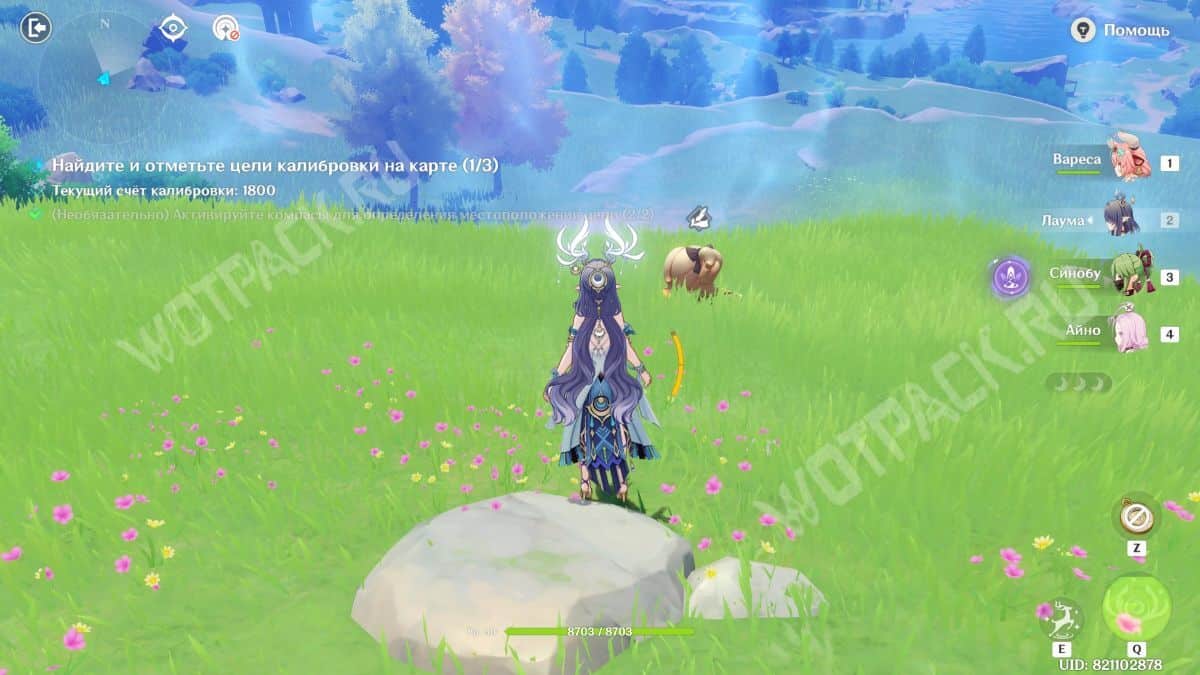
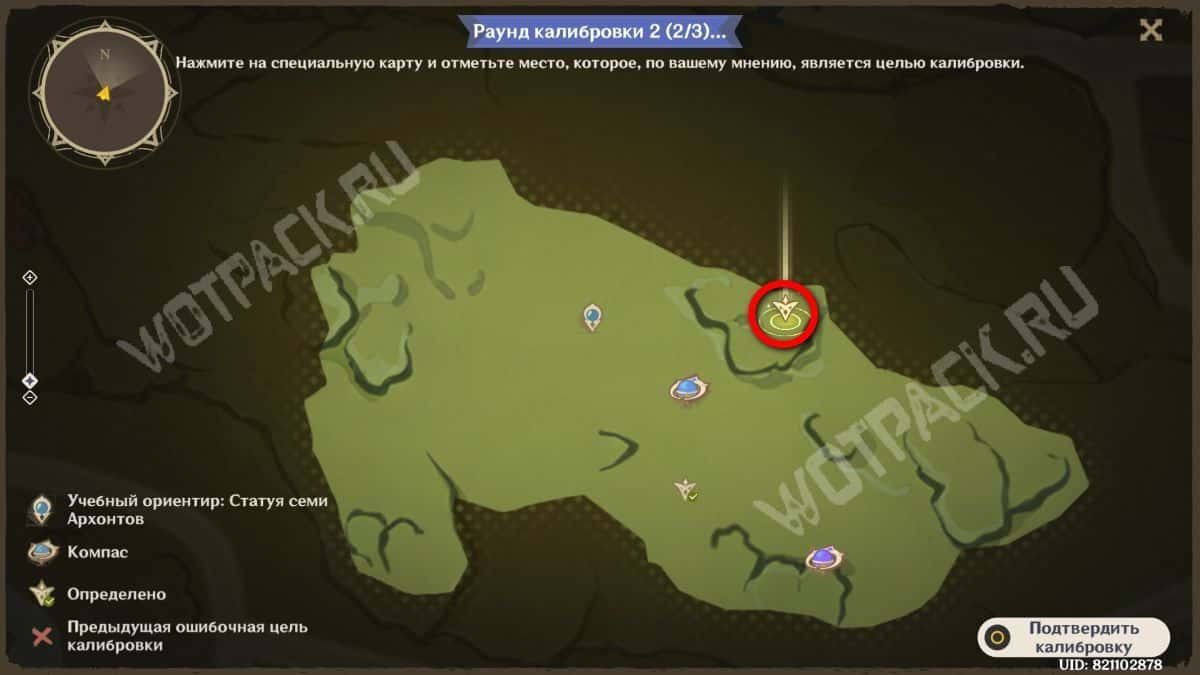
Climb the cliff and place a mark closer to the edge of the map.
Third round
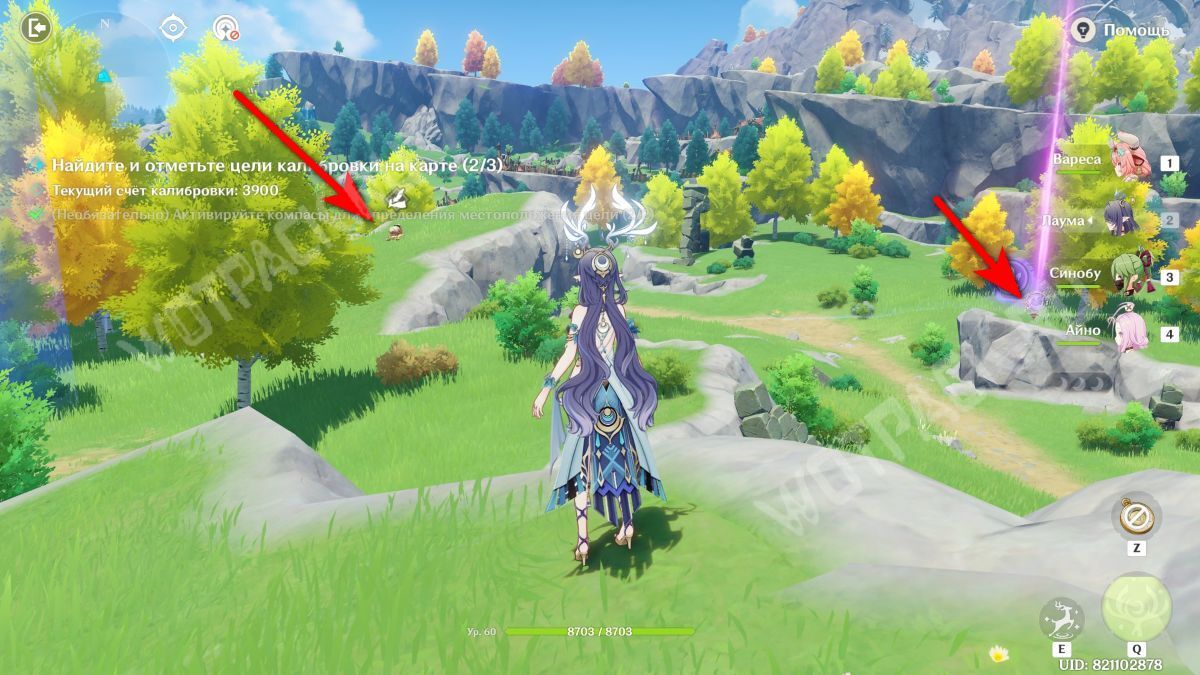
The last point will appear in the very east of the region, also on a hill.
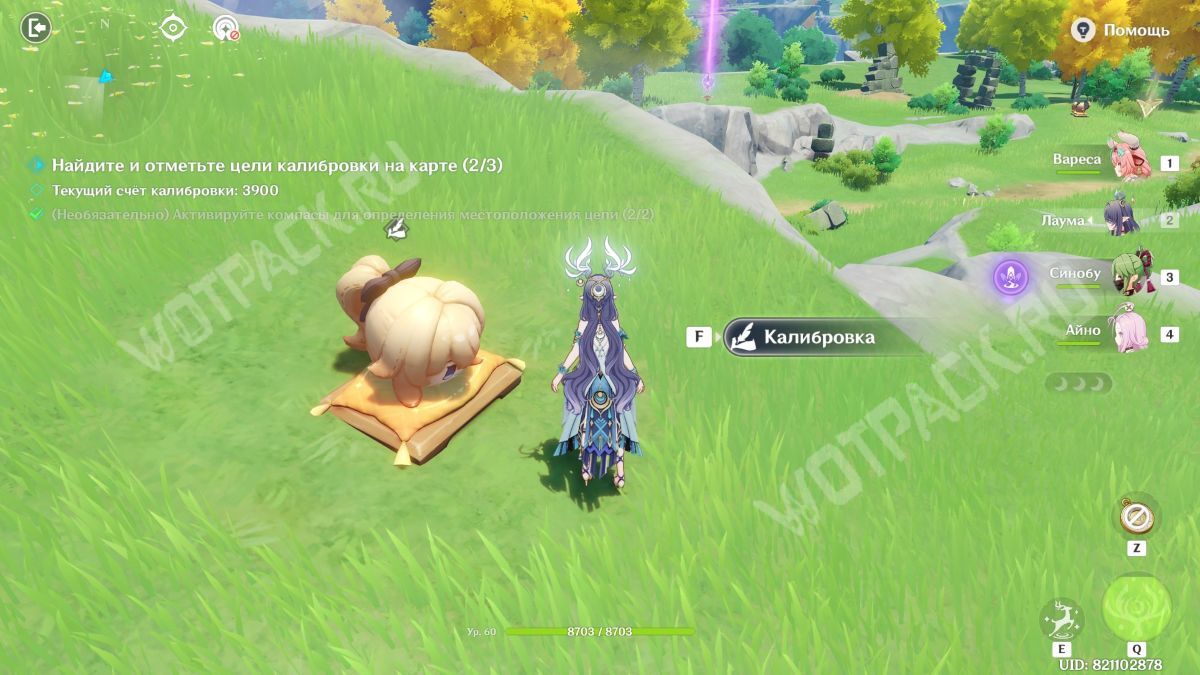
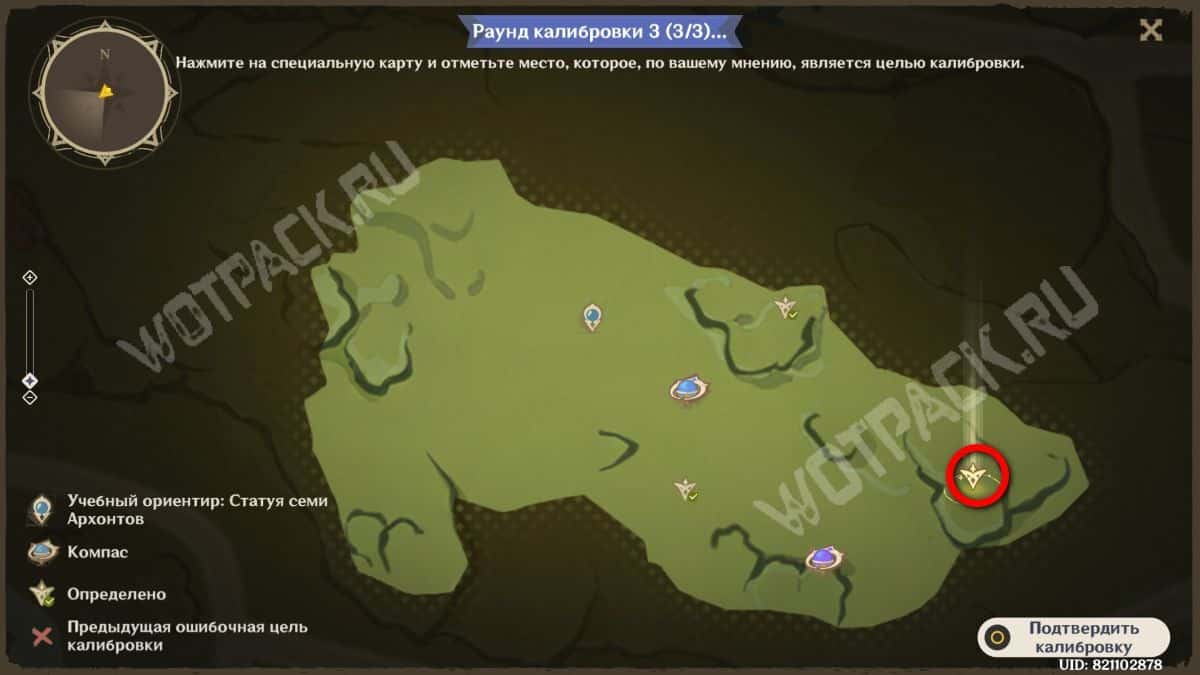
On the map, the mark should be placed almost parallel to the second compass, but slightly to the right of the triangular notch on the stone ledge.
Scouting the Winding Coast
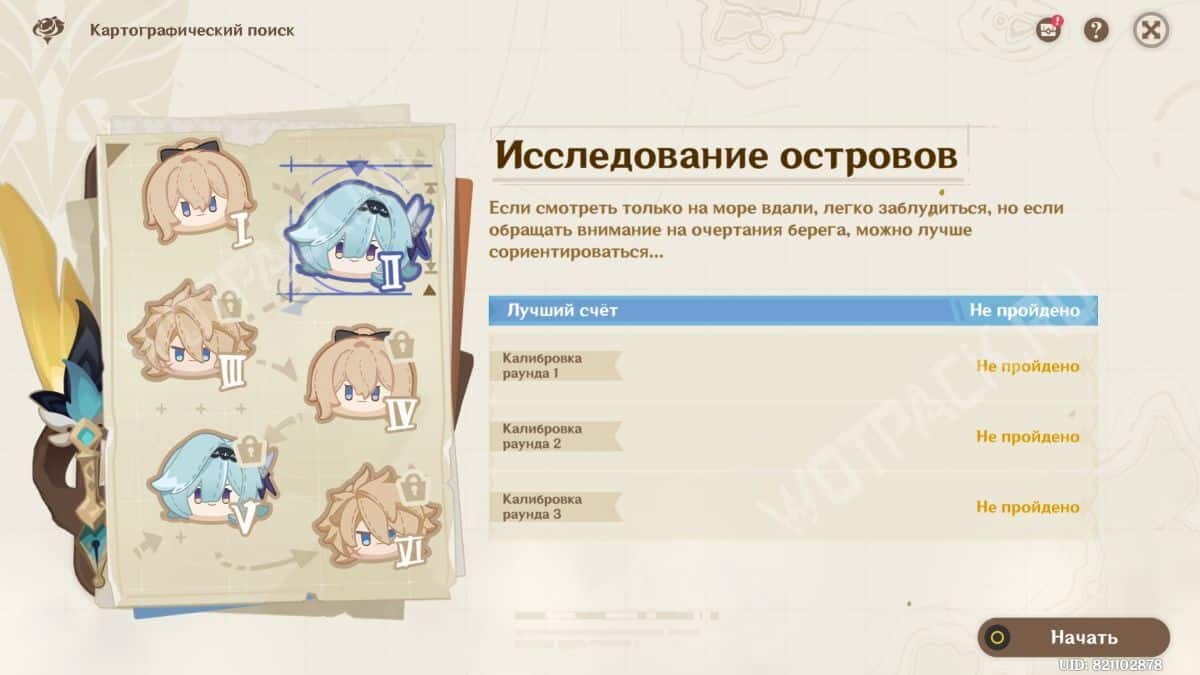
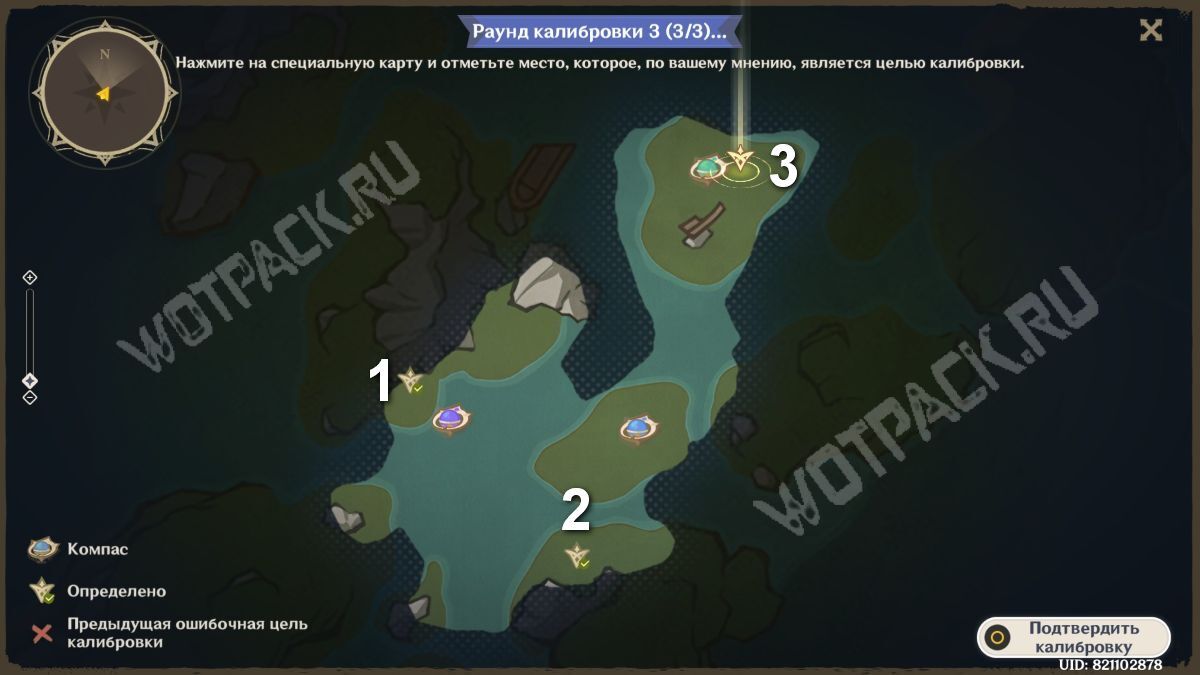
The challenge is taking place on the territory of Fontaine. It also requires three calibrations, but this time there are also three reference points.
First Round
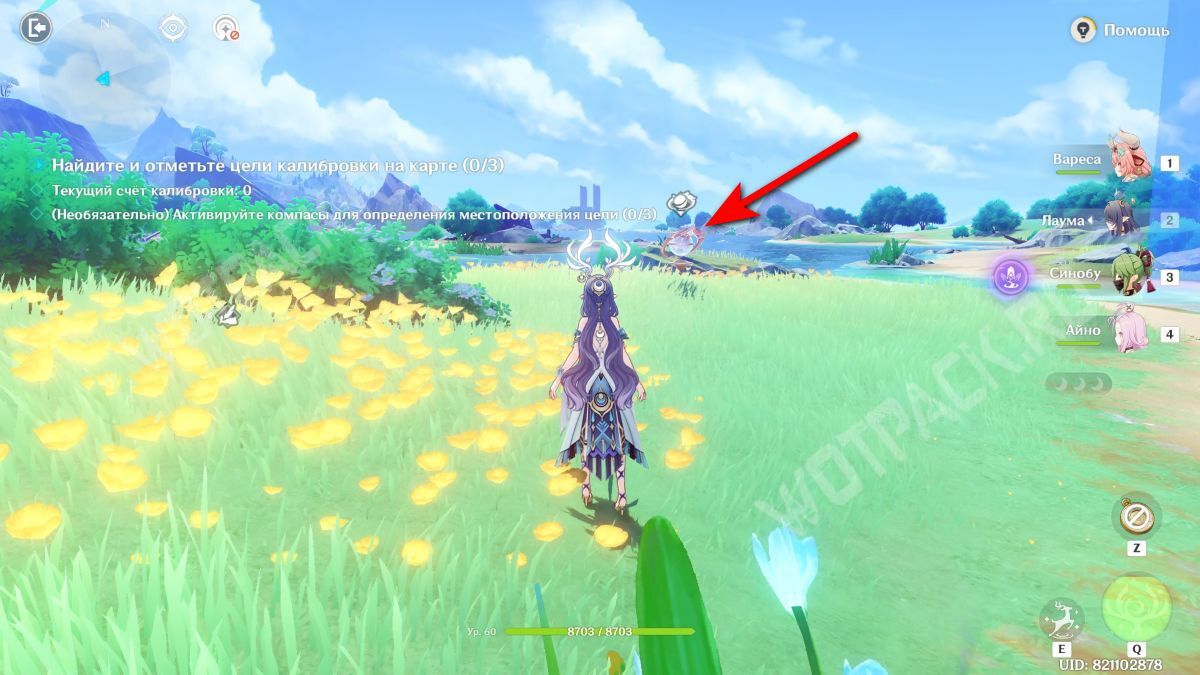
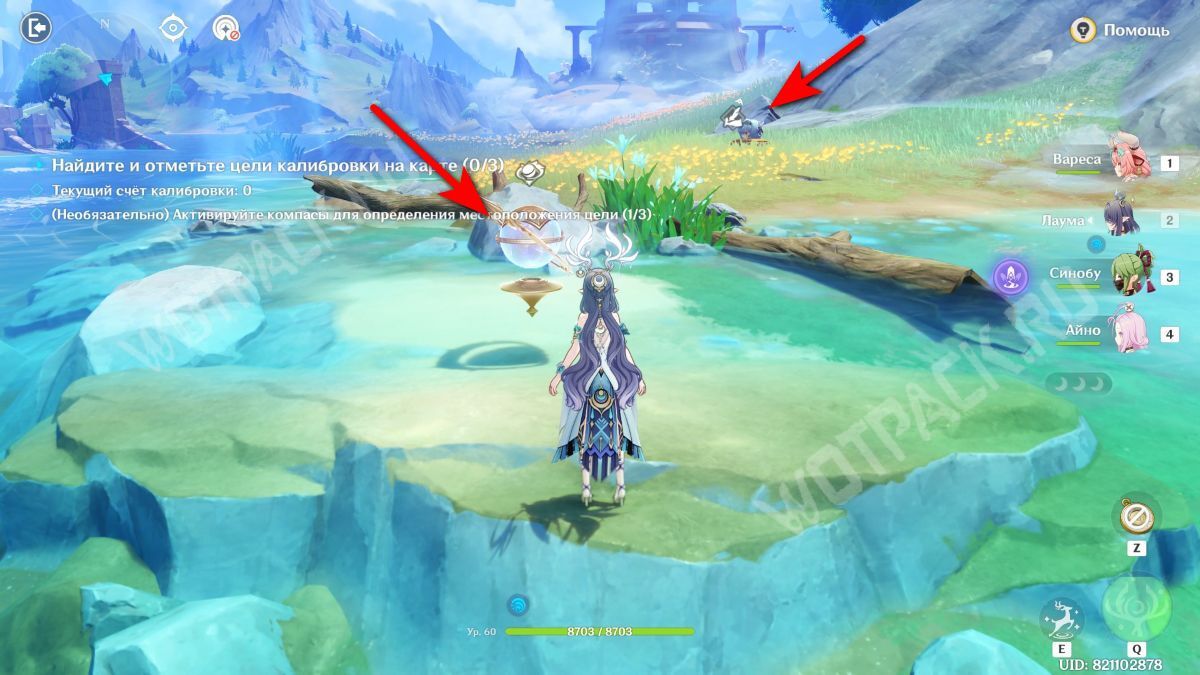
First, without turning anywhere from the starting point, move forward and activate the blue compass. From there, turn left and, after swimming across the river, click the second, purple one.
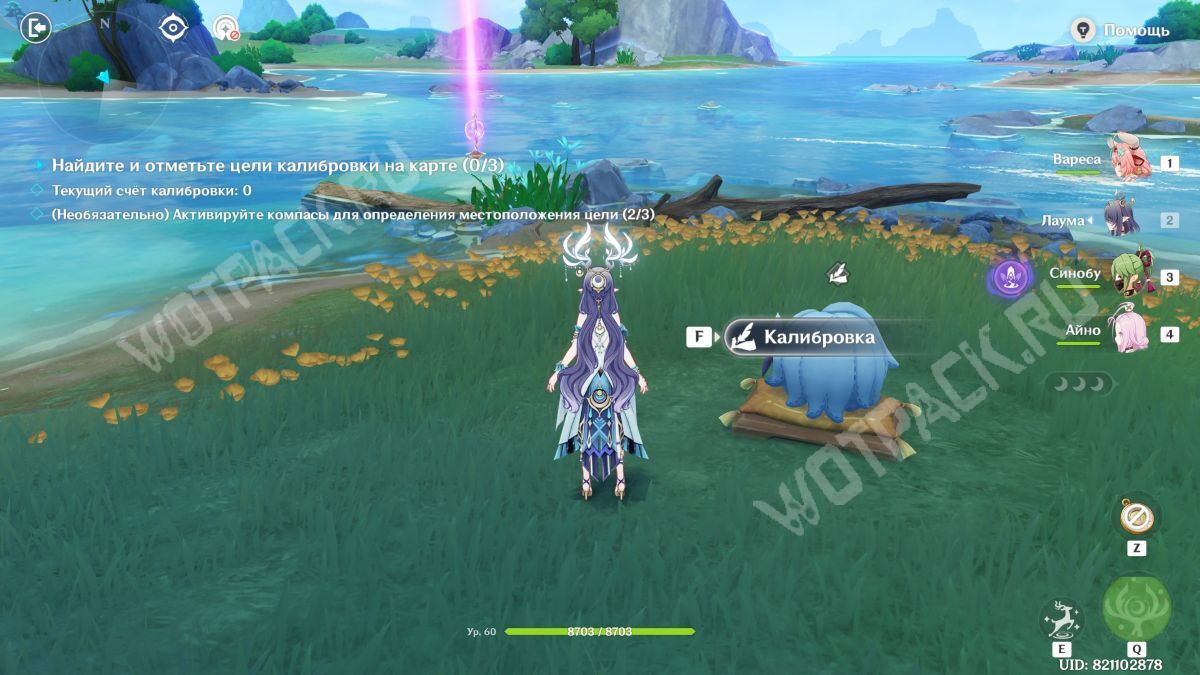
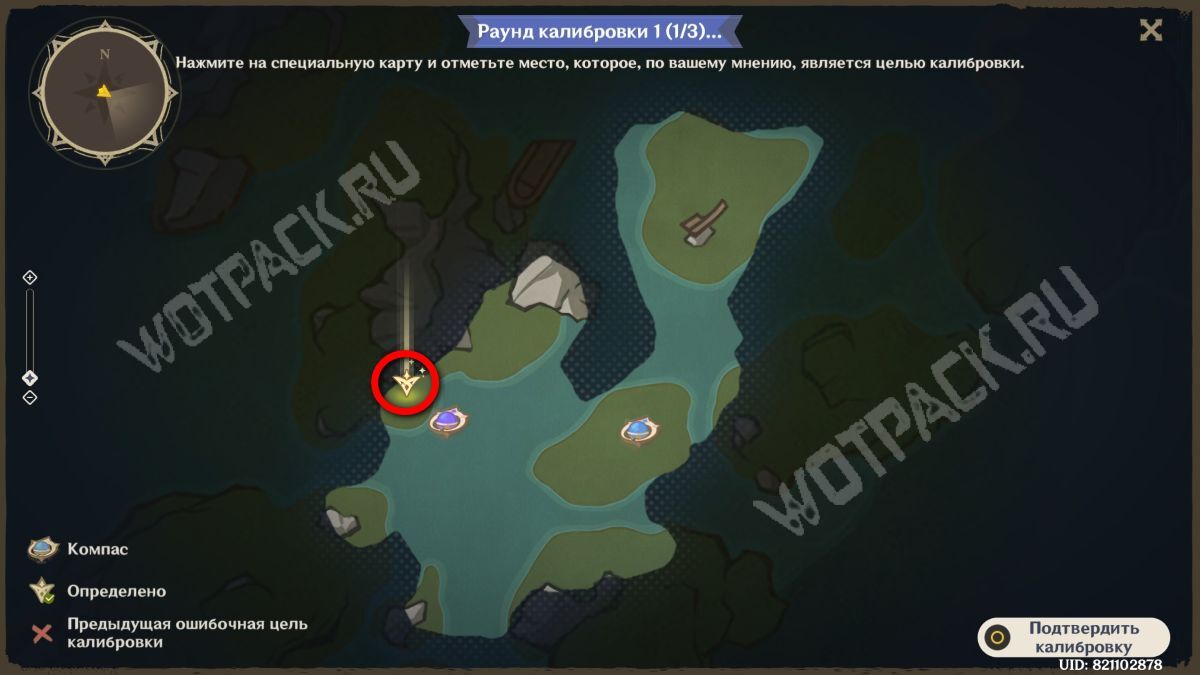
The target is located directly behind it, closer to the edge of the territory and slightly higher.
Second round
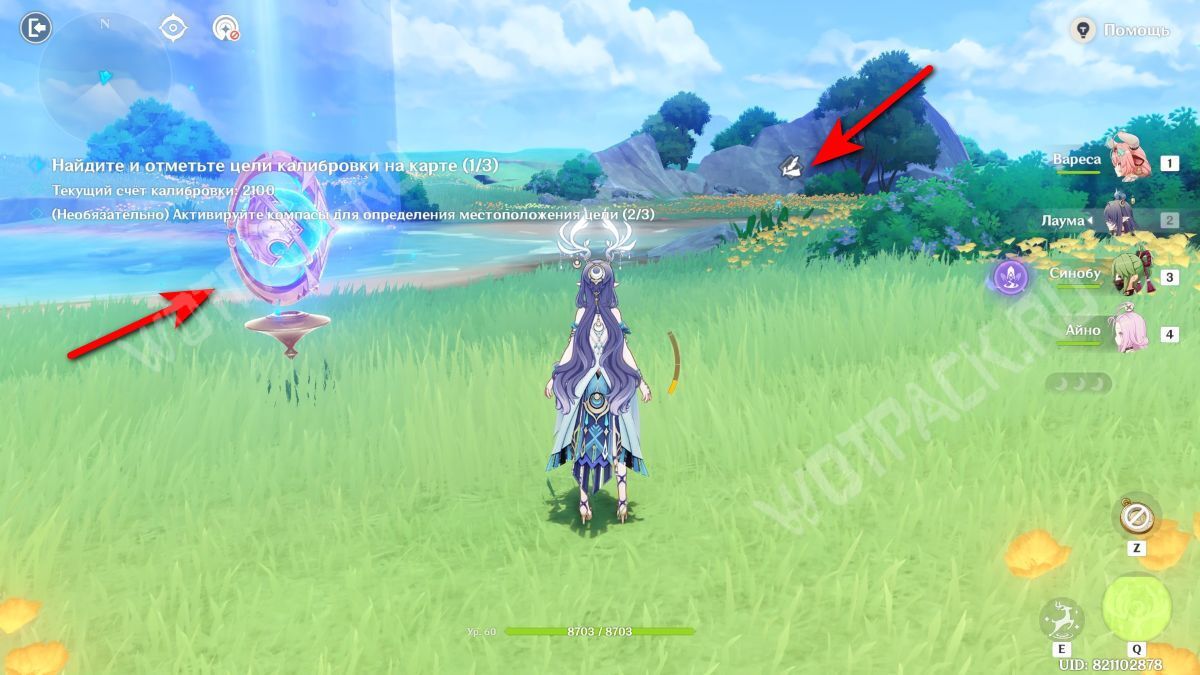
Using the blue compass as a guide, head to the island in the south.
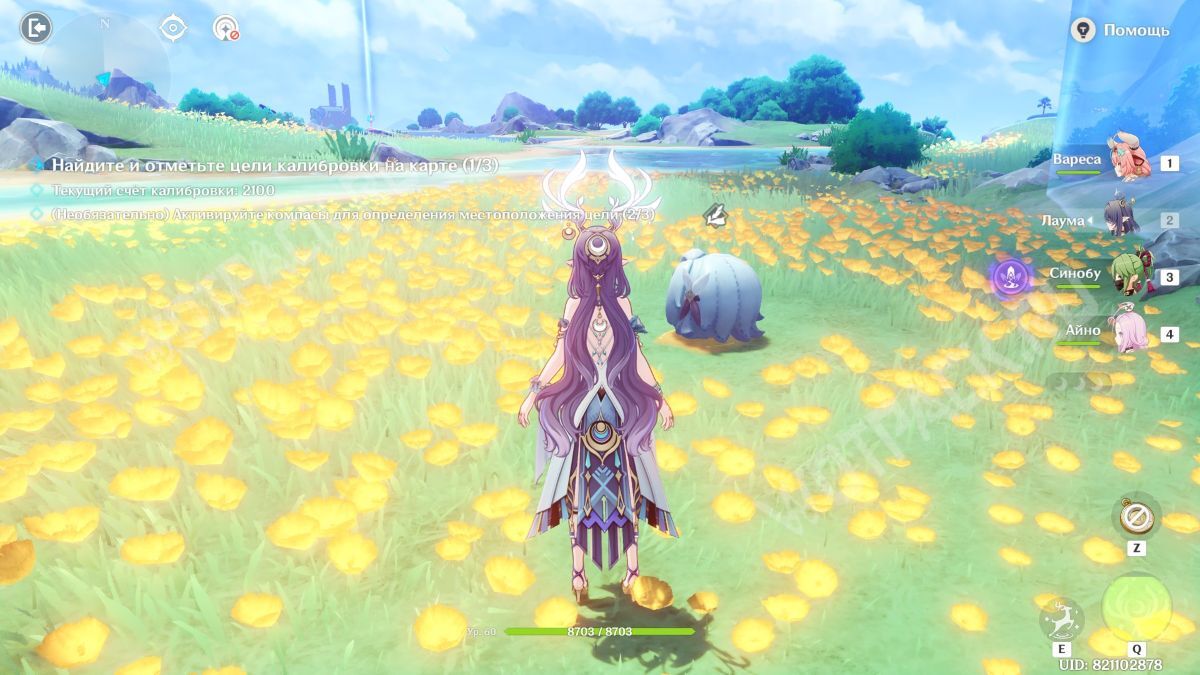
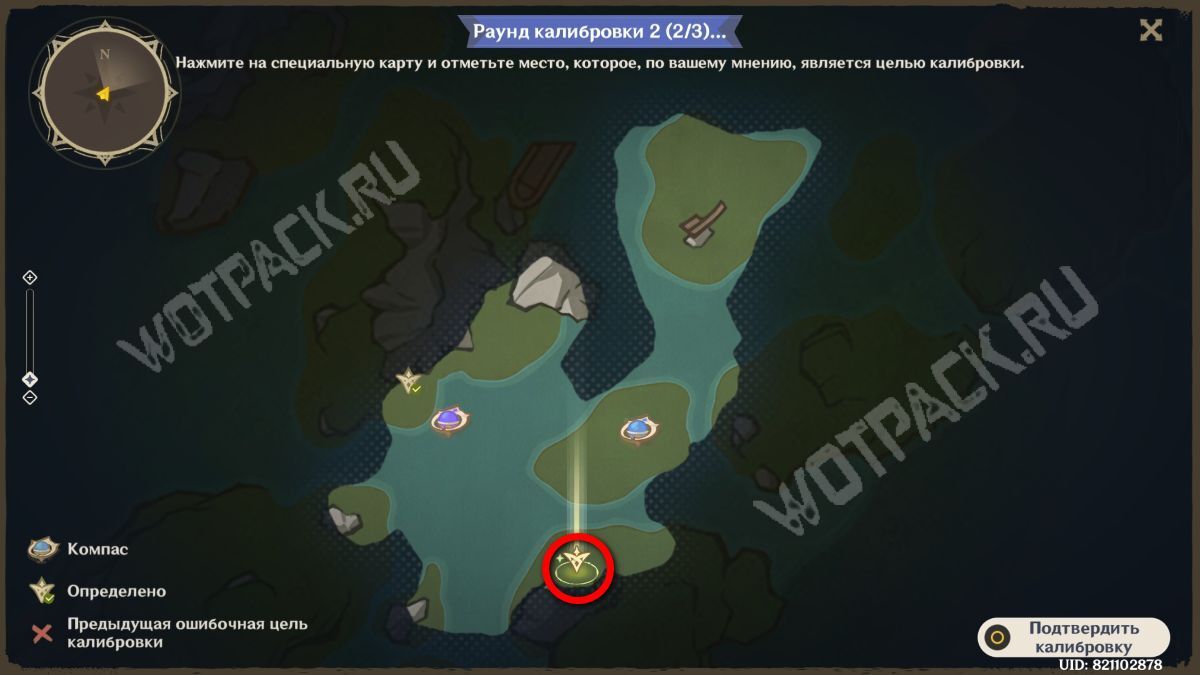
Place a mark almost in the middle of the mountain's crescent shape.
Third round
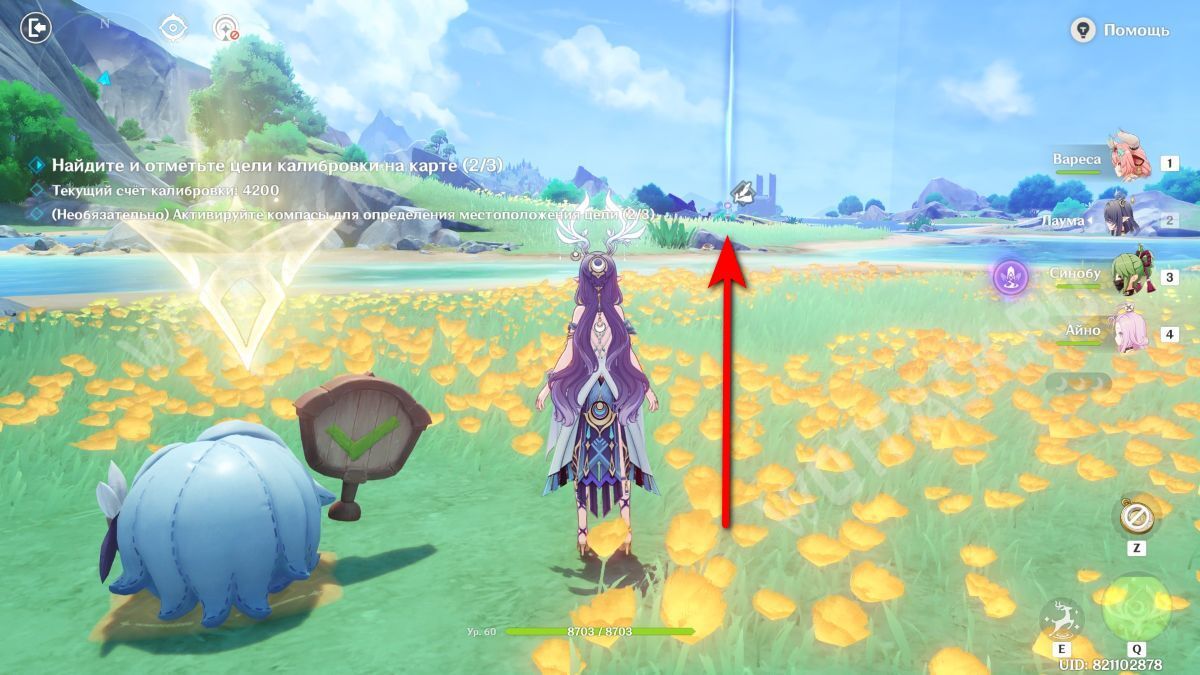
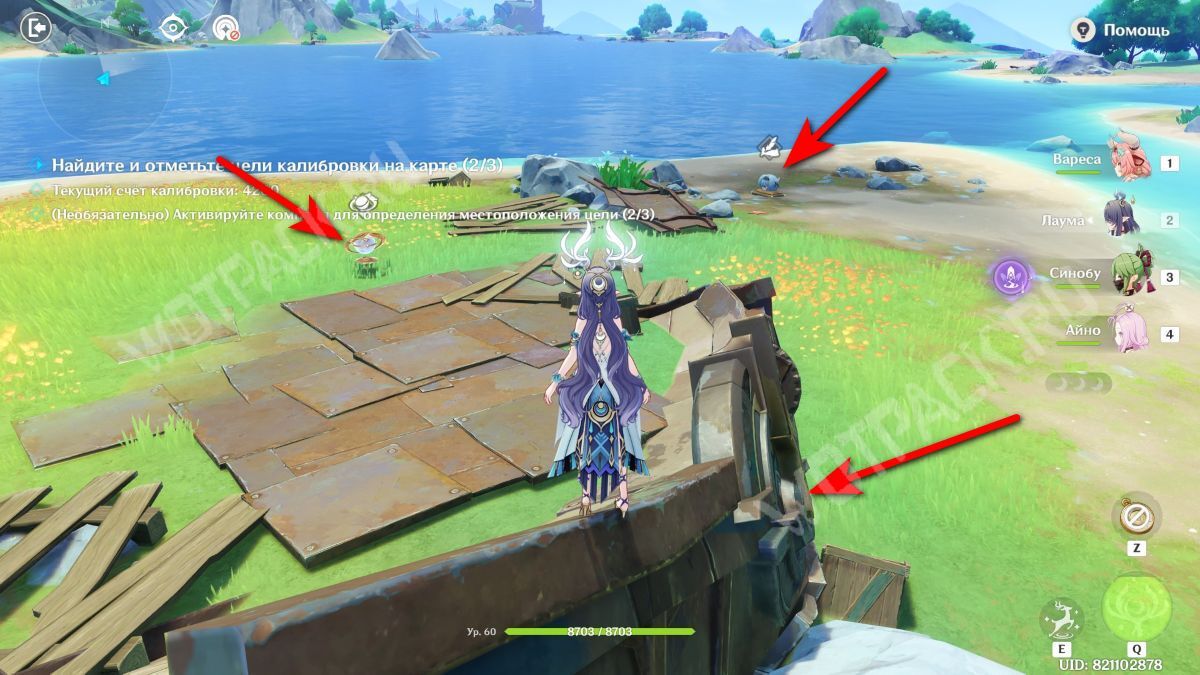
From the previous point, head straight north. Use the shipwreck as a reference point and mark the green mechanism.
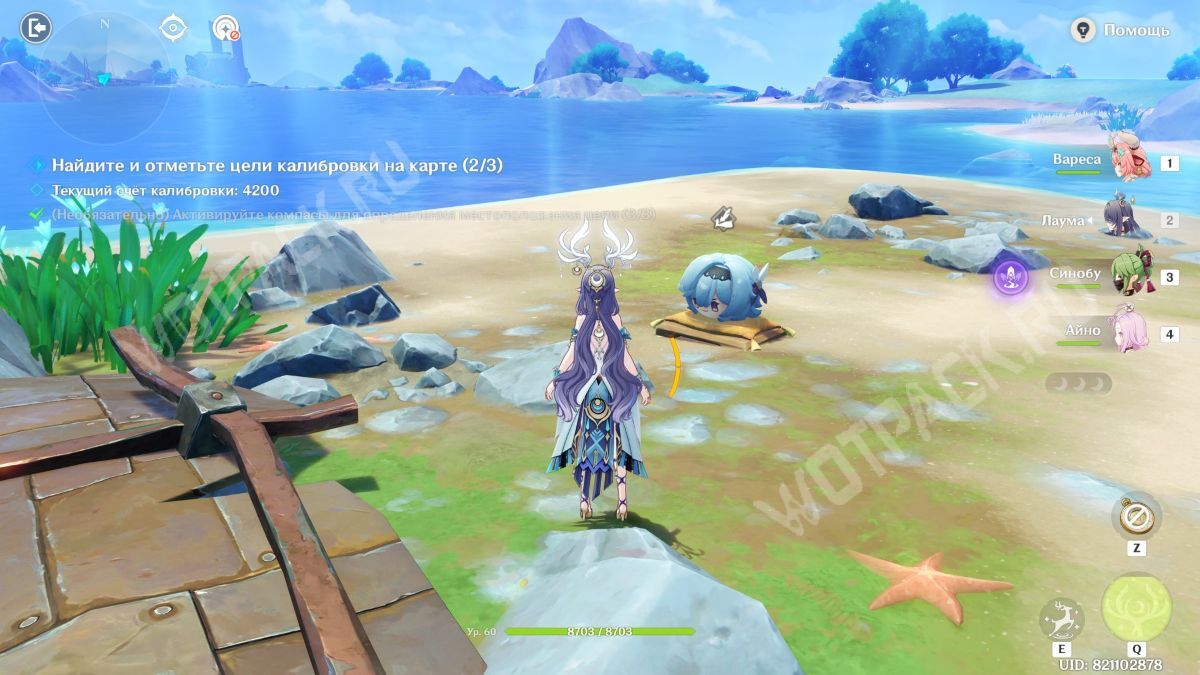
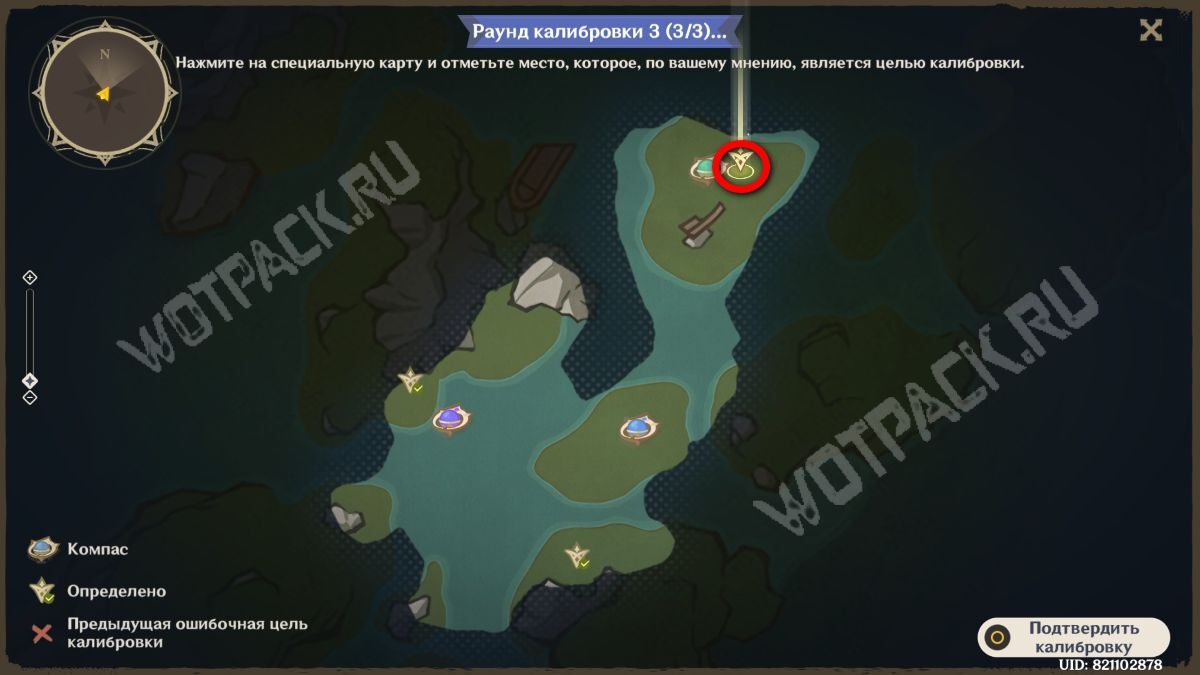
The point is located slightly to the right of it.
Exploring the Vast Unmarked Plains
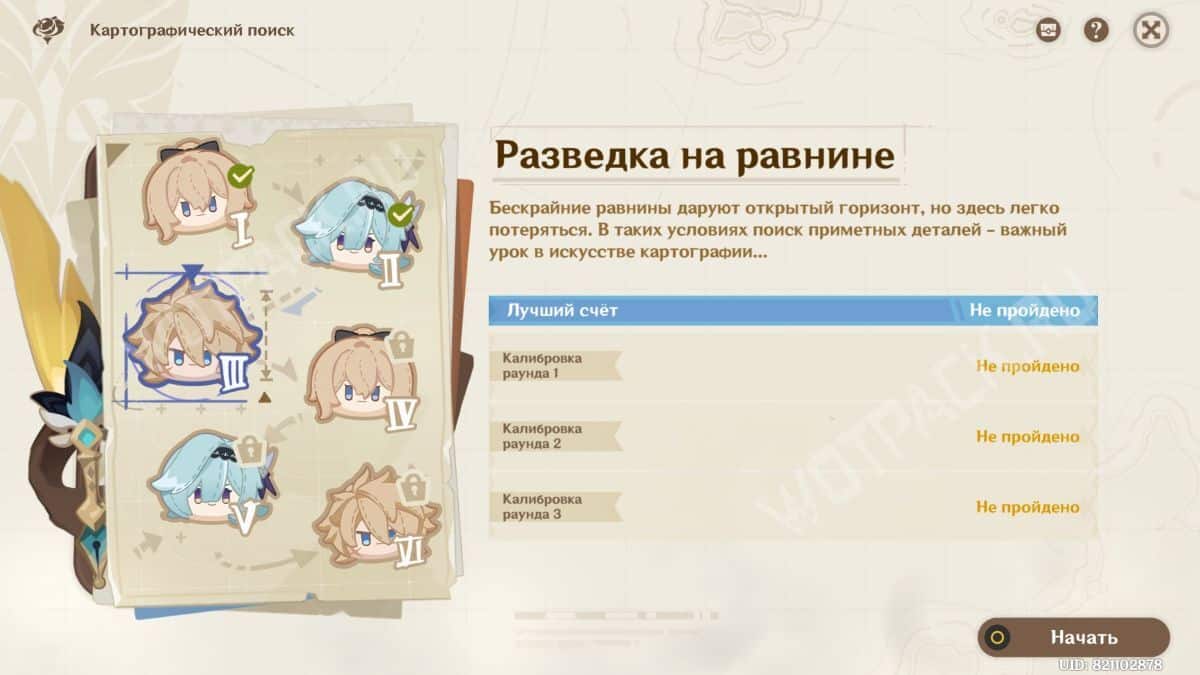
The third stage takes place in Natlan, not far from the Basin of Unnumbered Flames. Exploration is complicated by the almost perfectly flat terrain, making it difficult to find landmarks.
Option 1
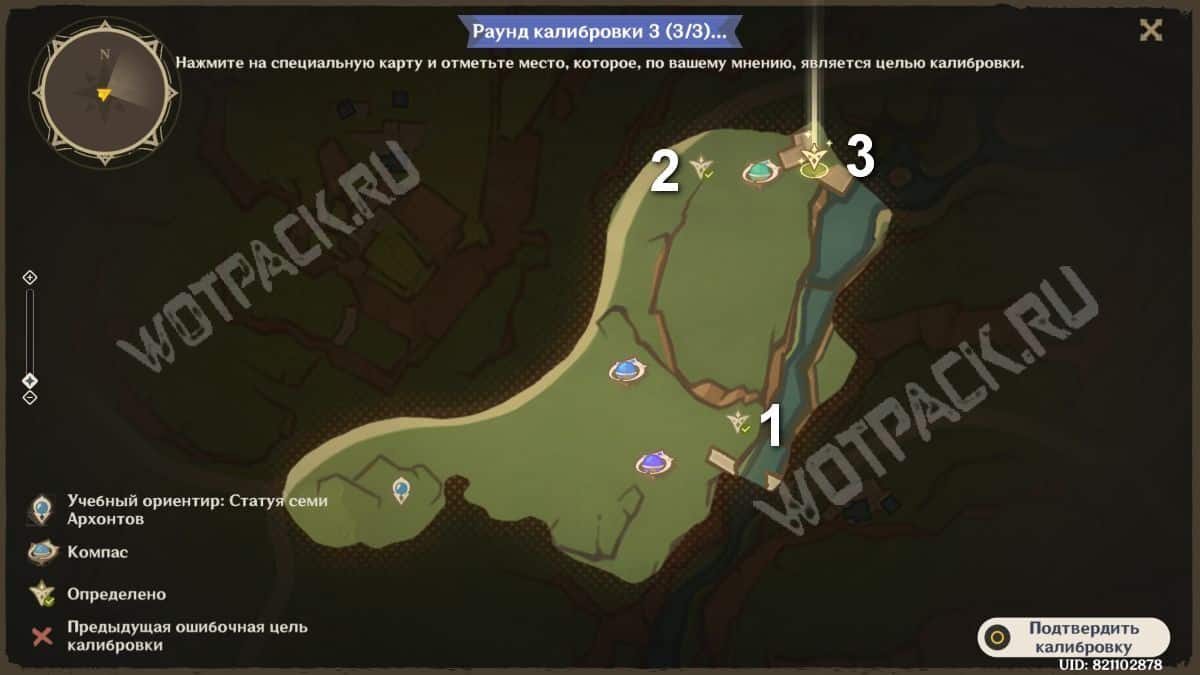
The first layout is one of the simplest, since all the targets are located near significant places.
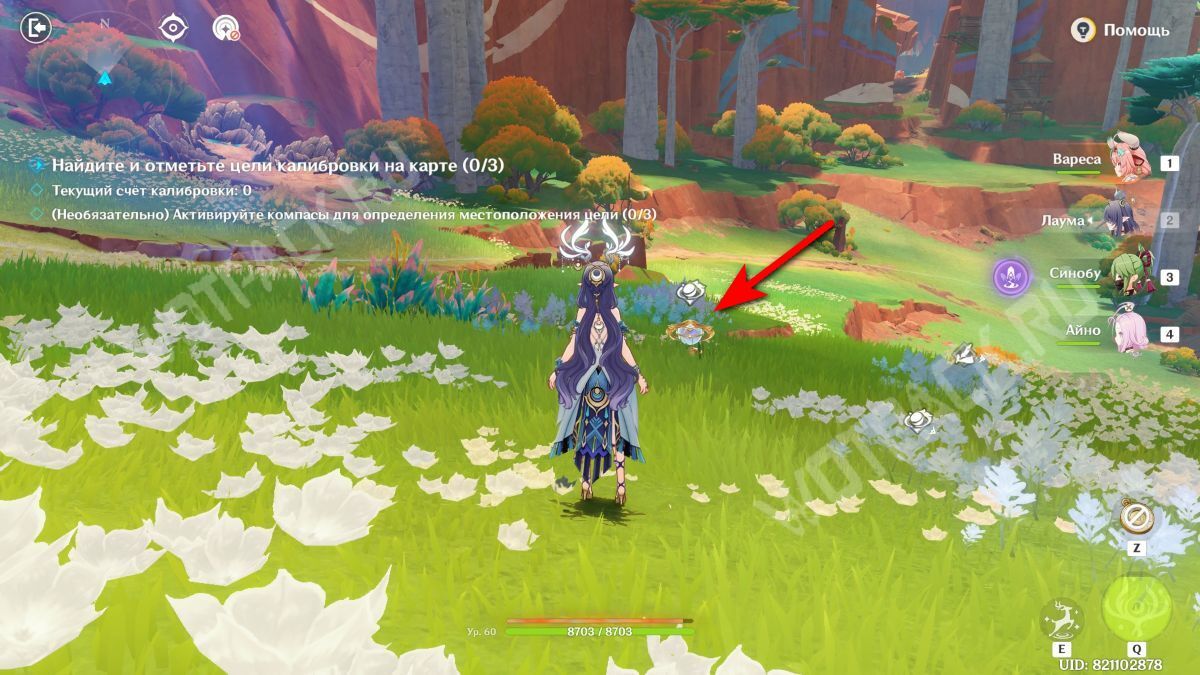
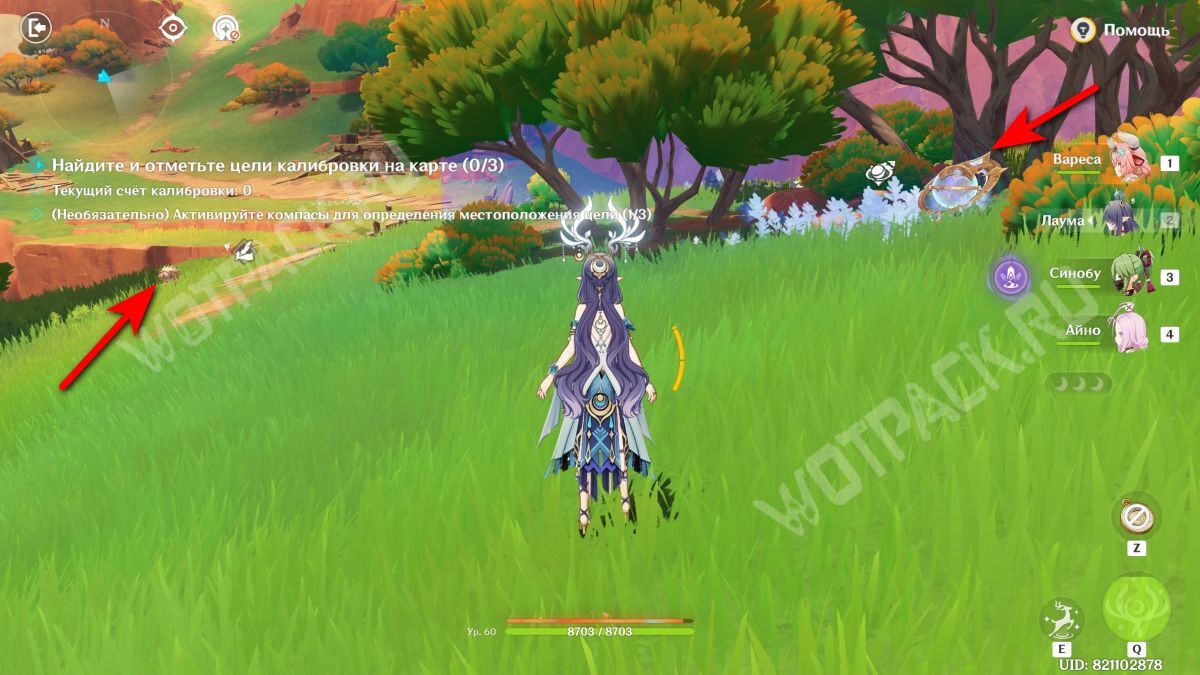
First, activate the two compasses closest to your starting point to make things easier. Then head to the object.
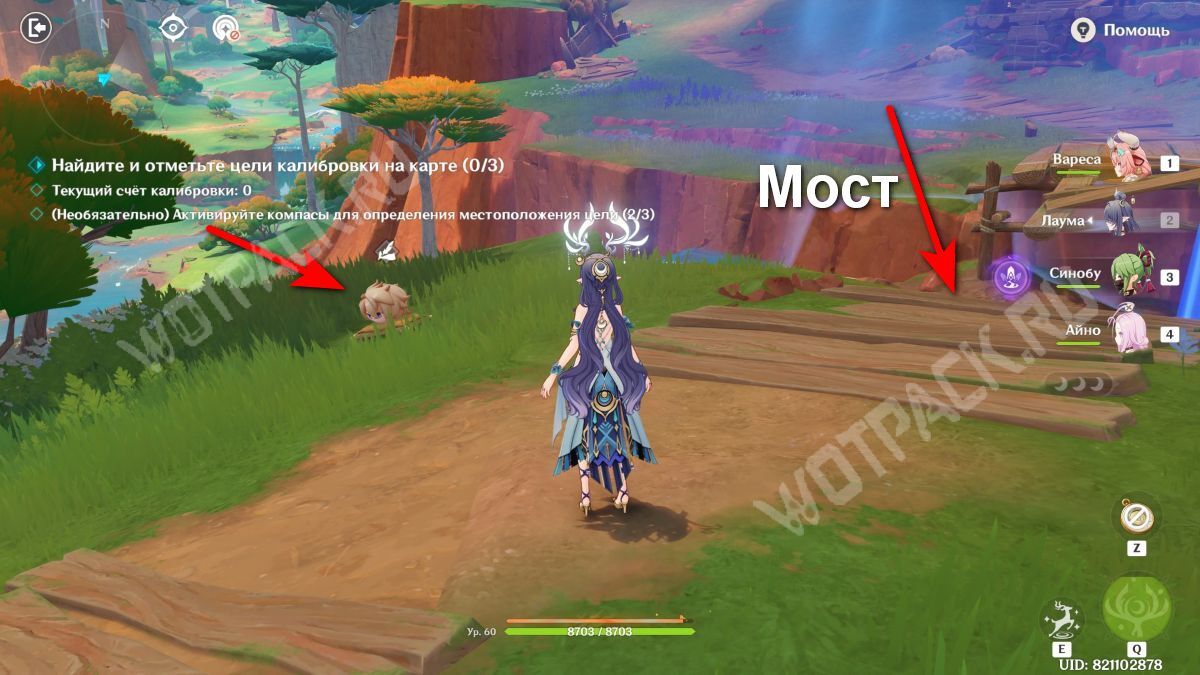
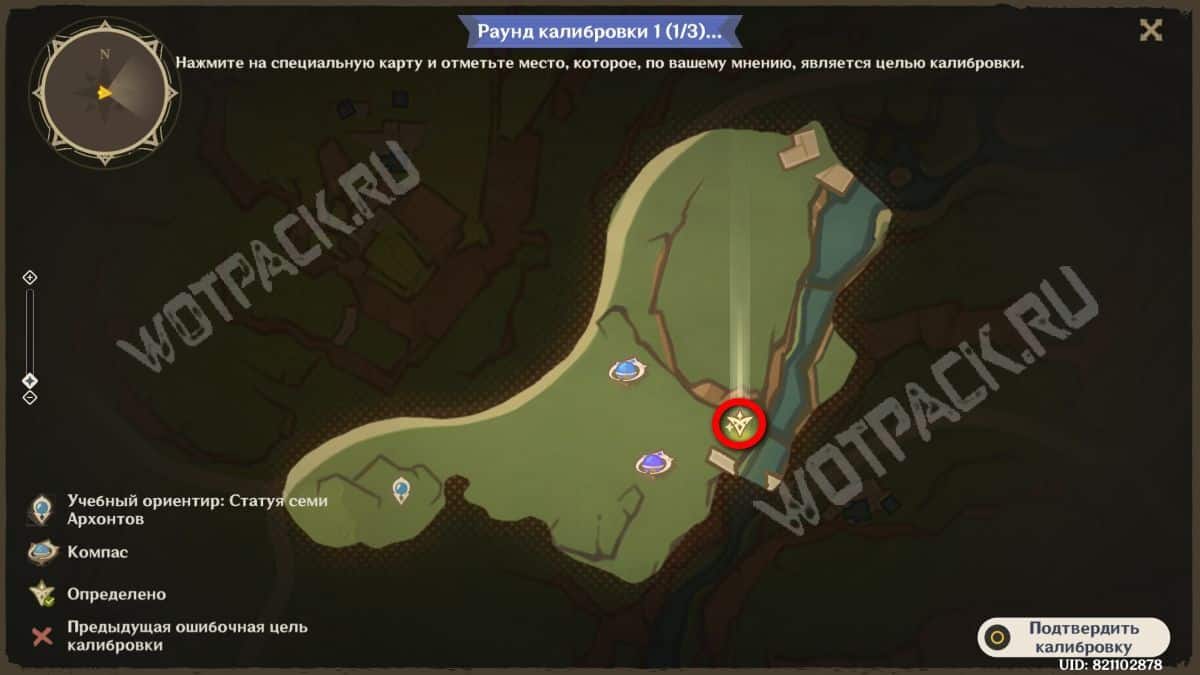
The figurine is located near the destroyed bridge, a little to the north of it. 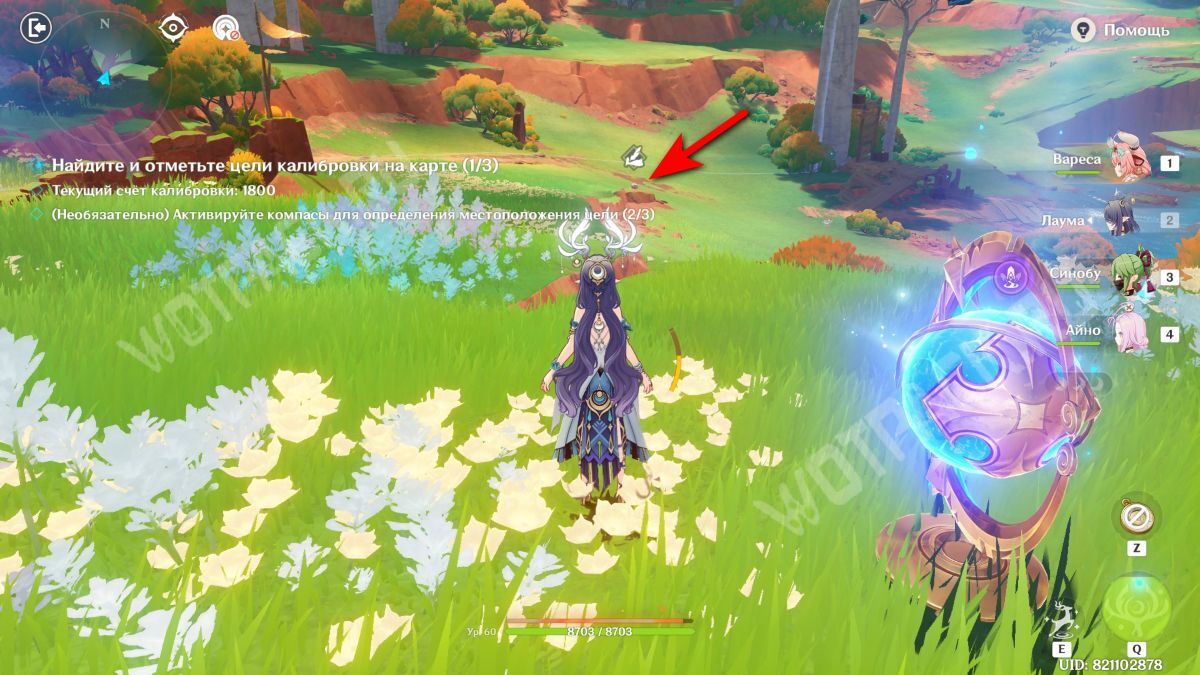
Return to the blue compass.
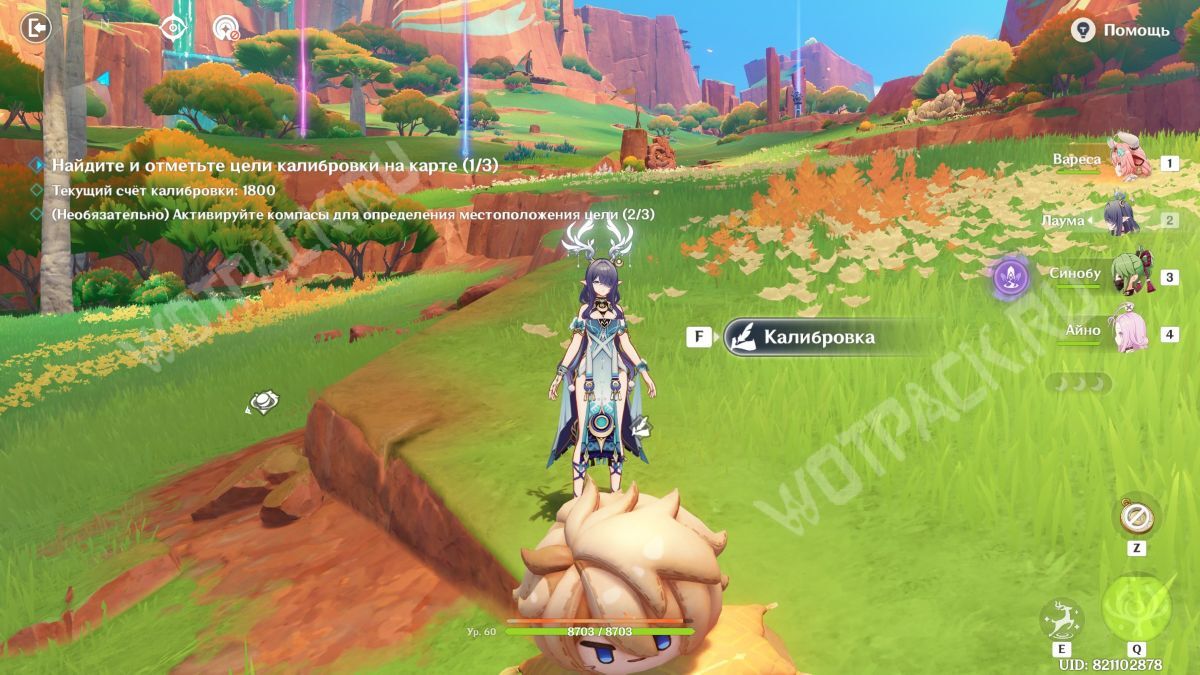
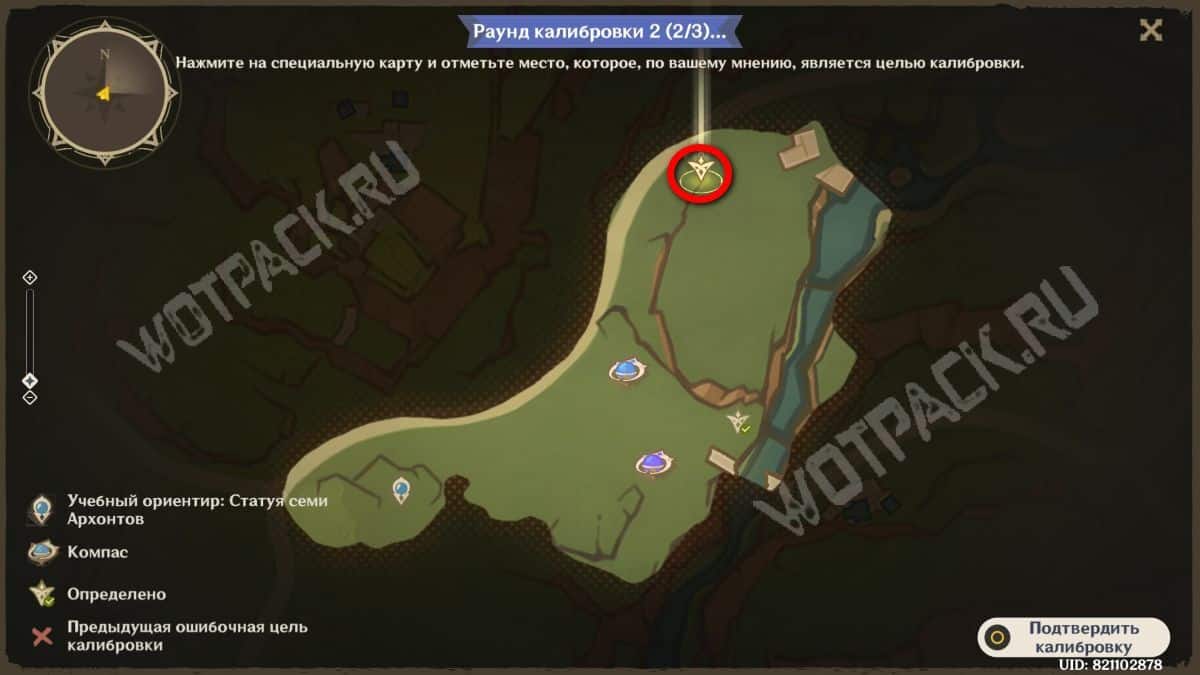
From there, move along the edge of the rock shear that creates the difference in elevation. The target is located right at the end of it. 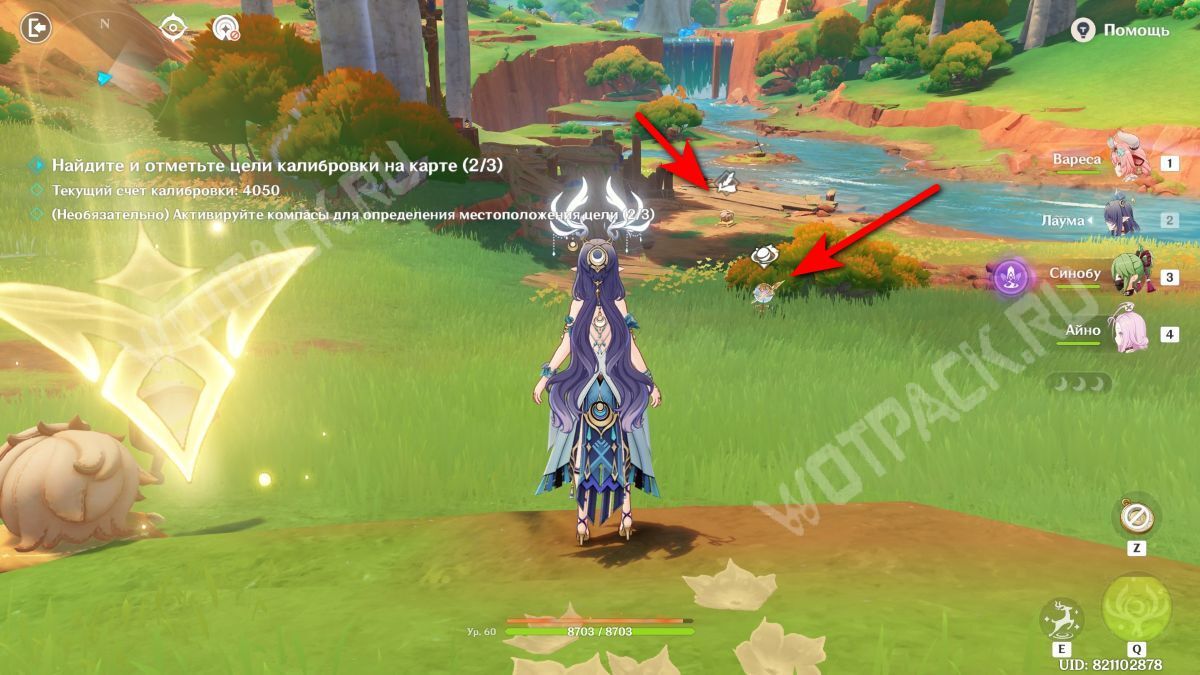
Next, activate the green mark.
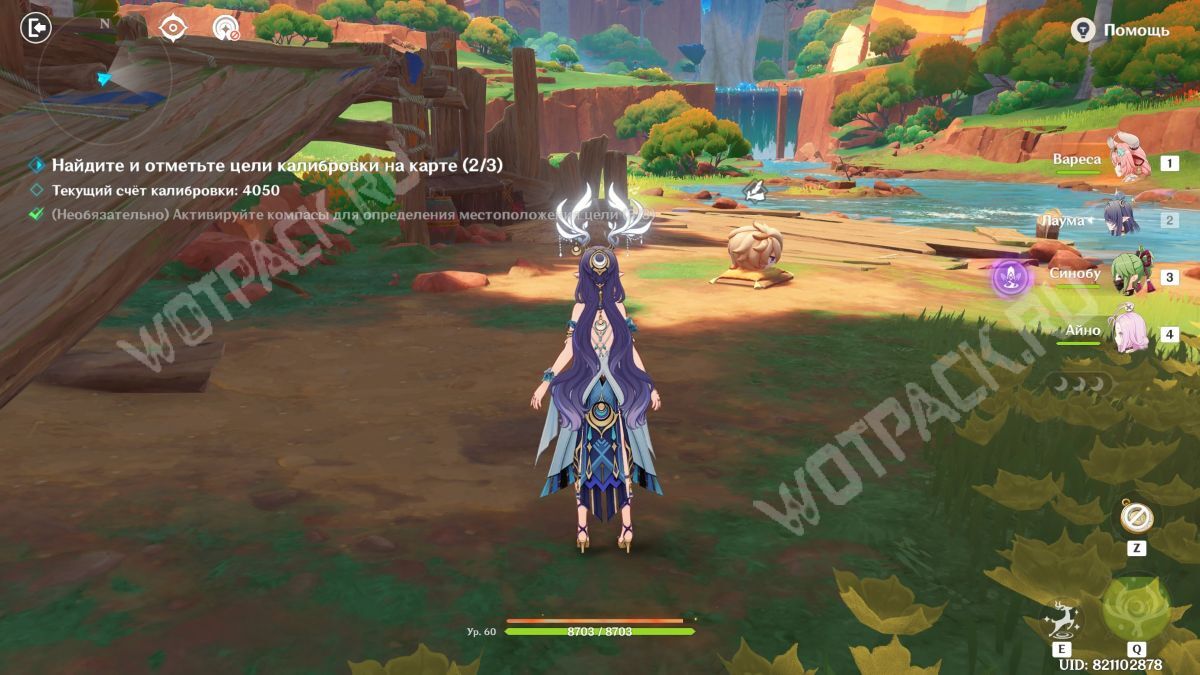
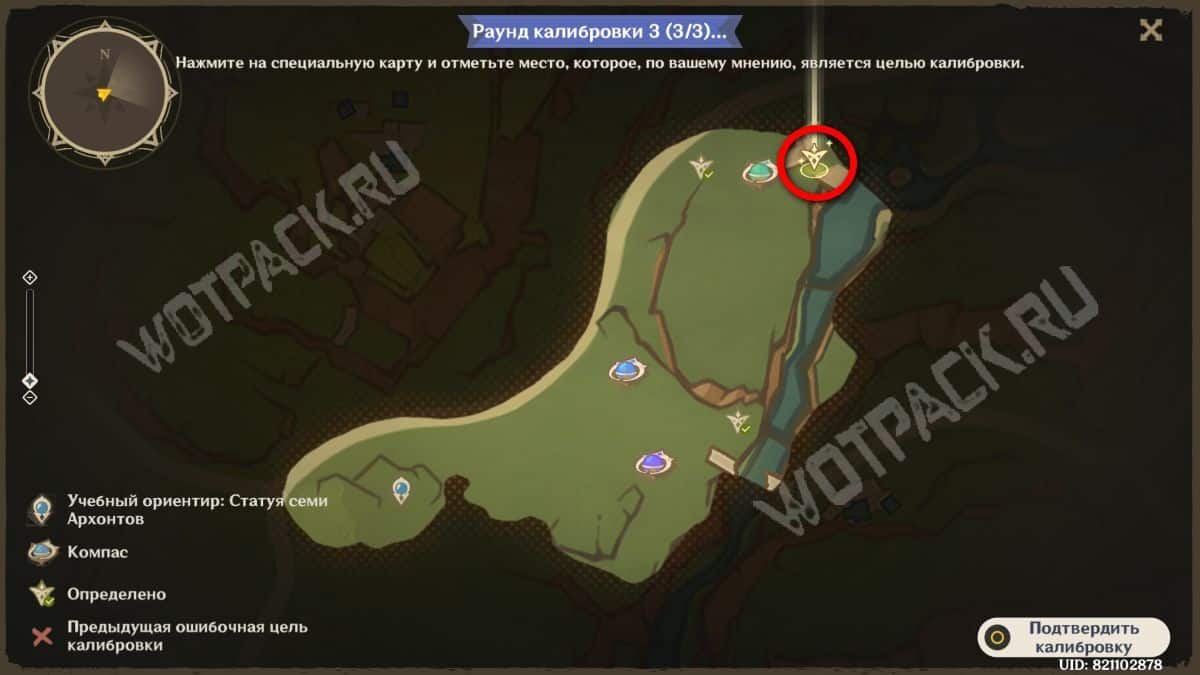
The last item is located between the wooden structure and the deck.
Option 2
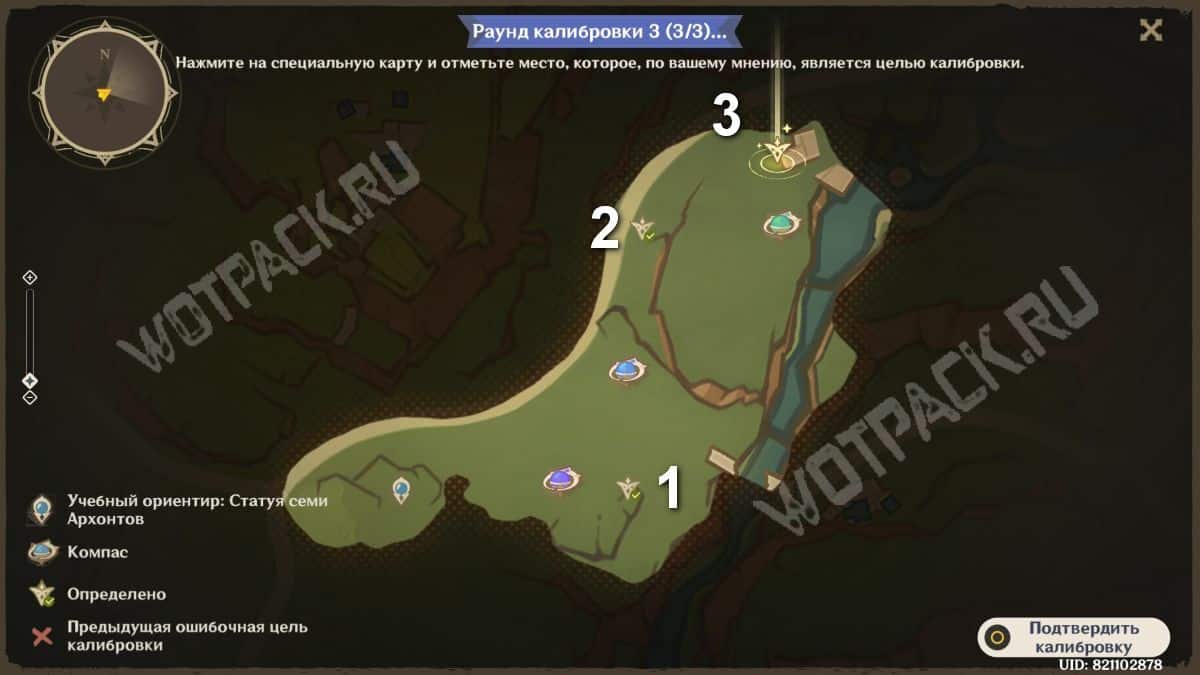
In the second version, the challenge is a little more difficult due to the more open terrain. 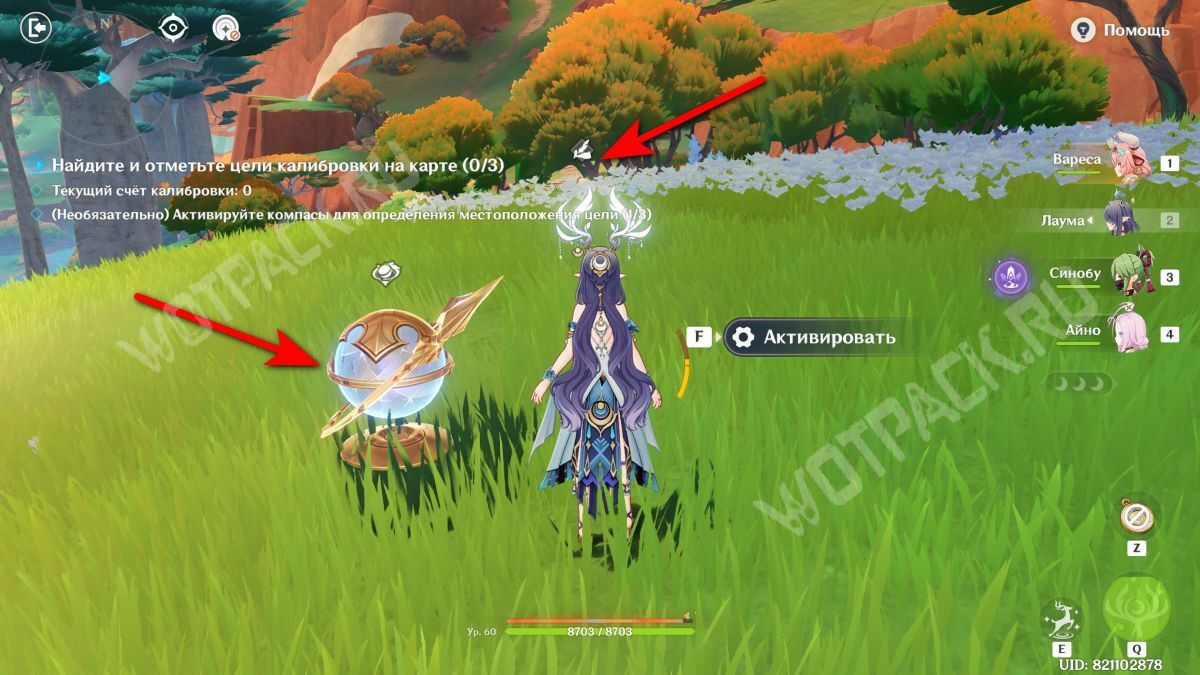
First, light the purple mechanism. From there, move towards the trees.
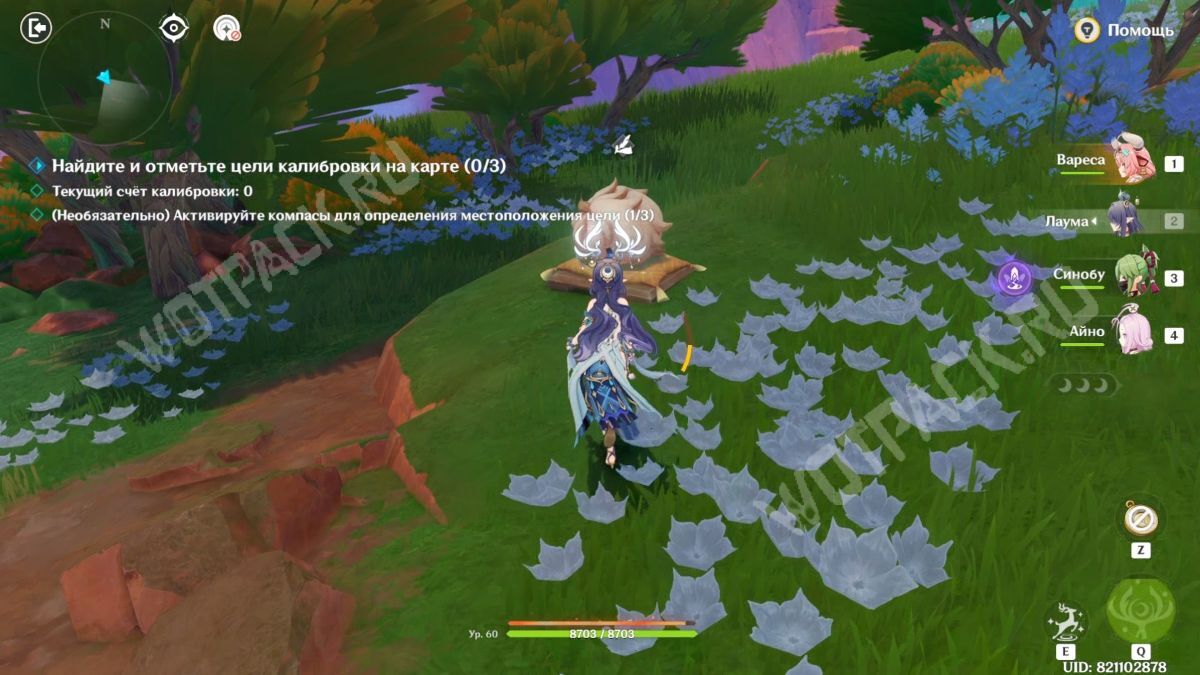
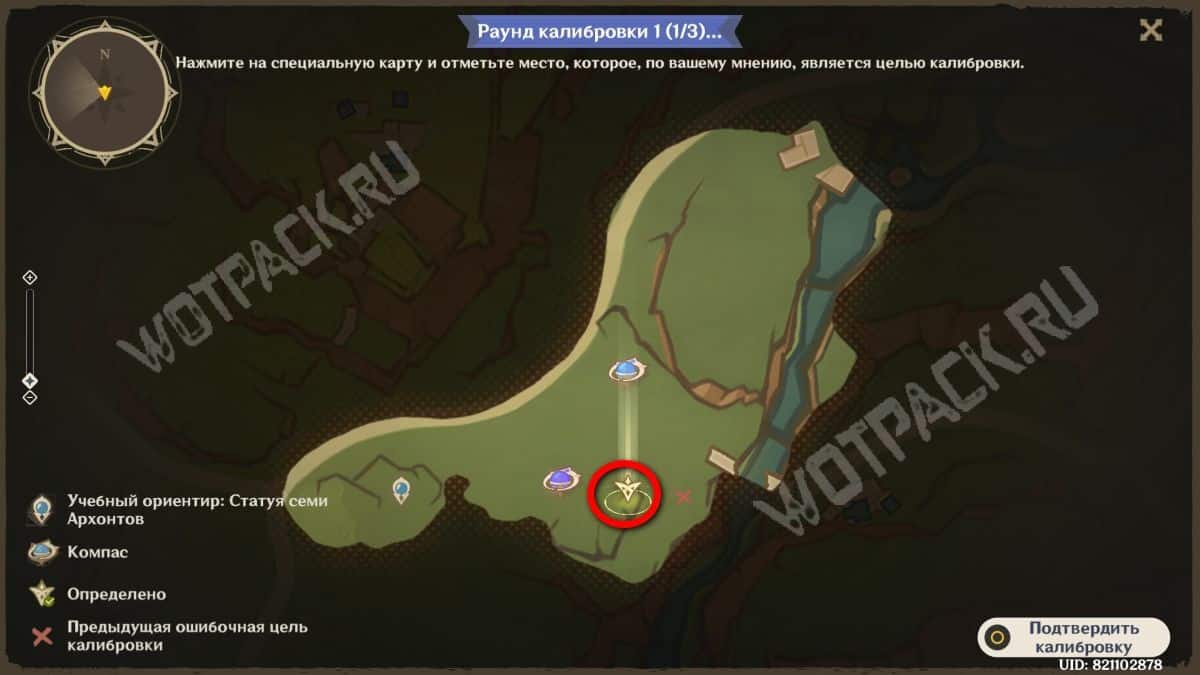
The target is located on a small hill, marked on the map by a curved line. The target point is at the top of the hill. 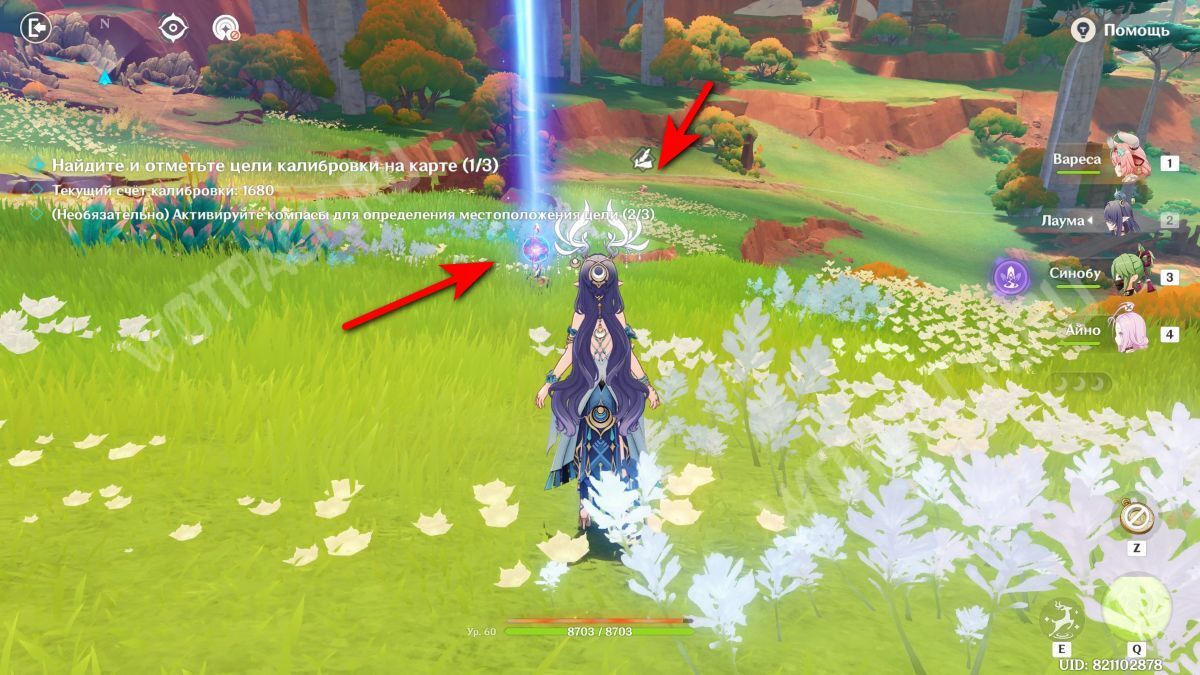
From the previous location, go straight north towards the blue sign, and from there, further north.
Look for a flat crack in the ground going to the left. 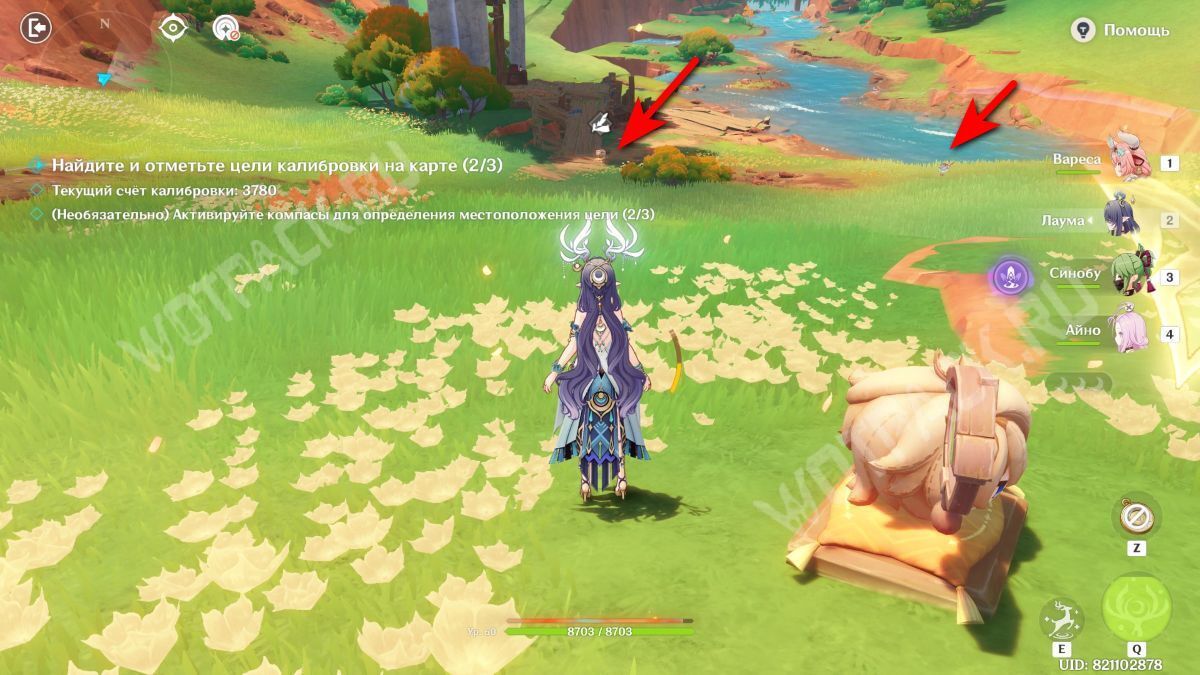
The next device is located slightly to the east. Light it for easier access.
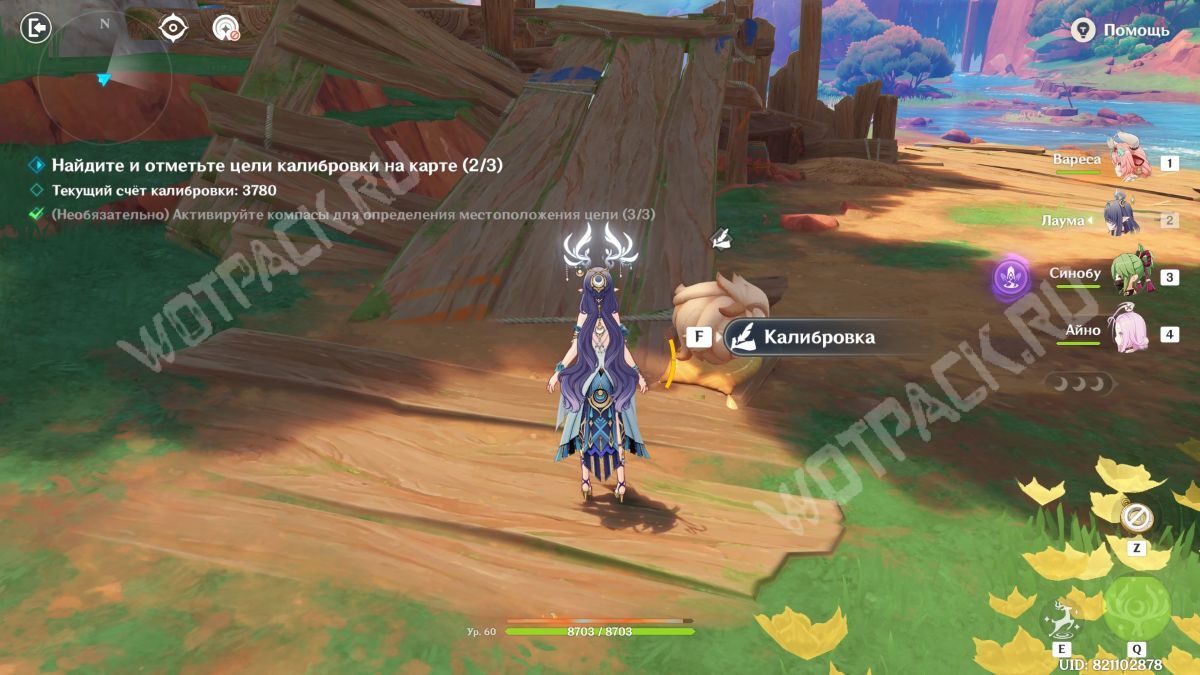
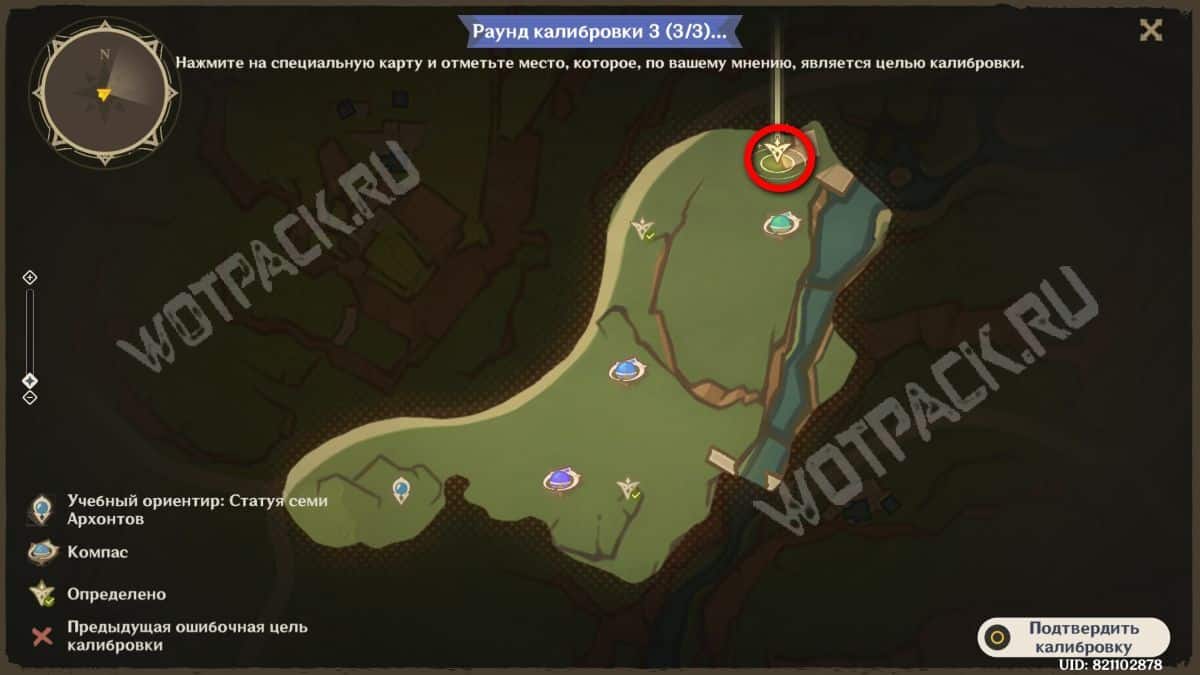
The object to be marked is located at the base of the wooden structure.
Option 3
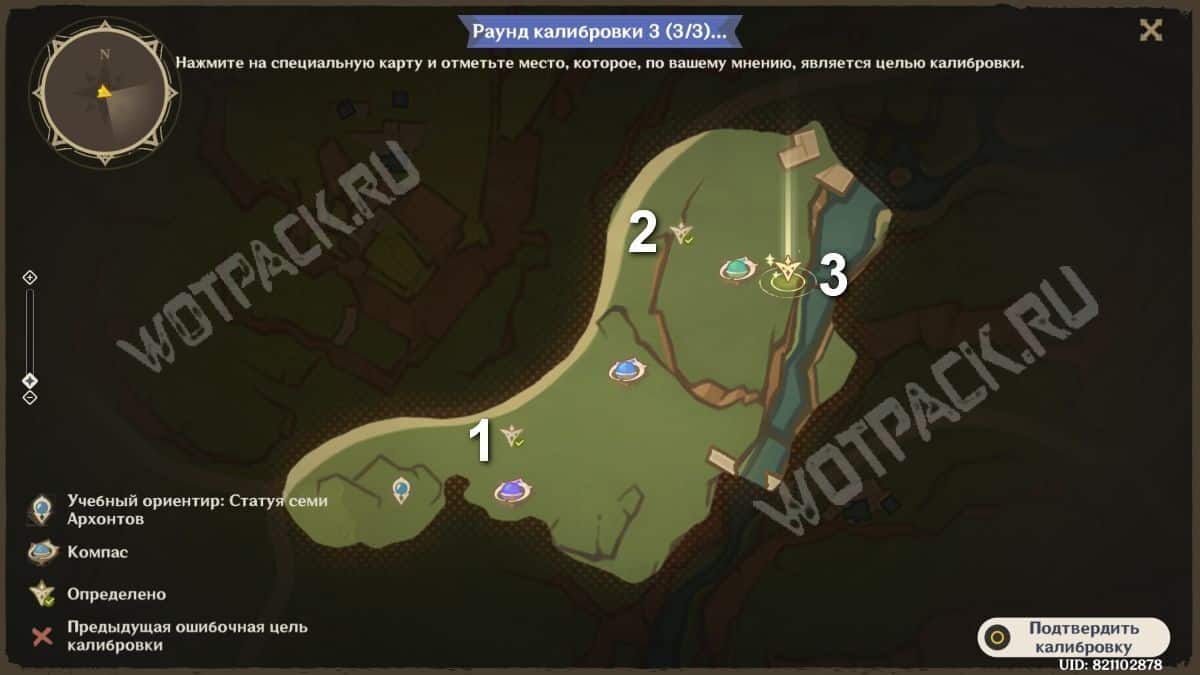
In the final arrangement, you will again have to draw a map without precise landmarks for one object.
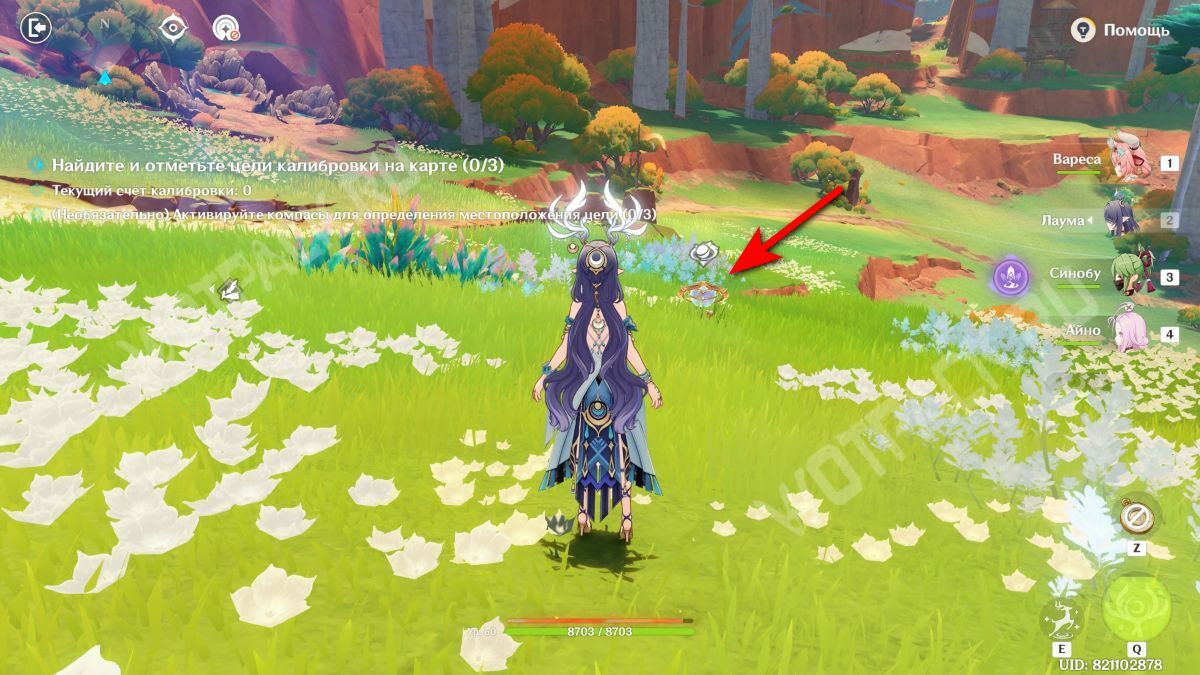
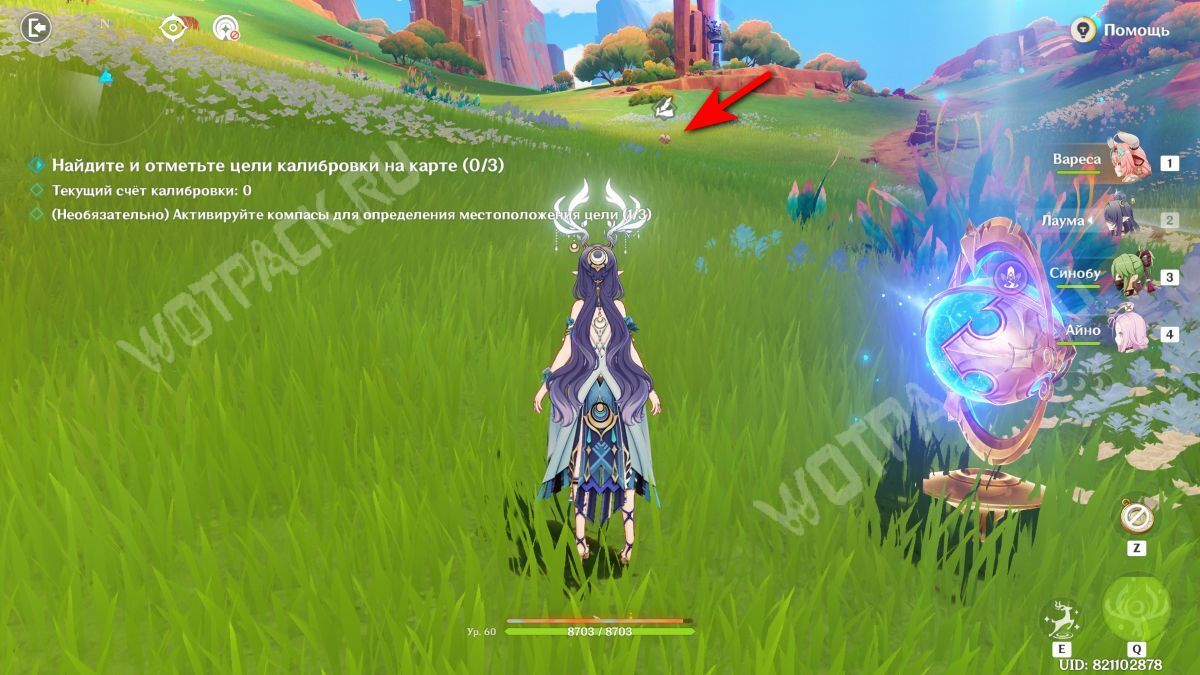
Start the challenge at the blue sign. From there, turn left and head towards the figurine.
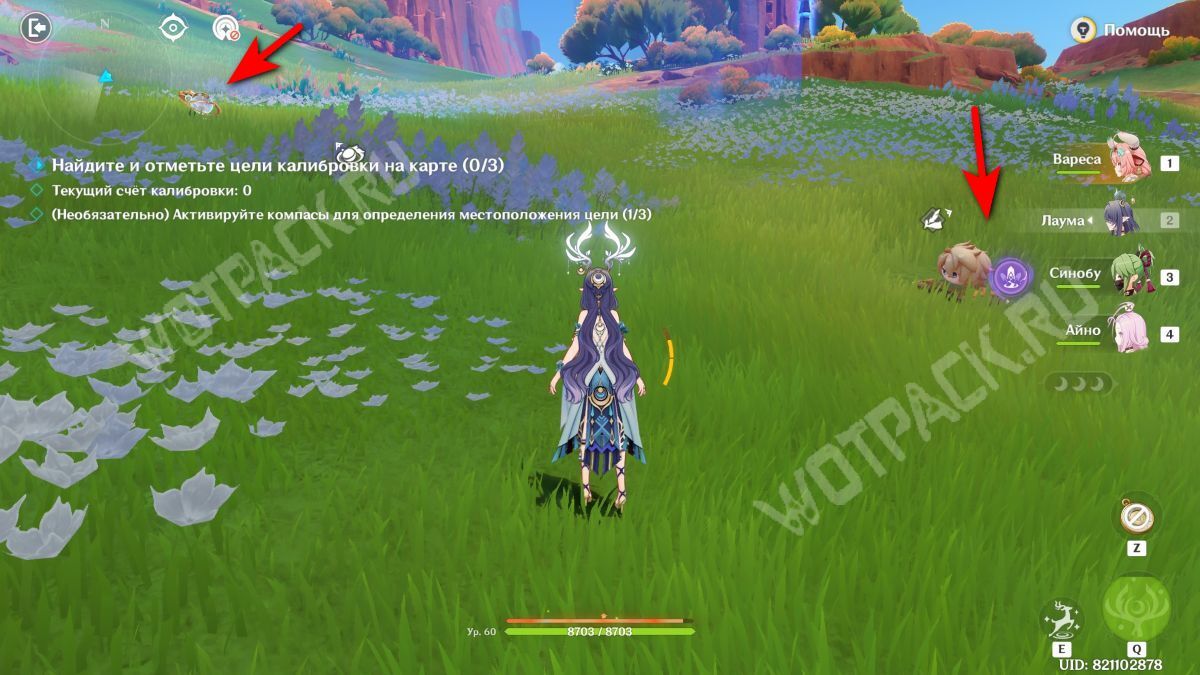
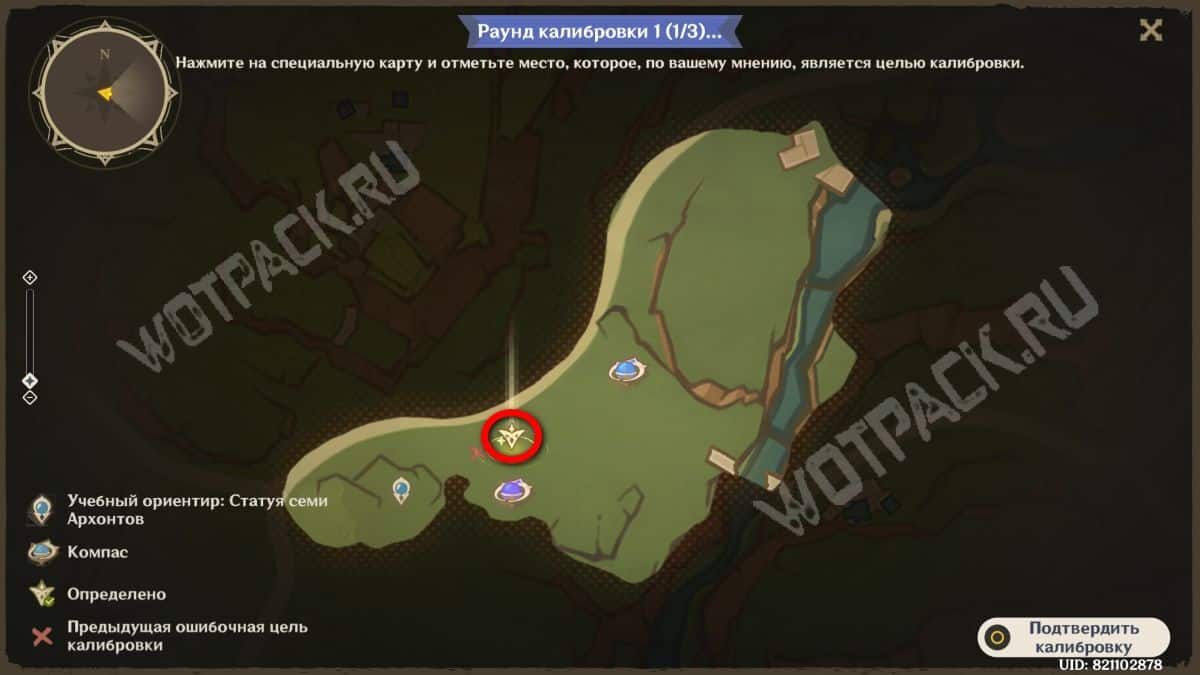
If necessary, activate the second beacon. The marker should be directly north of it, but not reaching the road, which begins to curve at this point. 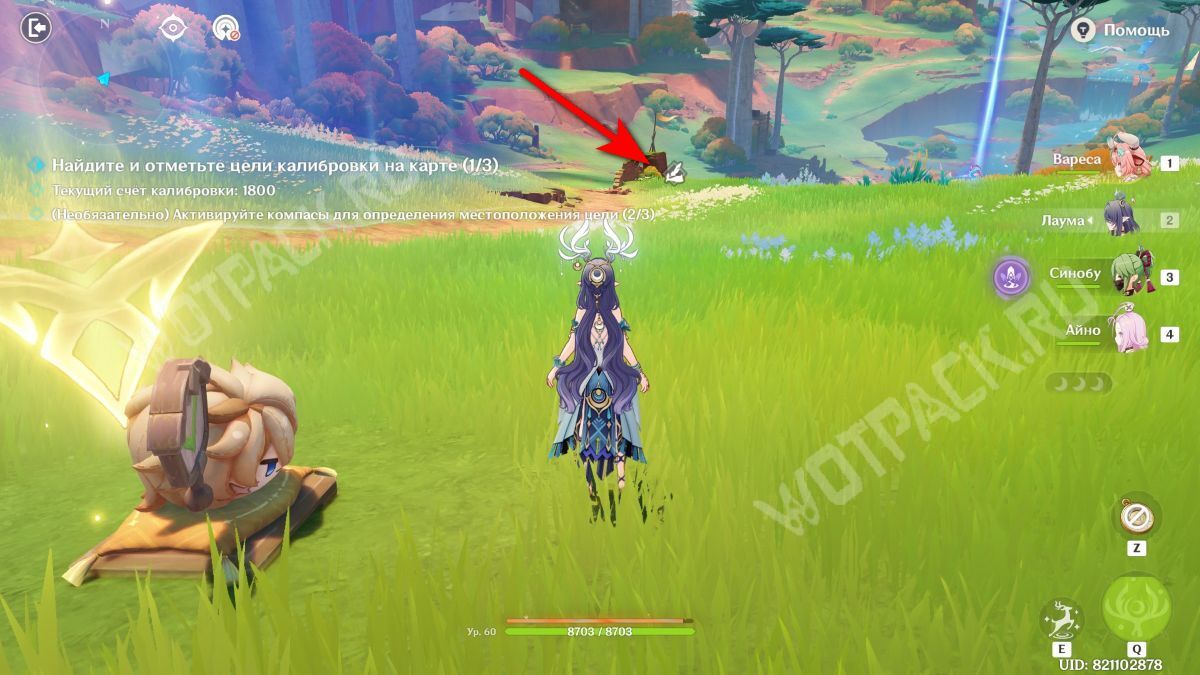
From the previous location, turn around and go back to the blue mechanism.
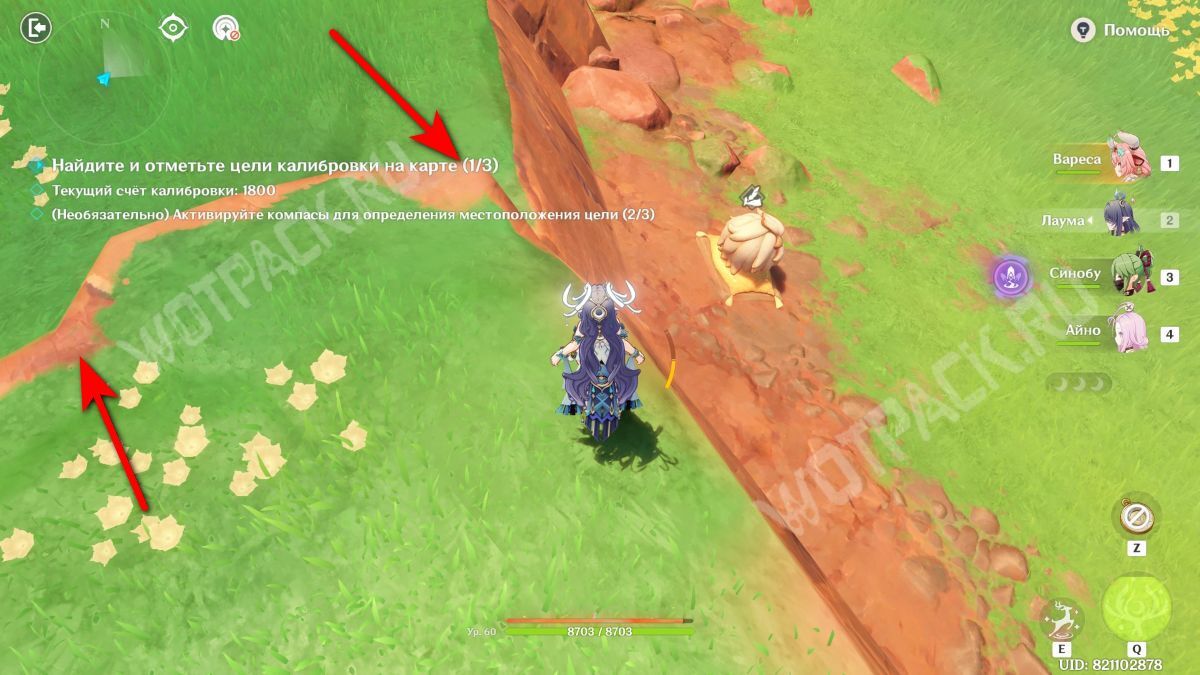
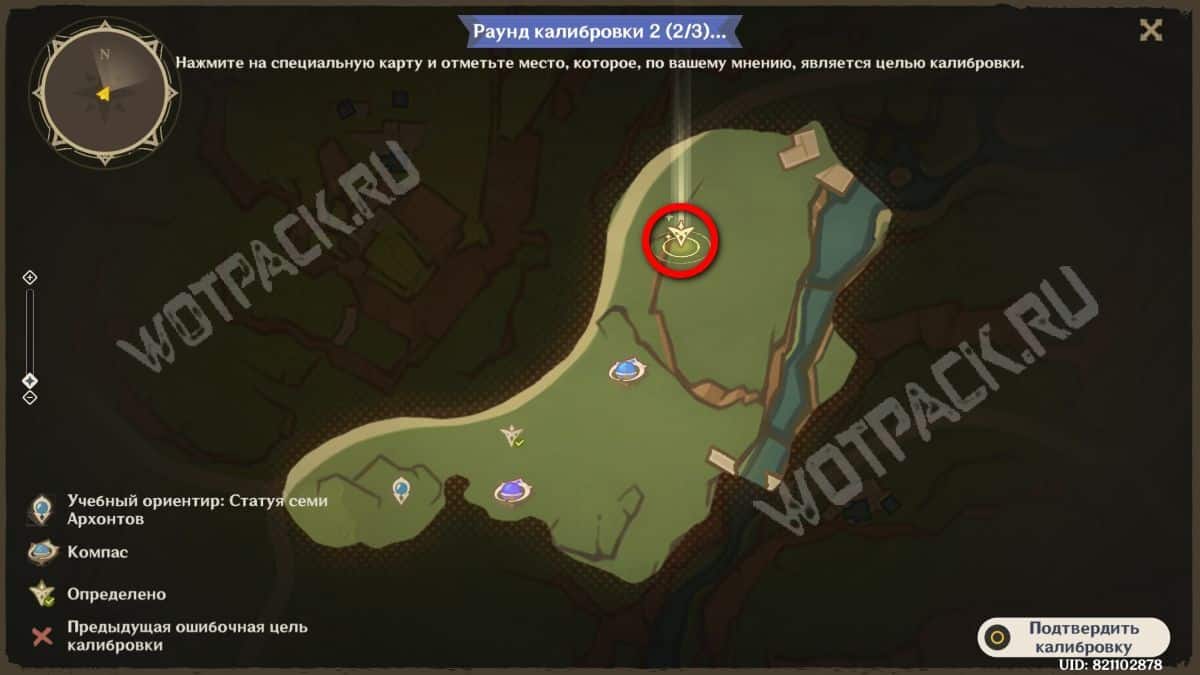
The second target, as in the previous version, will be marked by a crack. However, this time, the other side needs to be marked. 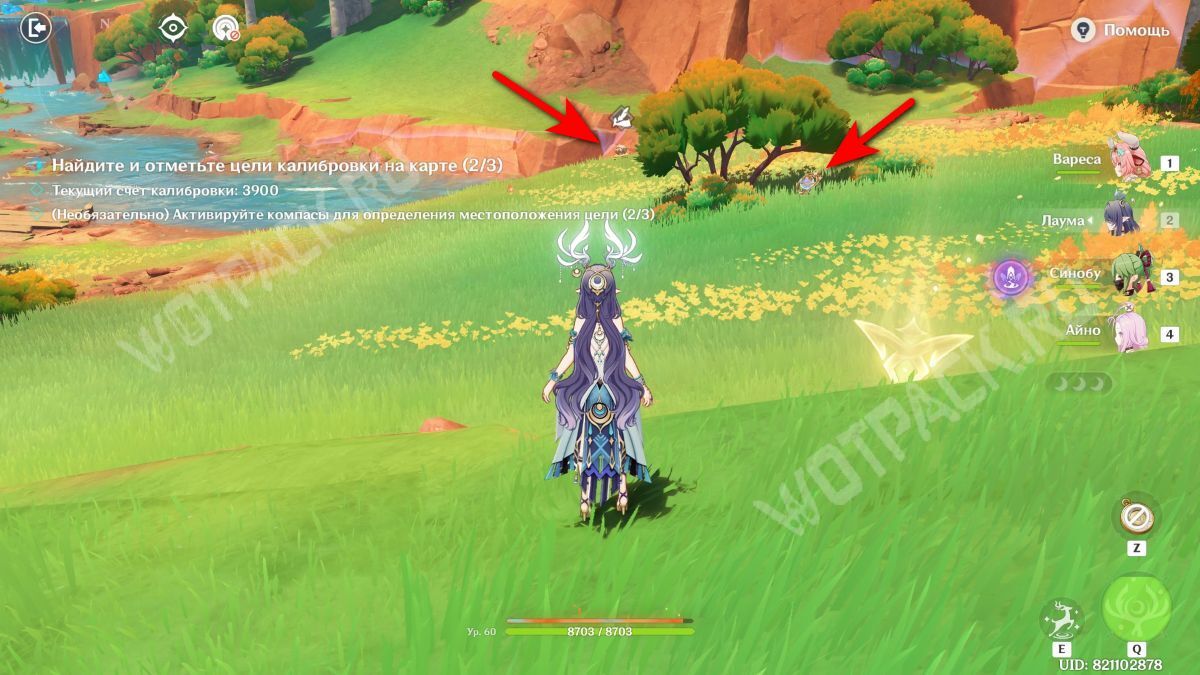
Turn strictly to the east and light the last beacon located in the bushes.
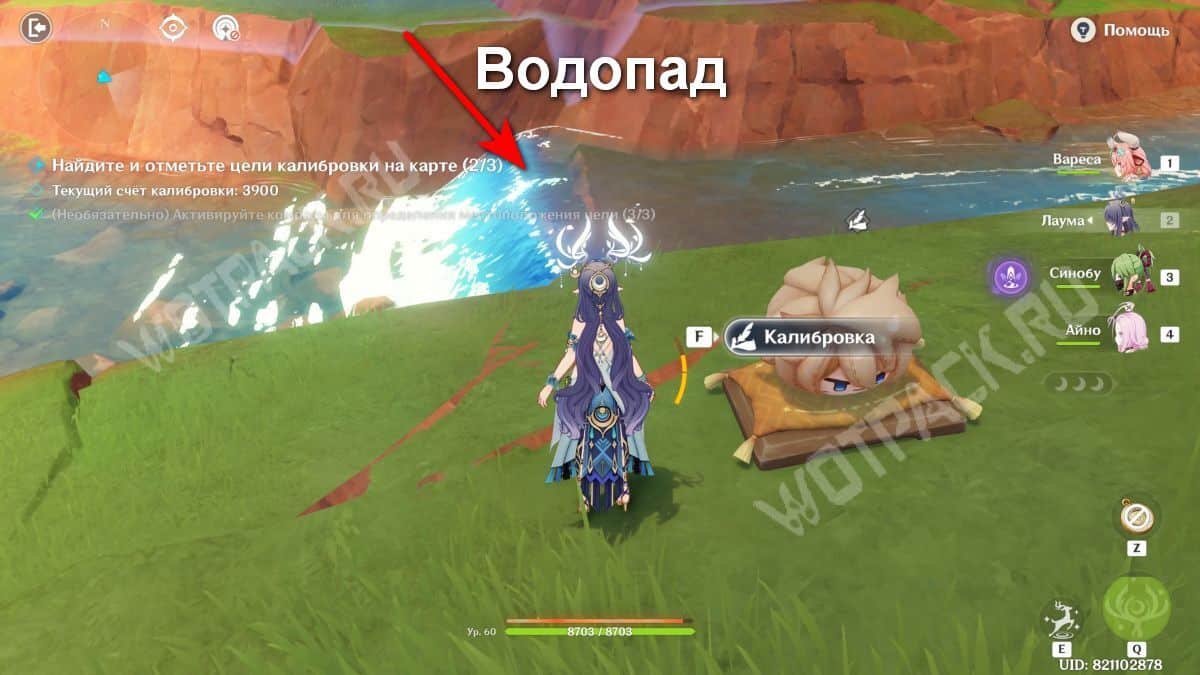
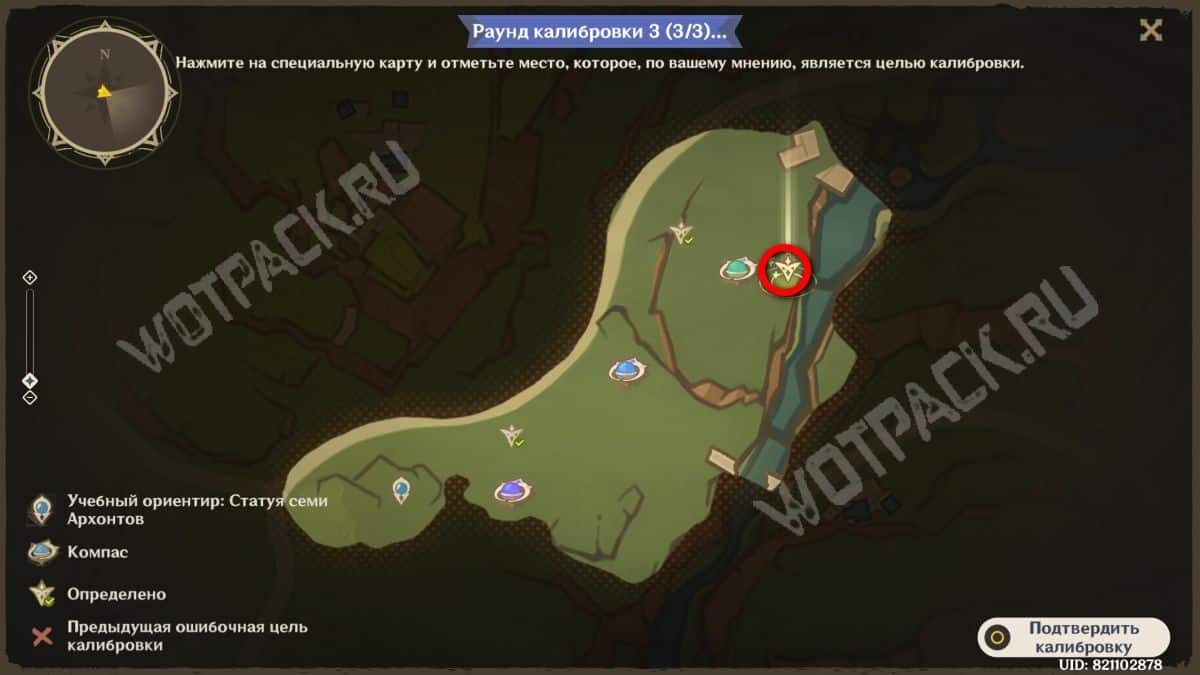
The final goal is located exactly between it and the waterfall.
Probing the Meandering Waters
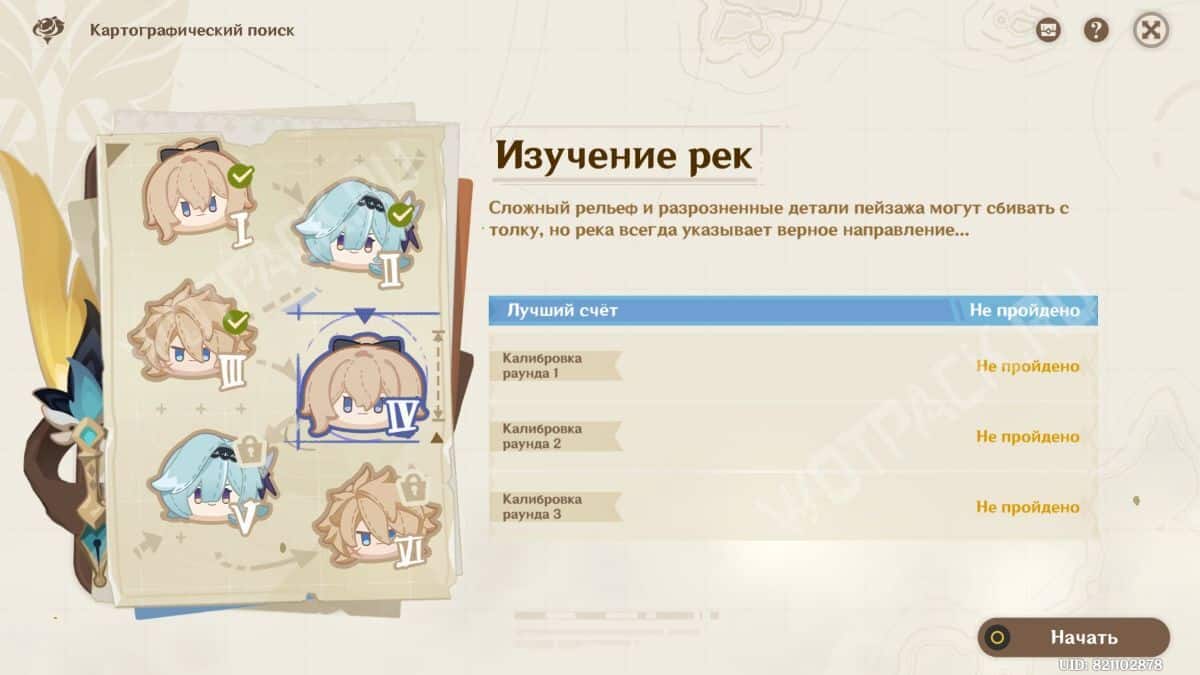
The fourth stage involves exploring the Liyue map in the area of the dungeon of Azhdaha. It is notable for its terrain cut by rivers.
Option 1
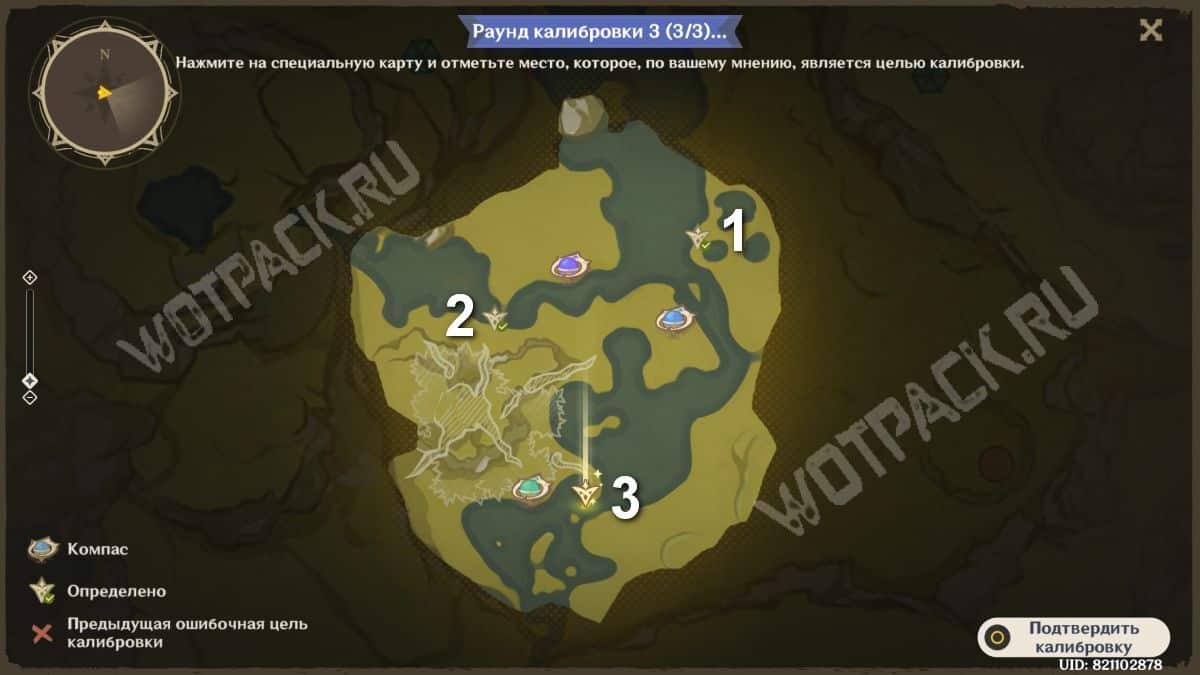
In the first type of arrangement, it is more convenient to focus on the water.
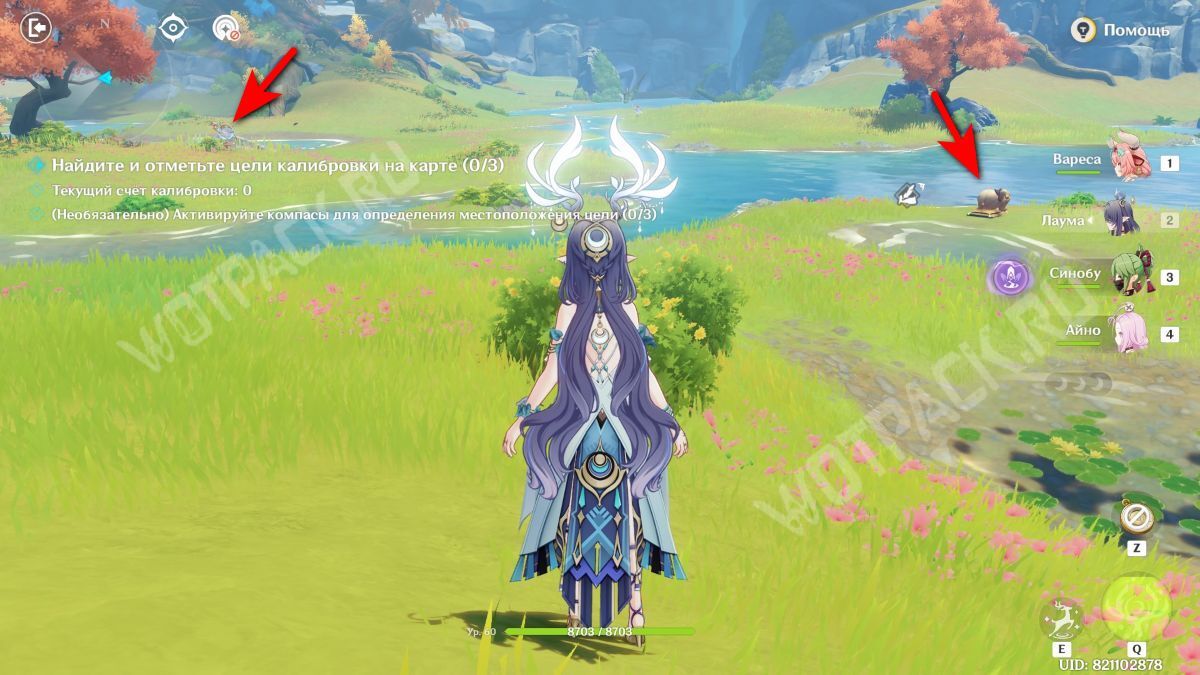
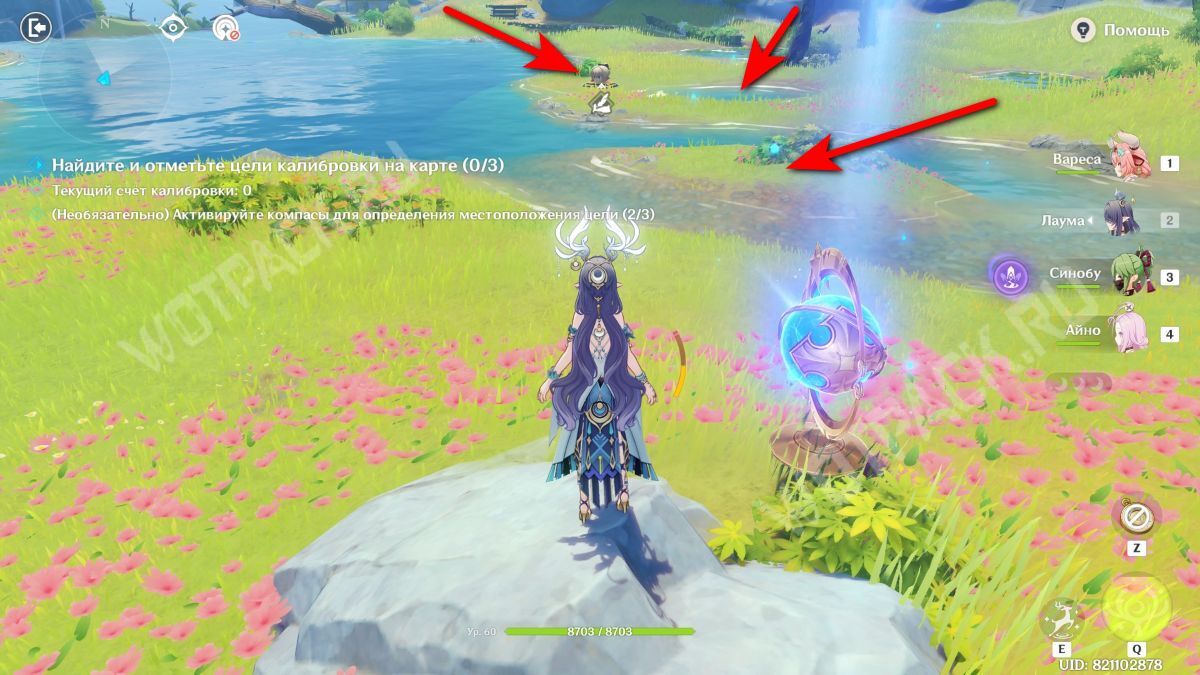
Without turning anywhere after the start, activate the compass on the left. Using it as a landmark, look toward the destination: it's separated by a small island dividing the river into two parts.
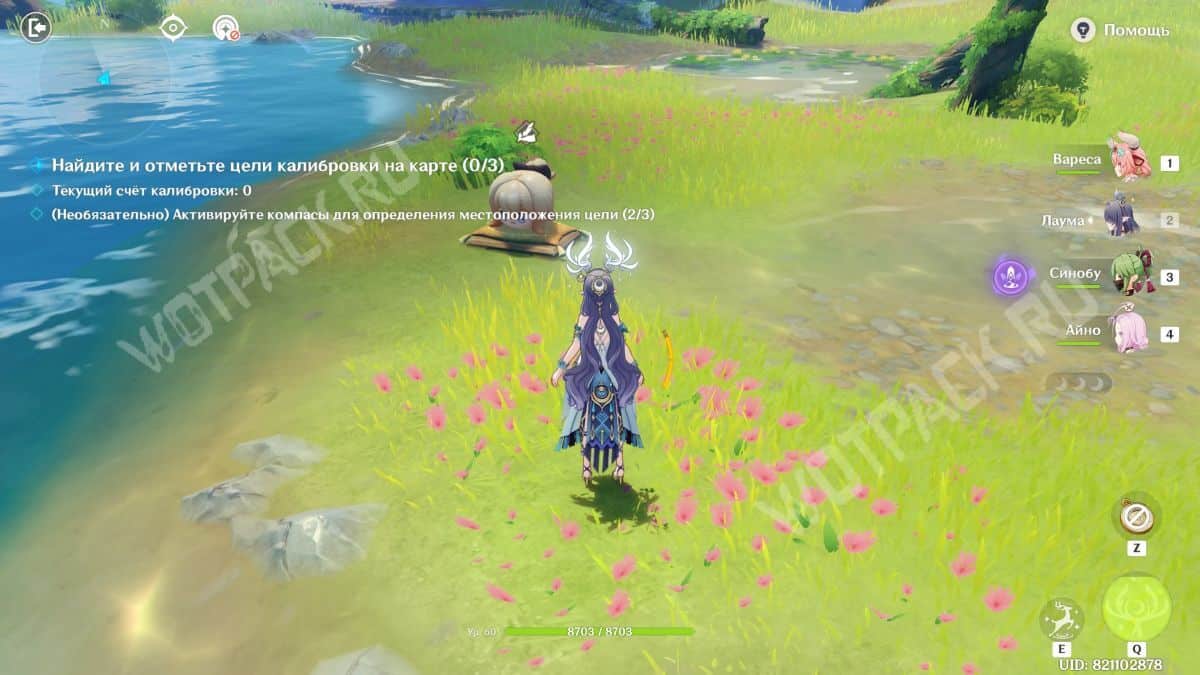
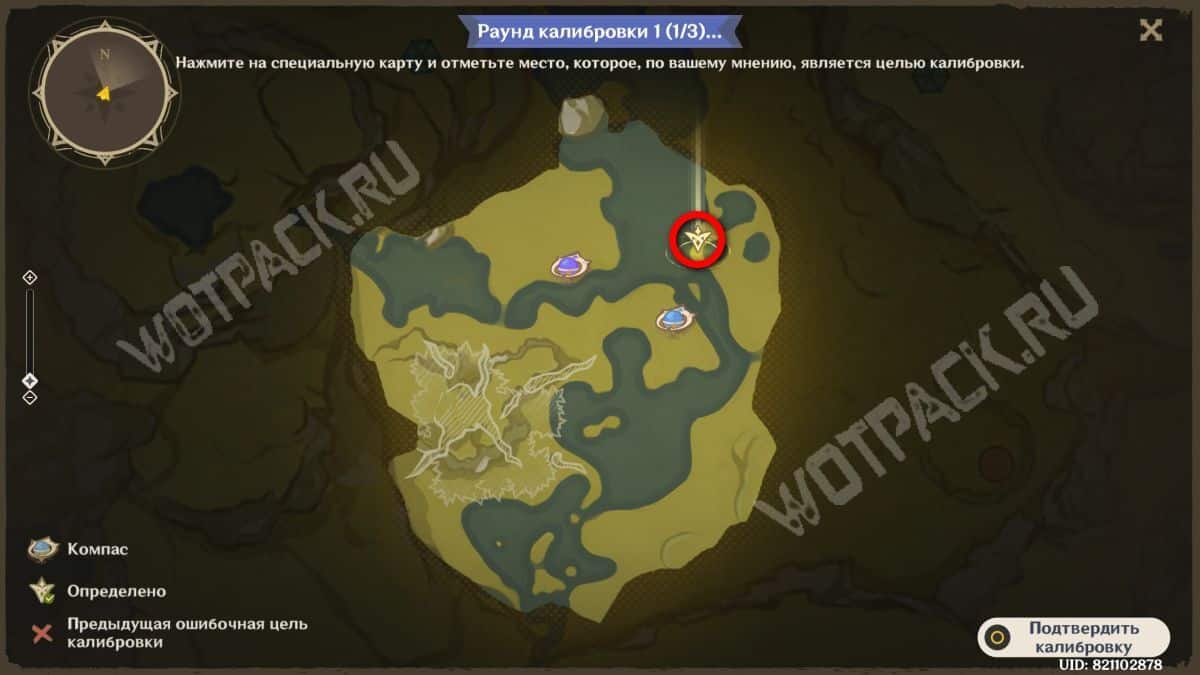
The item itself is located on the other bank between the main body of water and a small puddle.
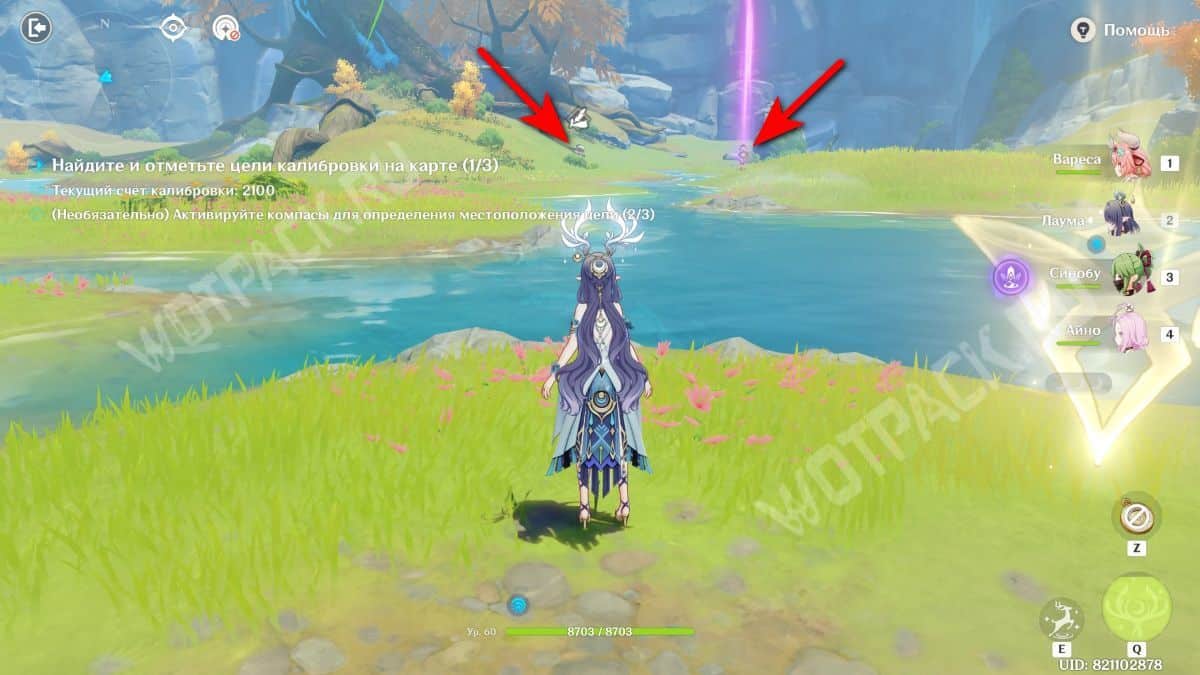
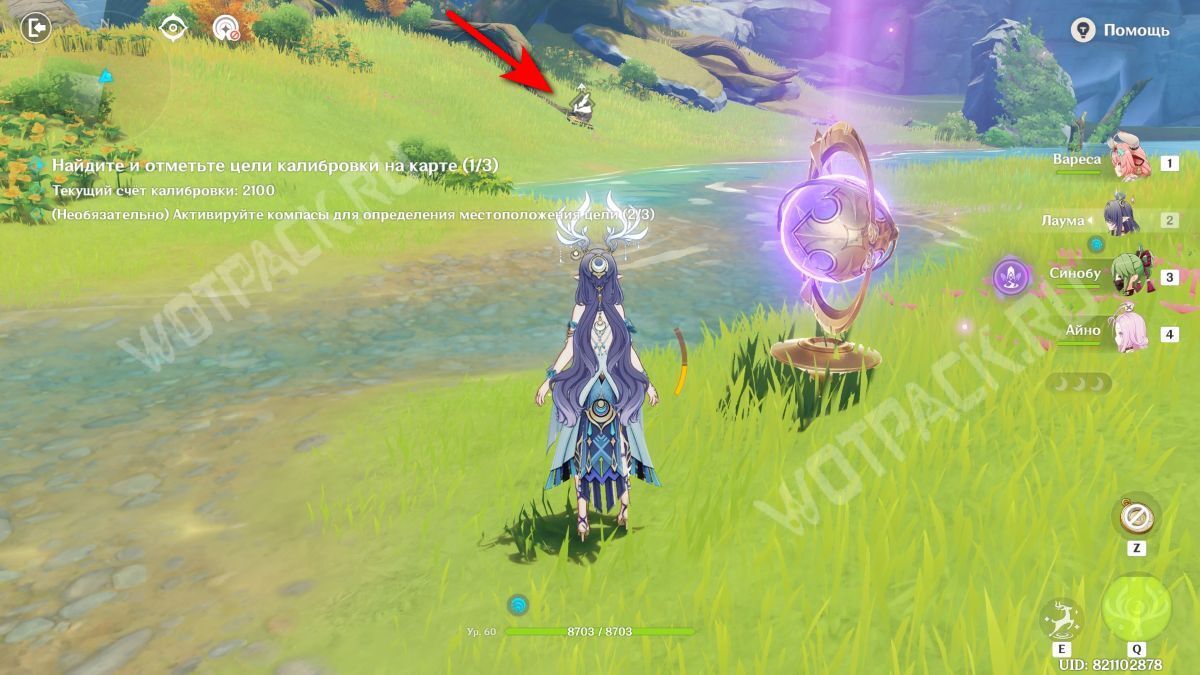
The second object is located under a tree to the west. Near it, the current curves three times, forming a wavy line.
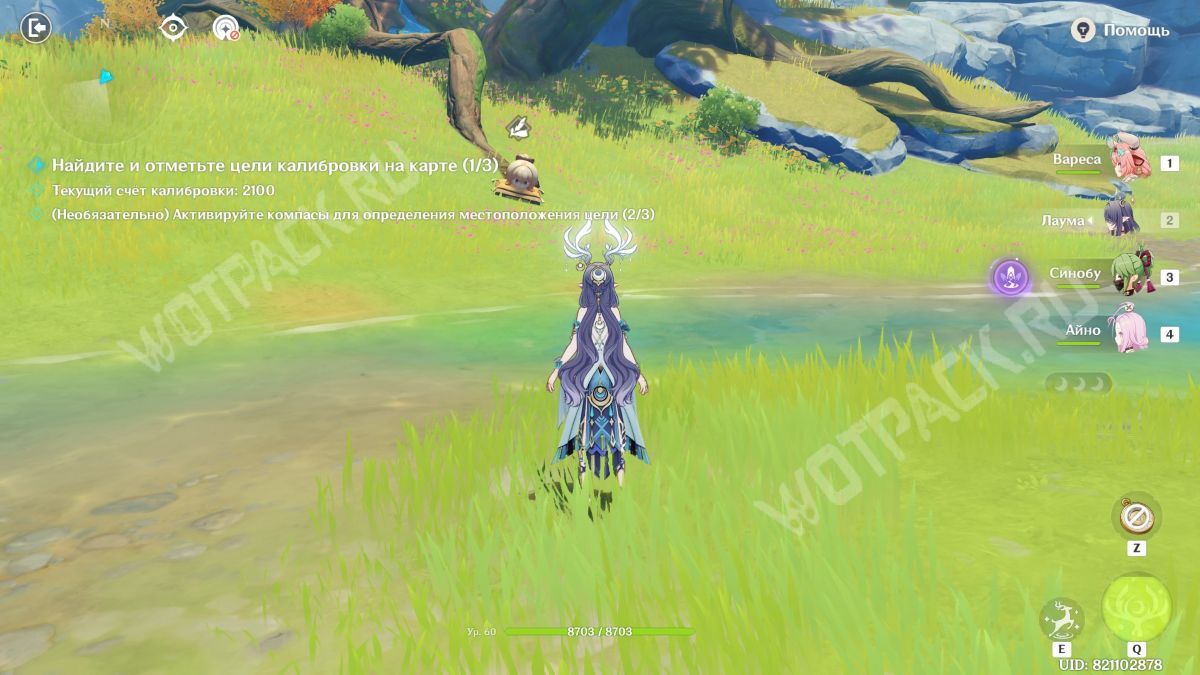
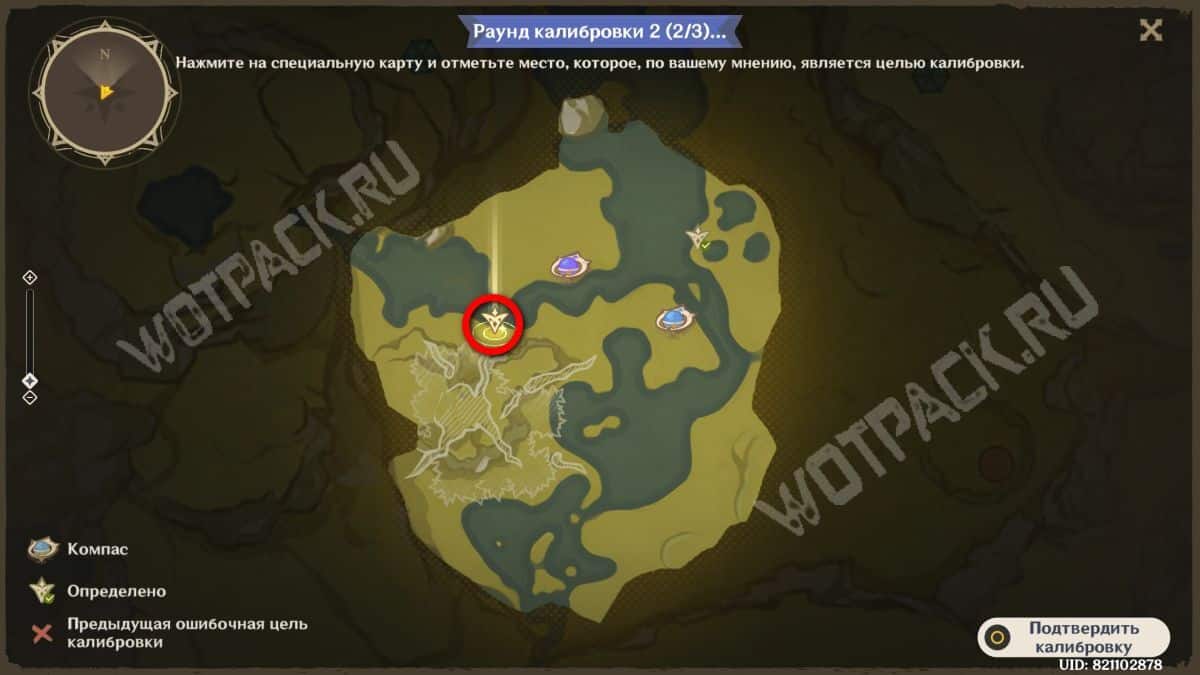
The mark should be placed near the last “bend” of the shore on the side of the mark. 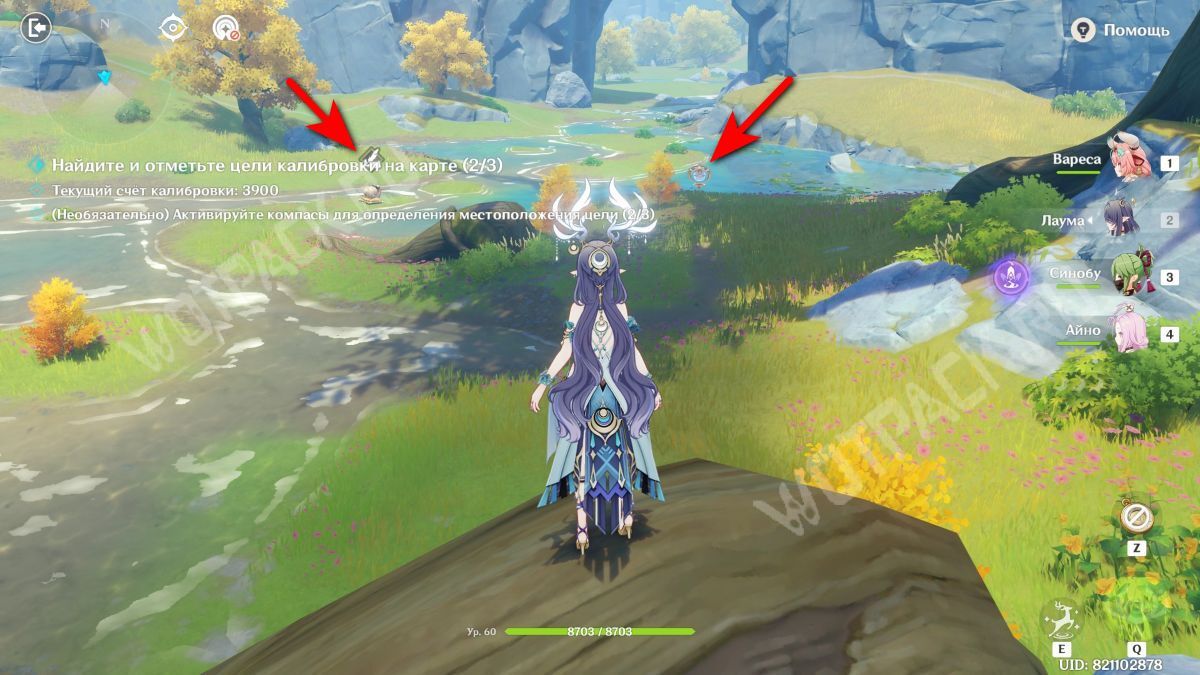
The last one is hidden on the other side of the roots.
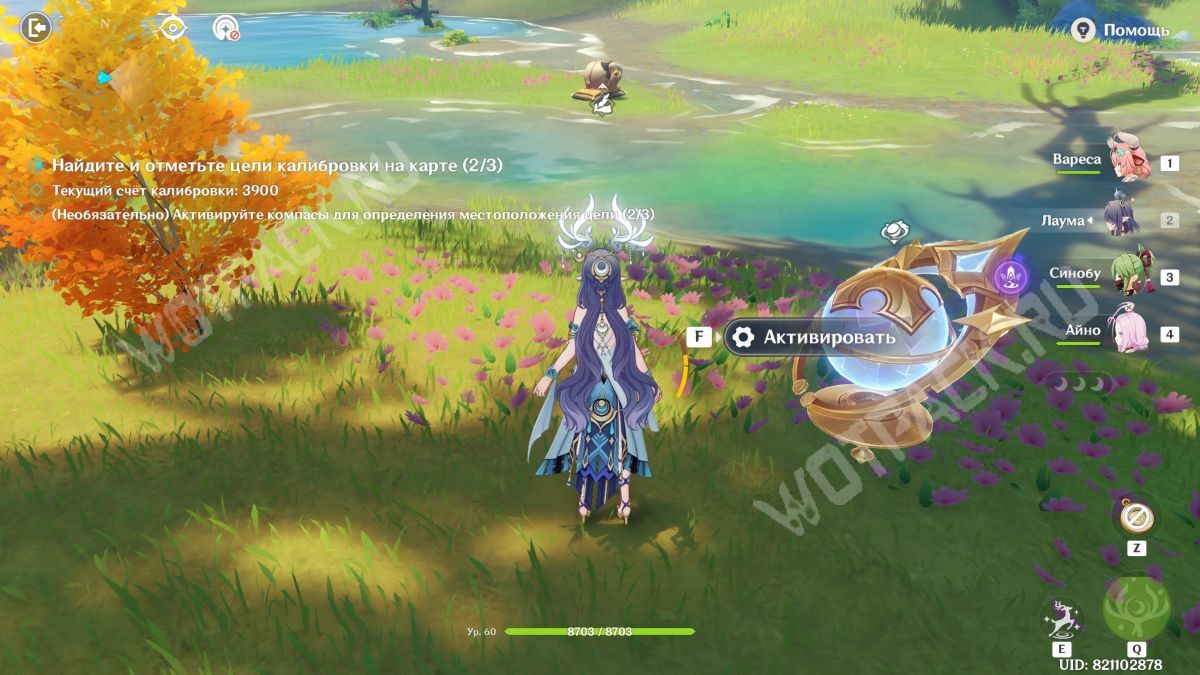
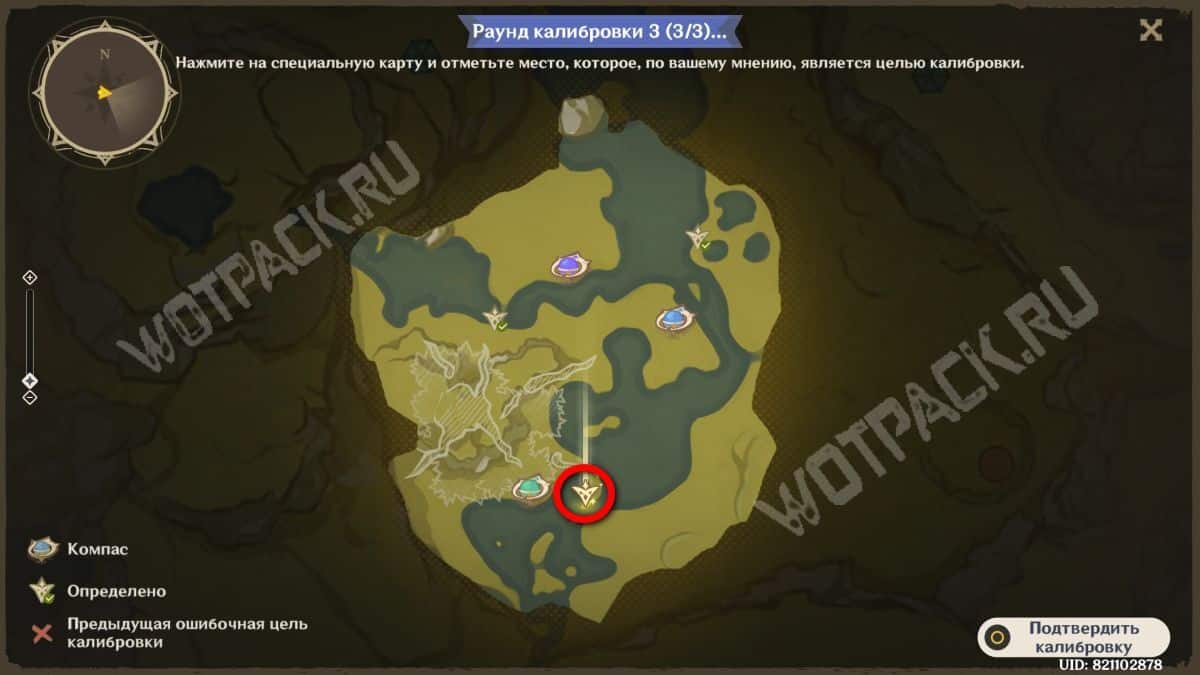
Find a curved piece of land on the map that resembles a question mark. Place a dot at its base.
Option 2
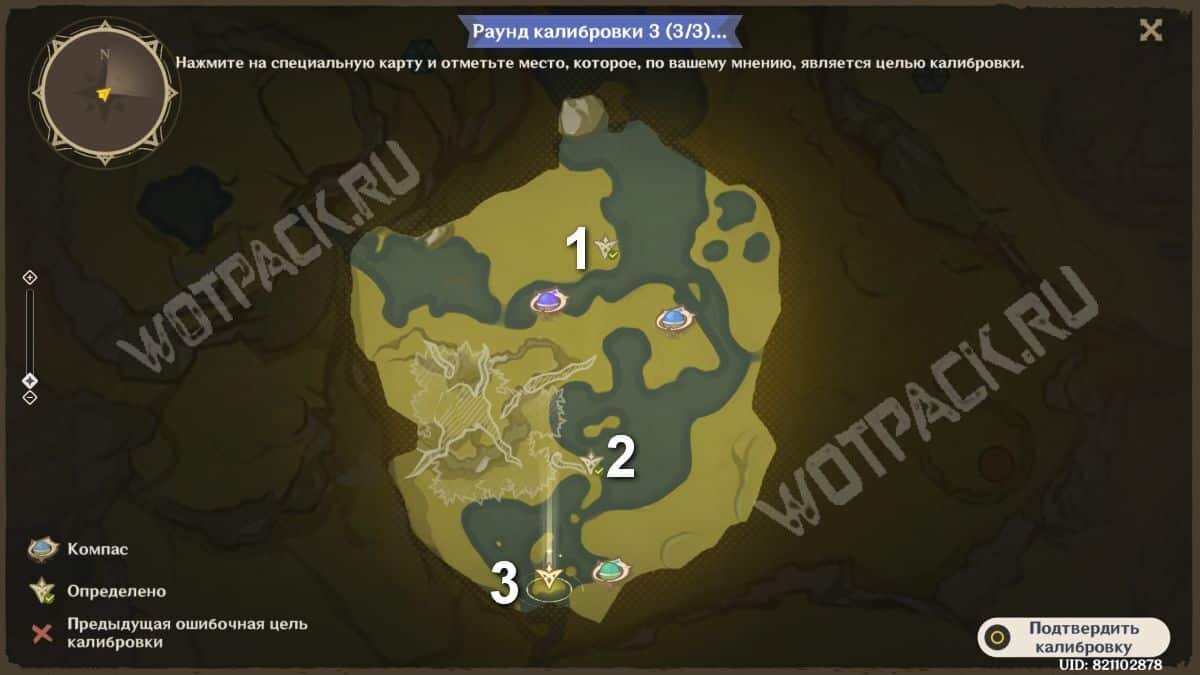
In this case, follow the shape of the land to calculate the exact locations.
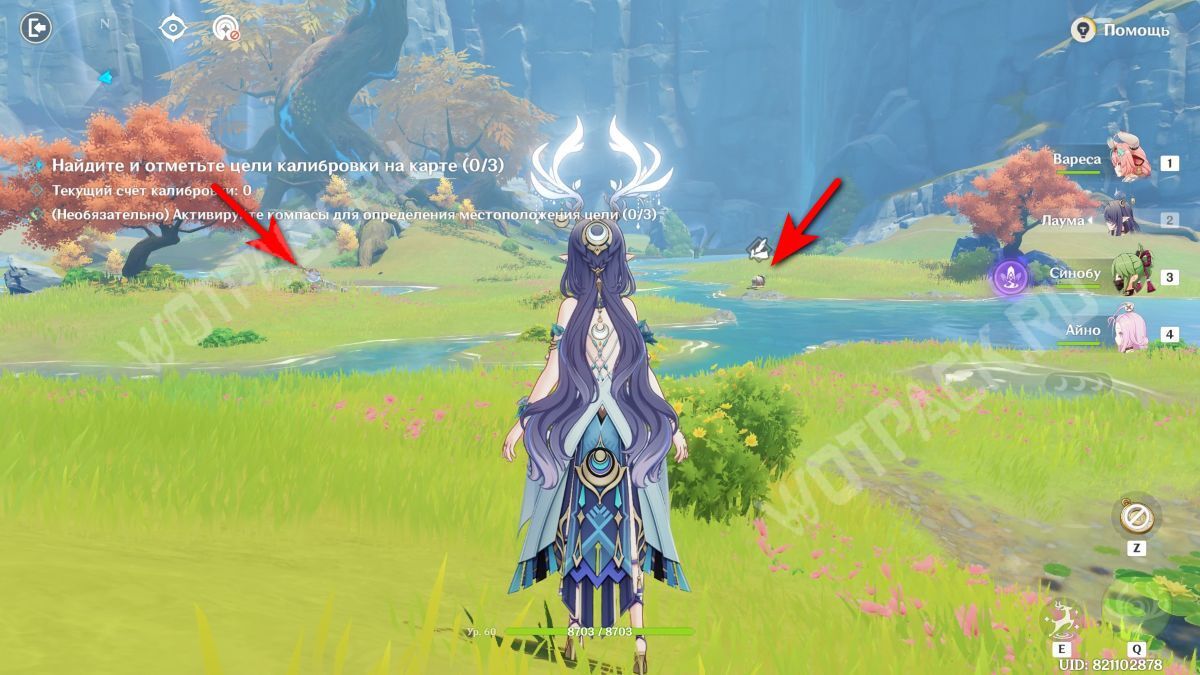
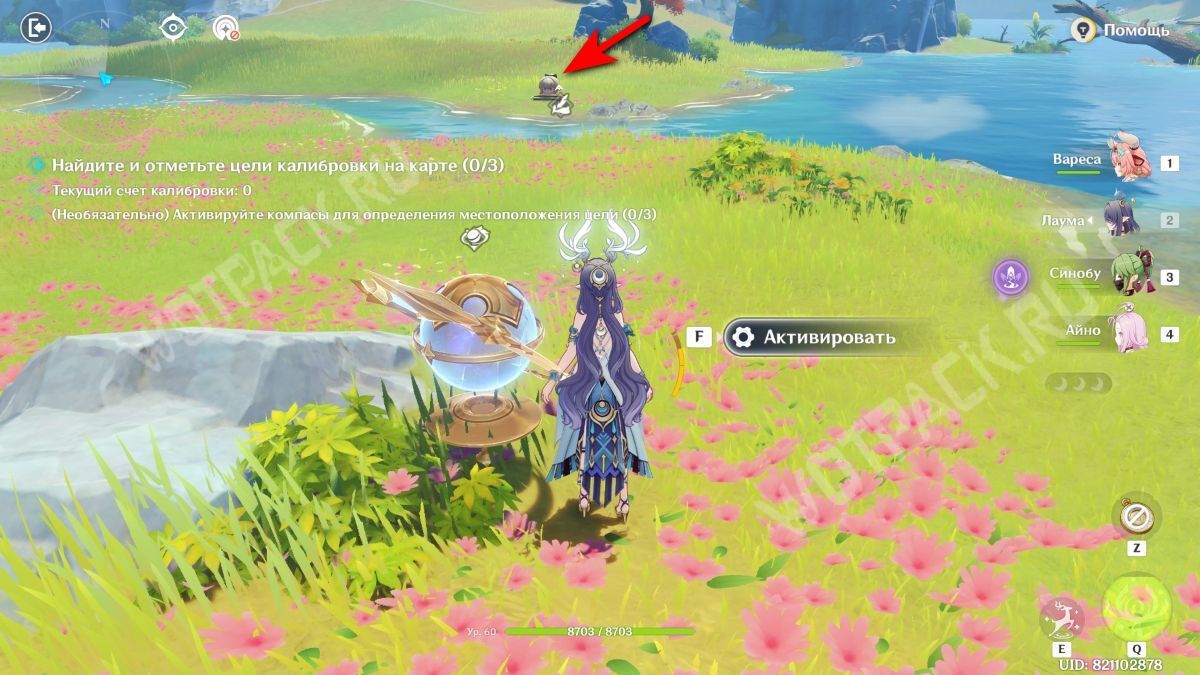
Move straight from the start and light the blue mechanism.
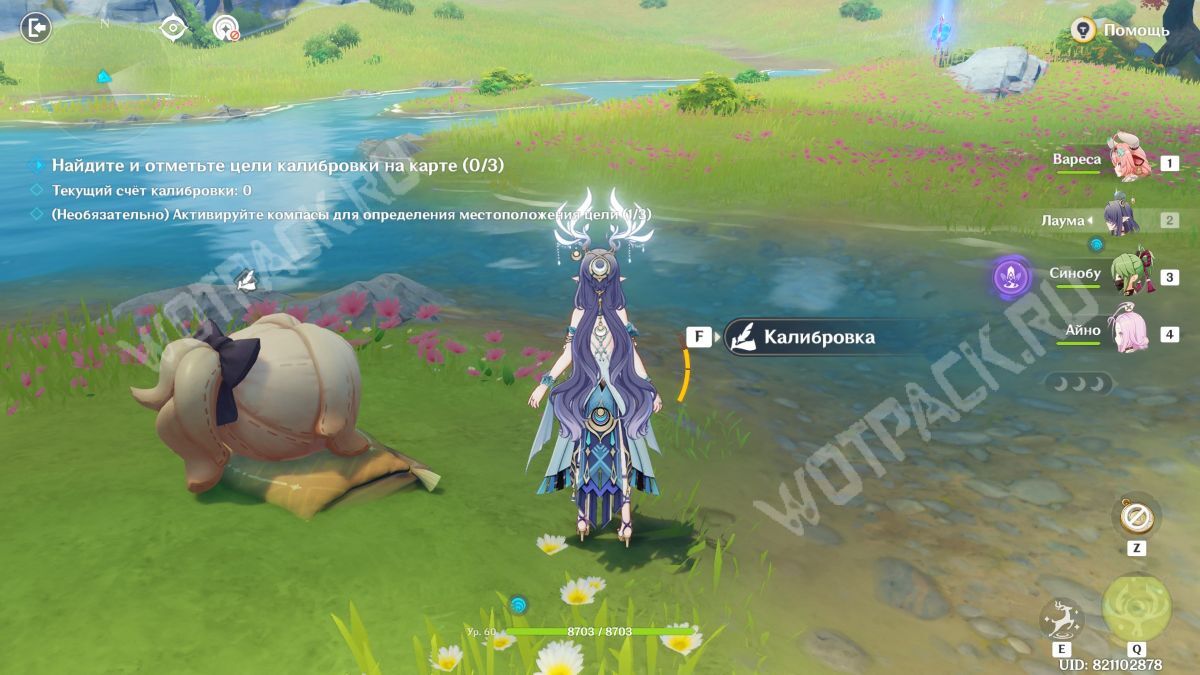
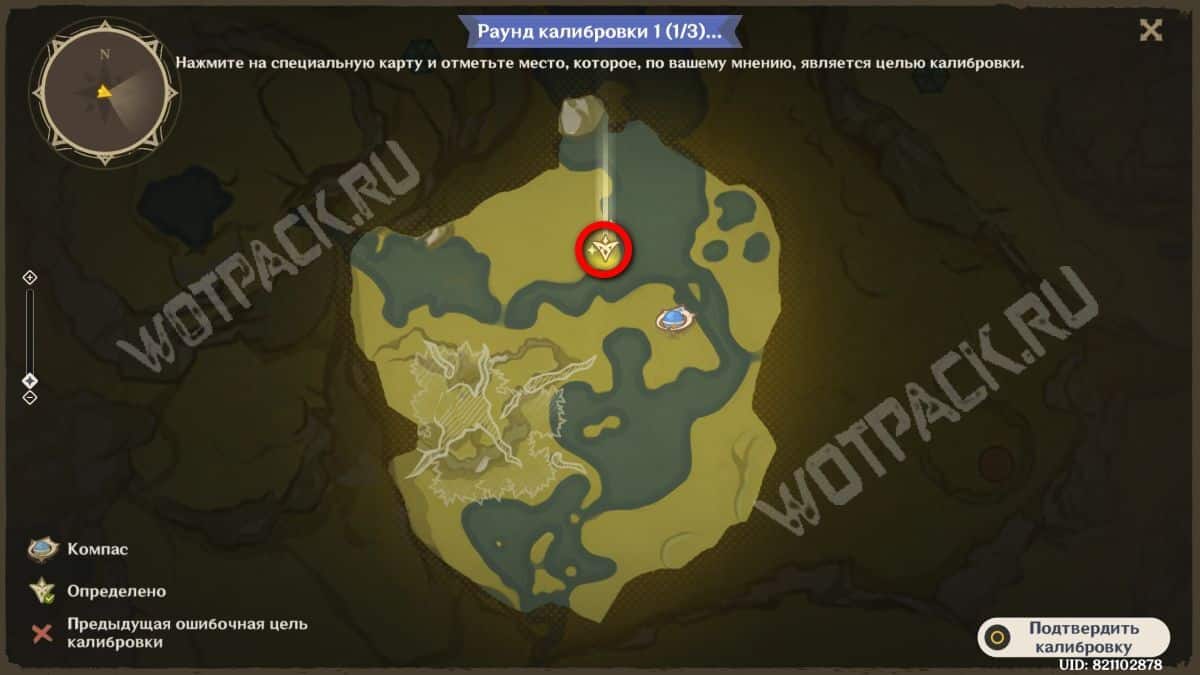
The figure stands on the lower right edge of a large land mass, in the north of the map.
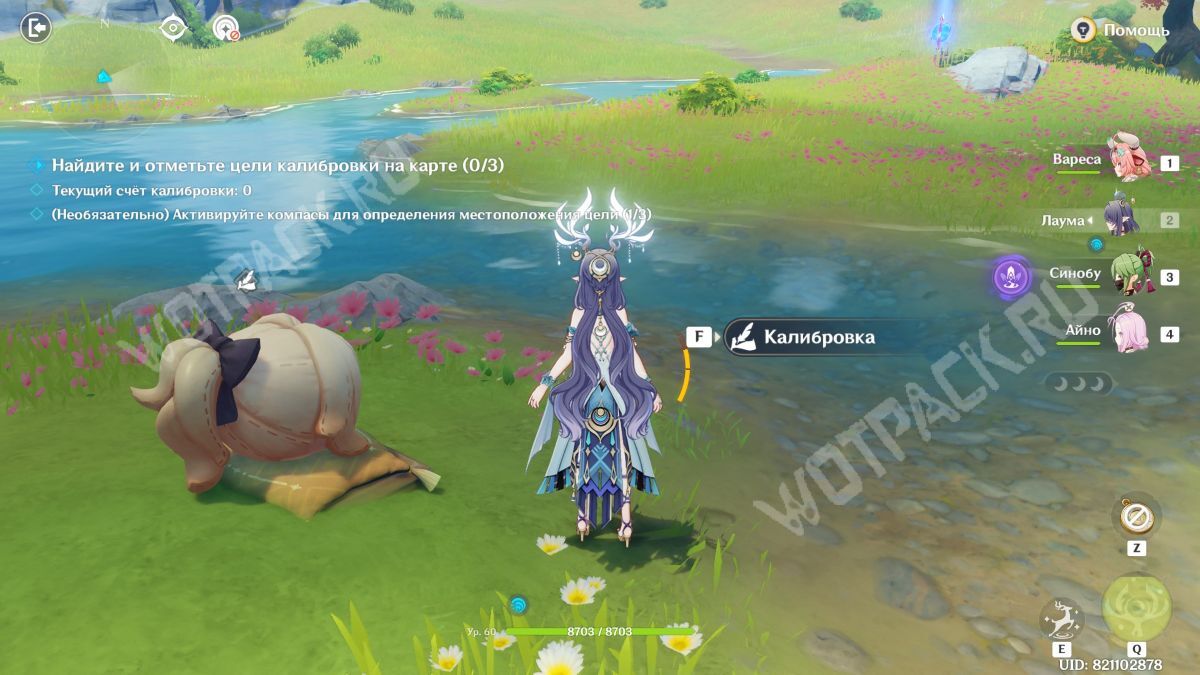
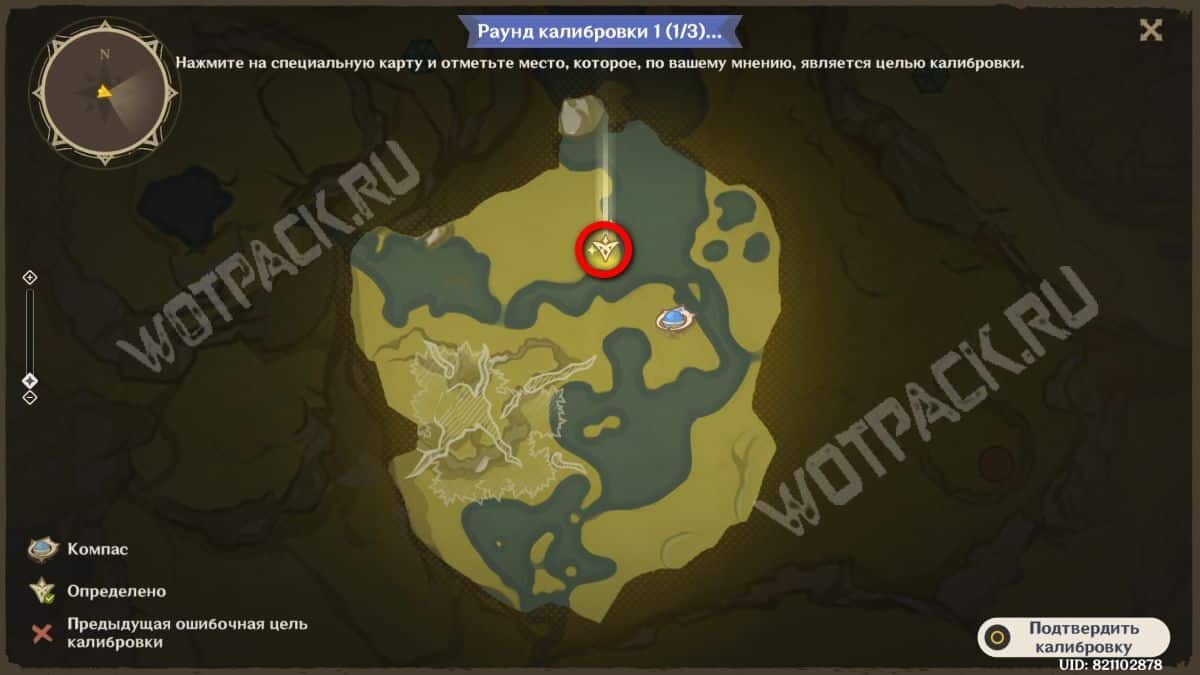
From the previous point, go south. 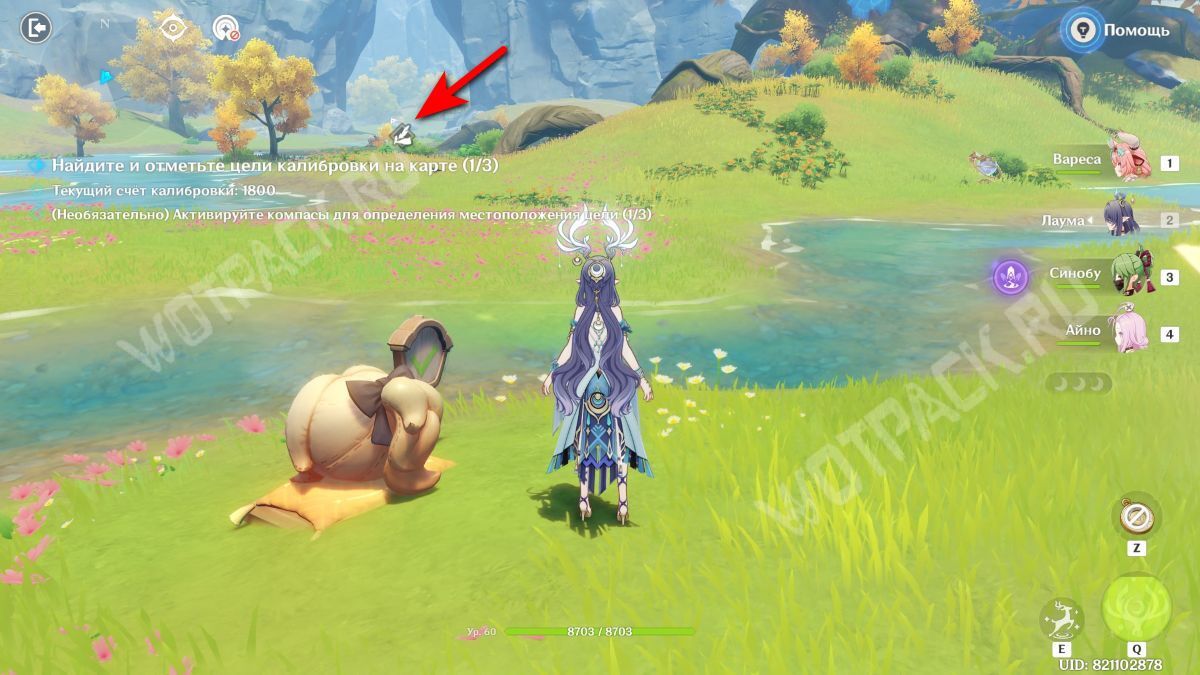
Then mark the object at the top of the land in the shape of a question mark, at its top on the border with the root of the tree.
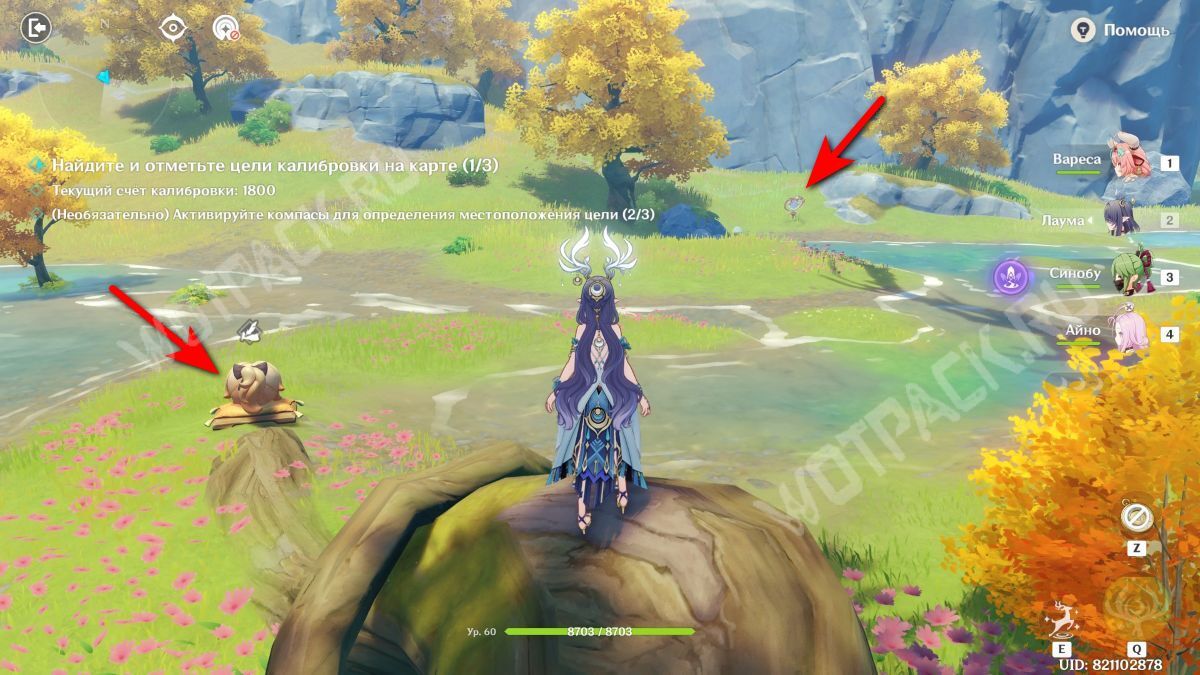
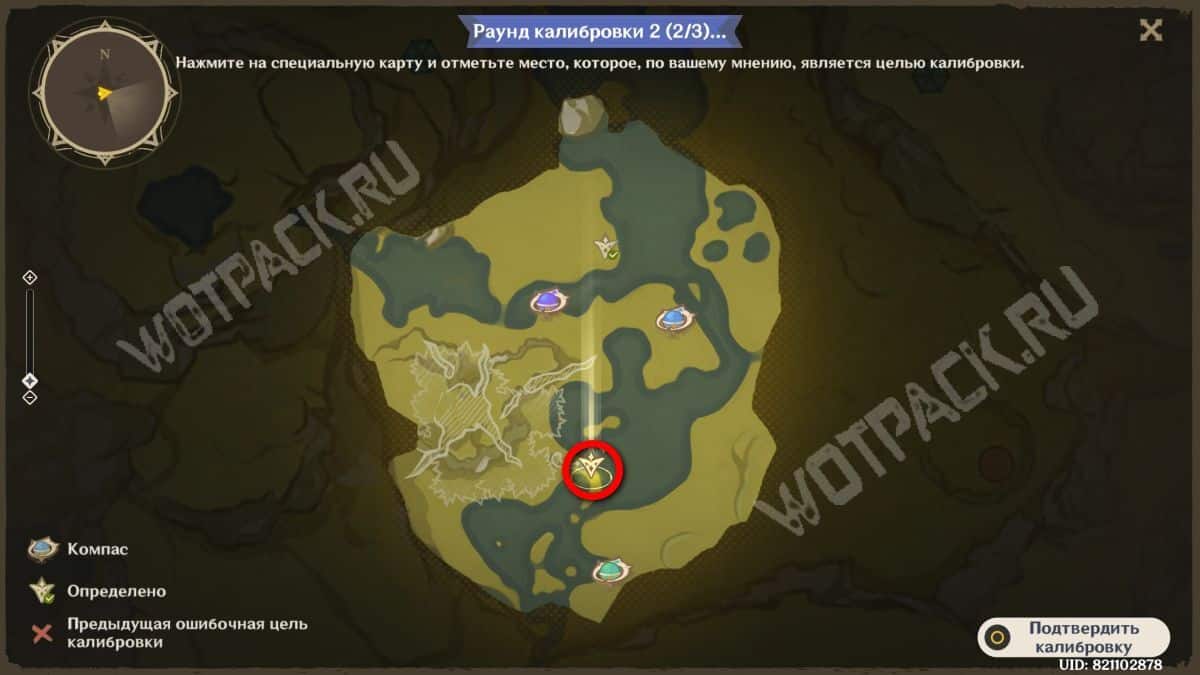
The last location is further south, right on the border. For convenience, activate the green compass.
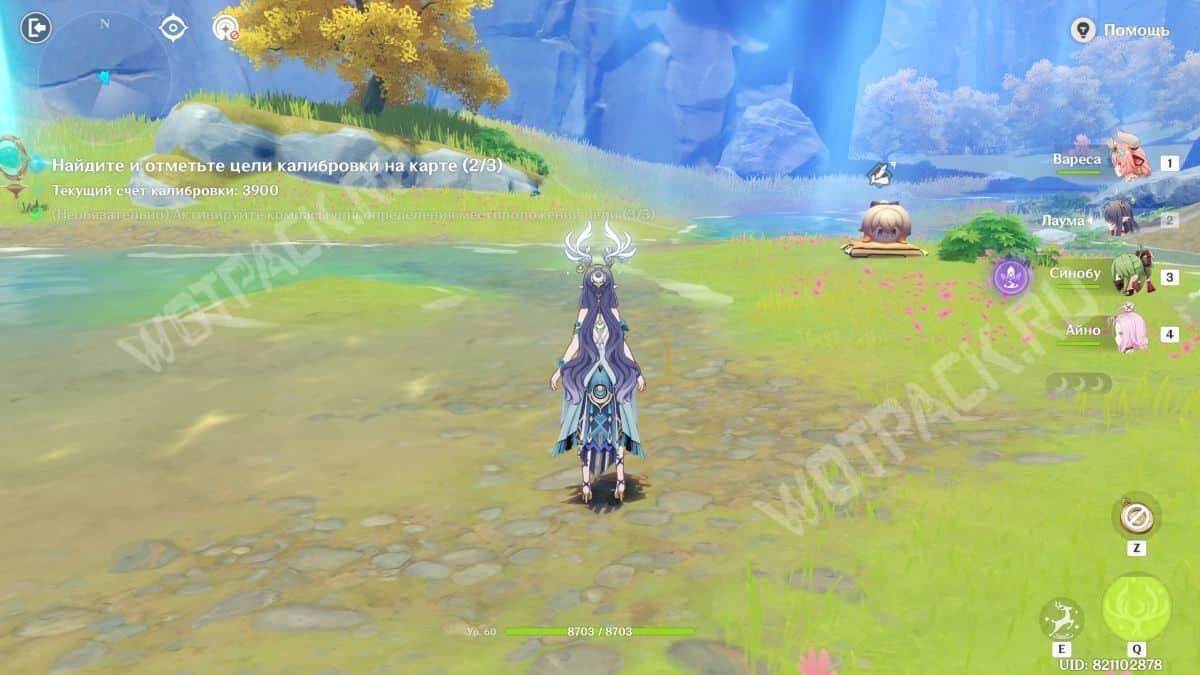
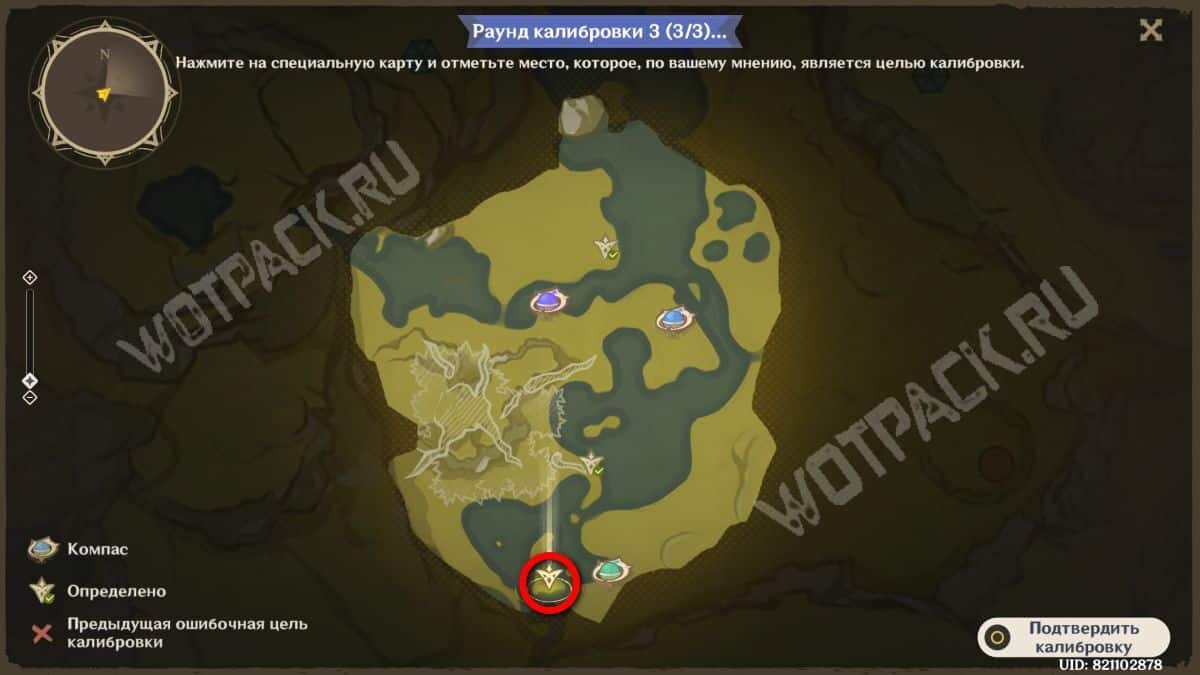
Set the target in the central part of the small island, west of the device.
Option 3
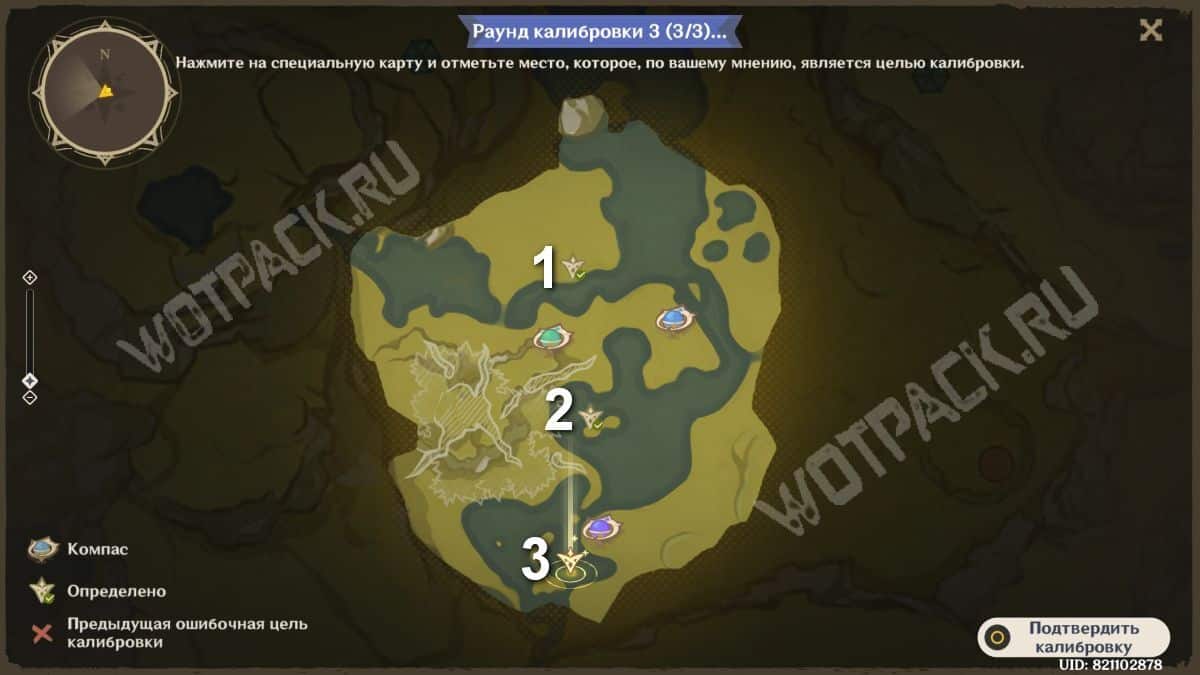
The third option is the simplest of all, since in most cases it requires marking small islands. 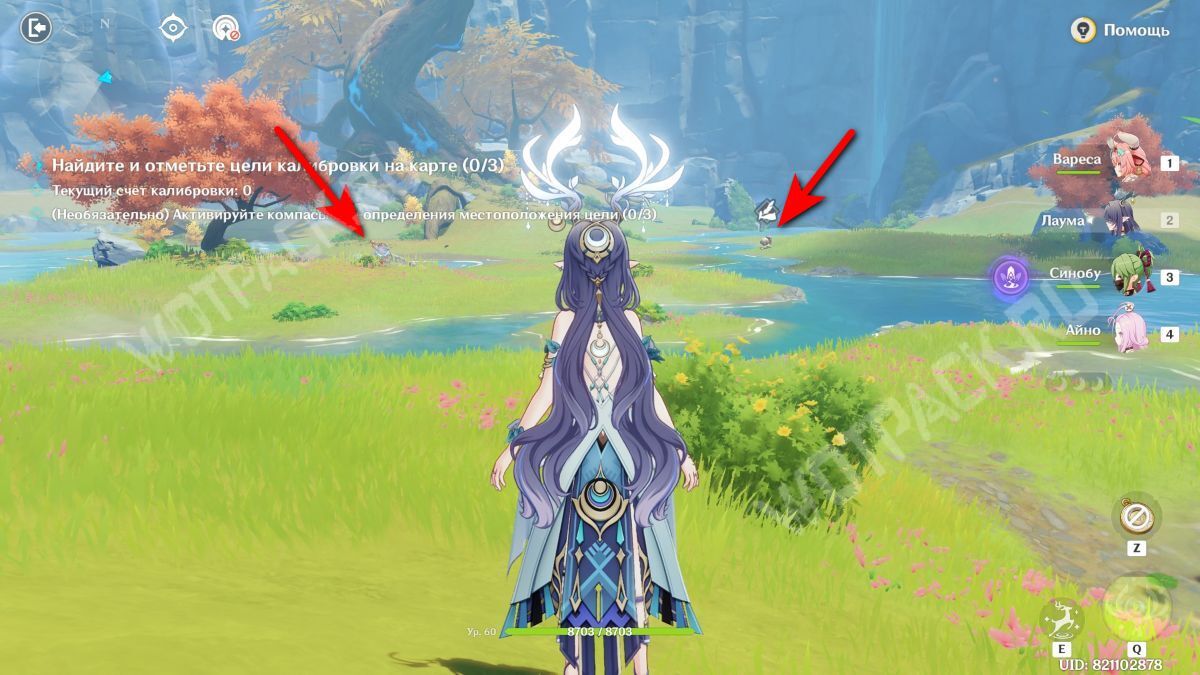
As in previous cases, light the first mark first.
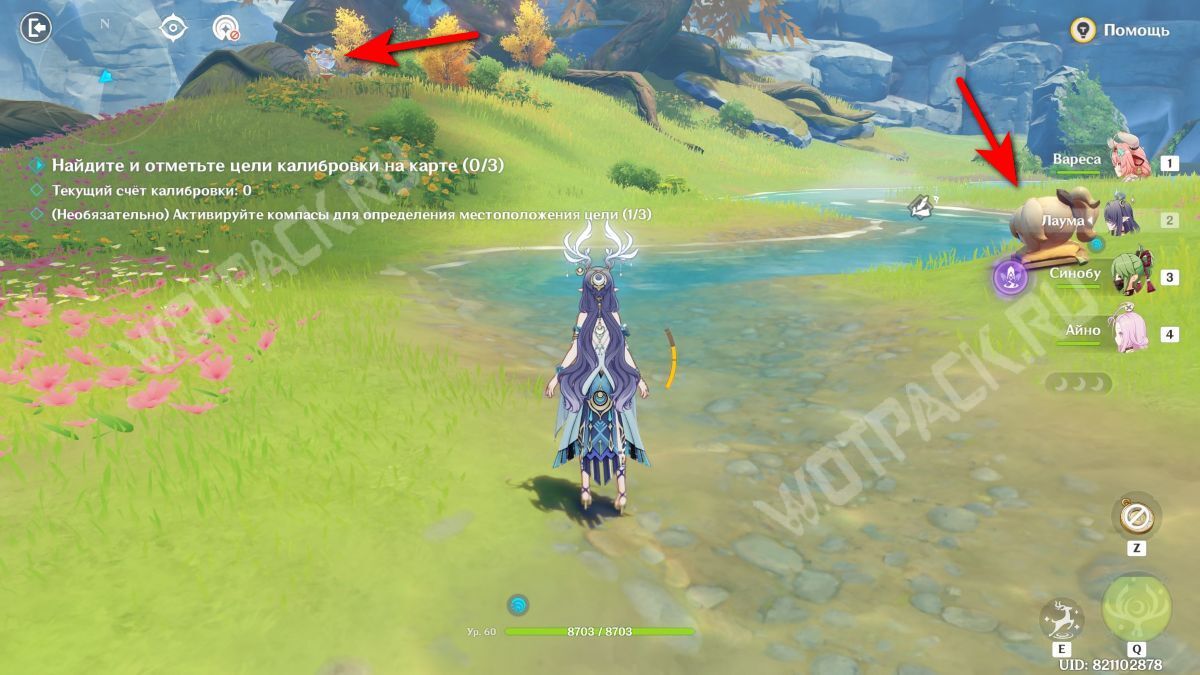
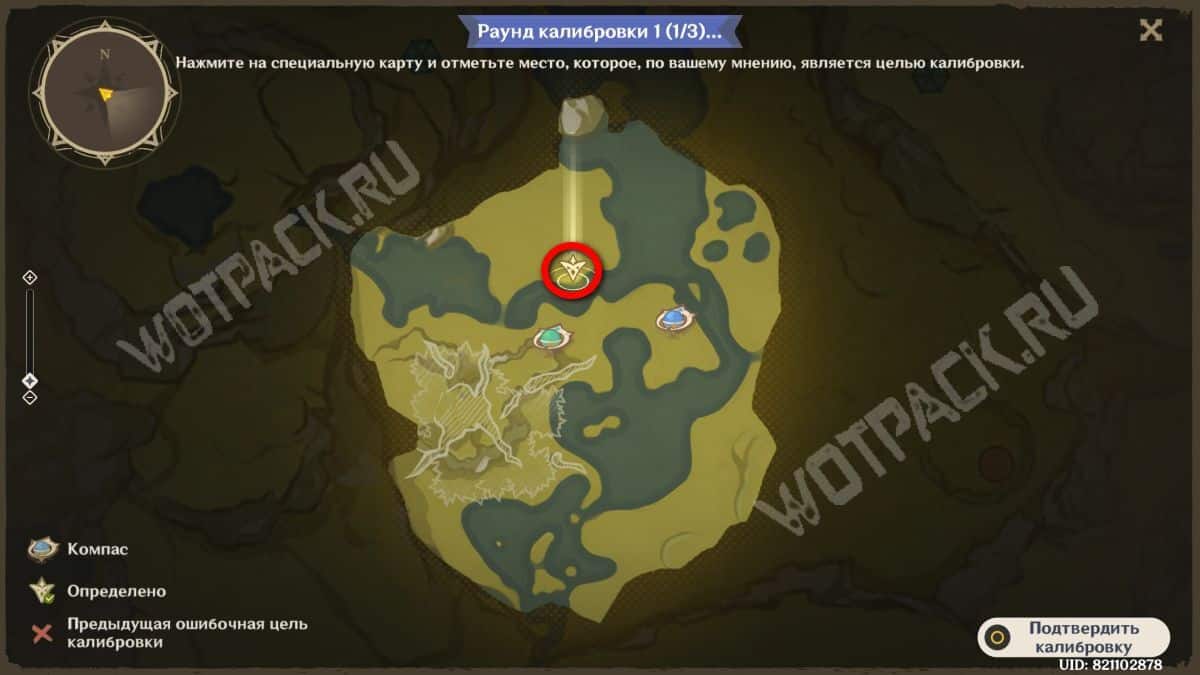
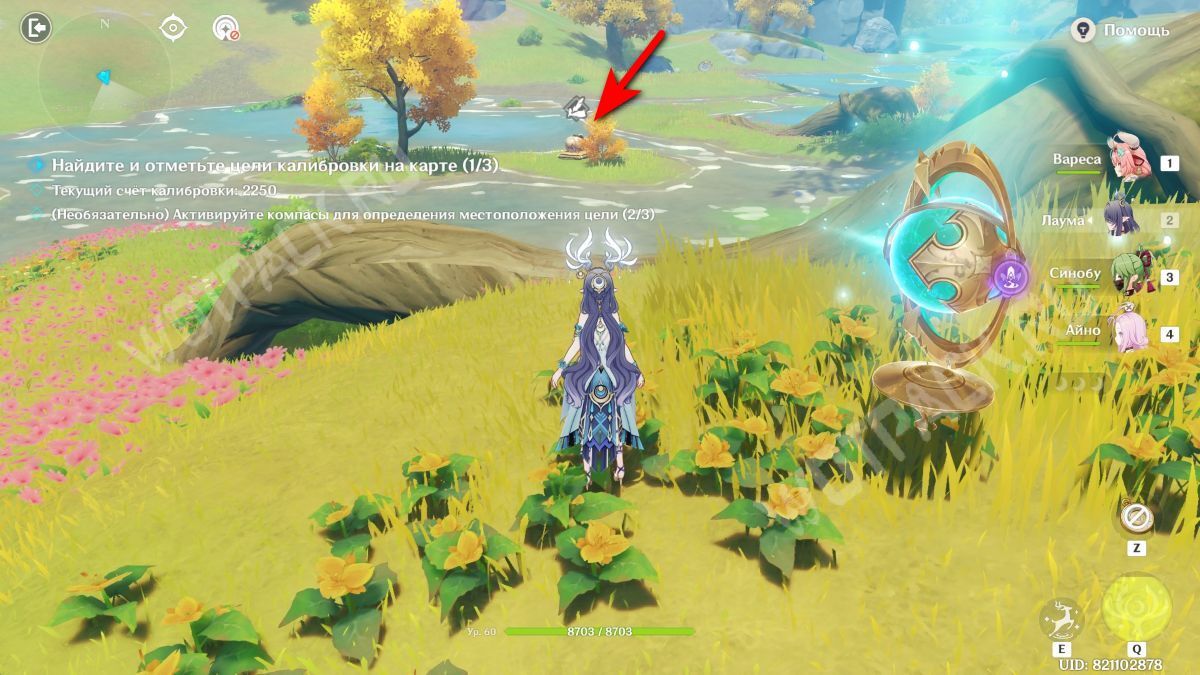
The figure is located exactly to the north of it, in the central part of the coast, if you conditionally divide it into three parts by the curvatures.
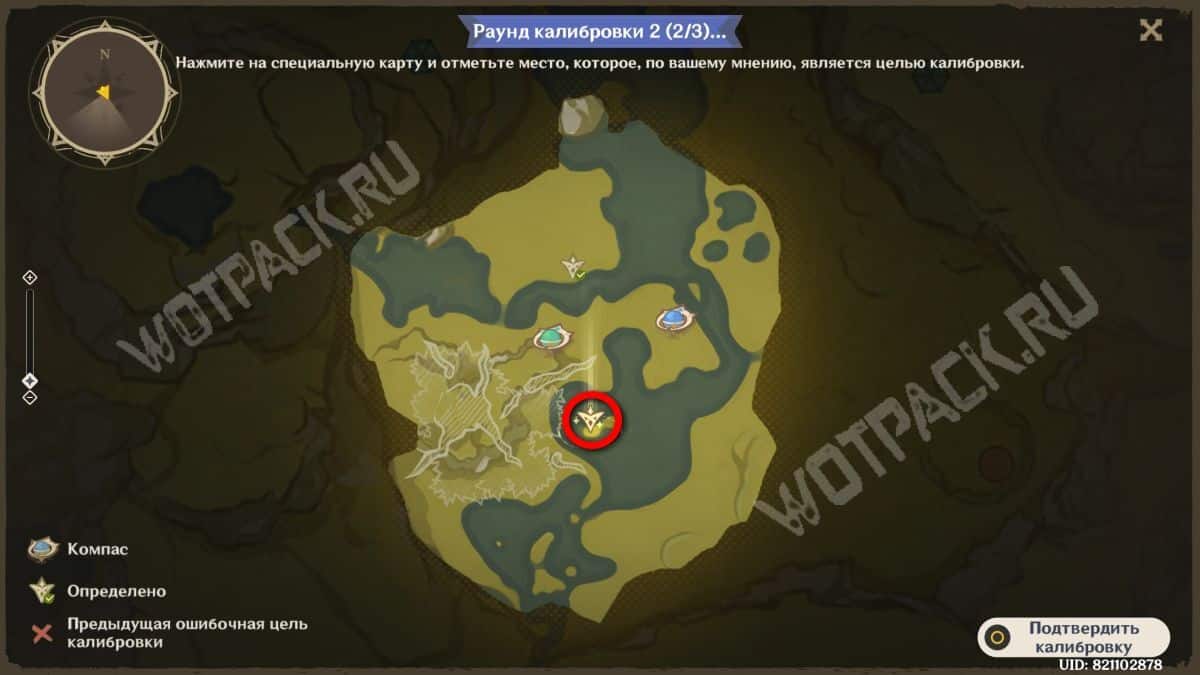
Next, using the same compass, mark the second item on the double piece of land, closer to the tree. 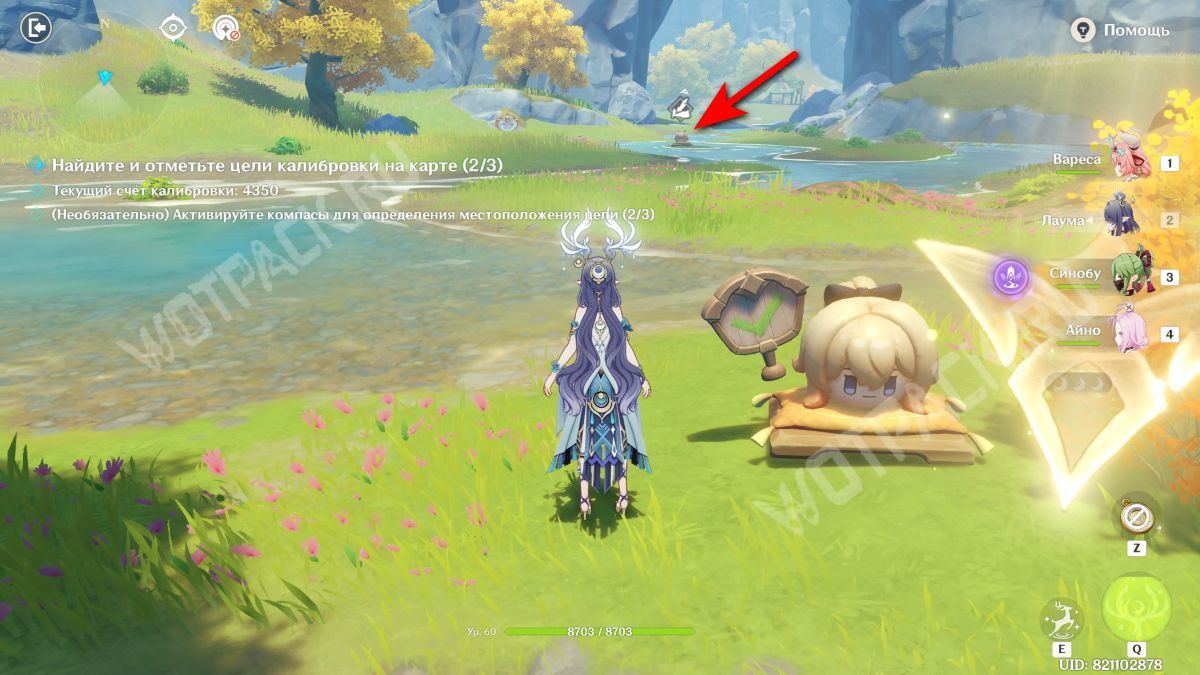
The last mark is located in the southern part of the location, to the right of the compass.
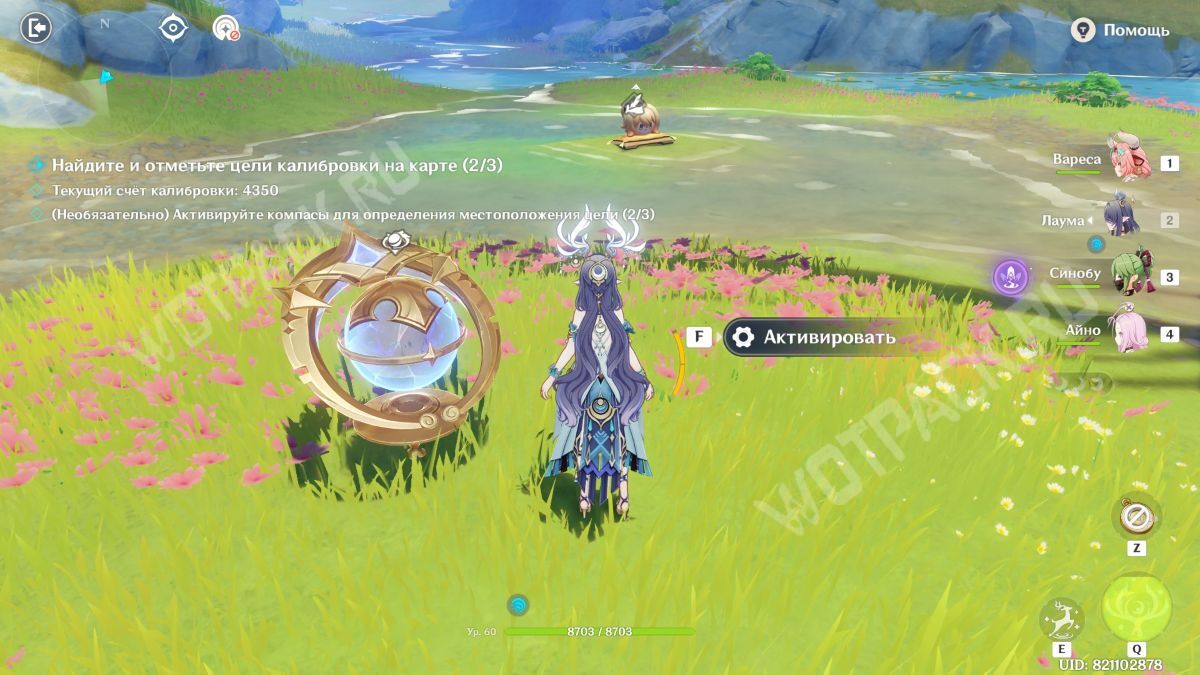
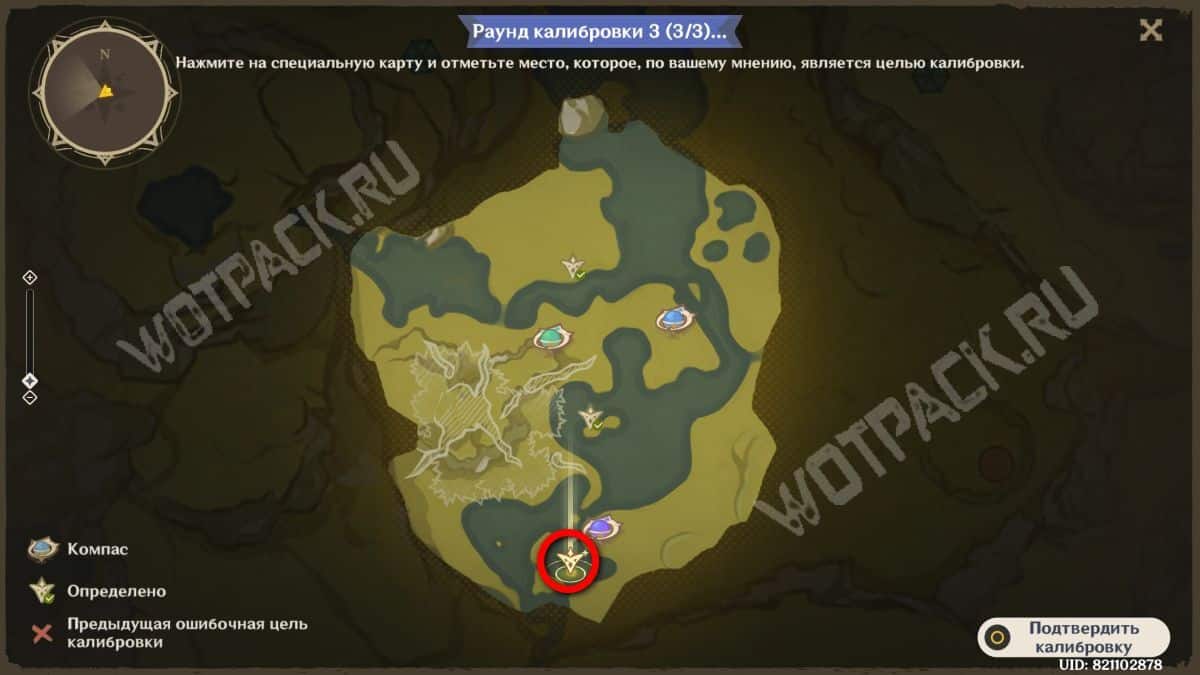
Orient yourself to the lowest round island.
Surveying the Desolate Crimson Sands
The penultimate challenge involves exploring the Sumeru Desert. The level is challenging because there are virtually no landmarks, forcing you to pay attention to the details around you.
Option 1
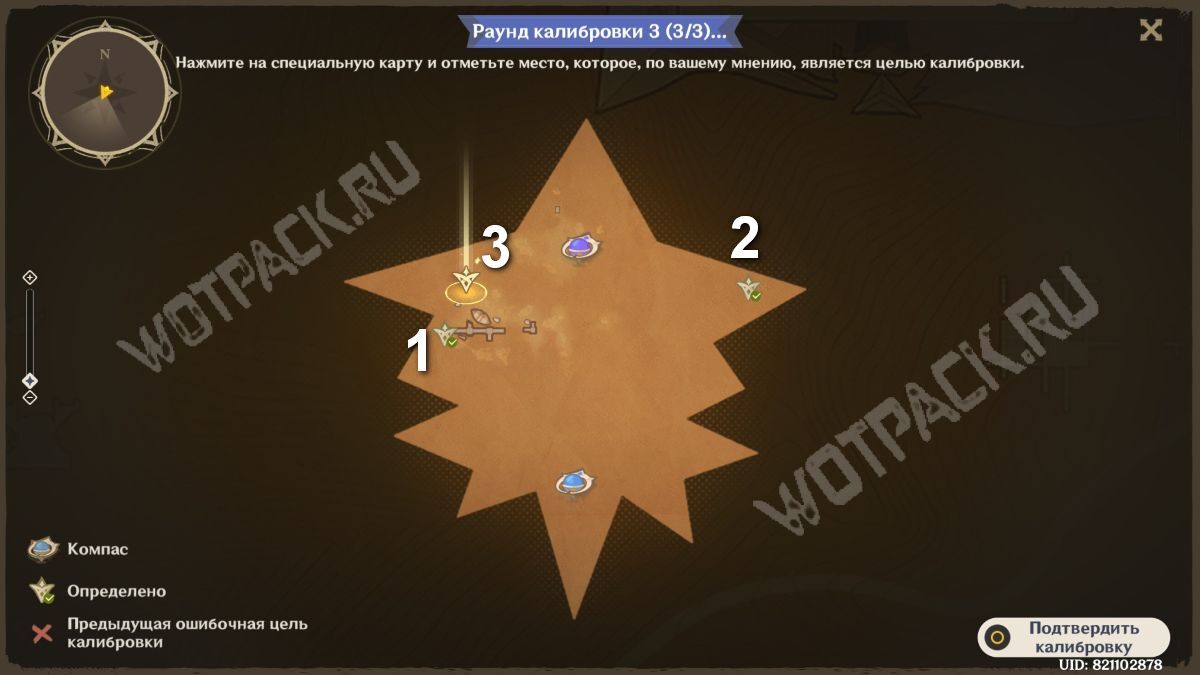
The first arrangement is not too difficult, as it can be guided by the elements of the ruins. 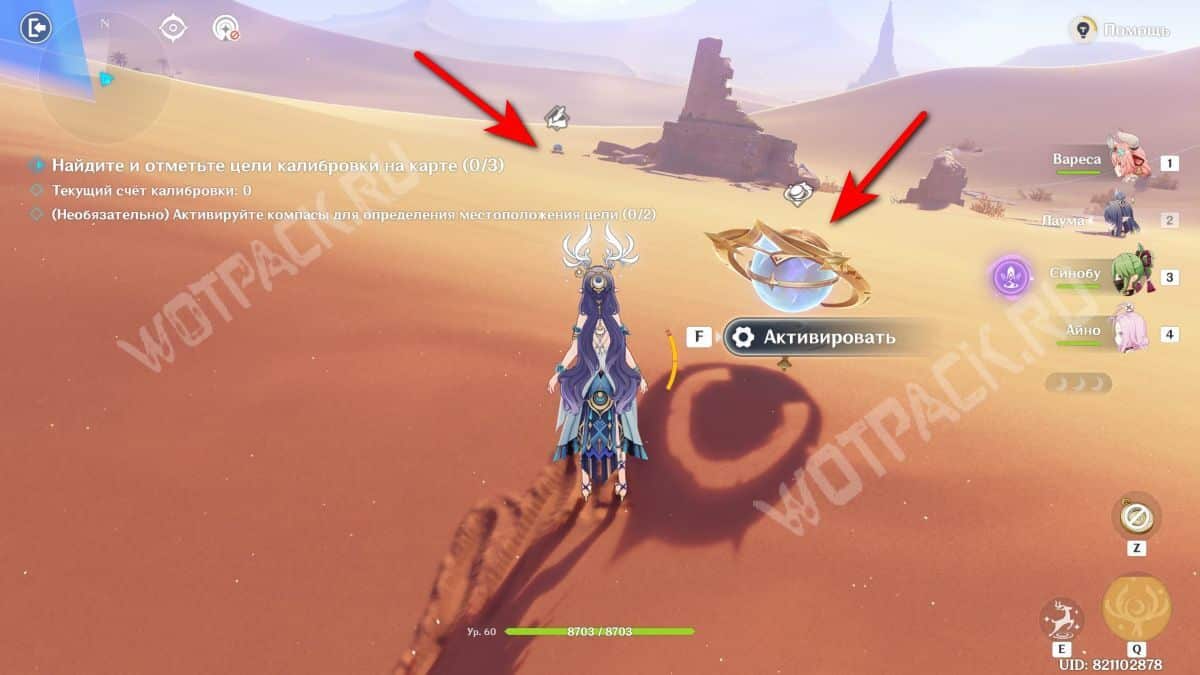
Activate the first compass and go to the remains of the wall.
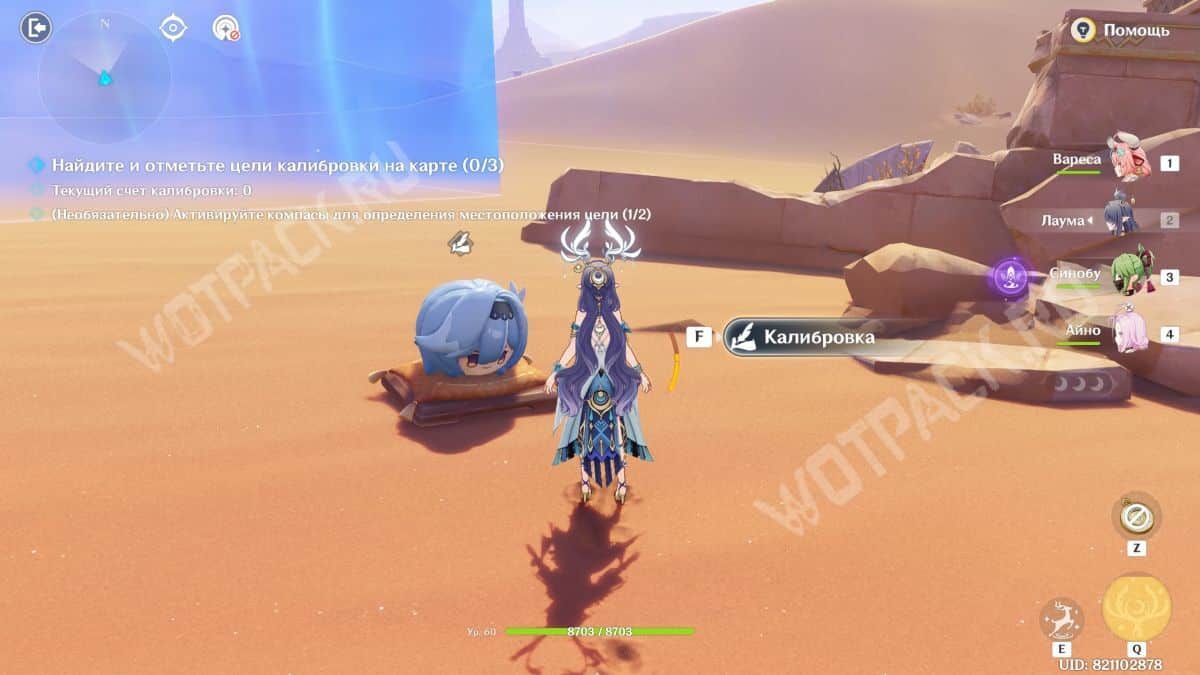
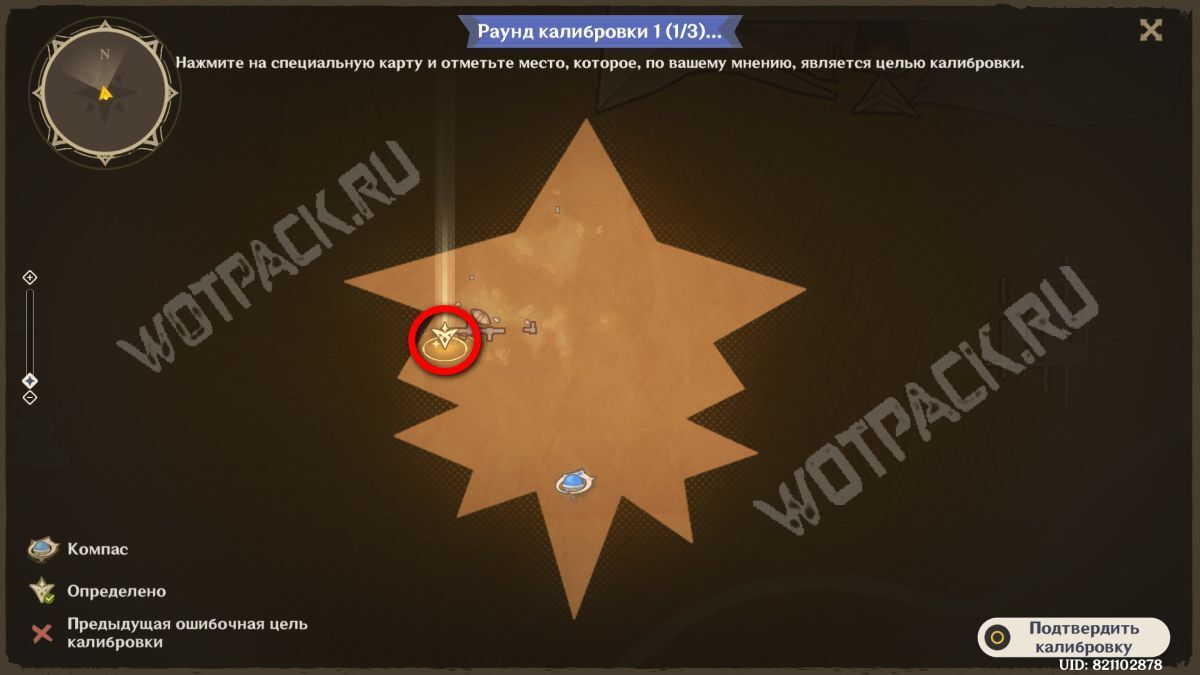
The item is located near their western end. 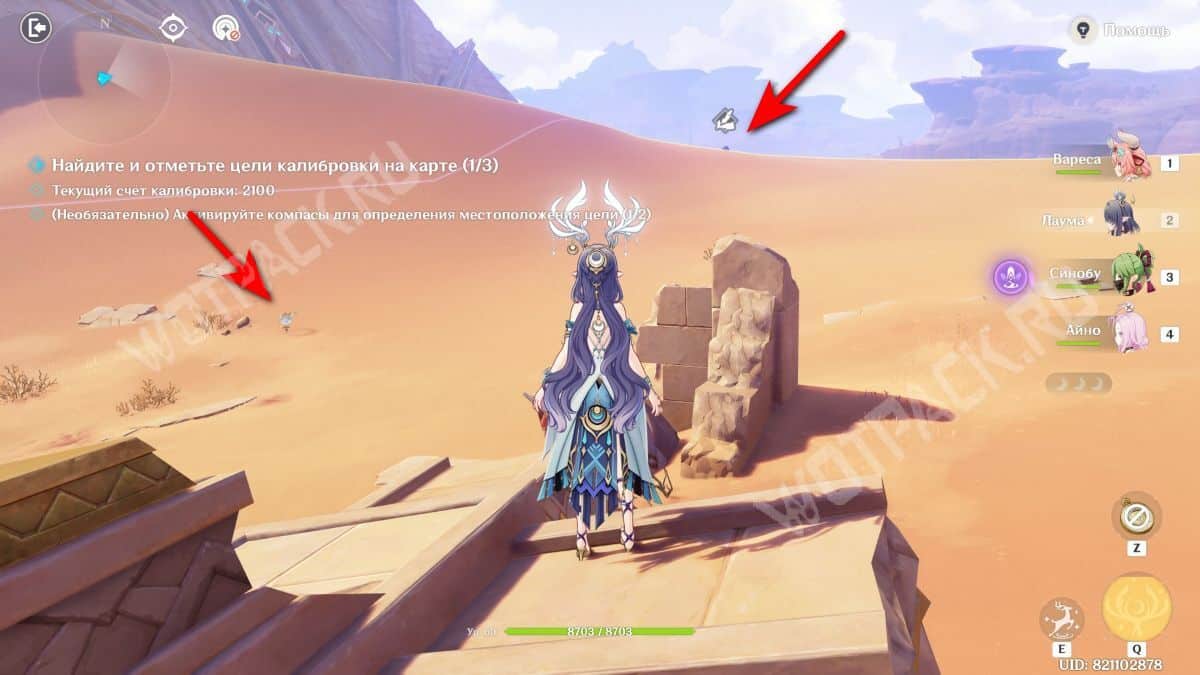
Go east, interacting with another mark to the north along the way.
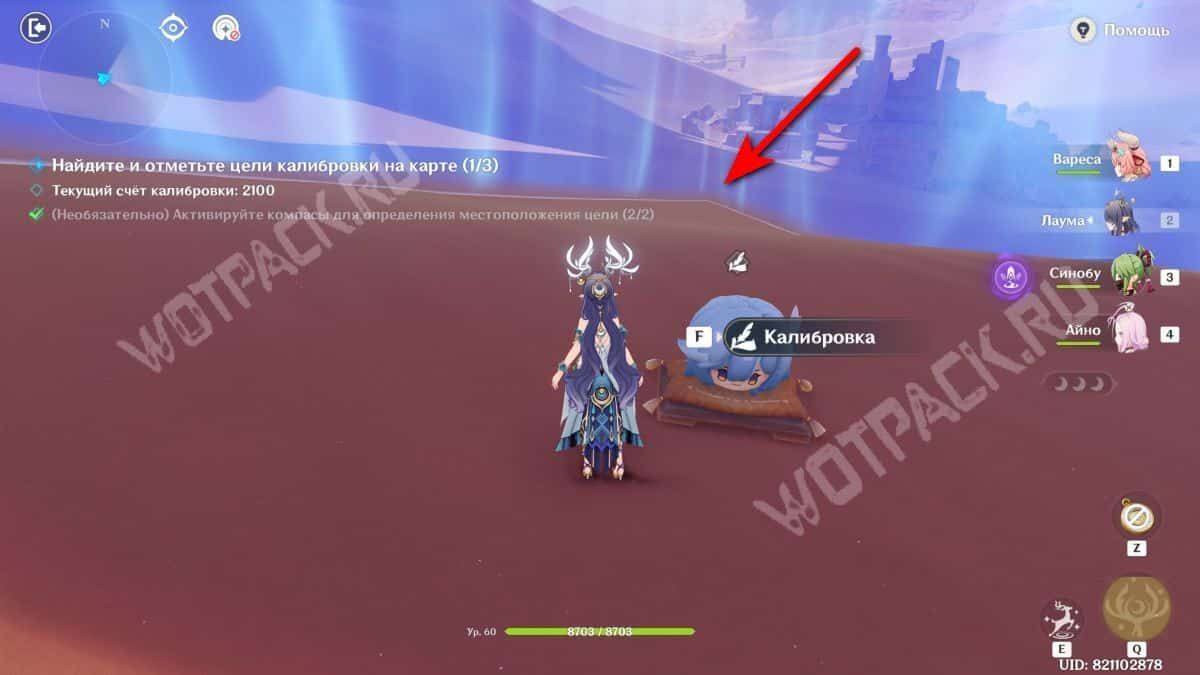
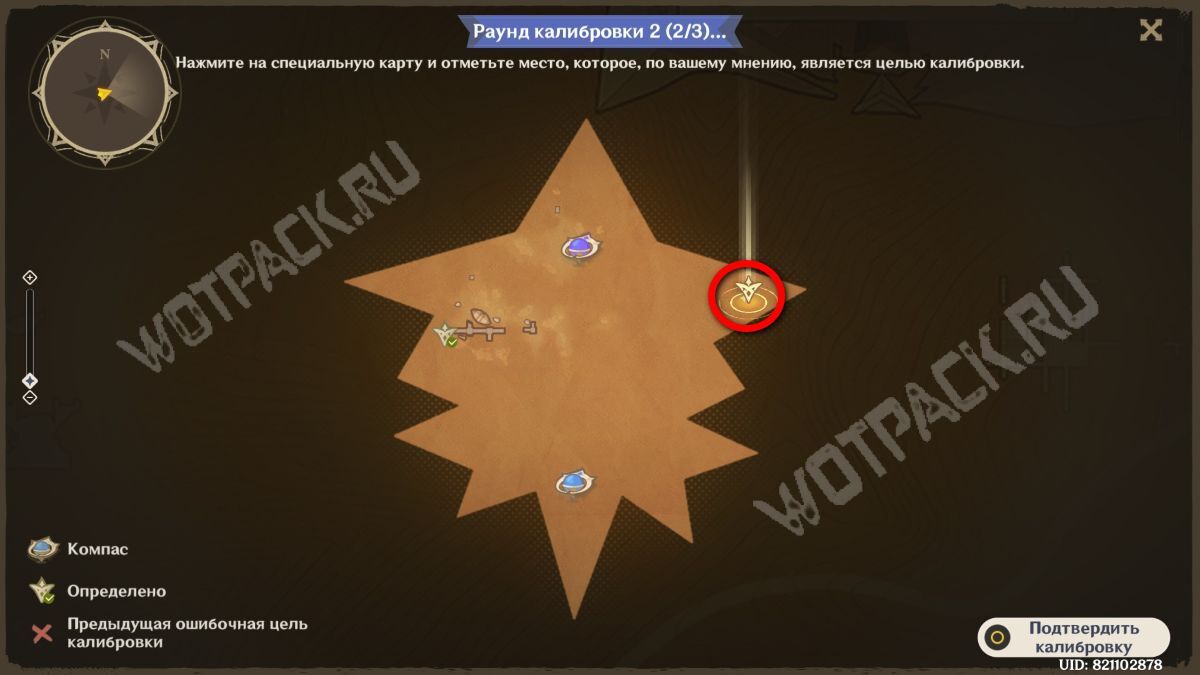
Look carefully at the boundaries of the zone - the target is located in the center of the upper right sharp corner of the map. 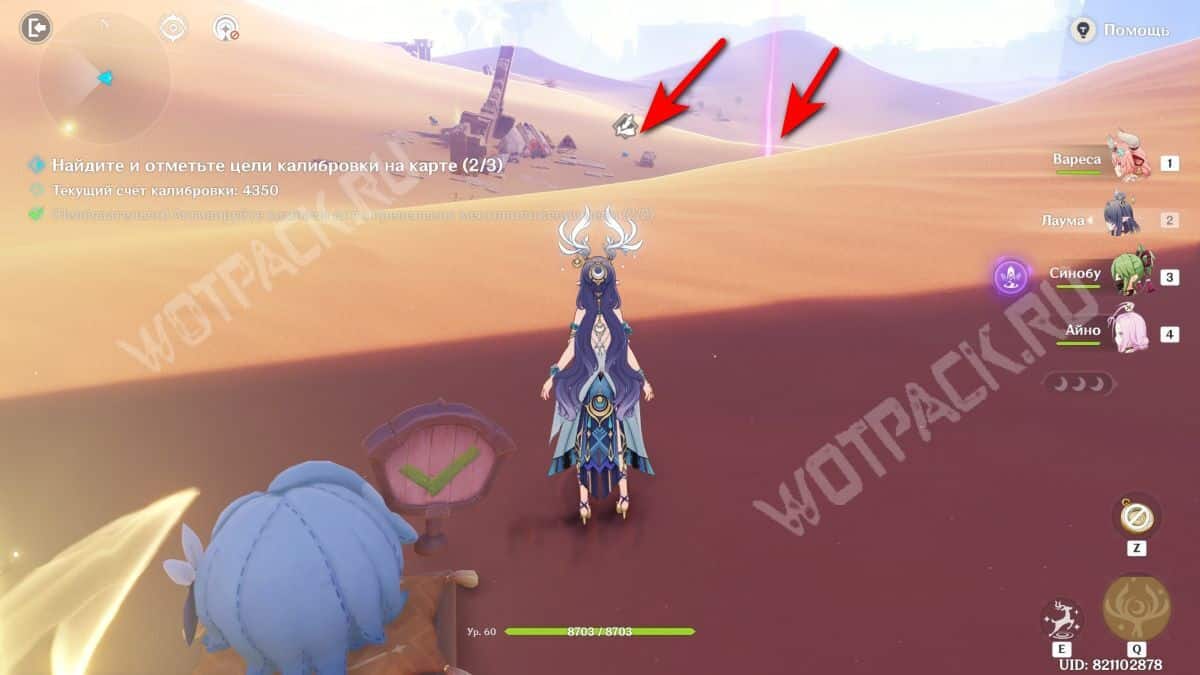
Return to the ruins.
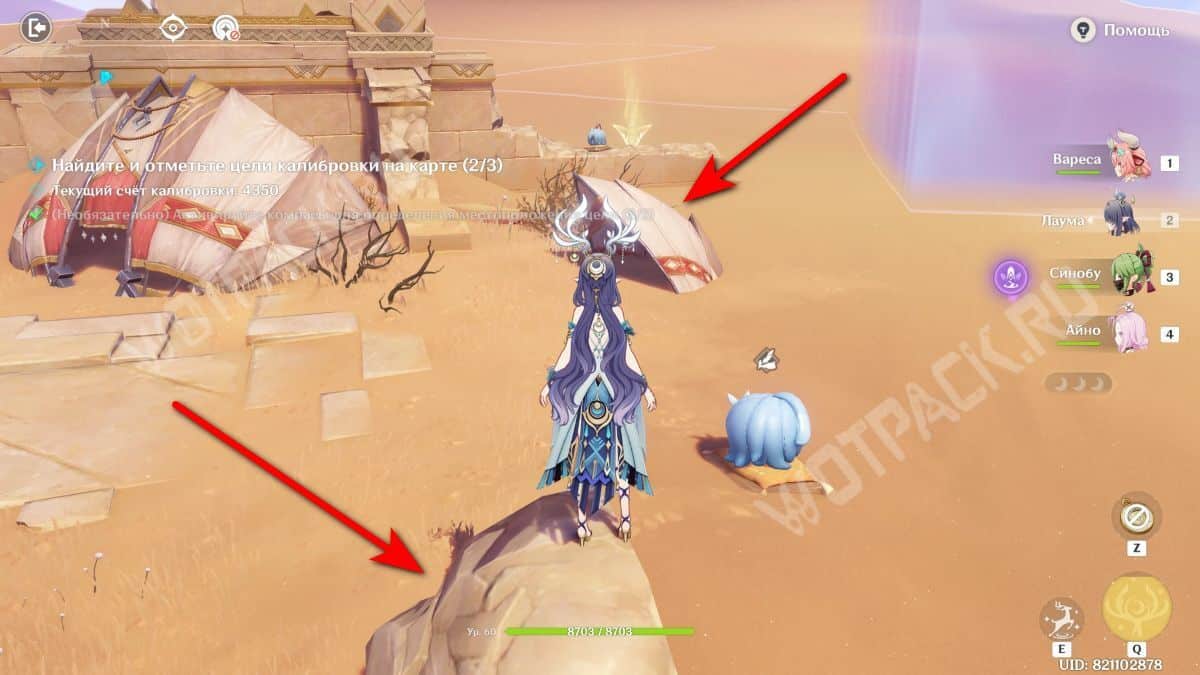
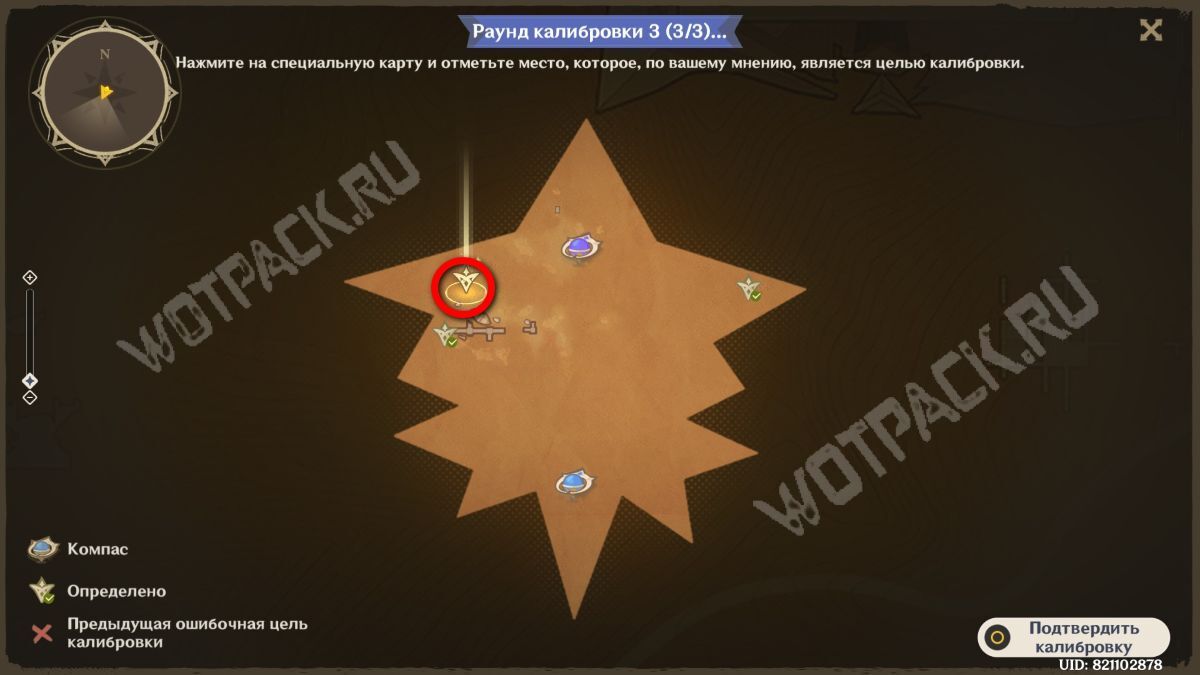
The two small circles on the map represent a rock and a small tent. The marker should be placed between them, slightly to the left.
Option 2
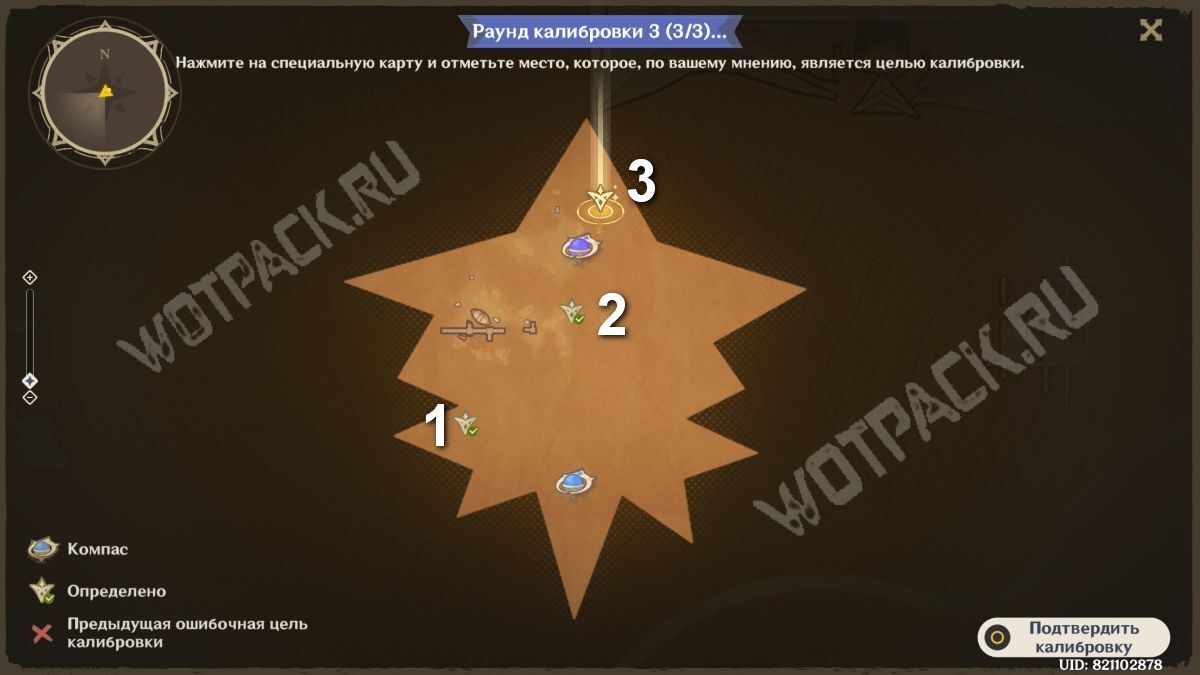
The second alternative is more difficult, since almost all the markers are located only among the sands. 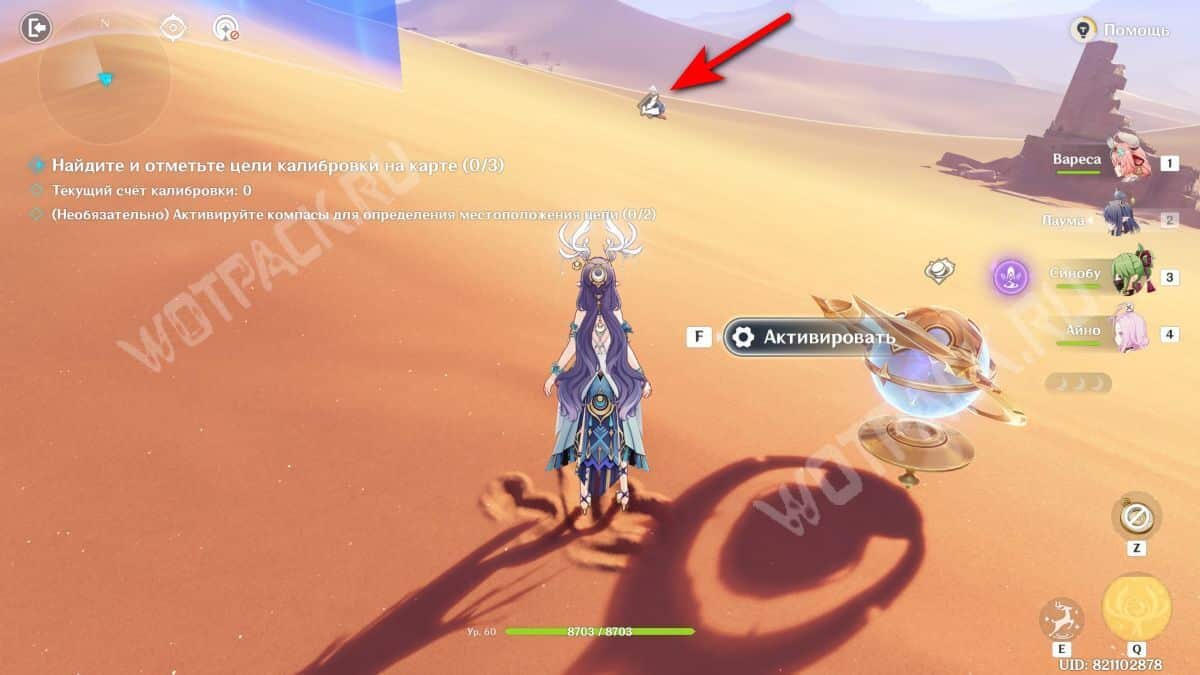
Once you start the challenge, immediately turn left after the mechanism.
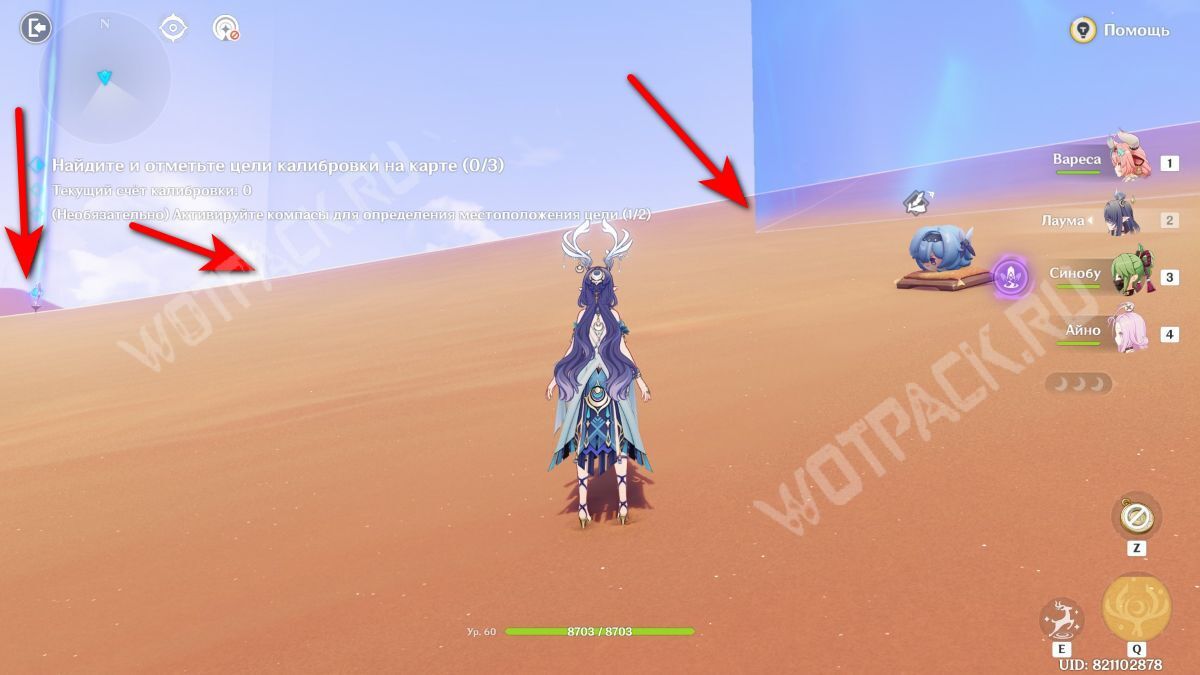
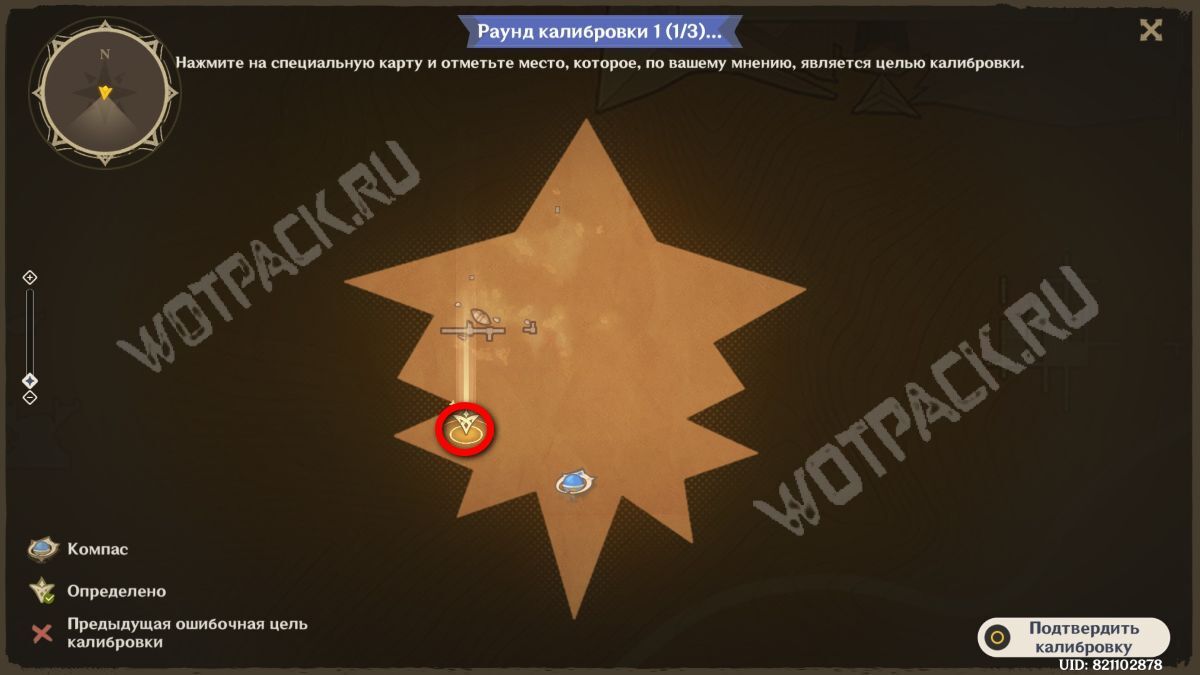
Count two protruding corners of the border, then place a target icon in the middle after the second one. 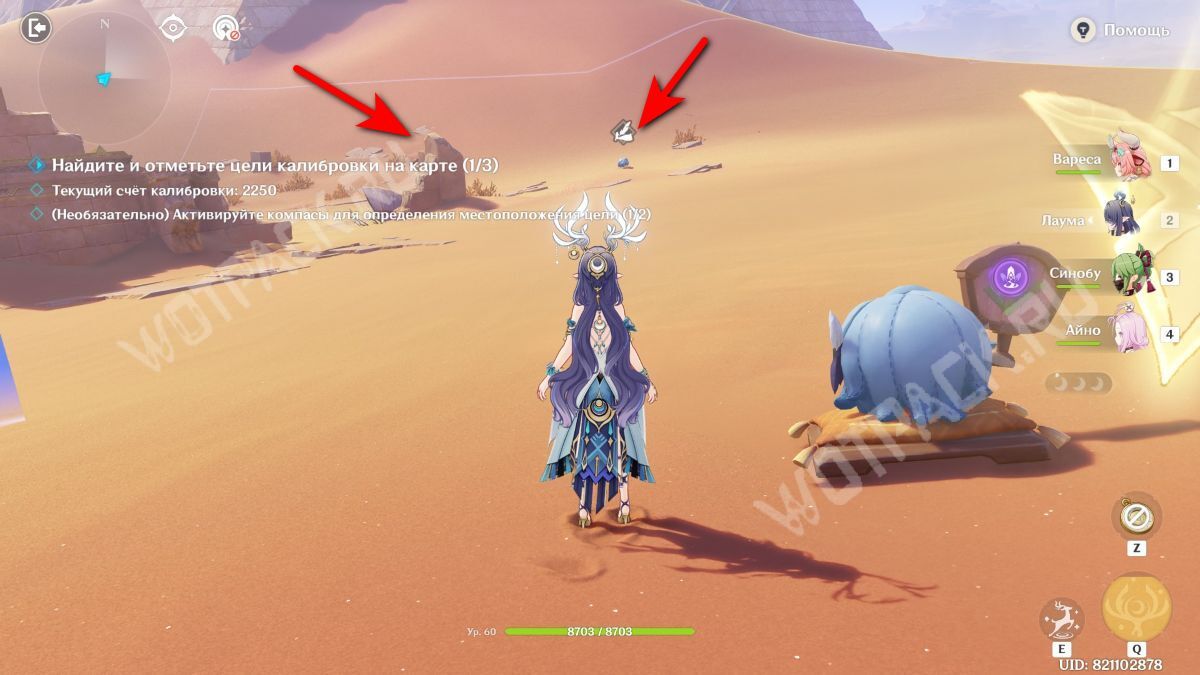
From there, go to the fragment of ruins located at a distance.
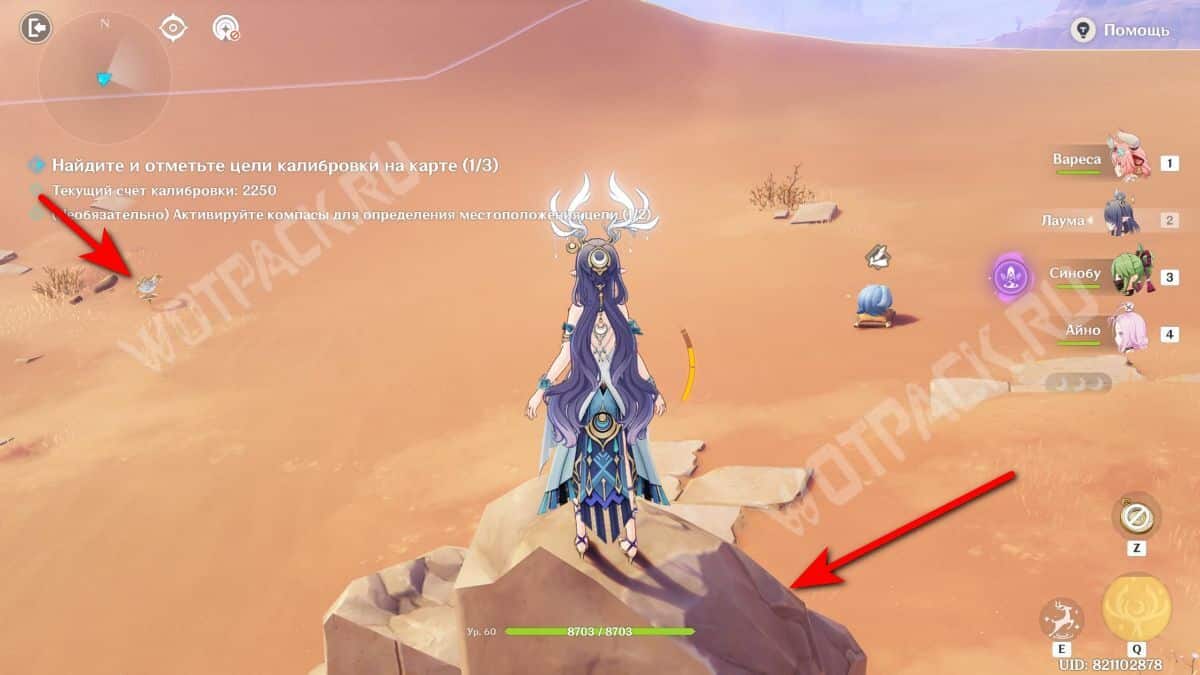
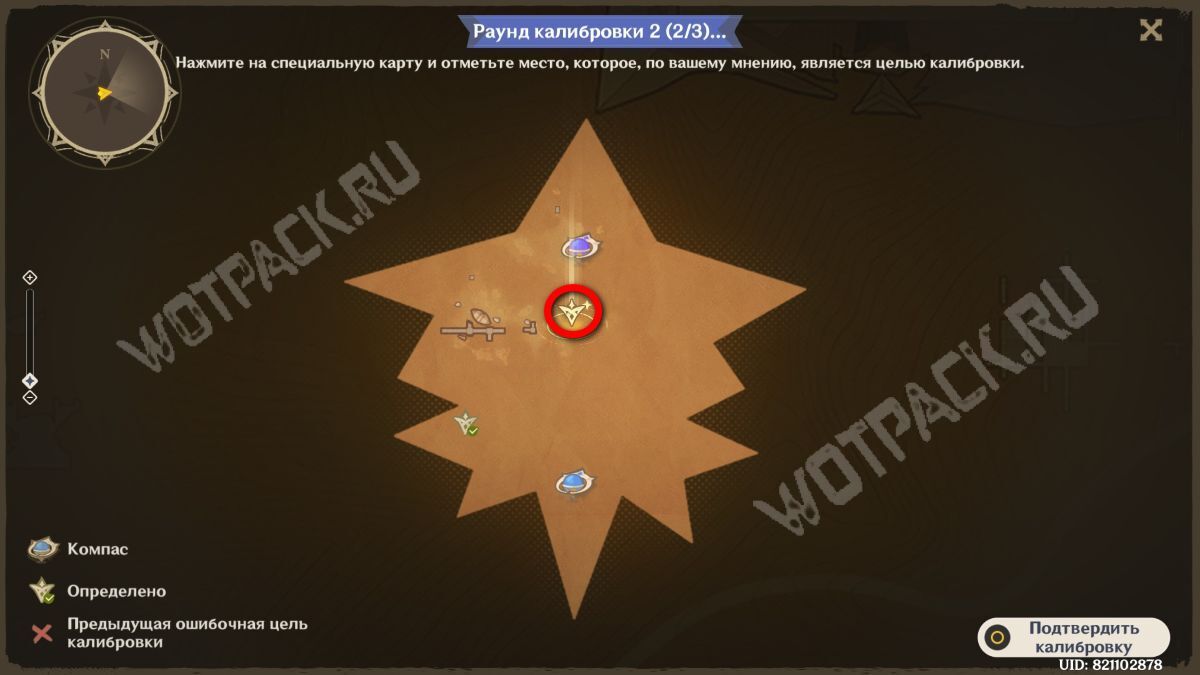
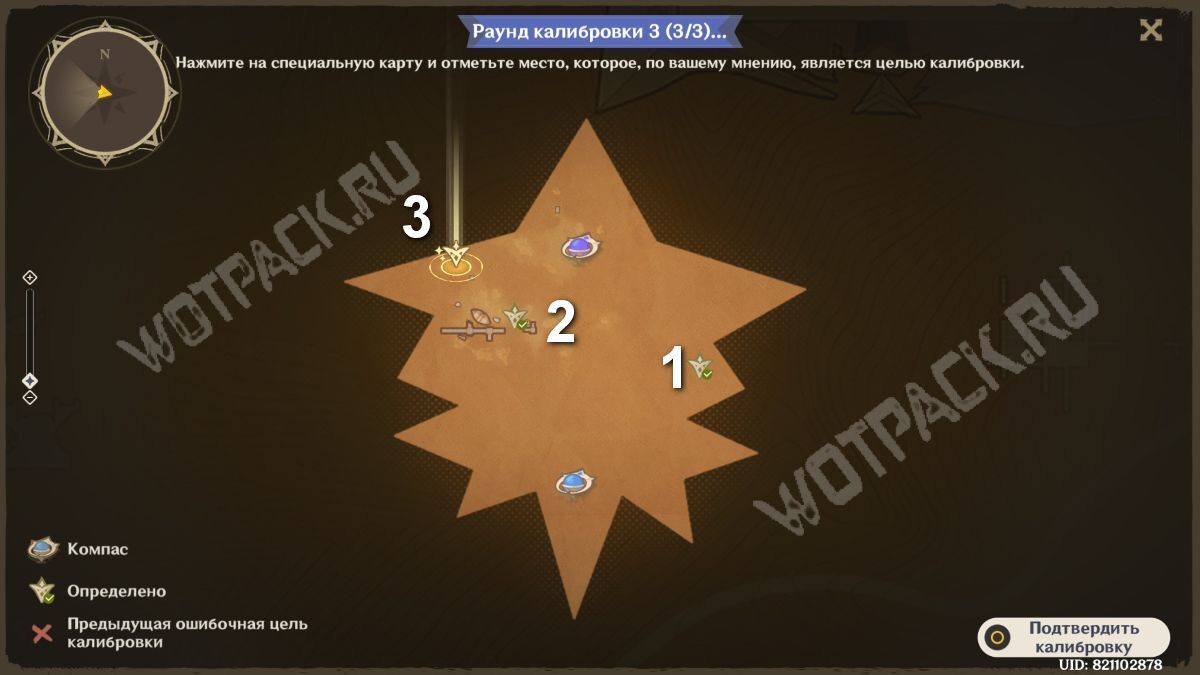
The object is located at the right angle to it and to the second compass in the north. 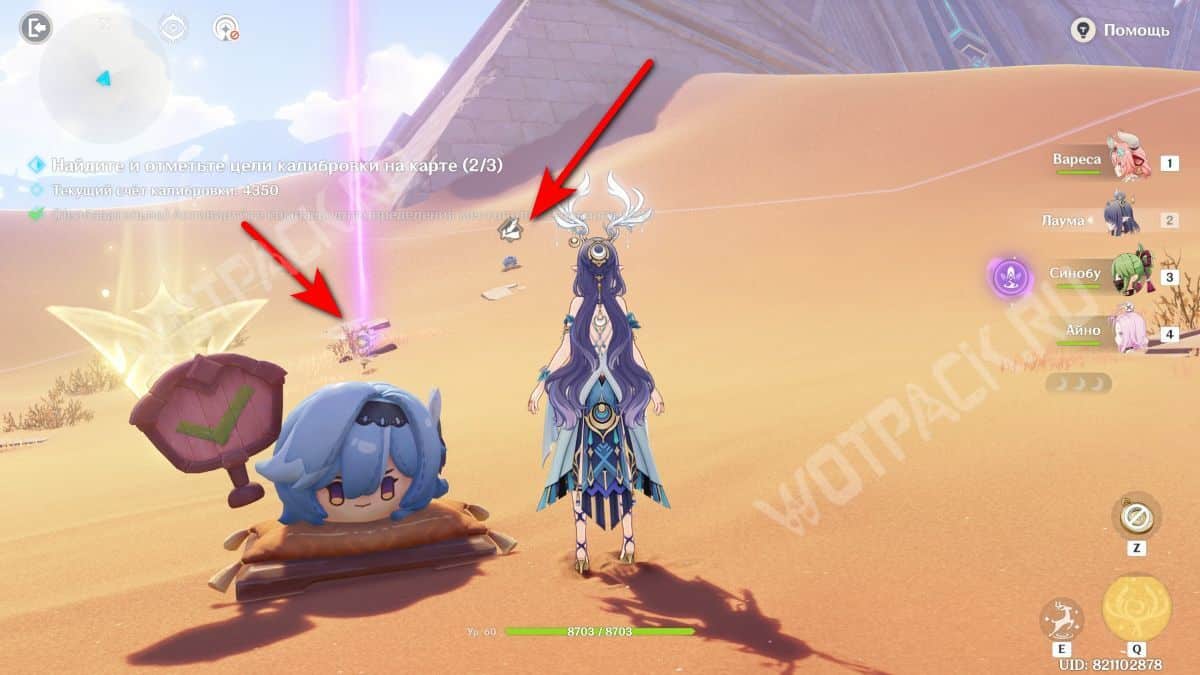
From the second item, move straight north.
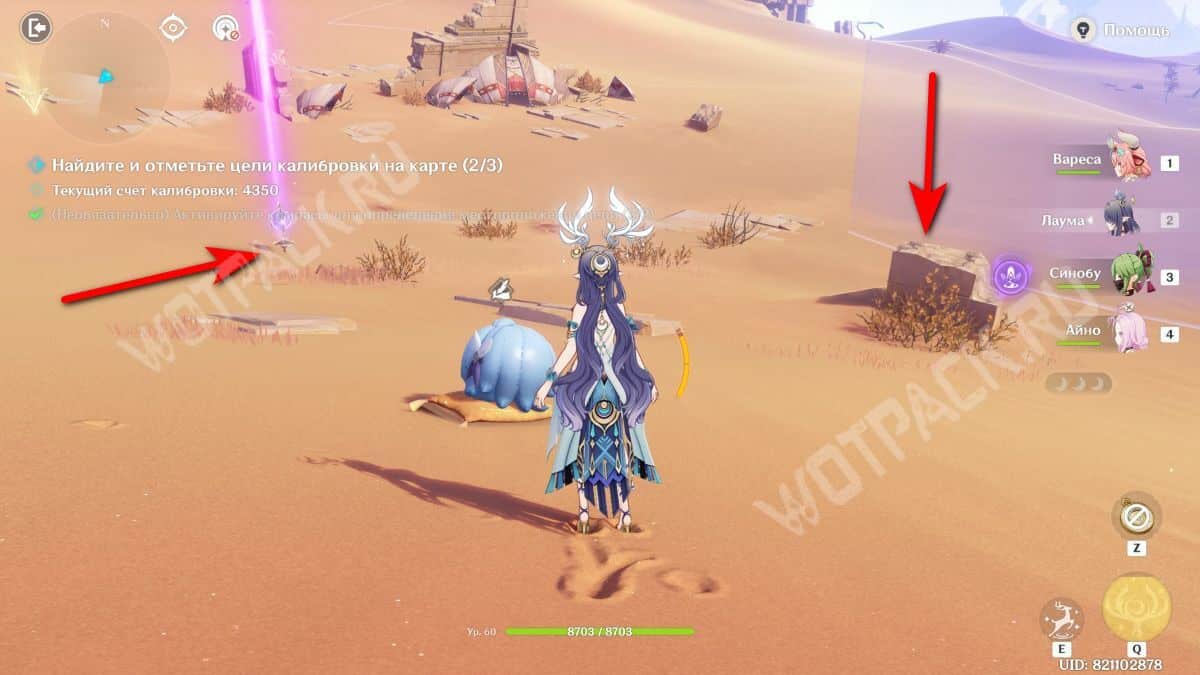
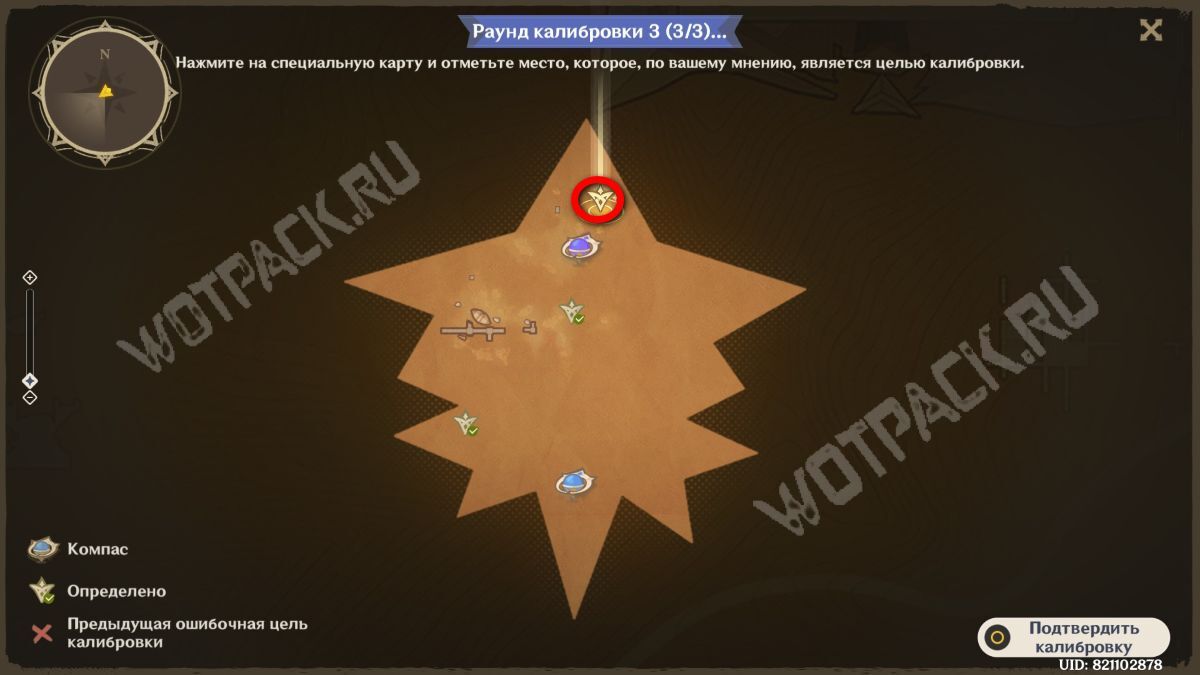
Set the target so that it is parallel to the rock marked with a small circle on the map and slightly northwest of the tracking device.
Option 3
The third option combines orientation by objects at the level and by the walls of the area. 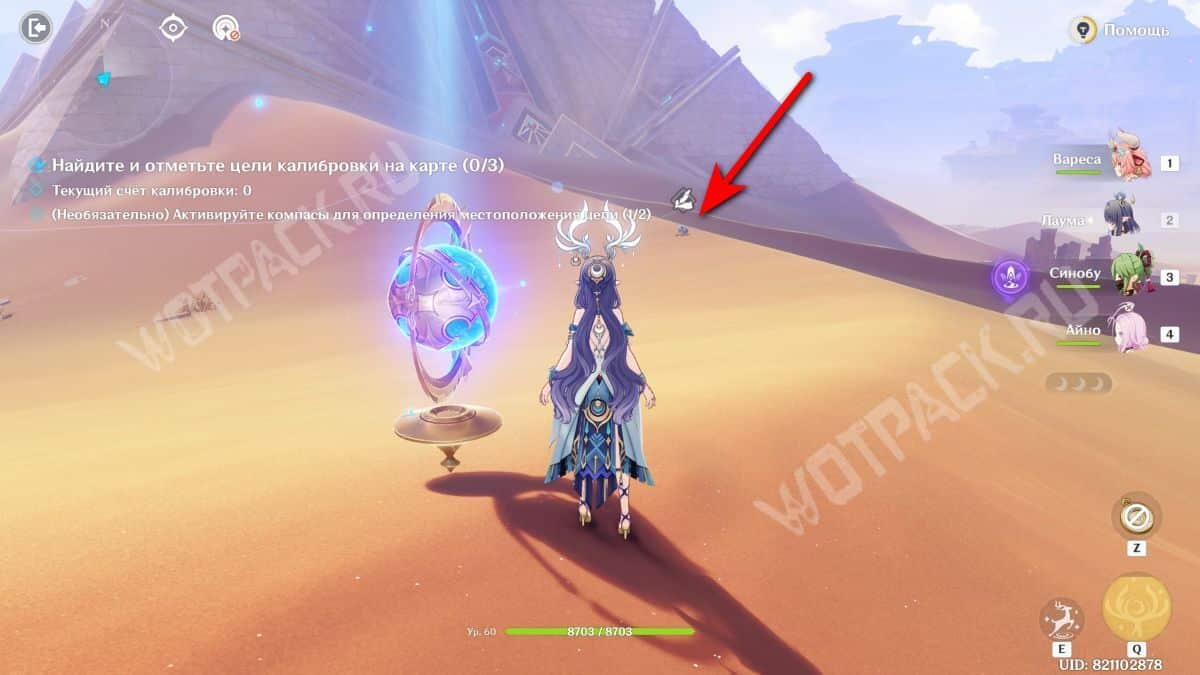
From the blue compass, head northeast, keeping an eye on the corners on the border.
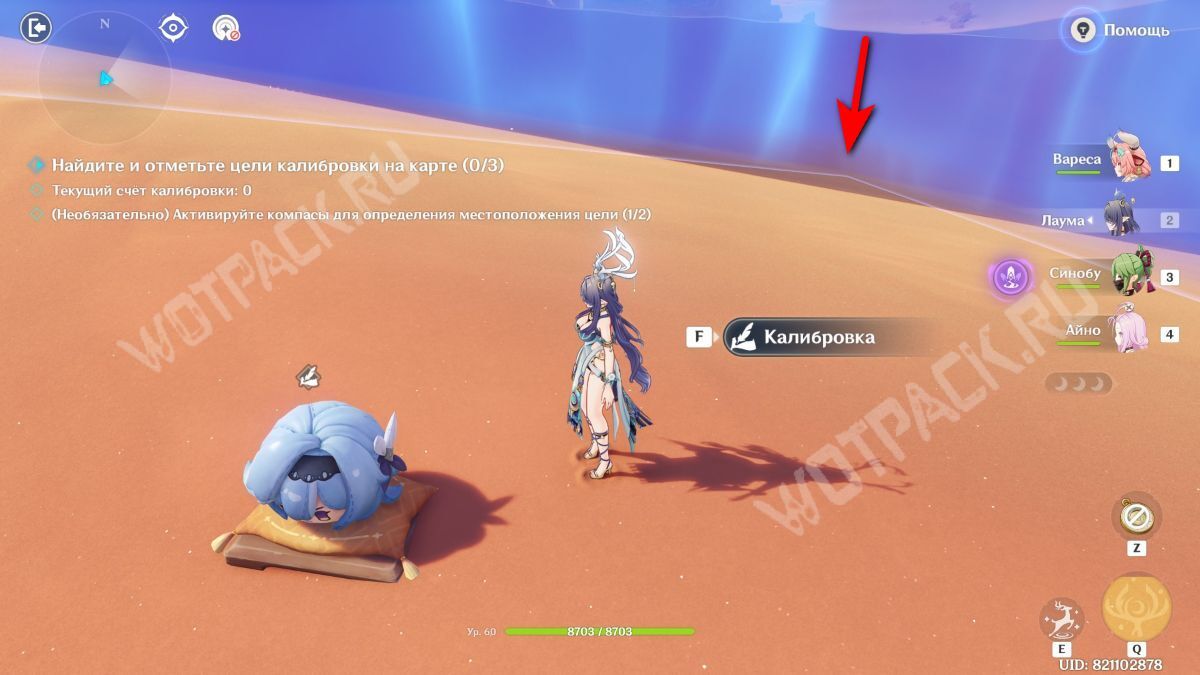
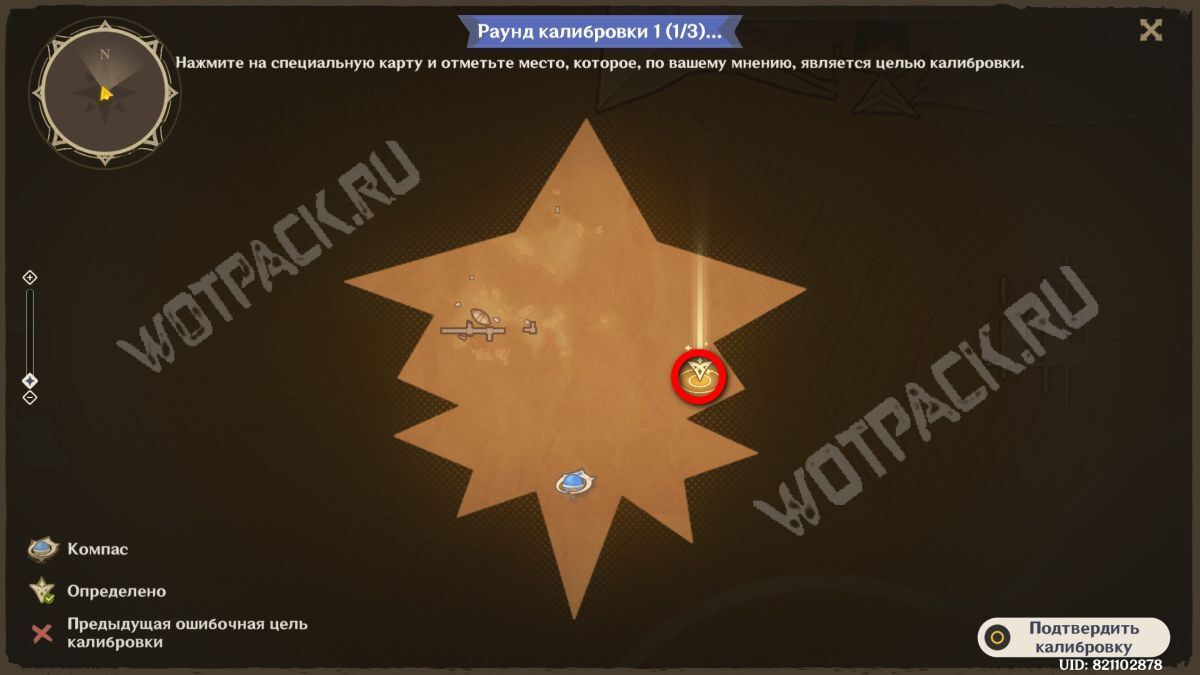
The figure is located in the middle of the central “ray”, which is the third one if you start from the bottom right. 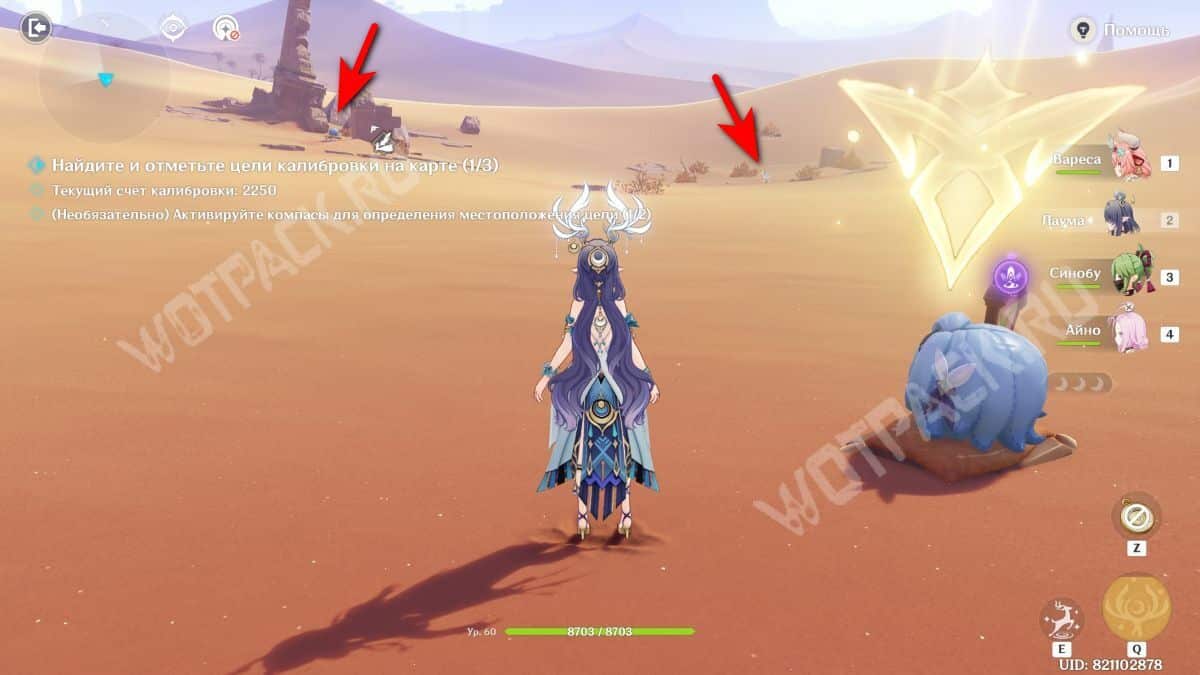
Next, turn toward the wreckage. You can activate the second mechanism for convenience.
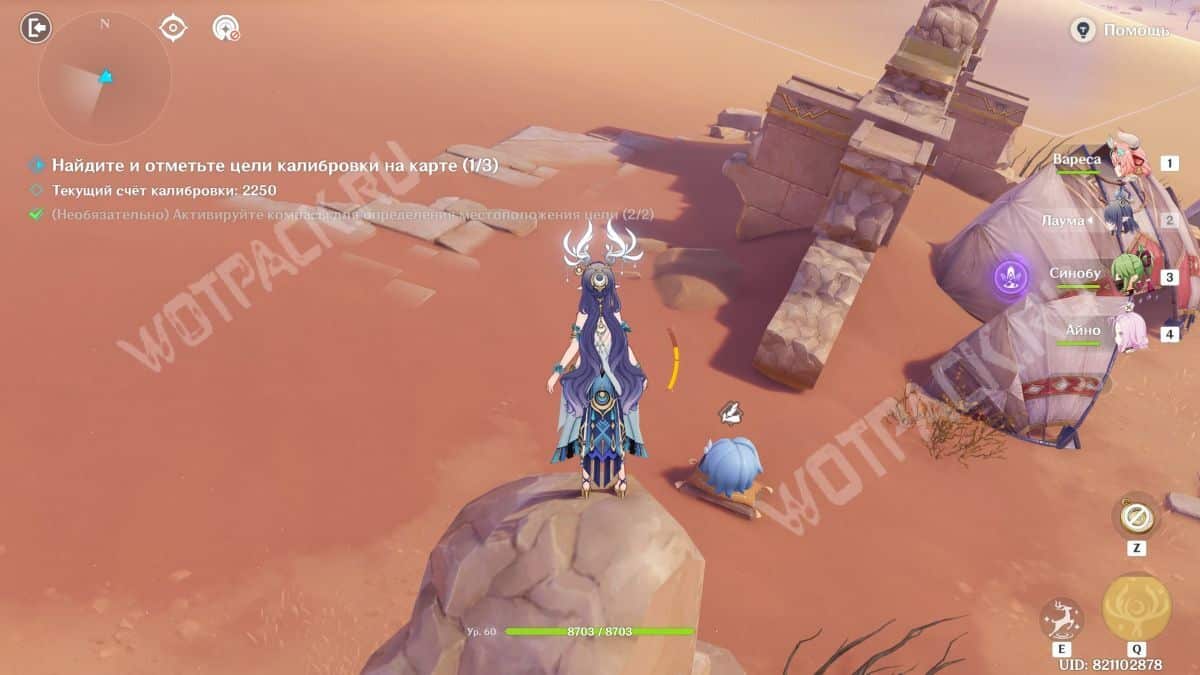
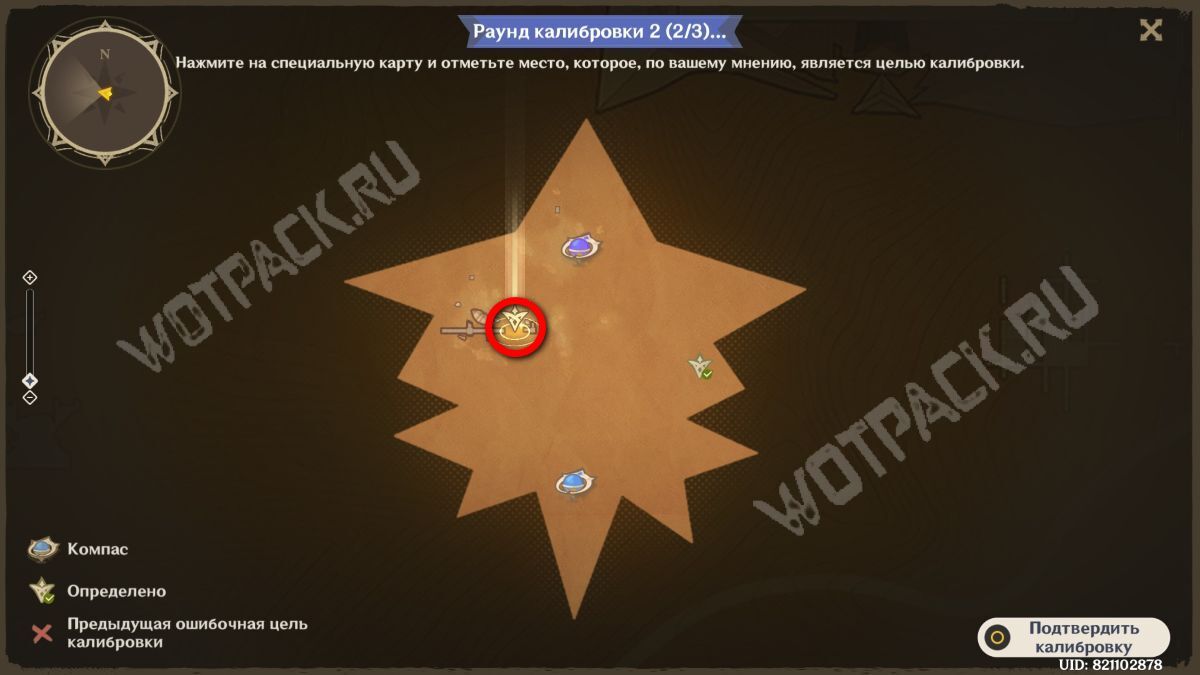
Place the icon between the individual fragment and the main part of the ruins. 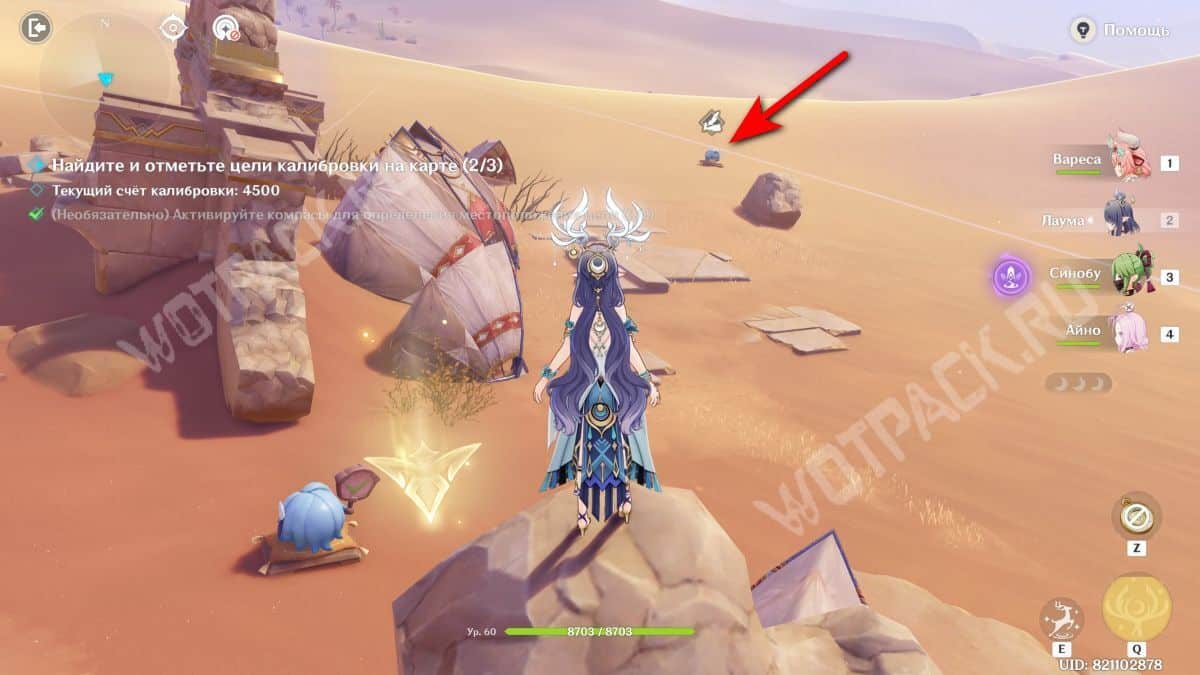
The last point is located nearby, a little to the west.
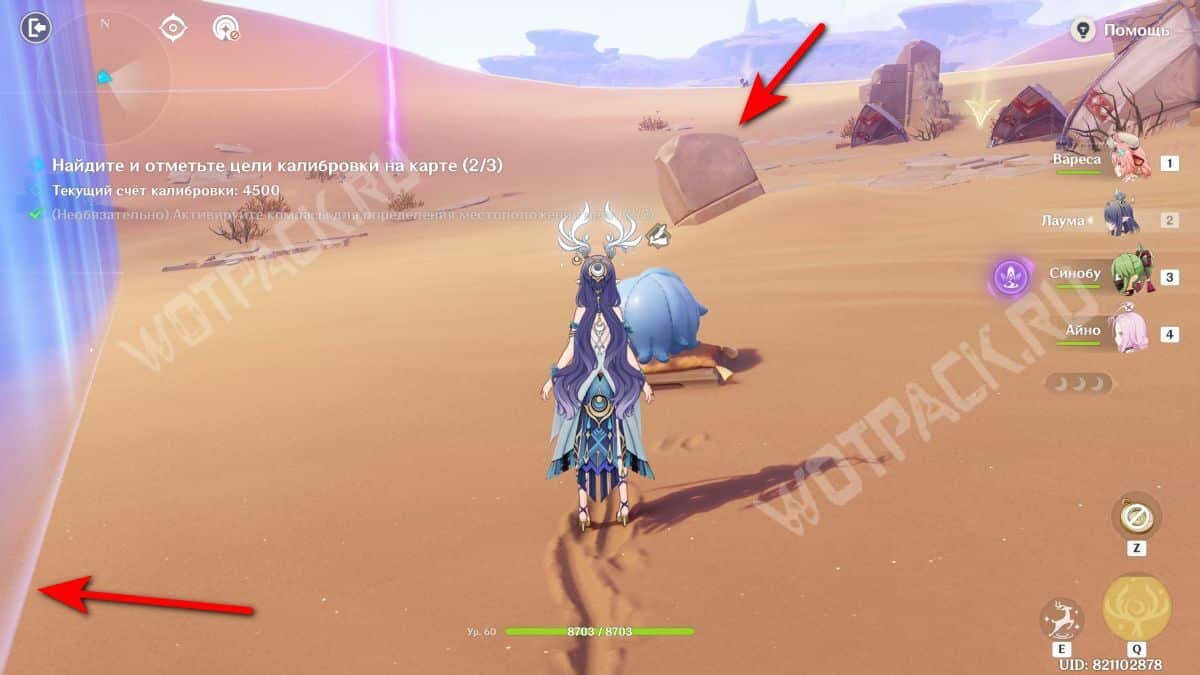
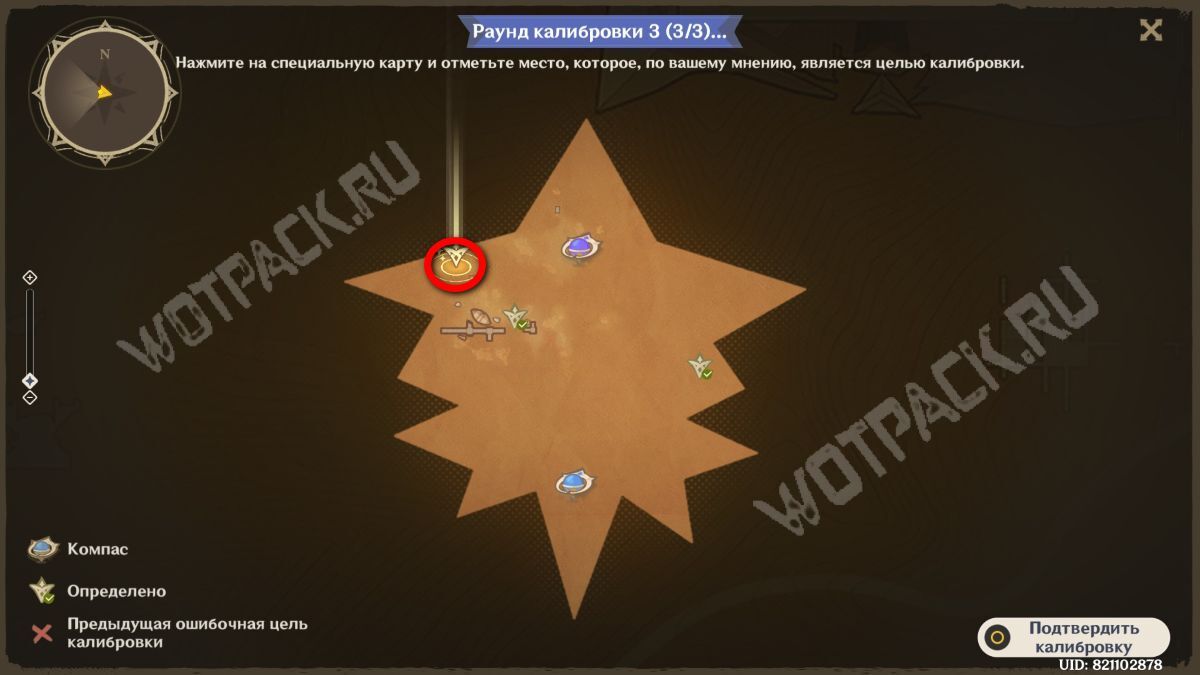
Find the upper left corner of the location on the map and one of the two dots marking the tent and the column fragment. Mark the item between the zone's border and the upper dot.
Sketches from High Ground
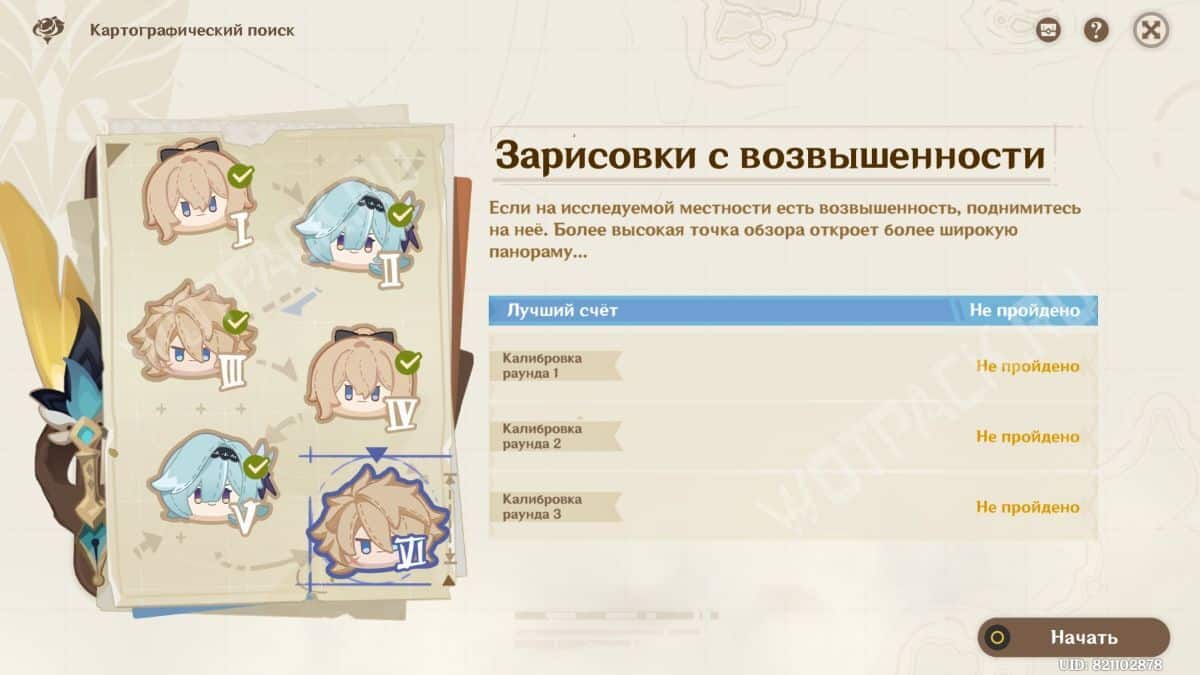
To complete the final stage, you will have to return to Liyue again, to a mountainous area where the main landmarks will be the differences in elevation.
Option 1
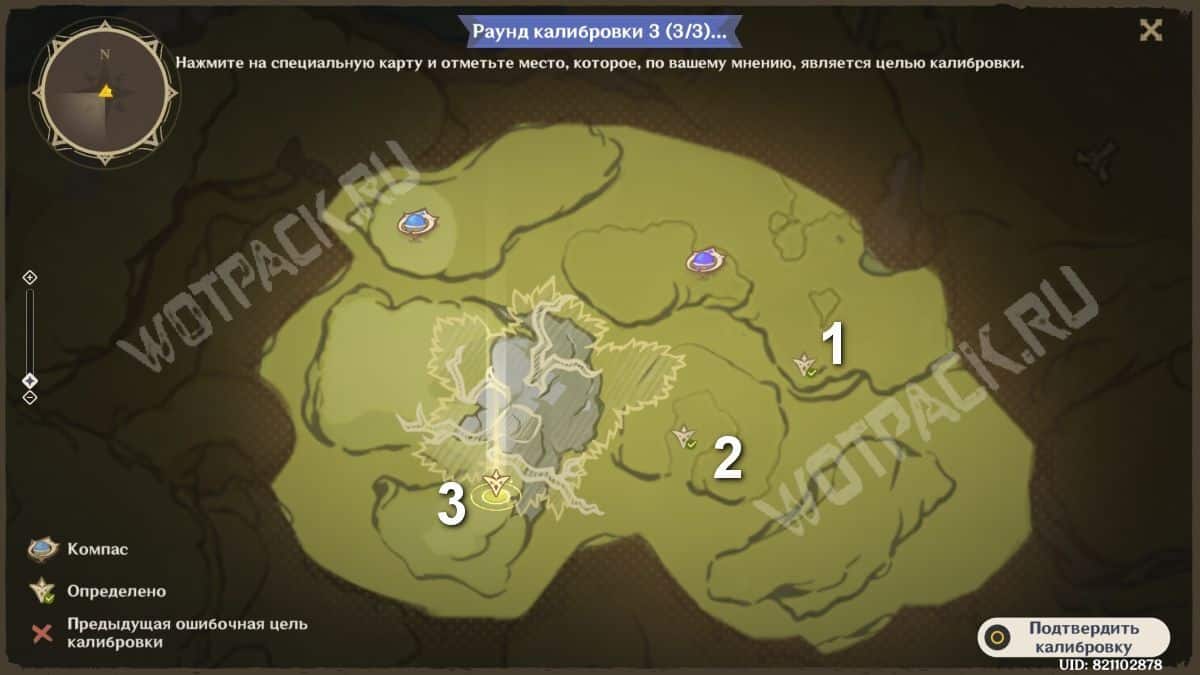
The first objective layout is of medium difficulty because it contains key points to look for when marking the map.
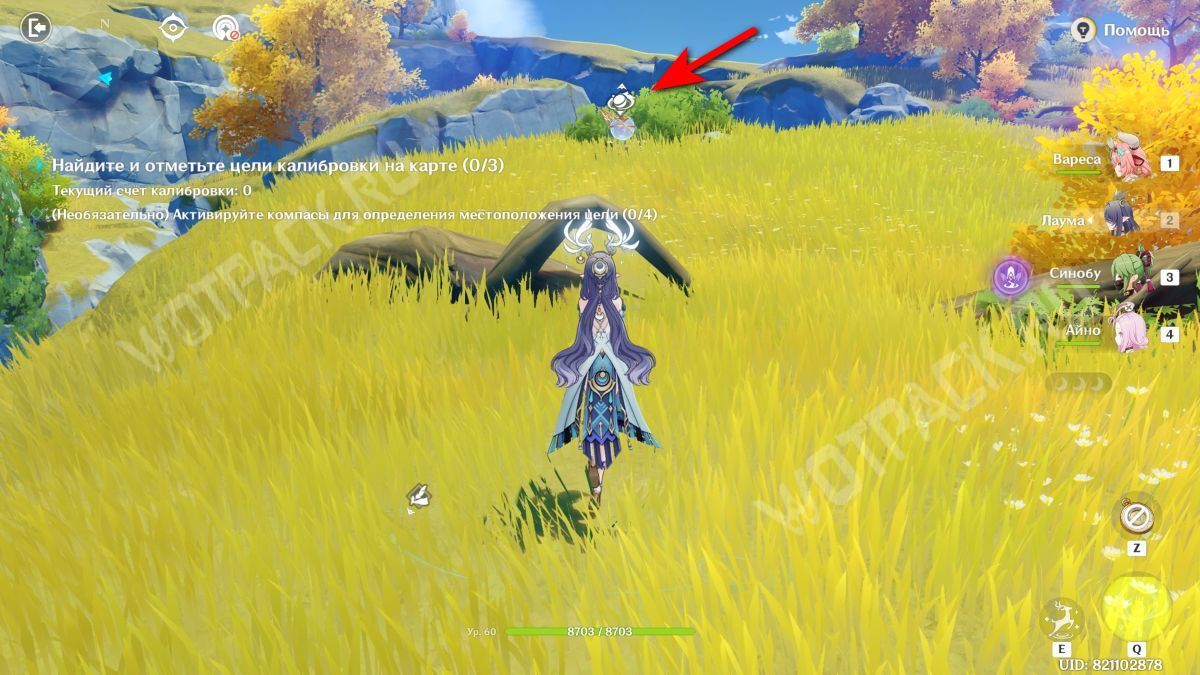
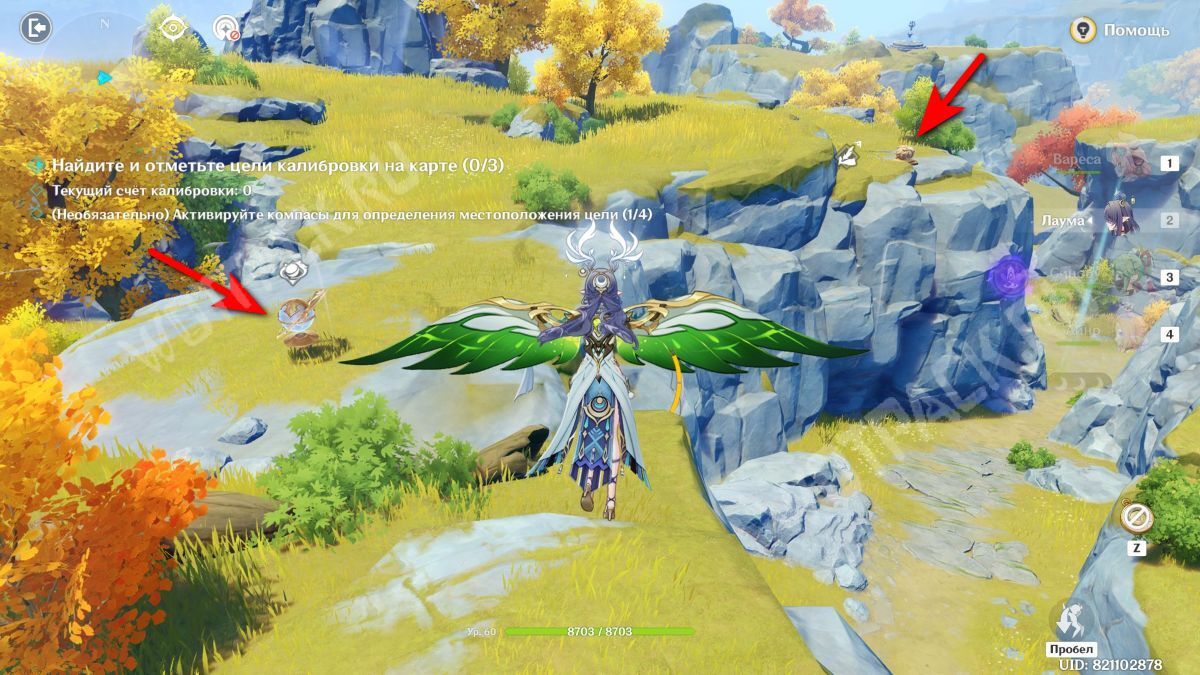
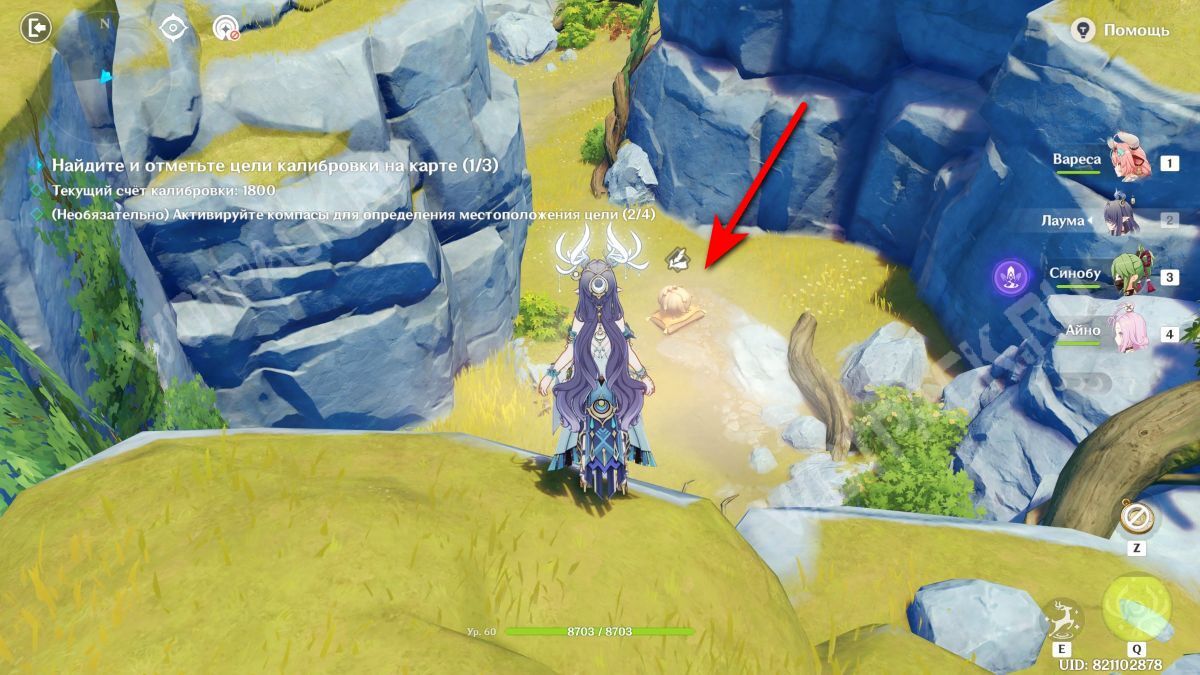
Activate the compass ahead, then immediately turn in the opposite direction. Fly from one mountain to the other, interacting with the second mechanism along the way.
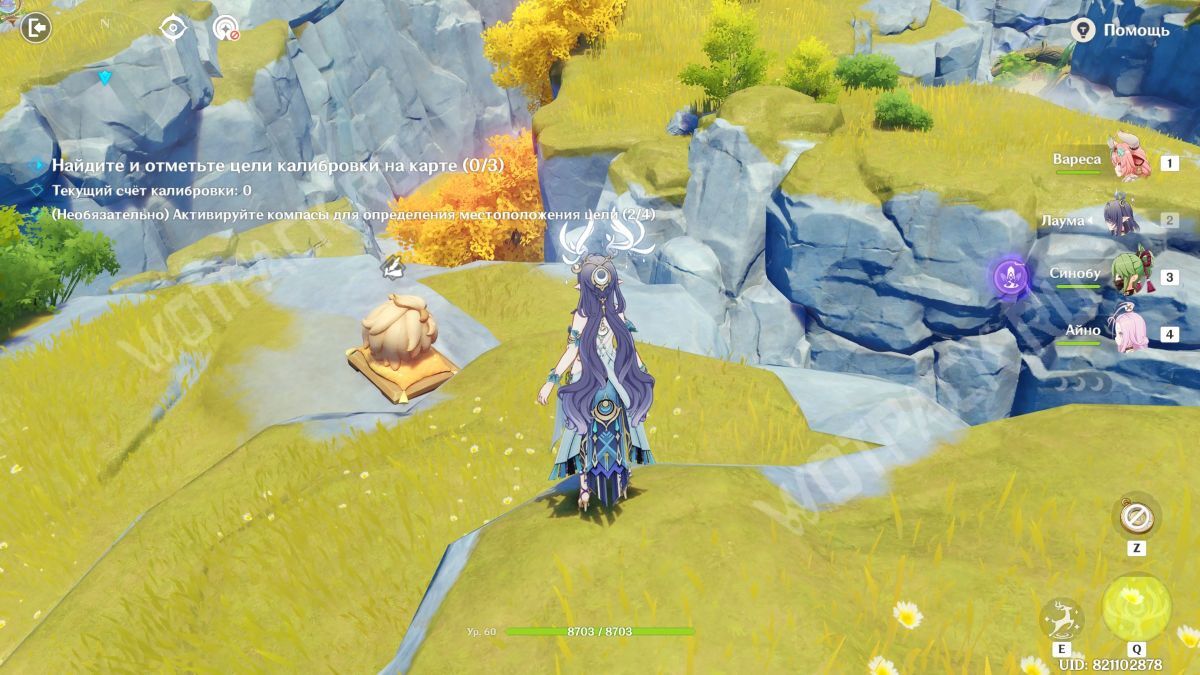
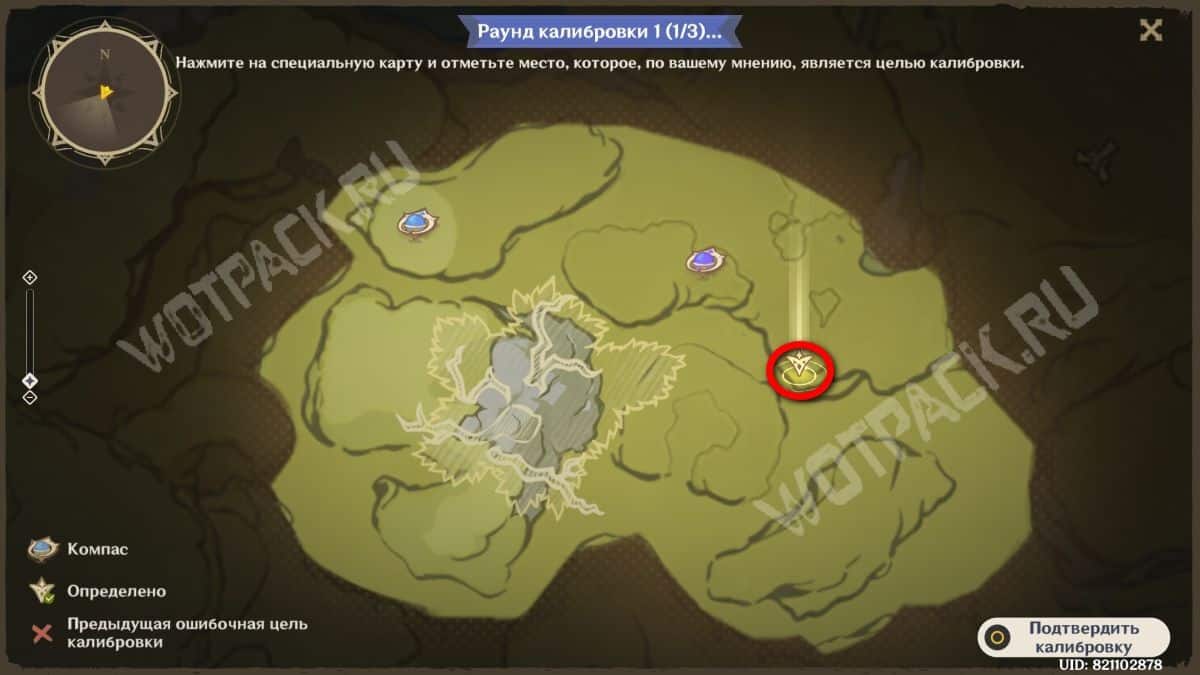
The target is located on the second rock outcrop in the area closest to the adjacent cliff. 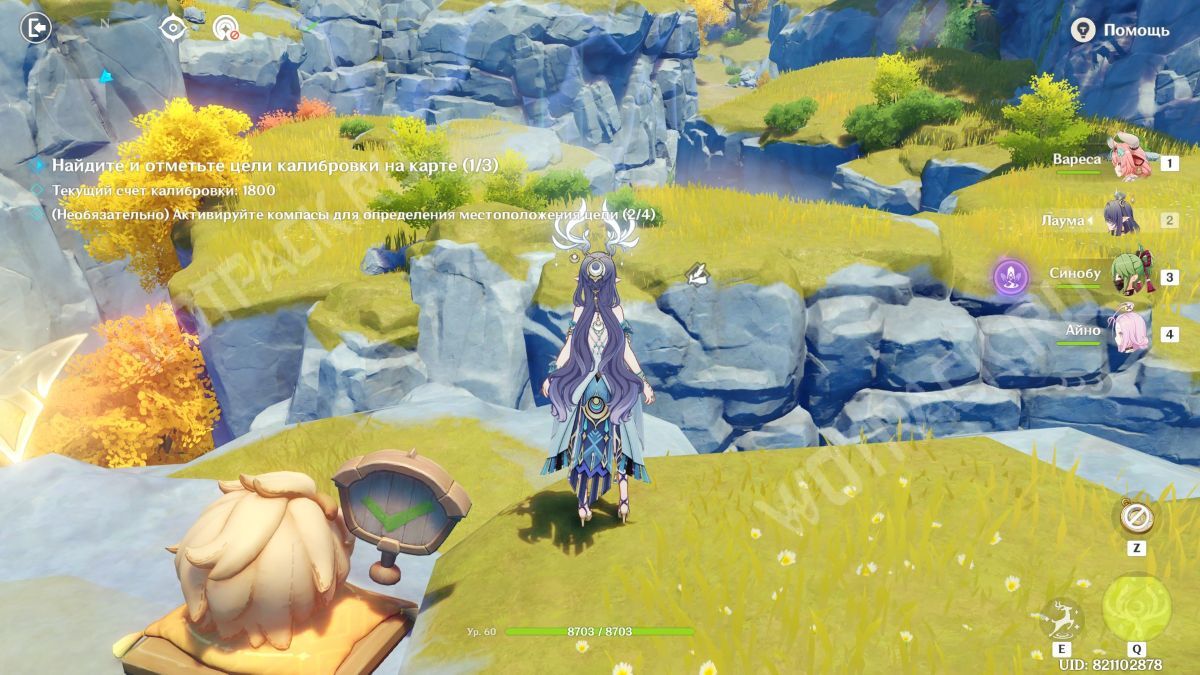
Get to the other side.
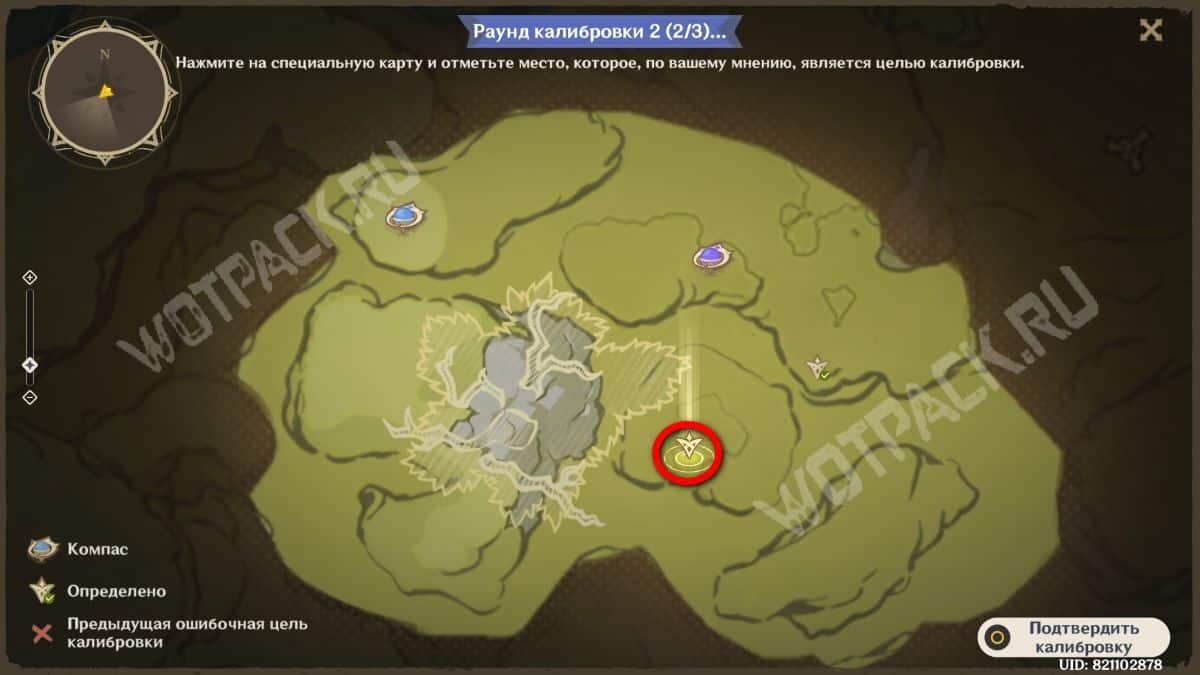
There's an open cave inside the second hill. The item is located near its entrance. 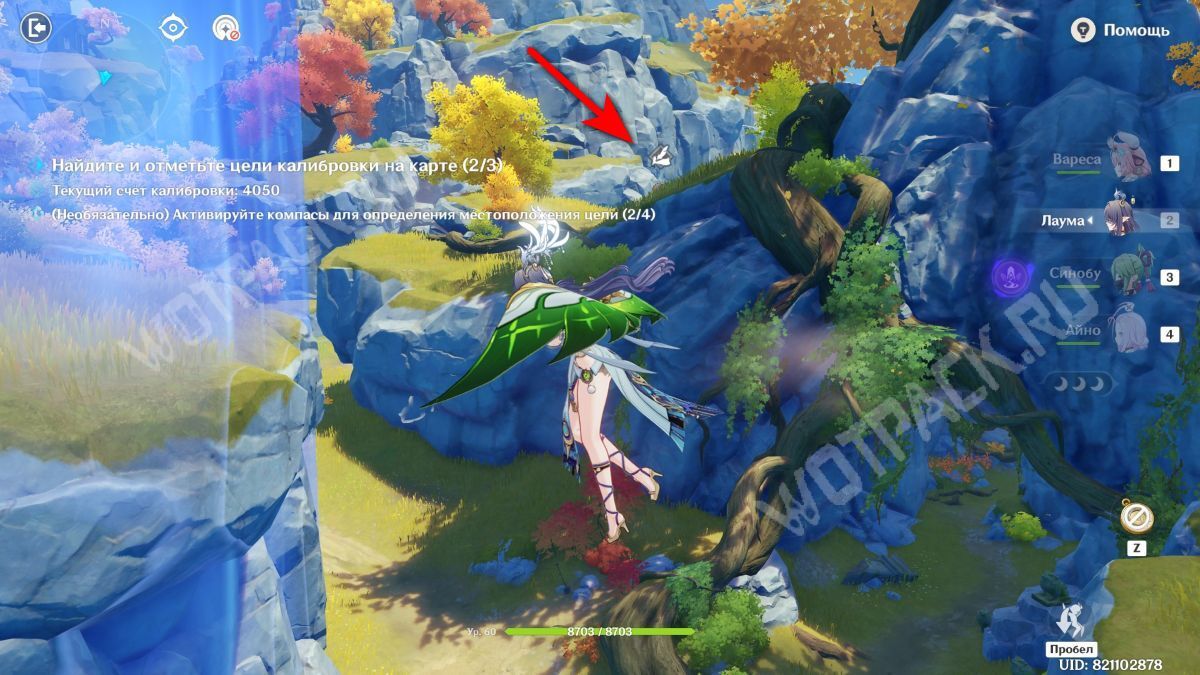
Next, go west along the border until you reach a tree.
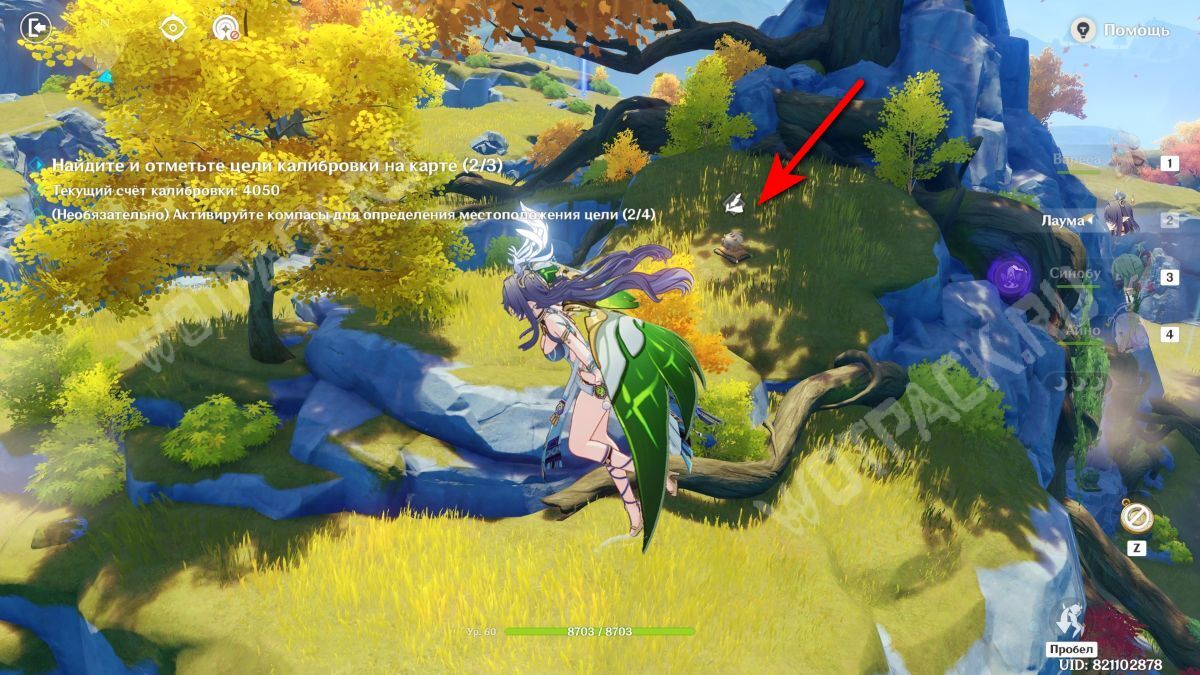
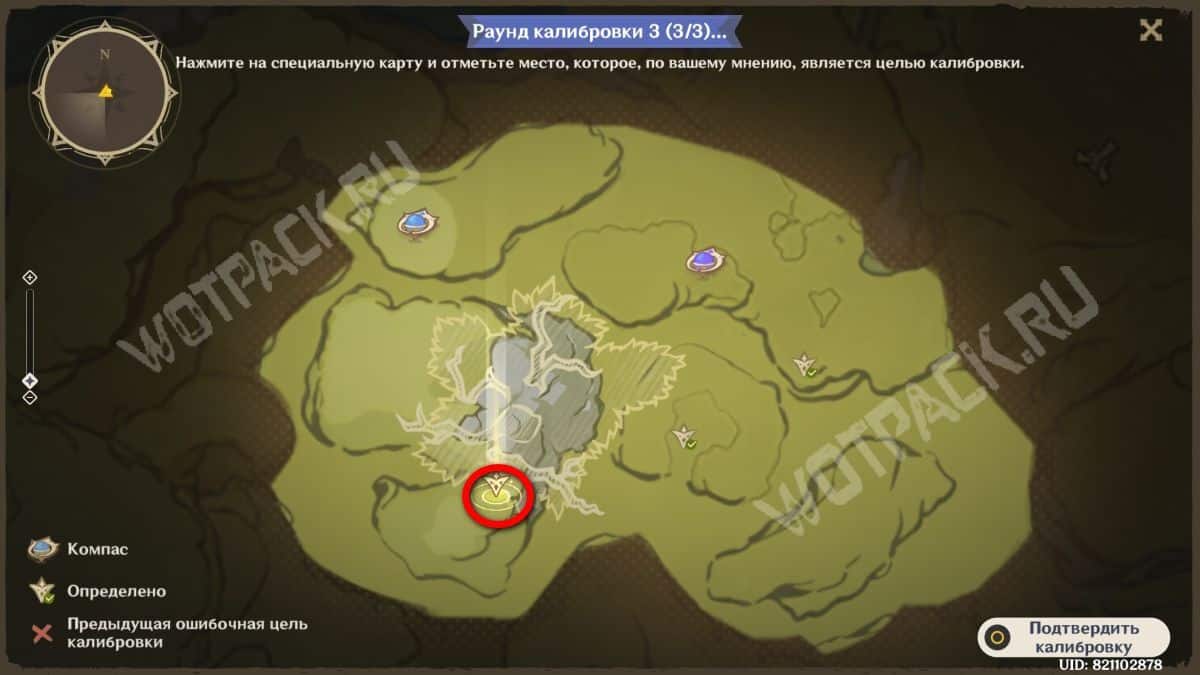
The item is located almost next to its roots in the west, in the middle of a rocky meadow.
Option 2
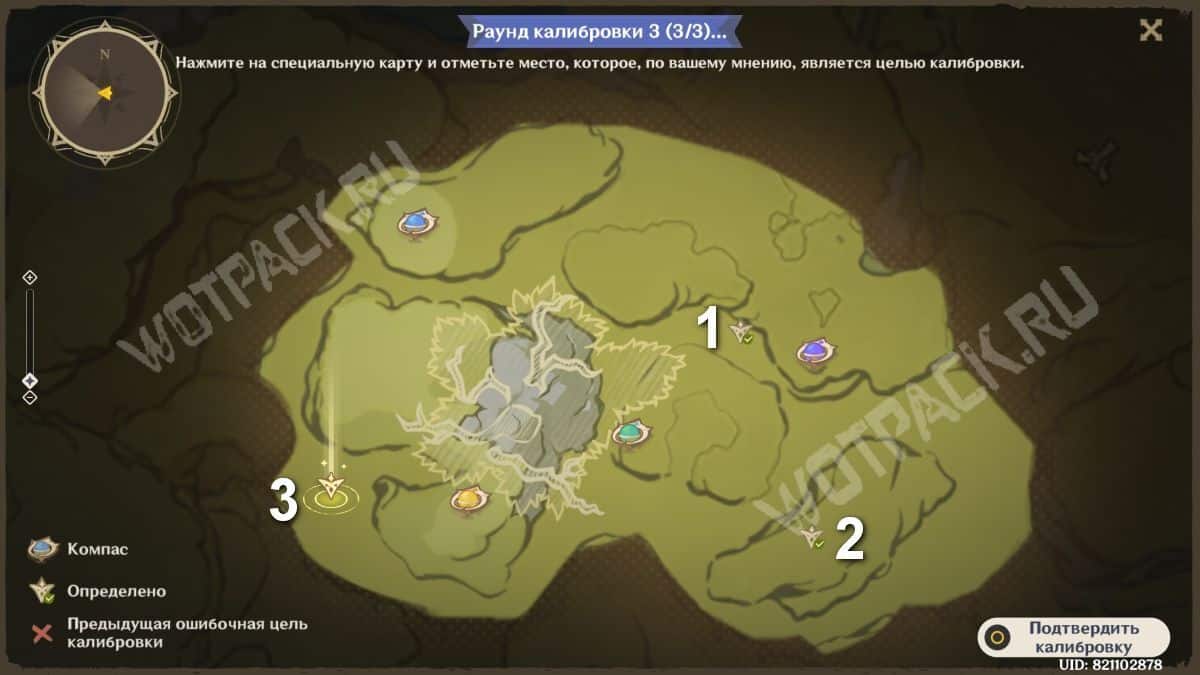
In the second arrangement, almost all the objects are located on the paths under the cliffs.
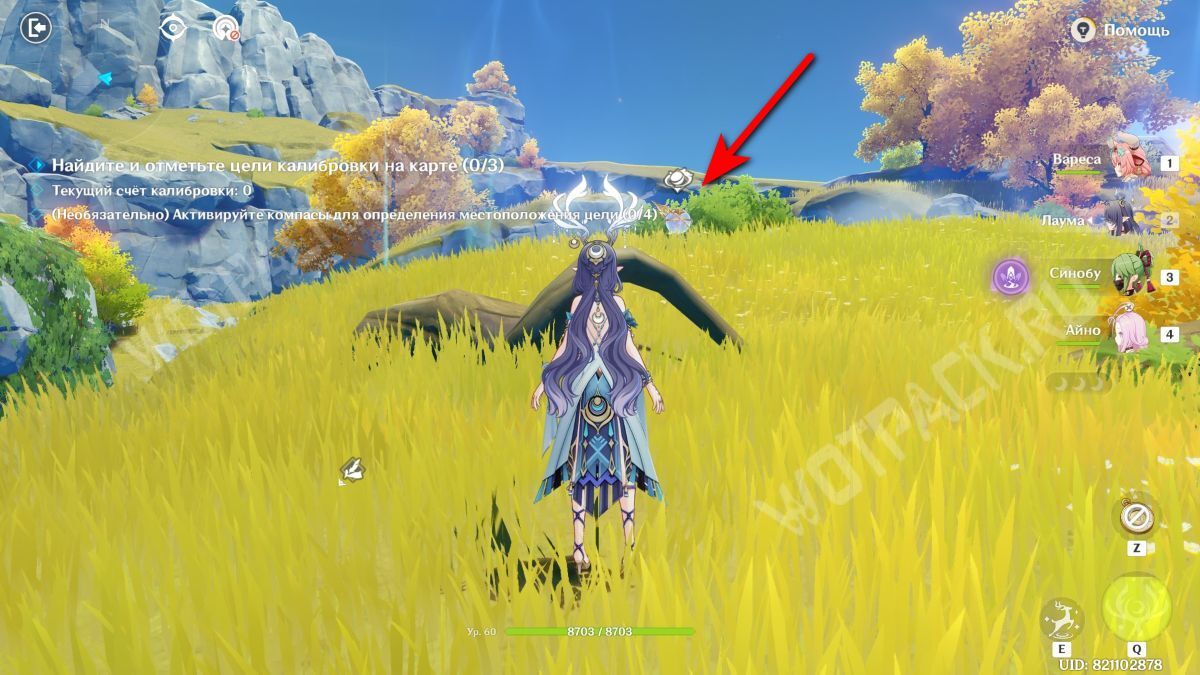
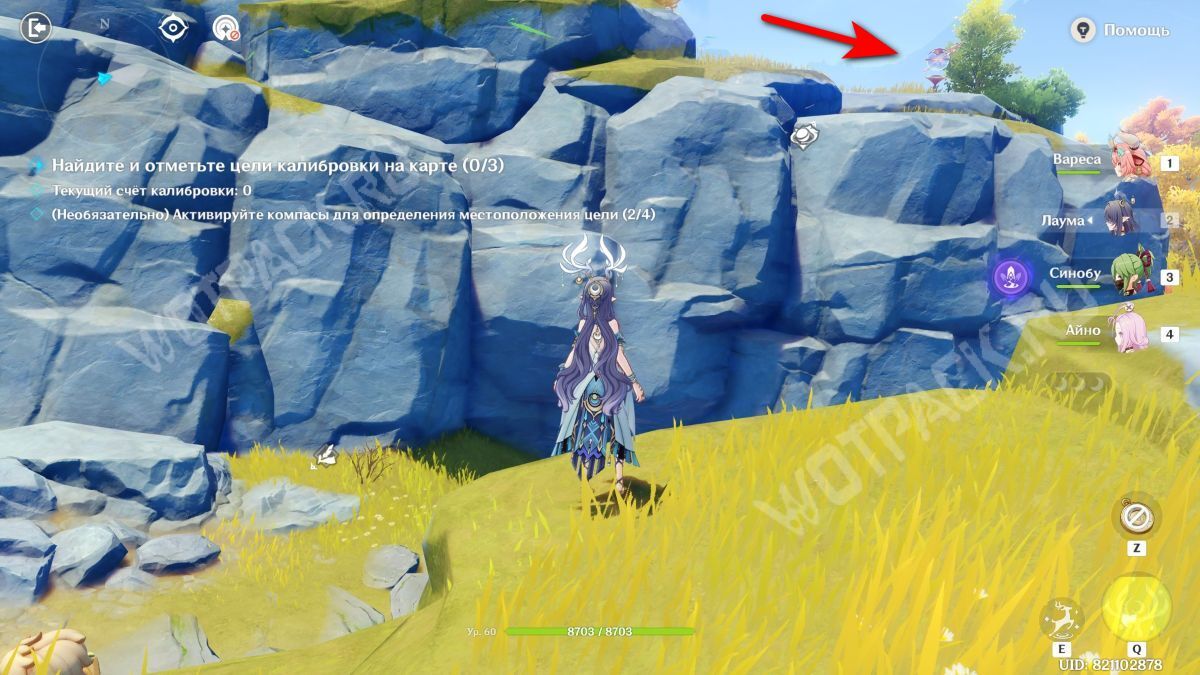
Once you light the first device, head east and activate the second one.
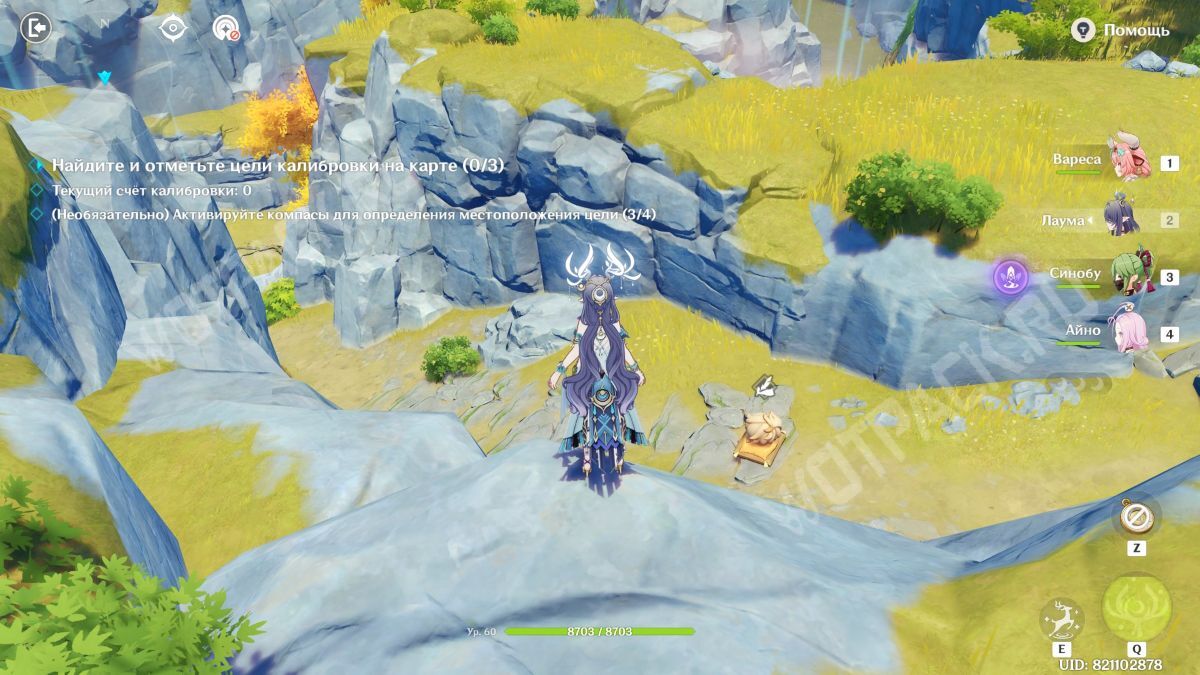
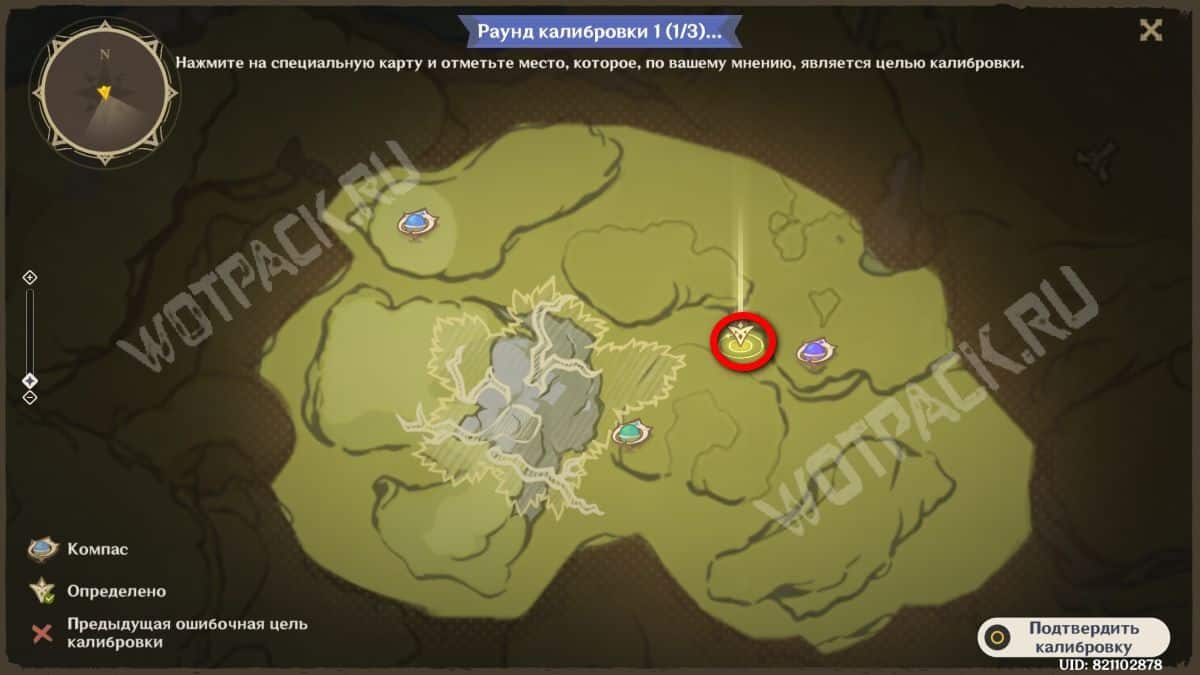
The item is located between two mountains, exactly north of the open cave shown on the map with a thin line. 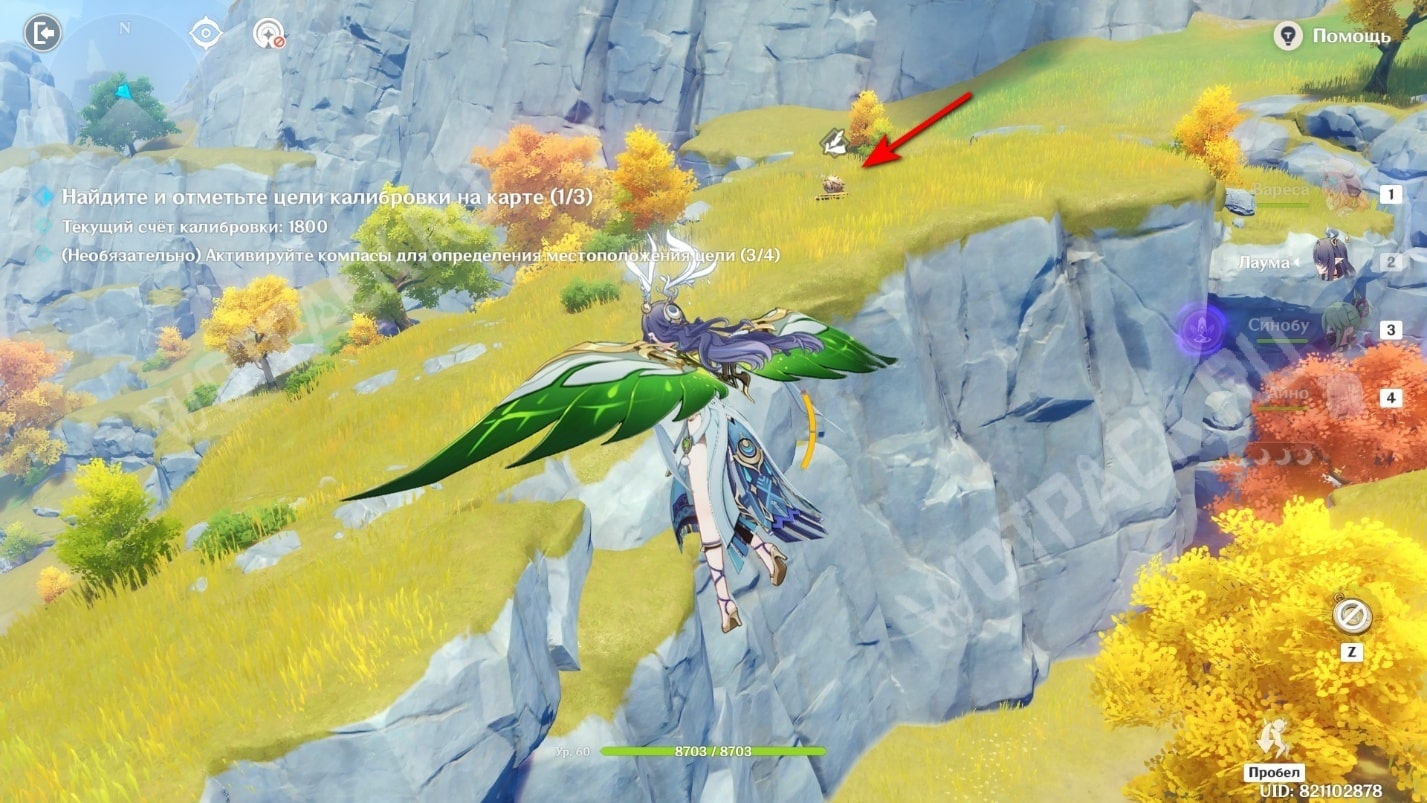
From the previous point, go further east.
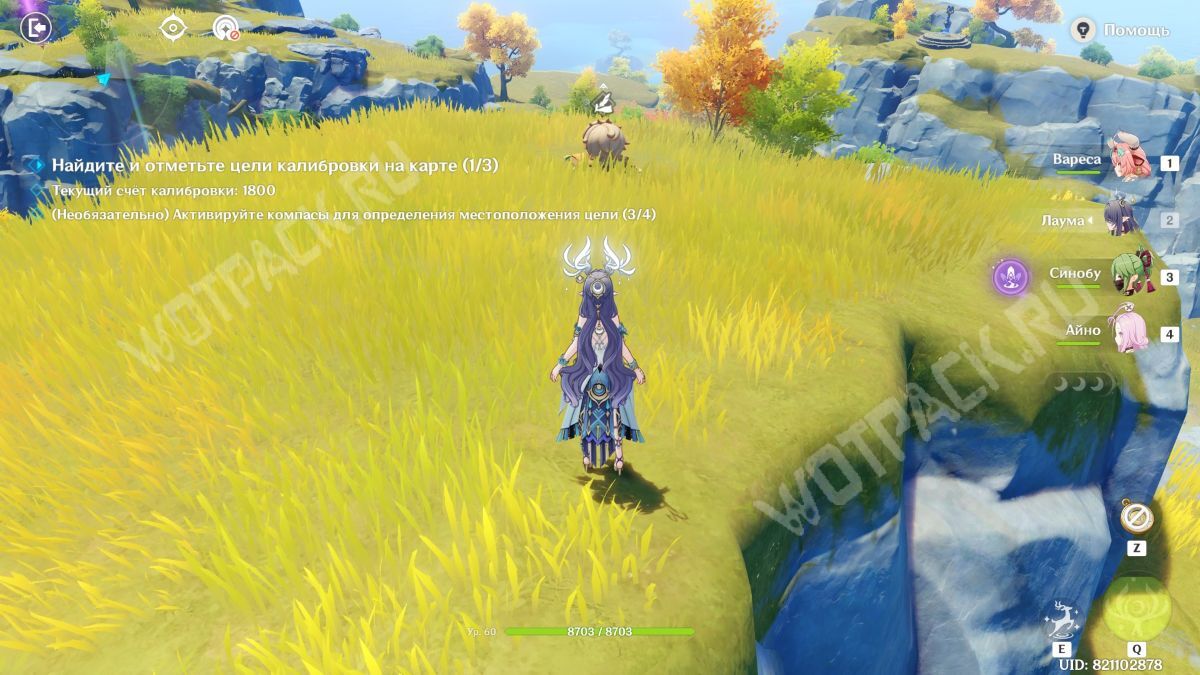
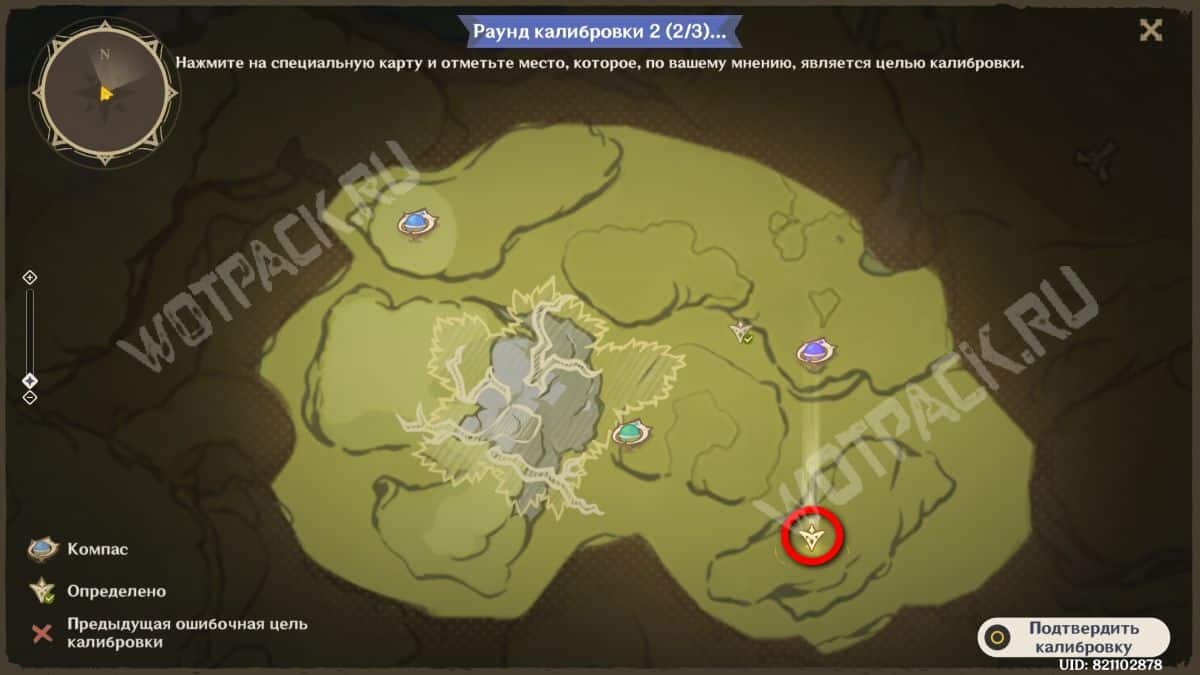
Place the next mark in the middle of the long rise on the right. The end of the line representing the unevenness on it can serve as a reference point.
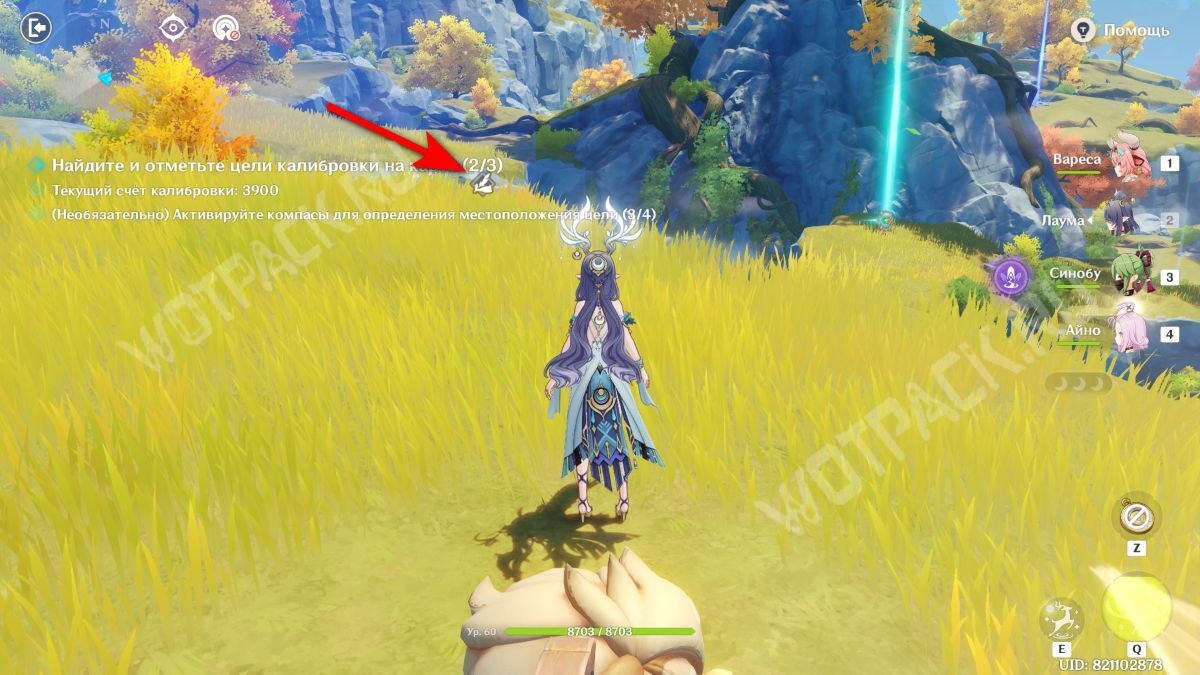
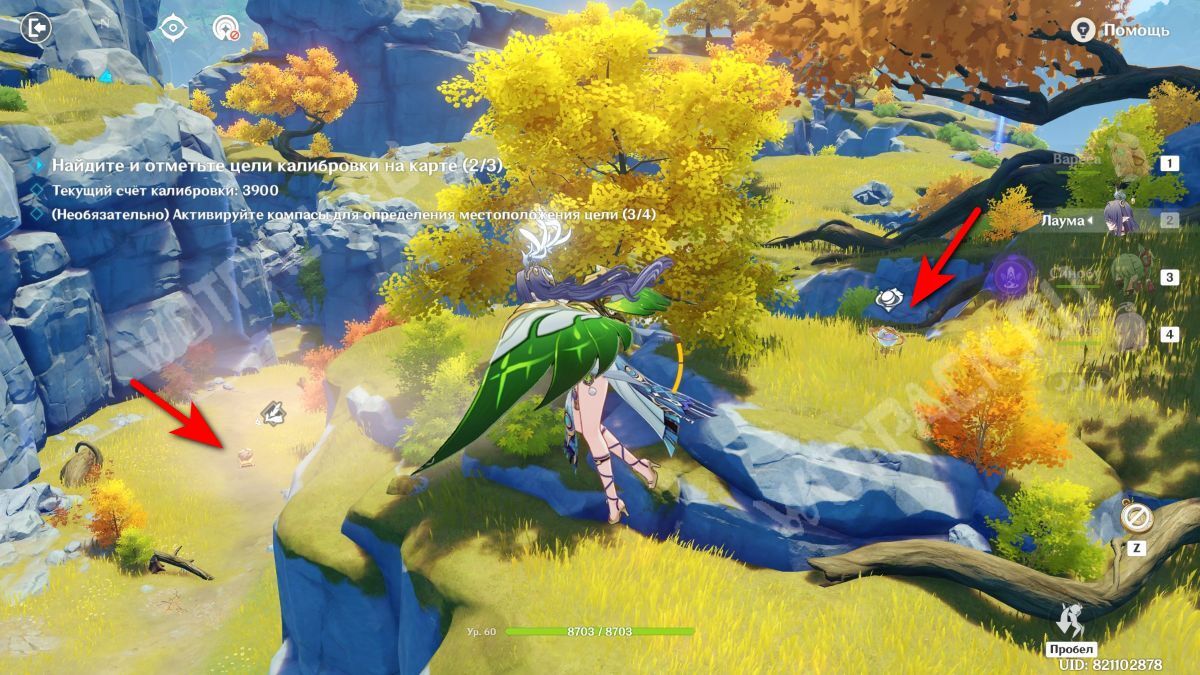
The last figurine is located on the west side, near the tree. For convenience, be sure to activate the compass.
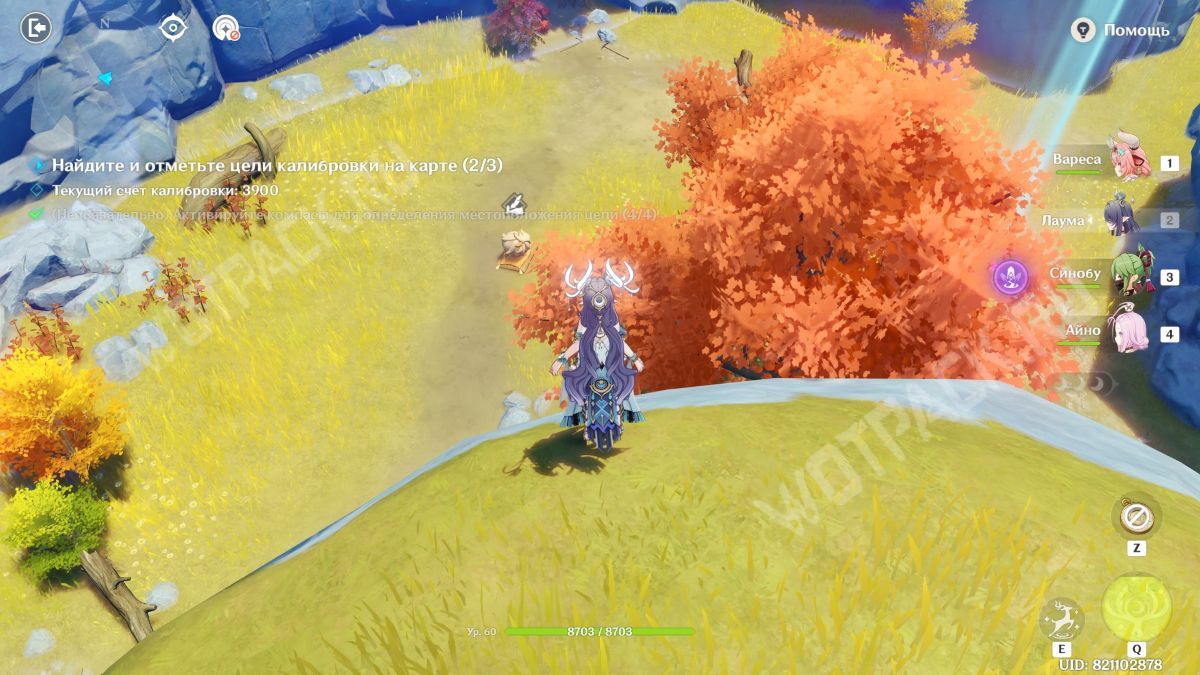
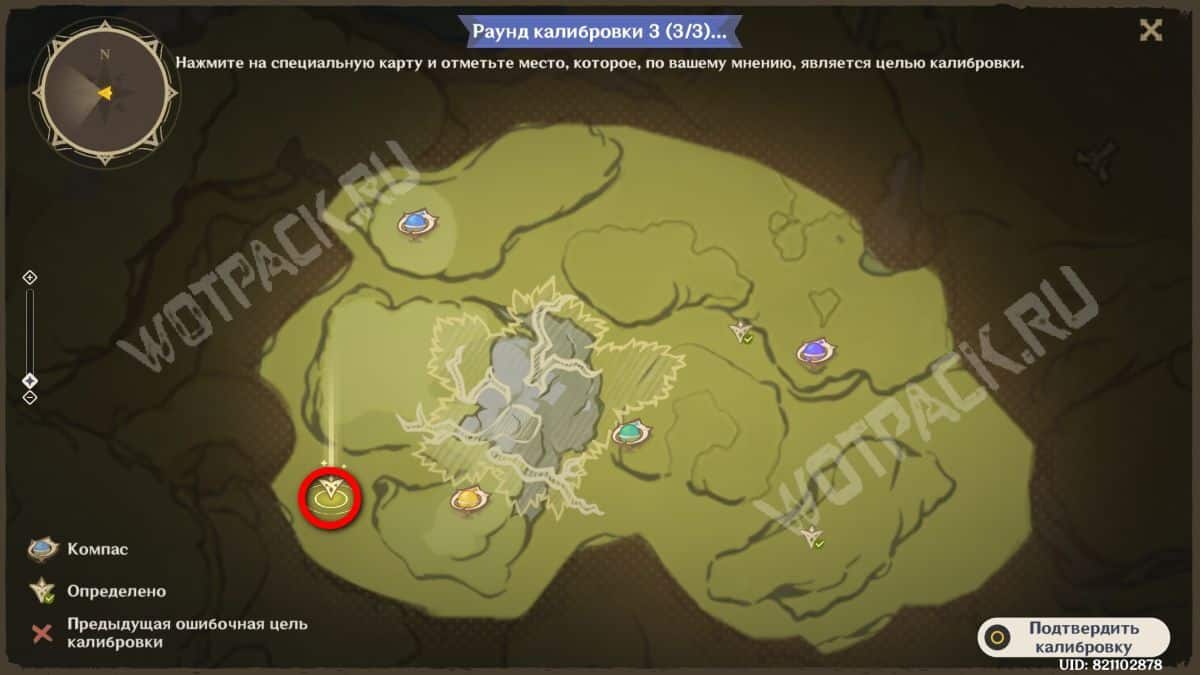
Mark it to the left of the yellow pointer, in the middle of the empty space.
Option 3
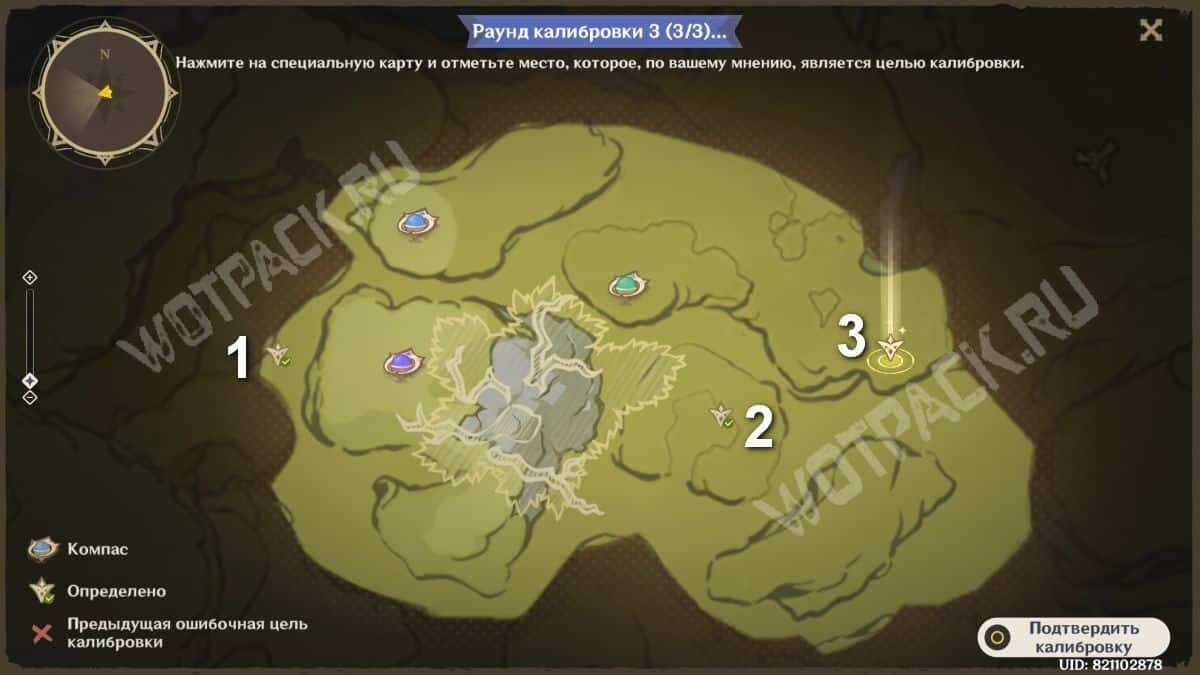
The last alternative option is also not too difficult.
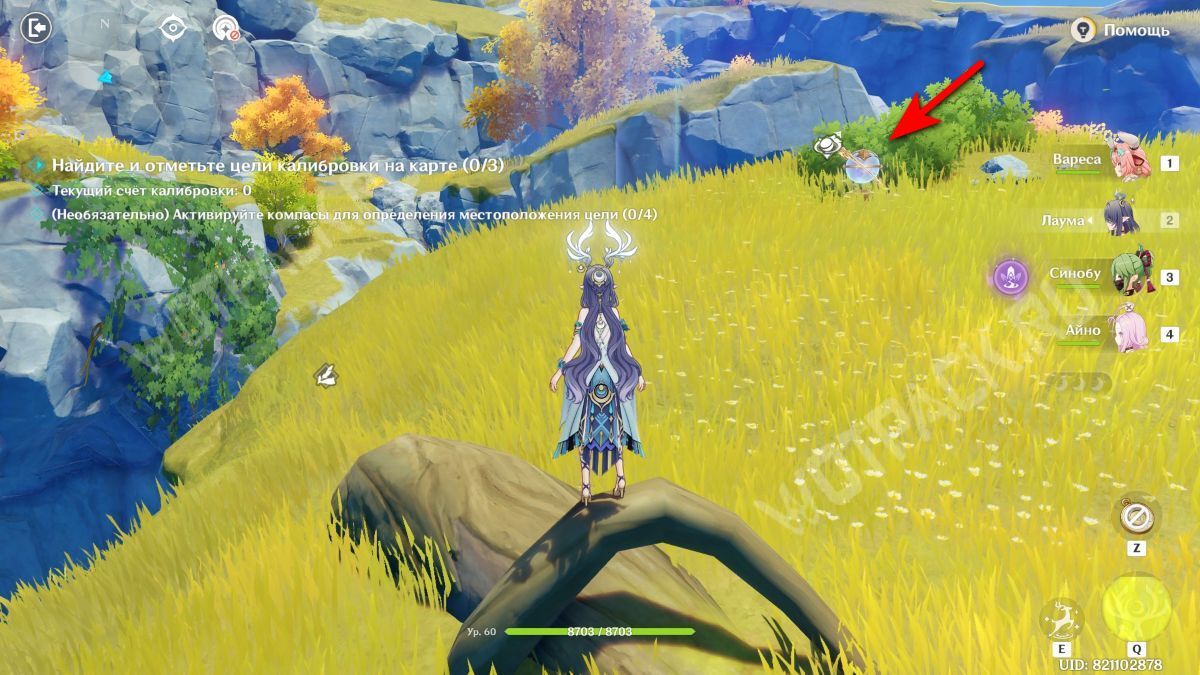
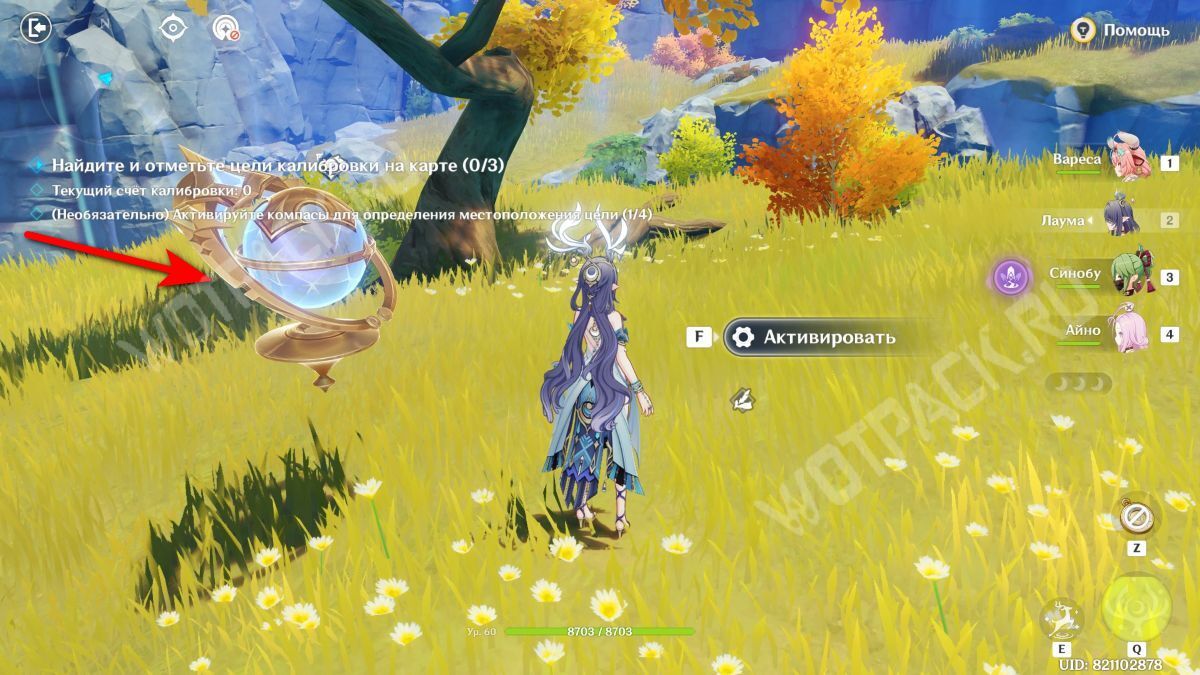
First, you need to click on two compasses - right after the start and to the left of the large tree in the center of the map.
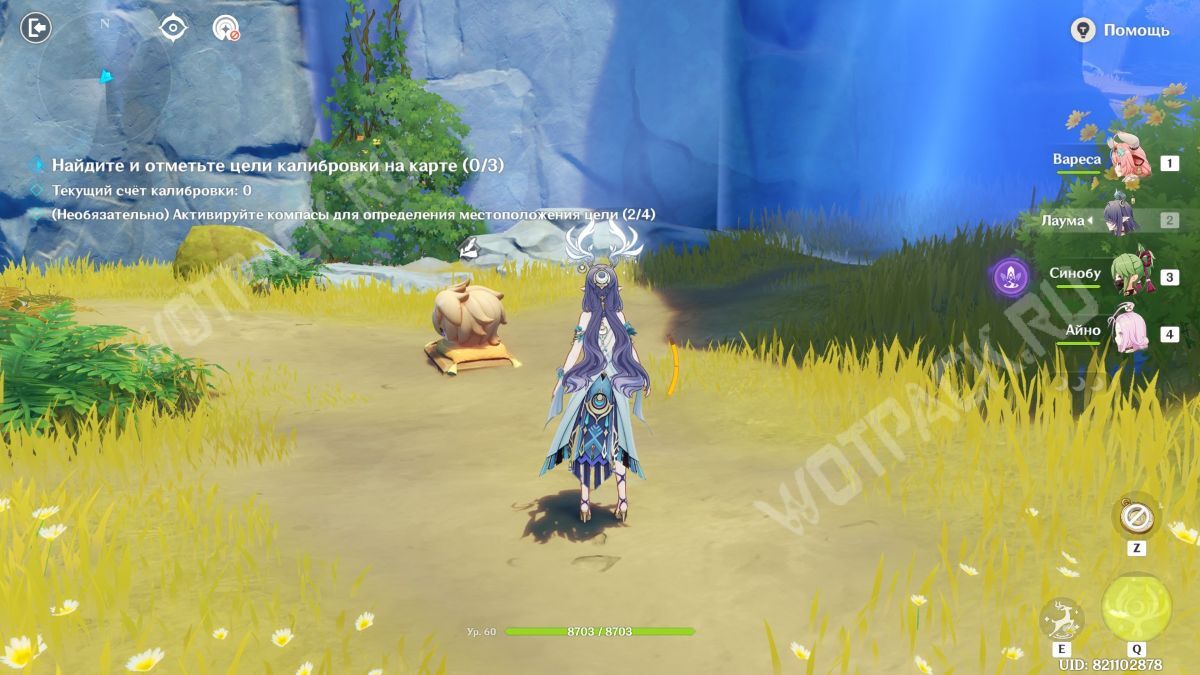
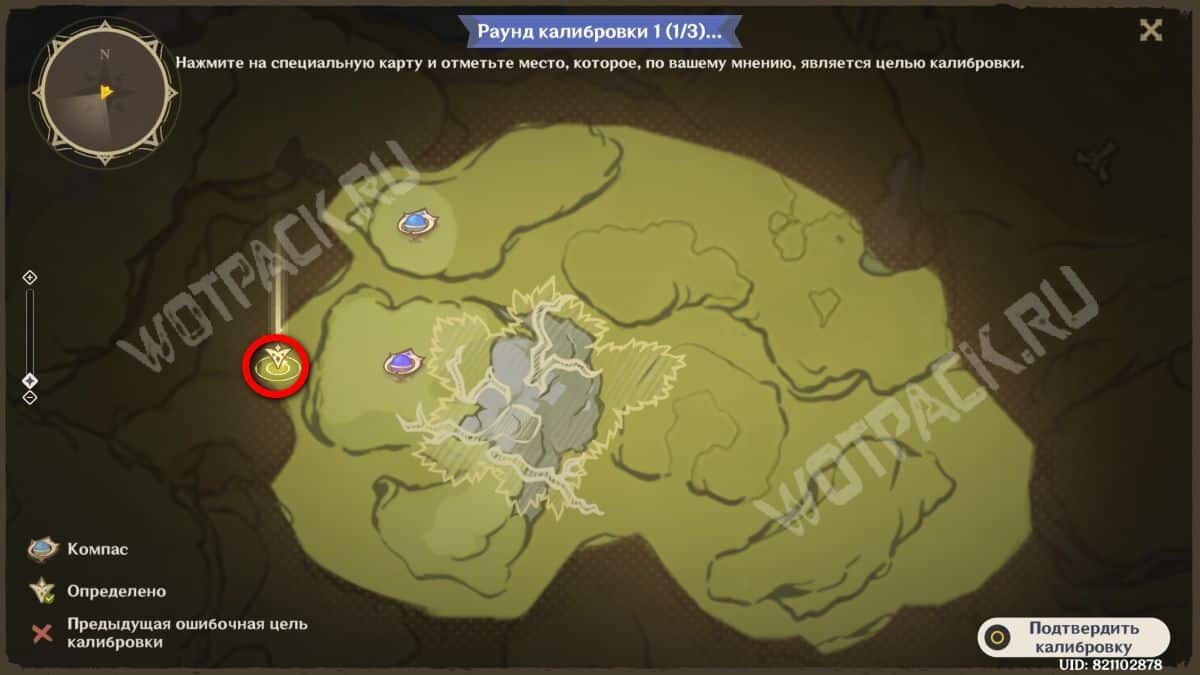
From the second of them, go down straight to the west, to where the path goes beyond the border of the region.
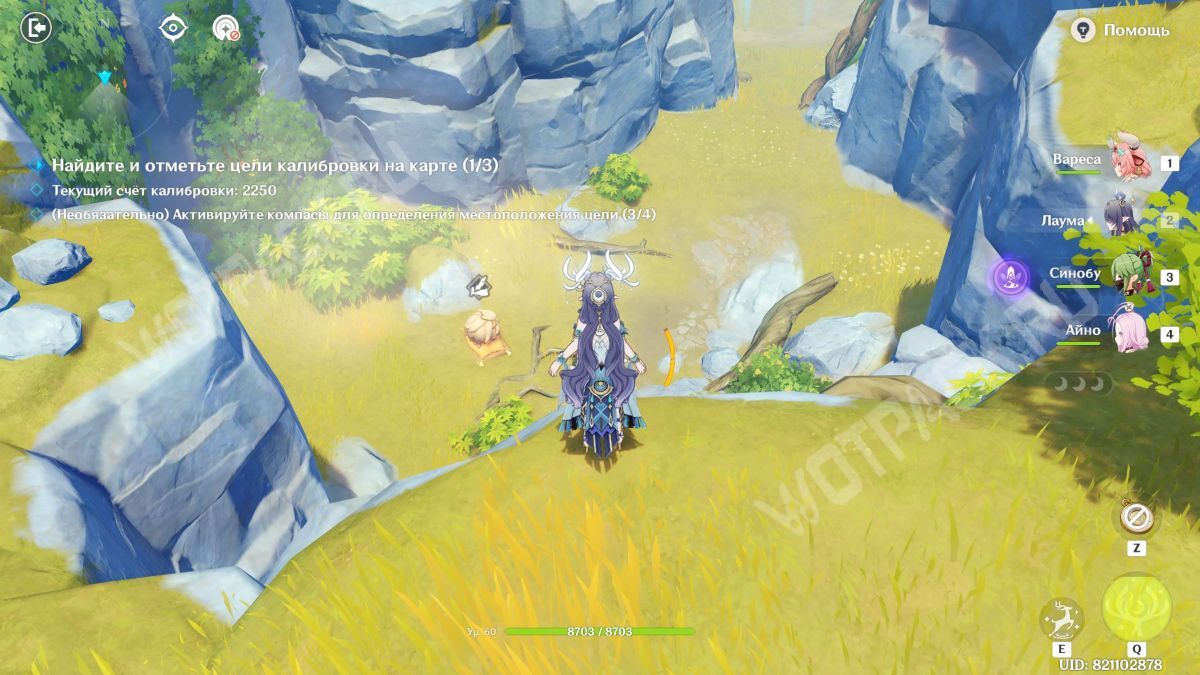
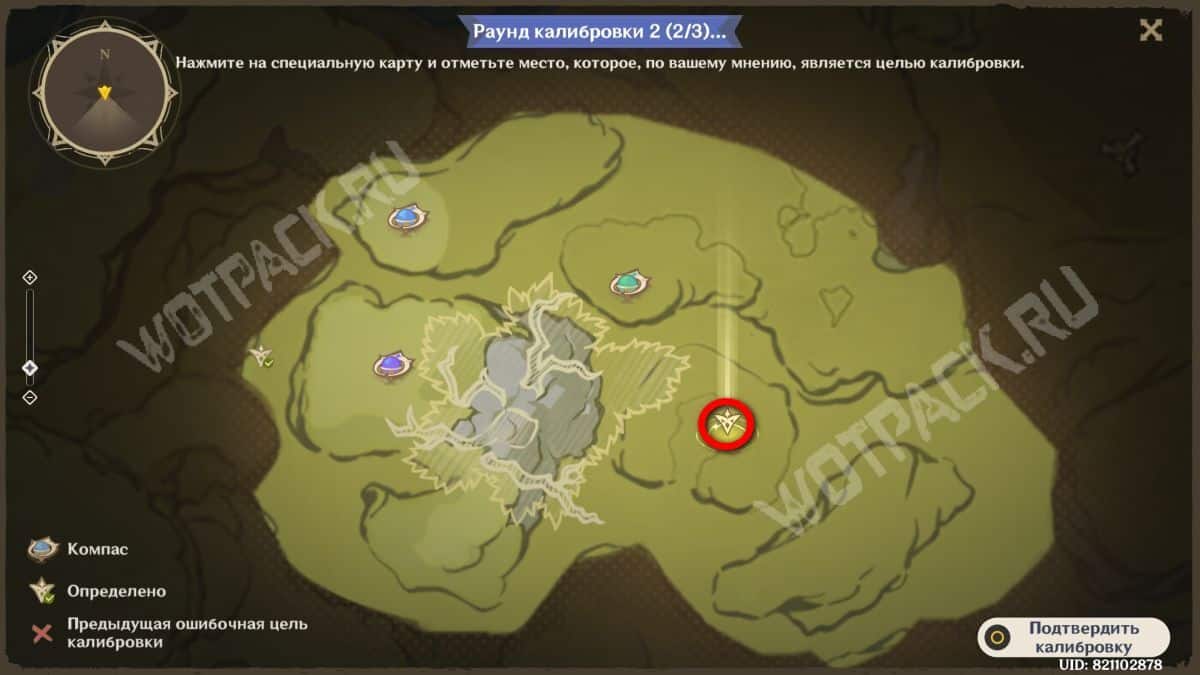
Next, head east and find a mountain with a hole in the center. Move the target on the map to the right side of the hole. 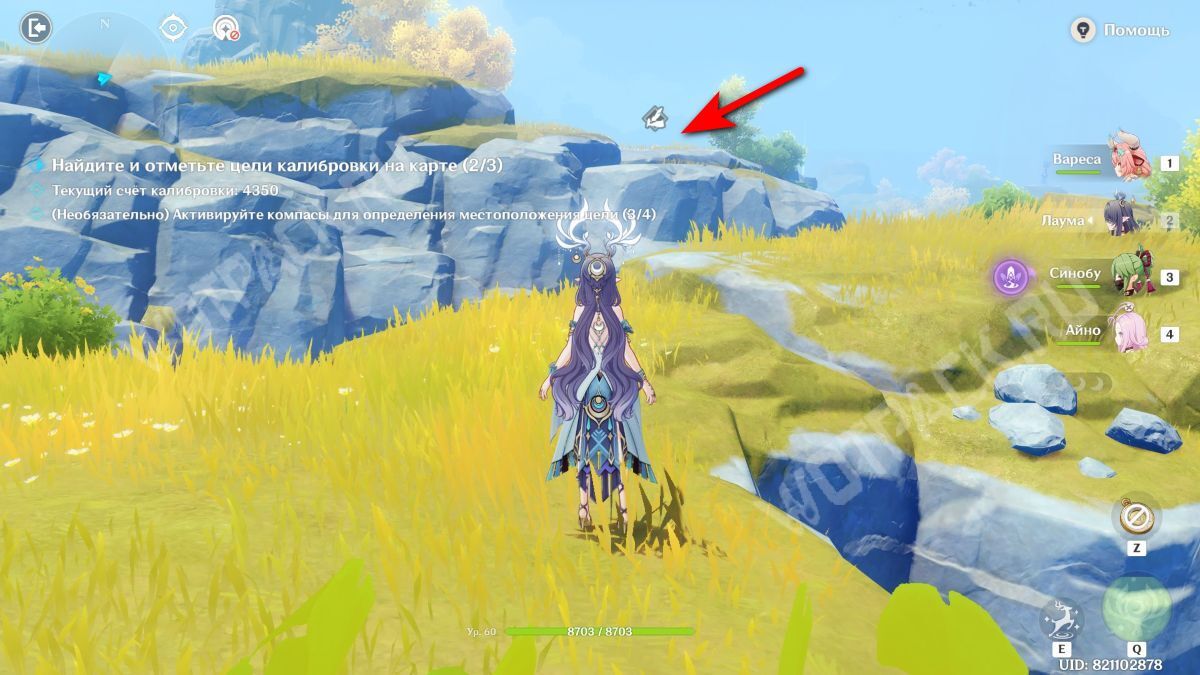
The last item is in the far corner of the location, on the edge of a cliff.
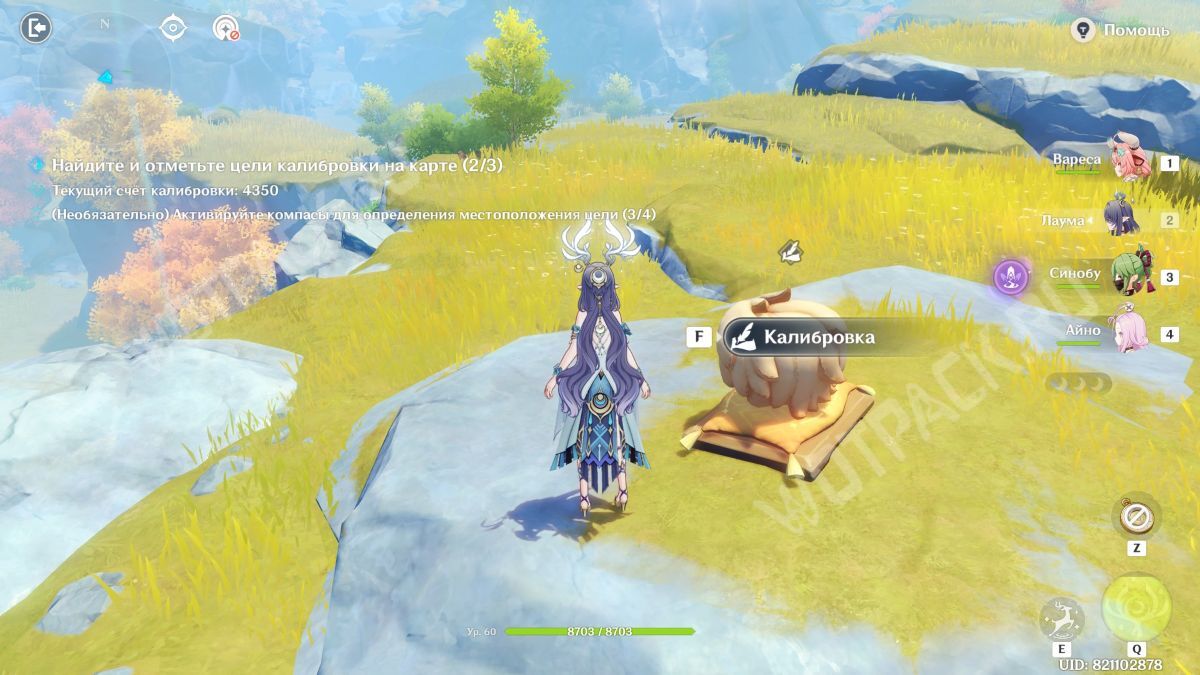
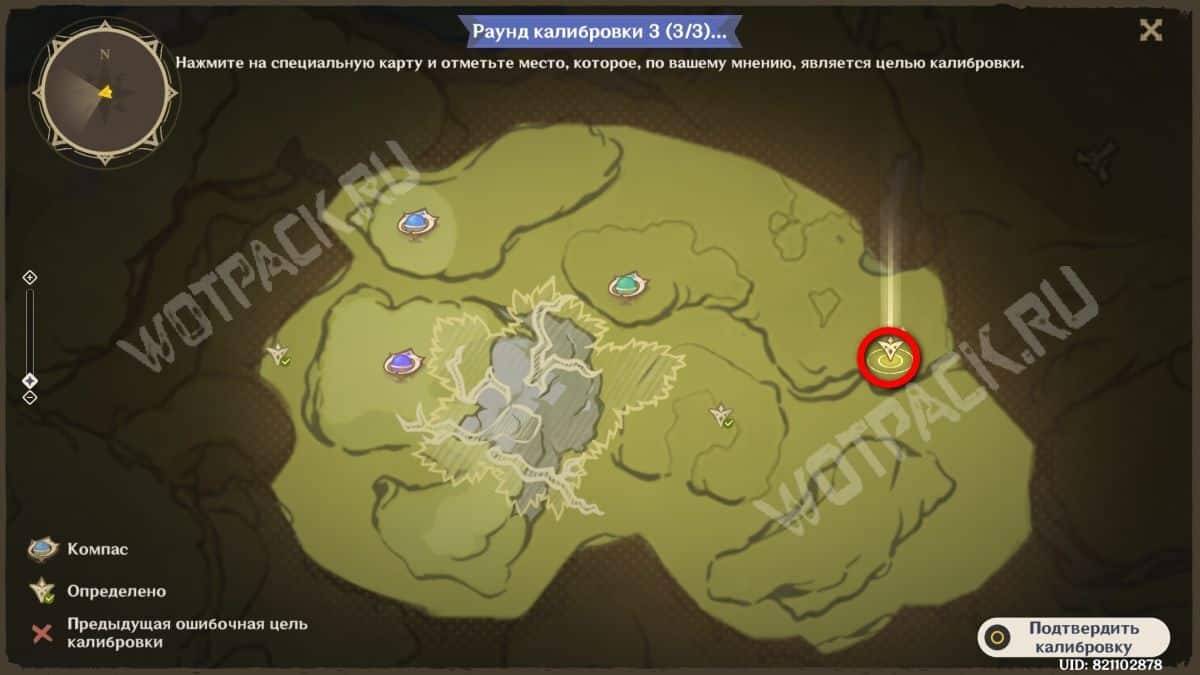
In the image, locate a small ledge separated from the rest of the area by a curved edge. The target should be placed just above it.
Genshin Impact 'Surveying & Mapping Studies' Event Guide
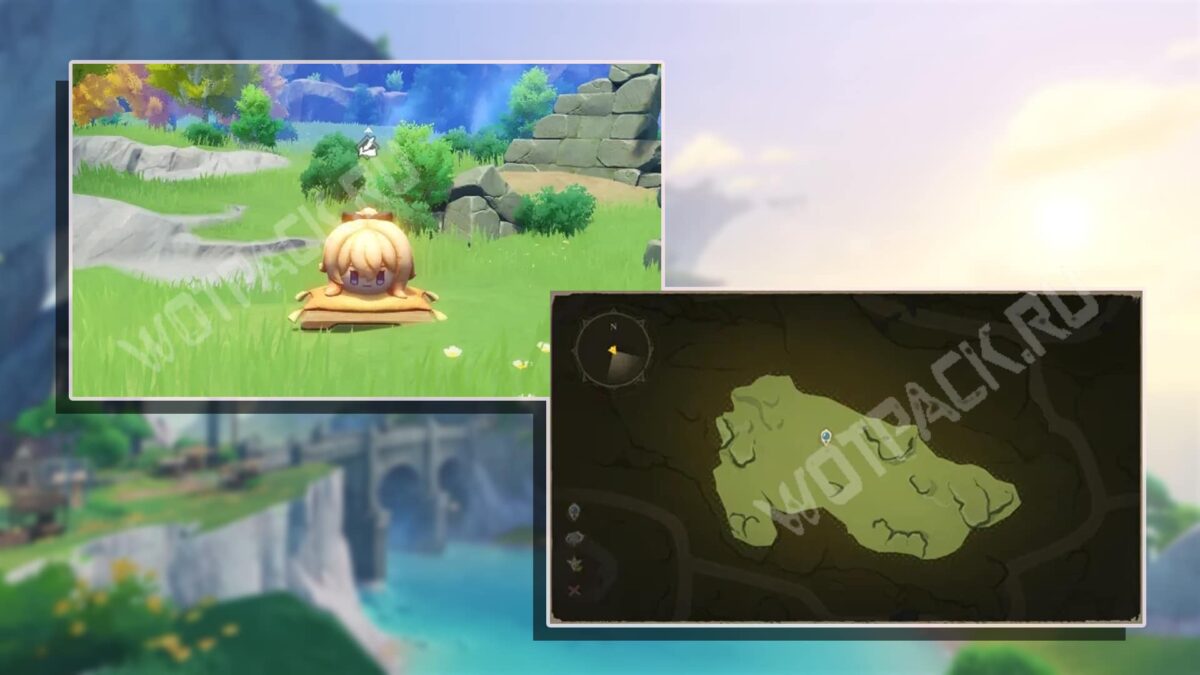
The challenge involves exploring a limited area of a random location in Mondstadt. Scattered throughout this area are several calibration targets in the form of stuffed animals depicting familiar characters.
Their exact locations must be found on a map that doesn't display a player icon. Look for beacons and mark their locations on a schematic representation of the area.
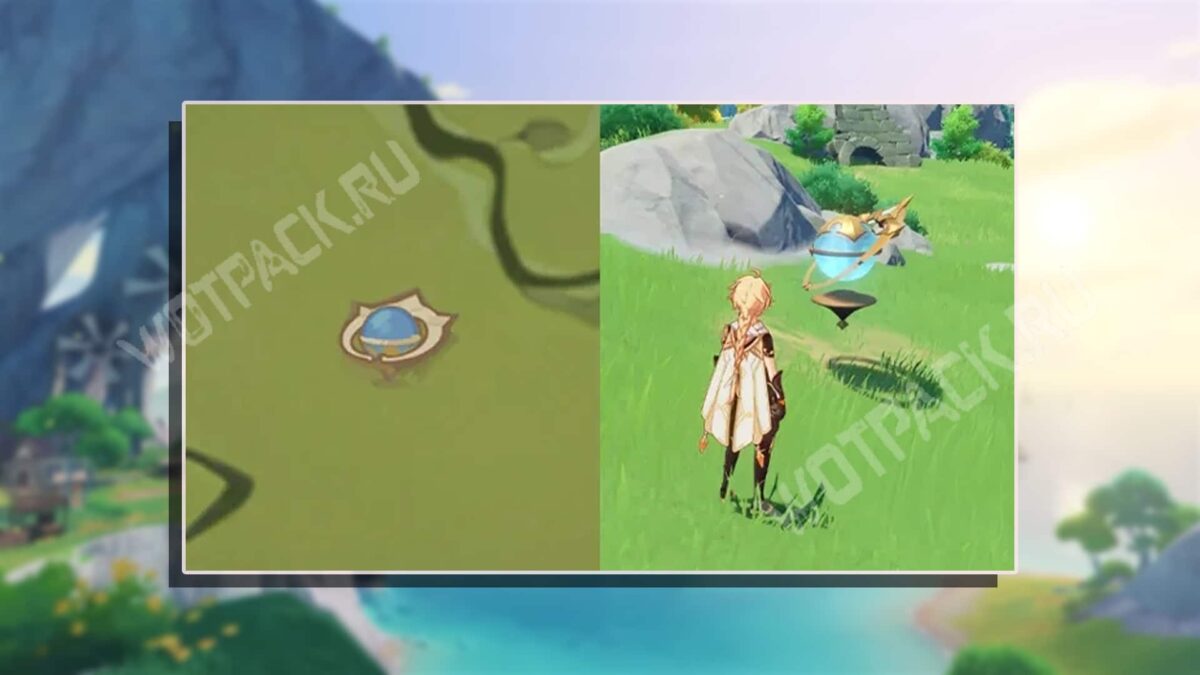
At some stages, a compass will help you find your waypoints. Activate it to see an additional point on the map and better understand your position in space.
Rewards
Once you complete all the objectives of the field maneuver, you'll obtain the following rewards:
- Primogems ×420;
- Hero's Wit ×12;
- Mystic Enhancement Ore ×24;
- Sanctifying Unction ×12;
- mora ×180 000;
- Mondstadt Weapon Ascension Materials ×3: Debris of Decarabian's City, Lustrous Stone from Guyun, Boreal Wolf's Cracked Tooth, Mist Veiled Mercury Elixir, Chains of the Dandelion Gladiator, Piece of Aerosiderite;
- 4⭐ decorations for Serenitea Pot: Calibration Beacon: "Lionfang Knight, Calibration Beacon: "Invincible Northwind", Calibration Beacon: "Spindrift Knight".
Practicing cartography will help you challenge your navigation skills in unfamiliar terrain. Earn 1000 points in the "Sketches from High Ground" stage, which will allow you to further complete the objective of the Battle Pass and get 1500 experience points.





I really enjoyed the event; I even had a 0,0m error once, meaning there was no error at all. I only checked the guide to see if Tres was still around after the event.
I skipped the event by sleeping through it) saving myself from the stuffiness
Good guide, thank you
We are happy to help 🙂
A very stuffy event.
An easy event, on average it gives 6k points per map—through the roof for rewards.
Although judging by the indignation, the next event will be really simple, like 3 in a row, otherwise the community's brains are melting - they just can't activate the beacon and navigate by the tree/island/hill - it's difficult, too difficult!
My friend and I easily completed this event even without beacons; we found all the spots by following the terrain. The only thing was, we didn't hit the target (our Oblikh maxed out at 0,8). It's a shame, he was cool.
landscape