

В Genshin Impact The Treasures of the Deep activity is one of the stages of the main event of patch 6.7. "Summer! Return? Fontinalia!"Embark on an underwater journey through your chosen waters to collect rare marine life and lost treasures.
Exploration levels can be replayed multiple times, earning currency to develop the park and completing side quests. Don't forget to collect rewards in the management menu to unlock new objectives.
How to start the event
The activity will become available if the following conditions are met:
- reach 20th adventure rank;
- the archons' task has been completed "Song of the Dragon and Freedom";
- any Archon statue in Fontaine has been unlocked, granting access to underwater diving;
- The main event story chapter has been completed "If we meet again".
The mini-game is available as part of the event. "Summer! Return? Fontinalia!", which will pass July 1 to August 11 2026 of the year. After graduation 6.7 version The event will remain in the game forever, but temporary rewards for the task will not be available. harbingers of Sandrone.
Elegance? Safety first!

After your first dive, join Marionette on the Wingalet and descend to the aquarium's lower deck. She's already waiting to present you with a special gift—an underwater mobility device. It will allow you to explore the ocean depths in greater comfort.
Try the device out on a solo swim and get familiar with the activity's basic mechanics. After completing the quest, the minigame will unlock, and park management will become available.
Silent Sea Valley
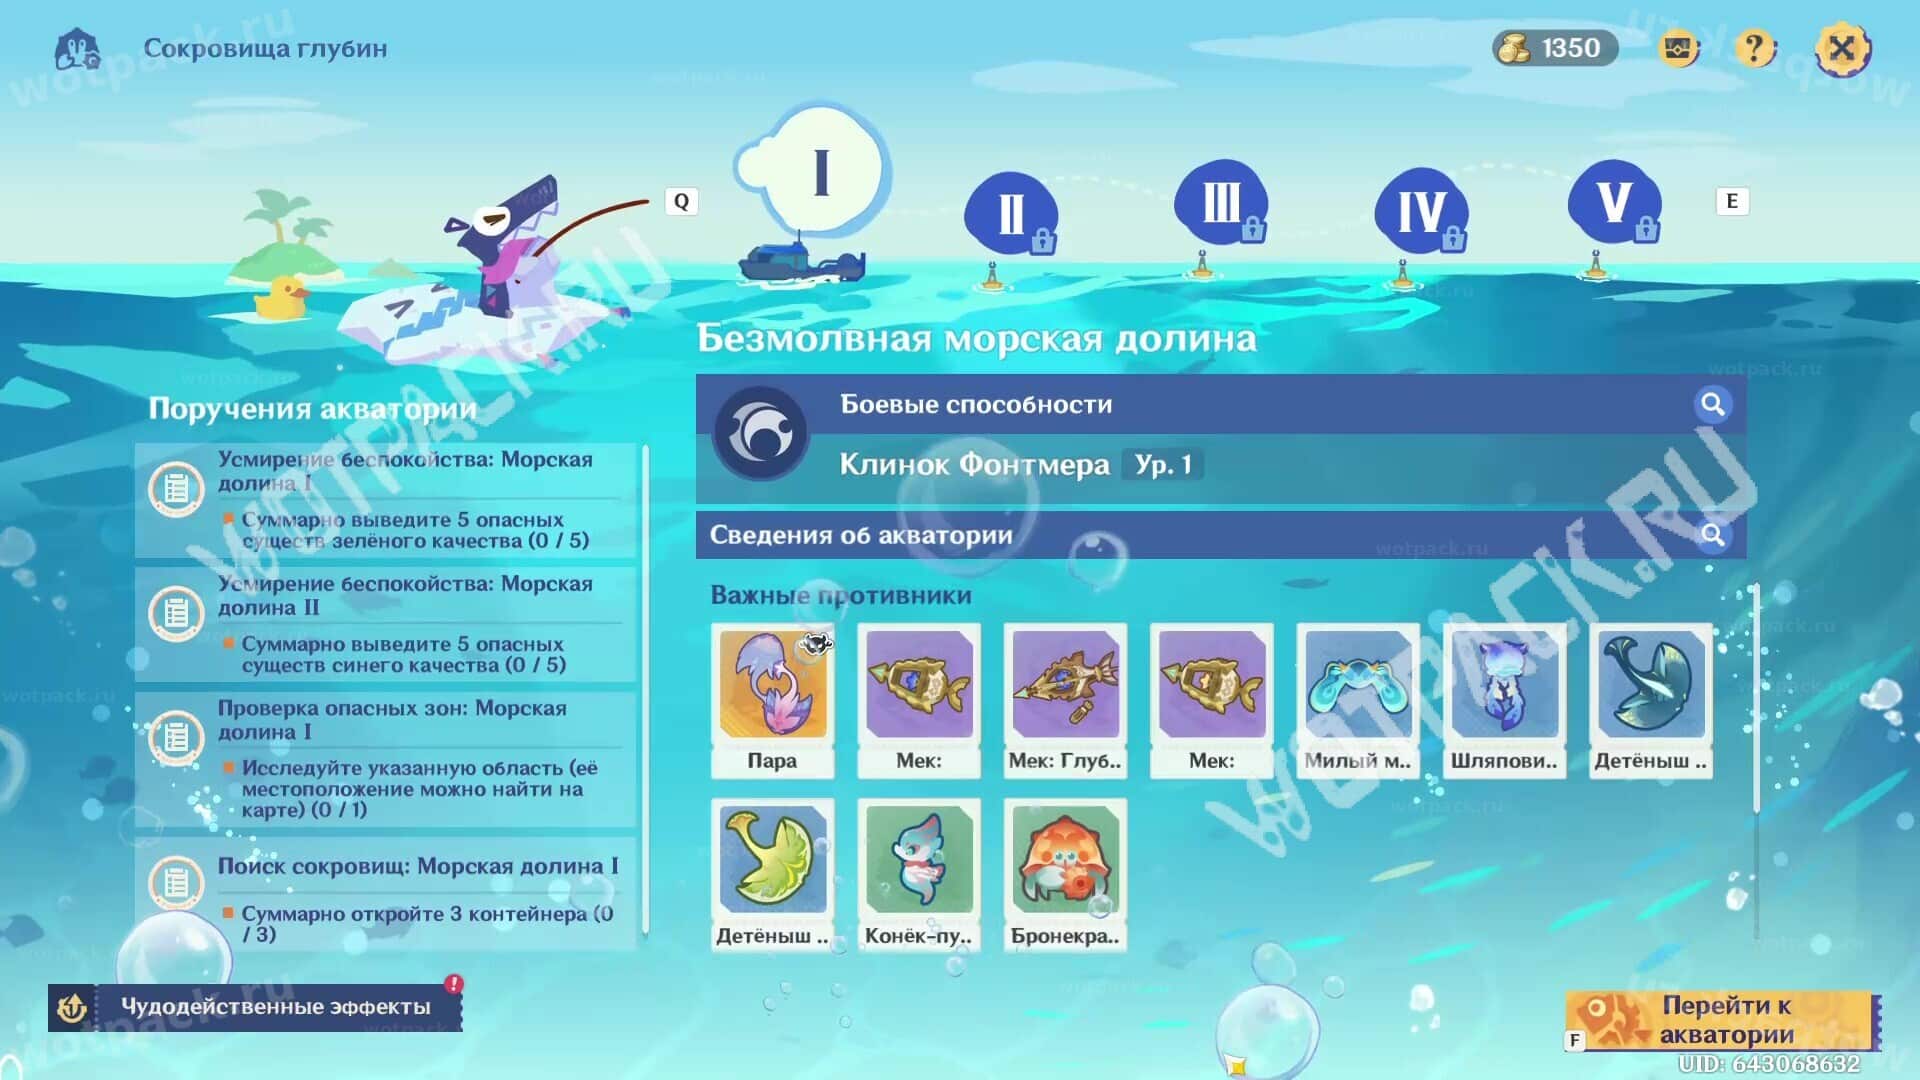
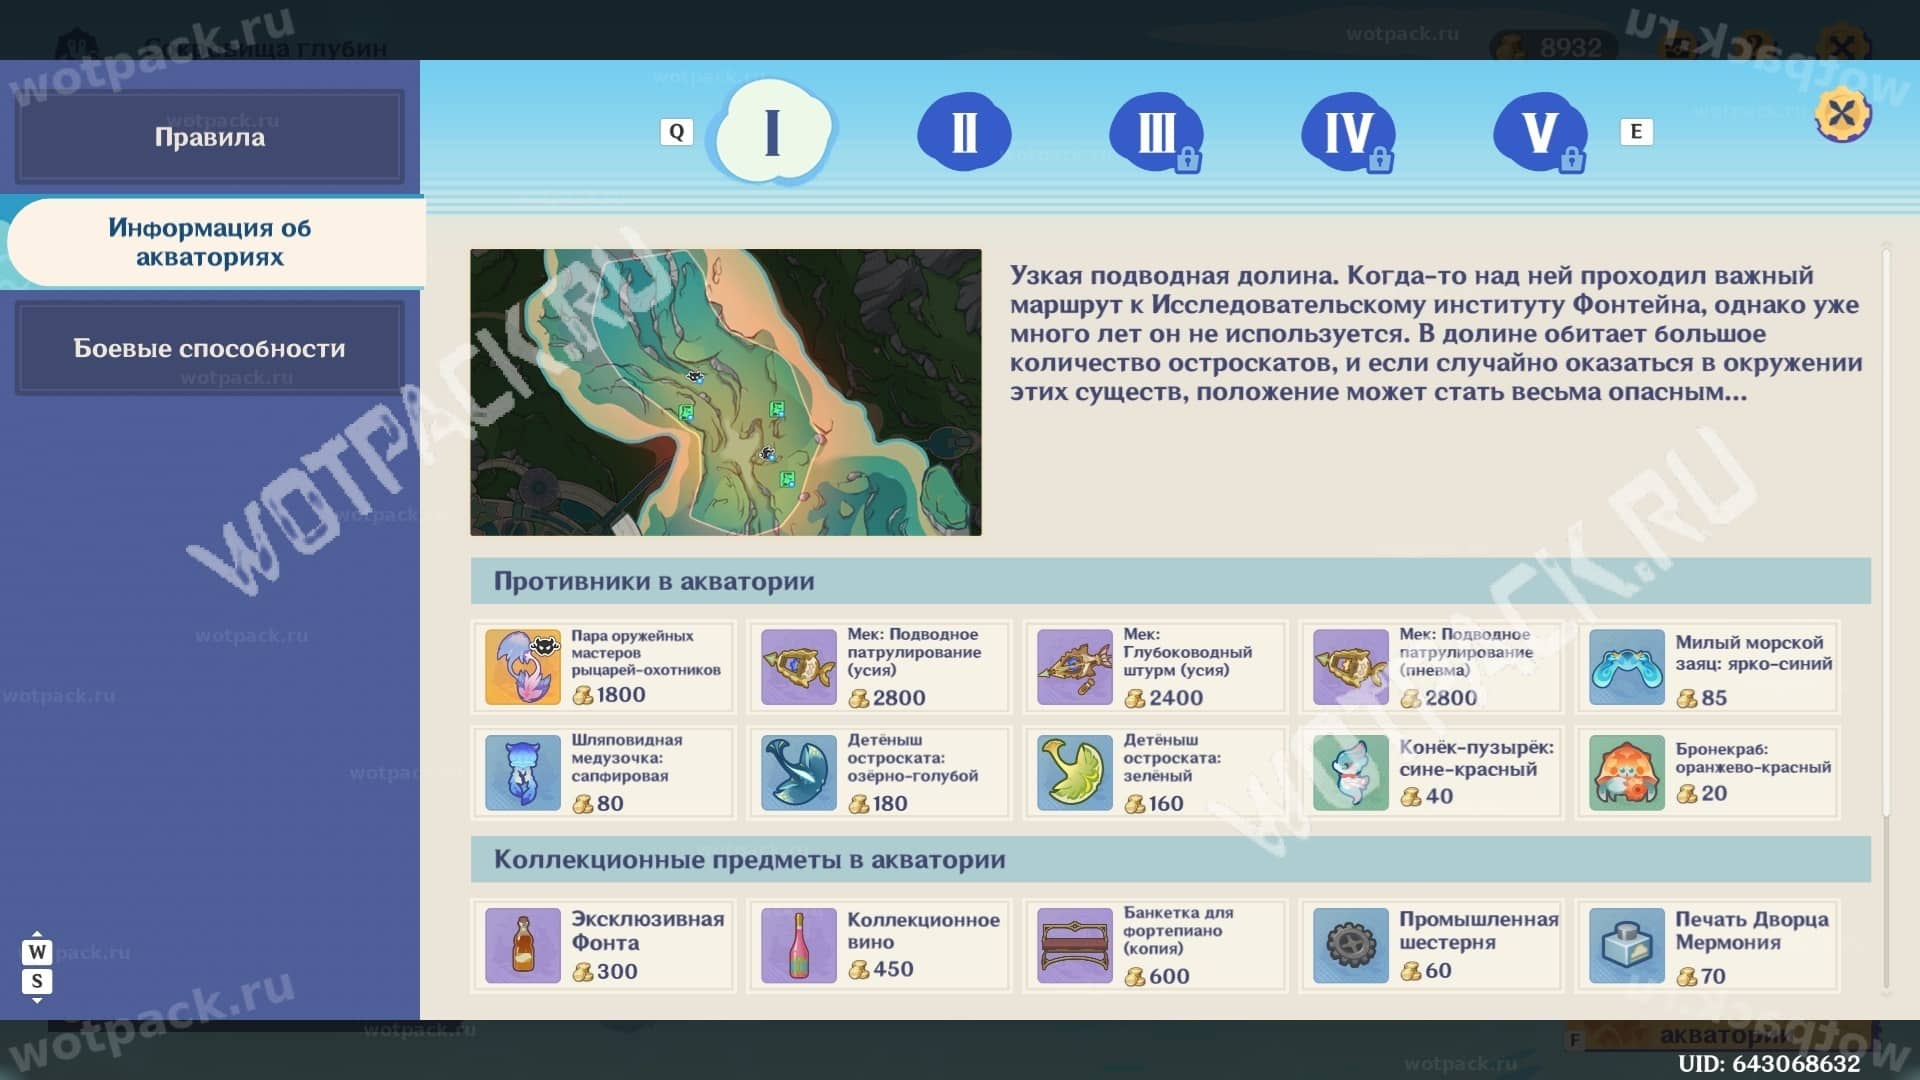
The first exploration zone is located near the capital of the Hydro region. Dive underwater and complete exploration missions to replenish the aquarium's resources.
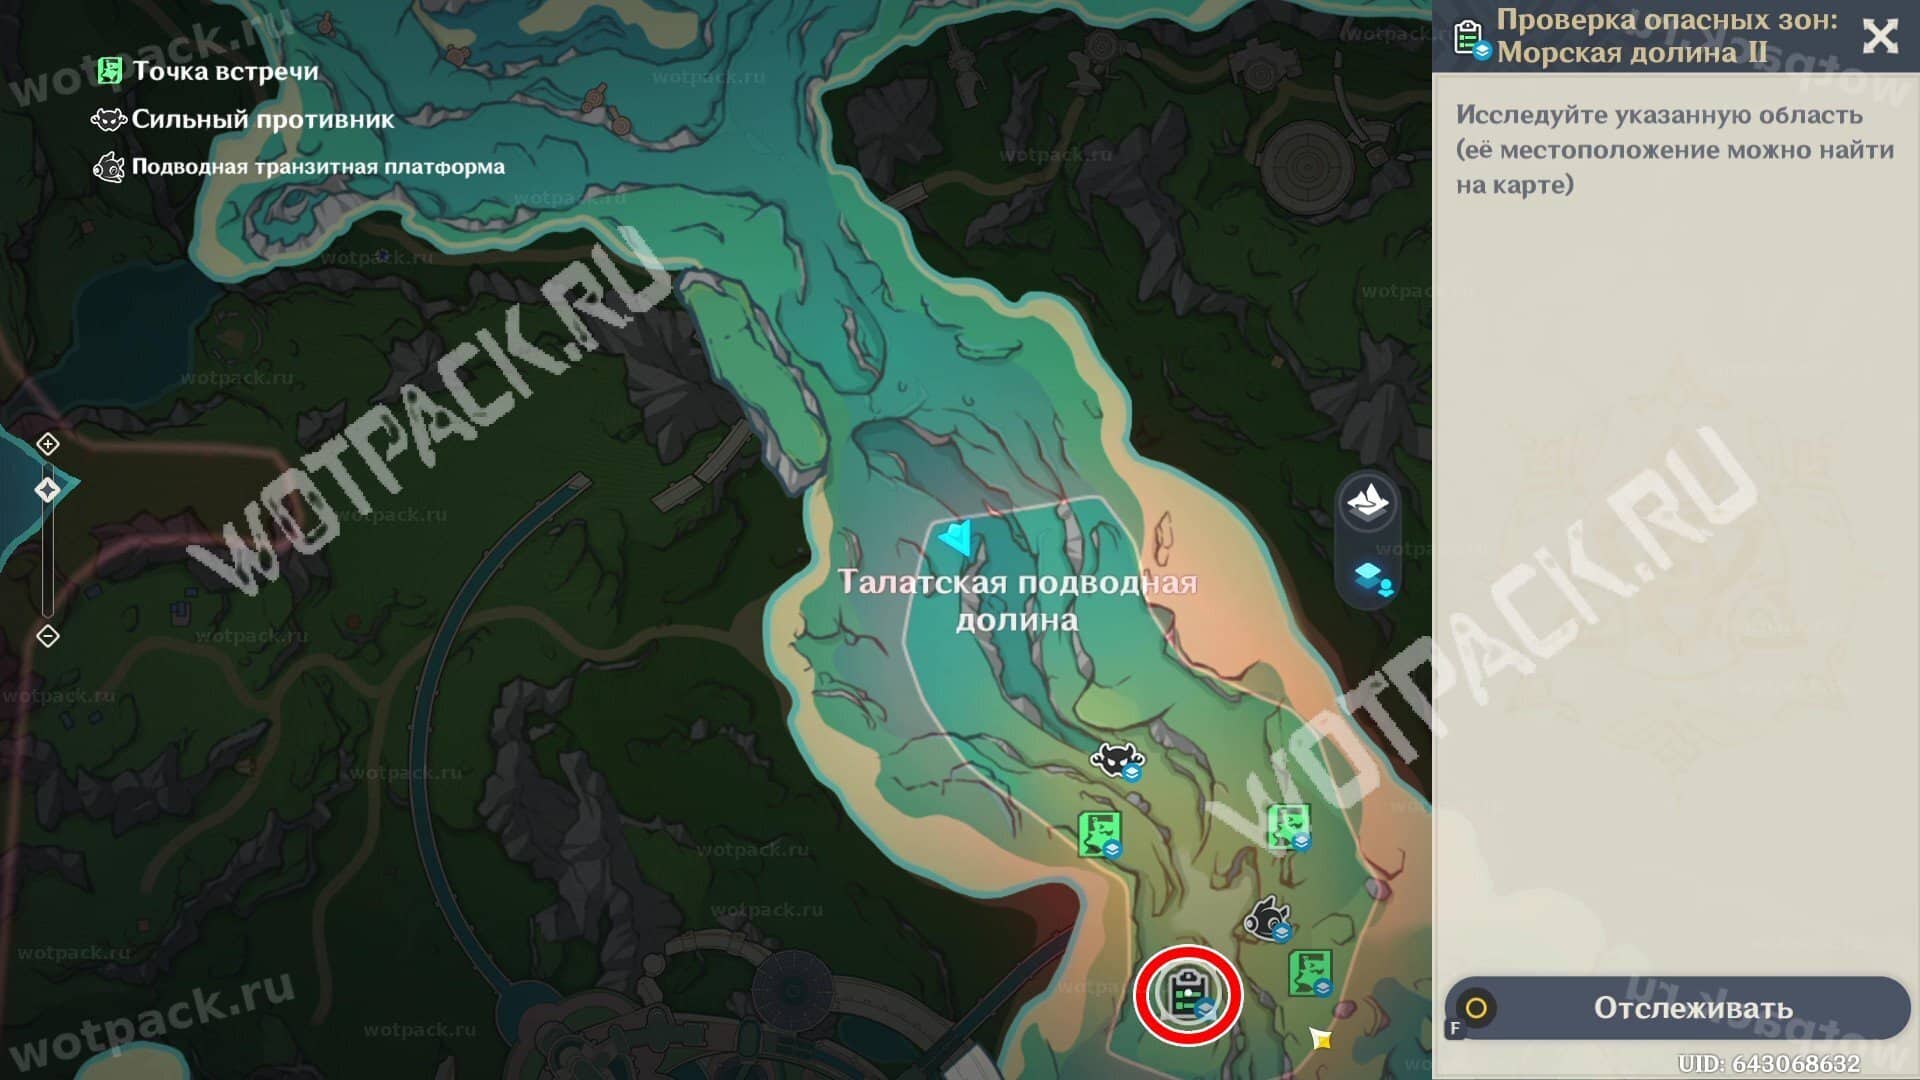
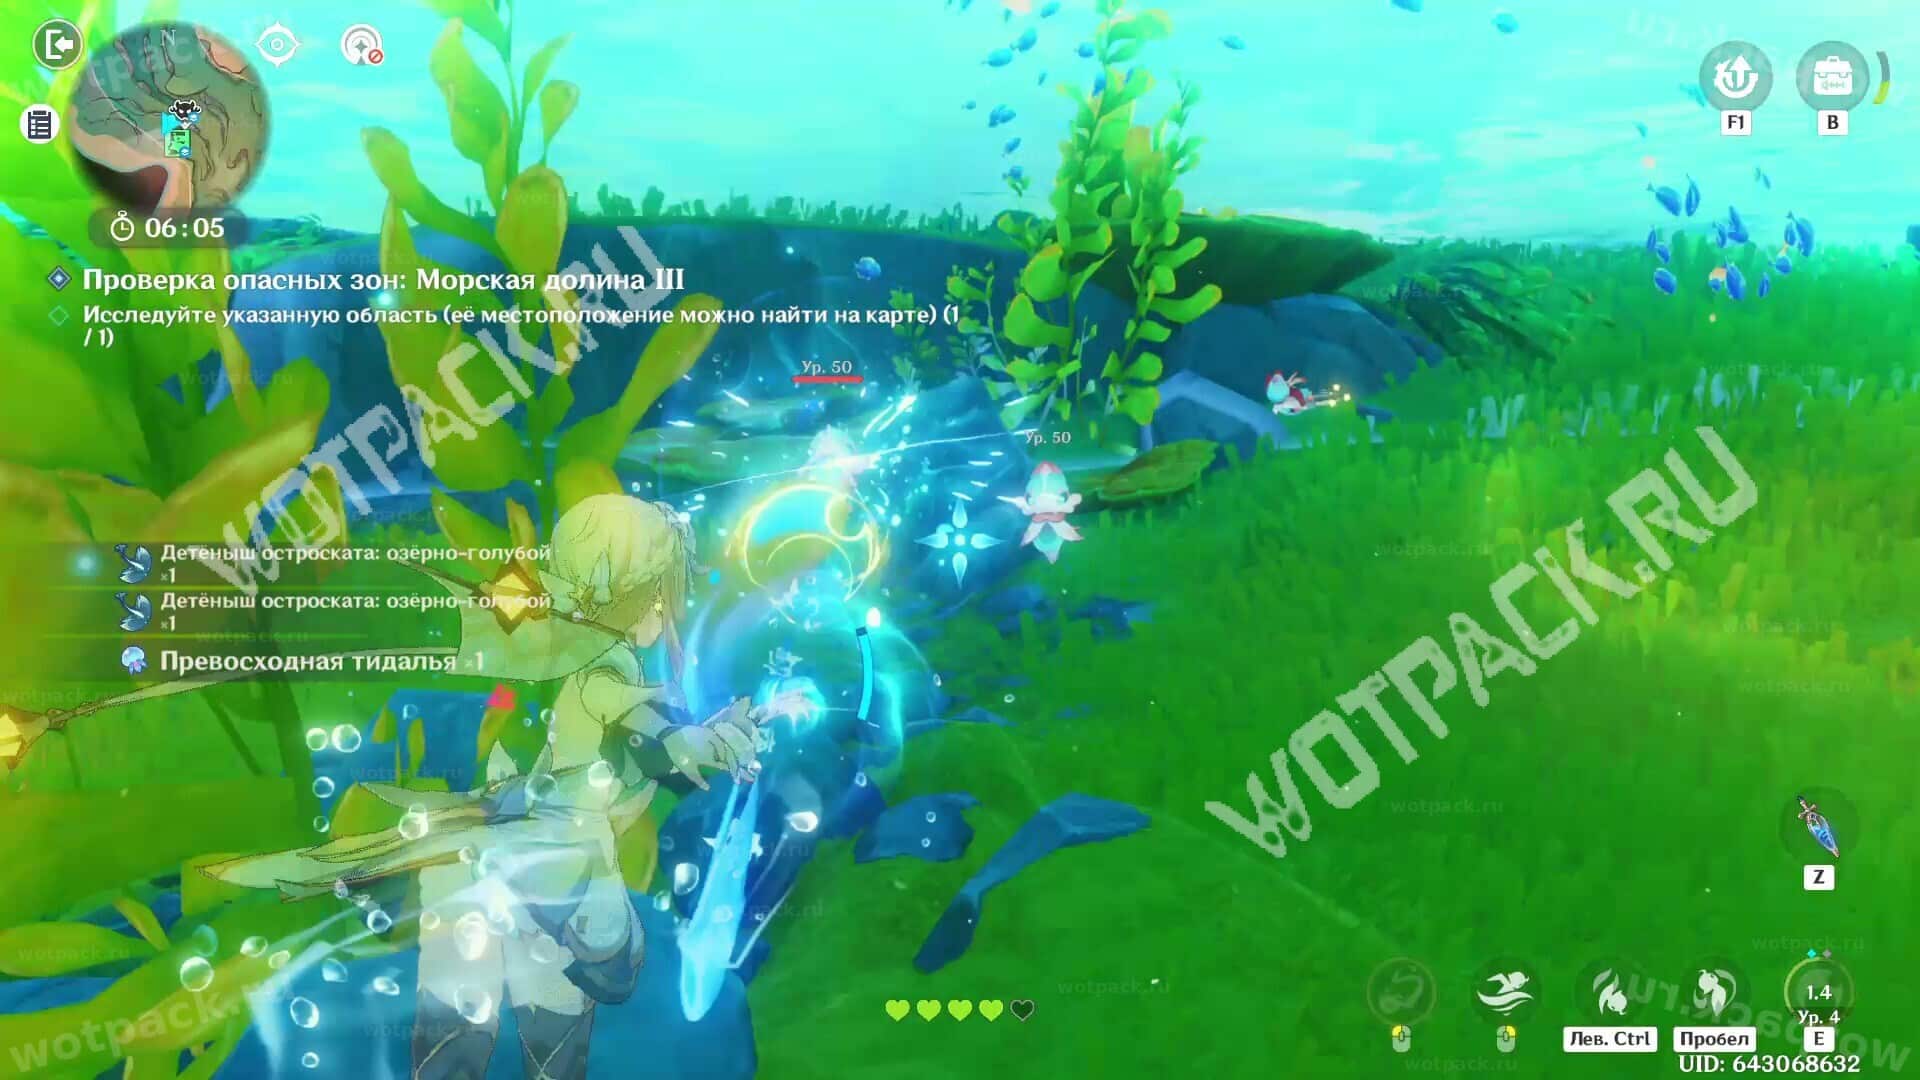
Hazardous Area Check: Marine Valley
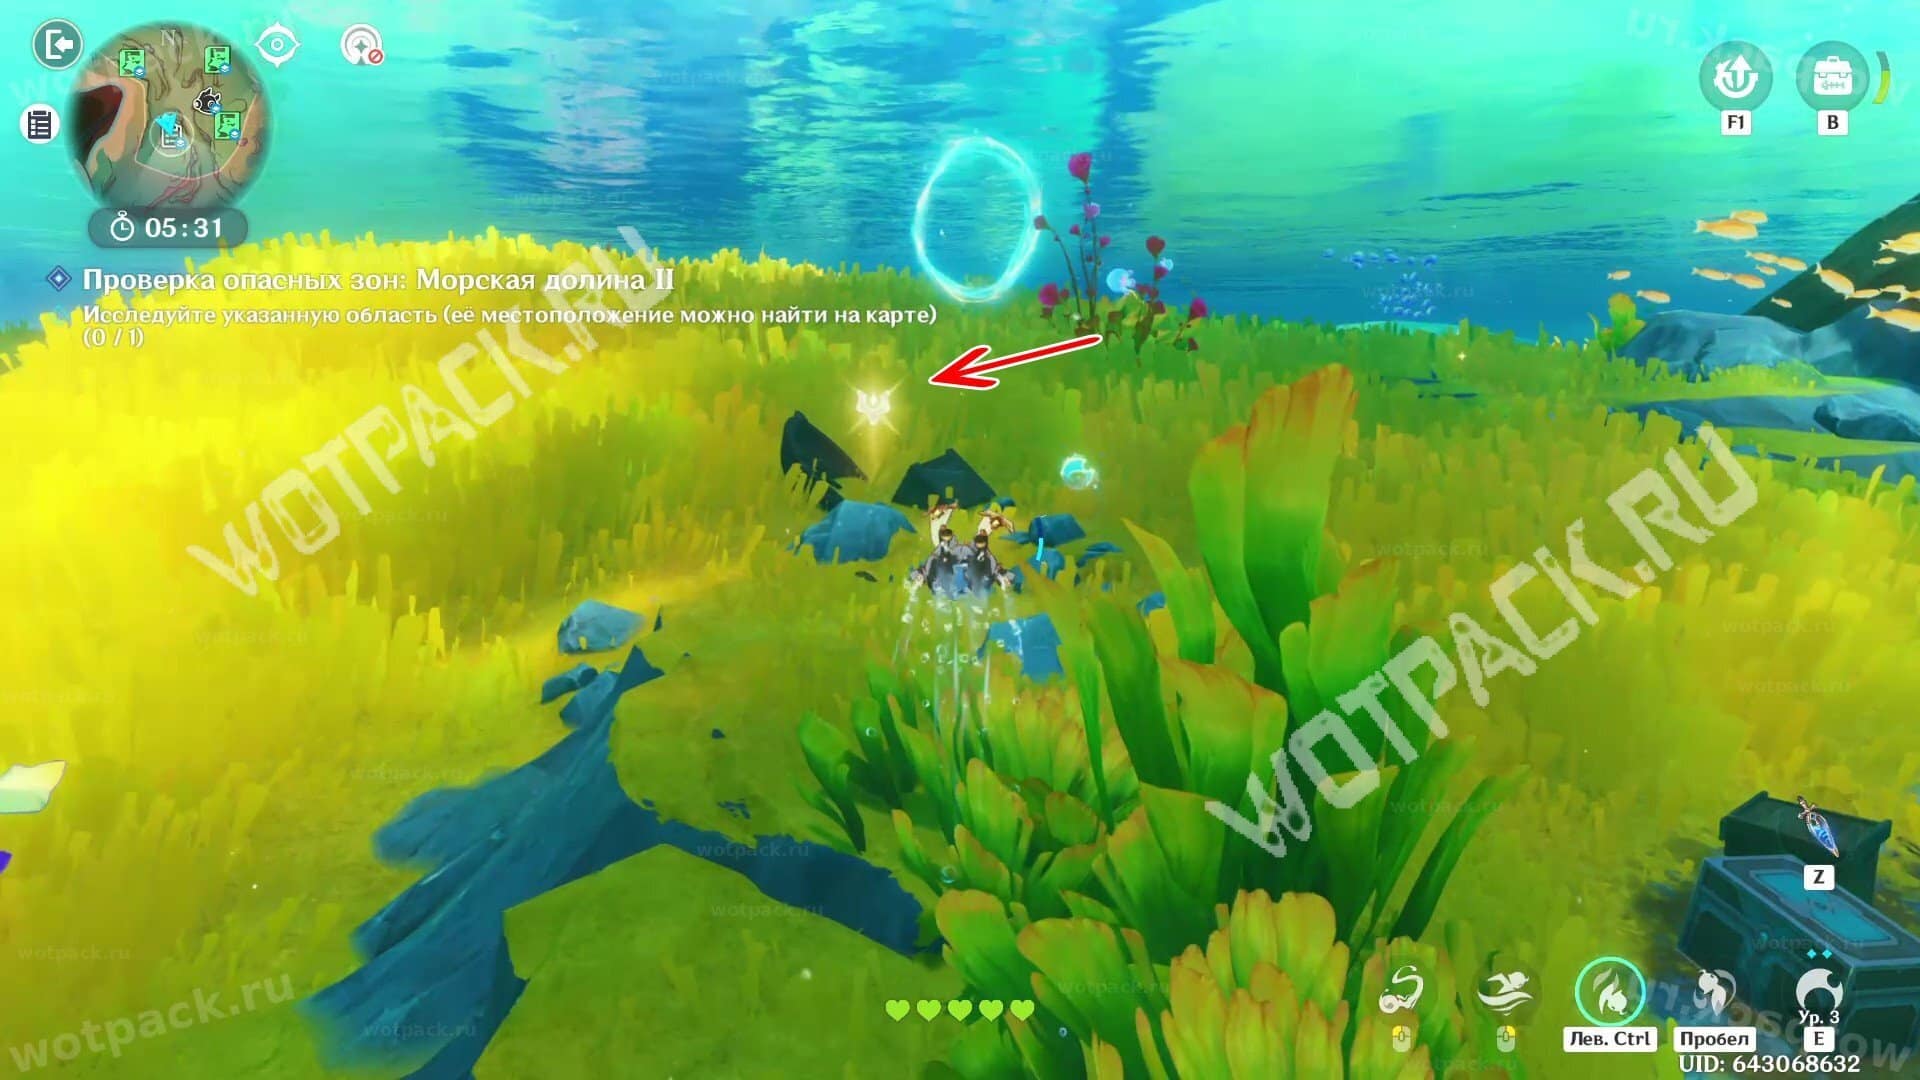
The mission requires you to explore the marked areas. Click "M"to open the map, then select the notepad-shaped icon with a list to track. Reach it and explore the area.
- The first place is available immediately. Mark it in the log by clicking «U».
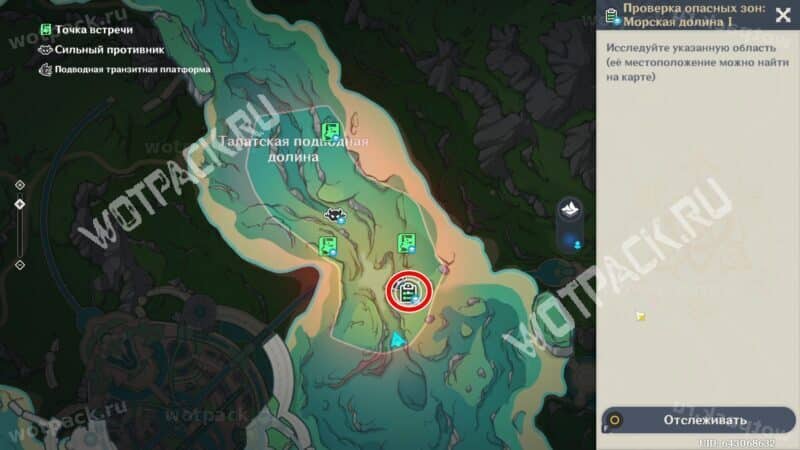
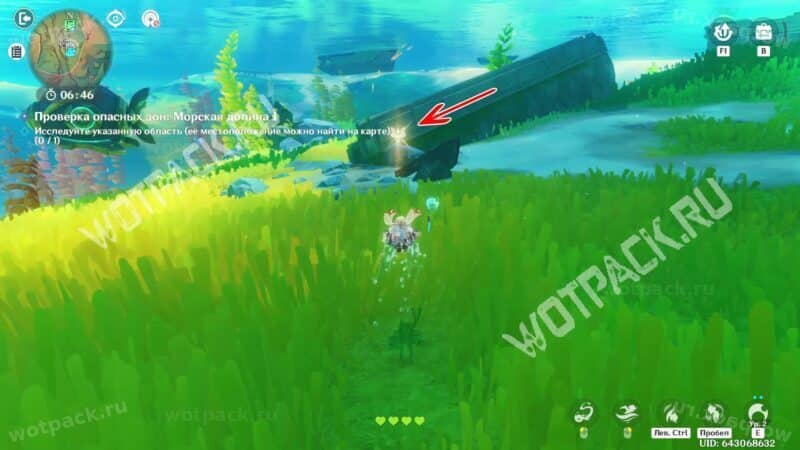
- Second place will open with the next swim.
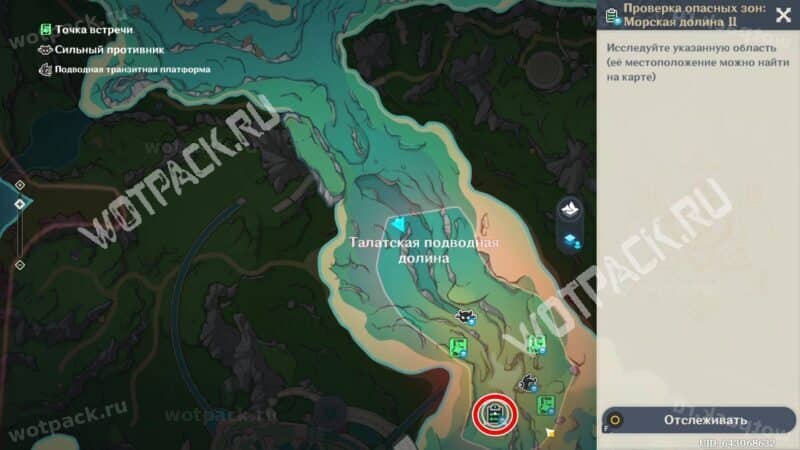
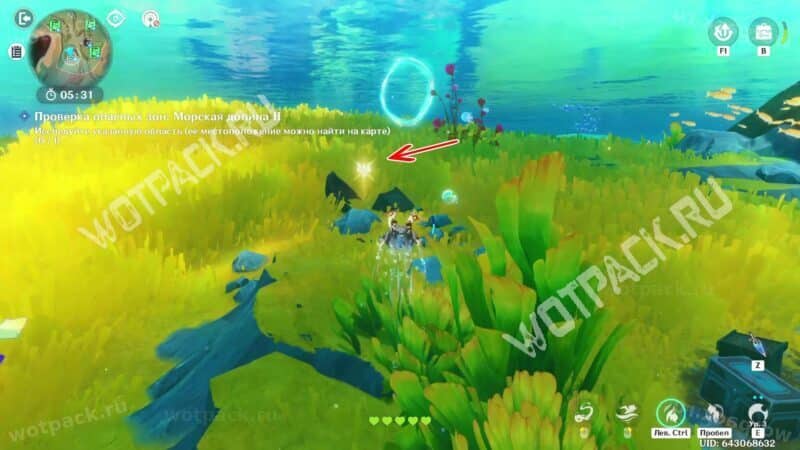
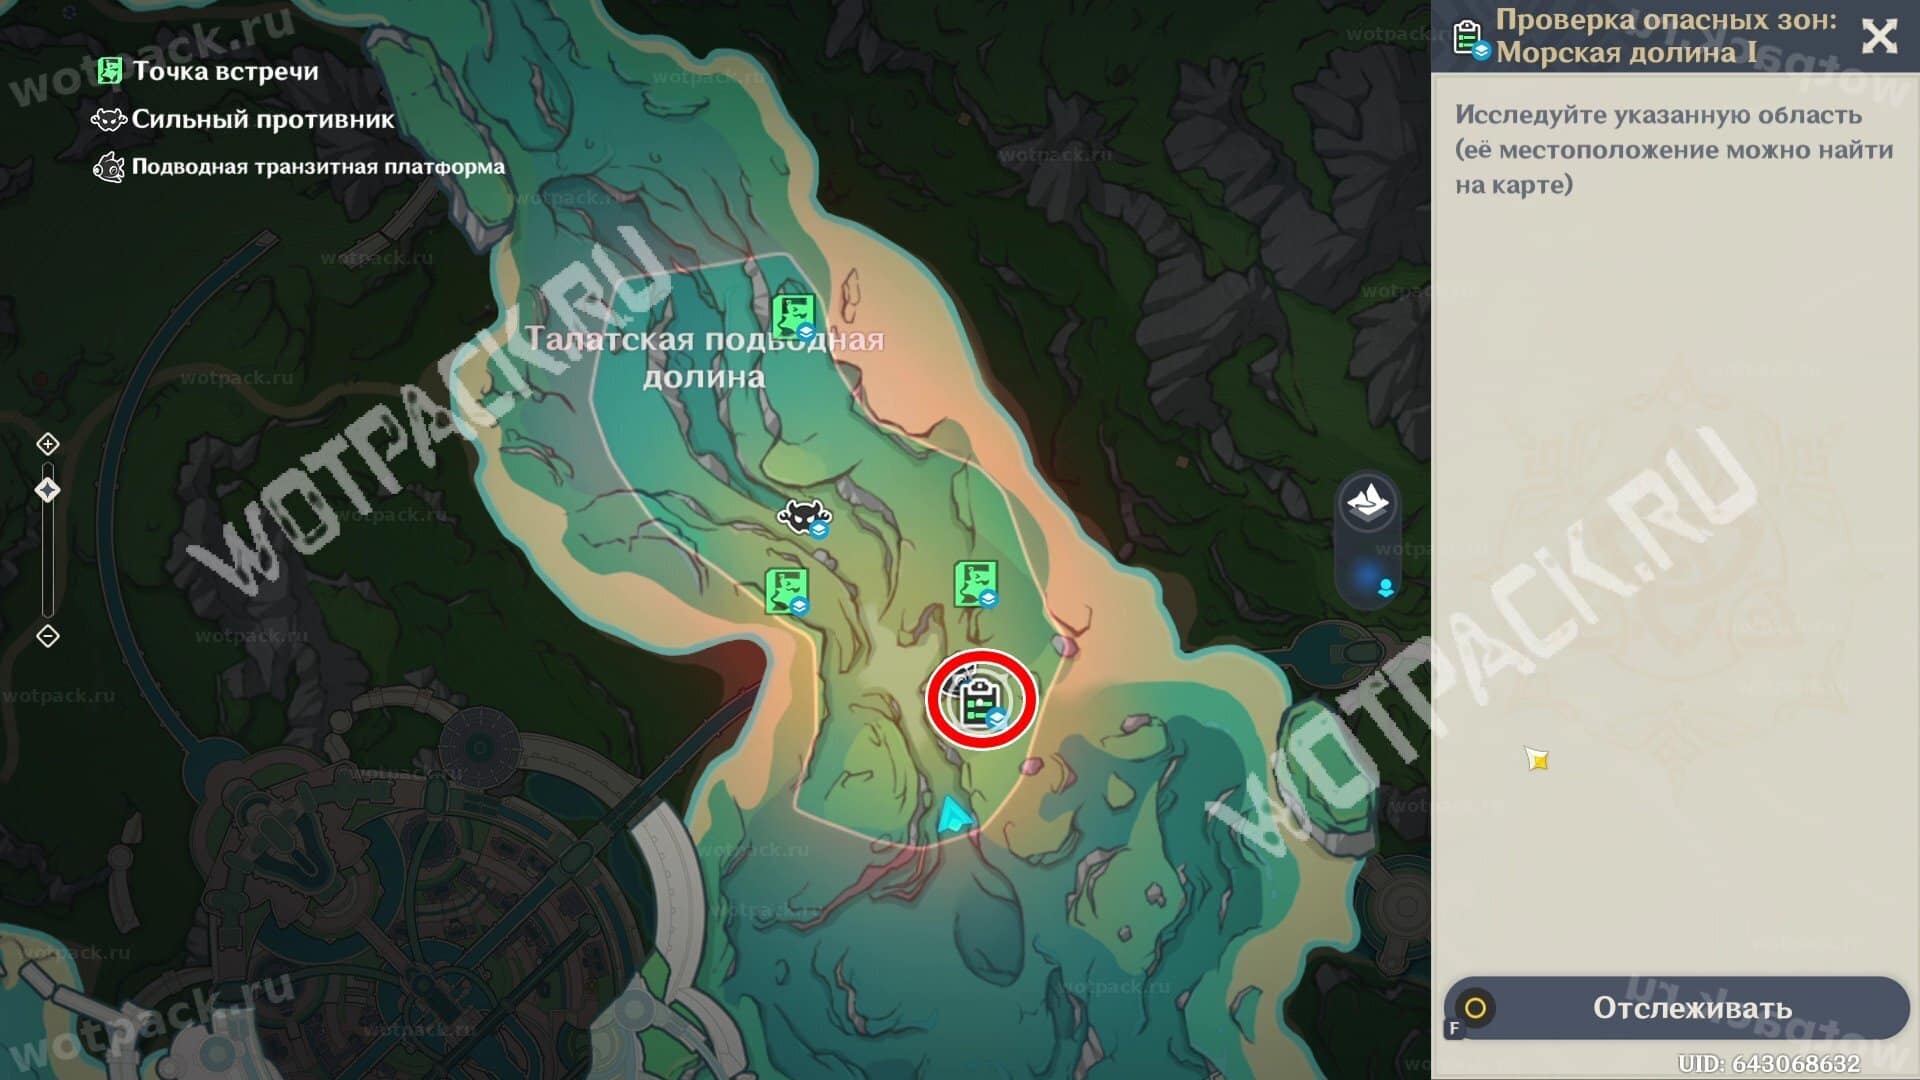
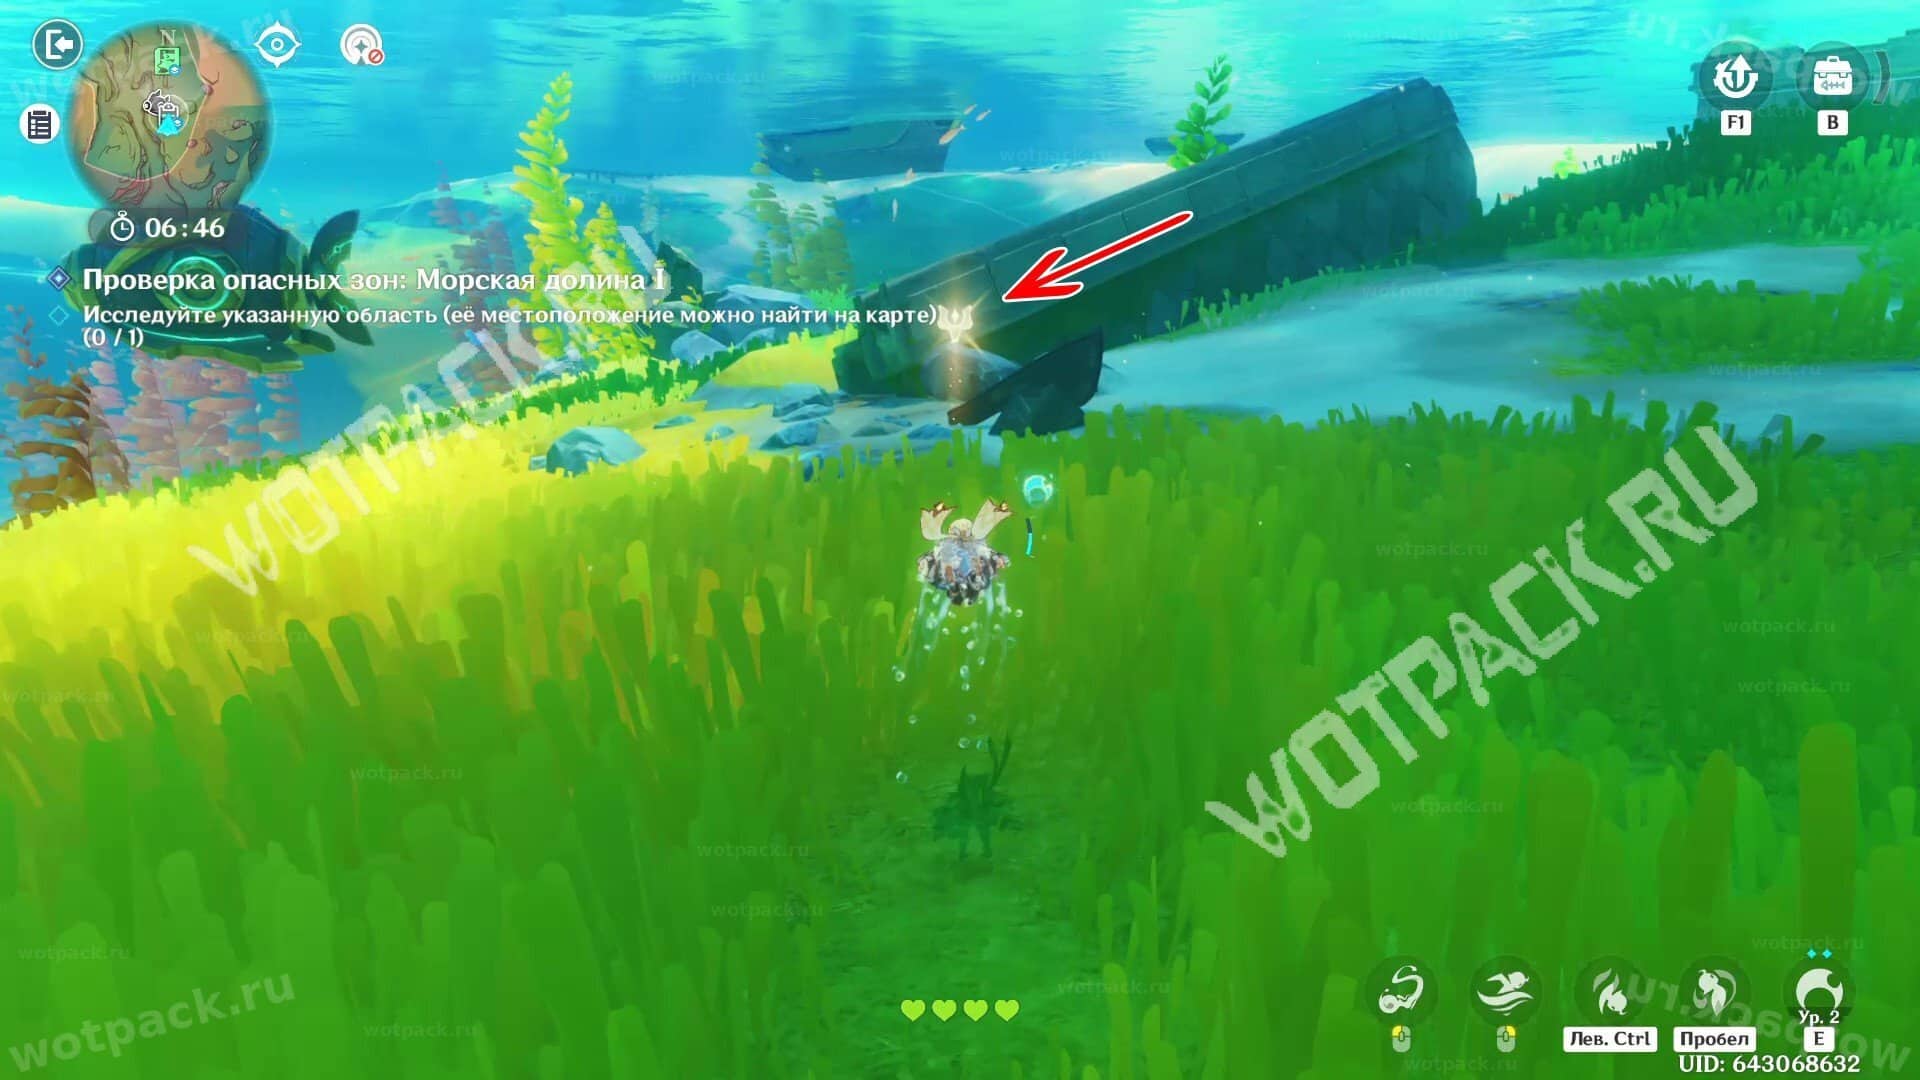
Calming the Worries: Sea Valley
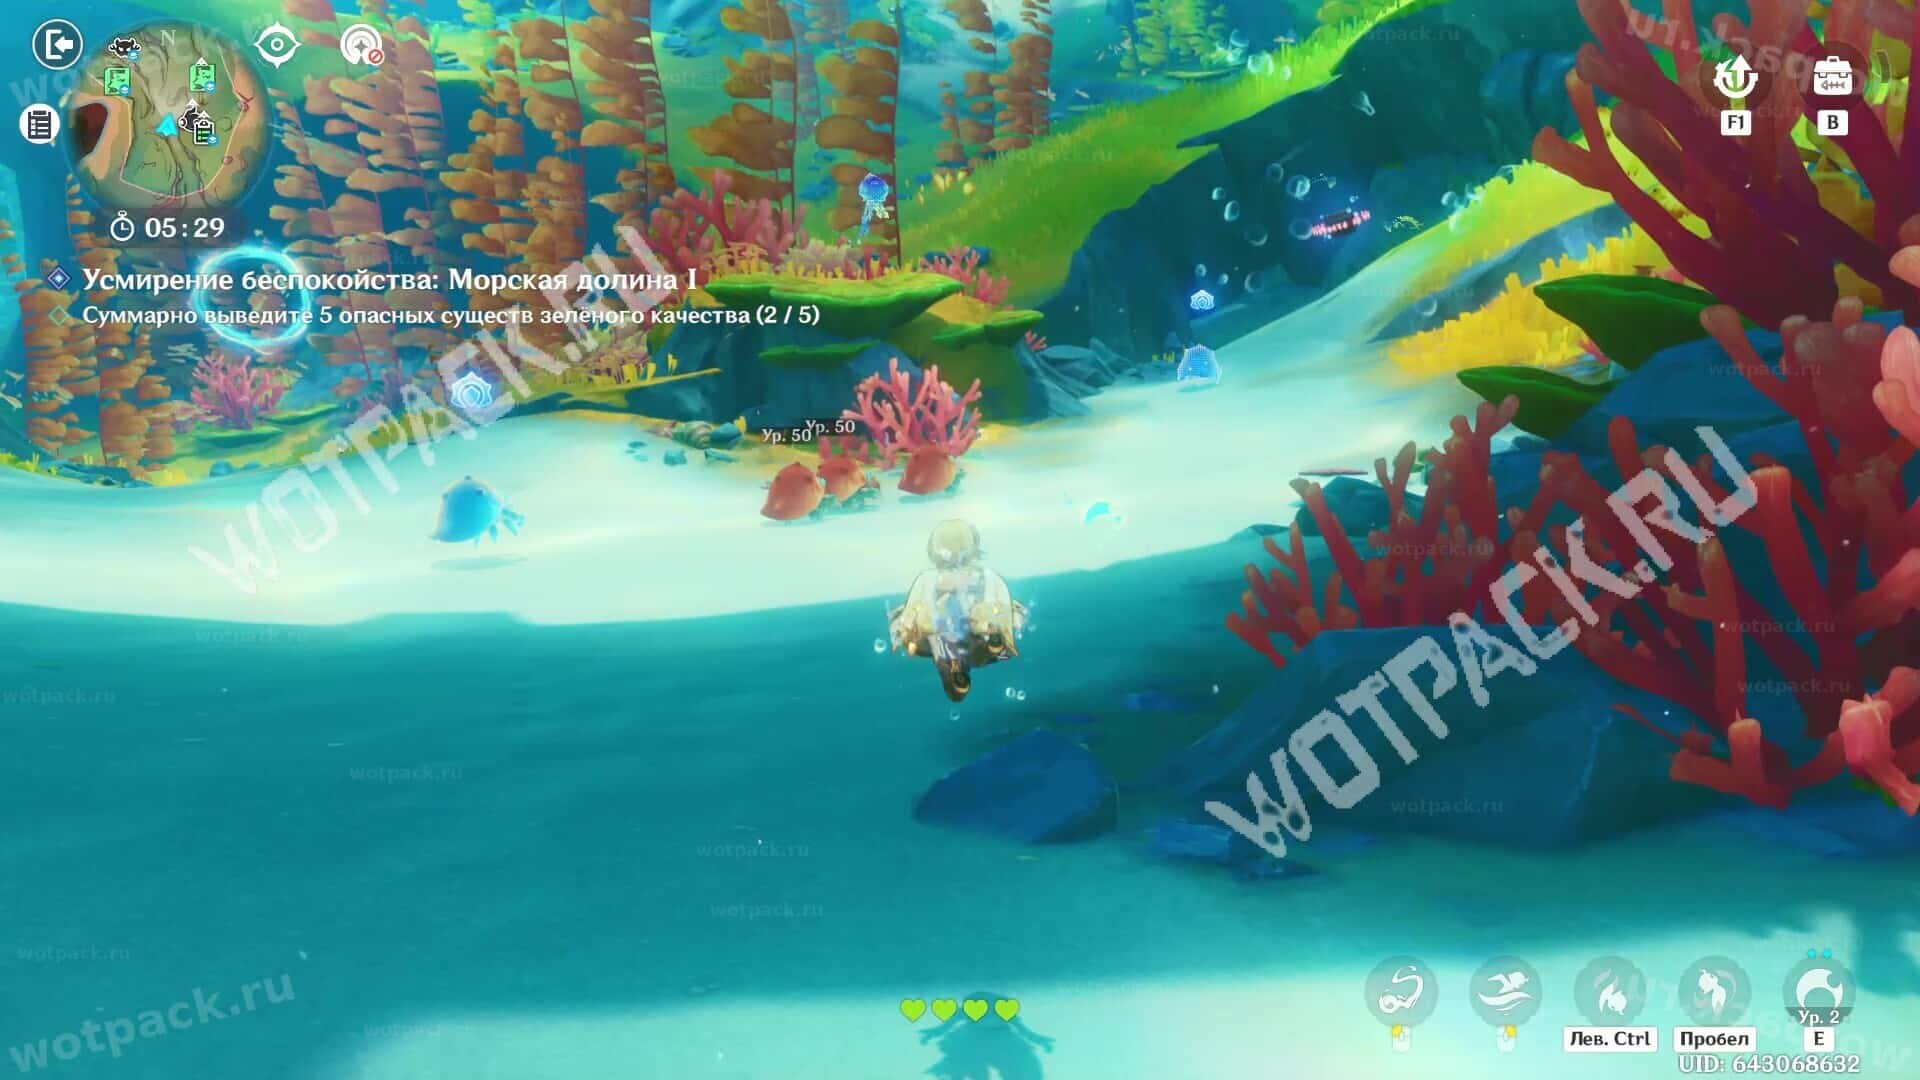
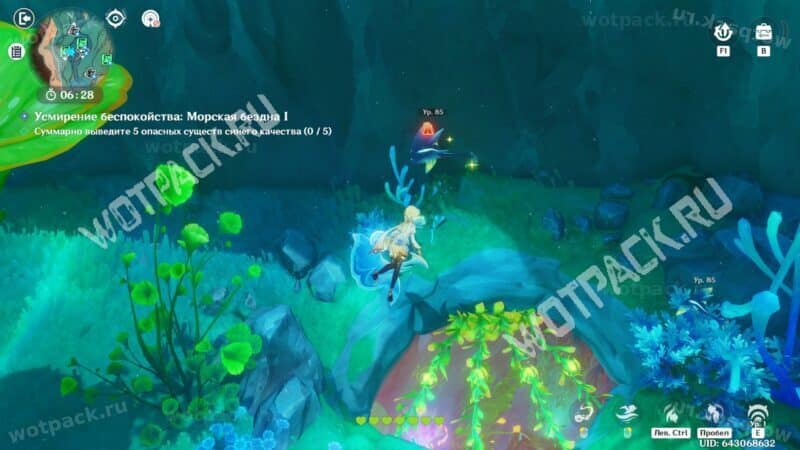
To complete the tasks in this section, you need to defeat five green and five blue monsters, and then surface with trophies (they can be repeated).
Use the guide below to help you figure out who to hunt:
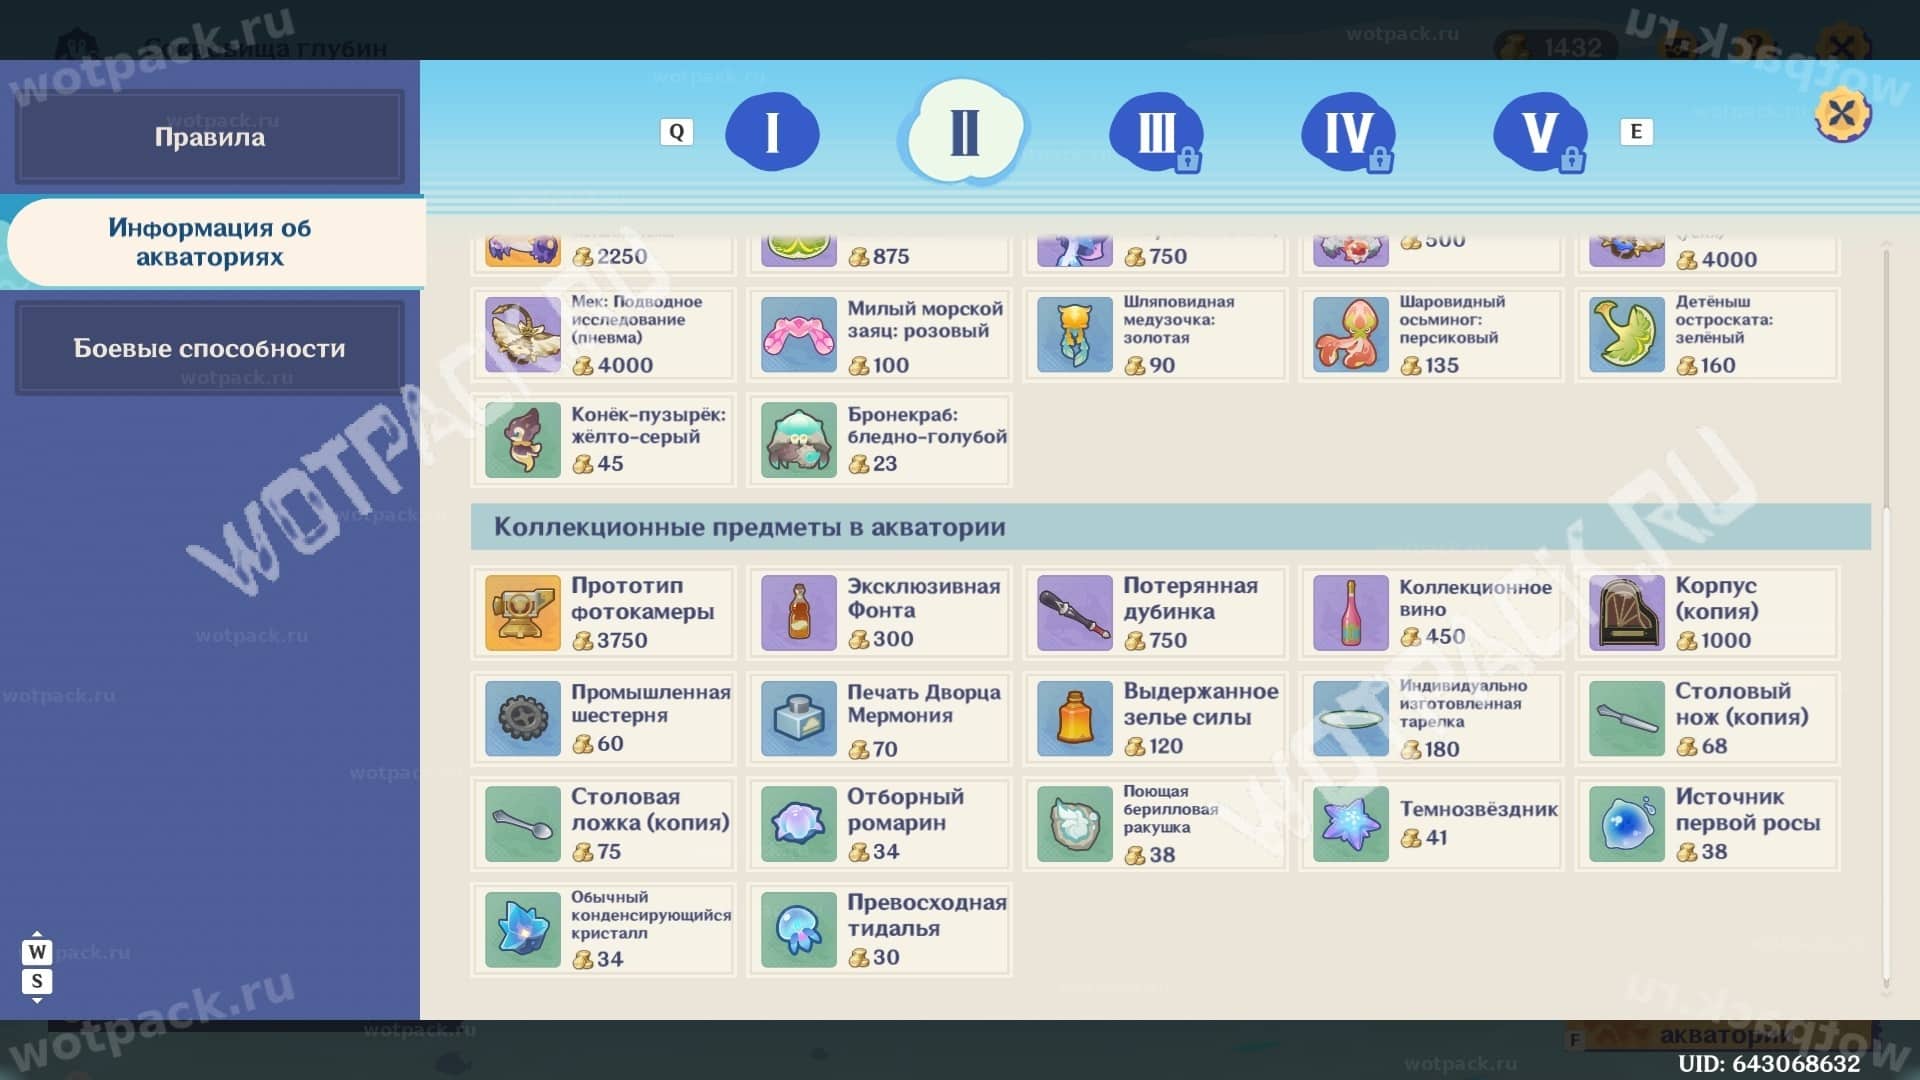
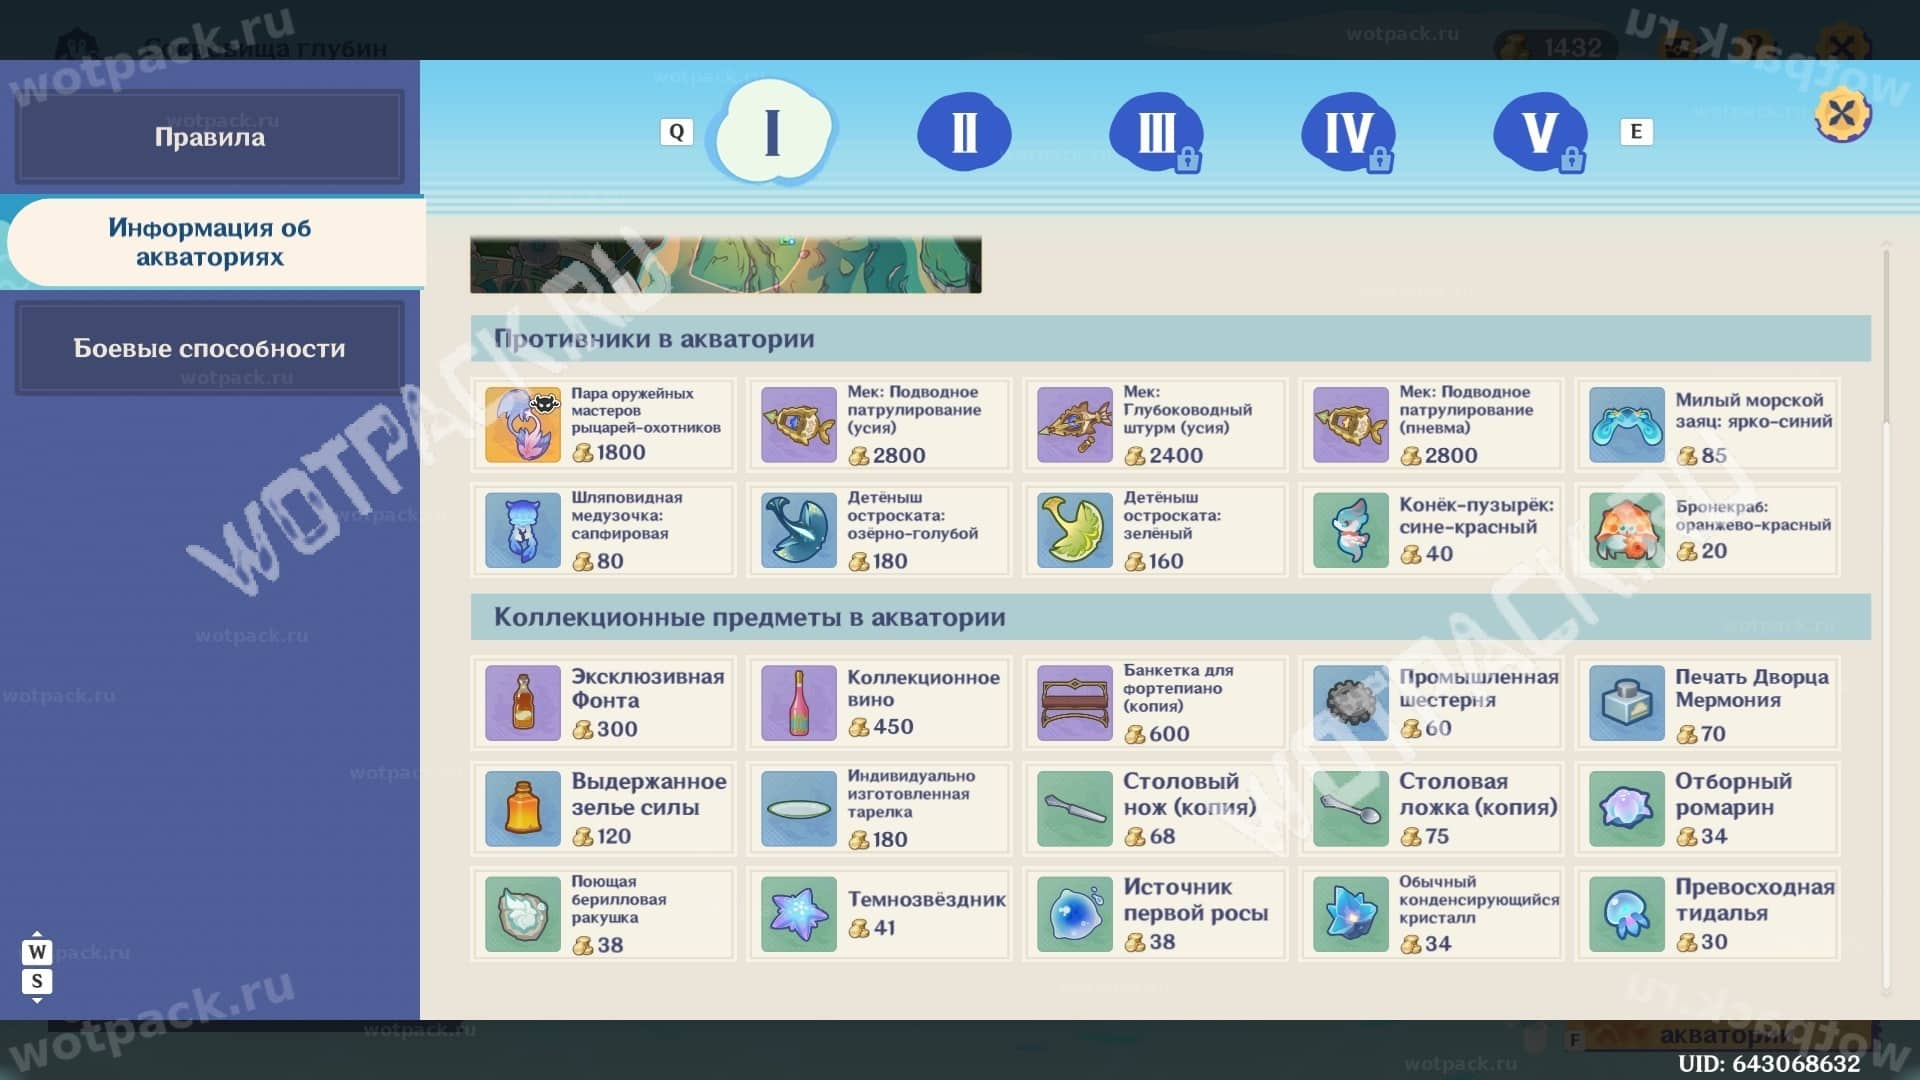
- General information about the water area. The category of a marine life can be determined by the background color of its image.
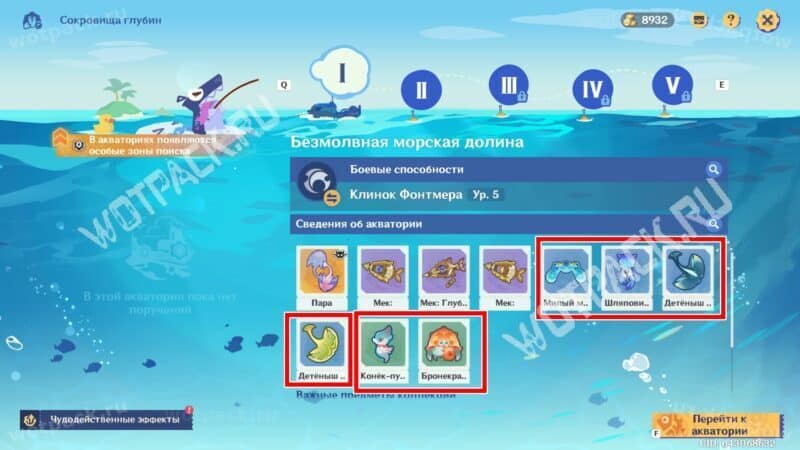
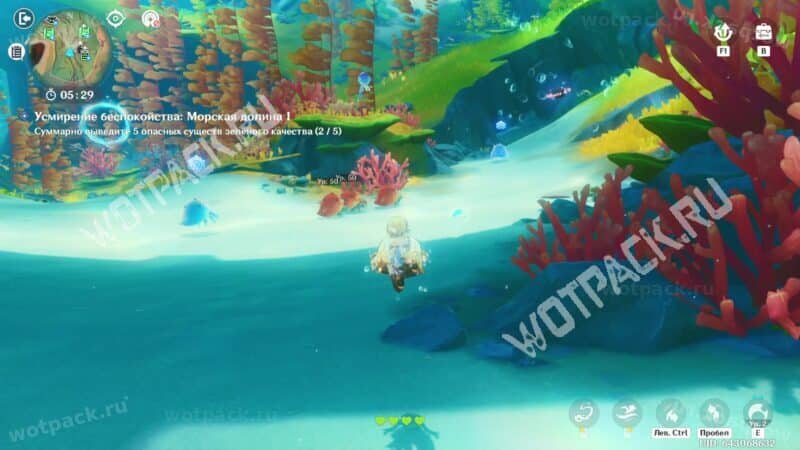
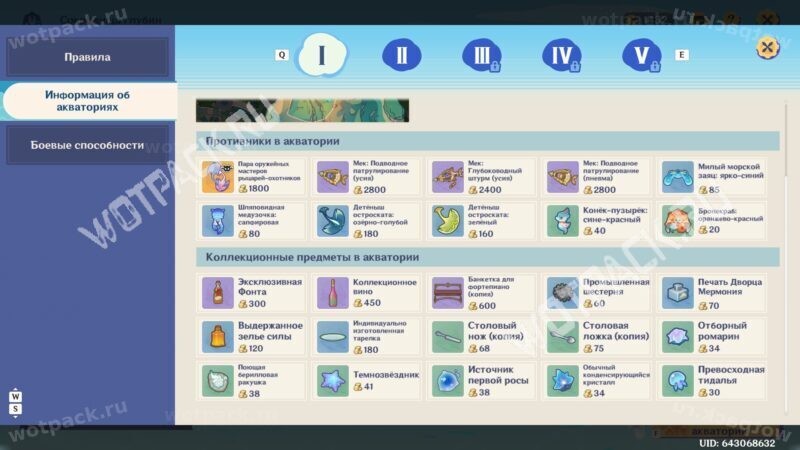
- Underwater inhabitants of the "green" class.
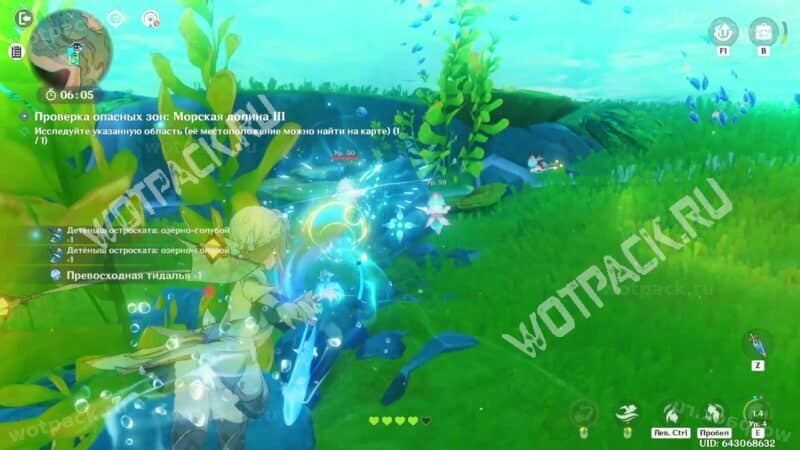
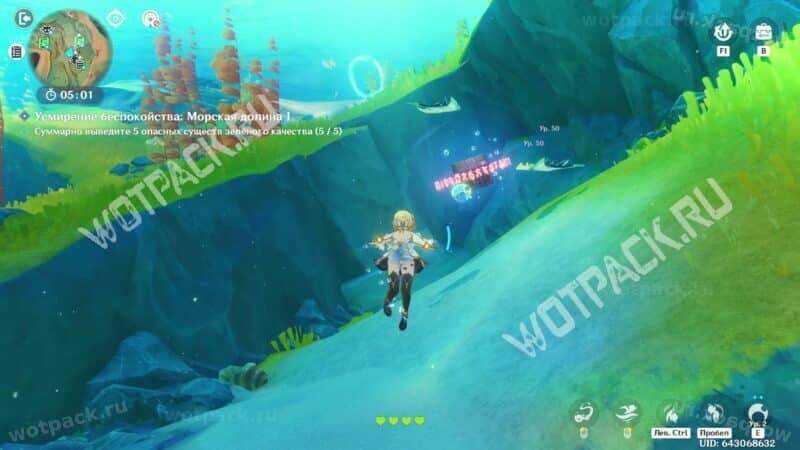
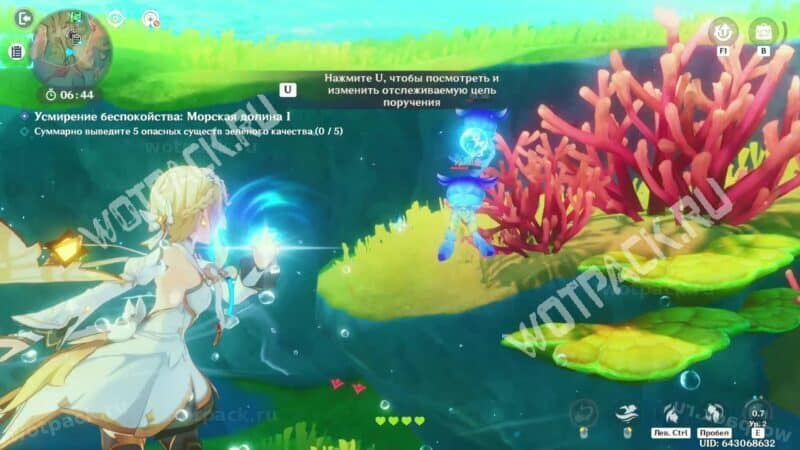
- Creatures that have a "blue" rarity.
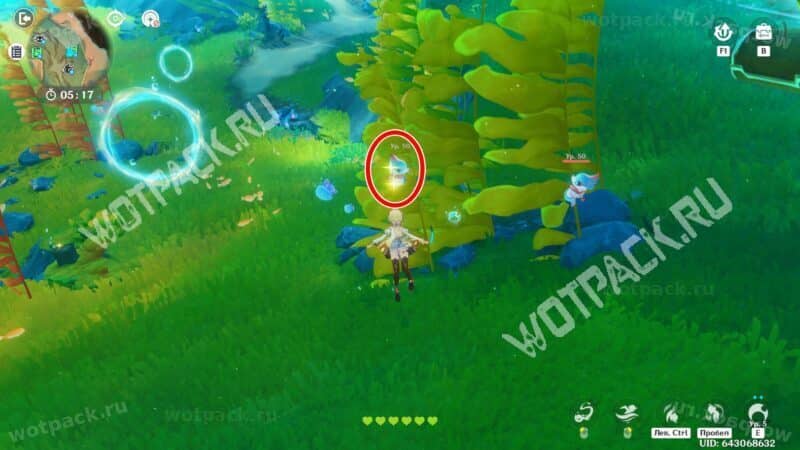
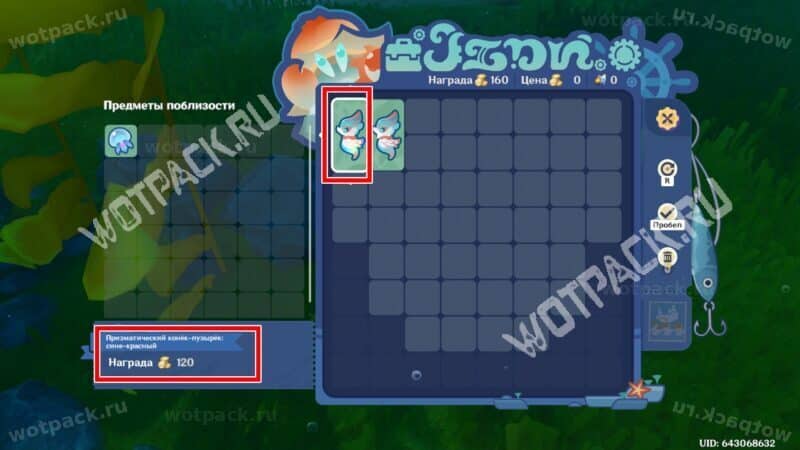
- Sometimes you encounter creatures covered in a special glitter. These yield more coins. In your inventory, the icon will glow rainbow, and "Prismatic" will be added before their name.
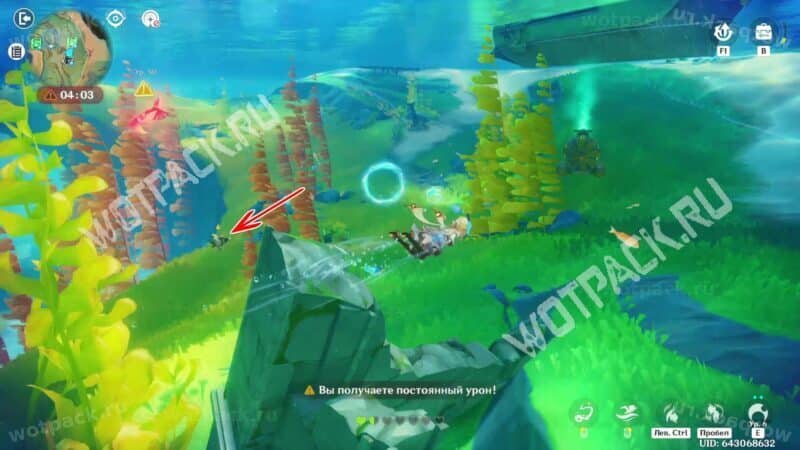
- The mechs will appear when the timer in the upper left corner of the screen runs out.
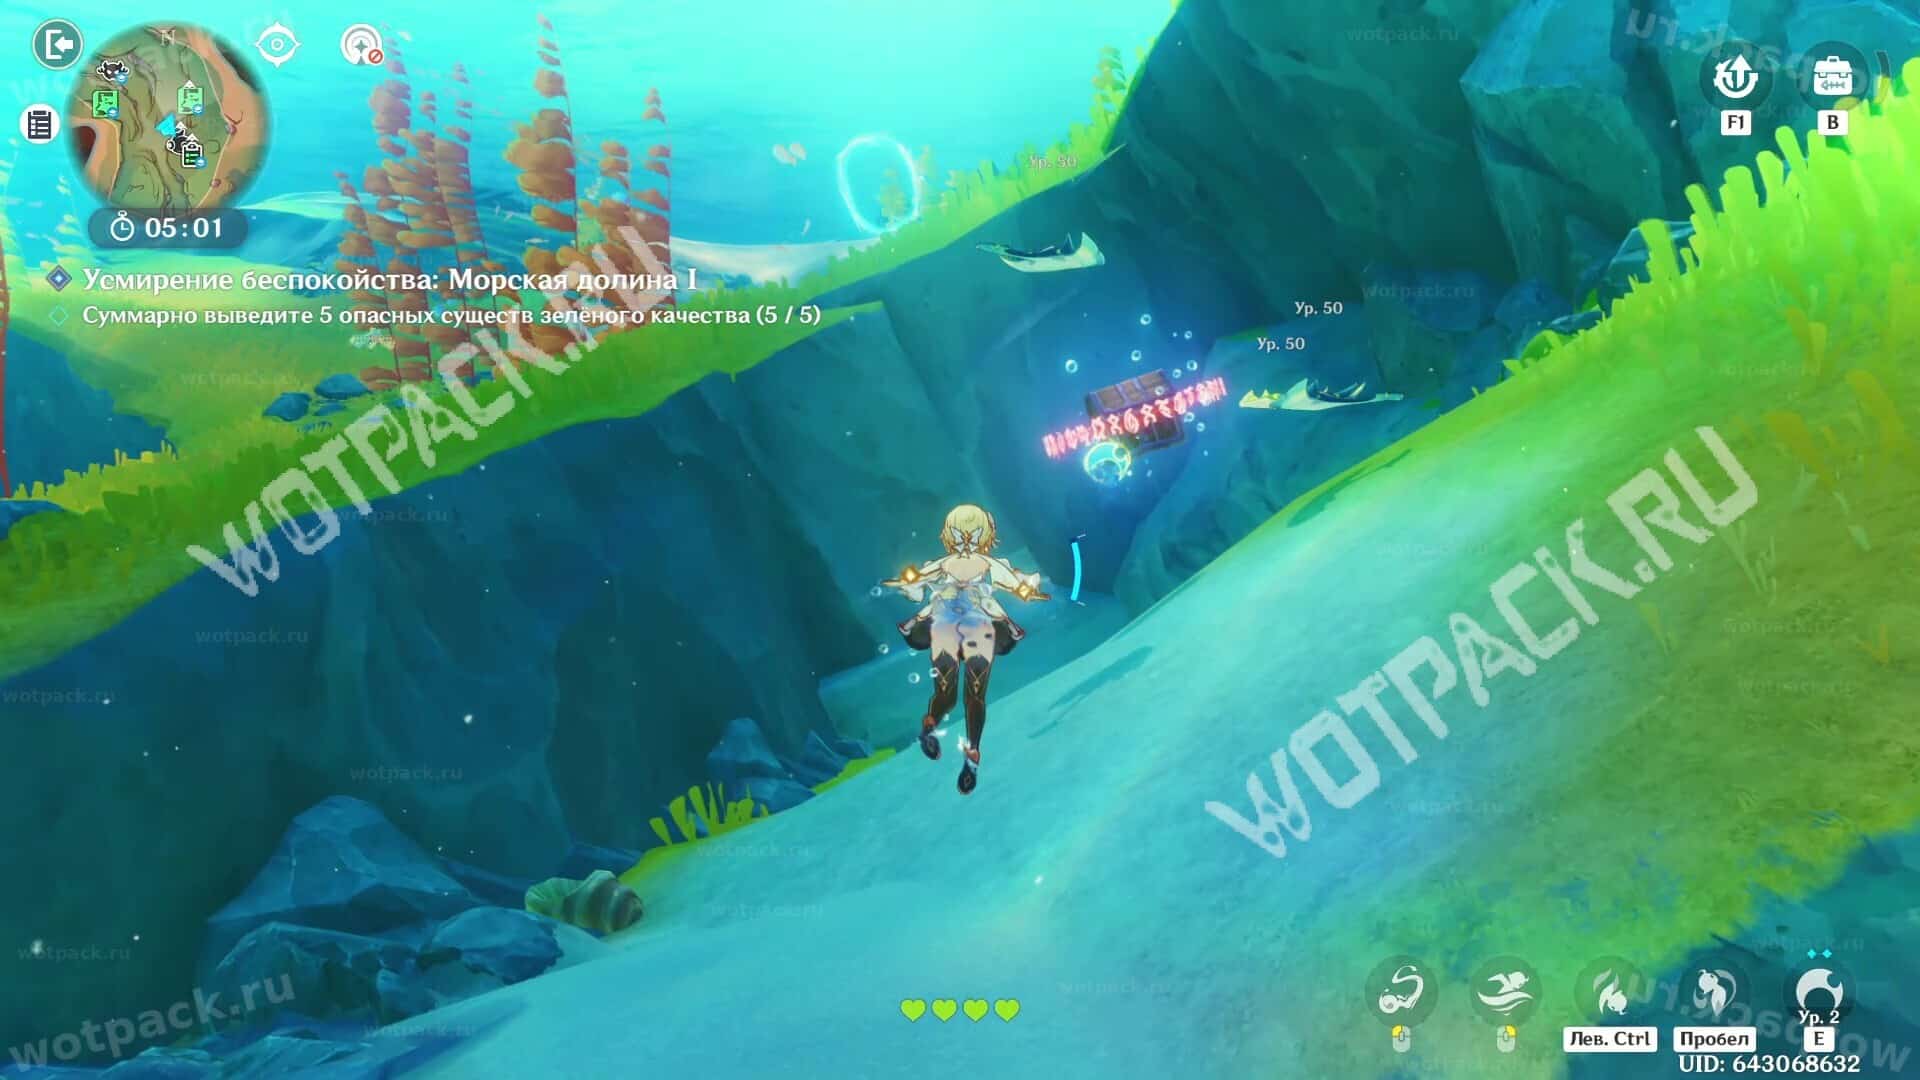
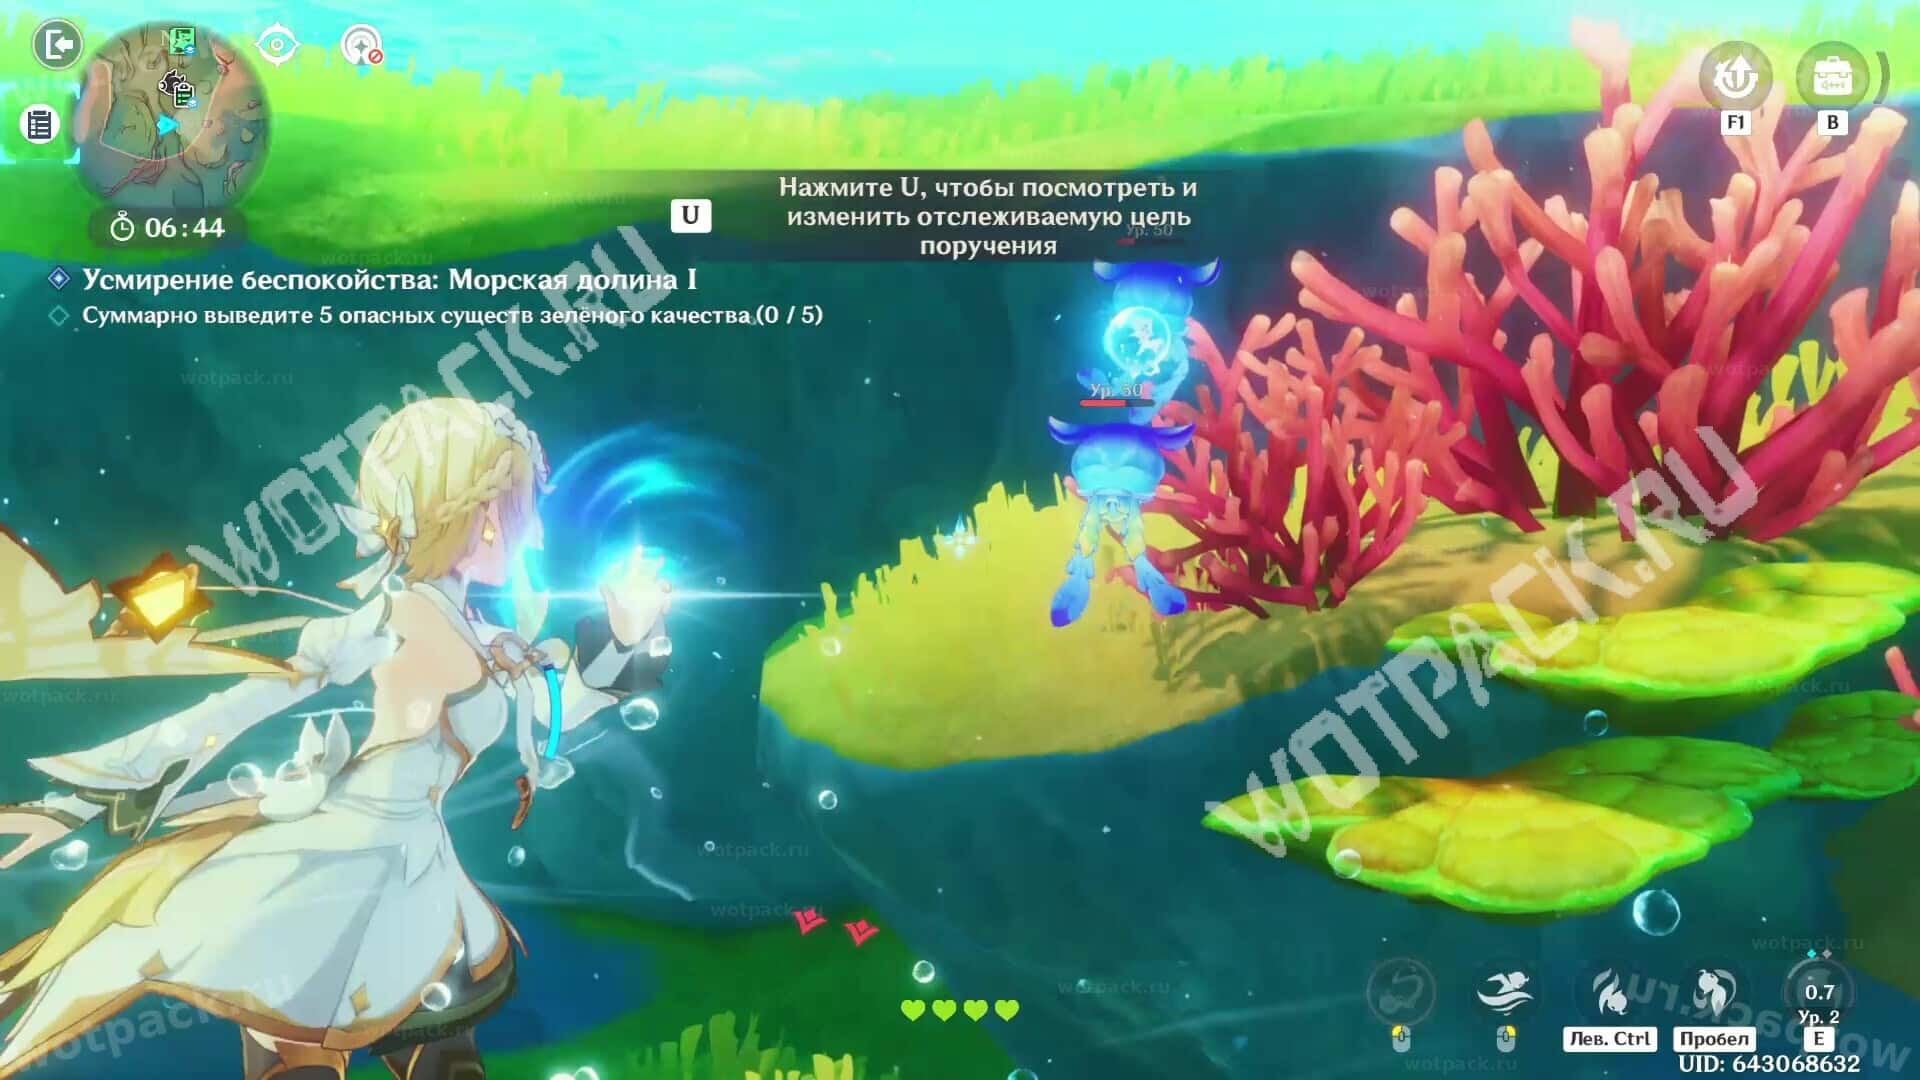
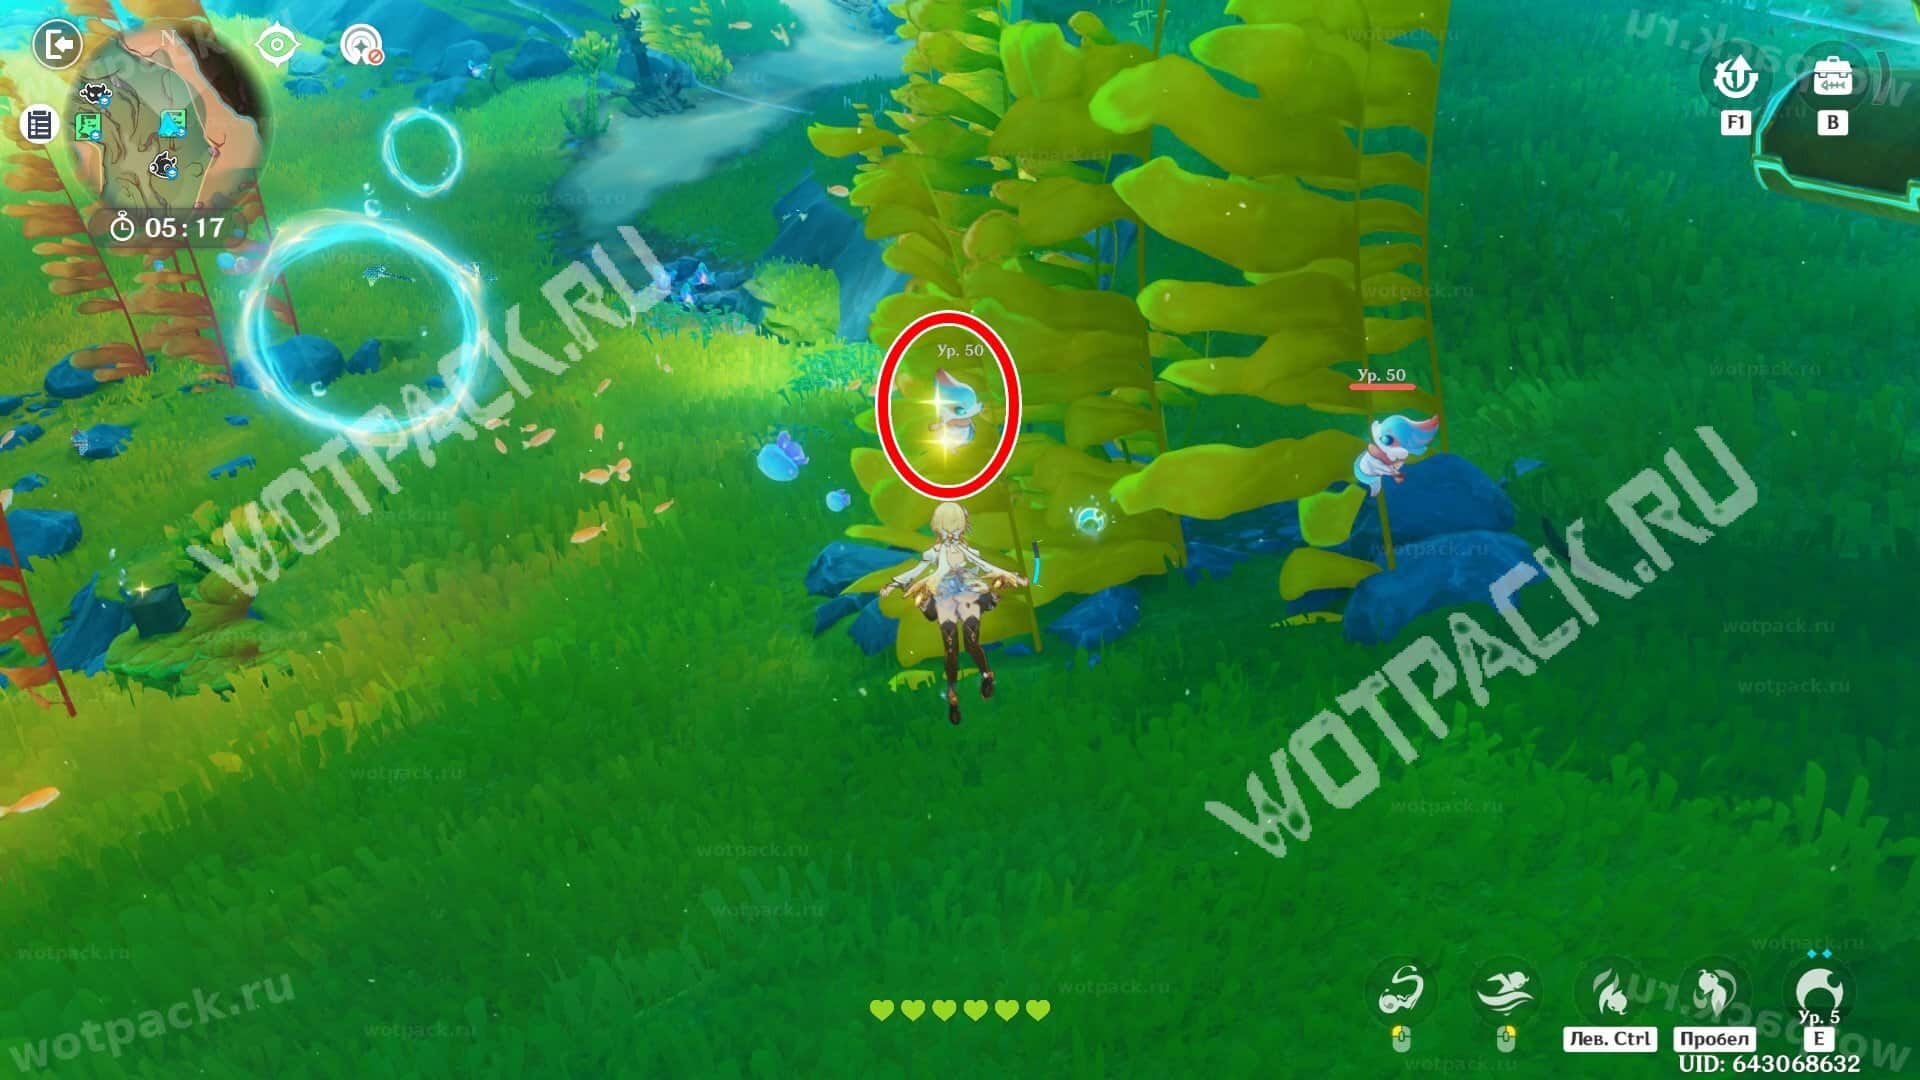
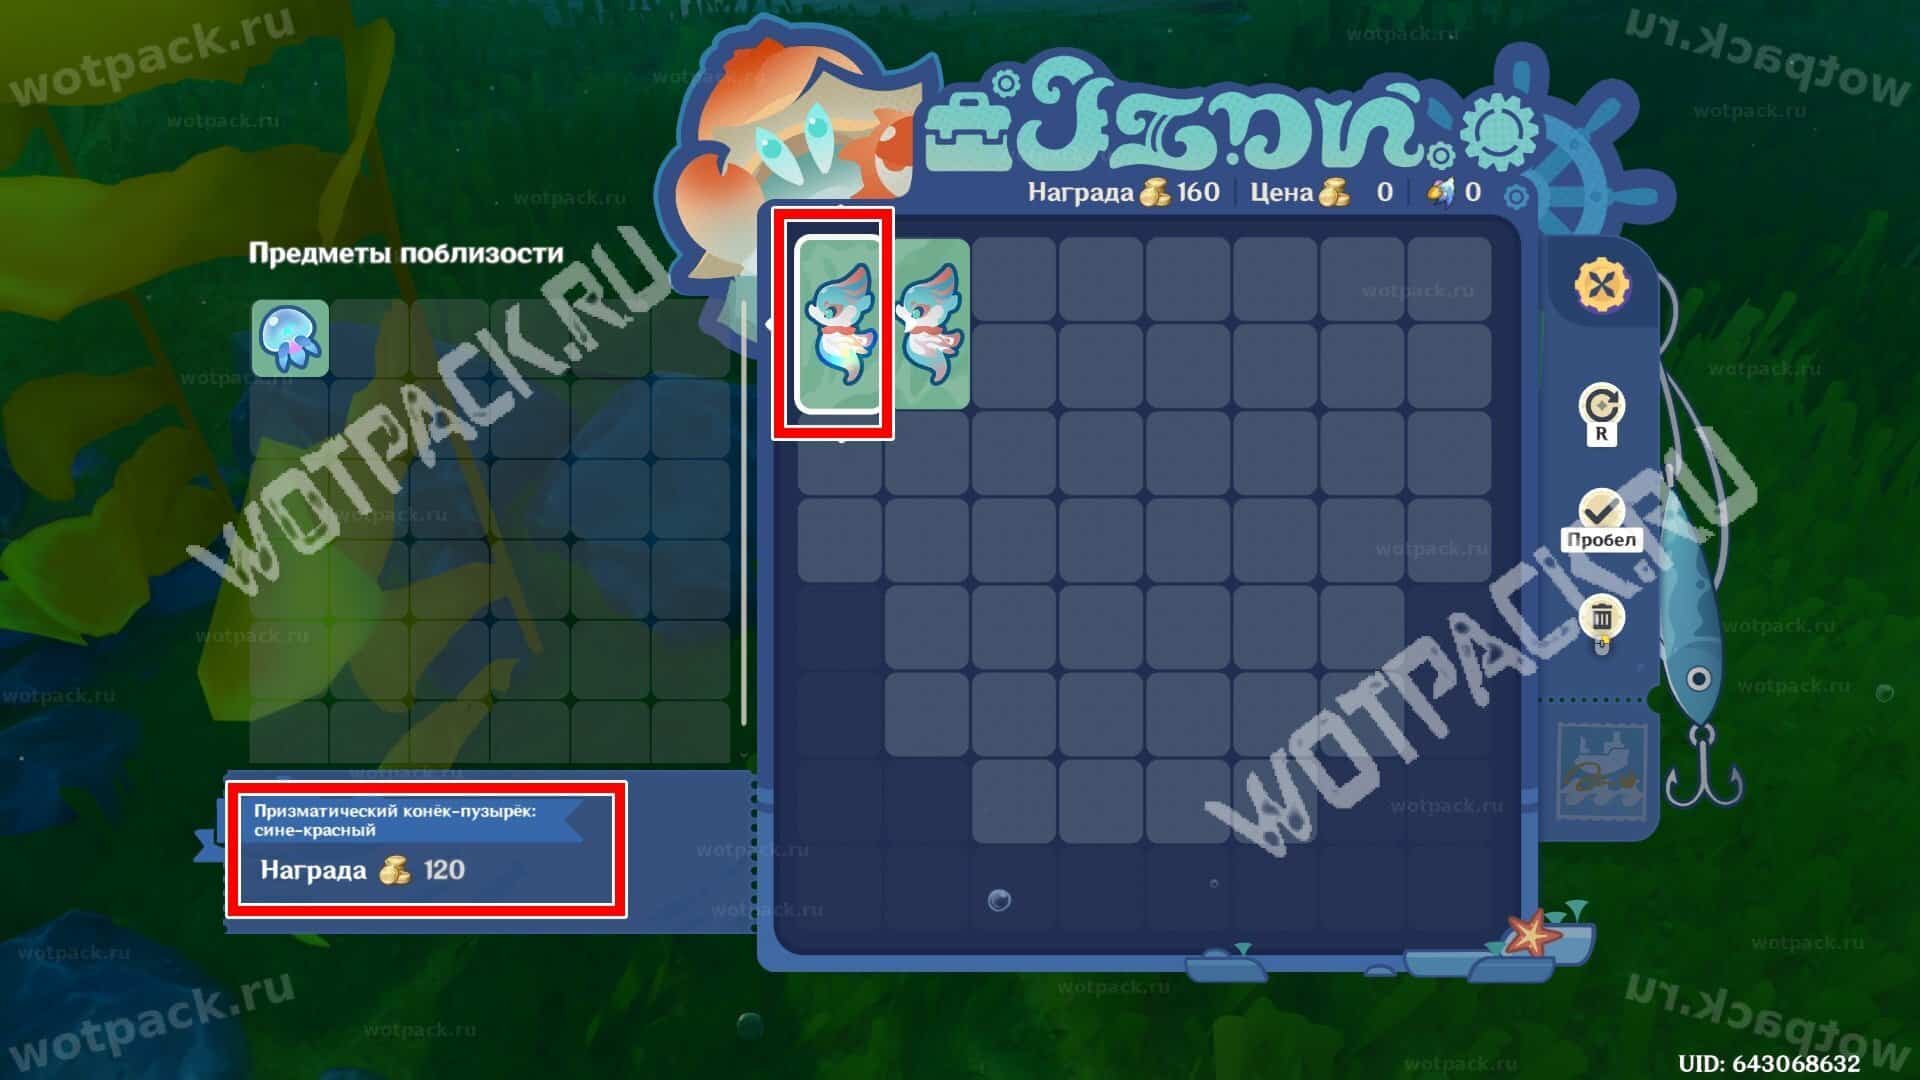
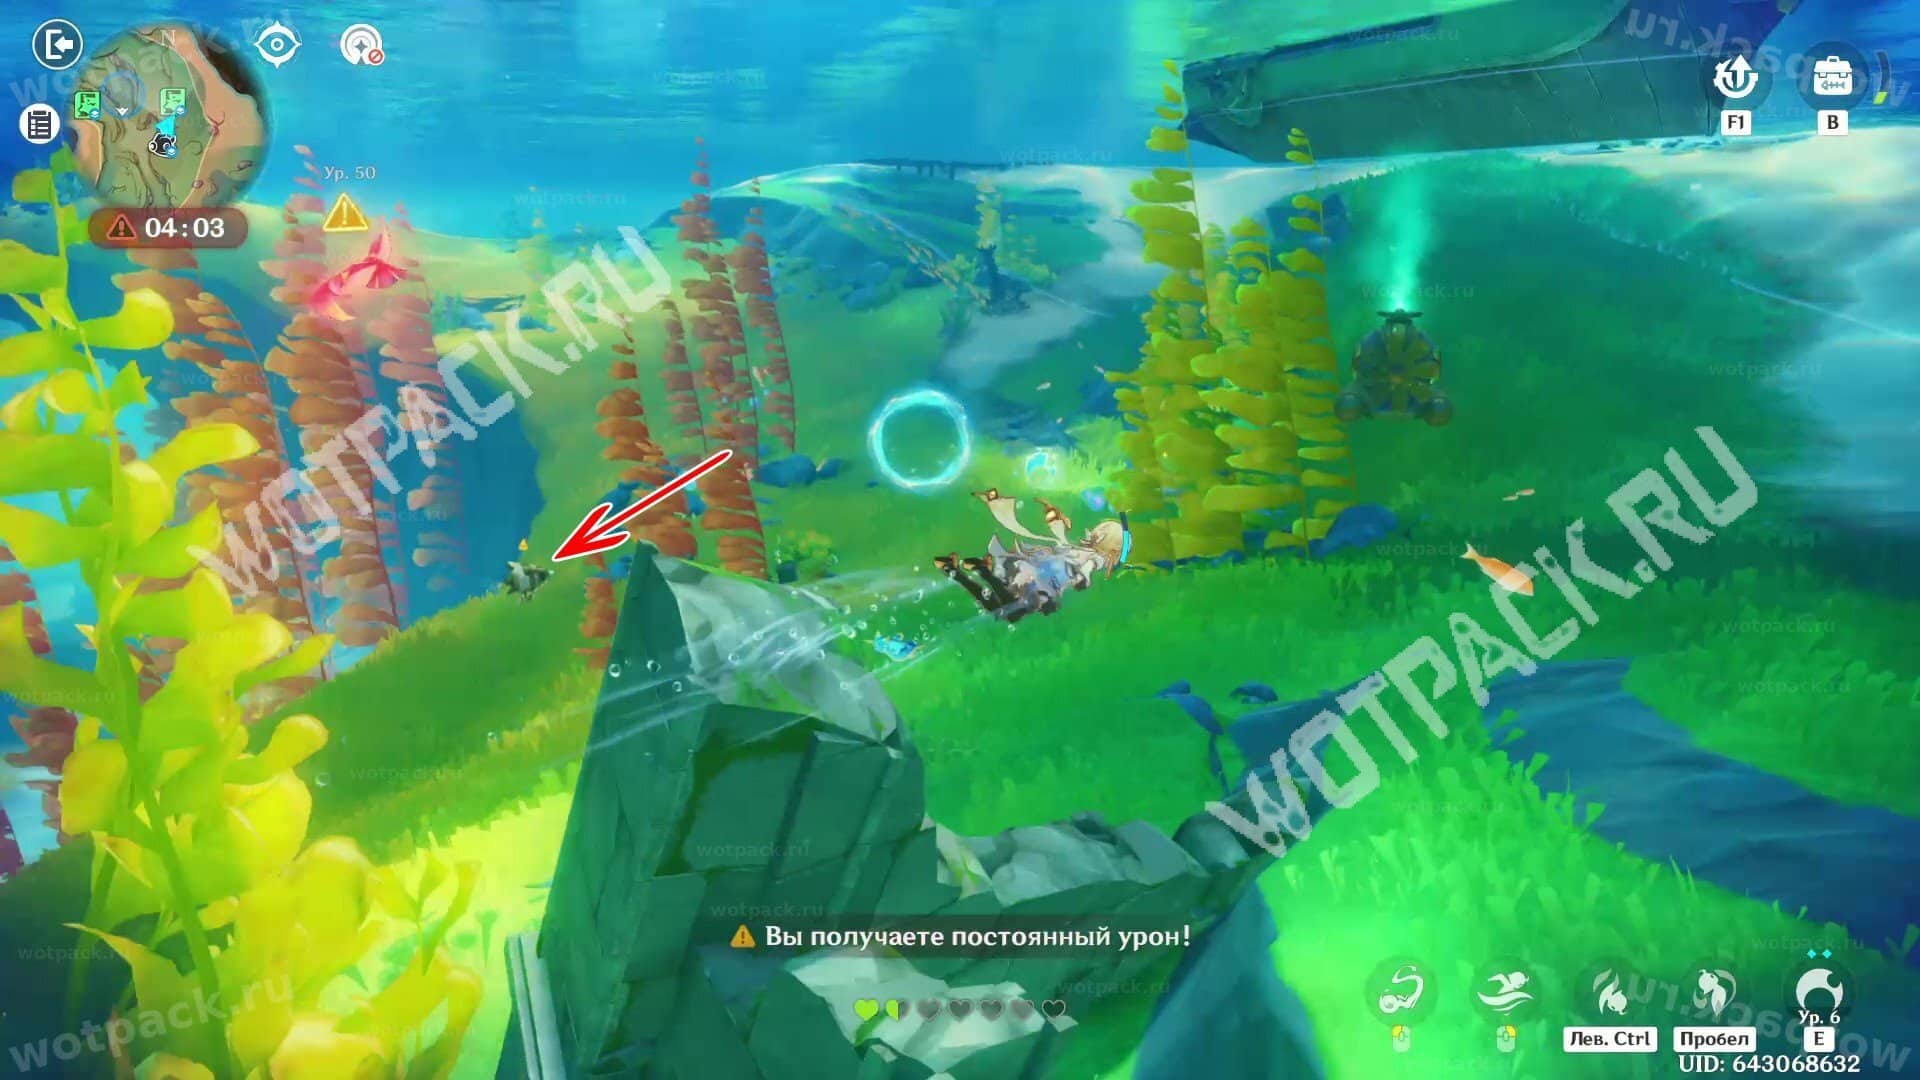
Treasure Hunt: Sea Valley
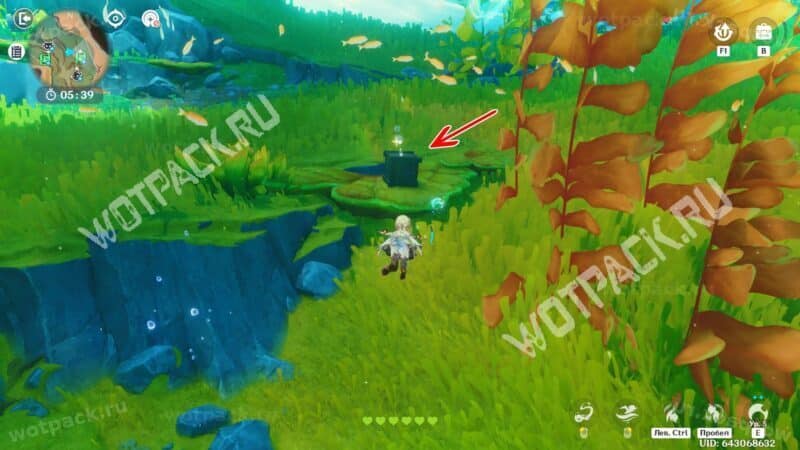
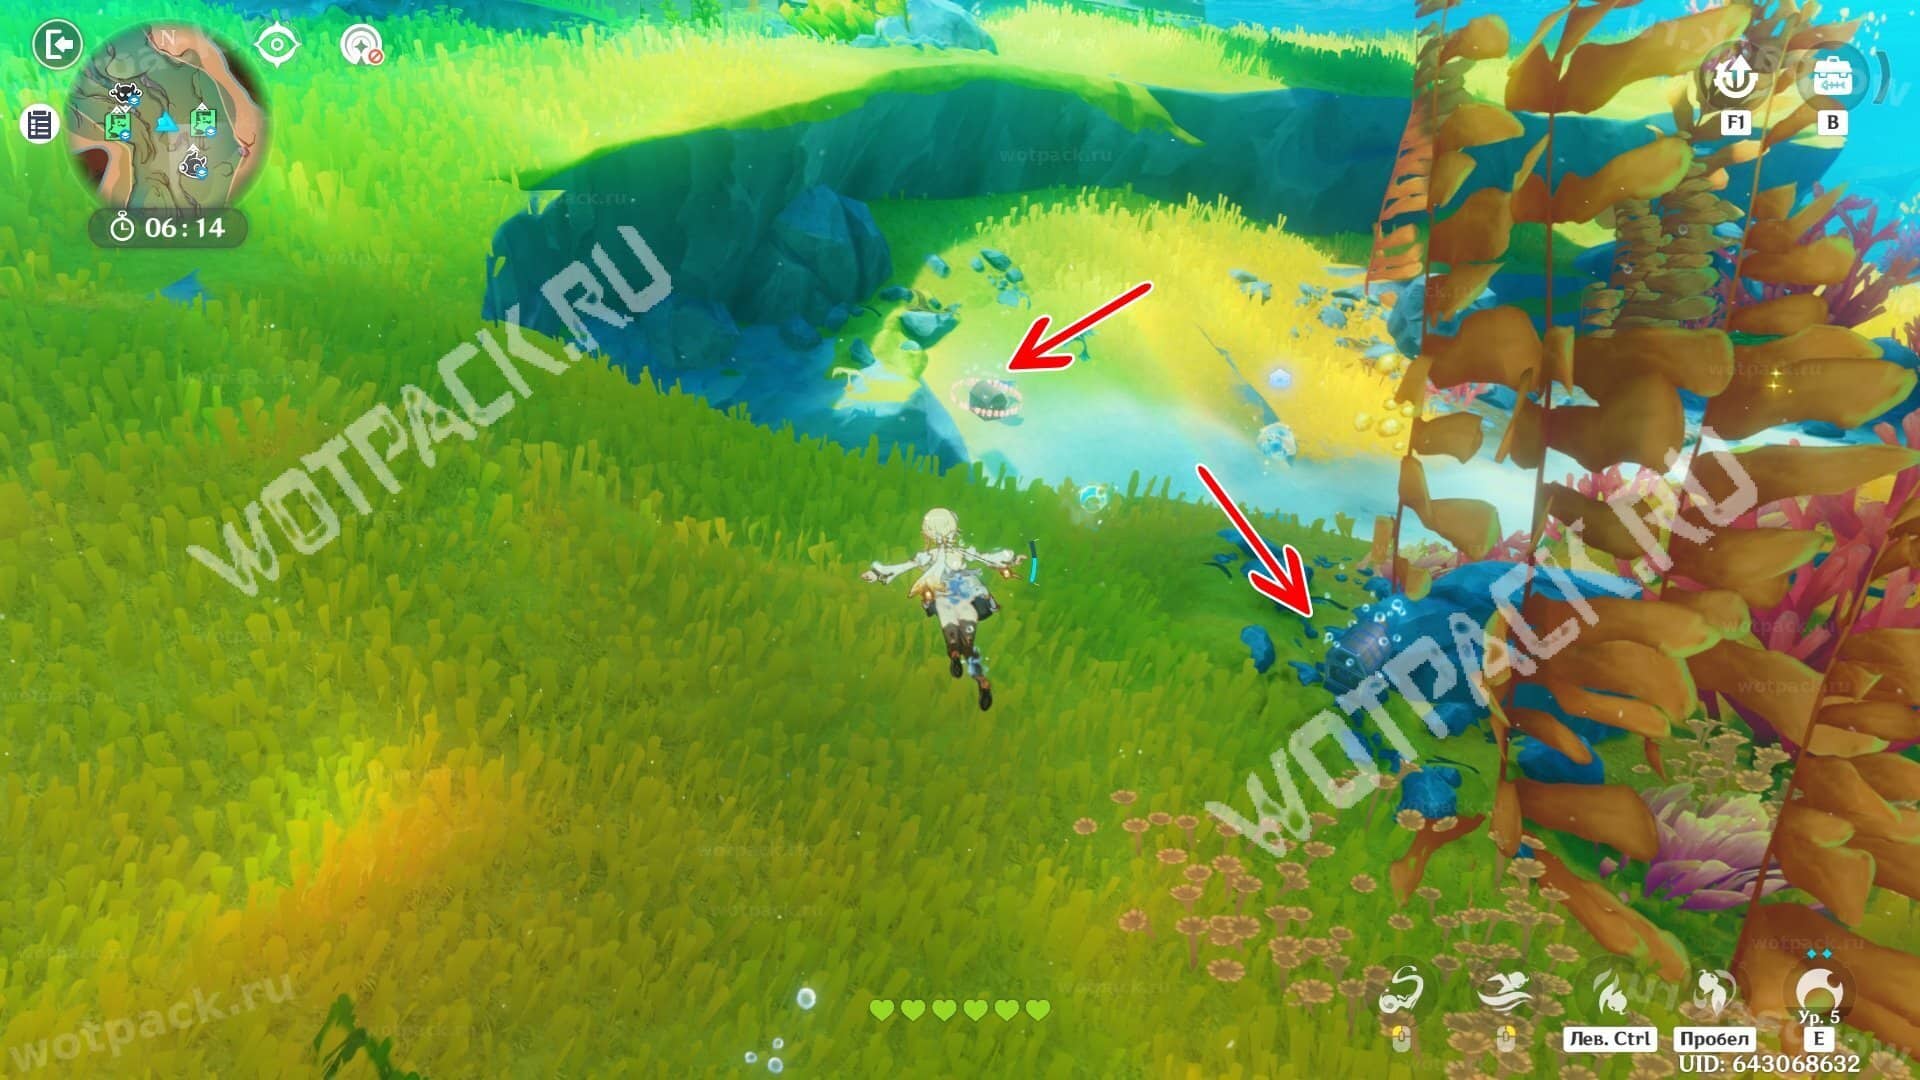
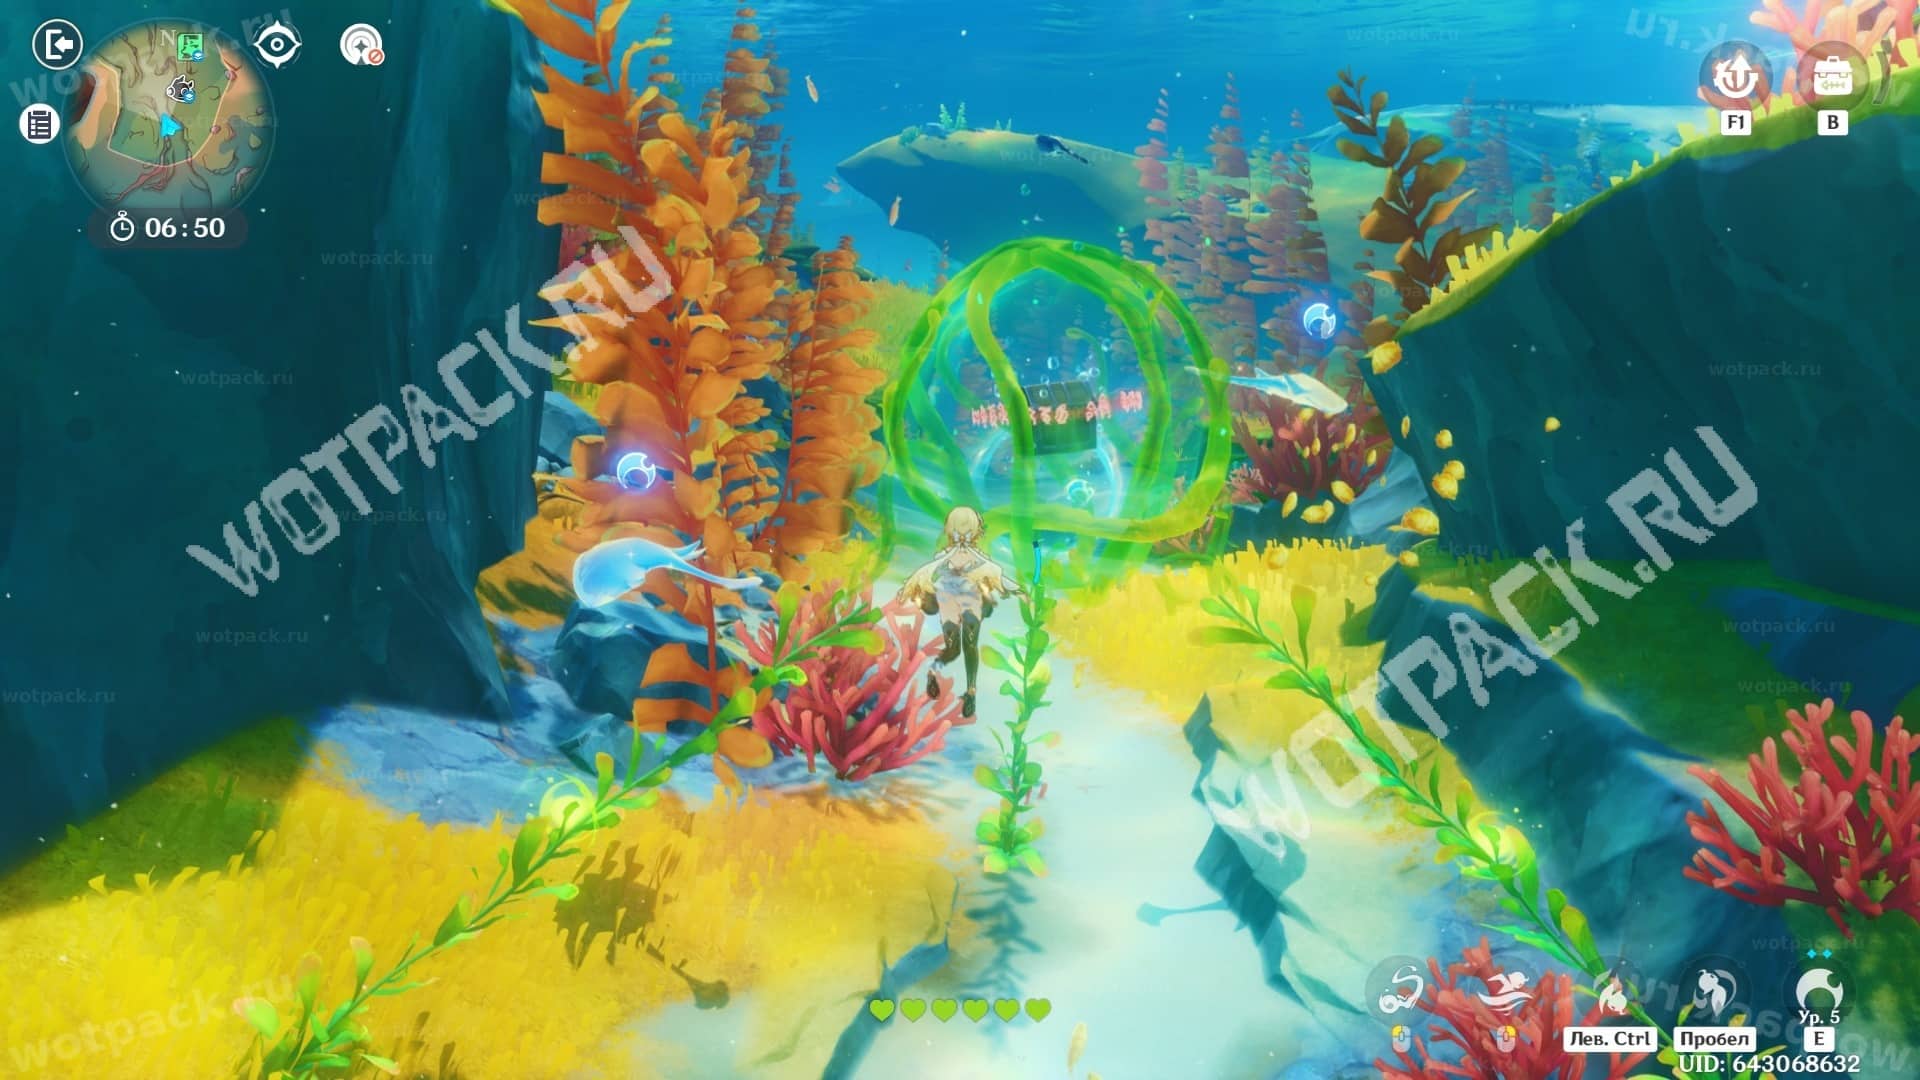
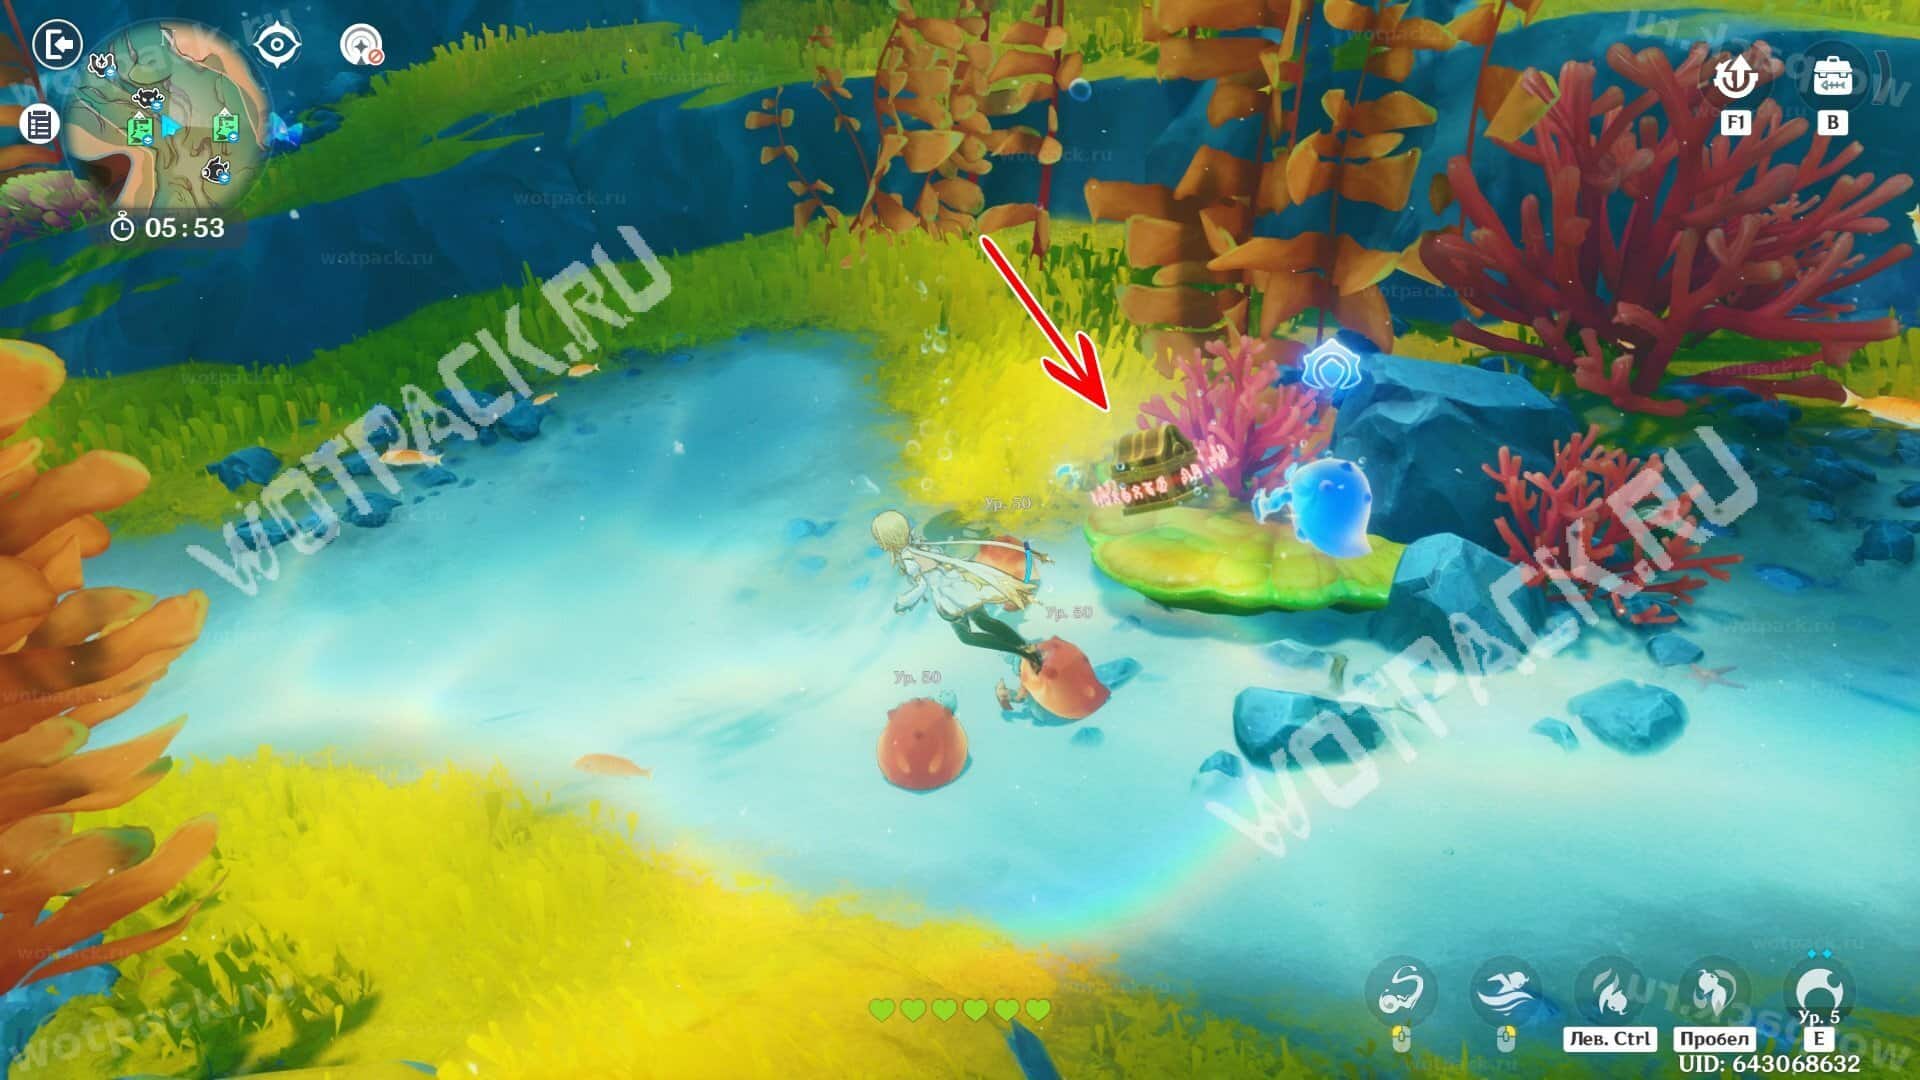
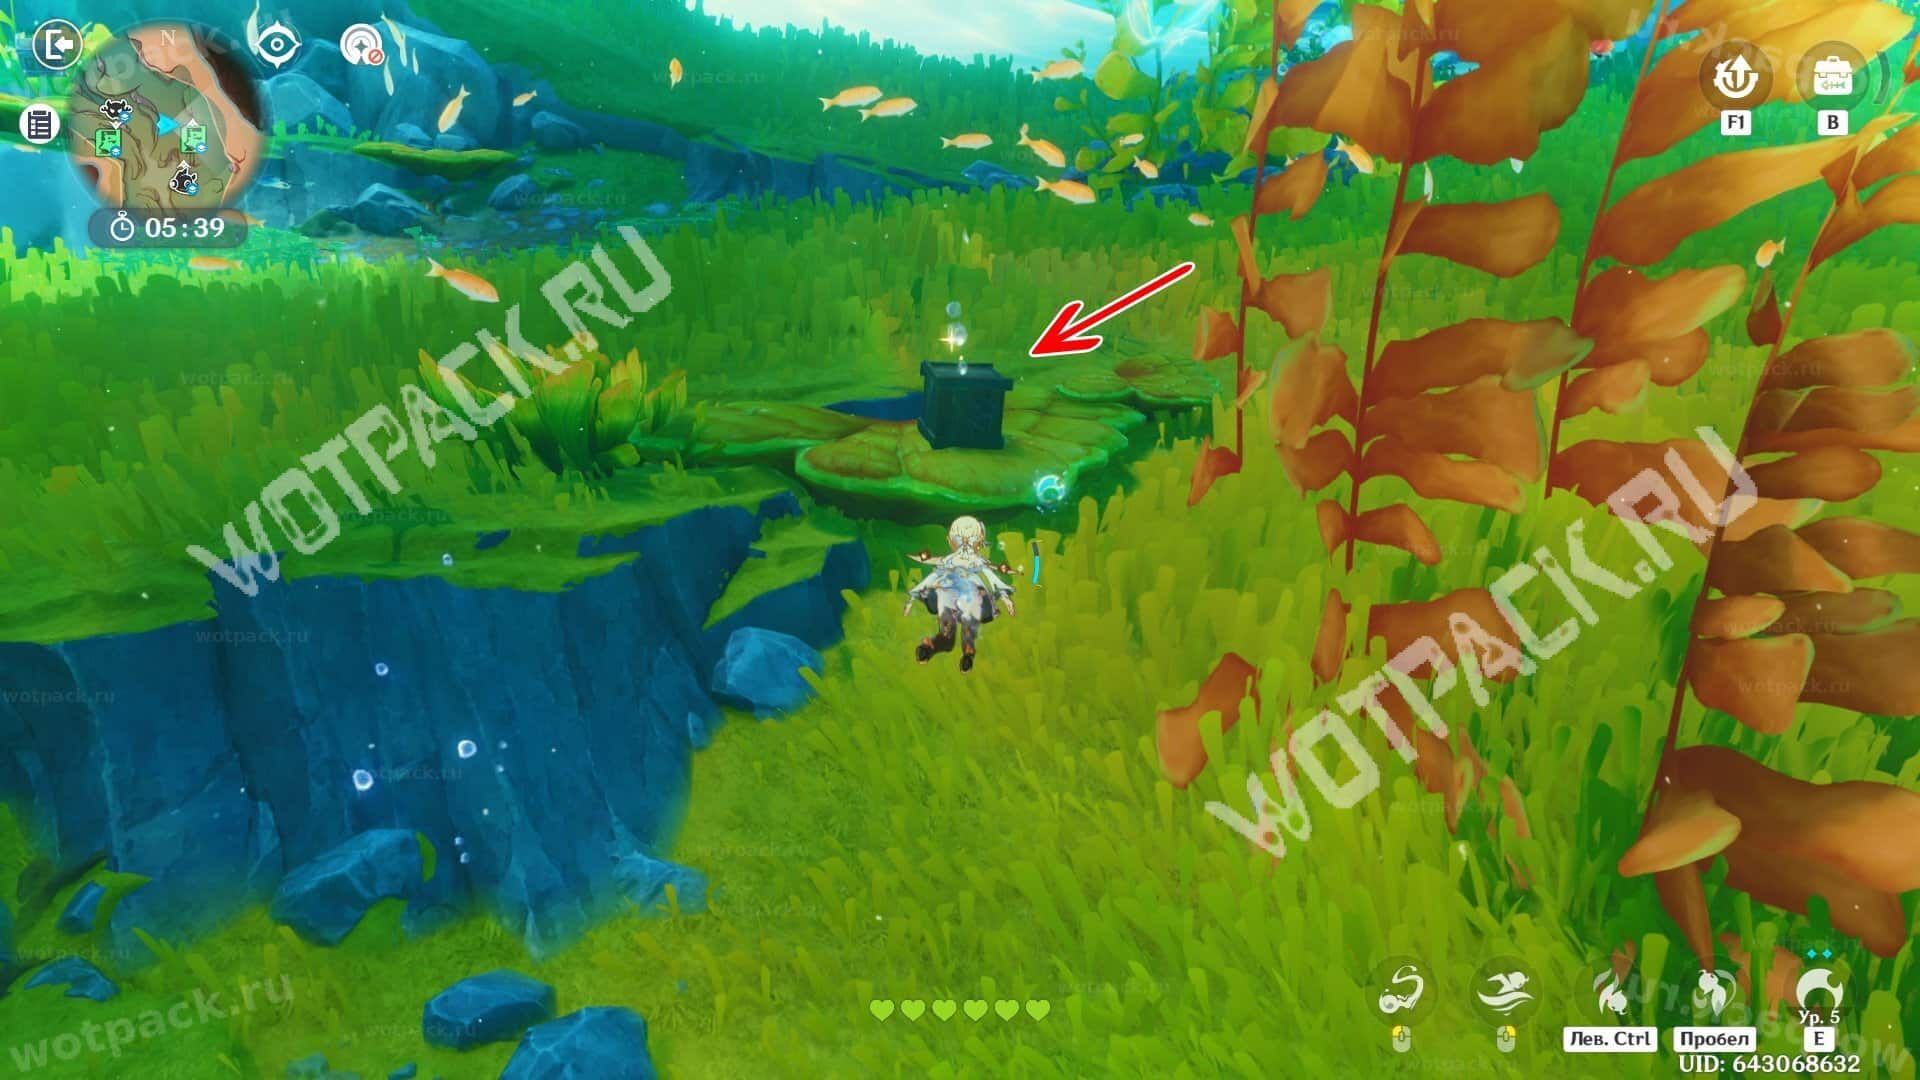
In this mission chain, open three and five containers during each dive. They're easy to spot—they look like chests with enemies floating around or seaweed growing nearby. All chests are refreshed with each dive. Three types can be found throughout the area:
- A rich cache.
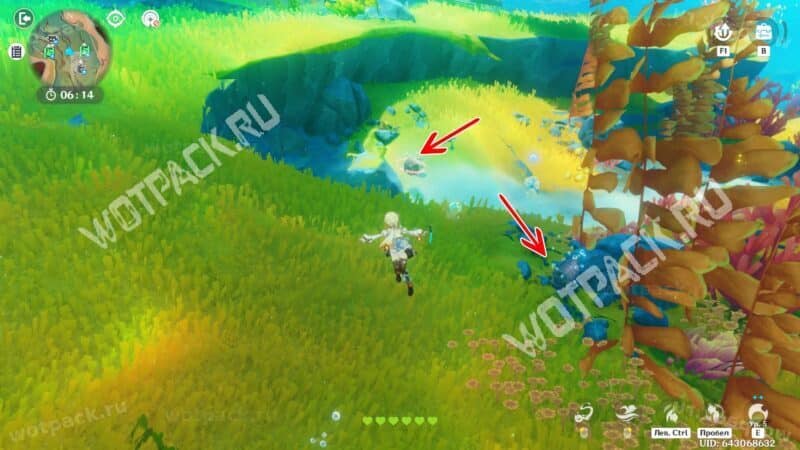
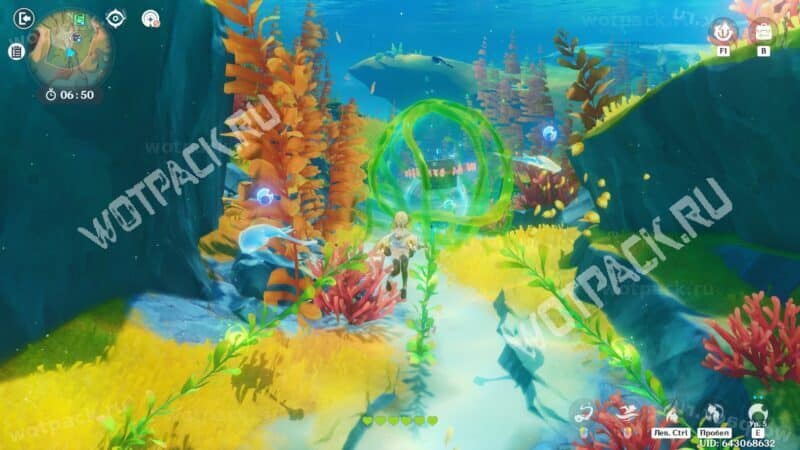
- Precious chest.
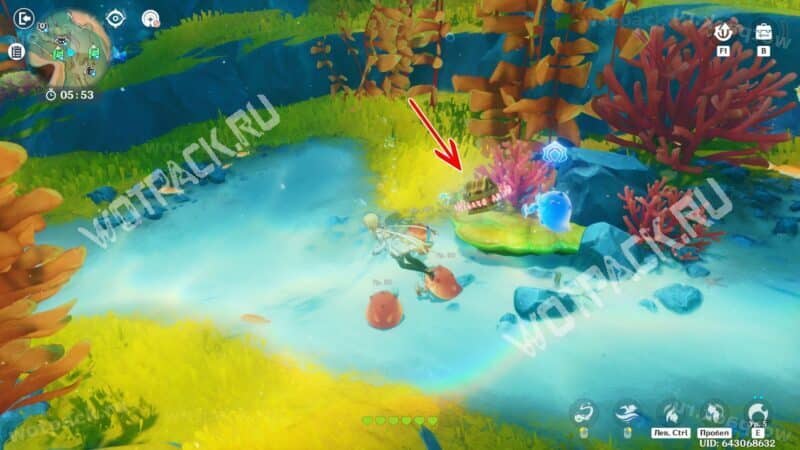
- Boxes and cartons.
Dismissal of gunsmiths
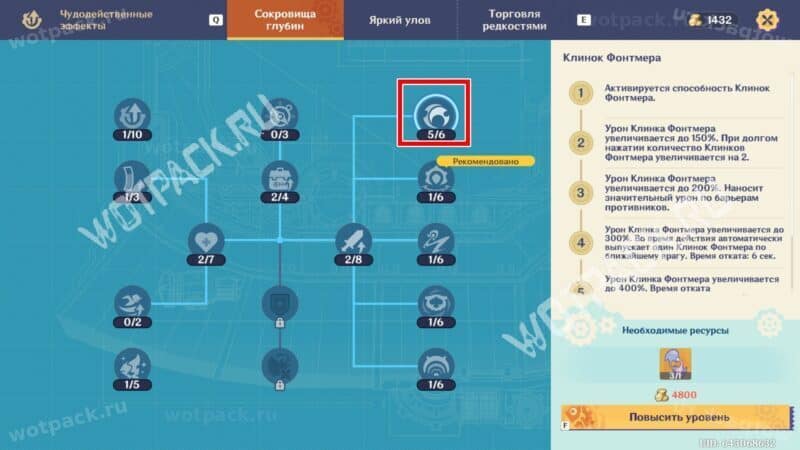
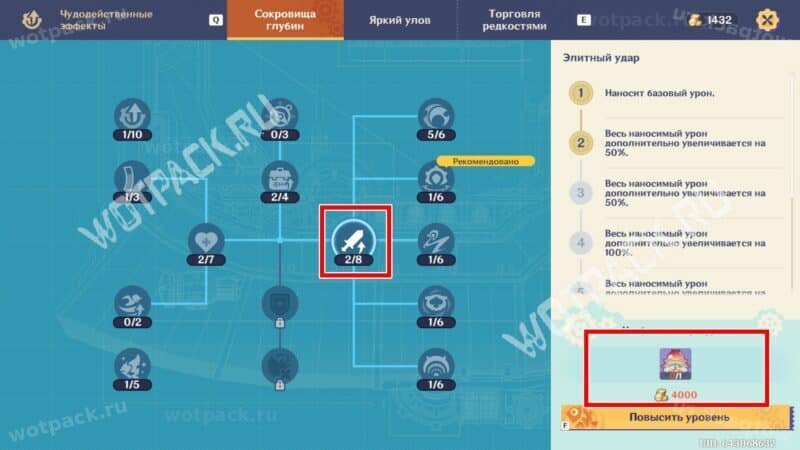
The final side quest unlocks after reaching the fourth development goal. Earn 4000 coins and engage in a short dialogue with Nurse Sijvin. Afterward, hunting for particularly aggressive fish will become available. To win, you'll need to level up your abilities in the "Miraculous Effects" section. These enemies are more effectively defeated with the "Fontmere's Blade" skill.
Head underwater to battle monsters. Their mechanics are identical to those of local legend. Magic Twin Knights.
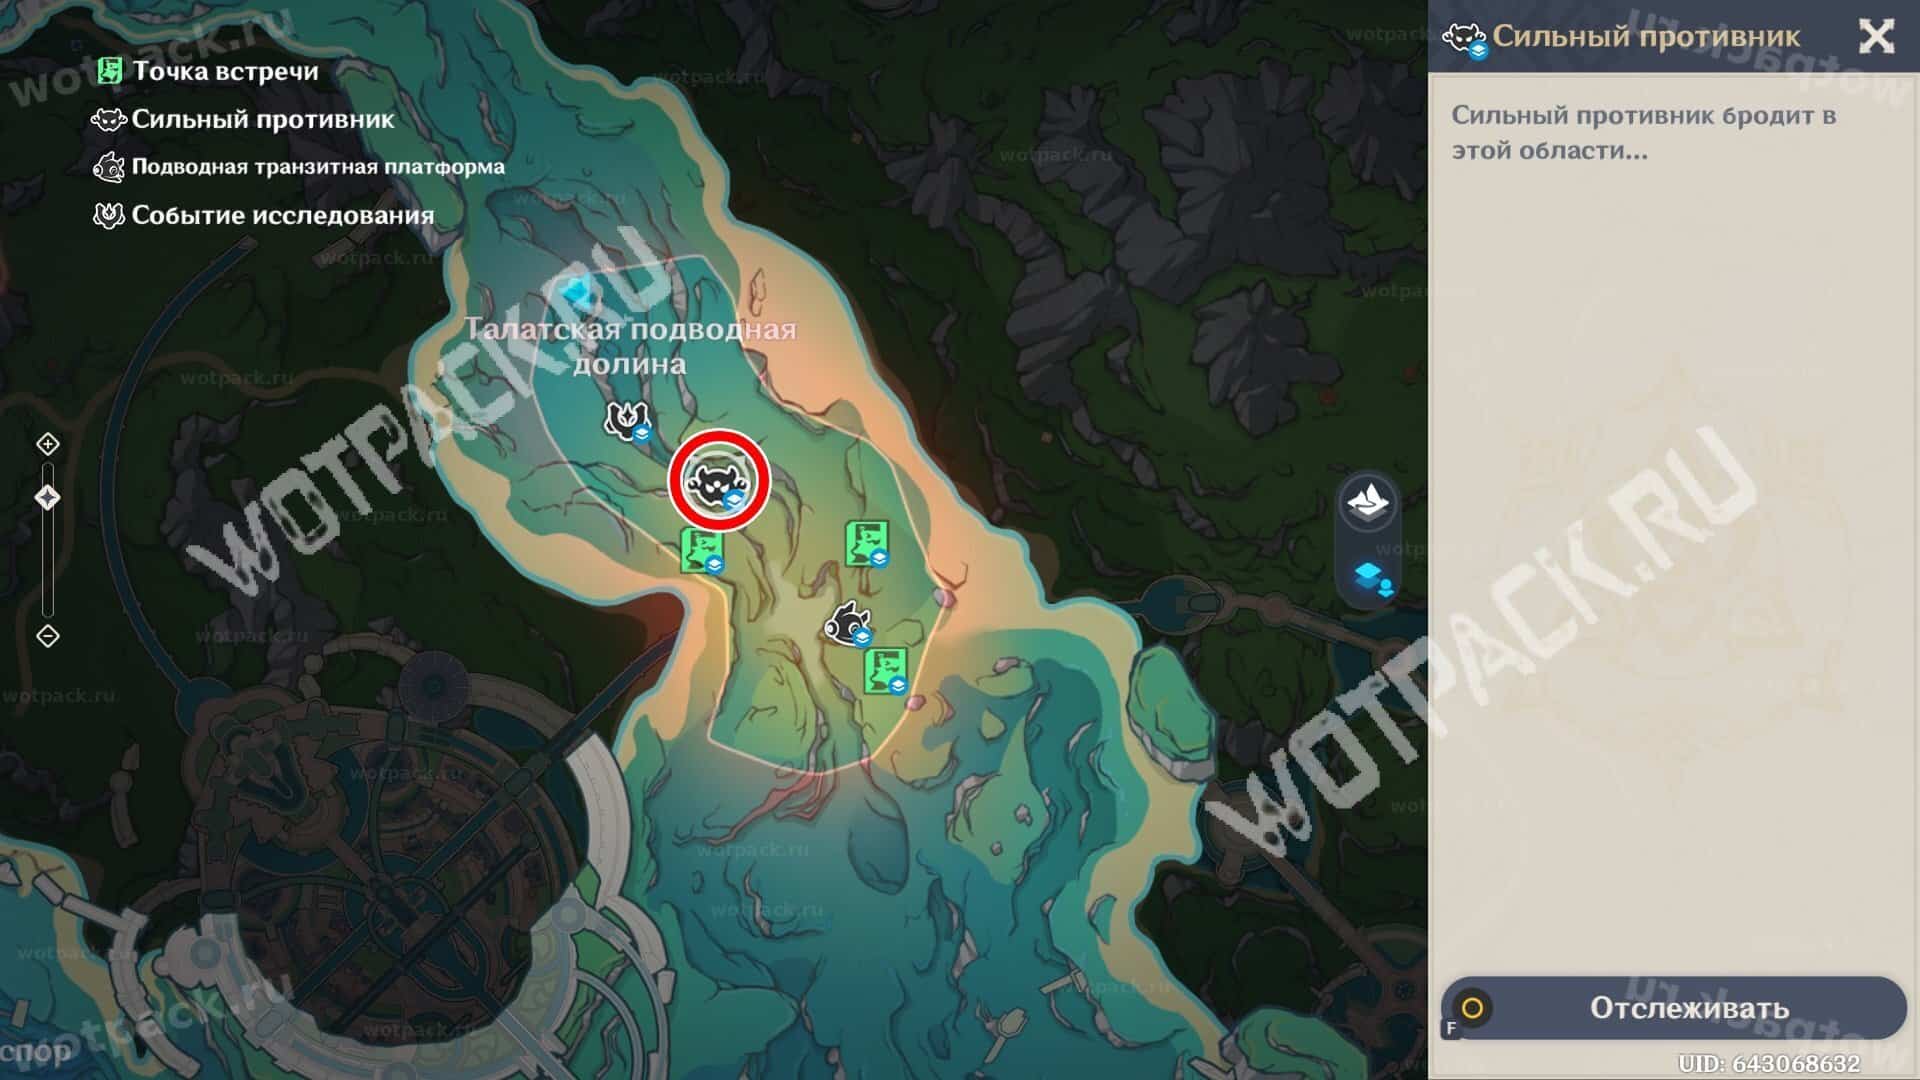
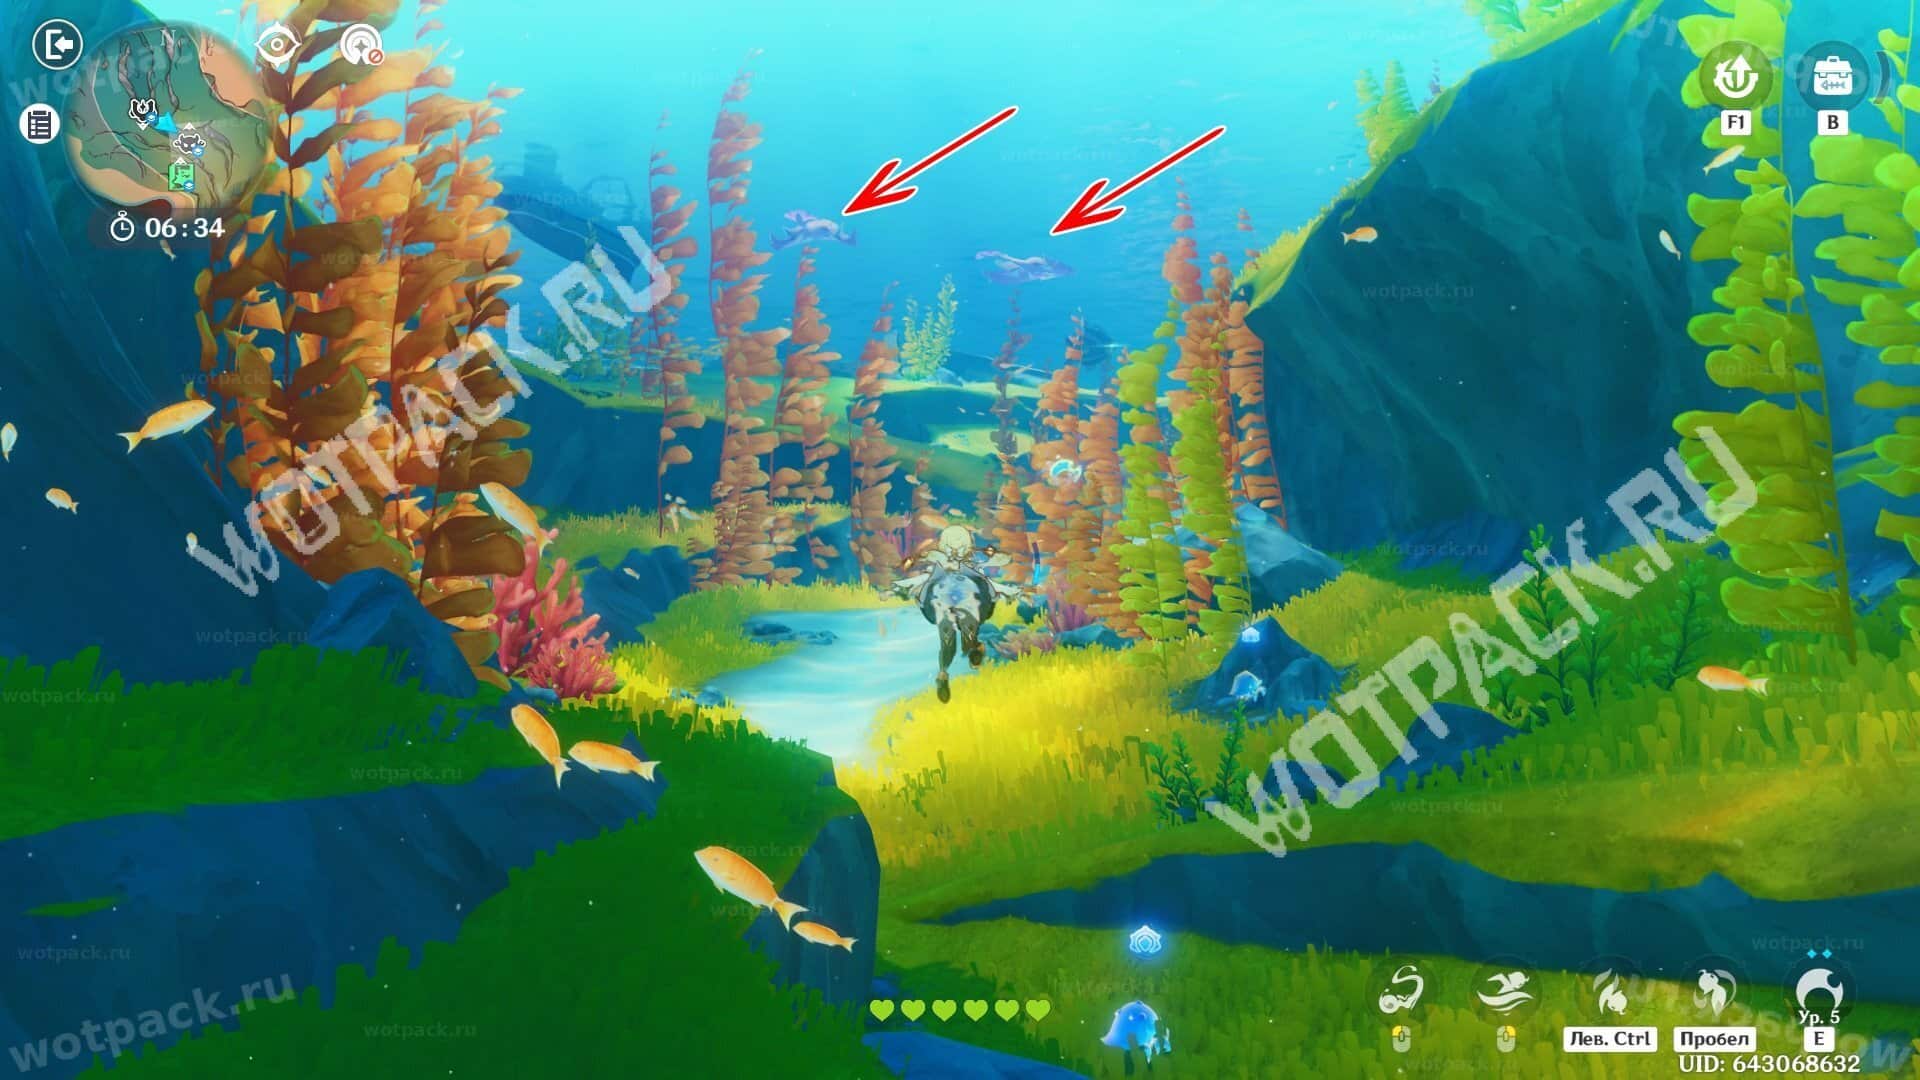
Video walkthrough of the mini-boss:
City ruins
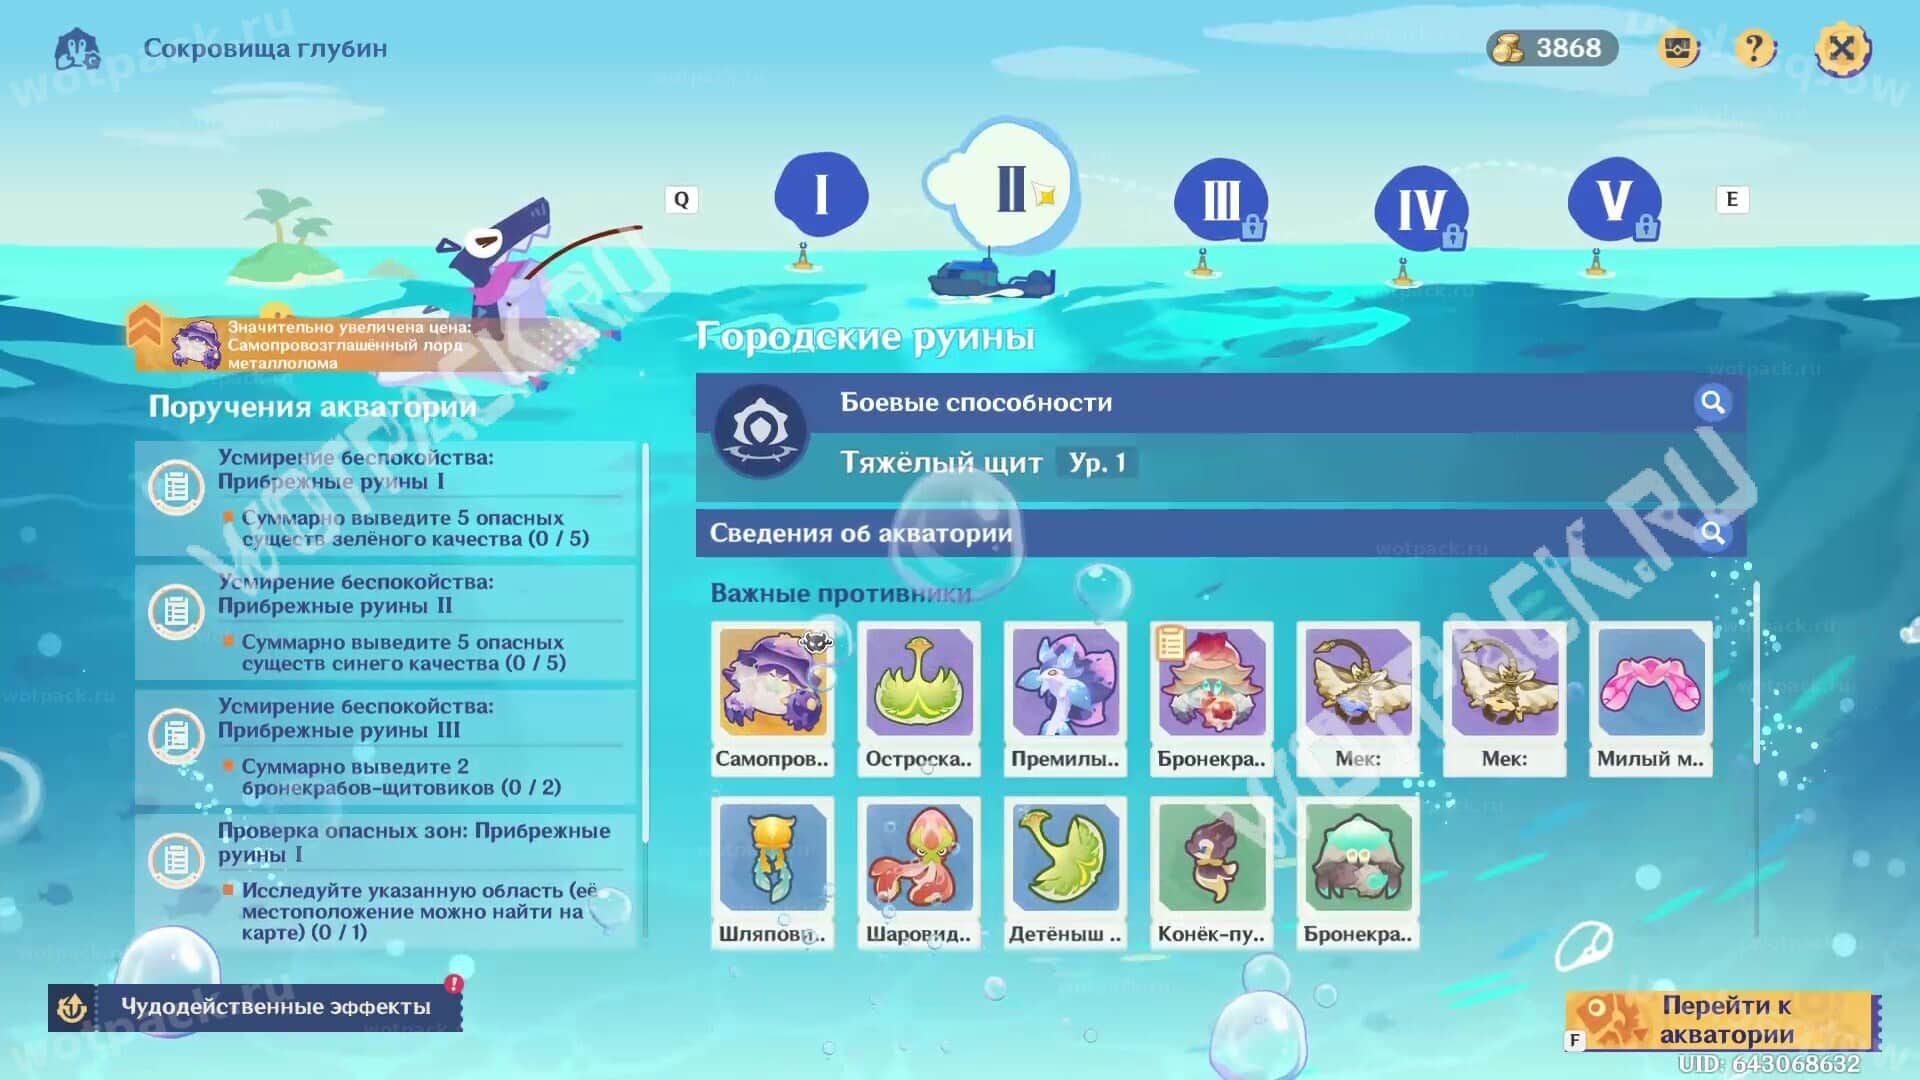
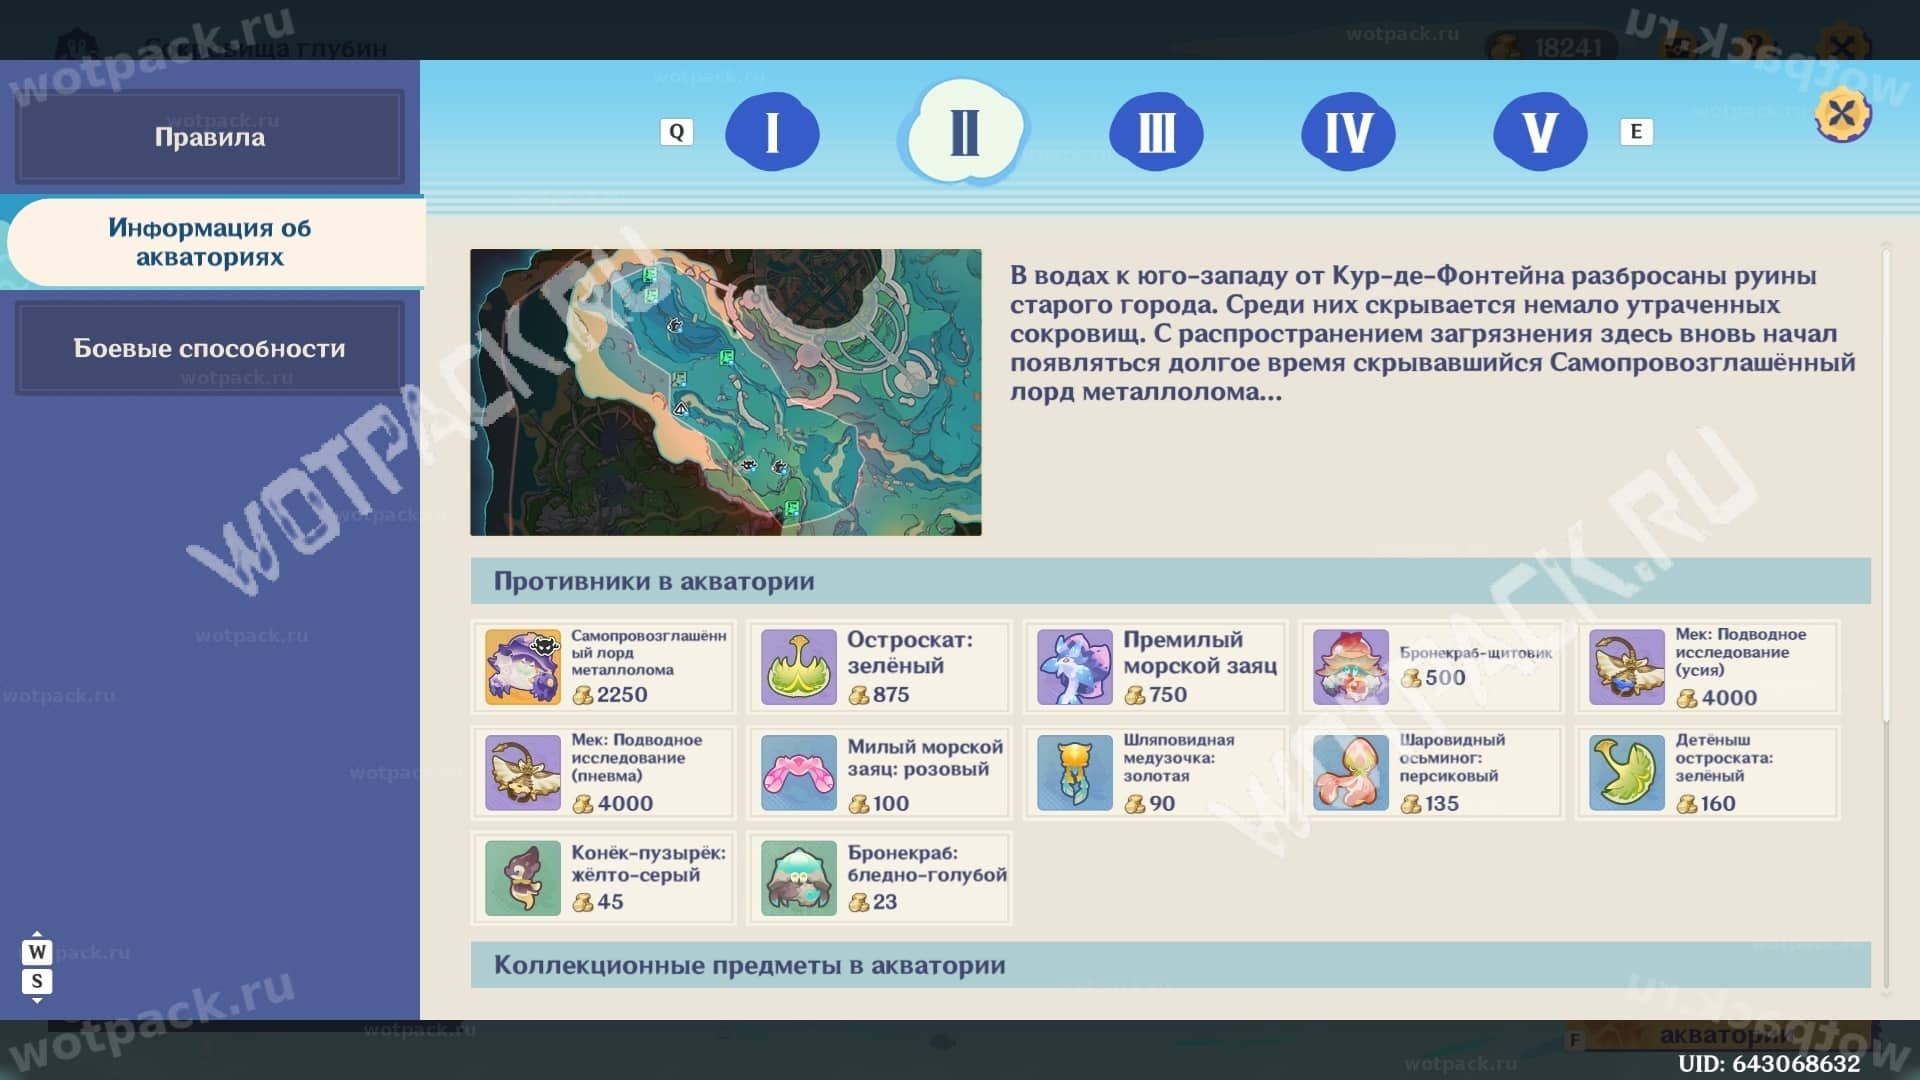
The second zone covers the outskirts of the old capital of Fontaine. Most of the exploration missions are similar to those in the previous zone.
The following goals are encountered:
- Bring out a total of 5 dangerous creatures green/blue qualities - you can see the required opponents on the water area card.
- Breed a total of 2 Shield Armor Crabs.
- Explore the designated area—exploration of a specific point only refreshes upon re-entering. Try to combine it with another objective.
- Open 3/5 containers in total.
Calming the Unrest: Coastal Ruins III
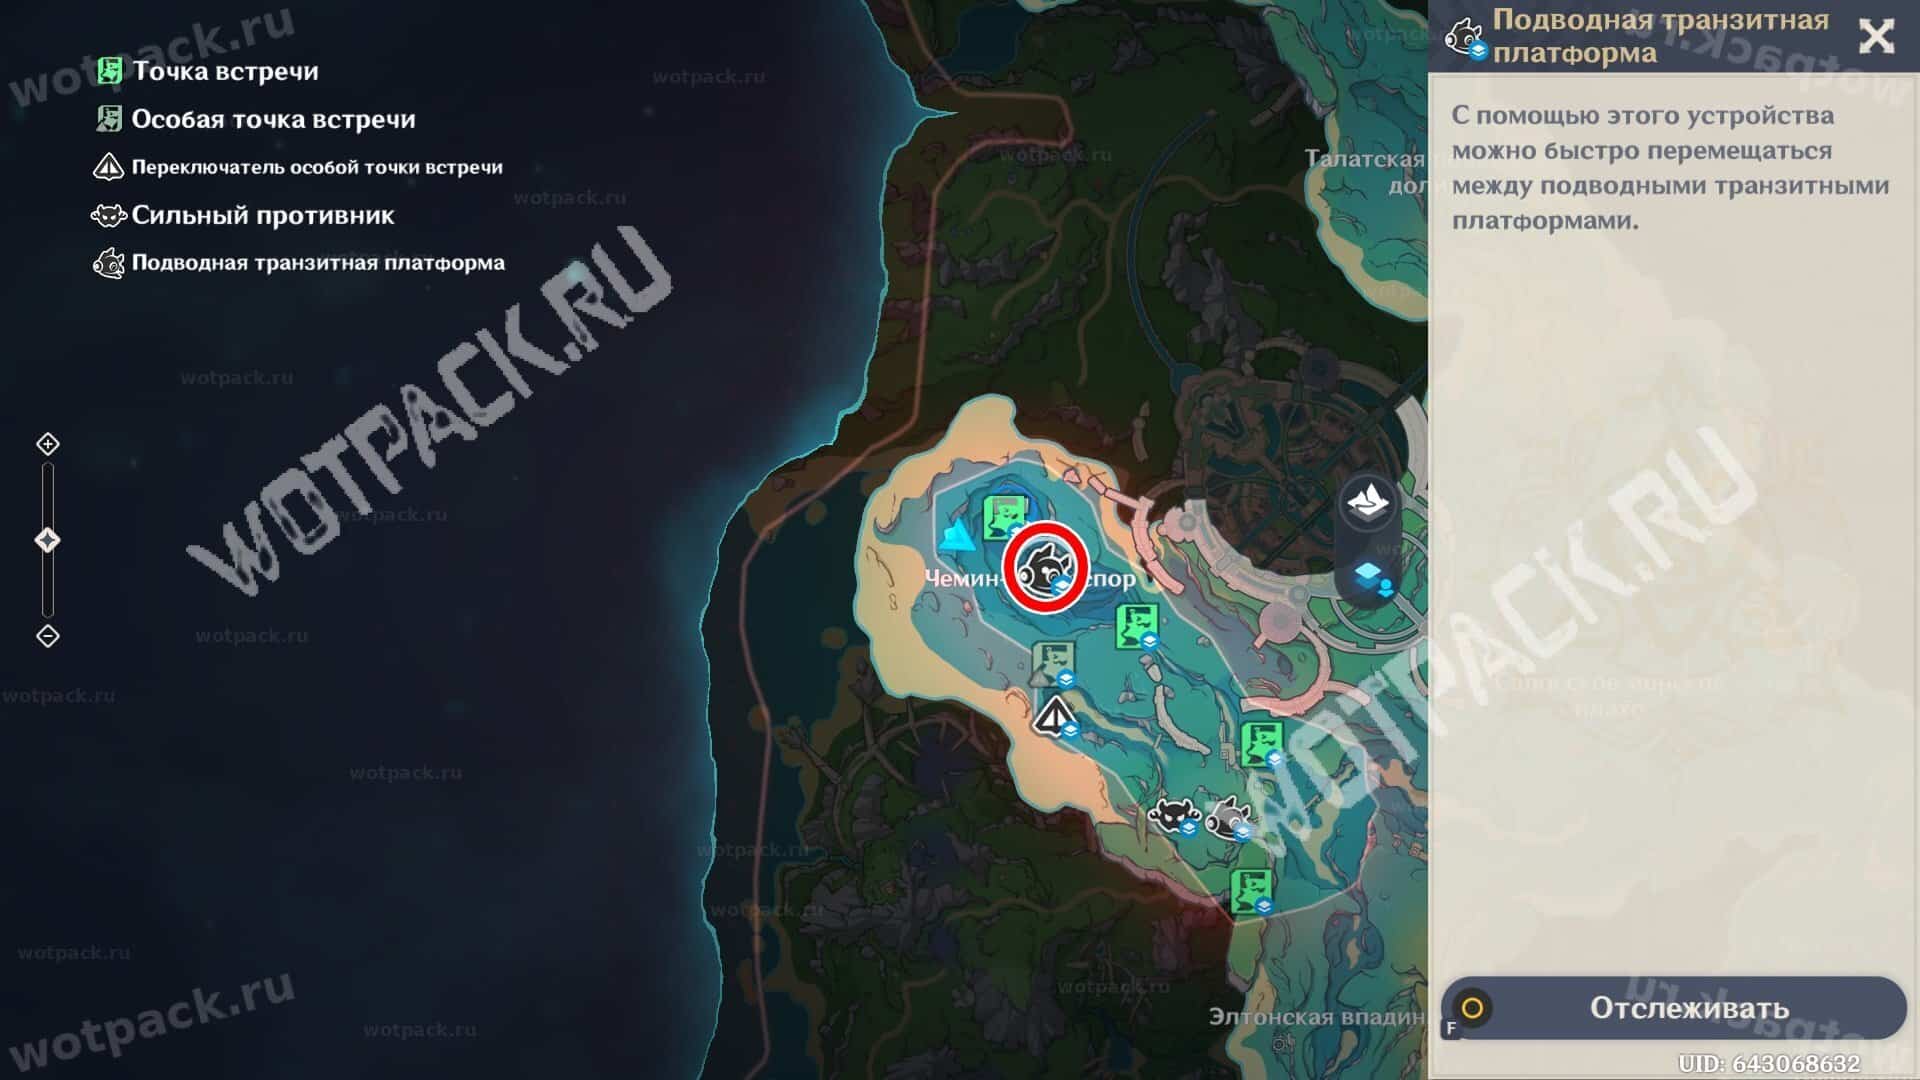
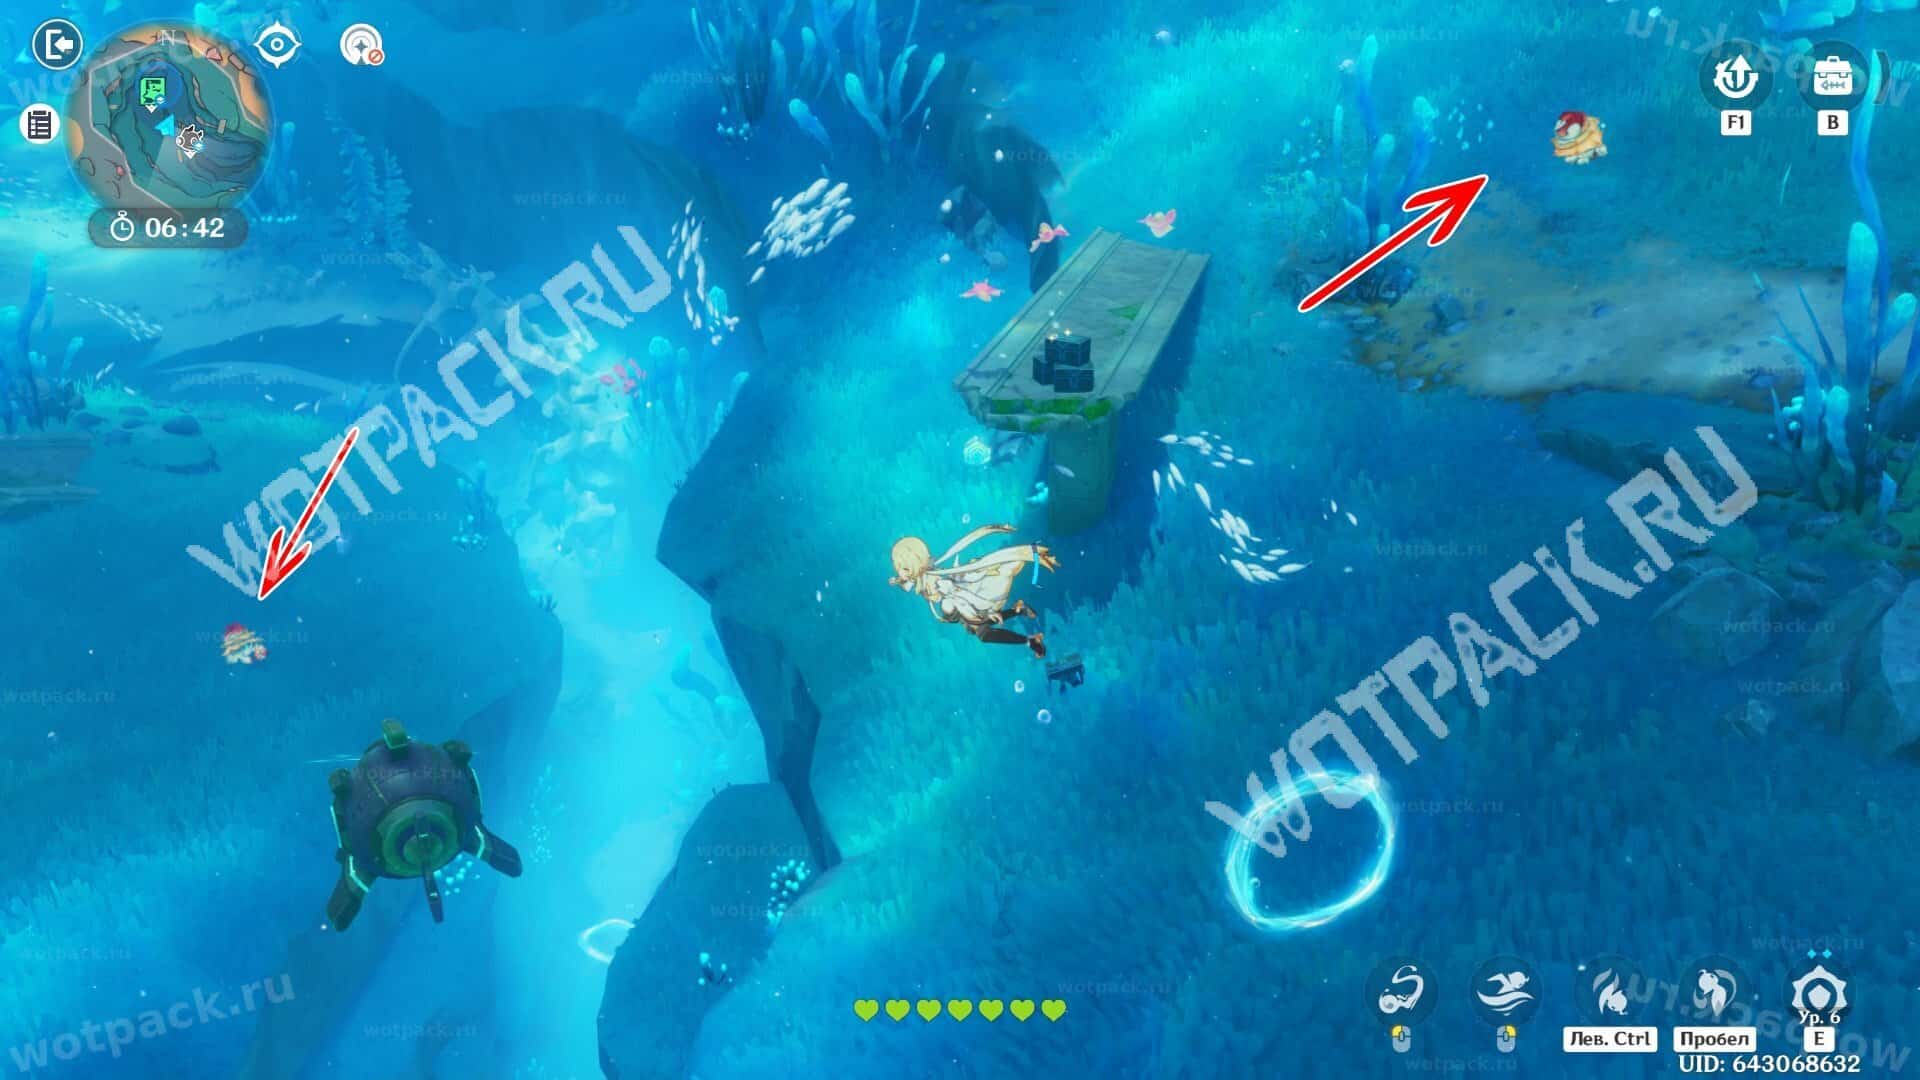
You can catch two Shield Armor Crabs at once in one area. Swim to the northern underwater transit platform. The huge crabs are easily visible from afar. You don't need the Heavy Shield to defeat them—you can pick up a nearby stingray ability or engage in a protracted battle.
Knight's Death (Armor from Scrap)
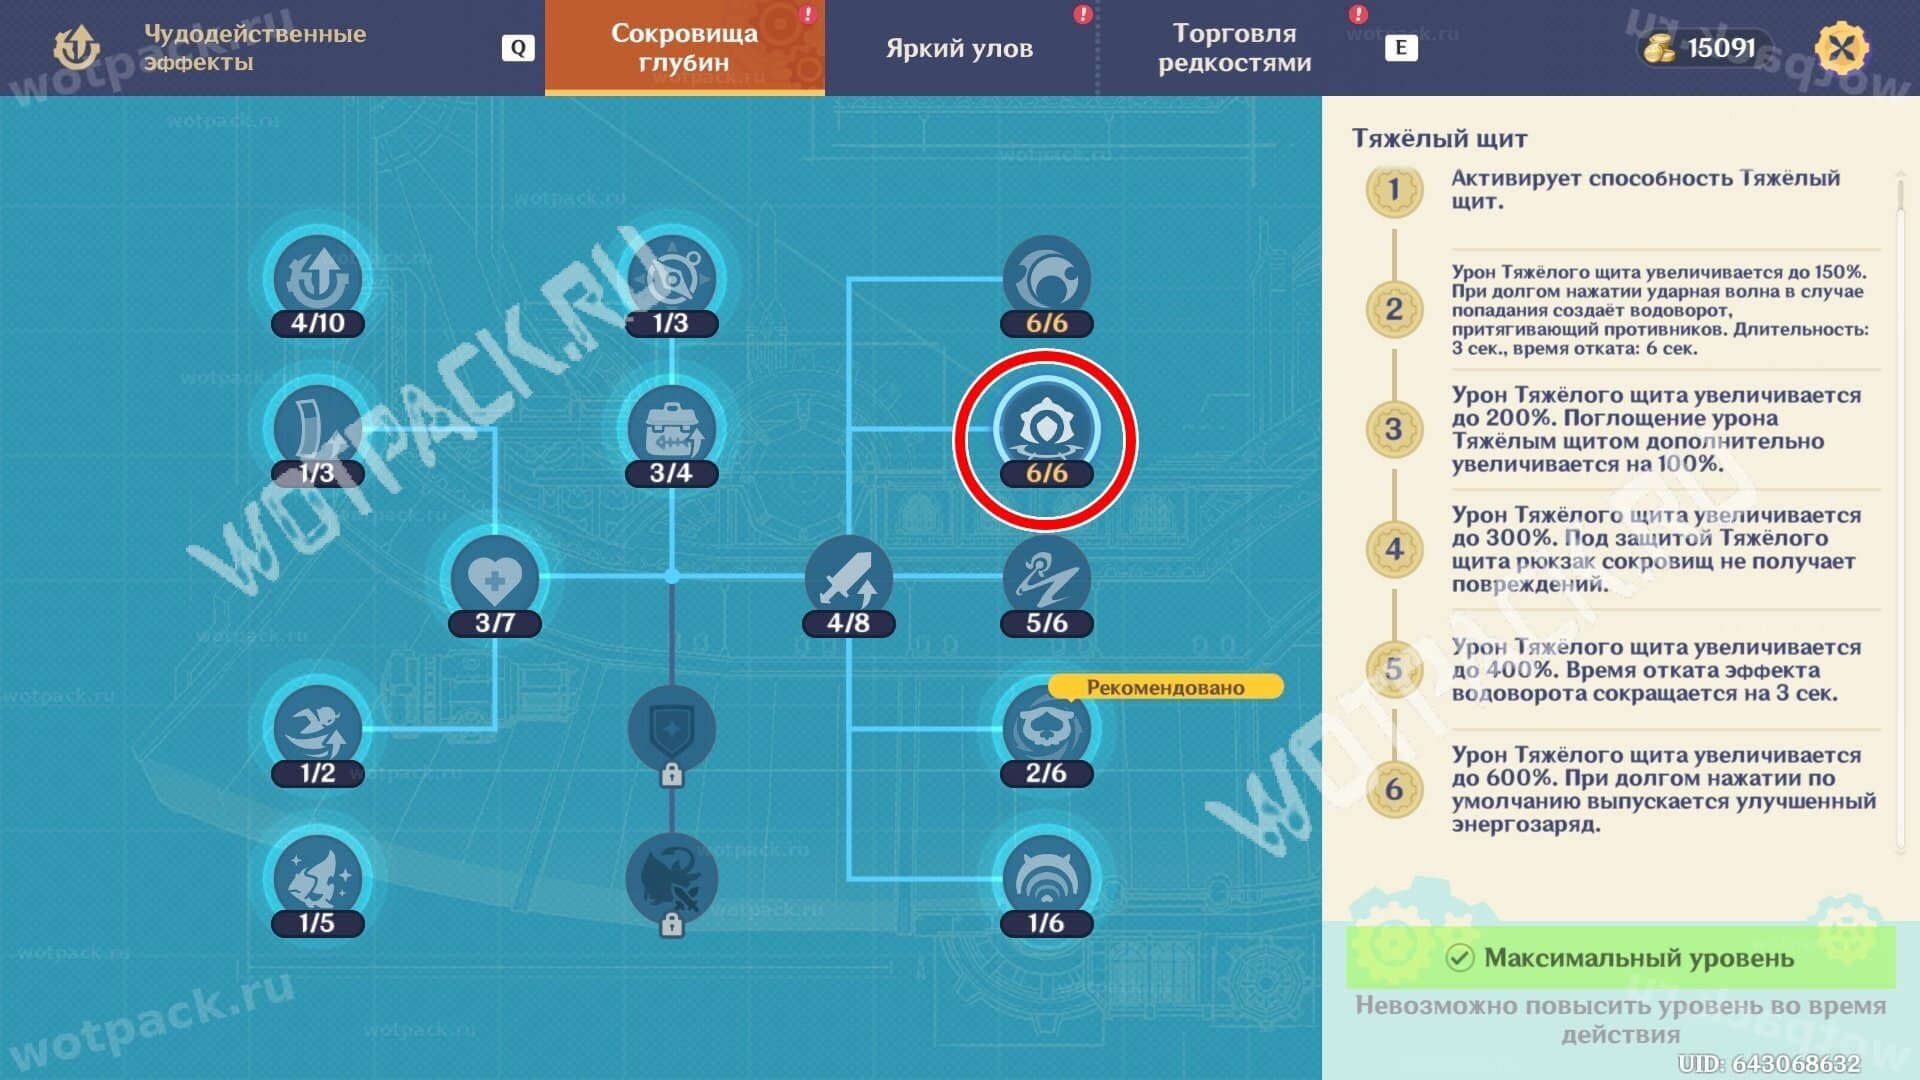
After completing the eighth main goal for the aquarium's development, a challenge for the next area will open. Before heading to the miniboss, make sure you've upgraded your Heavy Shield ability sufficiently: its level determines how quickly you'll be able to defeat the monster.
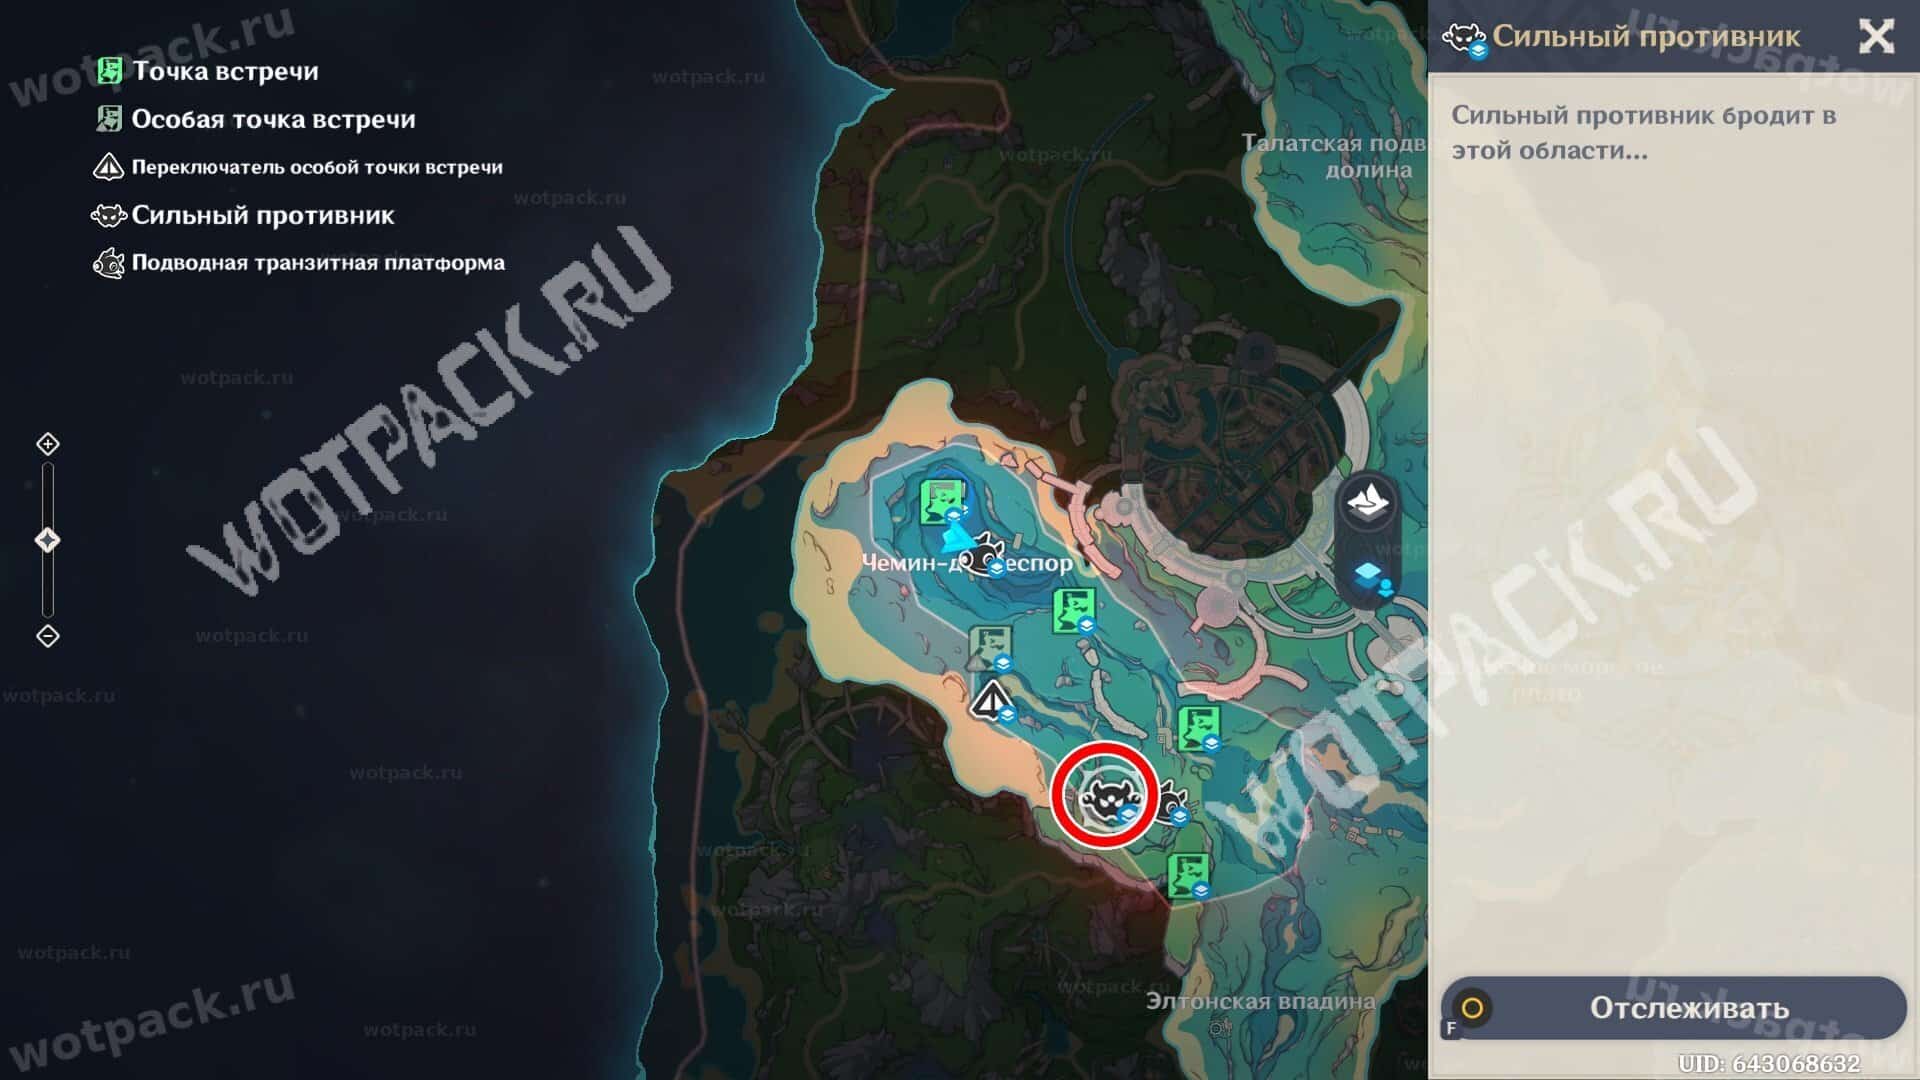
A giant crab with a purple shell lives in the southern part of the map. Its attack mechanics are very similar to the local legend of Fontaine— District Judge of the Ocean.
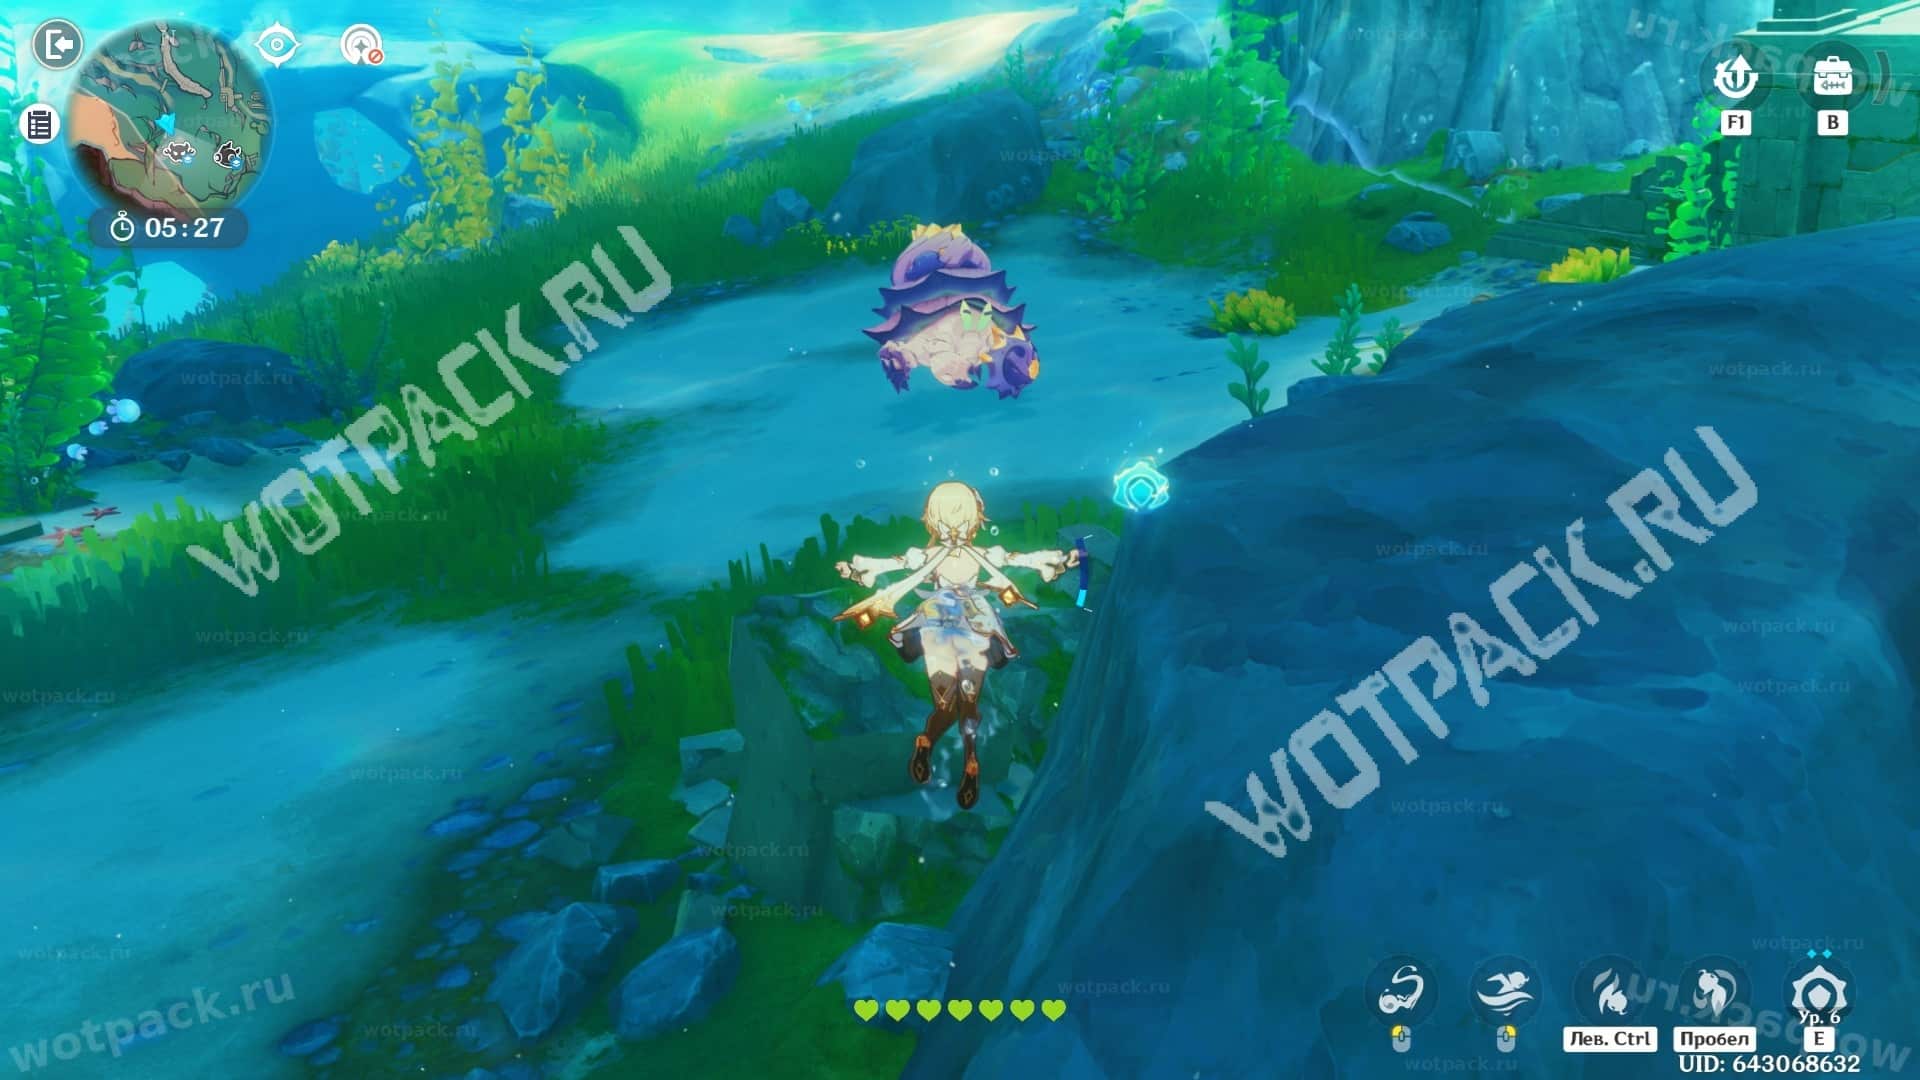
Deflect attacks with your shield, then emerge with the Self-Proclaimed Lord of Scrap. Victory will reward you with another piano fragment.
Walkthrough video:
Sea of wrecks
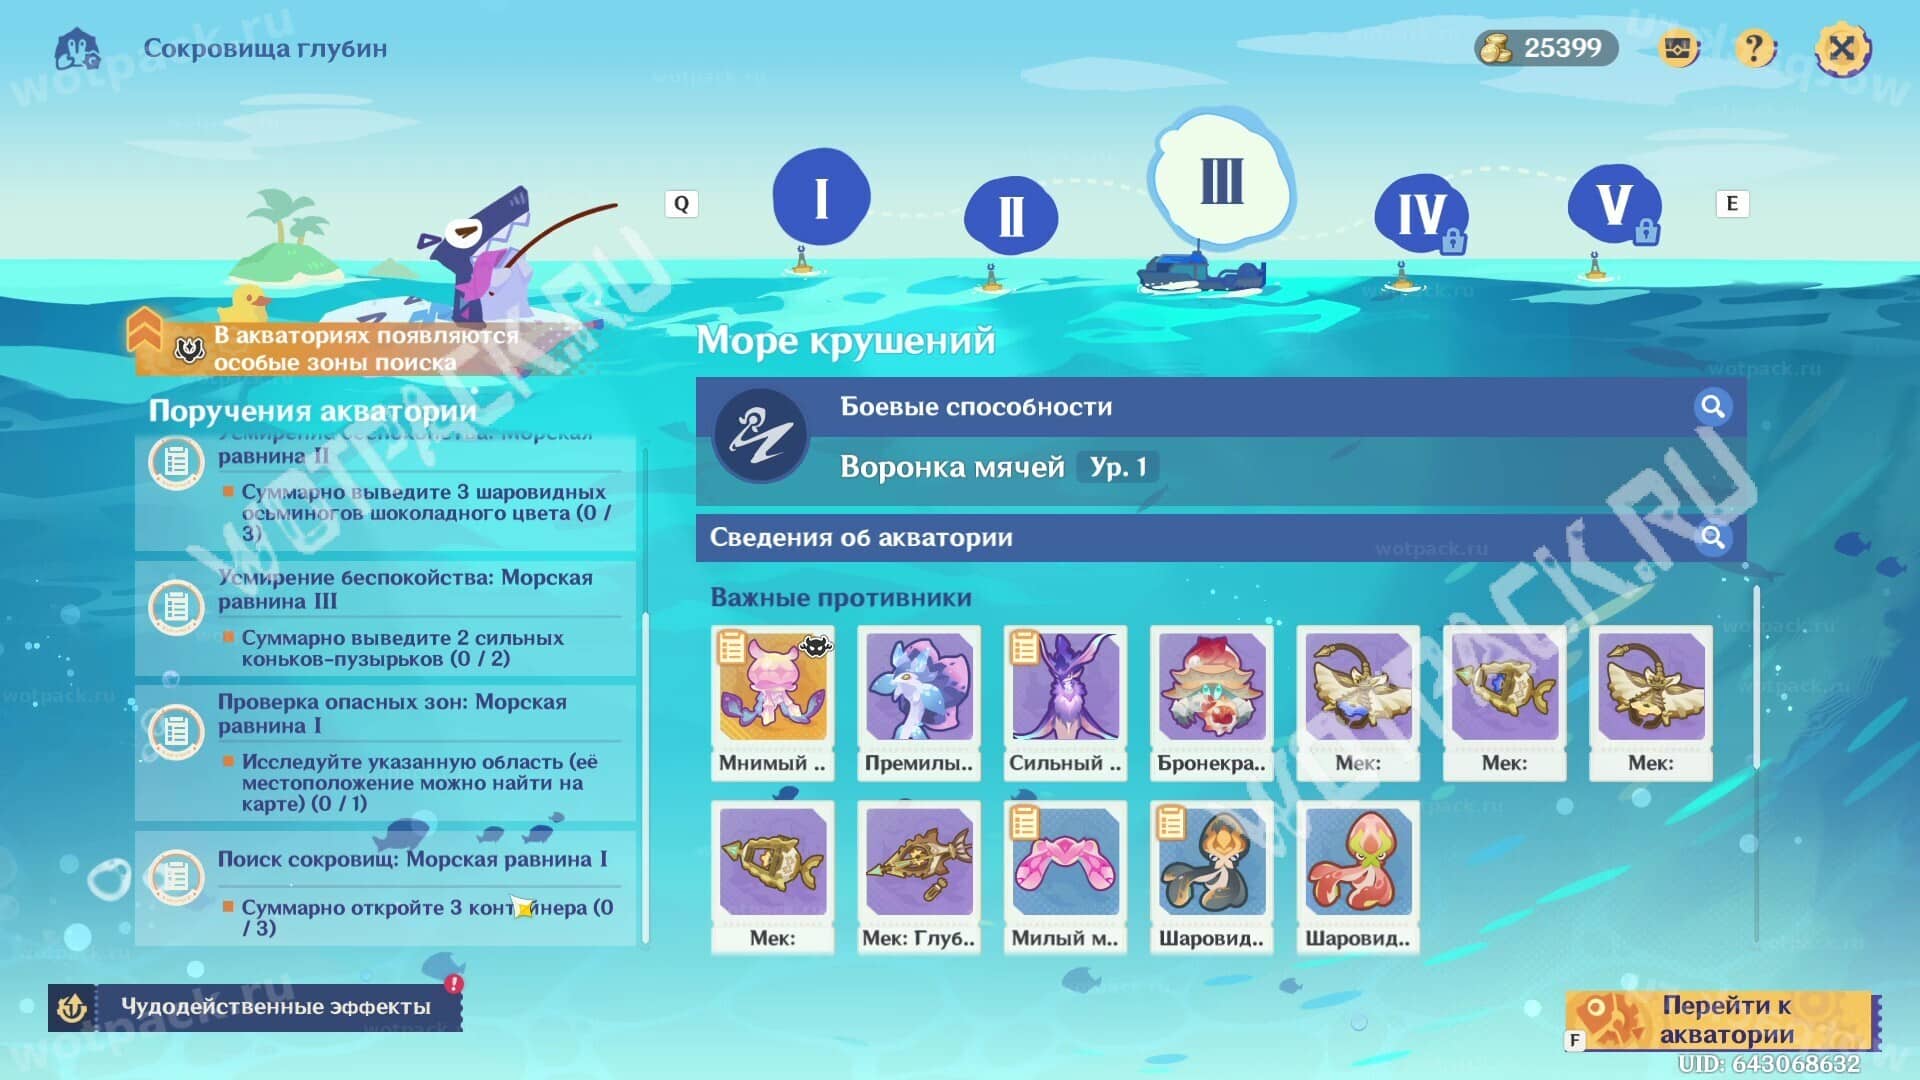
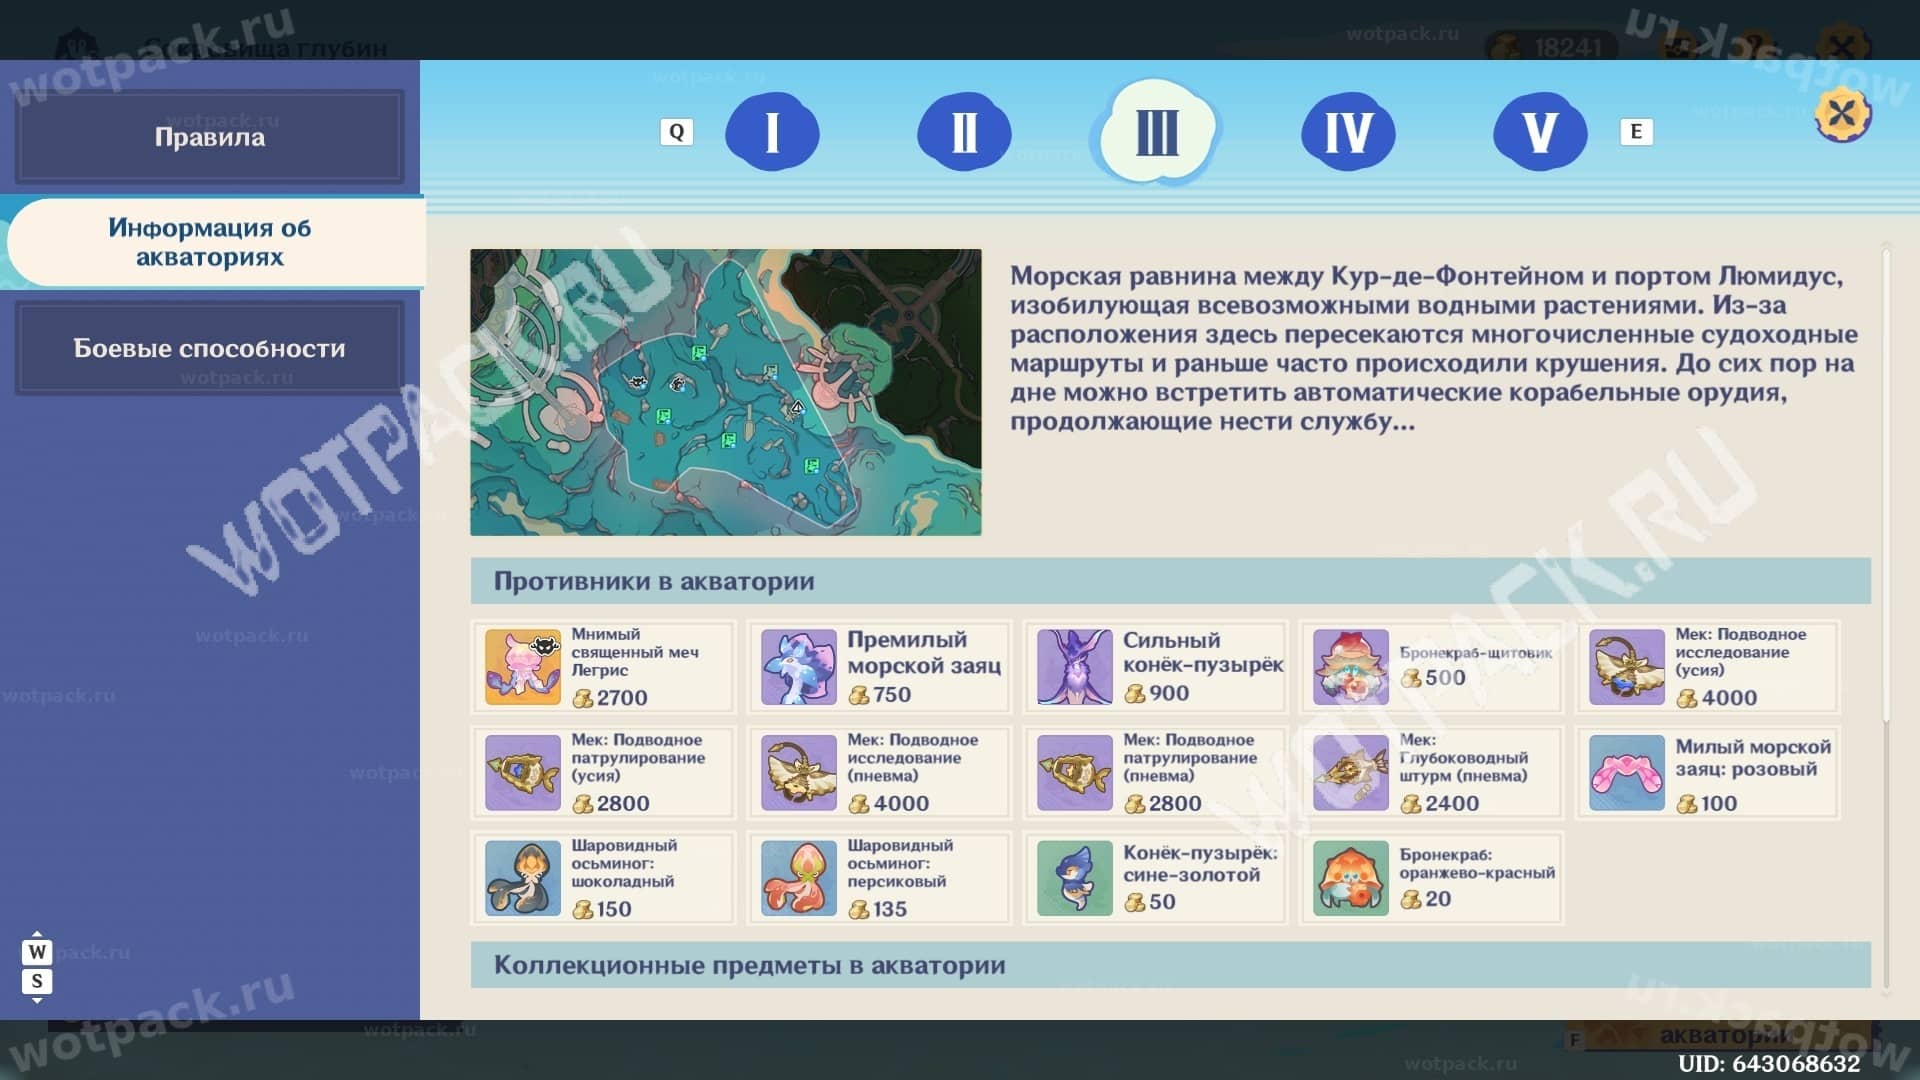
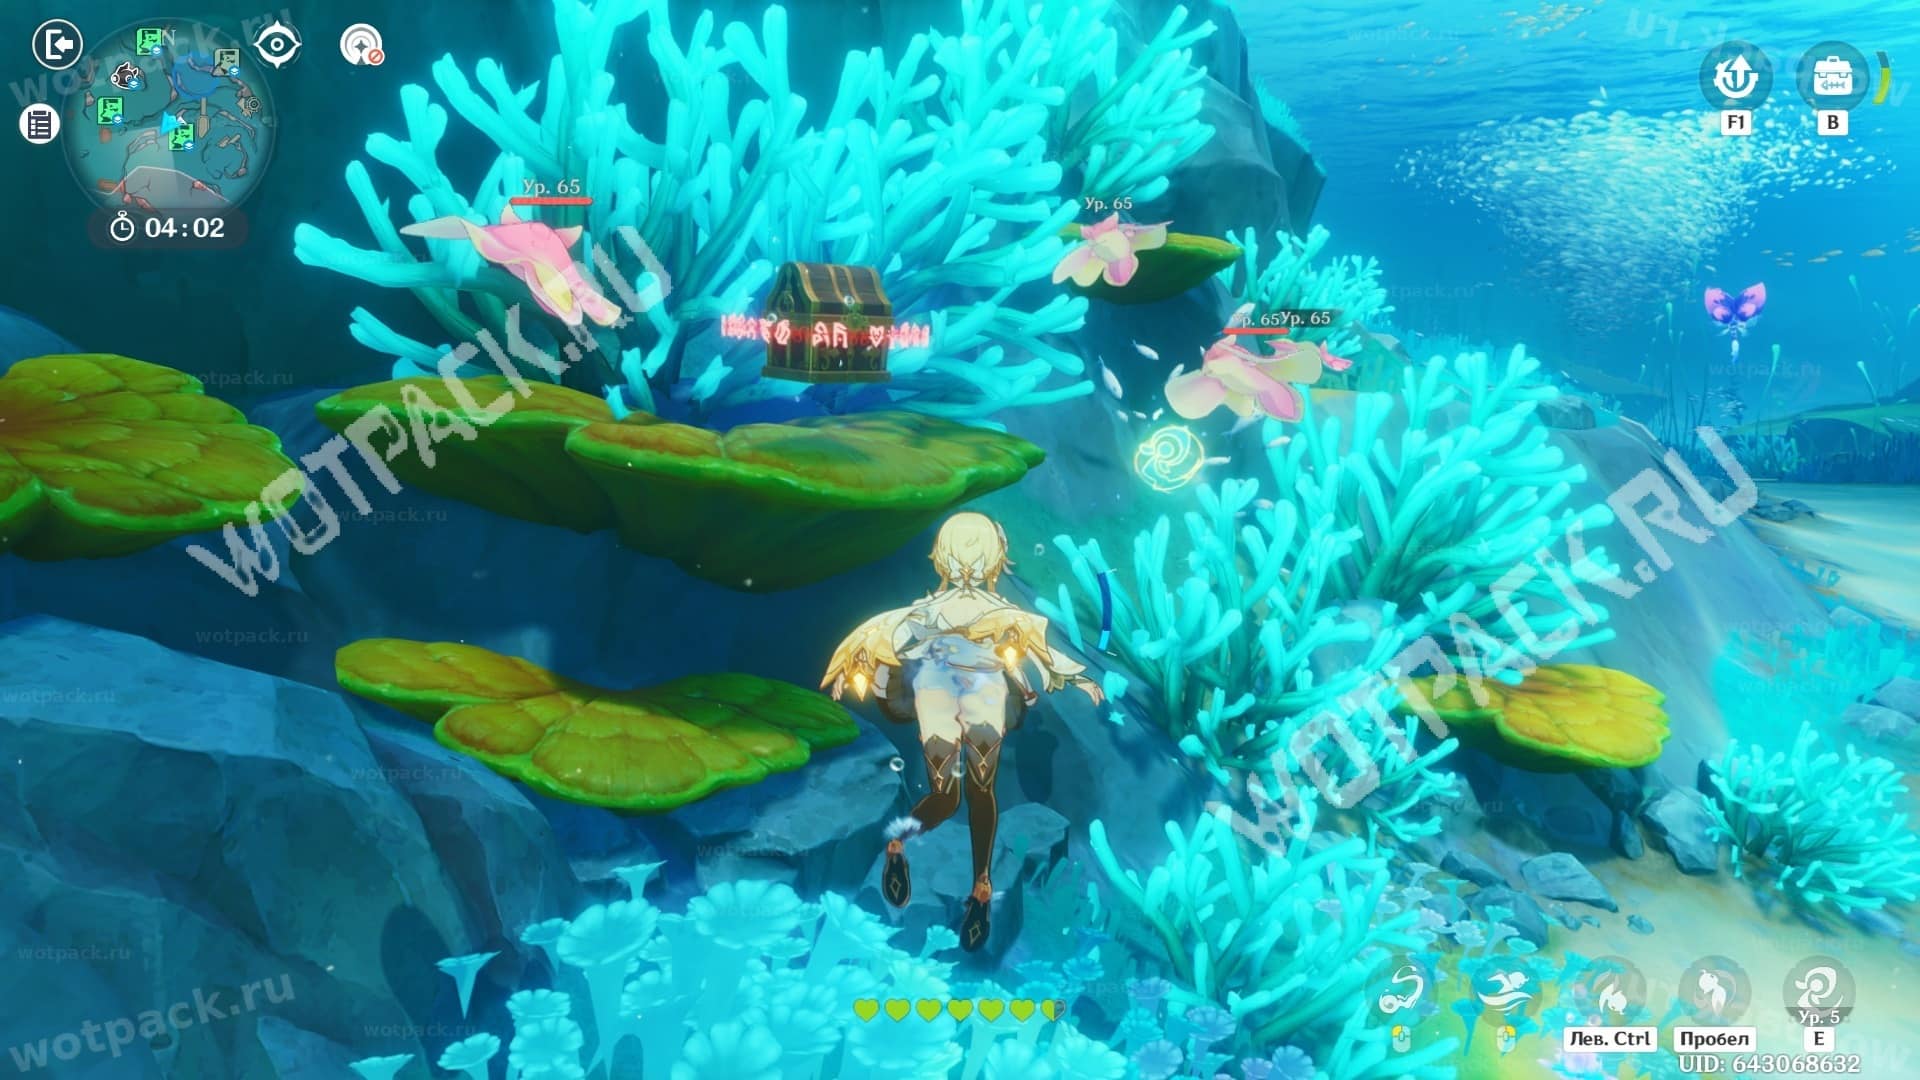
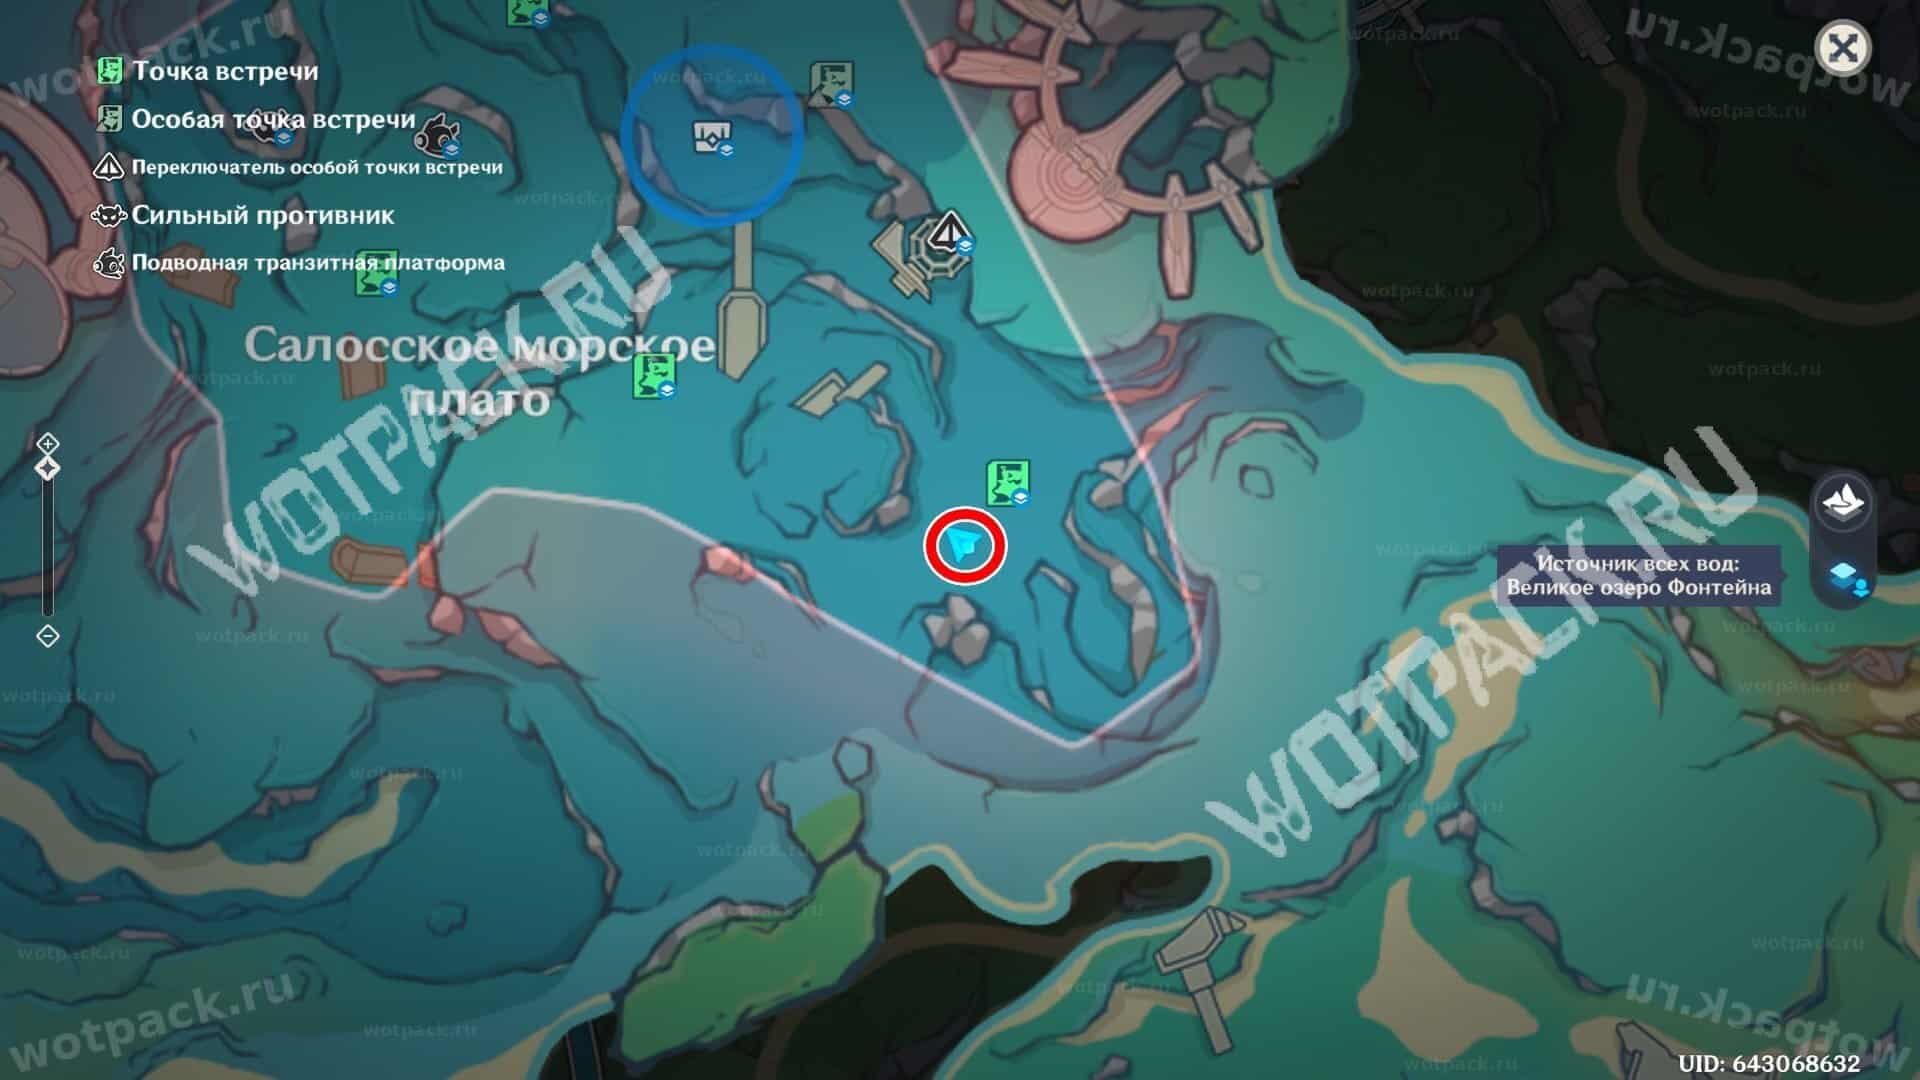
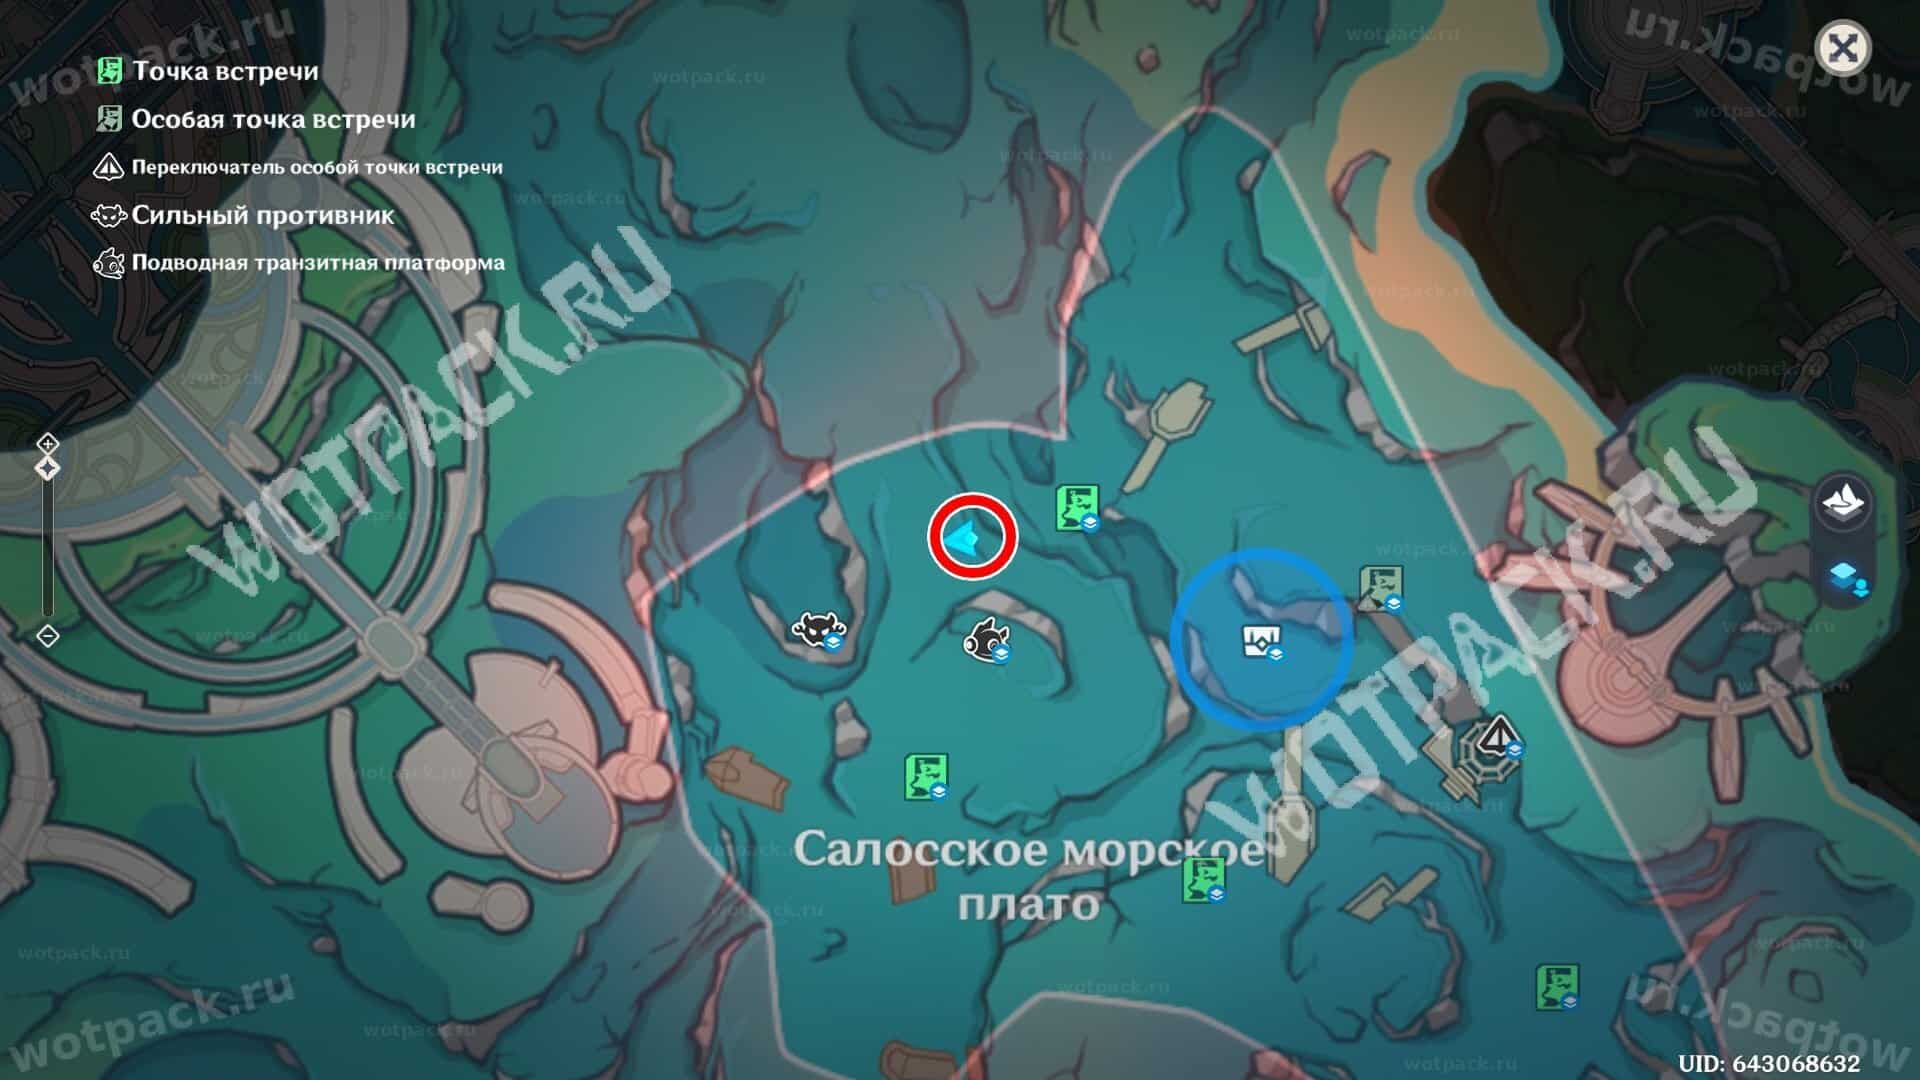
The location under study is located between Port Lumidus and the main city of the Stratian of Justice. In addition to the familiar missions of exploring areas and collecting chests, you'll also be tasked with catching specific creatures.
Calming the Worries: Sea Plain
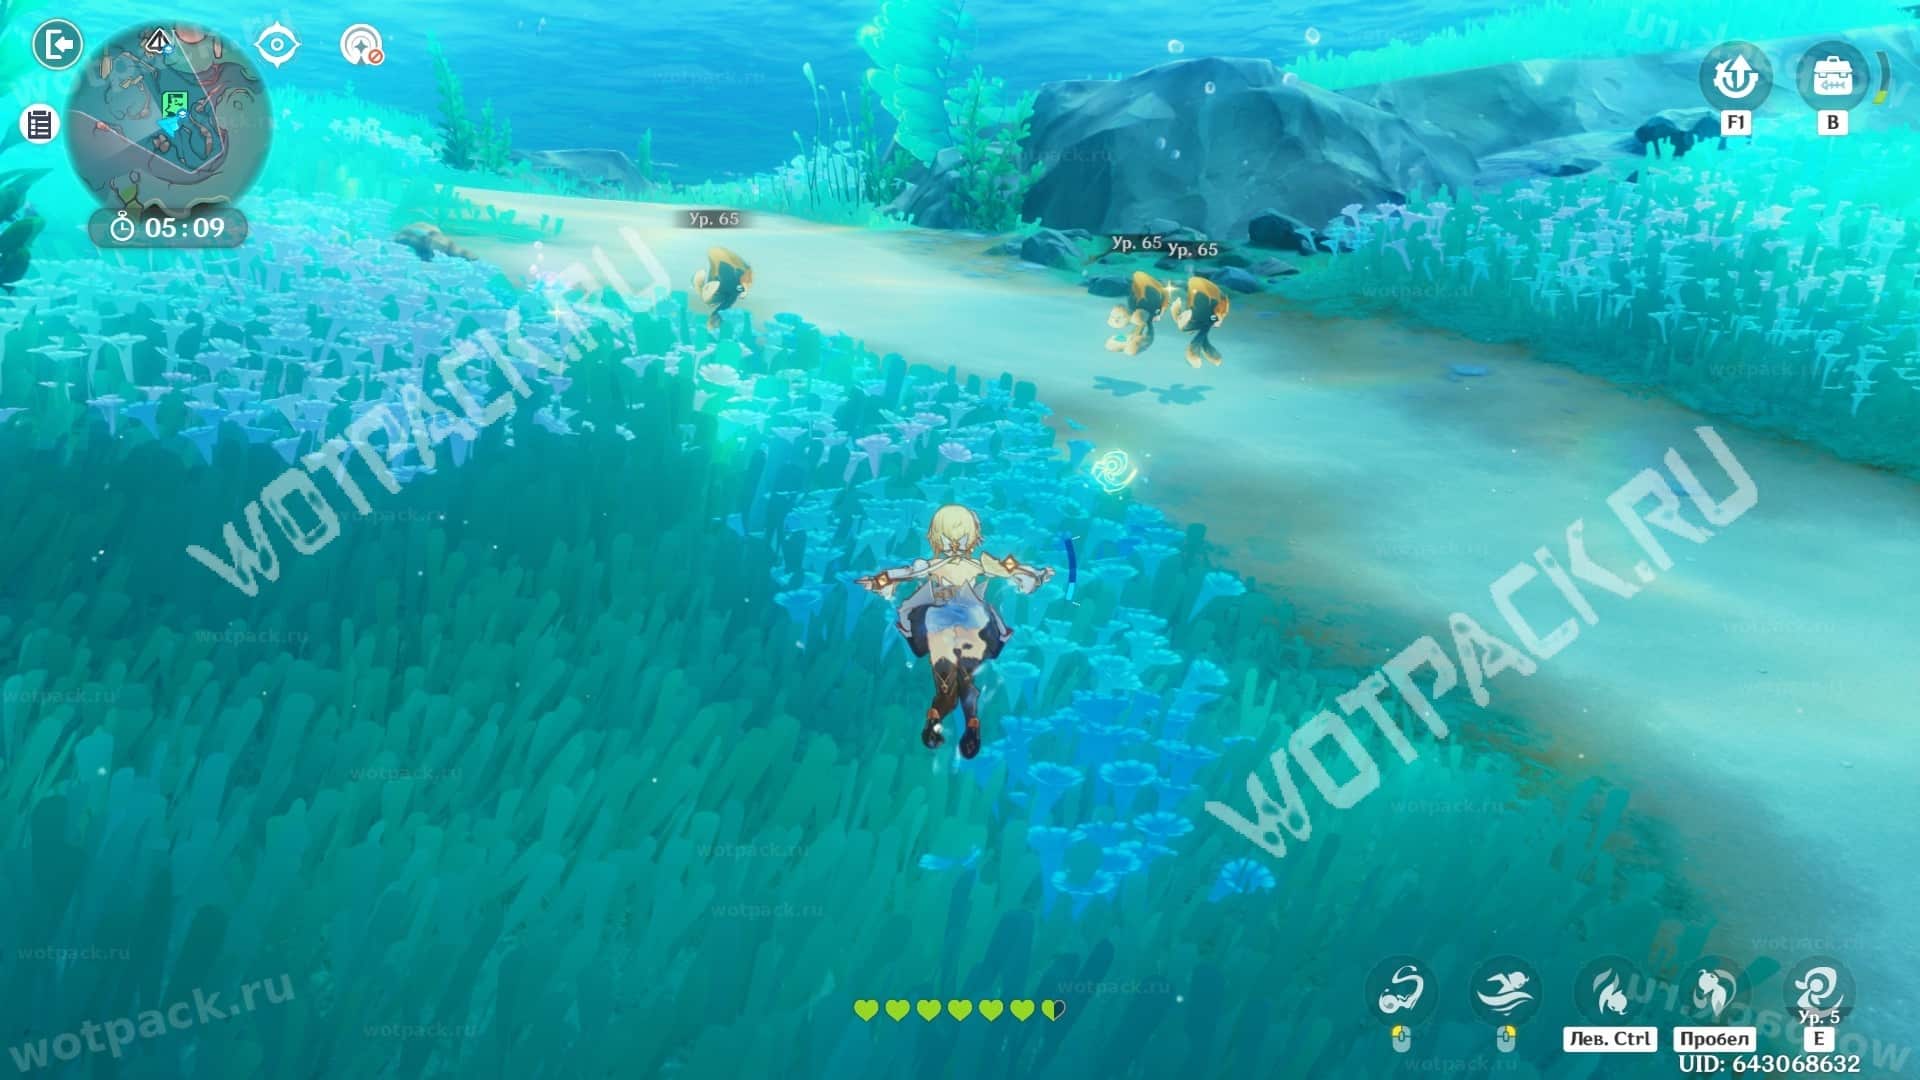
All underwater inhabitants can be found in small groups:
- Three cute pink sea hares.
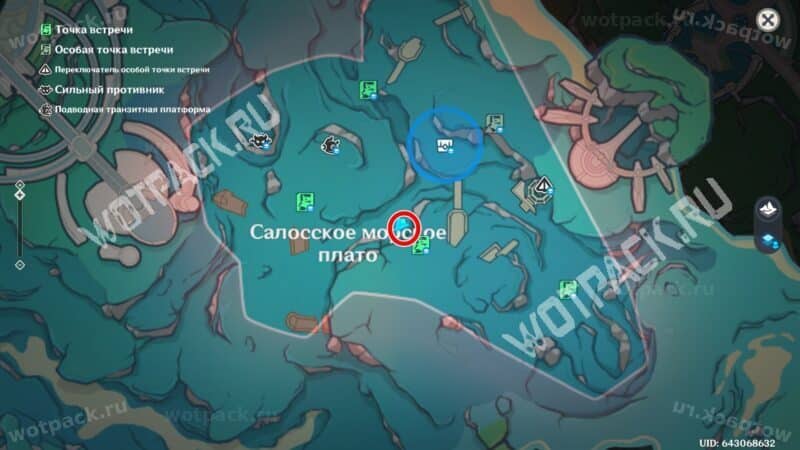
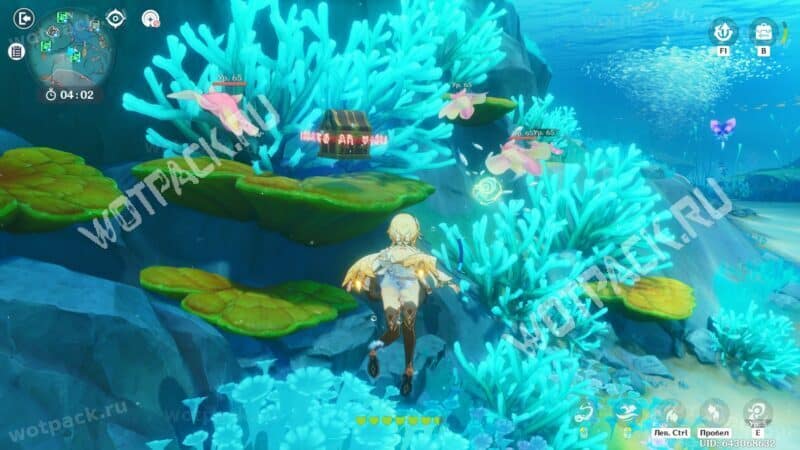
- Three chocolate-colored spherical octopuses.
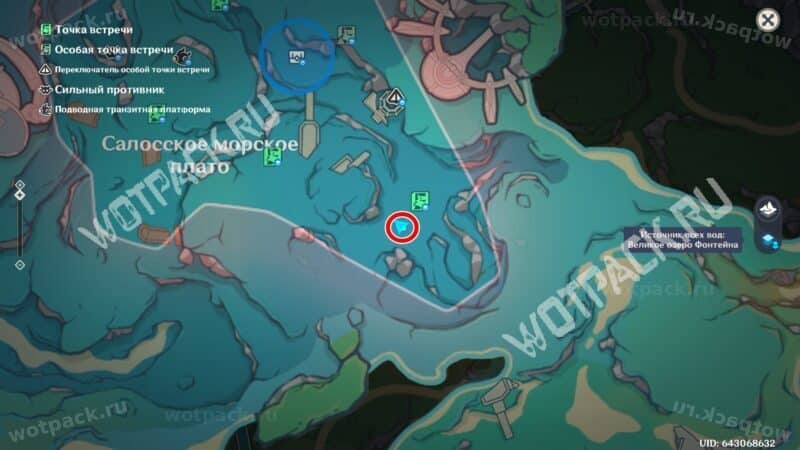
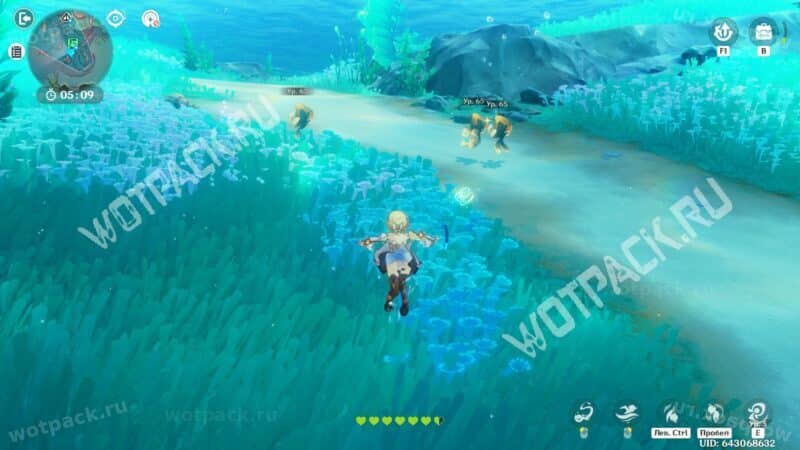
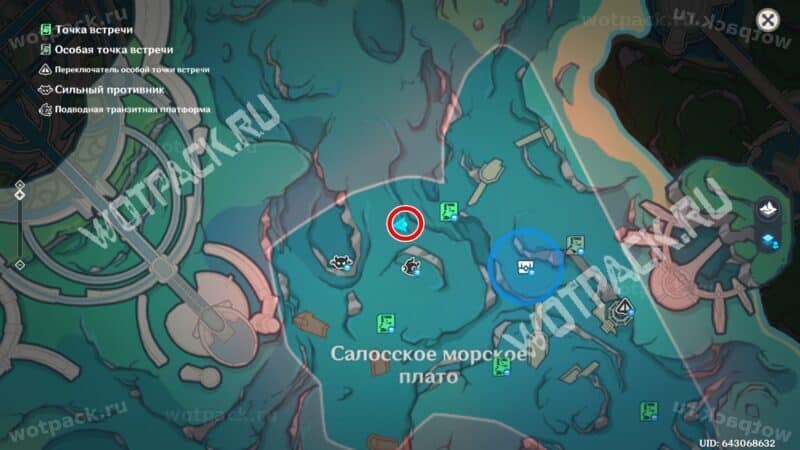
- Strong Bubble Skates. You'll find one near the transit platform, and the other near the special encounter point switch.
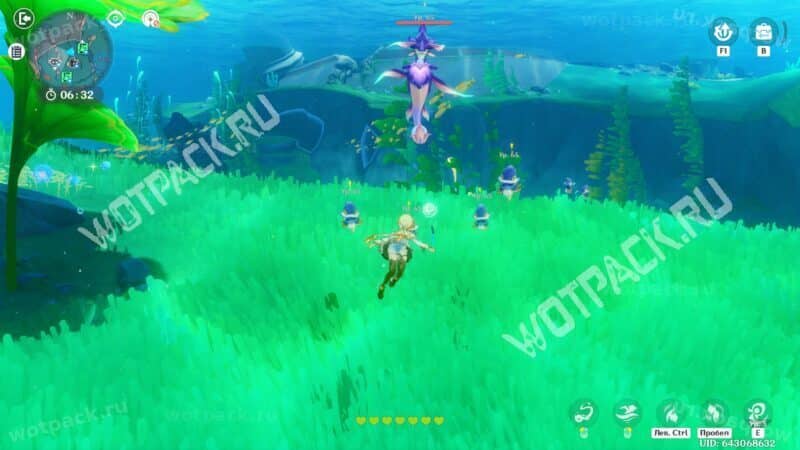
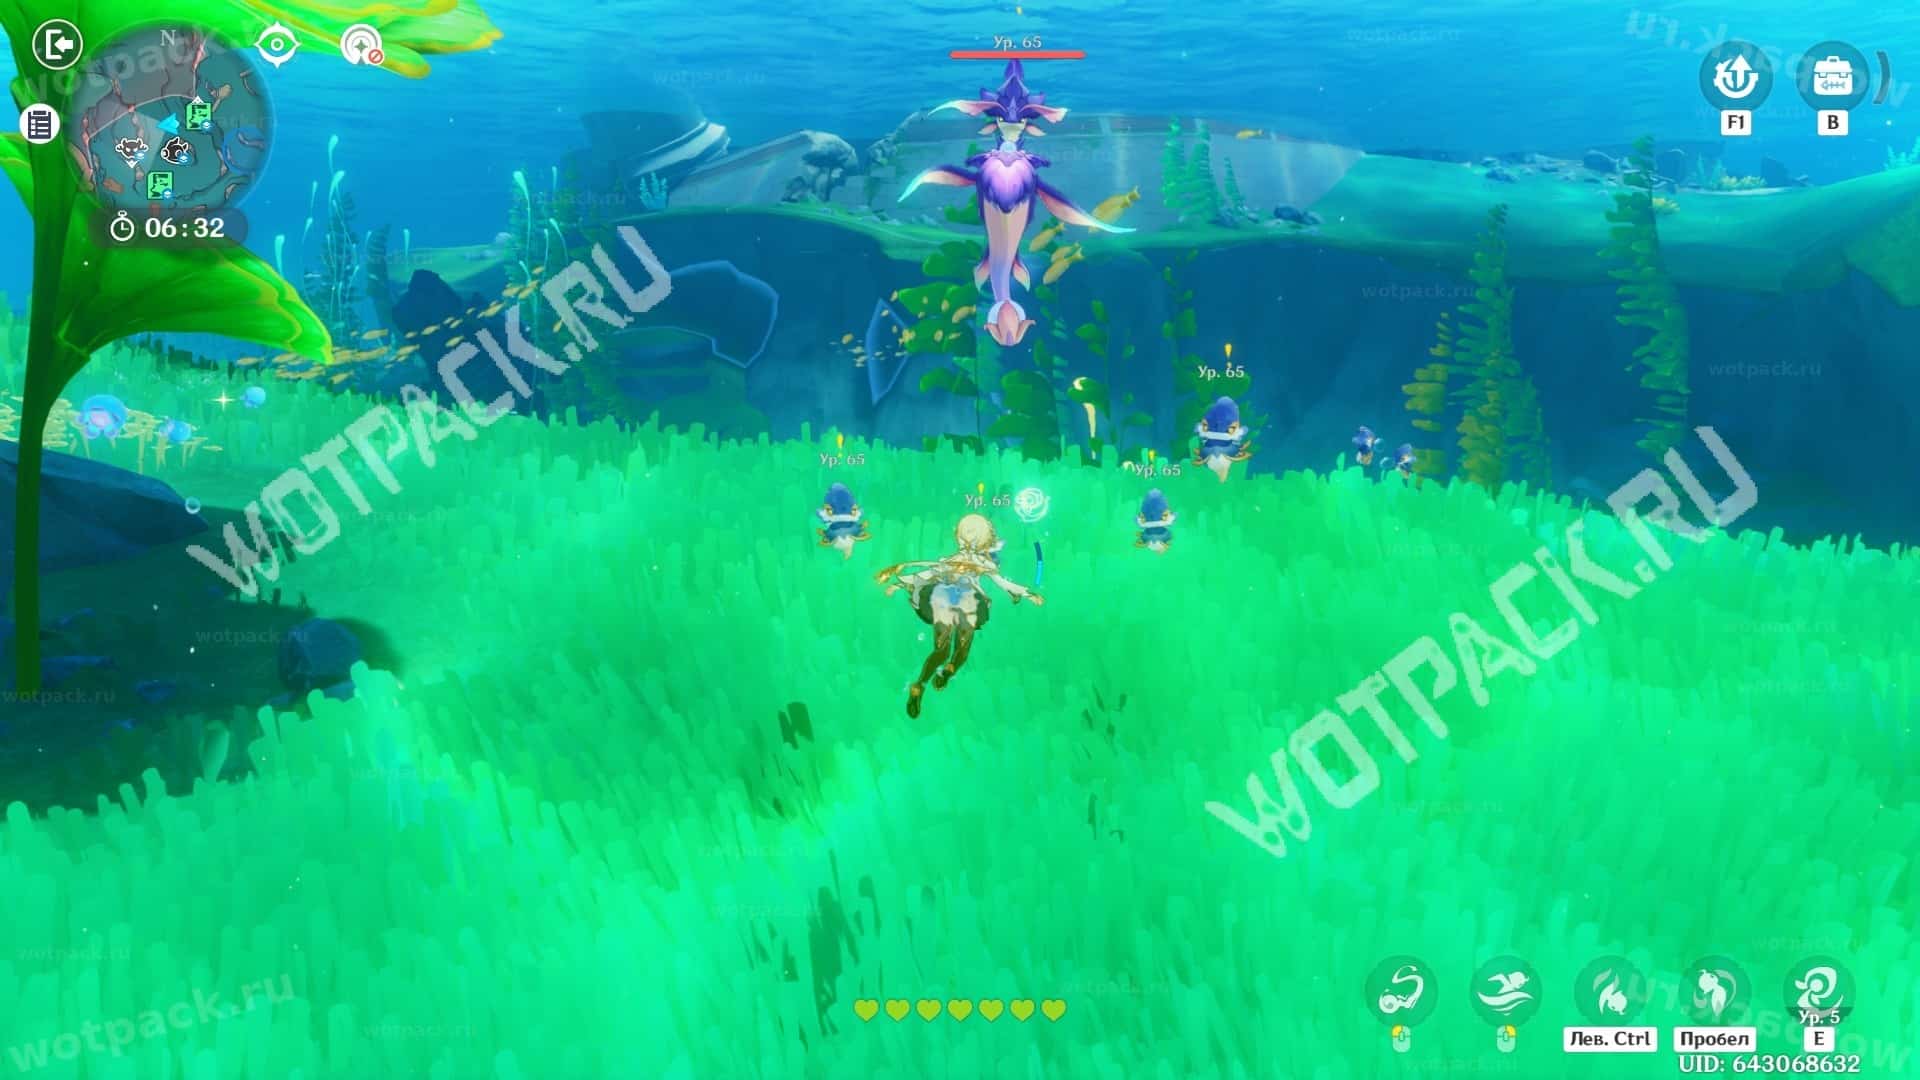
When the Imaginary Sword Breaks (The Imaginary Sacred Sword of Legris)
To unlock the final exploration areas, you must complete eleven park upgrade quests and then battle a giant jellyfish. Its attack style is identical to that of a local legend. Chassanion.
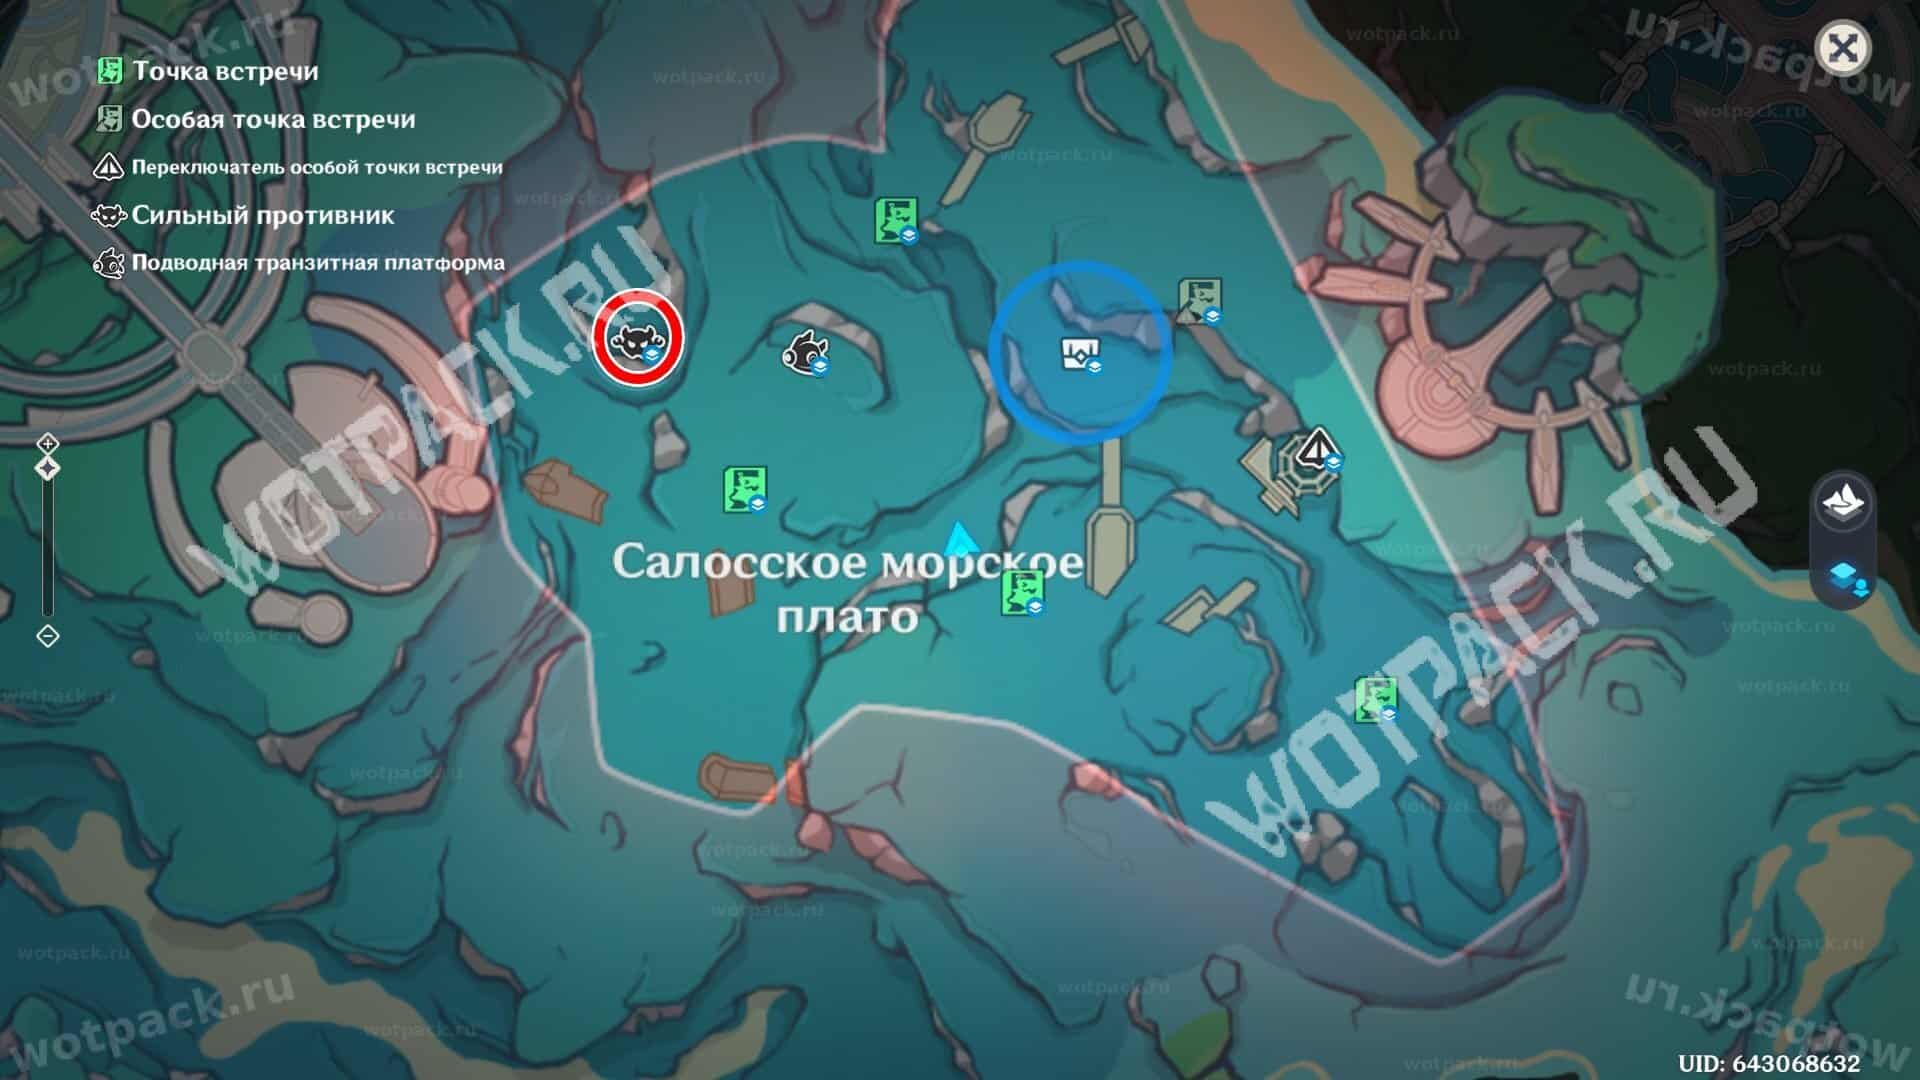
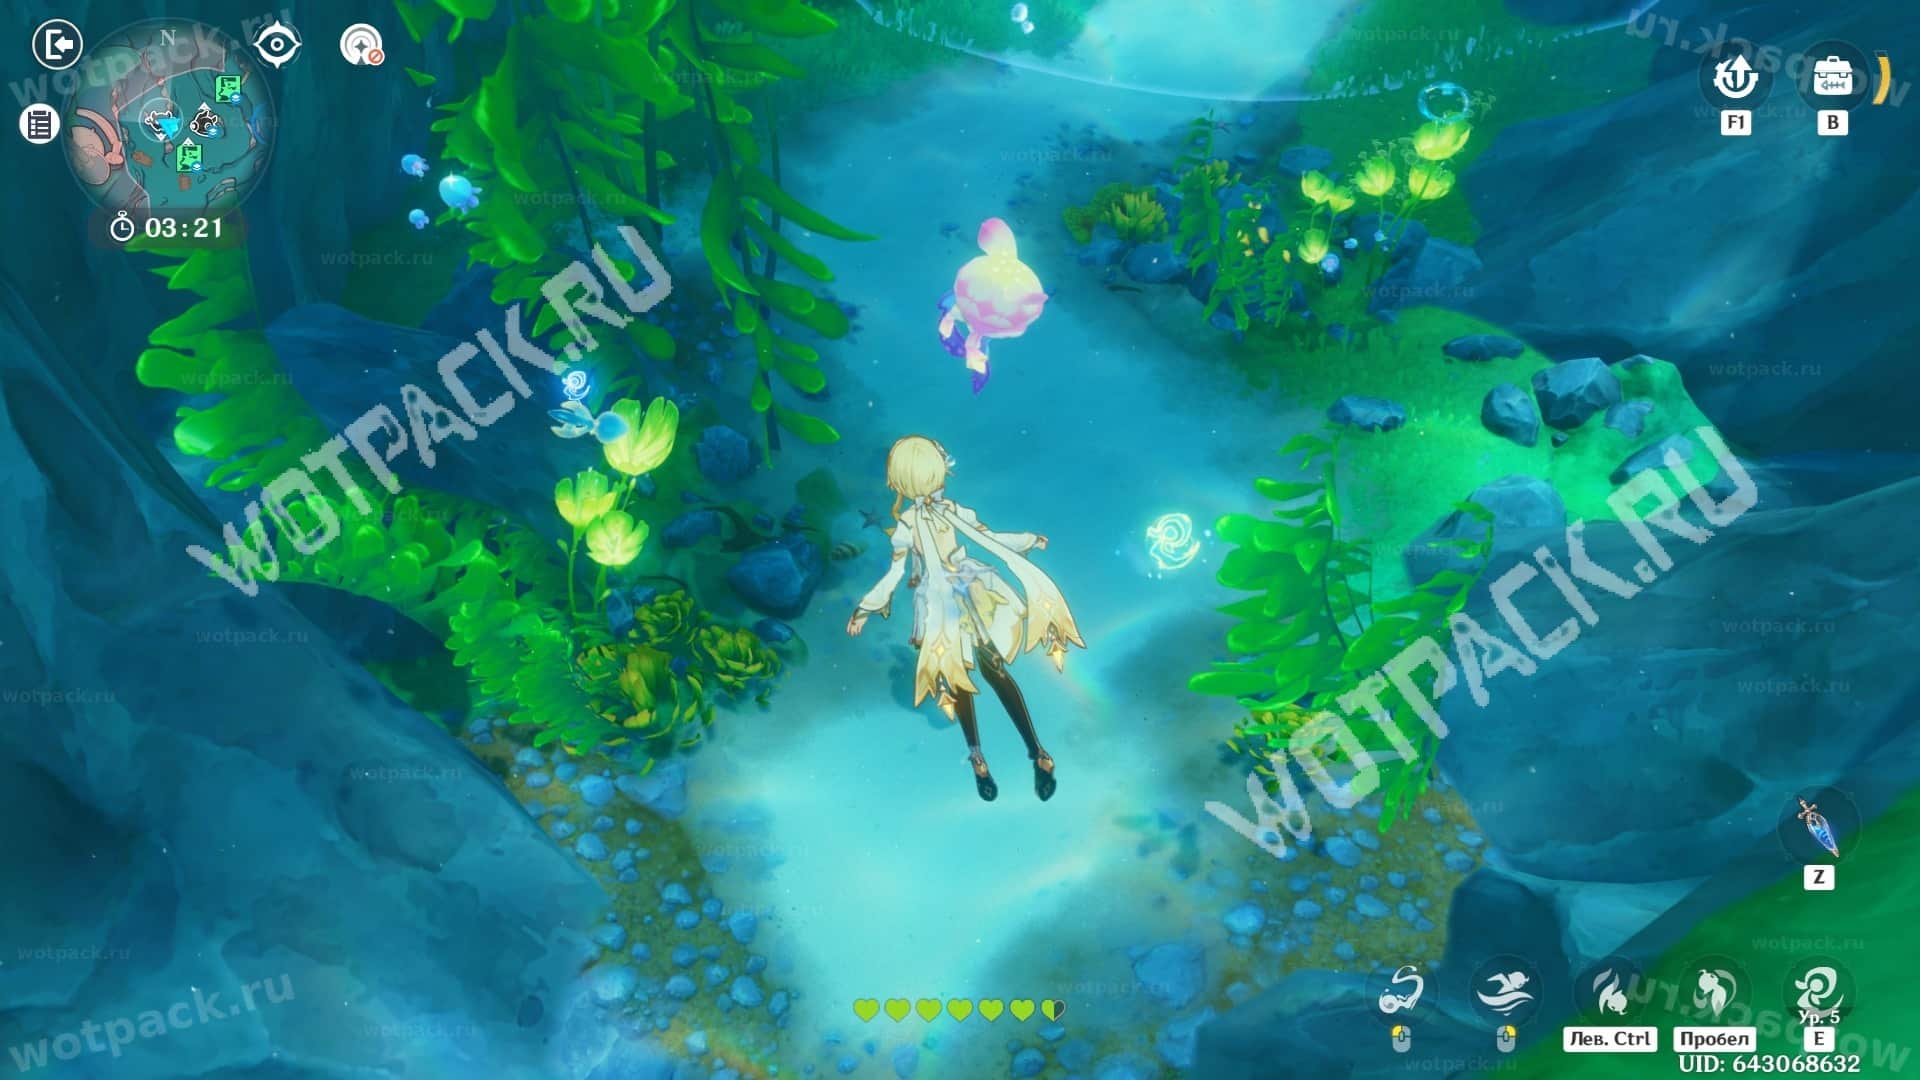
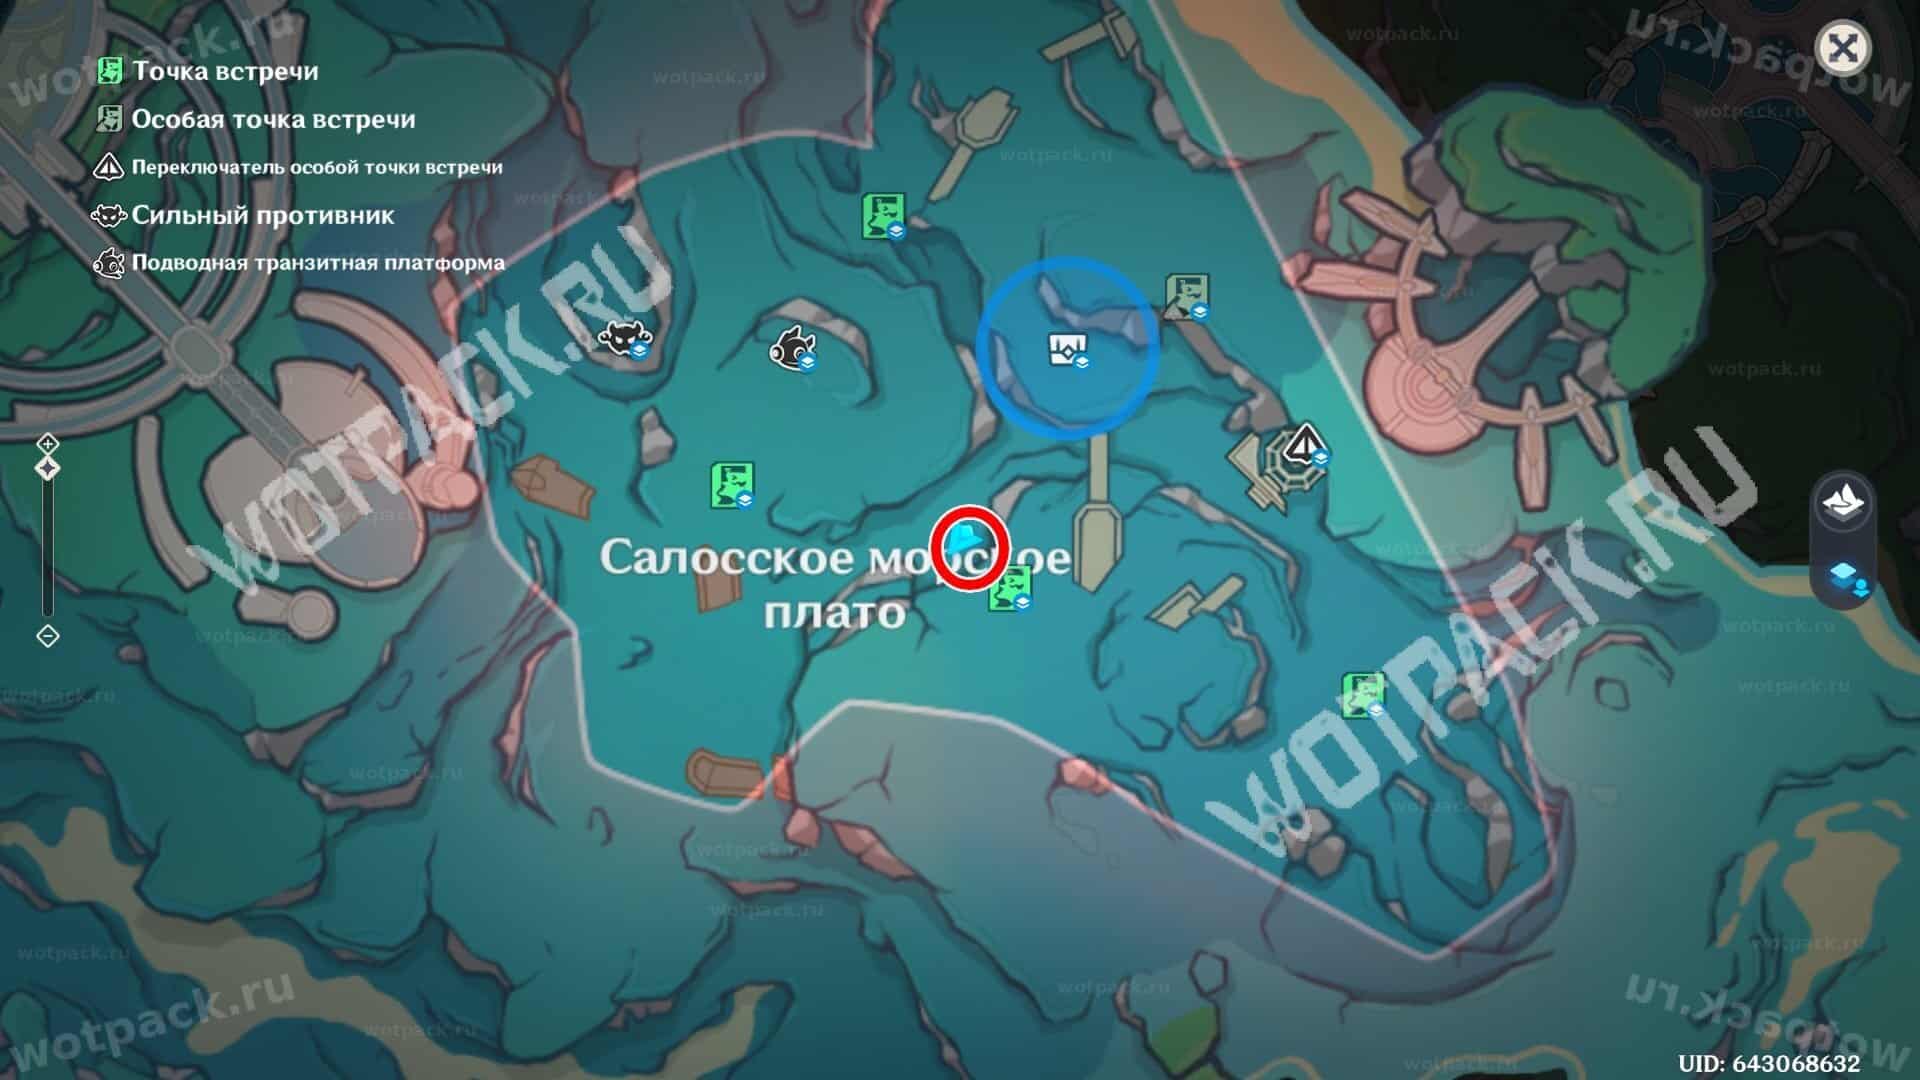
The monster is hiding in a sea crevice on the northwestern edge of the map. Head there after leveling up the Ball Vortex ability to at least fourth-fifth level
To win, keep a safe distance from the enemy and charge its shots with your ability. When the monster scatters immobile spheres, swim up to them and redirect them back with your octopus ability. Resurface with the supposedly holy sword Legris and claim a new rare item as a trophy.
A visual demonstration of the mini-boss battle:
Perimeter of the fortress
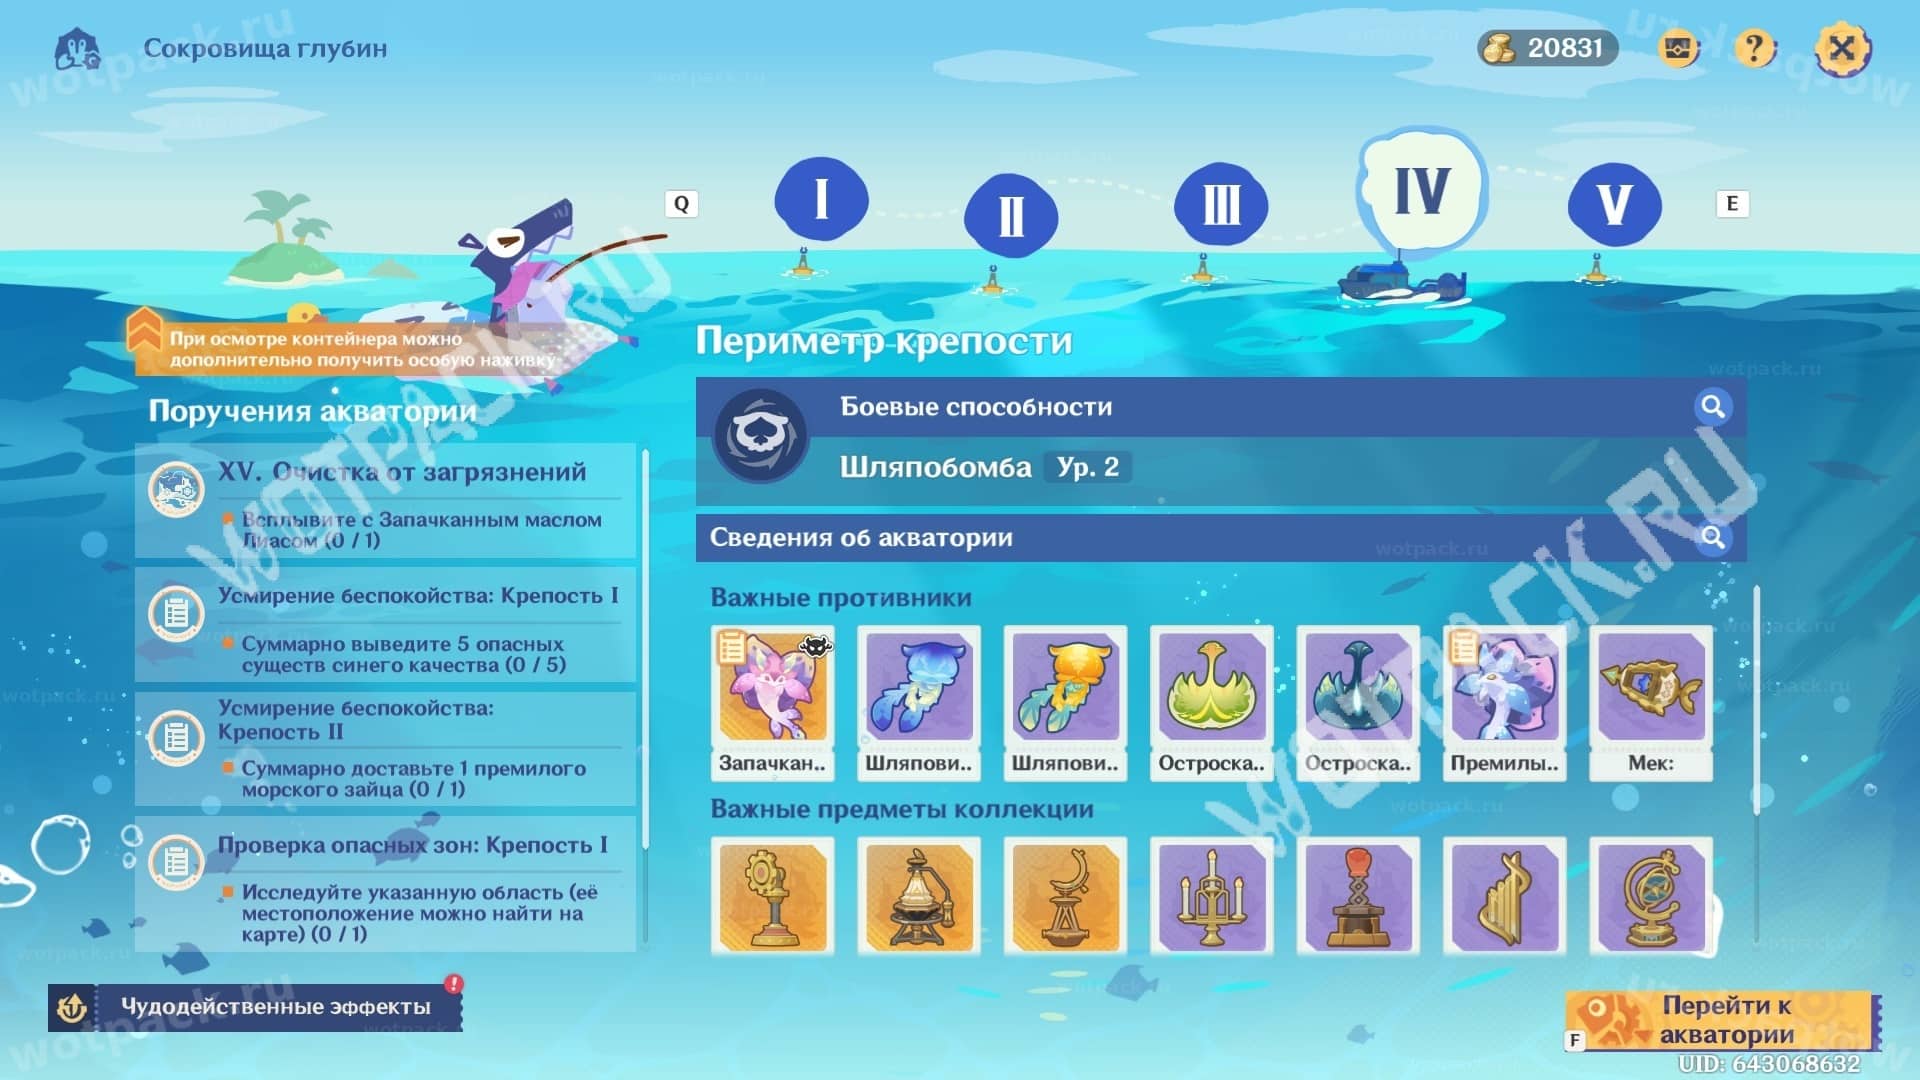
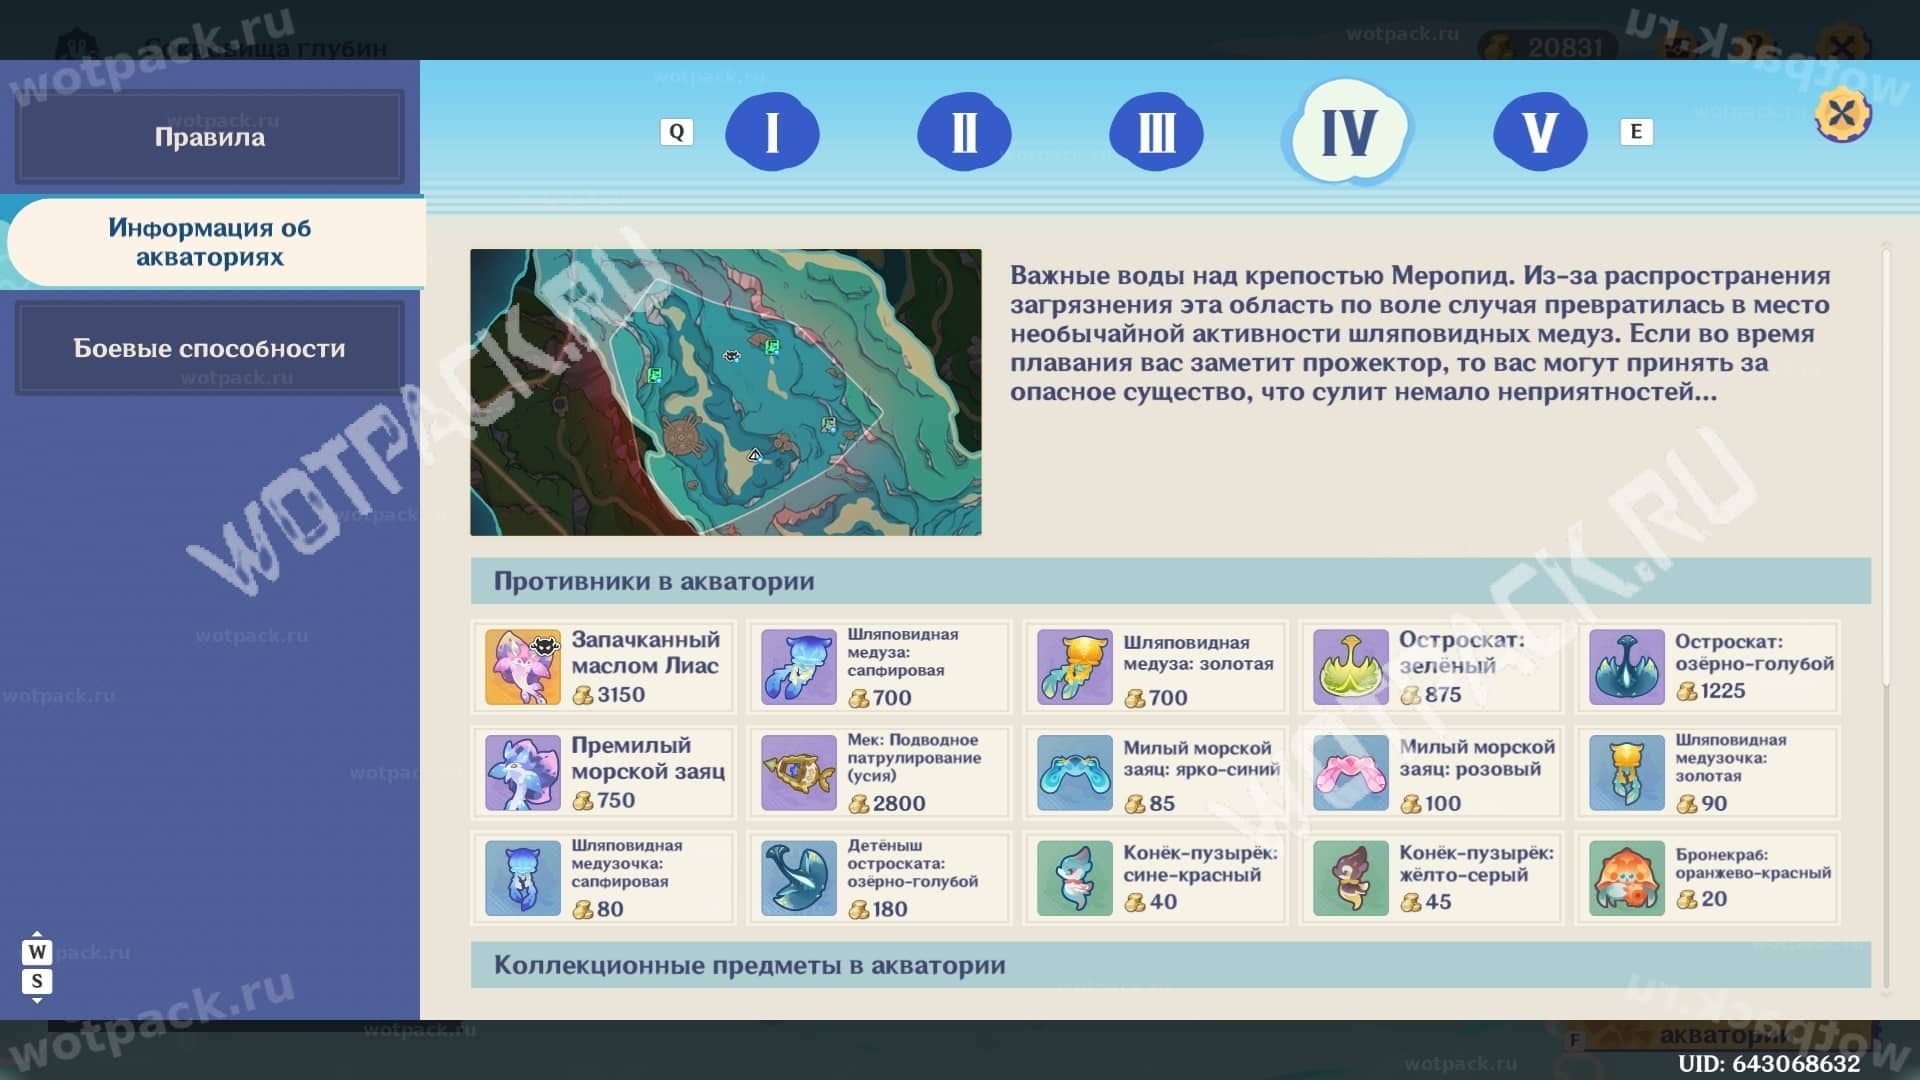
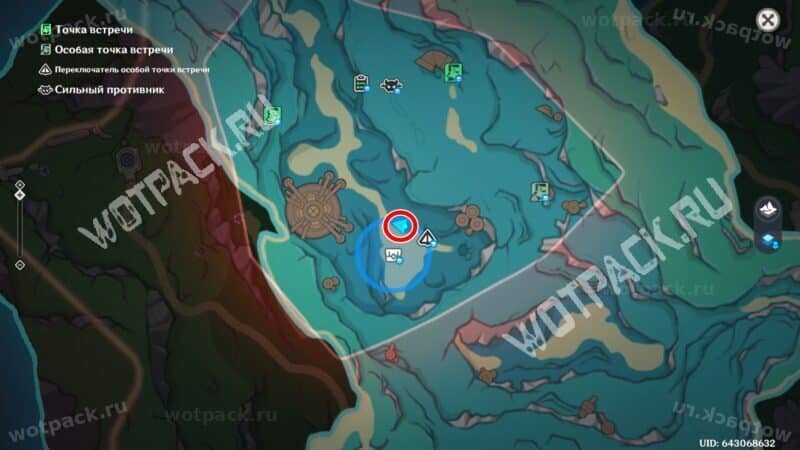
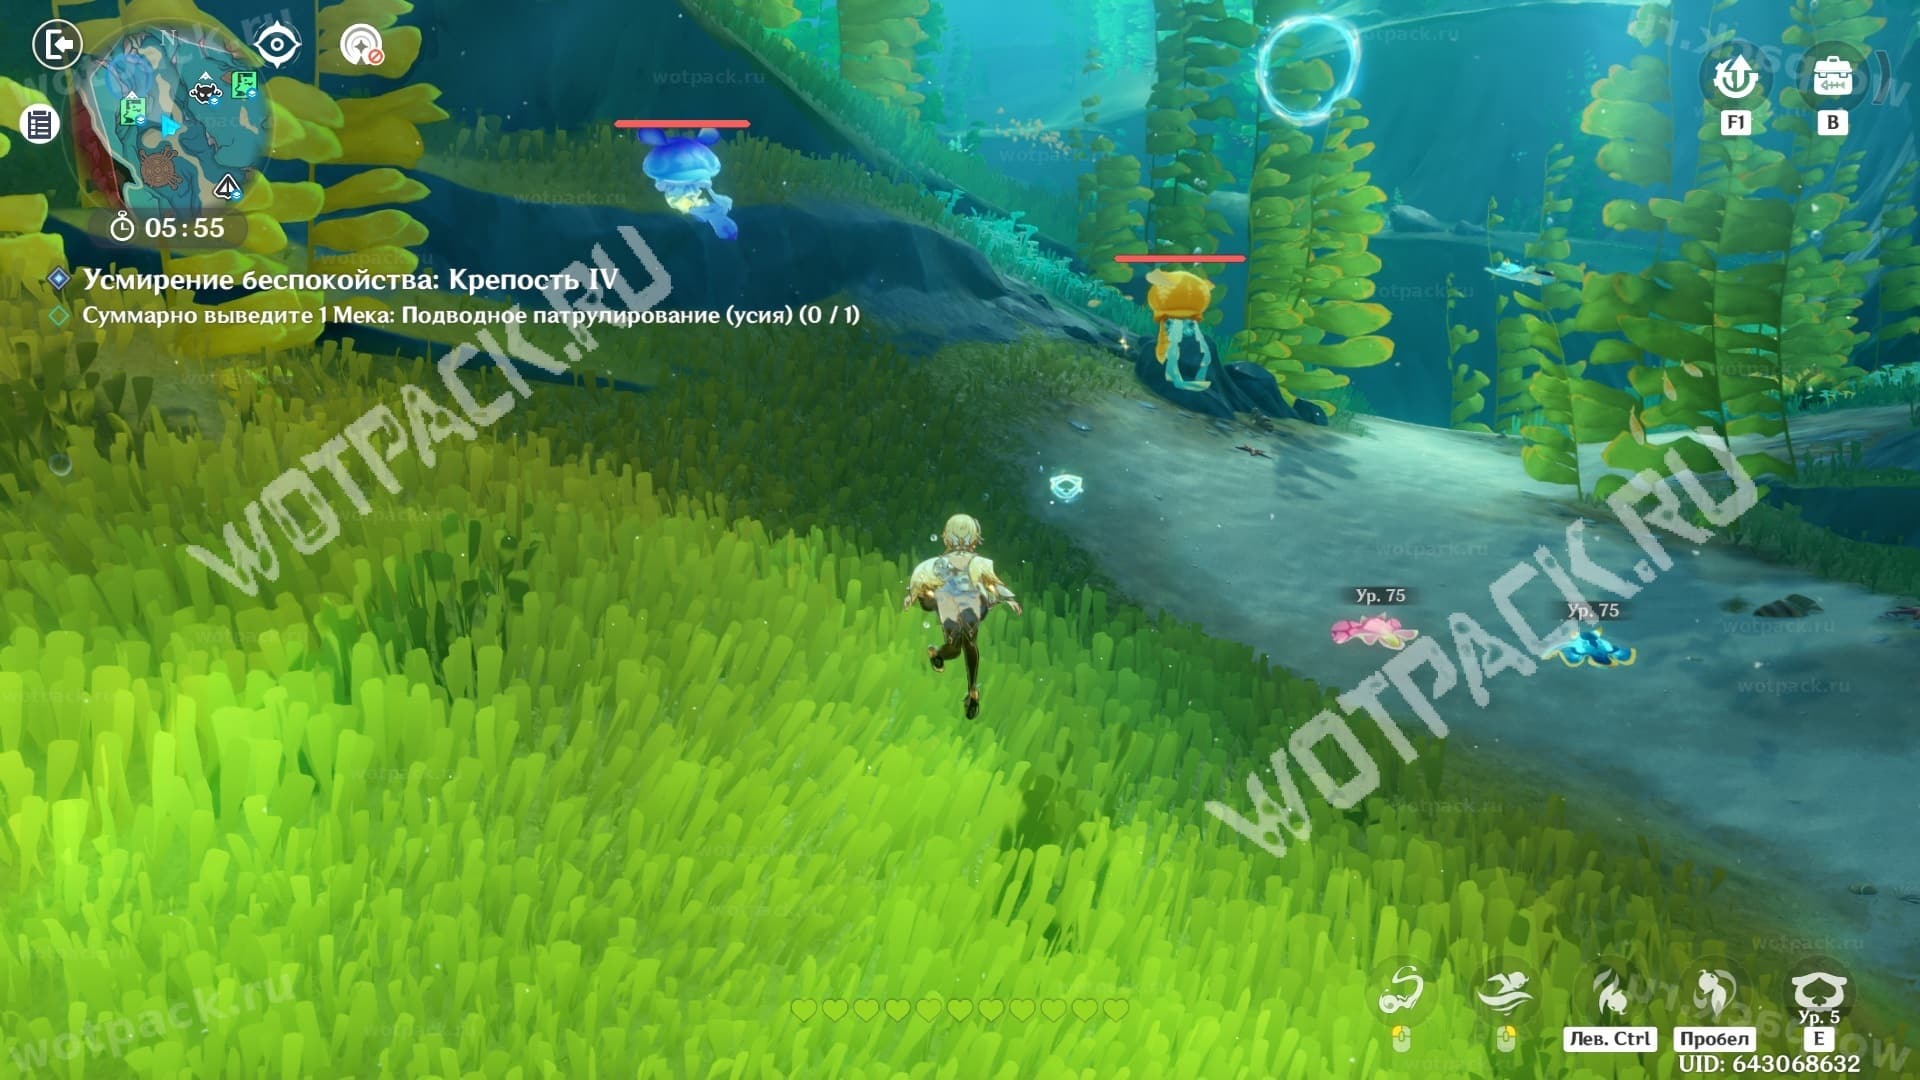
The area around the underwater prison is a bit more challenging to explore due to the presence of monsters of the same species but varying rarities. To ensure you're choosing the right creature, check its icon in your inventory.
Calming Anxiety: Fortress
To easily find the creatures you need, use the following hints:
- A very cute sea hare. Its shield can be broken with the Sharp Ray skill. It can be grabbed from a little lower.
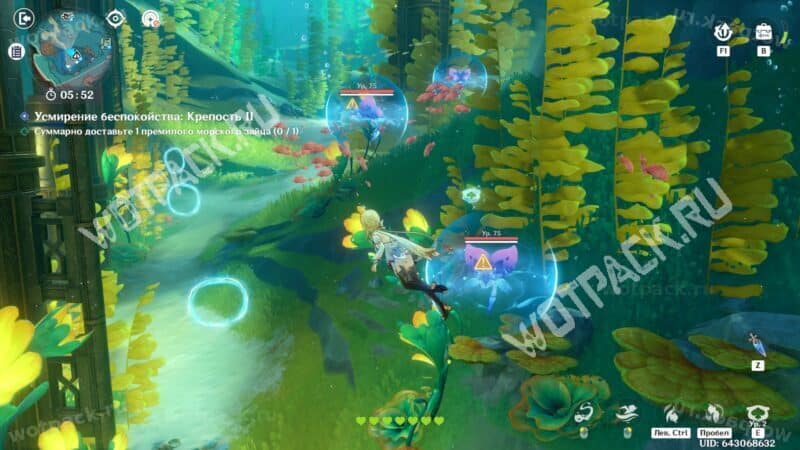
- Golden and sapphire hat jellyfish.
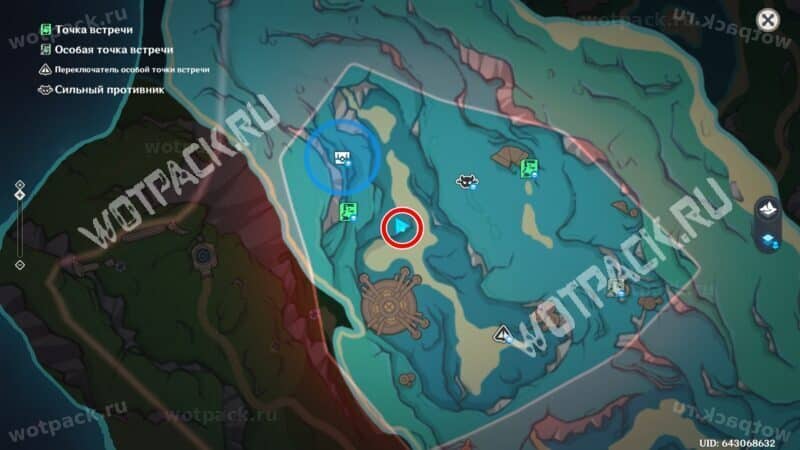
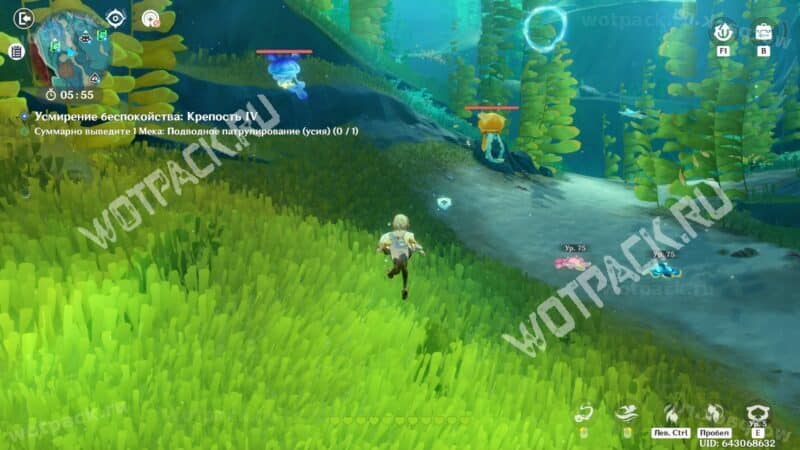
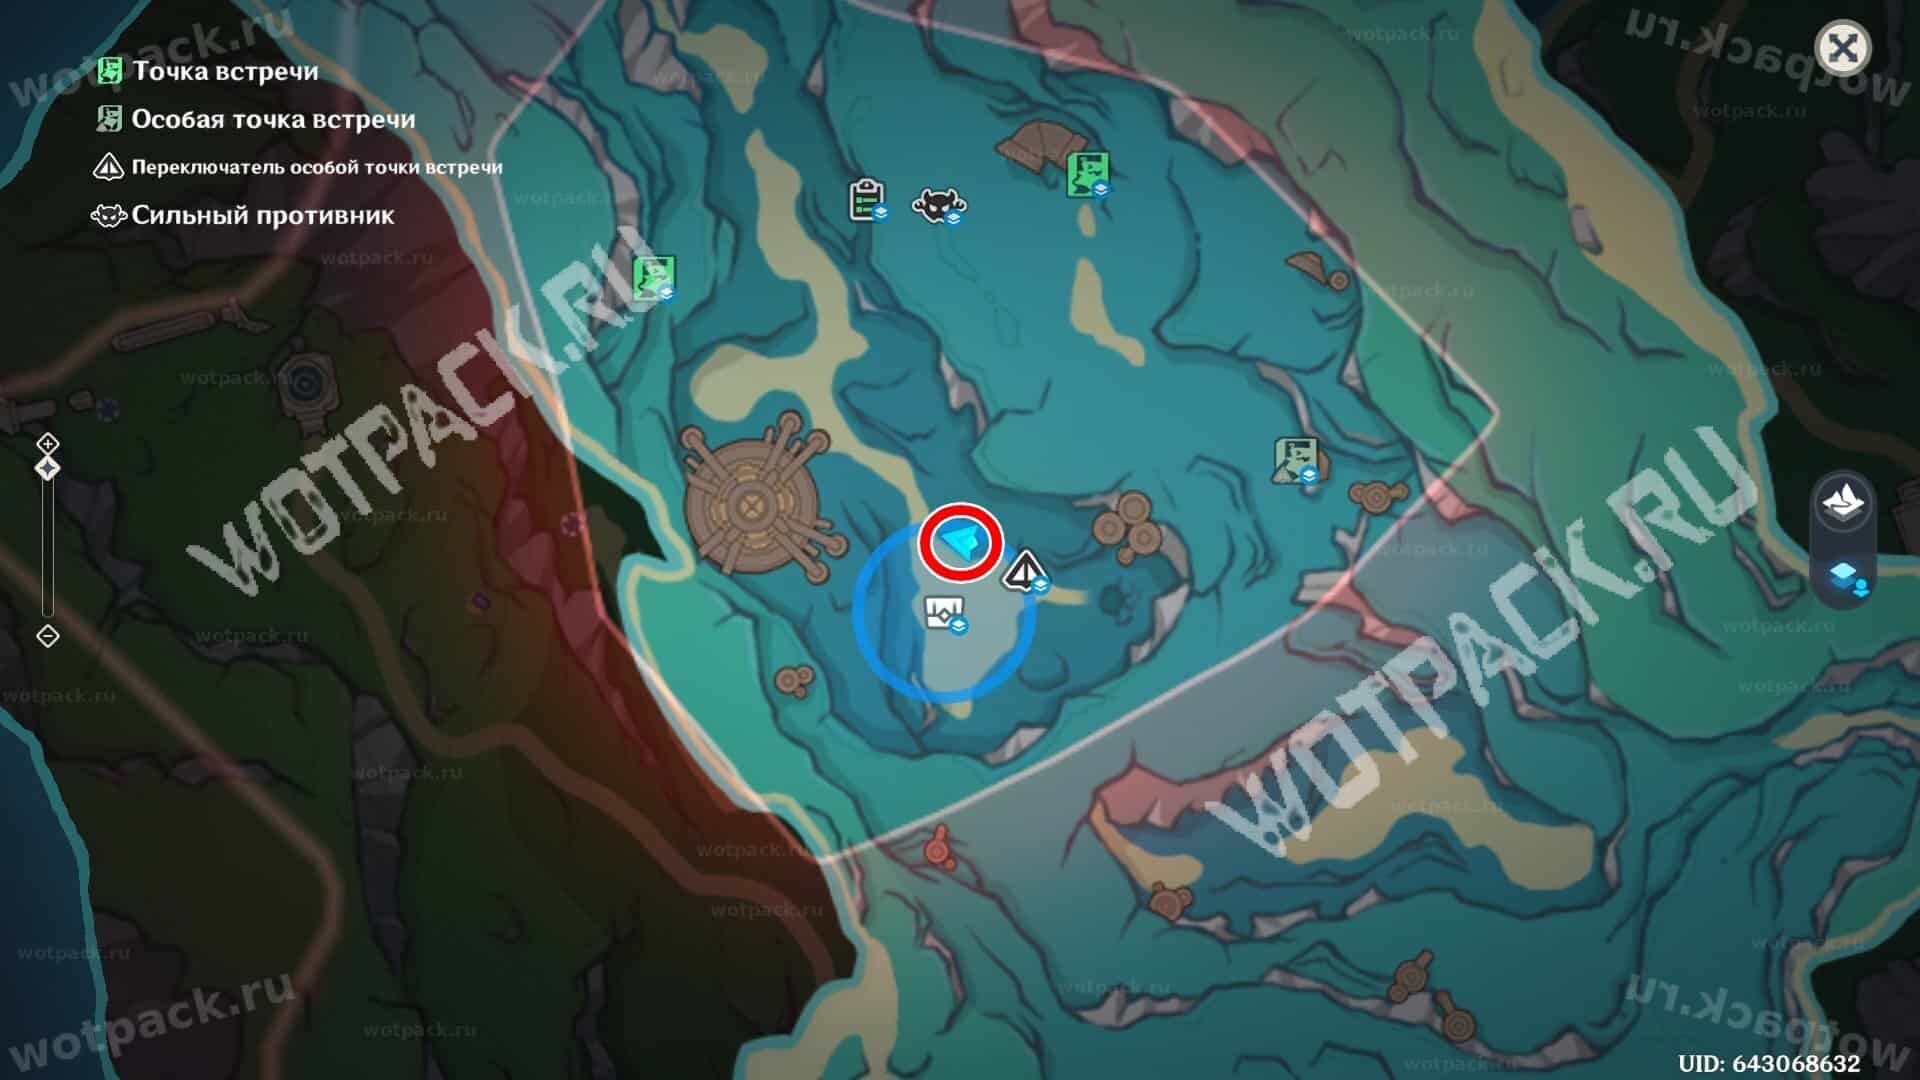
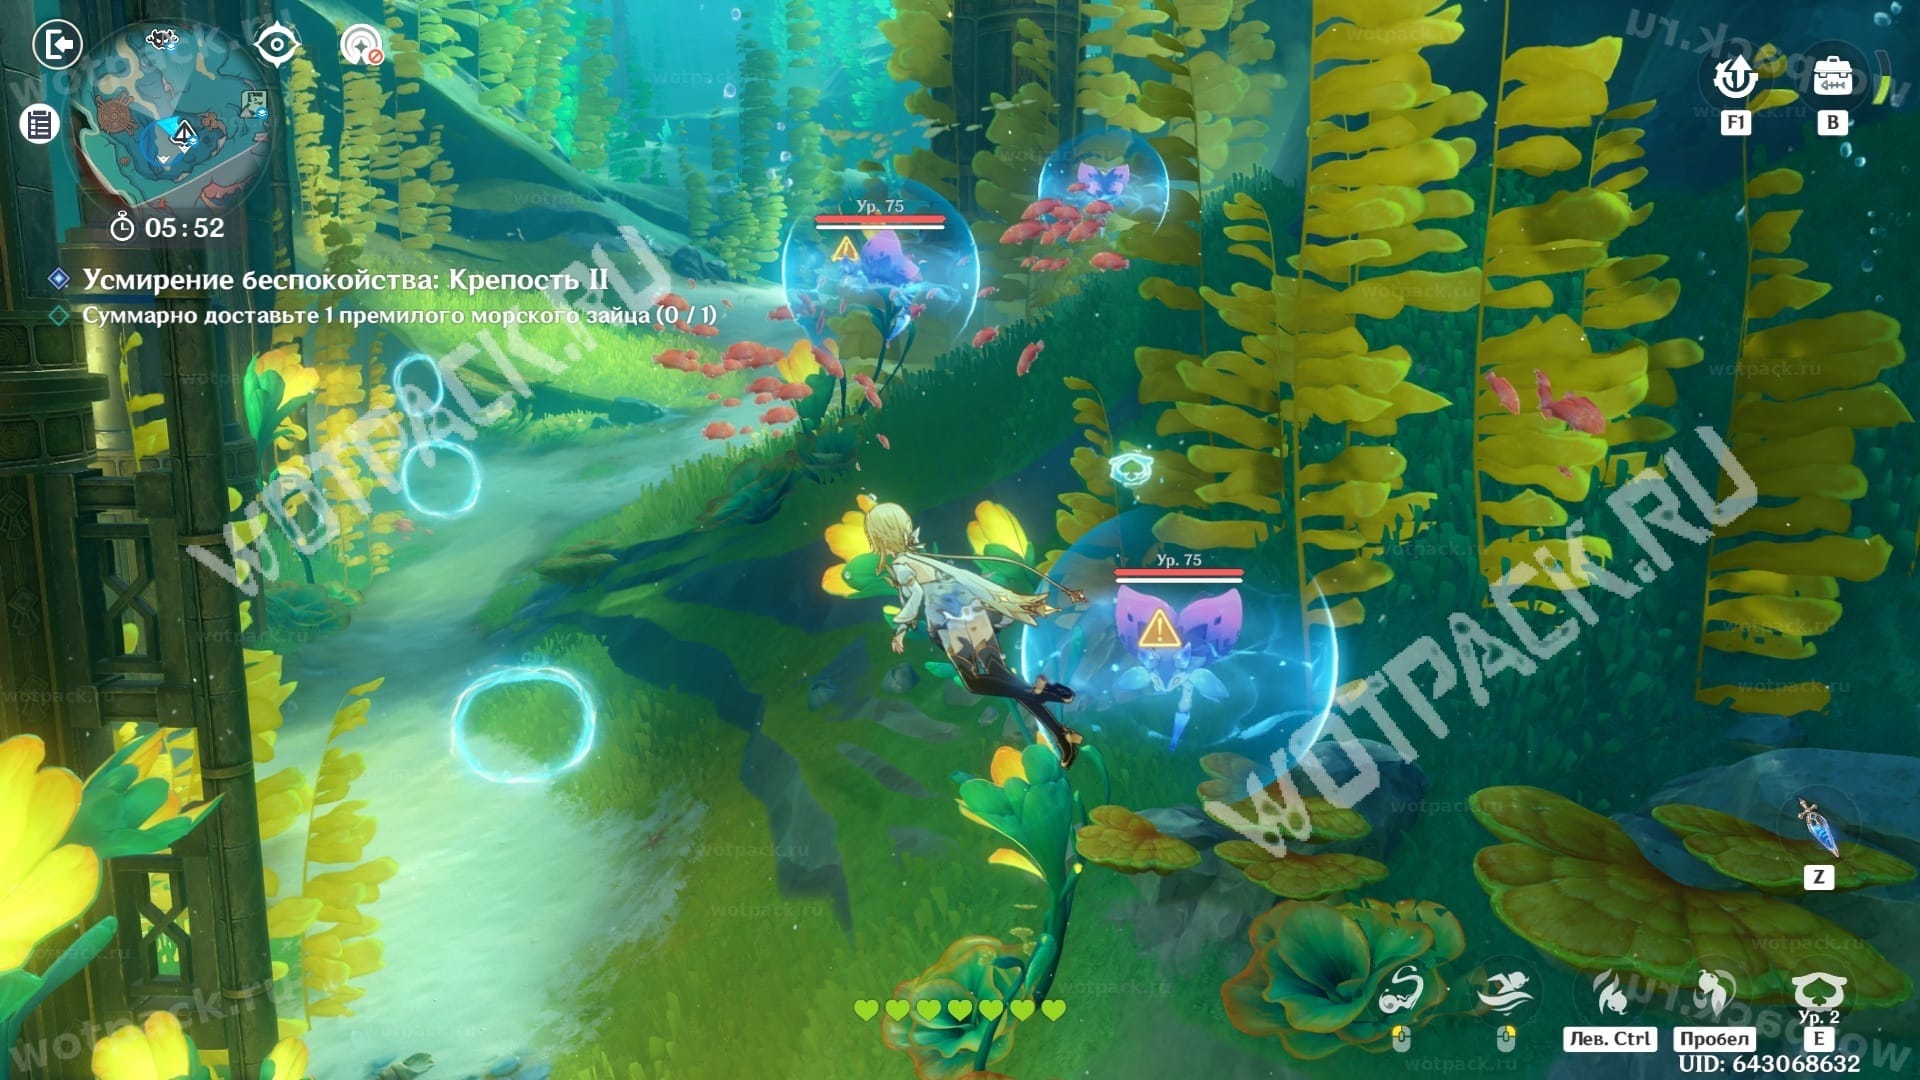
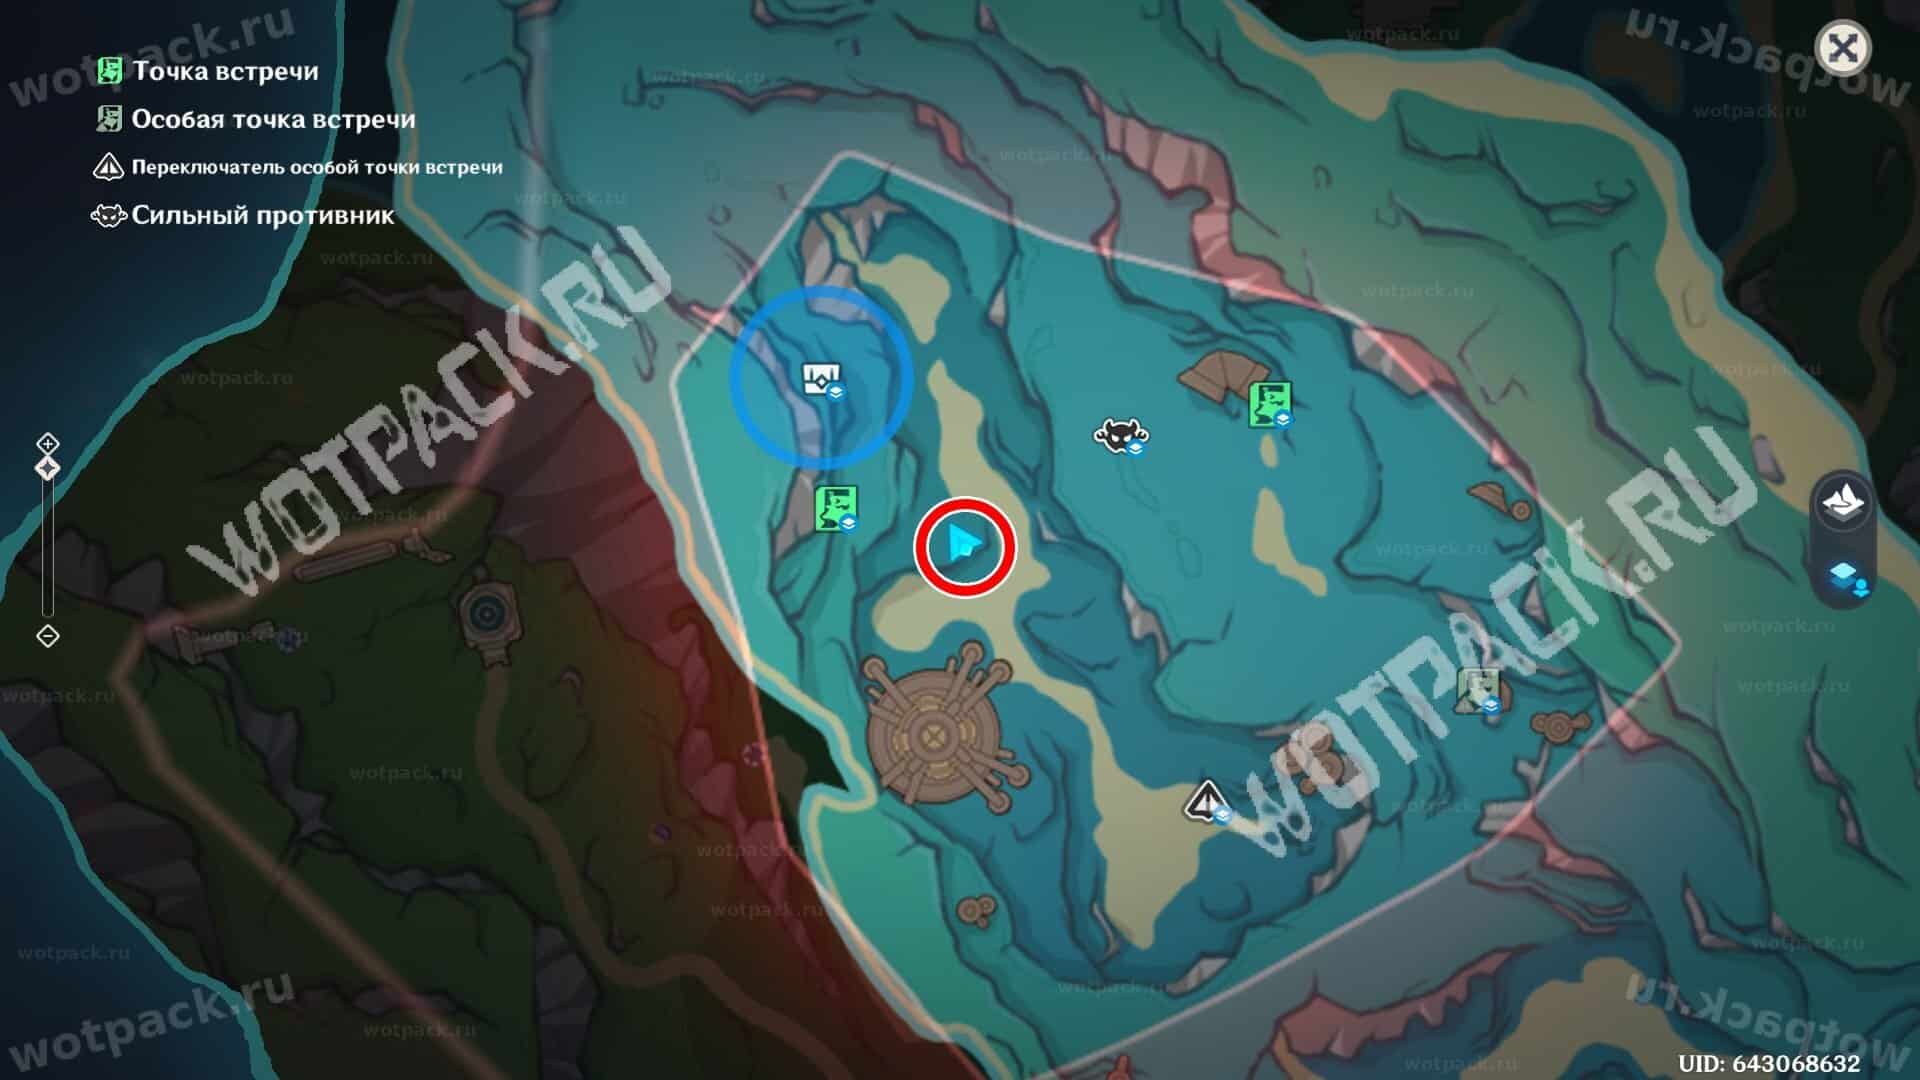
Cleaning of dirt (Oil-stained Lias)
At level fifteen of the park's development, you'll have to face a dangerous monster from the outskirts of the Meropides fortress. To prevent the huge sea hare from causing you any trouble, upgrade your Hatbomb straight to the penultimate level.
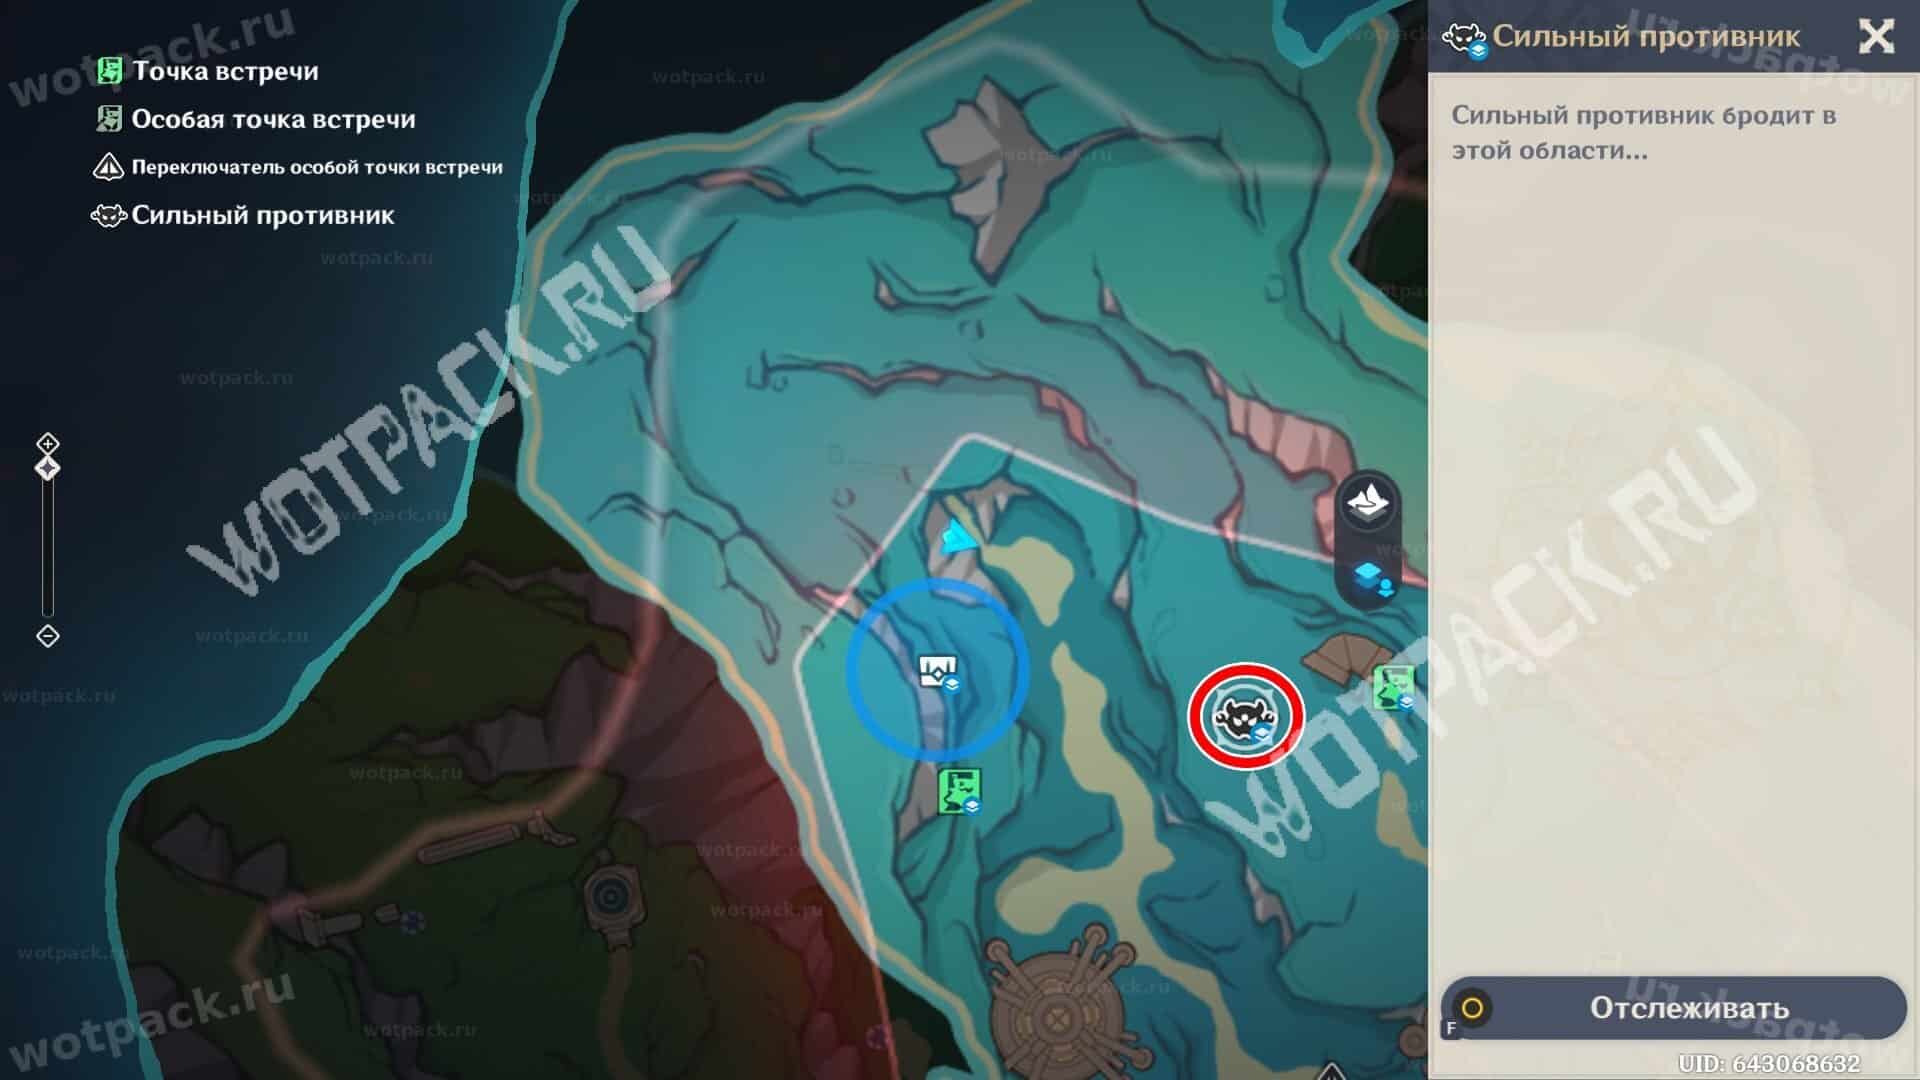
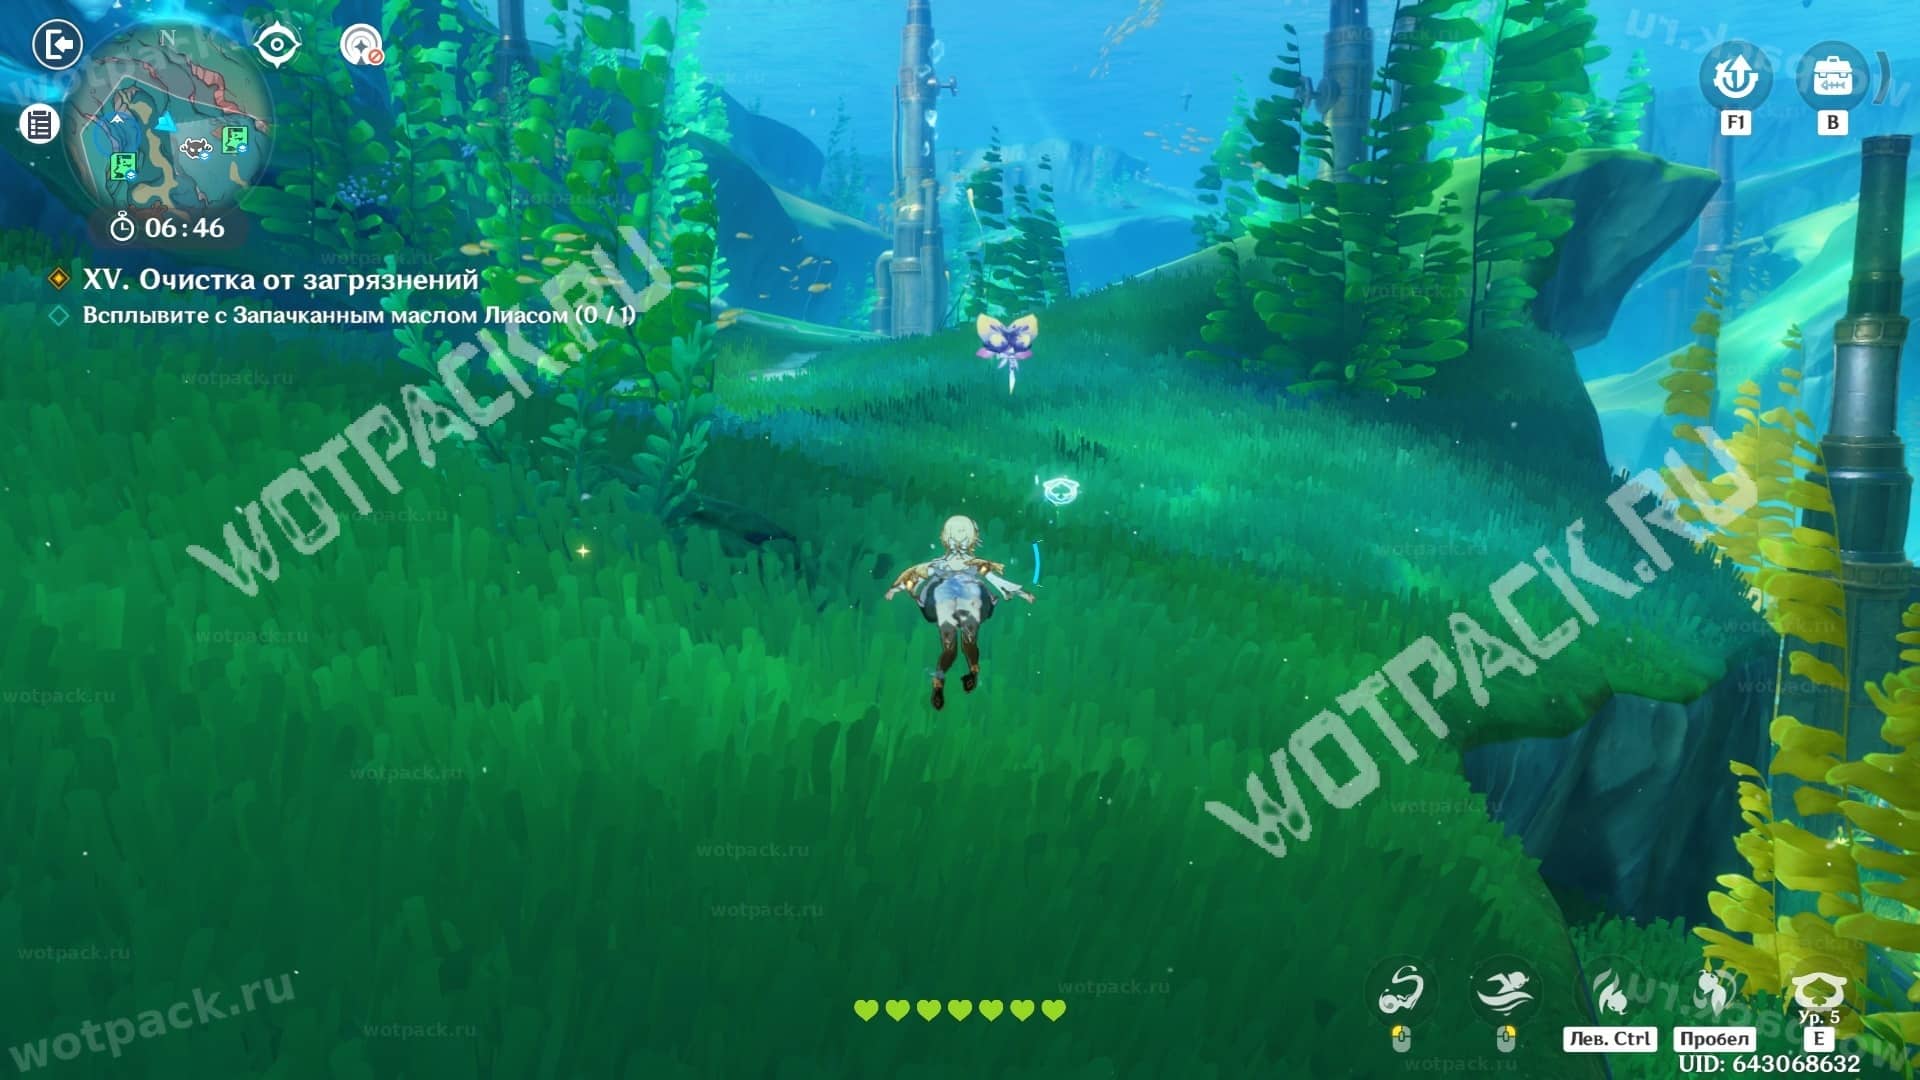
The mini-boss is located in the northern part of the water area. Its behavior is identical to another Fontaine legend— Liahre the Brilliant. Dodge the attacks and use the recommended ability. After victory, surface with Oil-stained Lias in inventory.
Demonstration of combat with the enemy:
Fatal abyss
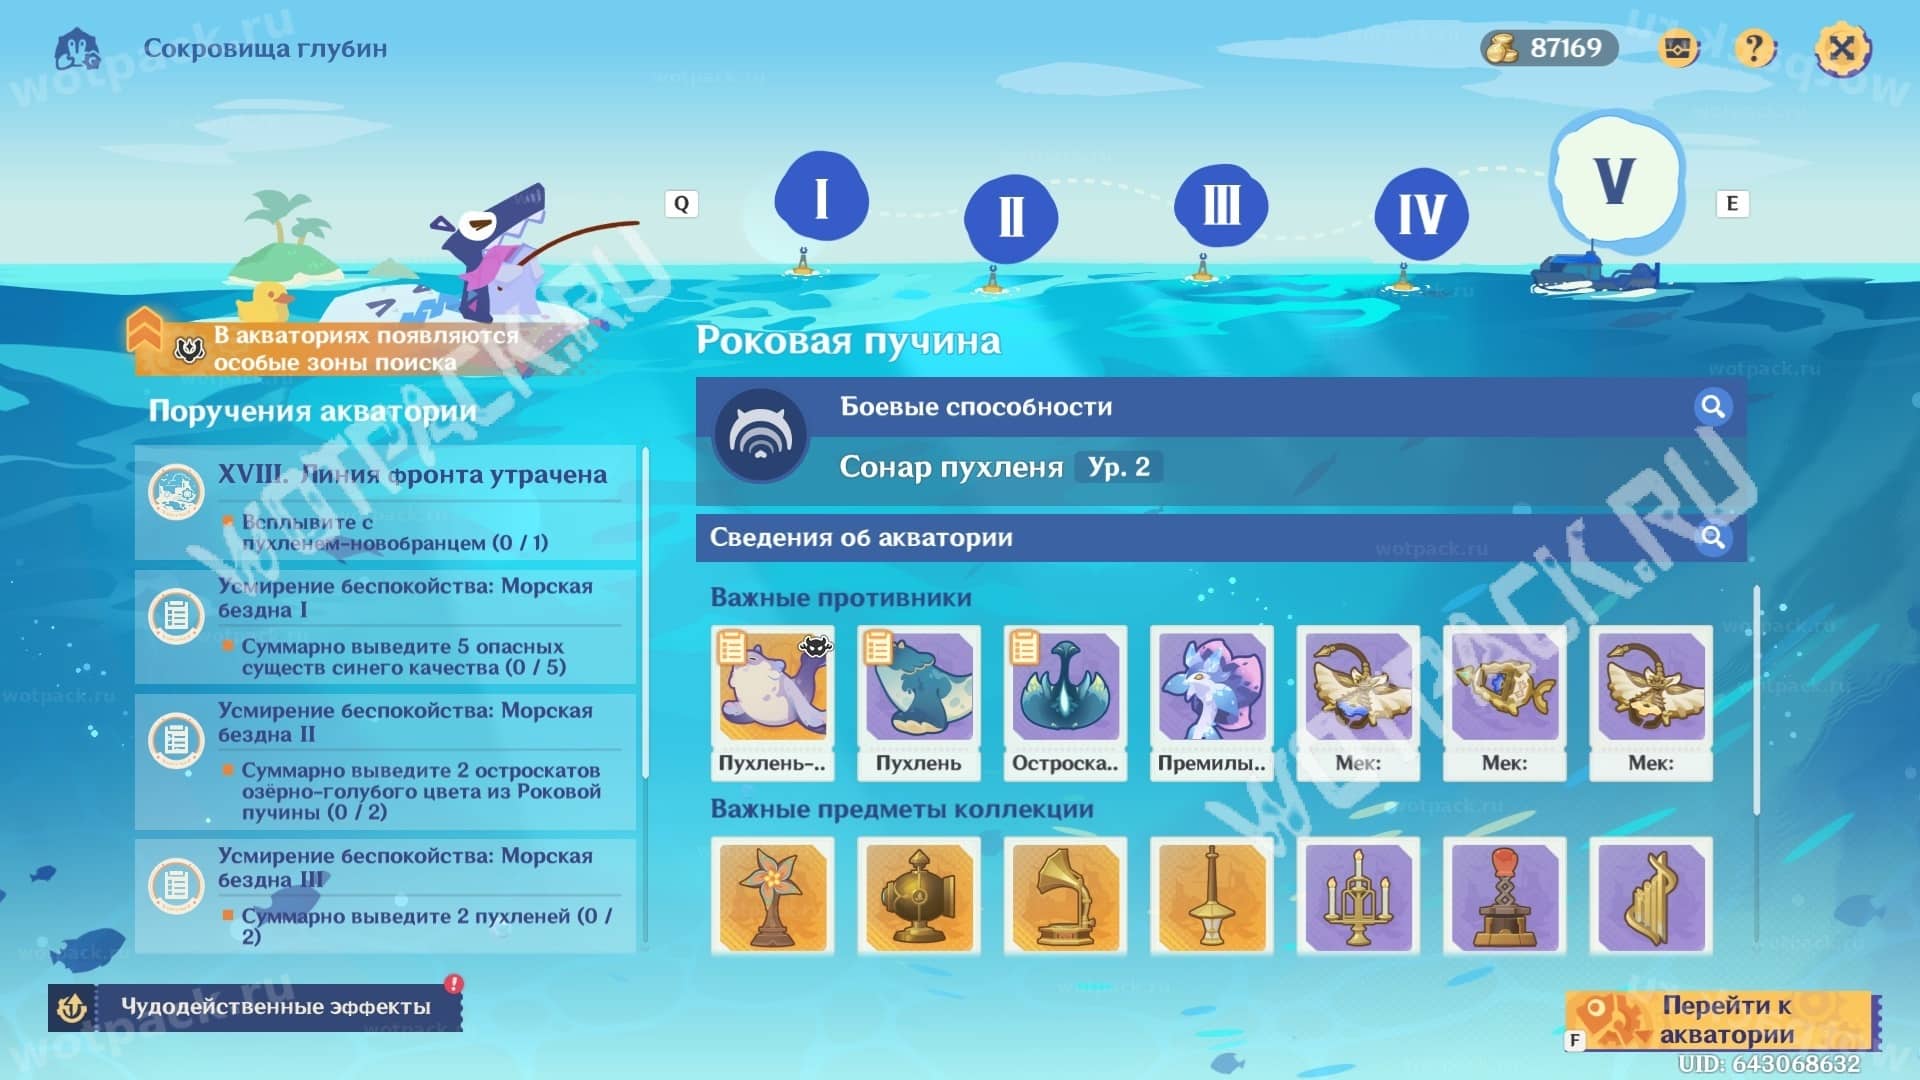
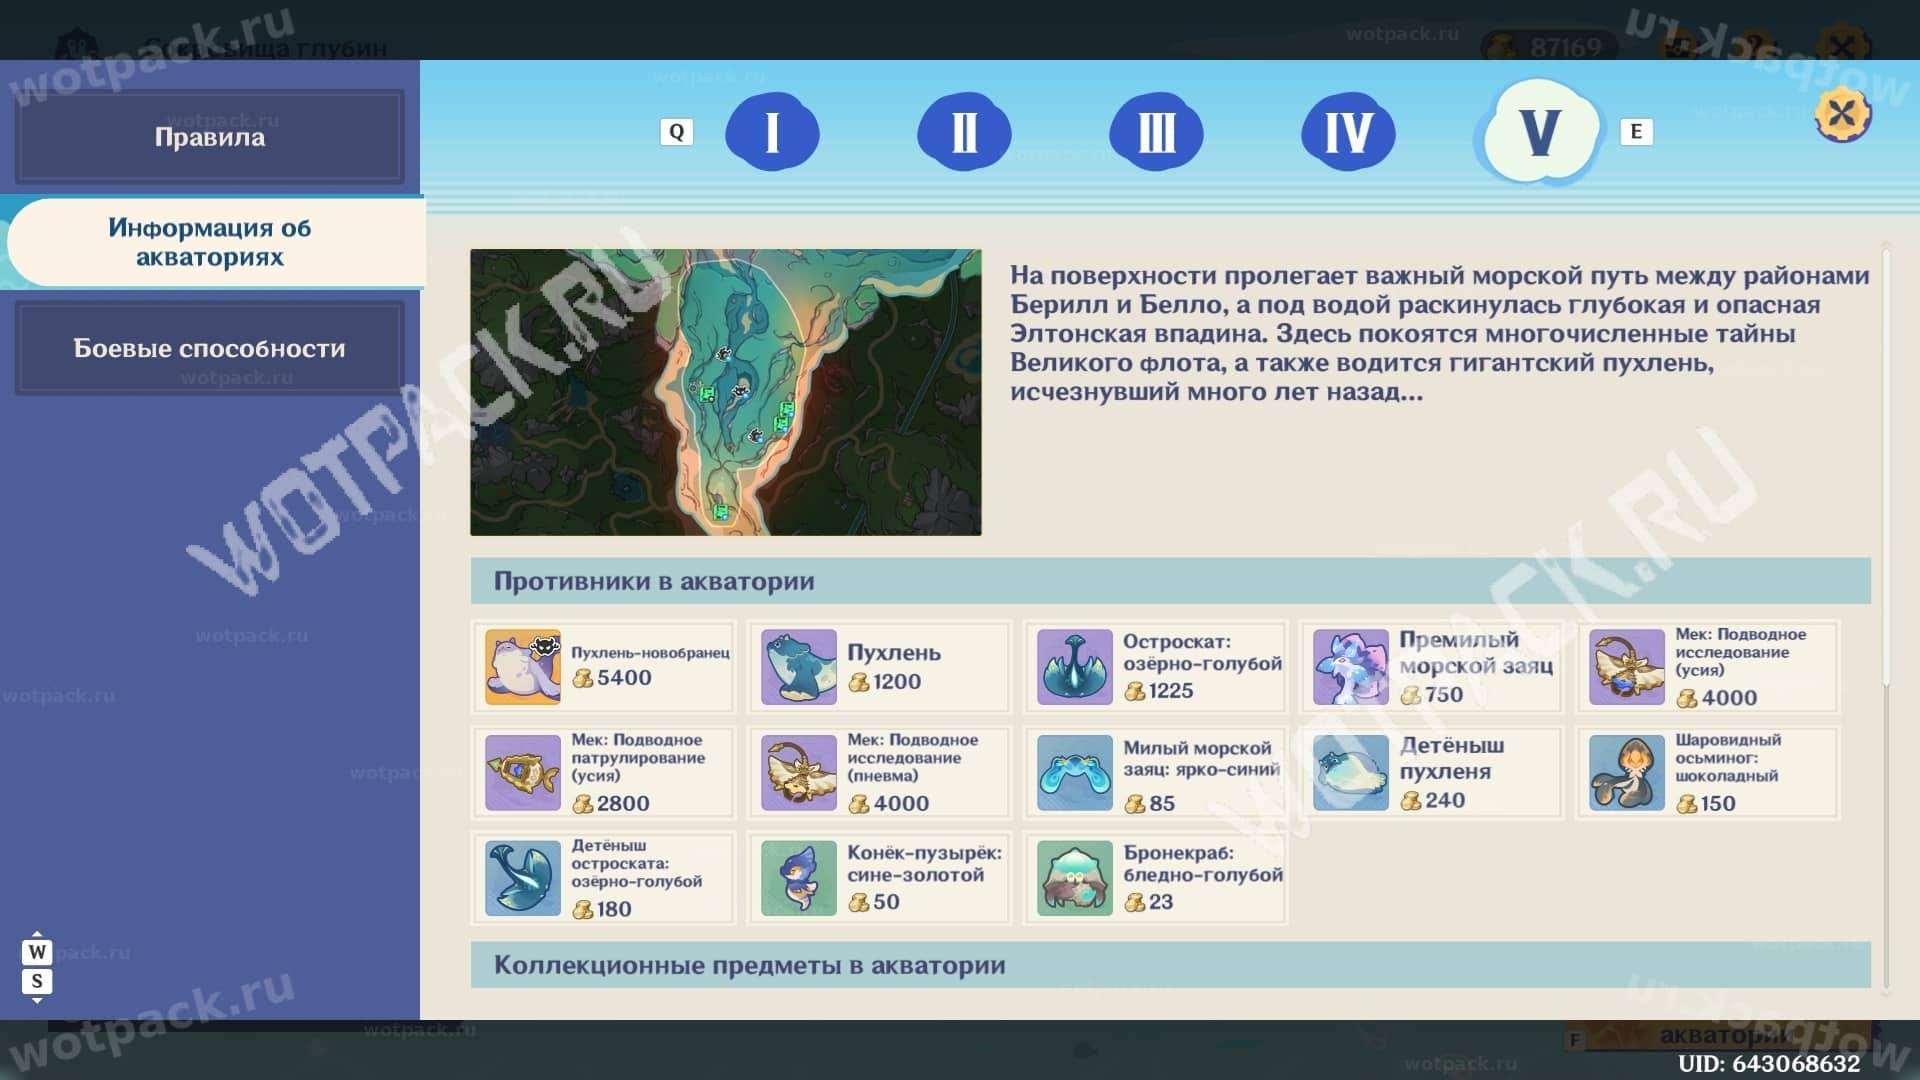
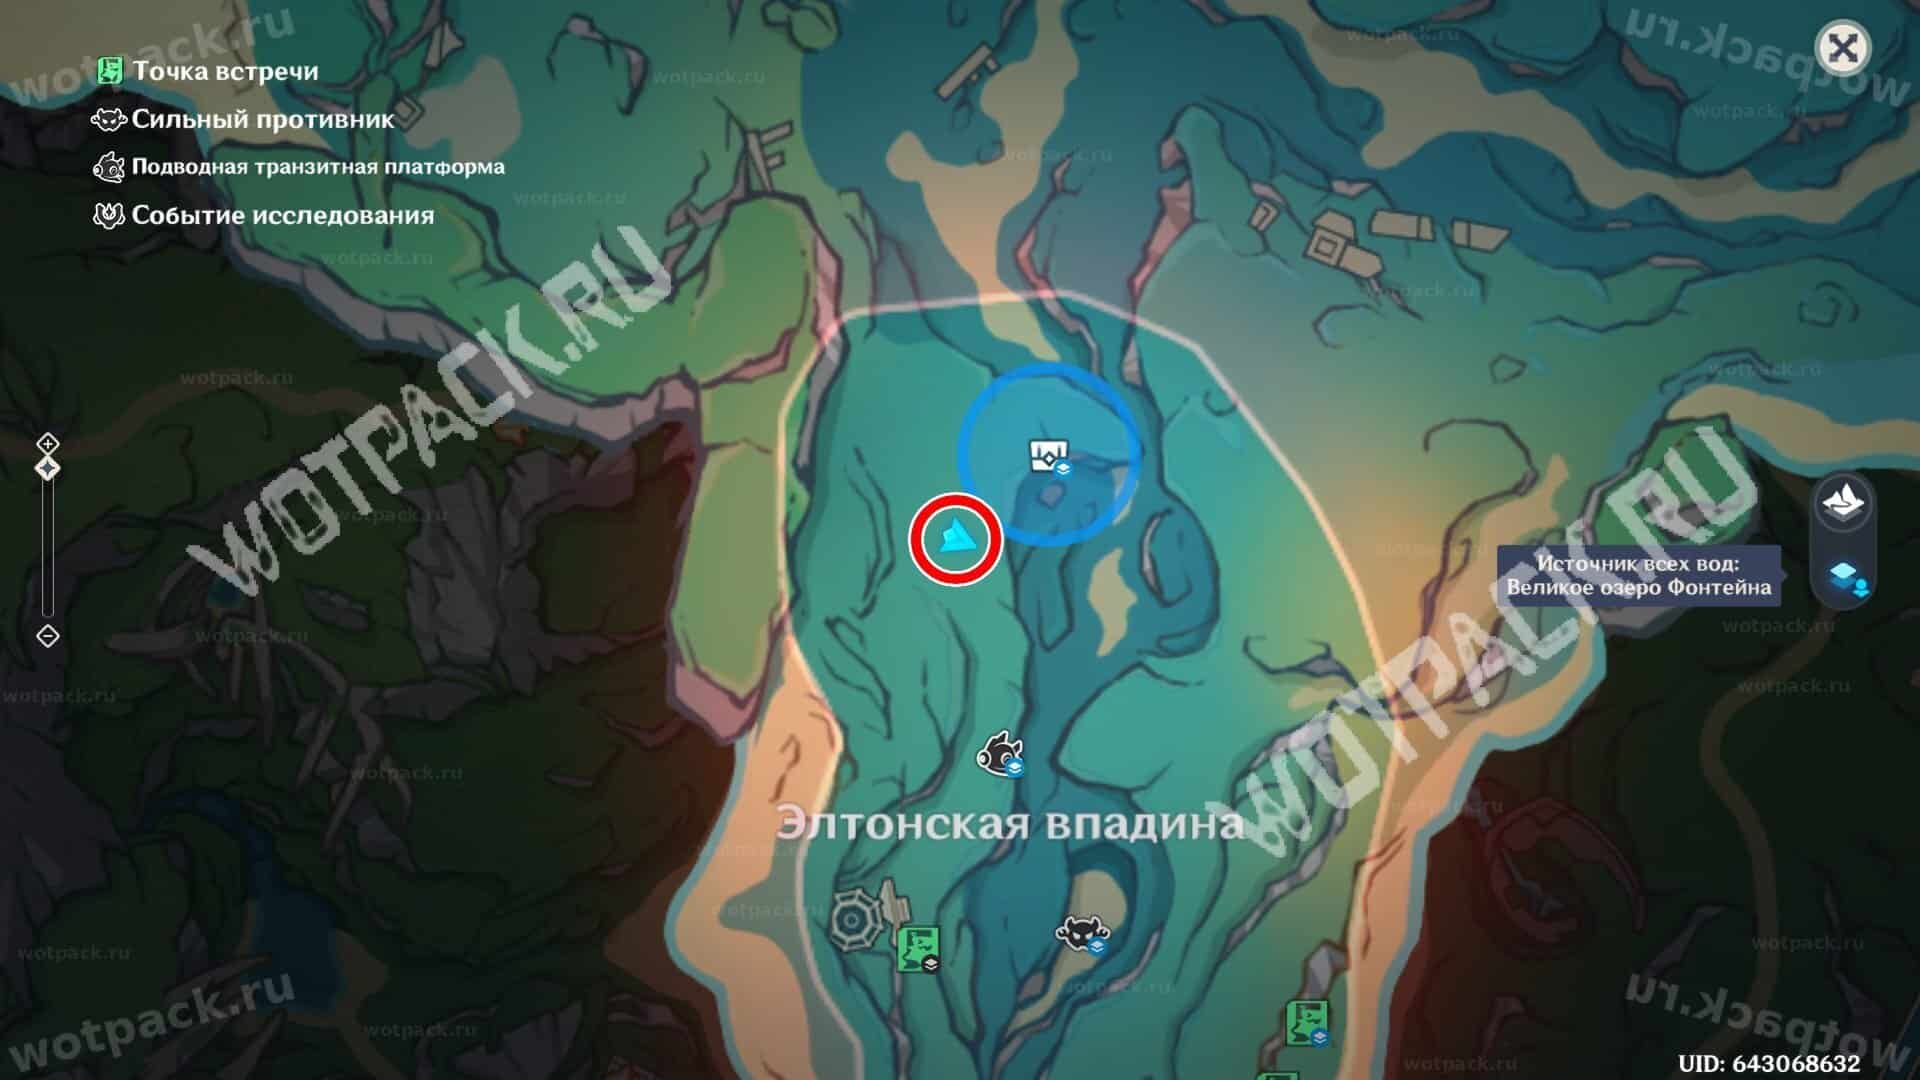
The final location is located in the sea route between the Beryl and Bello regions. In addition to standard treasure quests and area-specific inspections, you'll need to focus on collecting specific underwater creatures.
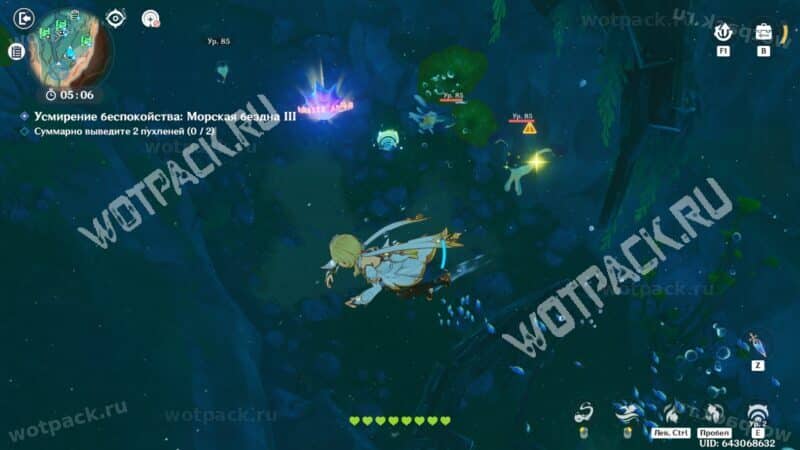
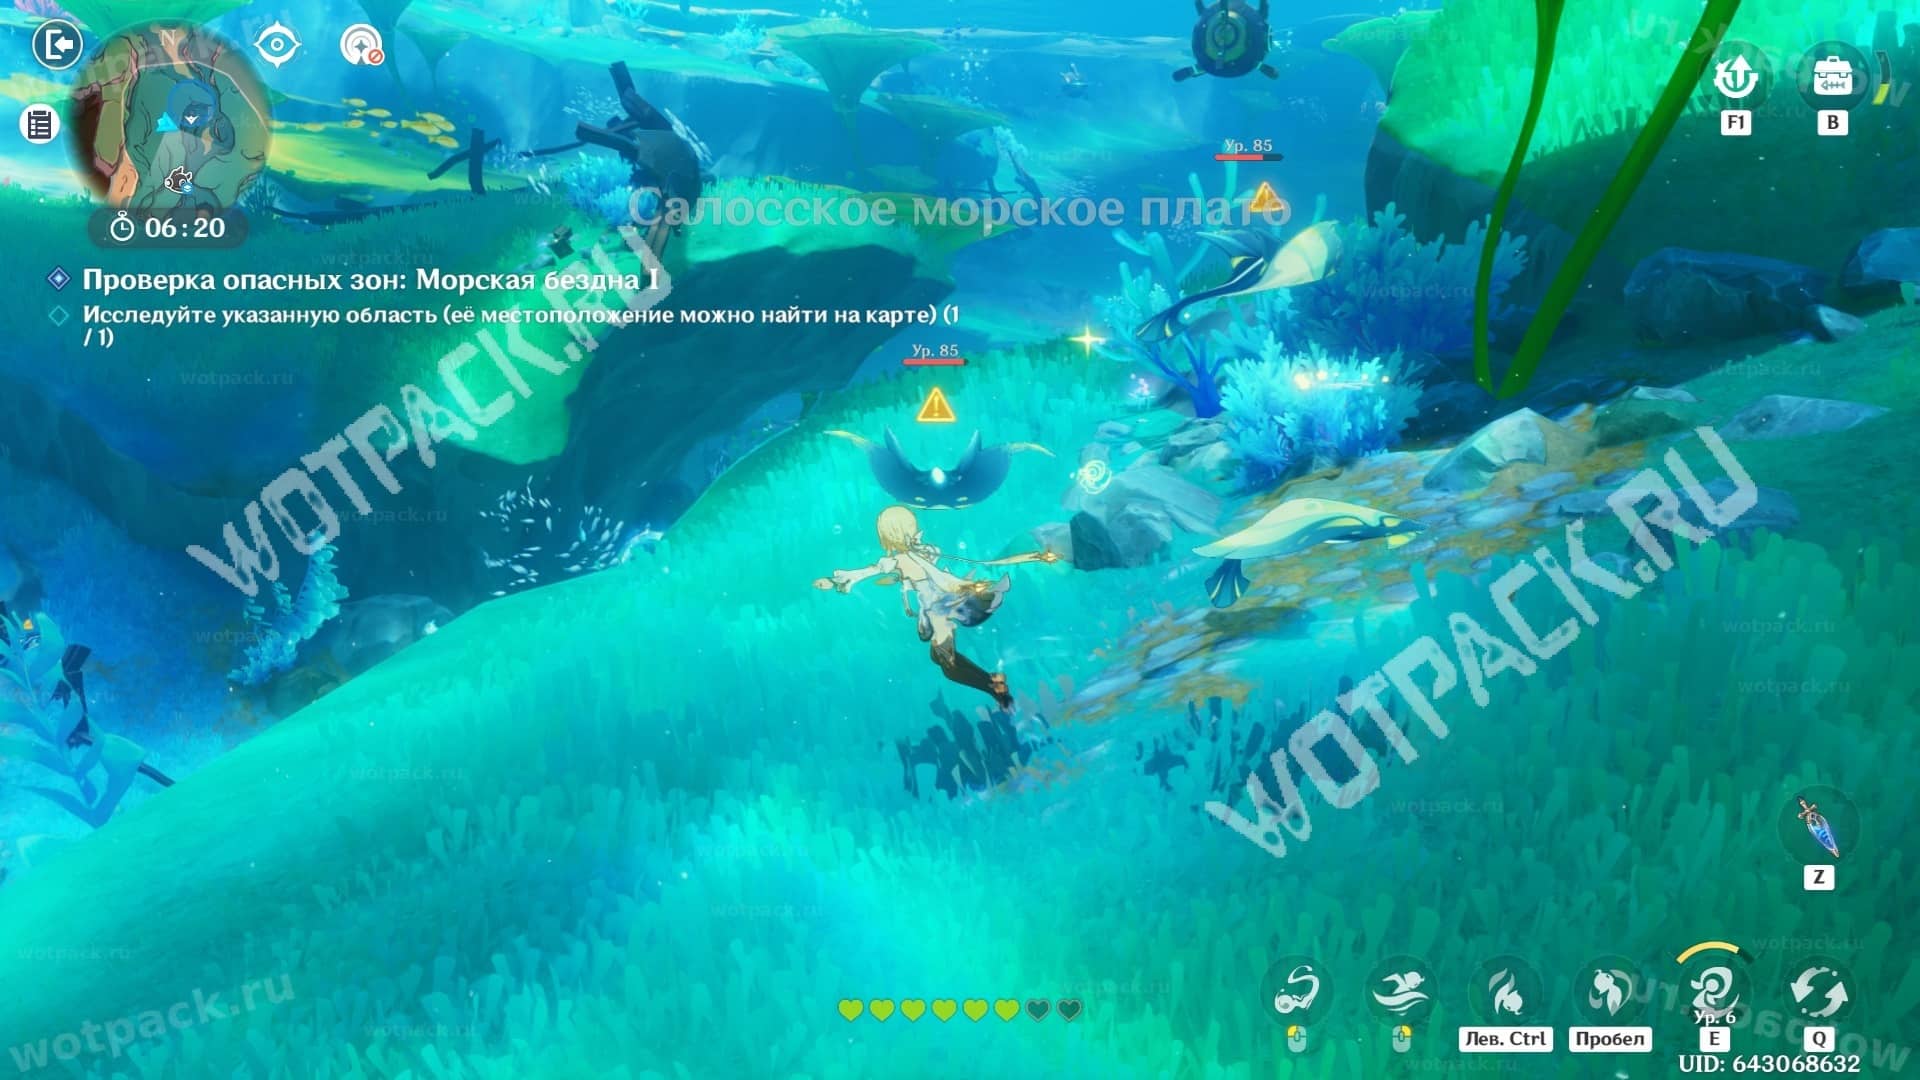
Calming Anxiety: The Deep Sea
Finding blue-quality creatures is a bit more challenging this time. We recommend targeting the baby chubbys. They accompany the larger specimen and are easy to collect.
Recommendations for other key opponents:
- Lake-blue sharp-rays.
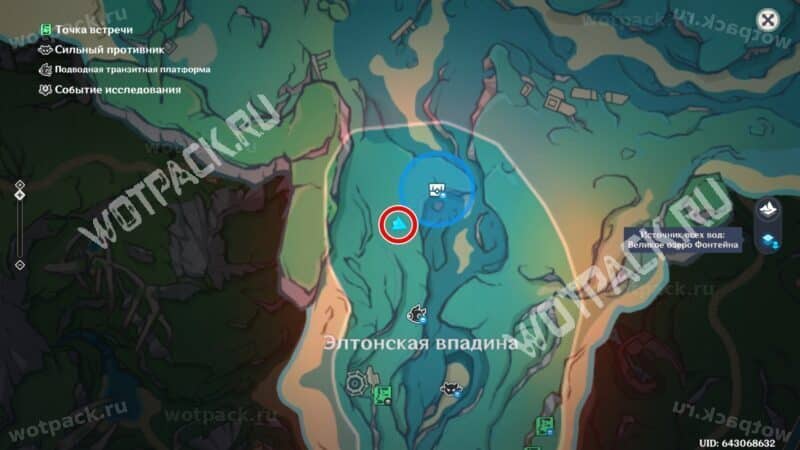
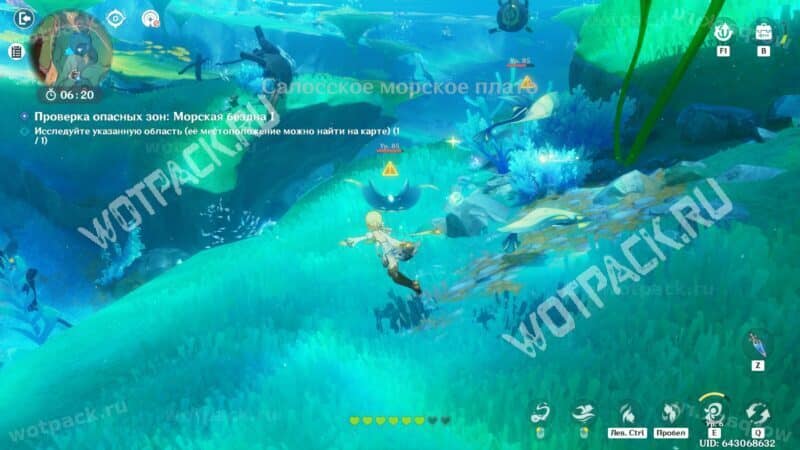
- Puffins. They live in this area. If you can't find another, surface and return. The previously collected mob will respawn.
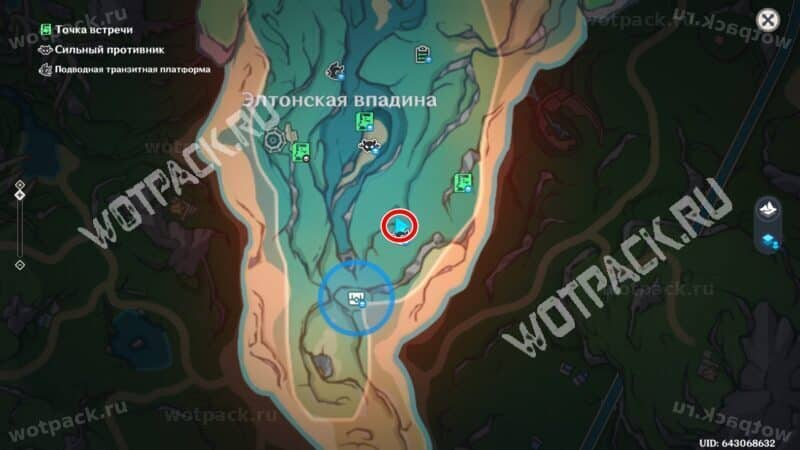
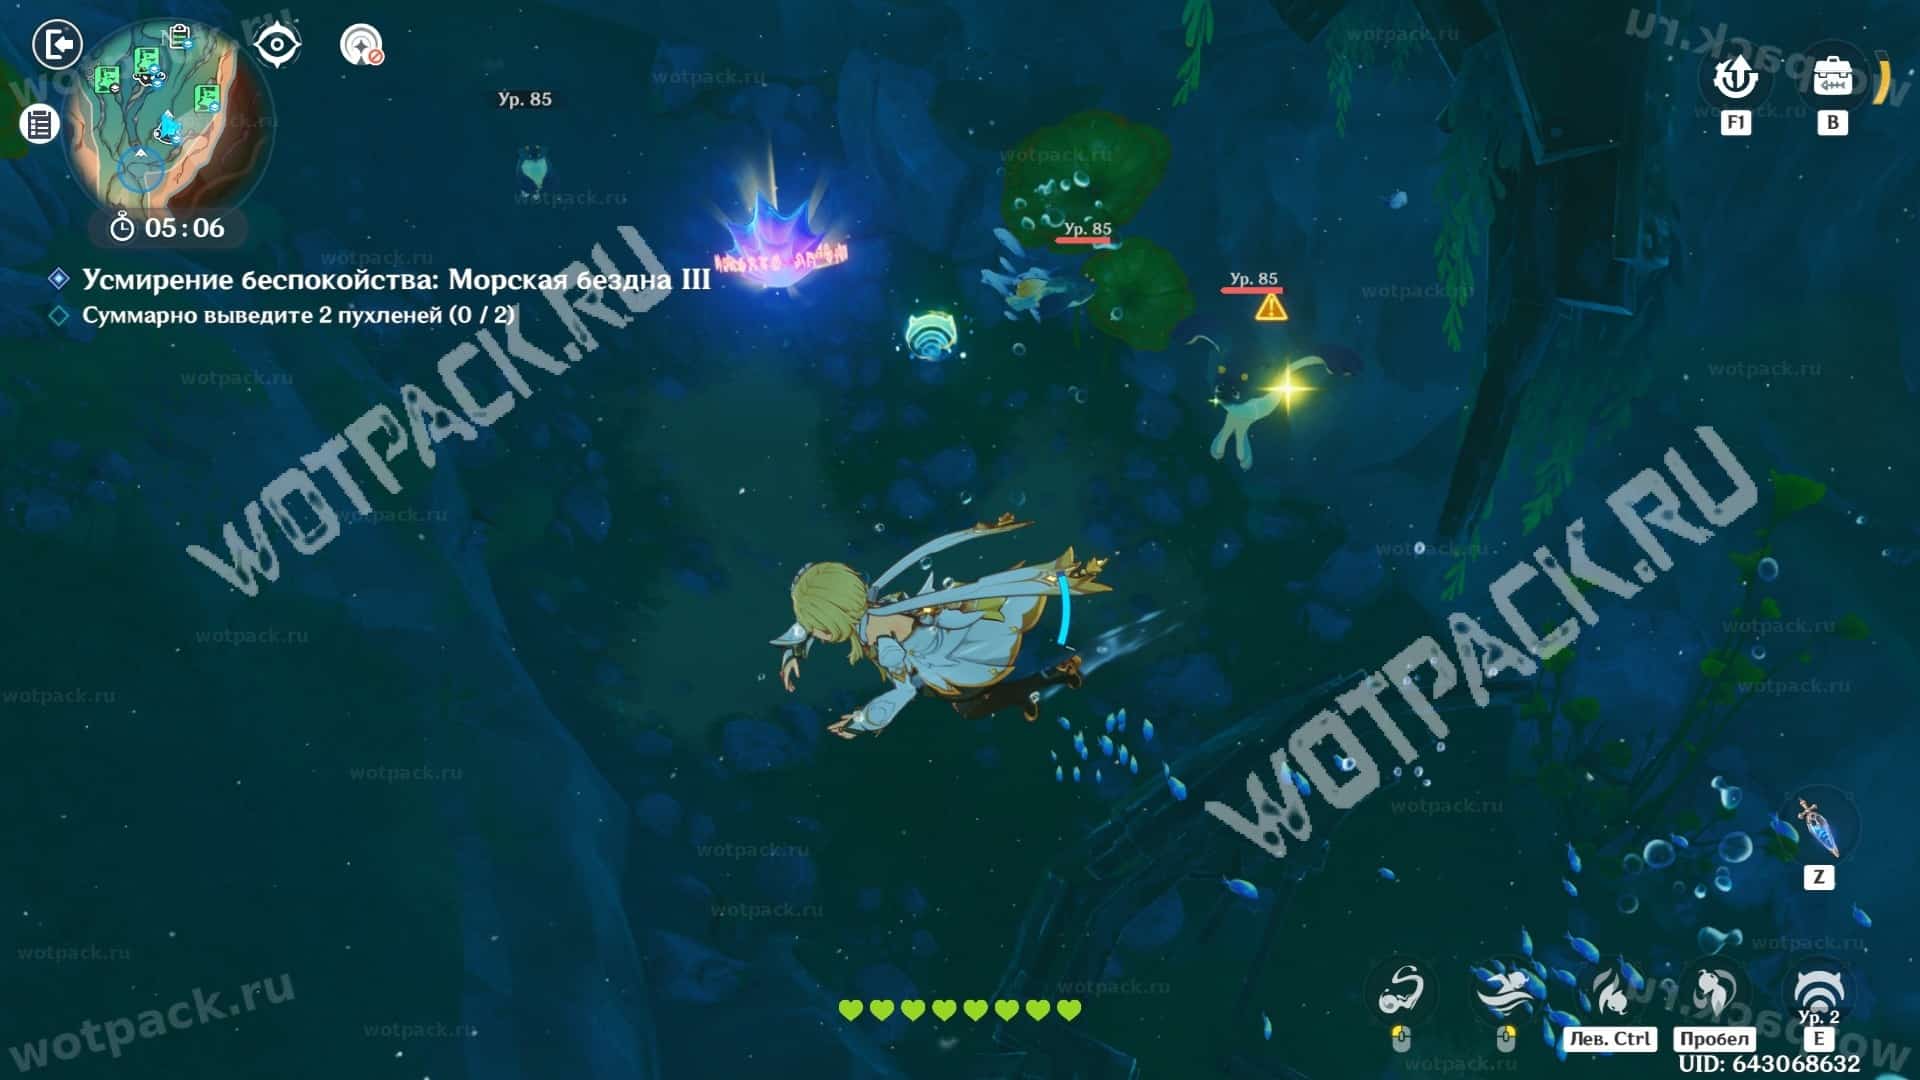
The Front Line is Lost (Chubby Recruit)
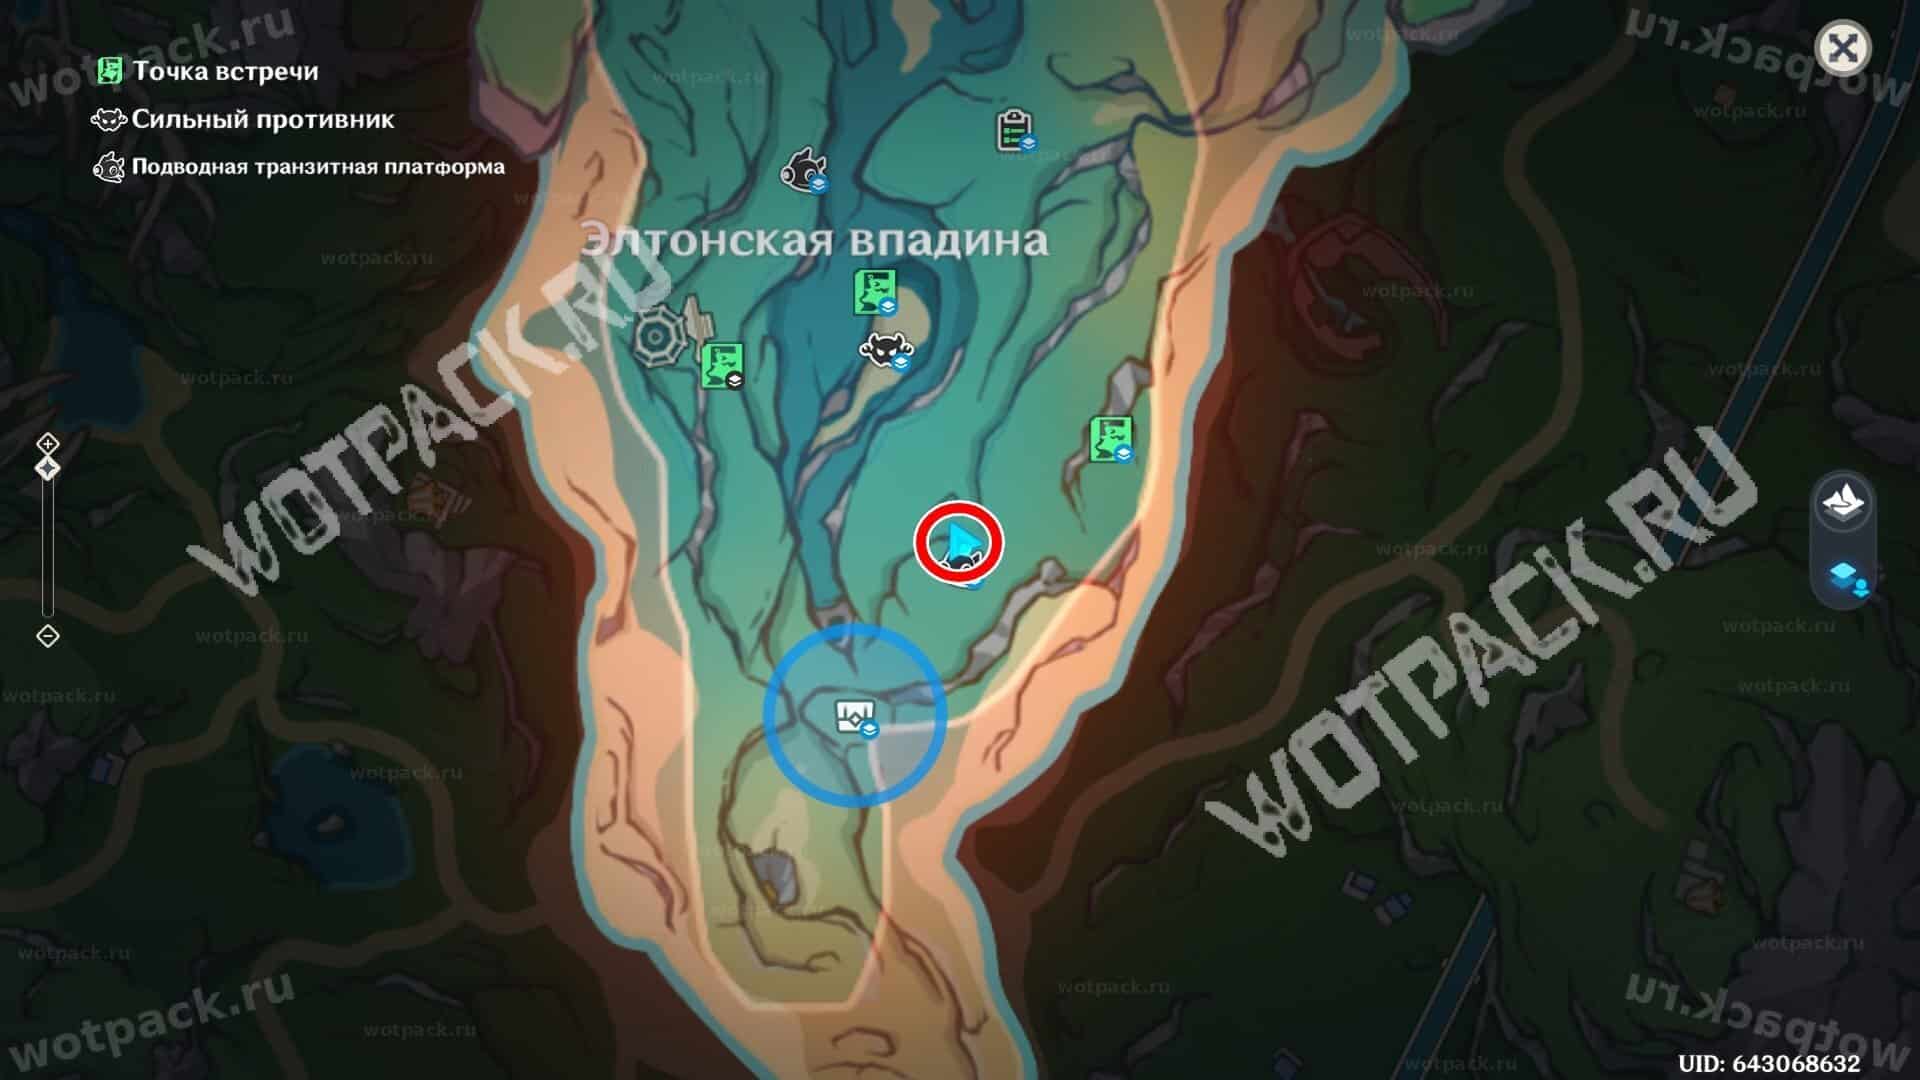
The final battle with underwater bosses, duplicating Fontaine's Legends. This time, the monster replicates the abilities A fading old soldier.
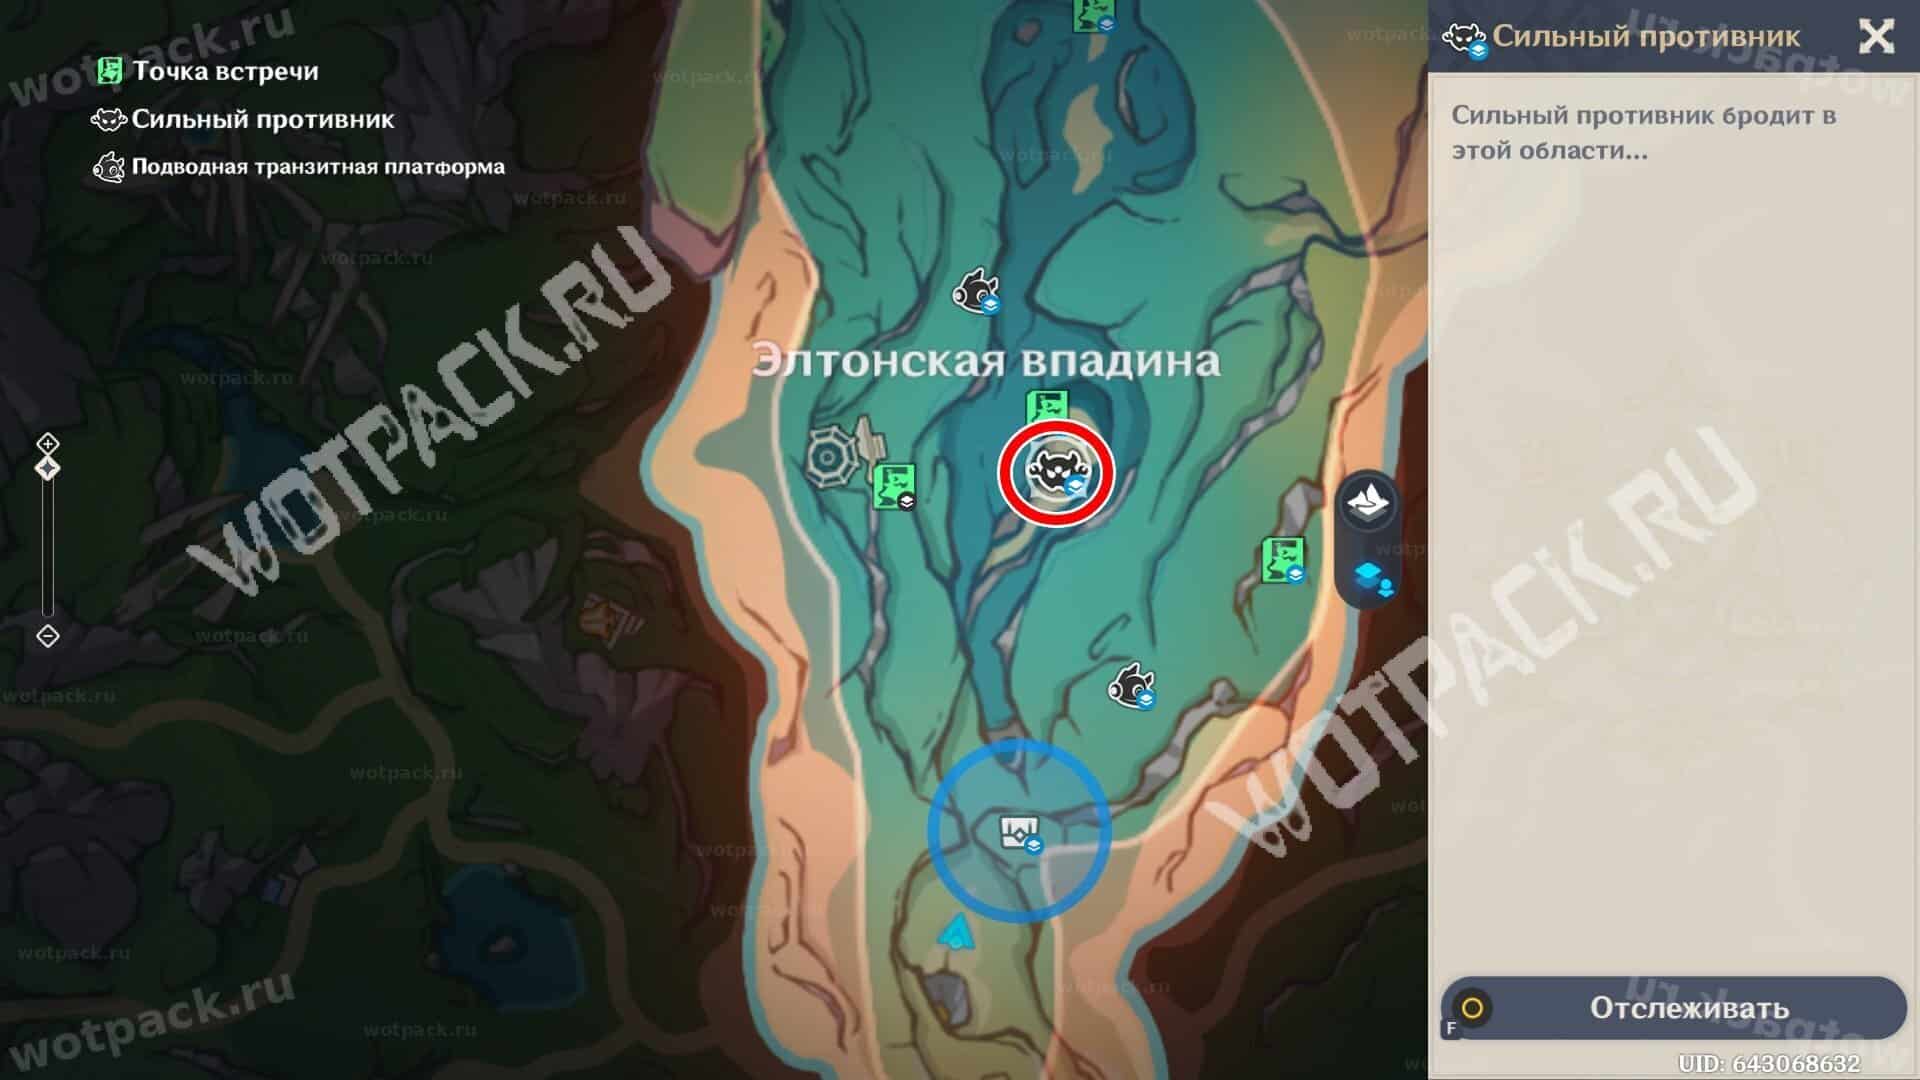
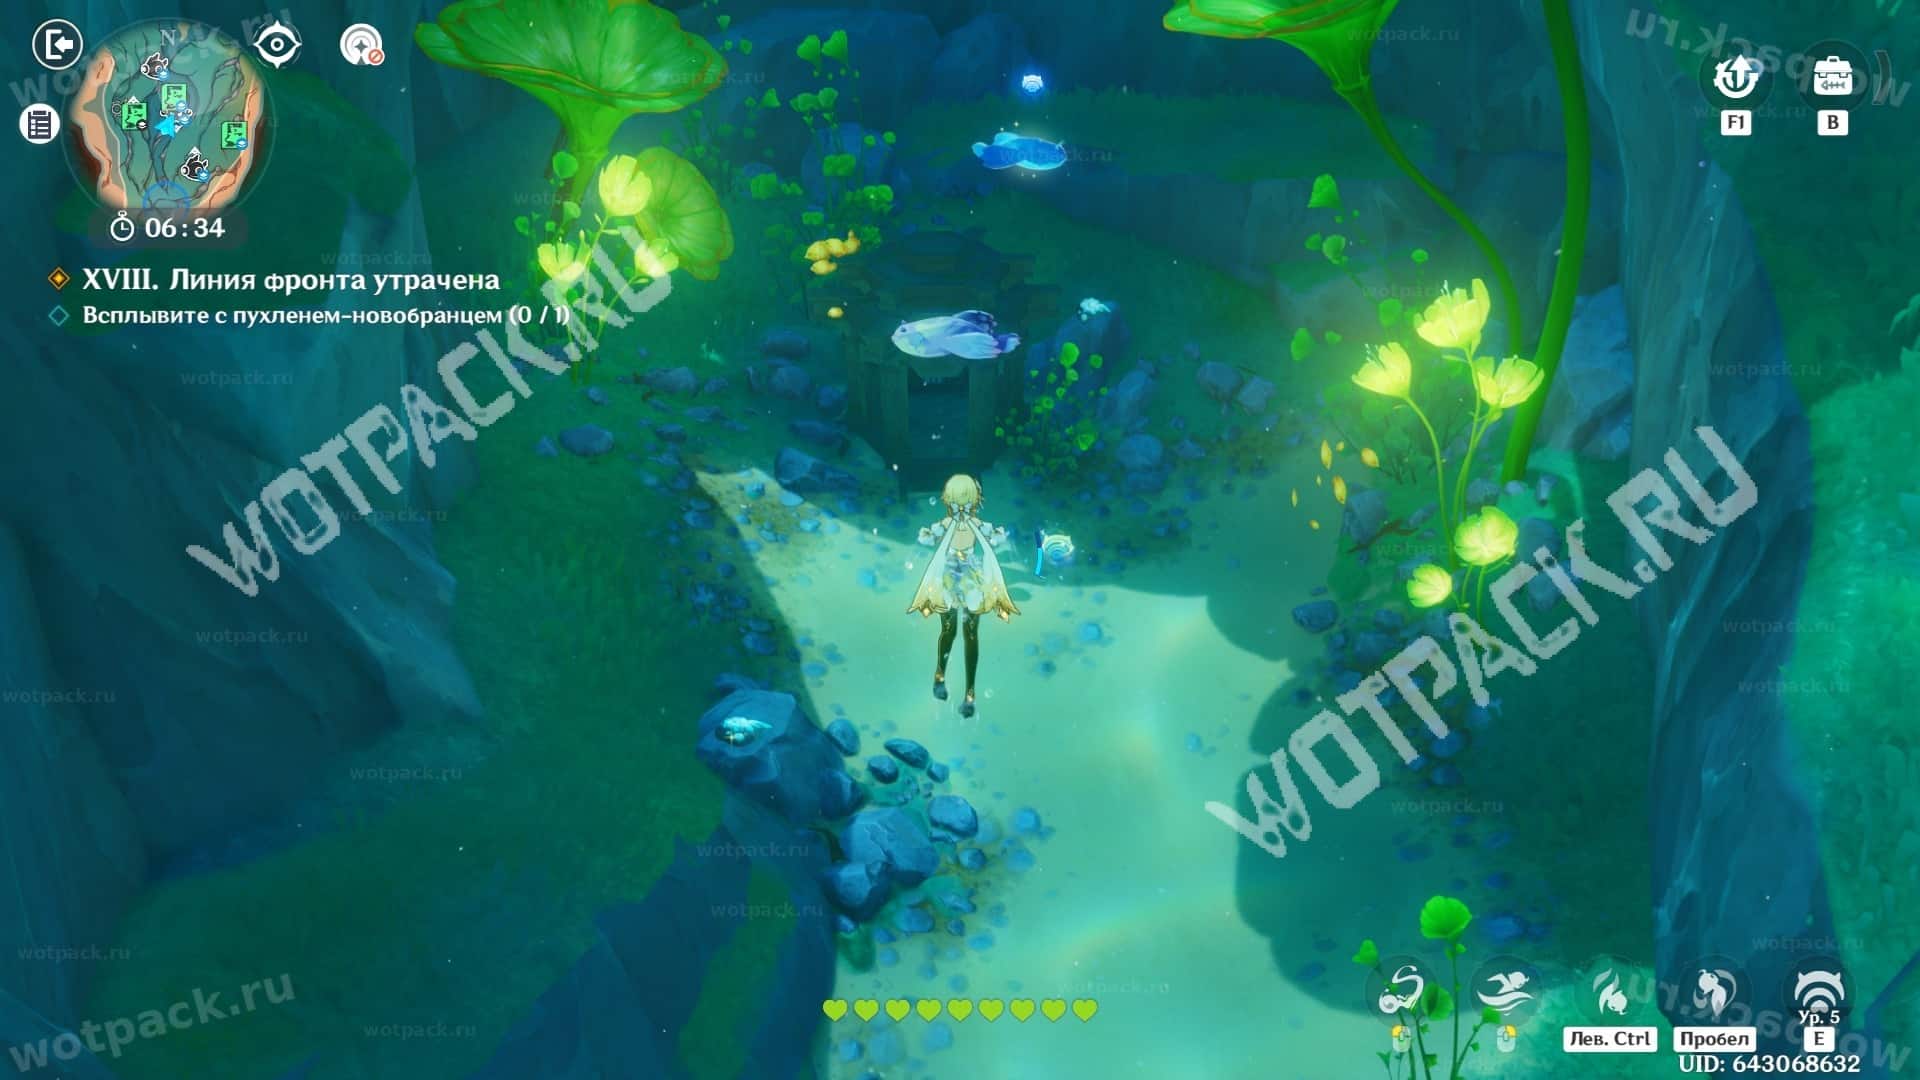
Look for a dangerous enemy in the center of the area. He swims in the depths, very close to the bottom. Before the fight, be sure to upgrade the ability that mimics the powers of his kin.
At some point, the mob will start to disappear from view. Hold E and try to send bubbles in the direction of the attacks. In a pinch, you can attack around you. After defeating it, emerge with the chubby recruit and the final piano frame fragment.
Video walkthrough:
How to complete stages 1, 2, and 3 of Treasures of the Deep in Genshin Impact
To complete all stages of the minigame, you must dive underwater and complete main and side missions. These typically involve searching for treasures, exploring, fighting, or reaching a specific level of aquarium development.
Step 1
To completely clear the first level chain, you need to open two areas for exploration.
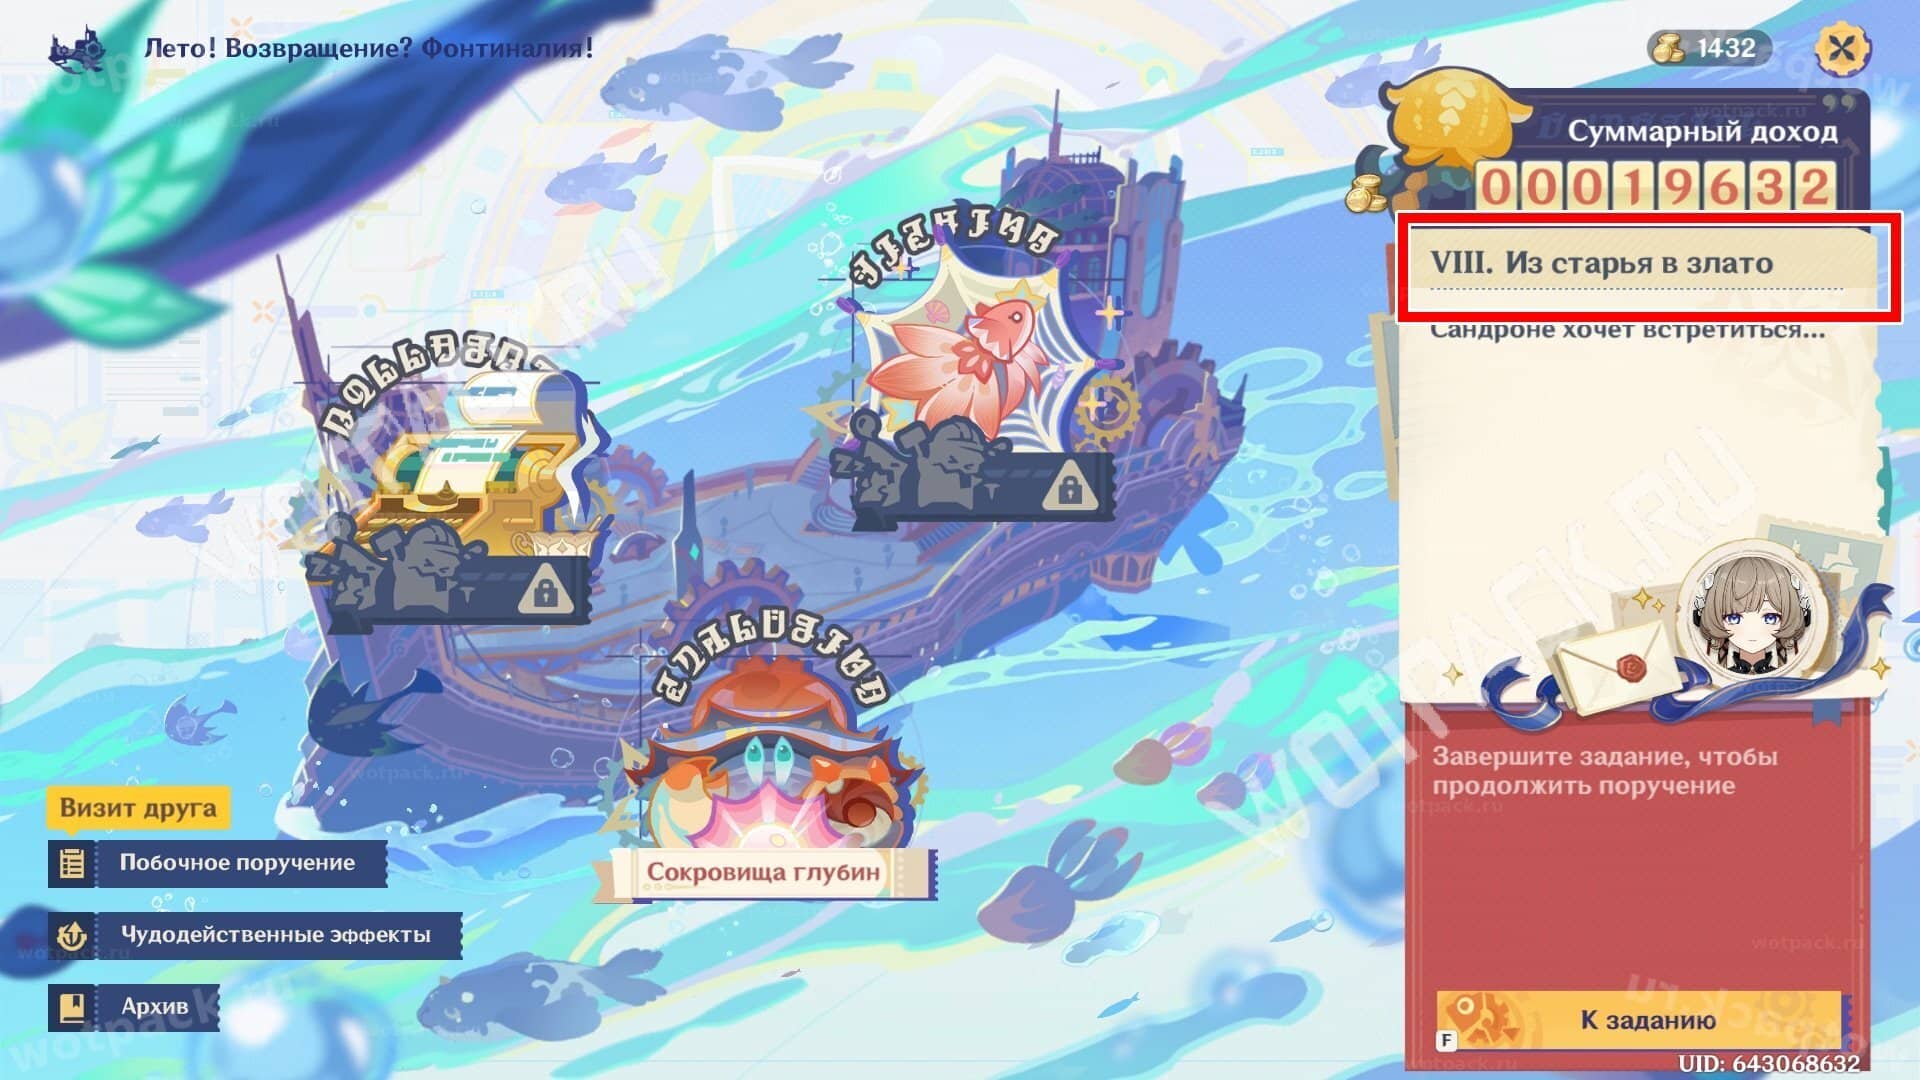
- Complete Main Quest IX, "A Knight's Death." These missions can be tracked in the "Management" section of the menu on the right. Don't forget to collect your rewards.
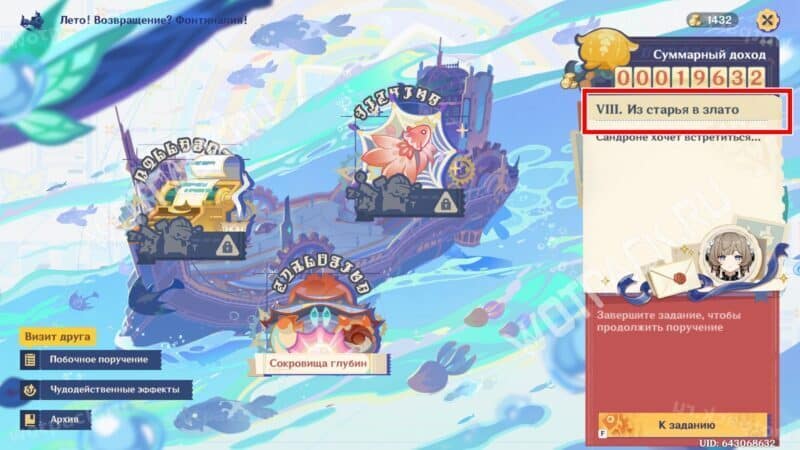
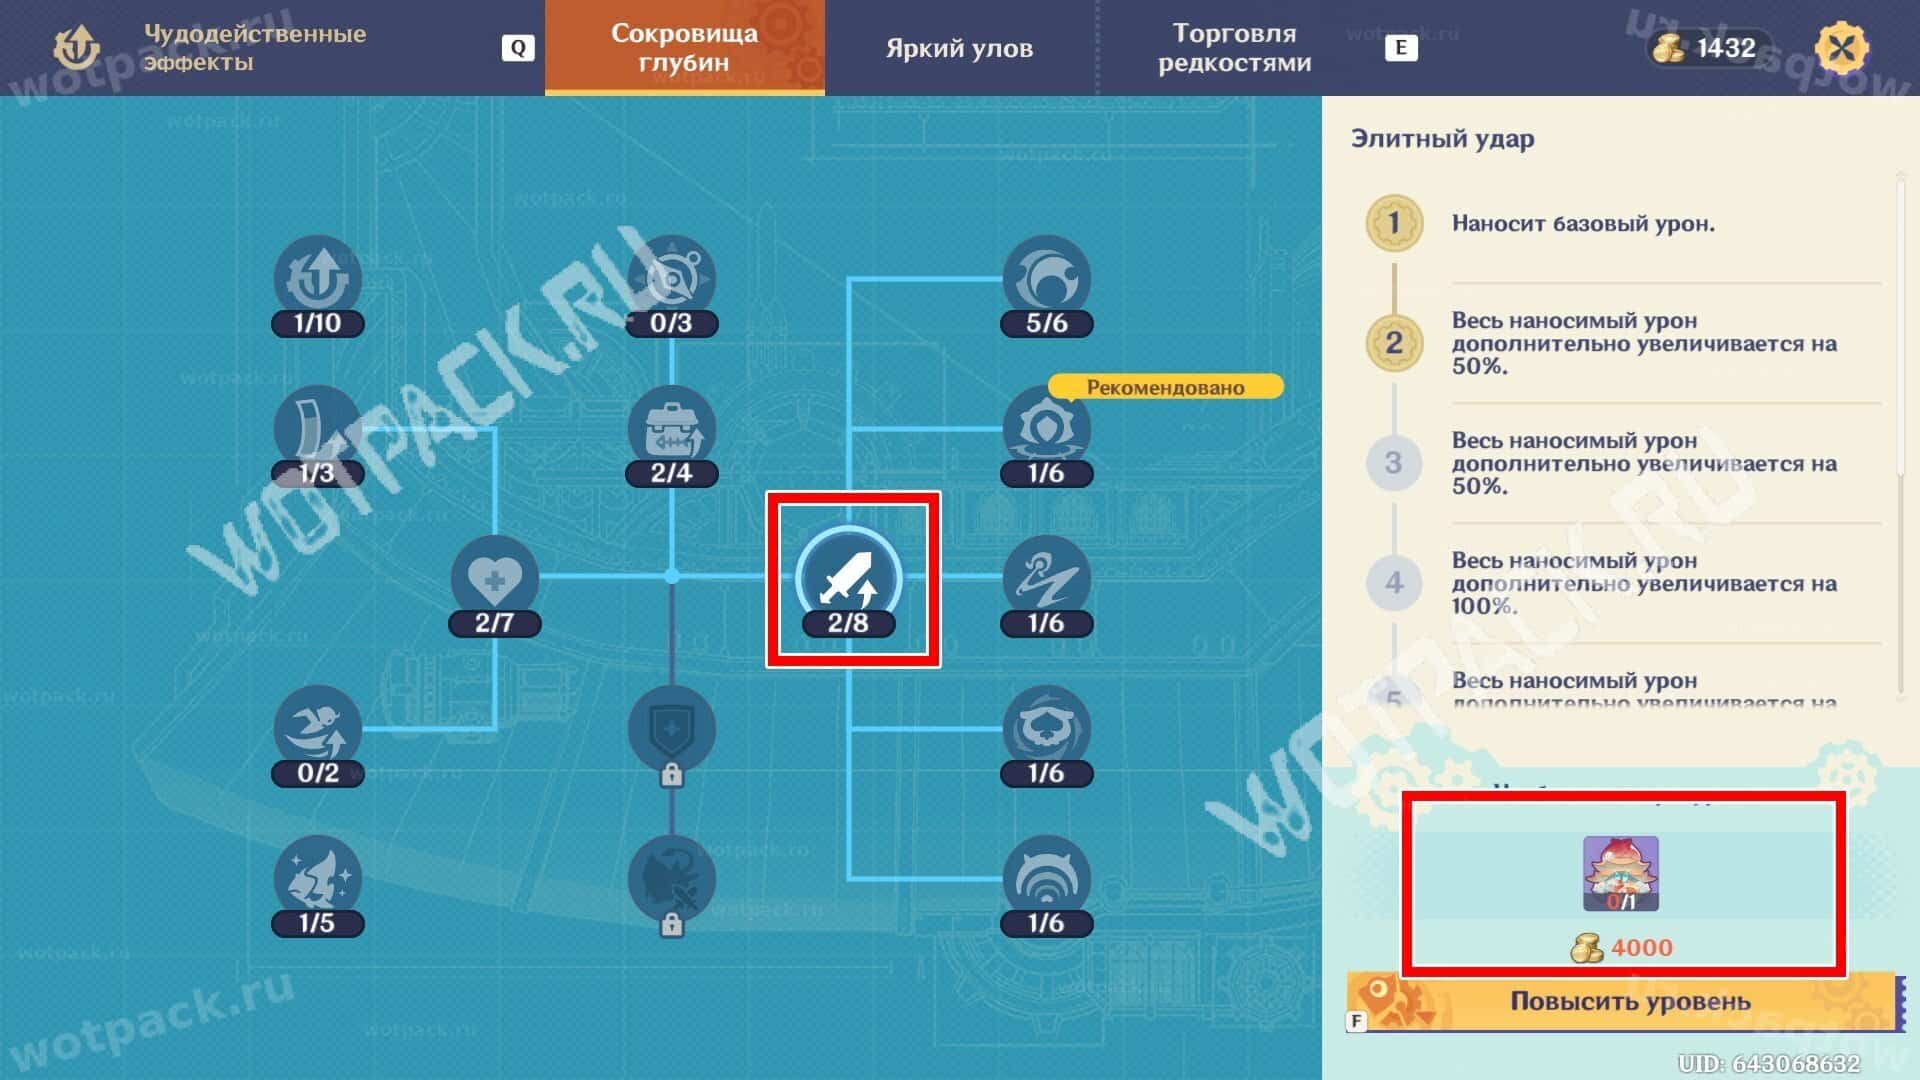
- Improve "Elite Strike III"It's located in the "Miraculous Effects" tab. Rare sea enemies and coins are required for the upgrade. For the third ascension, defeat the Shield Armor Crab from the second water area.
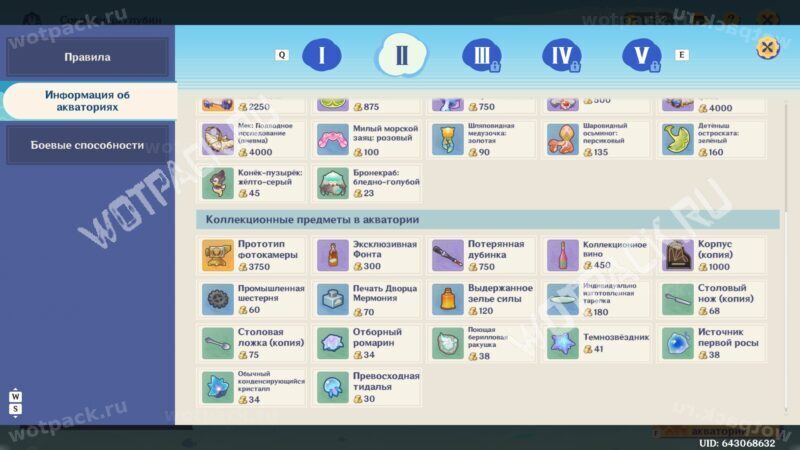
- Collect a total of 10 and 15 different collectibles. These materials are found in chests scattered throughout the area. Place various trophies in your backpack and surface to collect as many treasures as possible.
Step 2
A series of second-level quests will require you to advance to the fourth exploration zone:
- Complete Main Quest XV "Pollution Cleanup." You must defeat the miniboss in the Fortress Perimeter area. To do this, level up the recommended skill to the required level and learn the monster's mechanics using the guide. local legend Liachre the Brilliant.
- Upgrade "Elite Strike V" in "Miraculous Effects." As with the previous level, you need to enhance the ability with the sword icon. Collect elite enemies to ascend. The required level requires a Gold Hat Jellyfish.

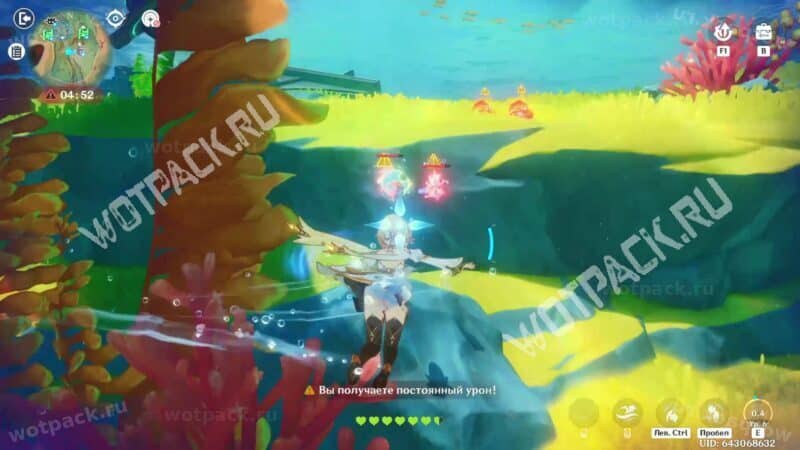
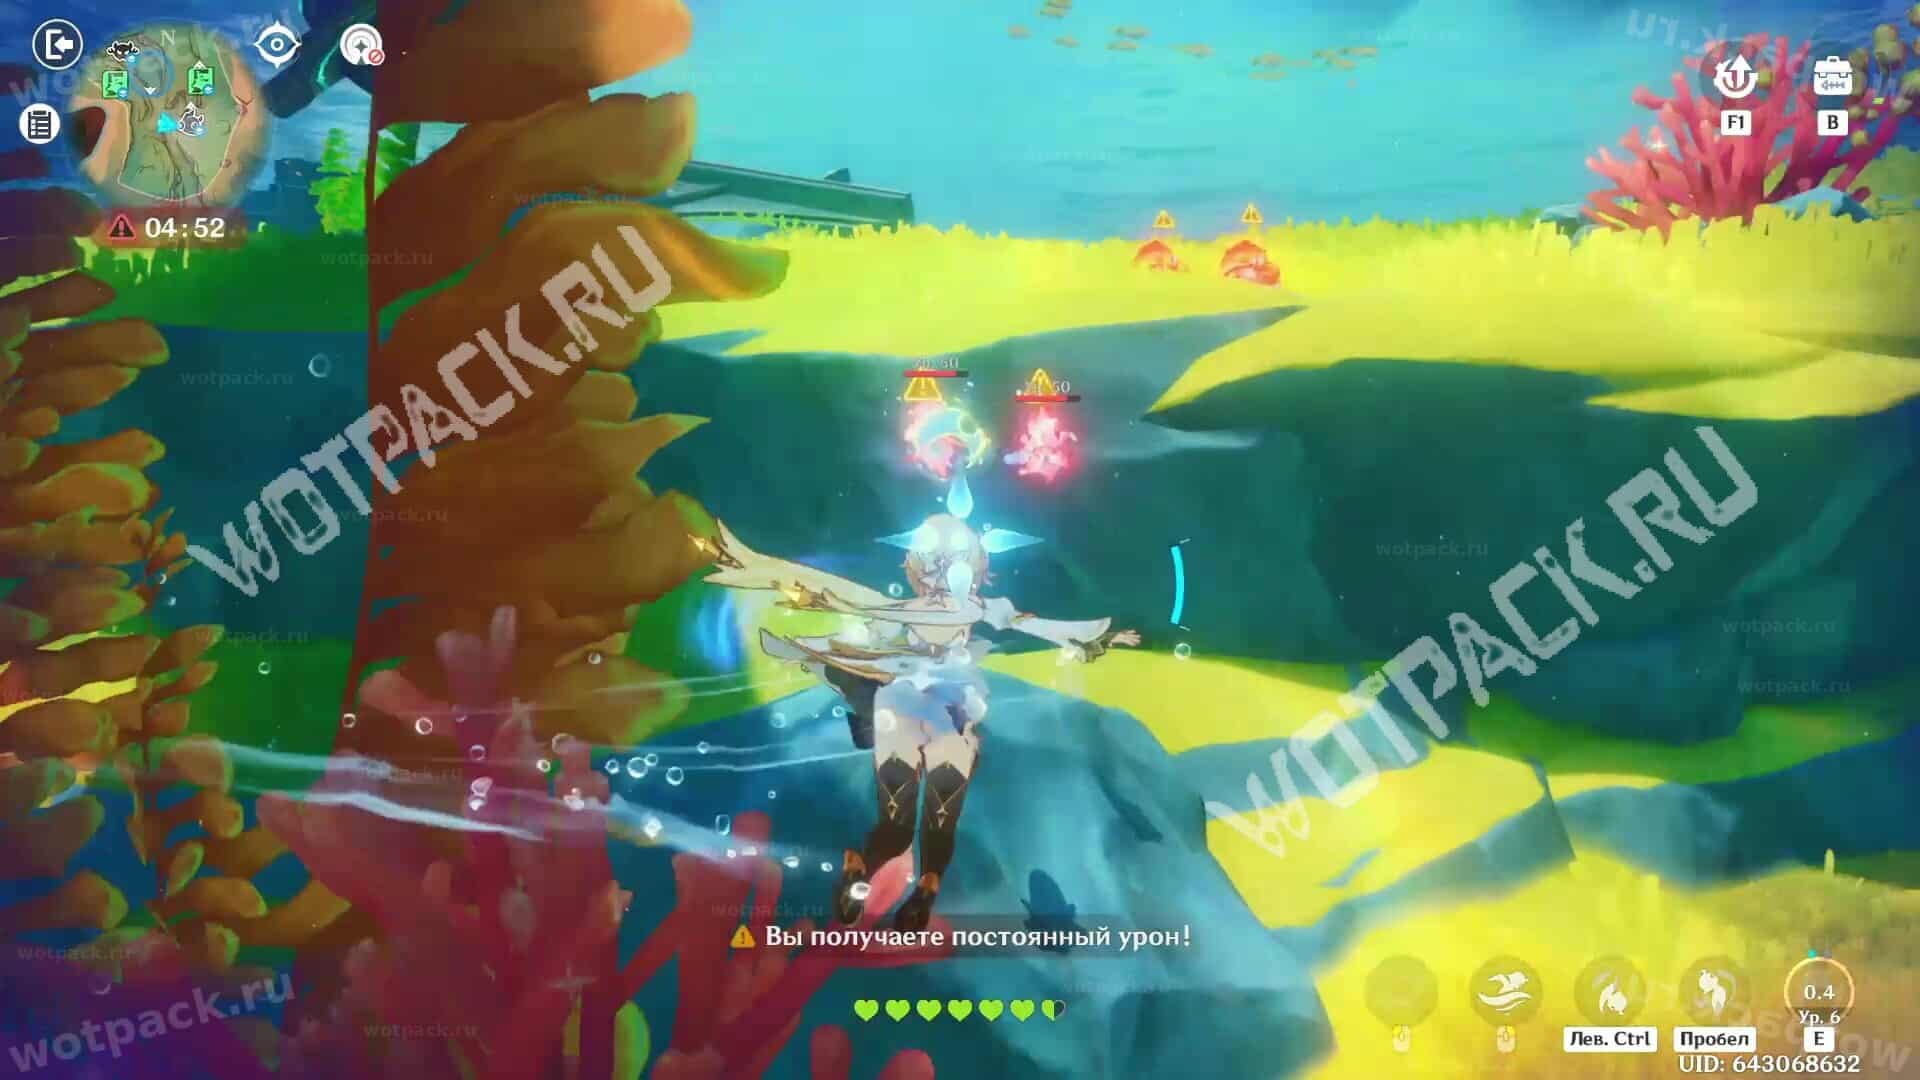
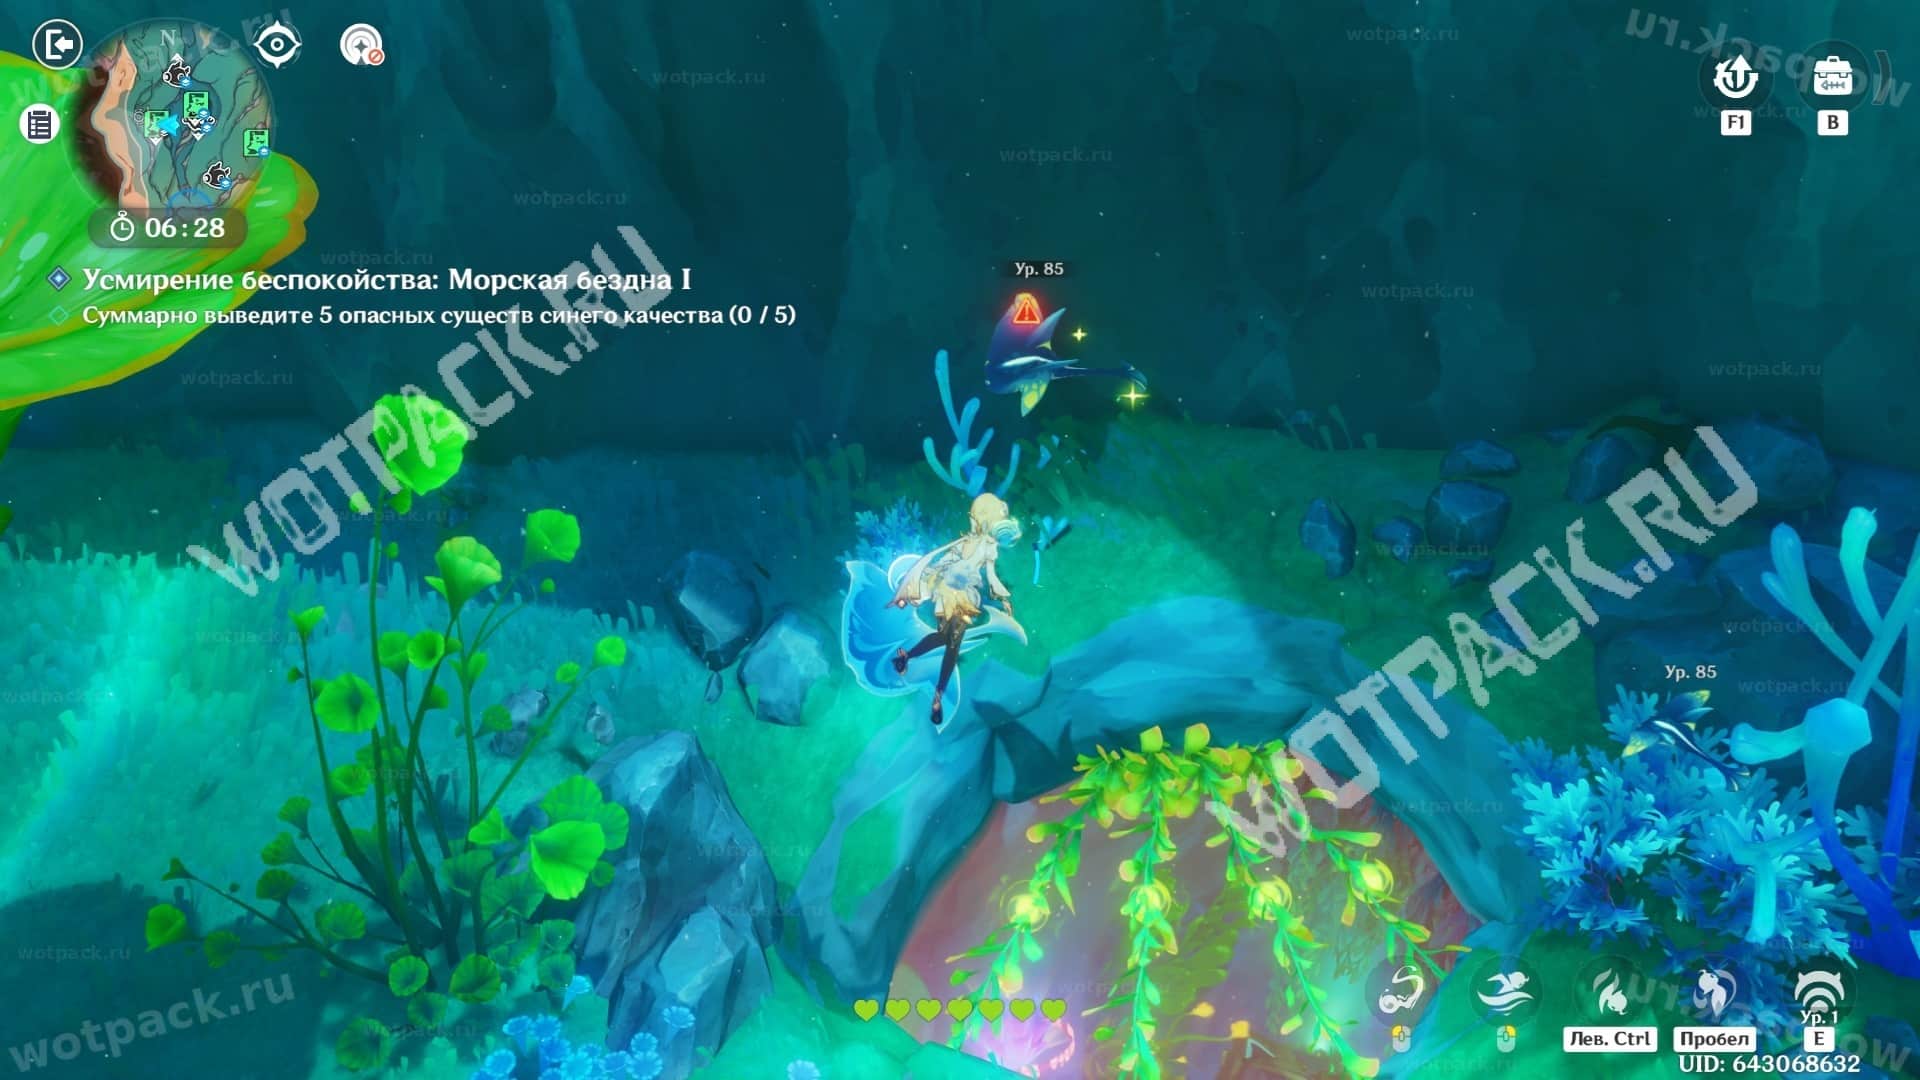
- Get a total of 3 different dangerous berserker creatures. To do this, you need to wait until the timer expires. first timer in the left corner of the screen. The waters will enter a pollution phase, monsters will become stronger, and the Traveler will constantly lose health. Before completing this quest, upgrade all of the hero's stats in "Miraculous Effects." Target mobs are marked with a red glow.
- Obtain a total of 20 different dangerous creatures. Try to hunt high-level enemies of "gold" or "purple" rarity. They may be marked with a special icon underwater.
Step 3
The final chain of quests will require a significant investment in upgrading your character and aquarium:
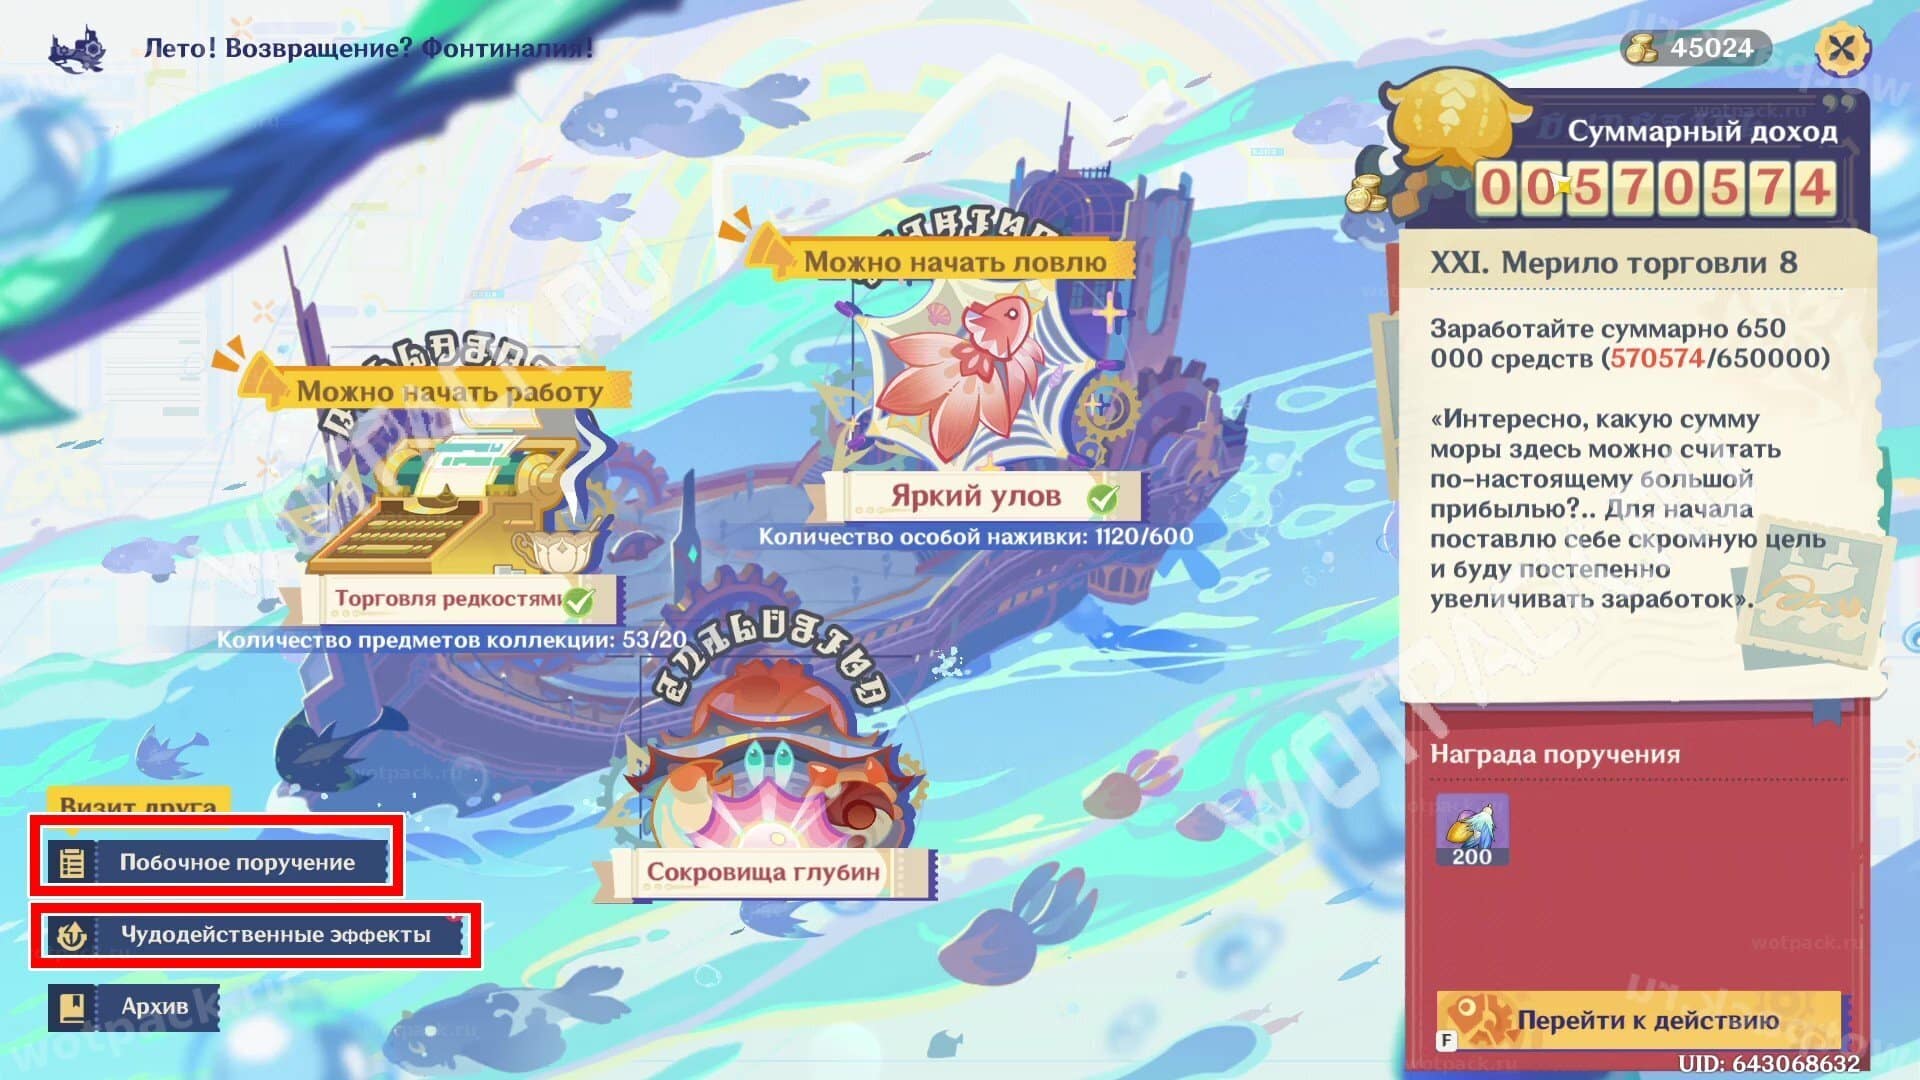
- Complete Main Quest XXI "The Measure of Trade." To complete it, you need to earn a total of 650 000 Coins. The fastest way to earn money is through fishing.
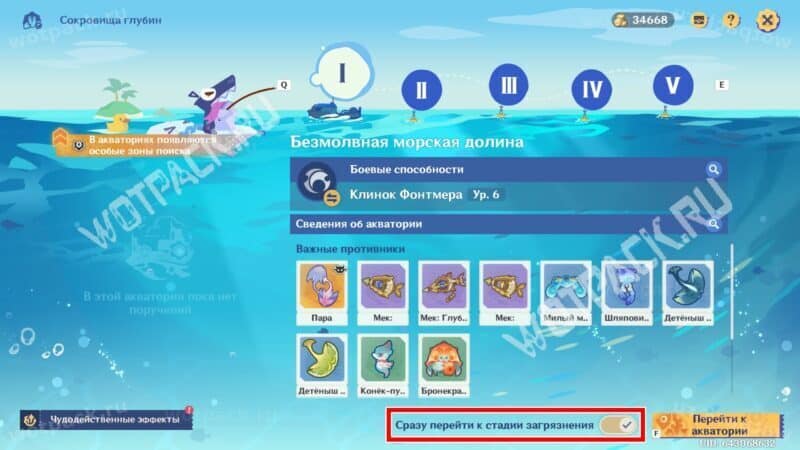
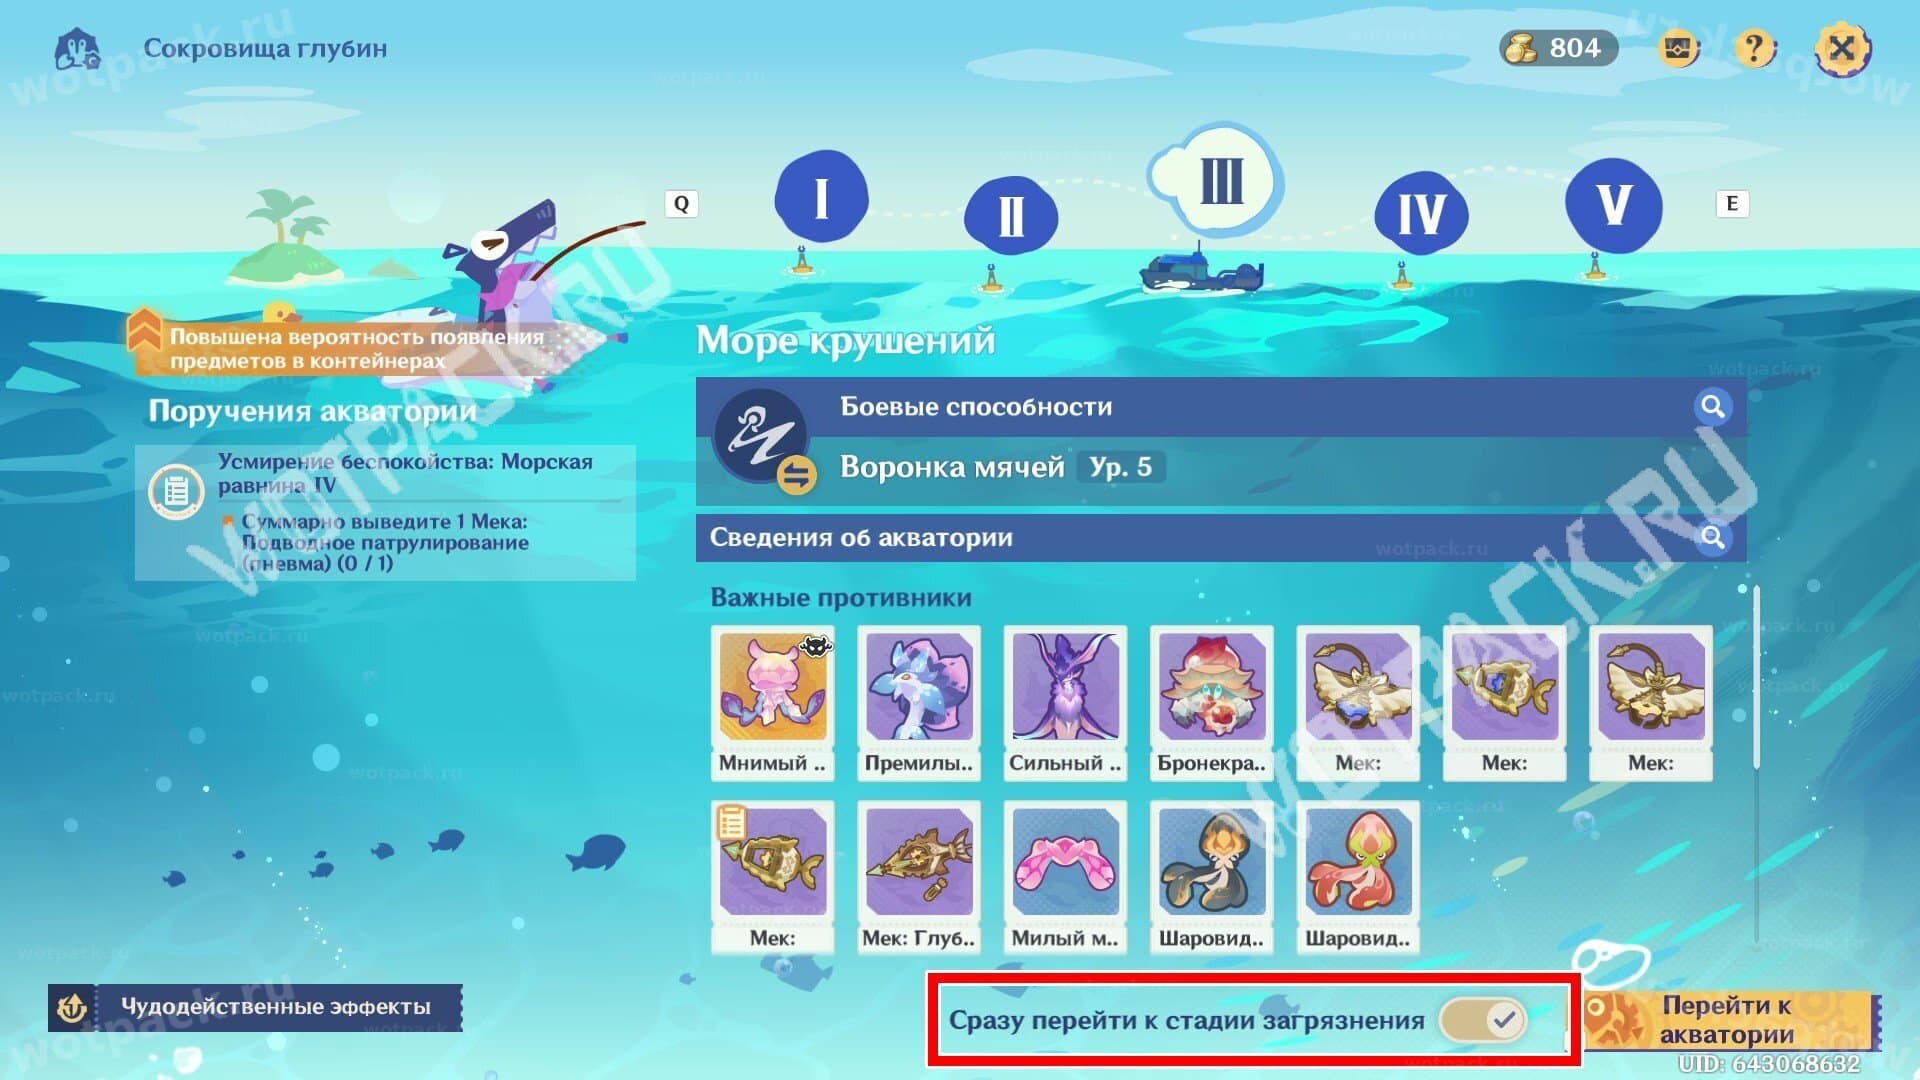
- Upgrade "Elite Strike VIII" in "Miraculous Effects." The later levels require special underwater bellows. After closing all water areas, a button will appear in the menu to instantly jump to the Pollution stage. Use it to gather the necessary materials.

- Collect a total of 5 different dangerous Berserker creatures. These monsters appear only during the Pollution phase. They are highlighted in red. Collect five different types to complete the objective.

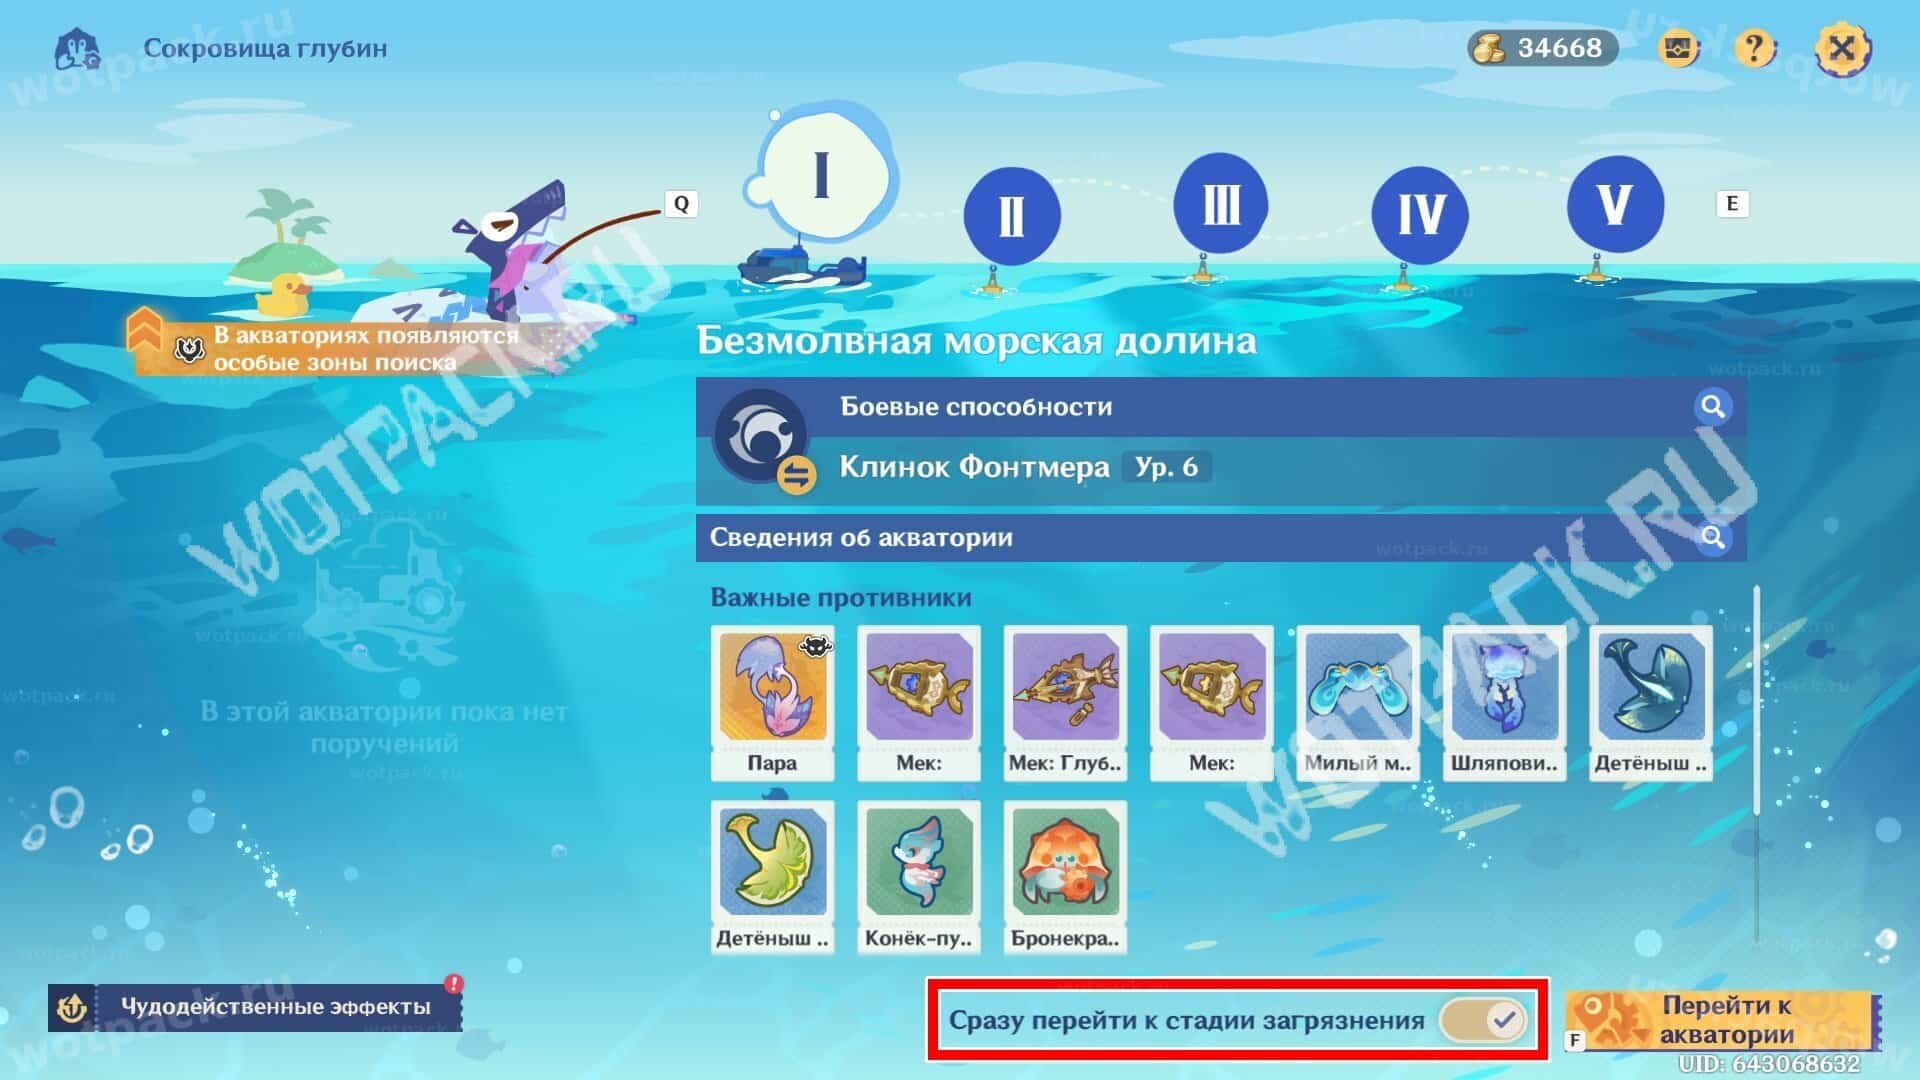
How to find a specific enemy
If a quest or ability development requires a specific underwater creature, proceed as follows:
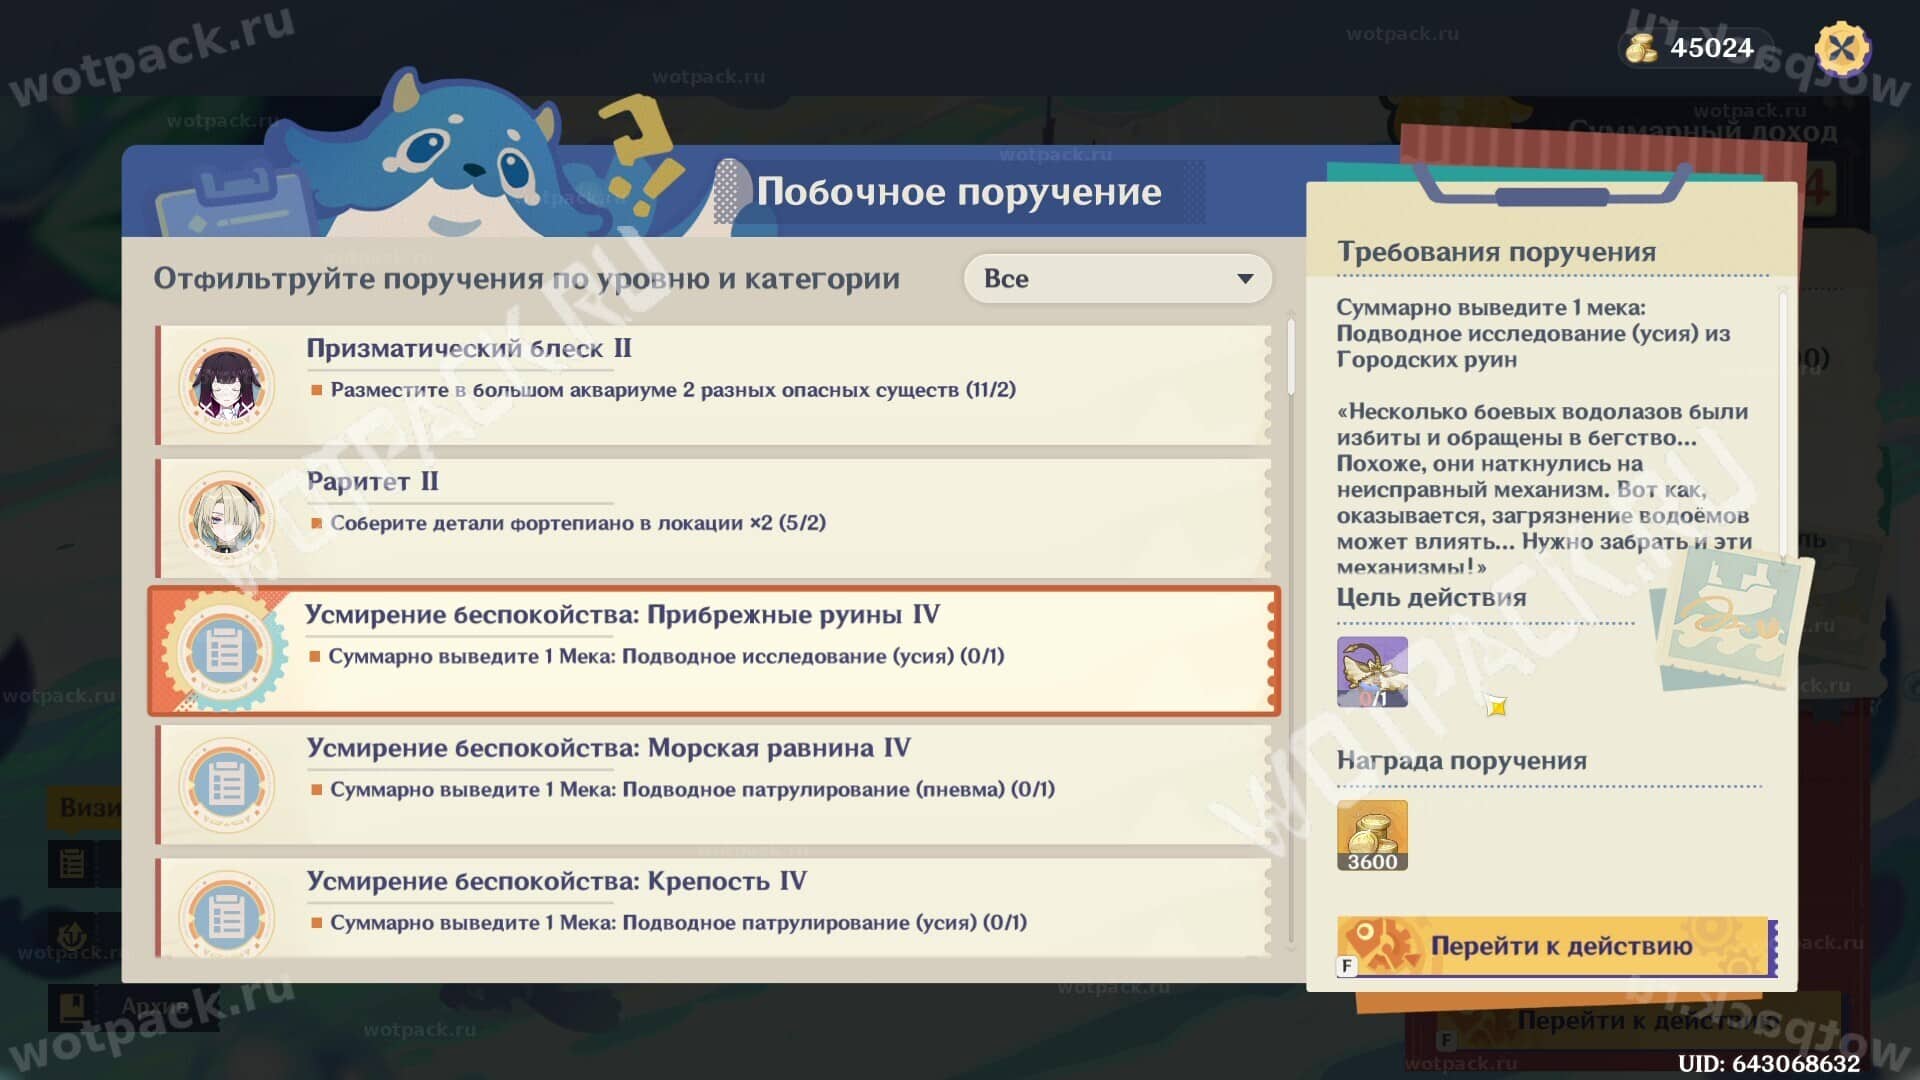
- Open the Management tab by pressing T, and then select the desired section: Side Quests or Miracle Effects.
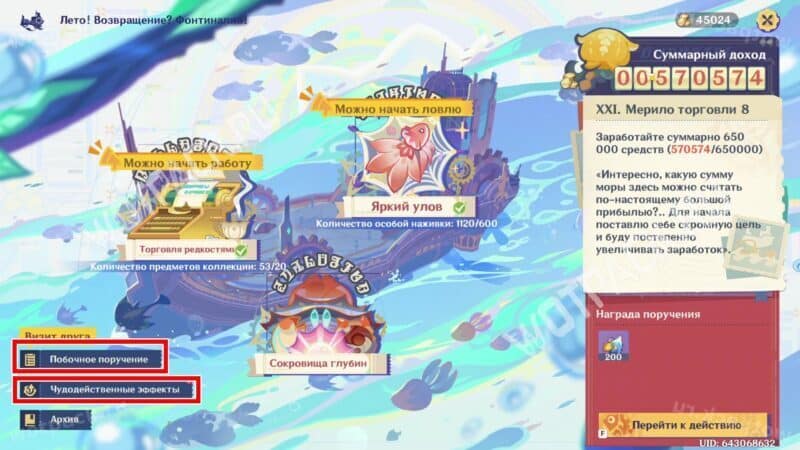
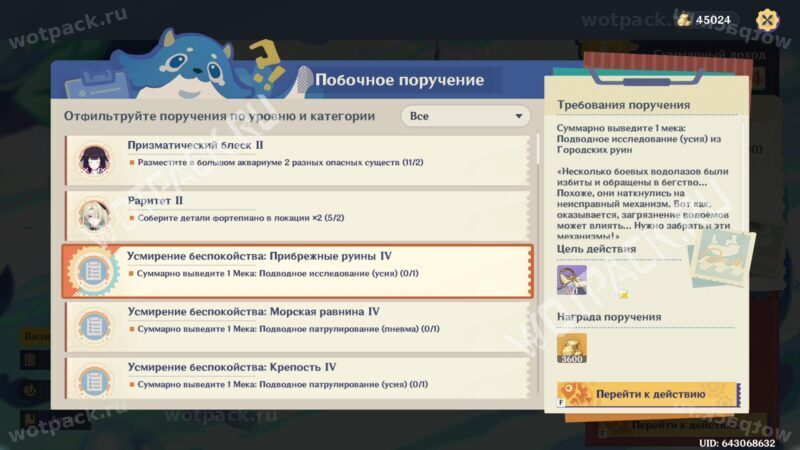
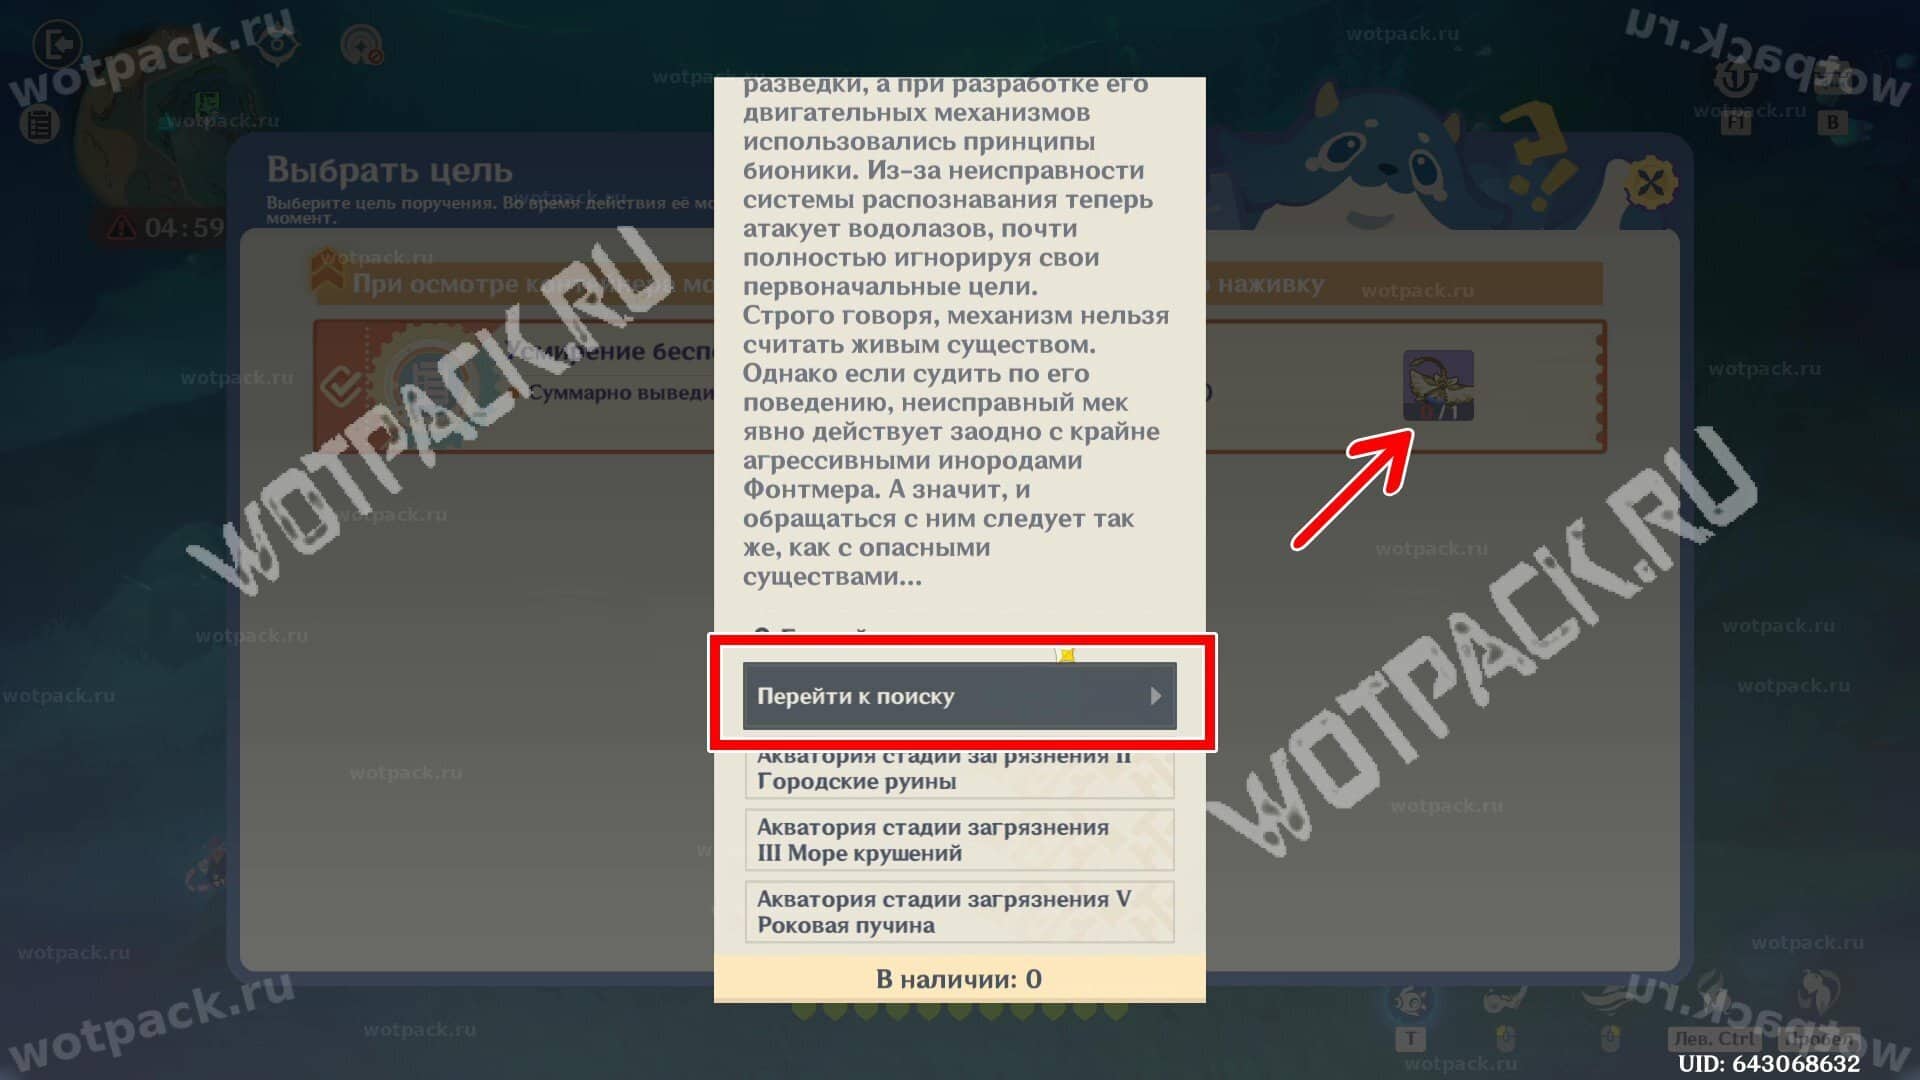
- Find the target or skill you're interested in and click on the mob's icon. Scroll to the bottom of the description card that opens and see which waters it inhabits.

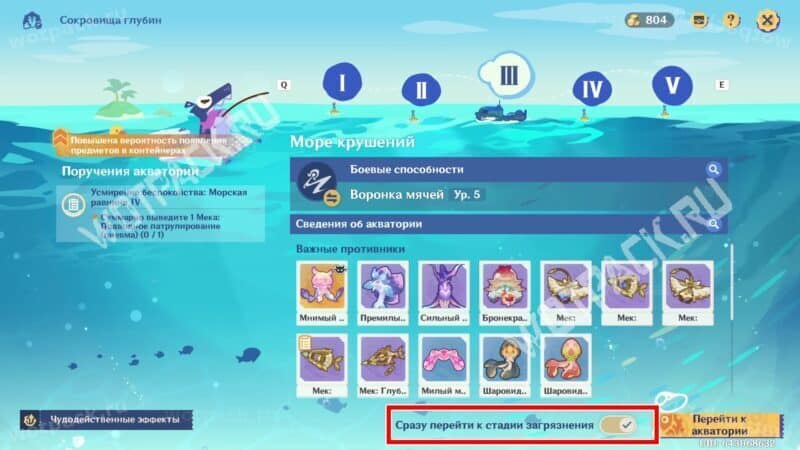
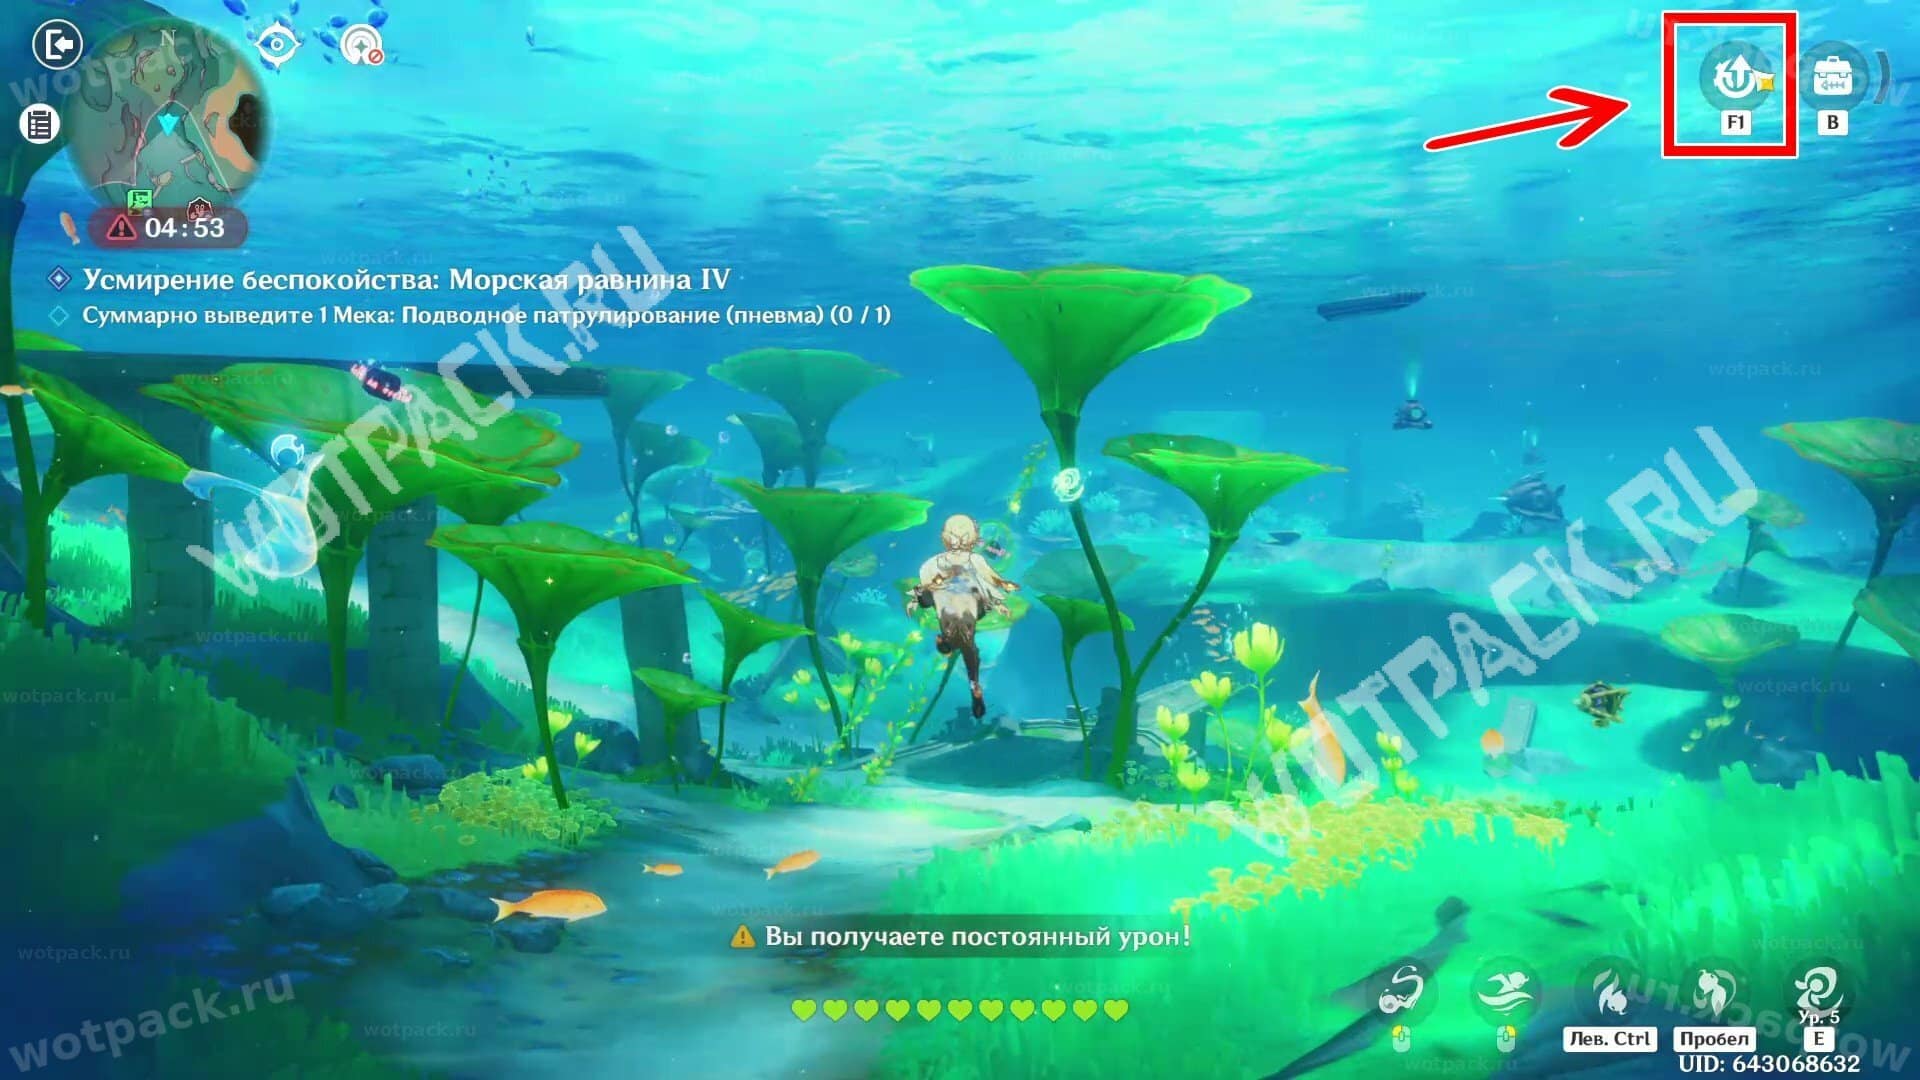
- Go to the location and activate the "Skip to Pollution Stage" button. Begin your dive.
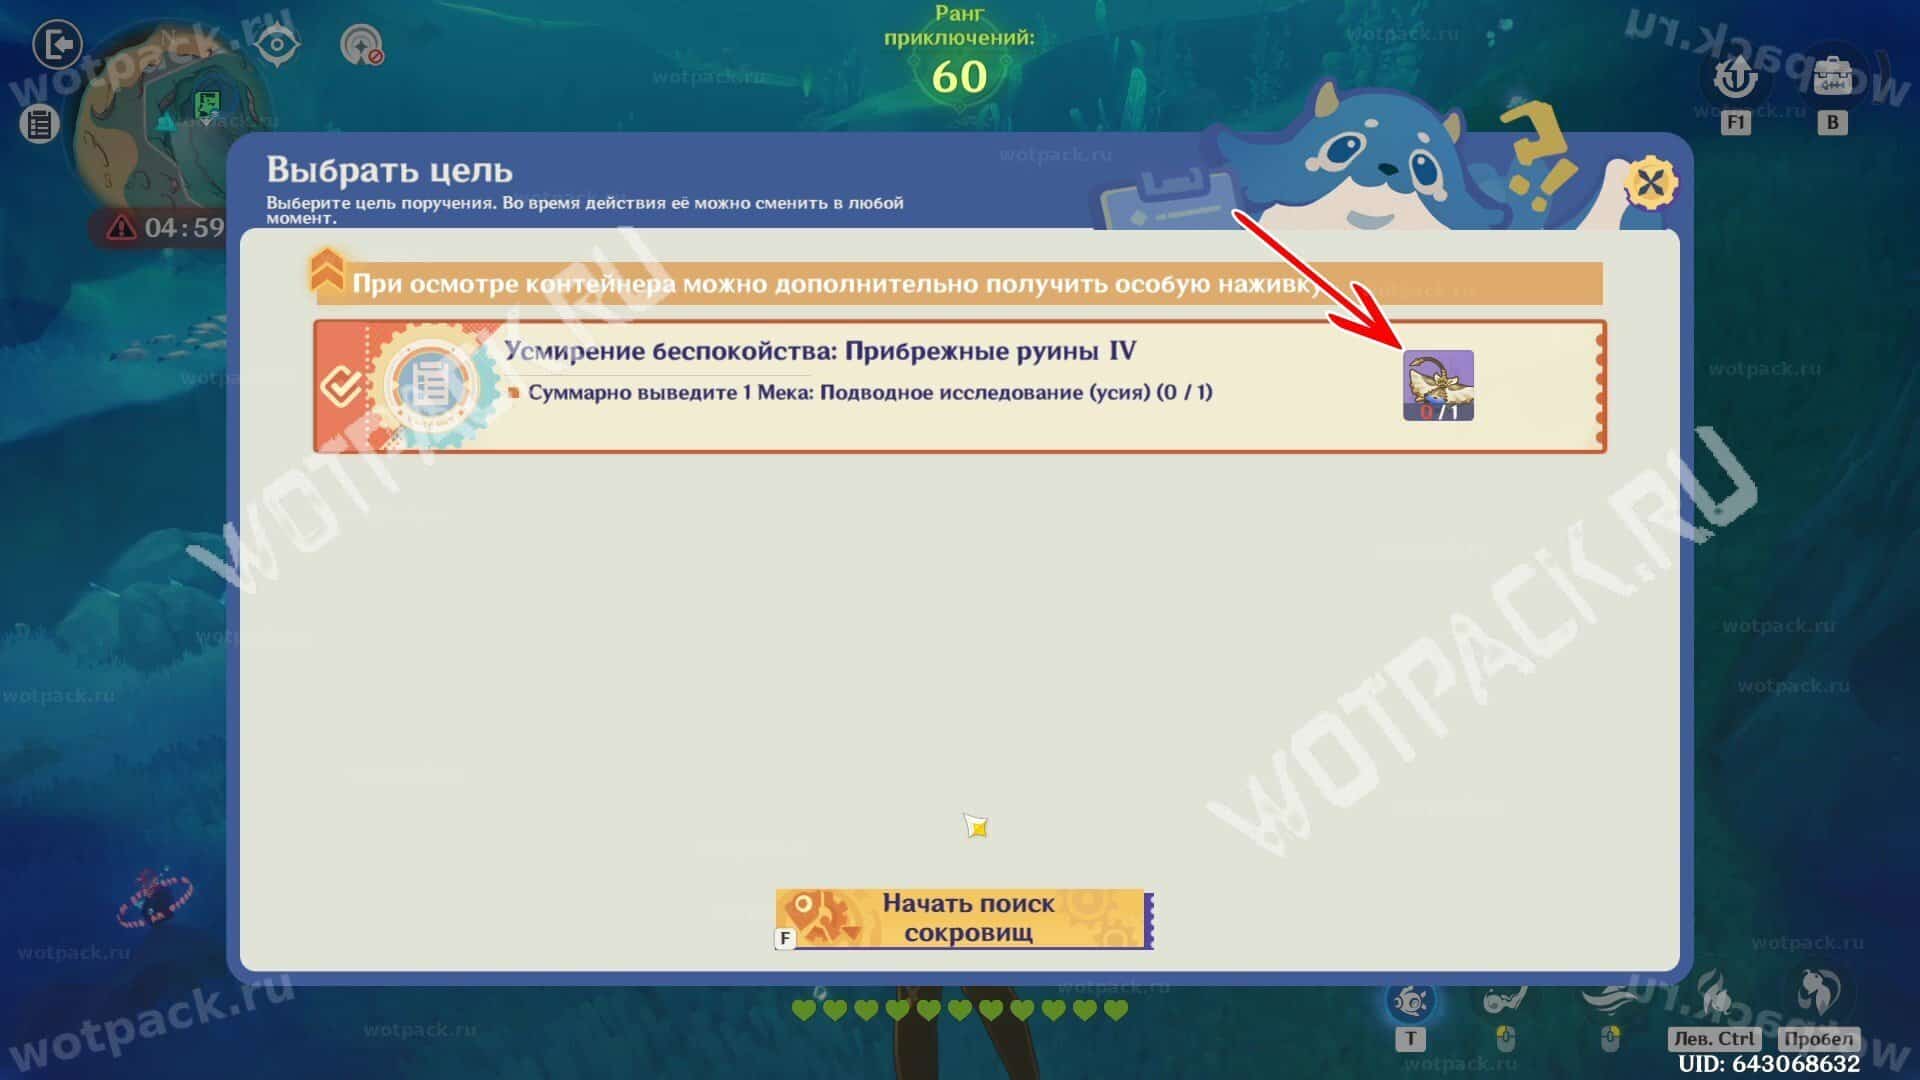
- If you're looking for a monster for a secondary objective, go to the objectives tab, click on the mob's image again, and then select "Go to Search."
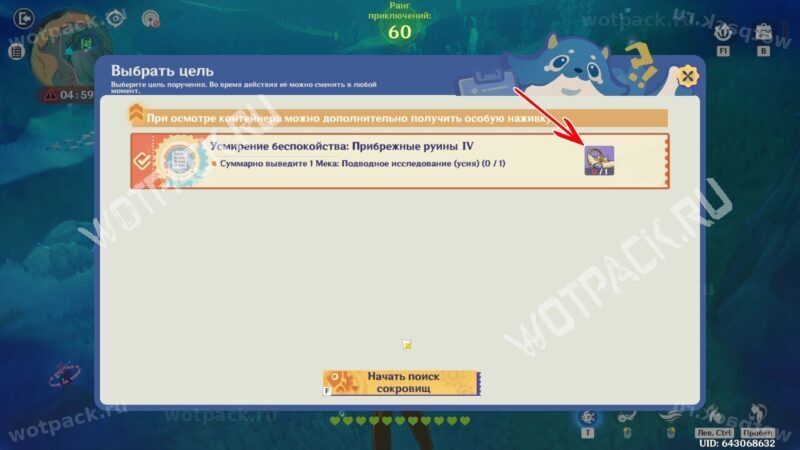

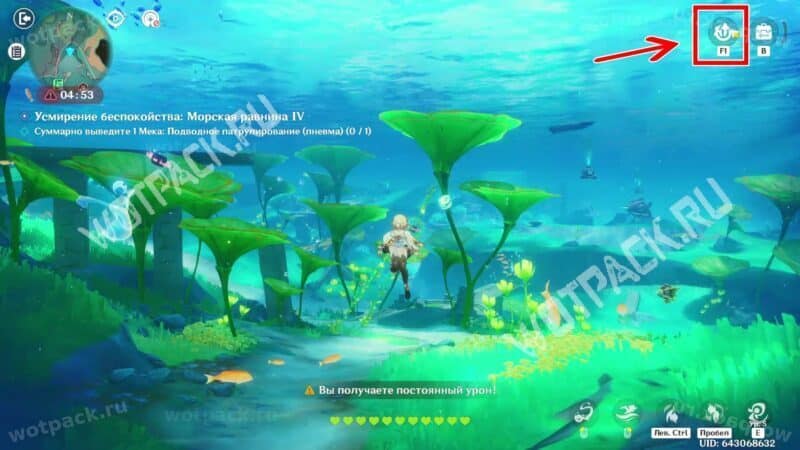
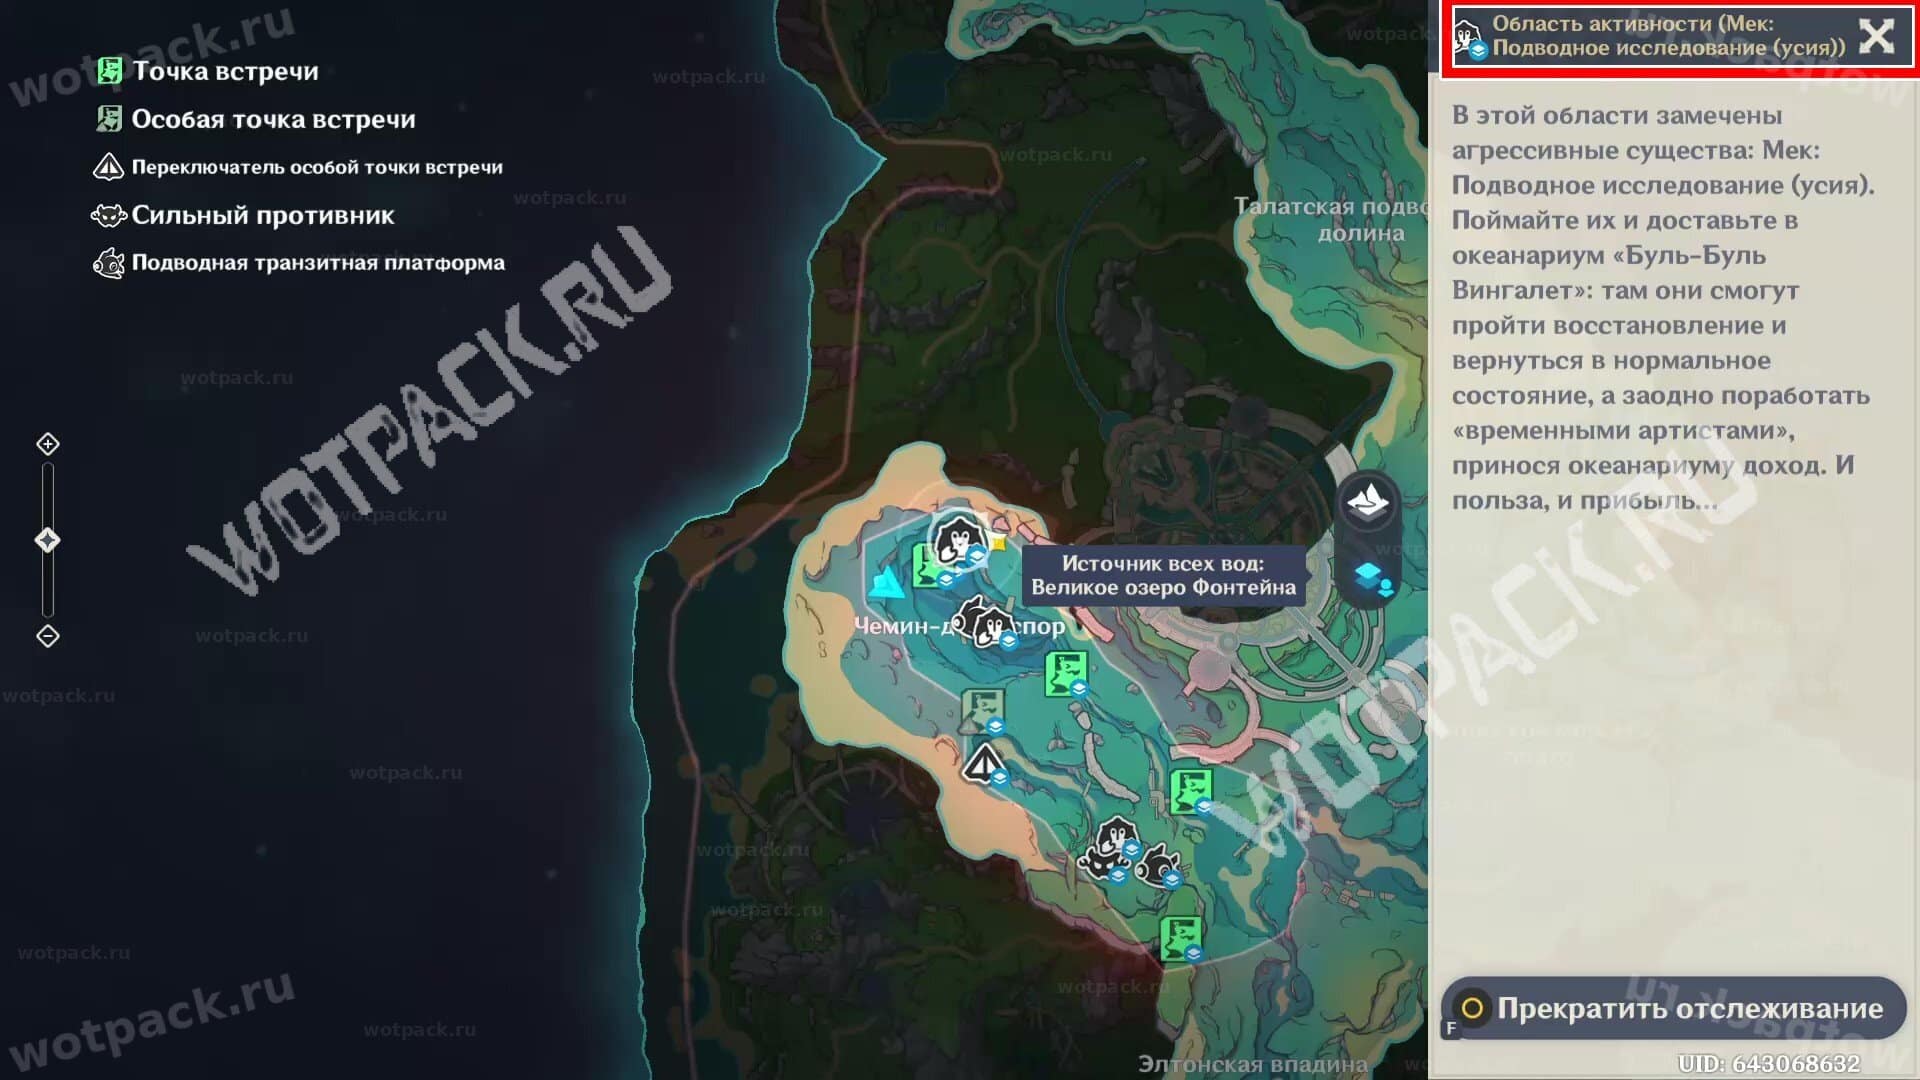
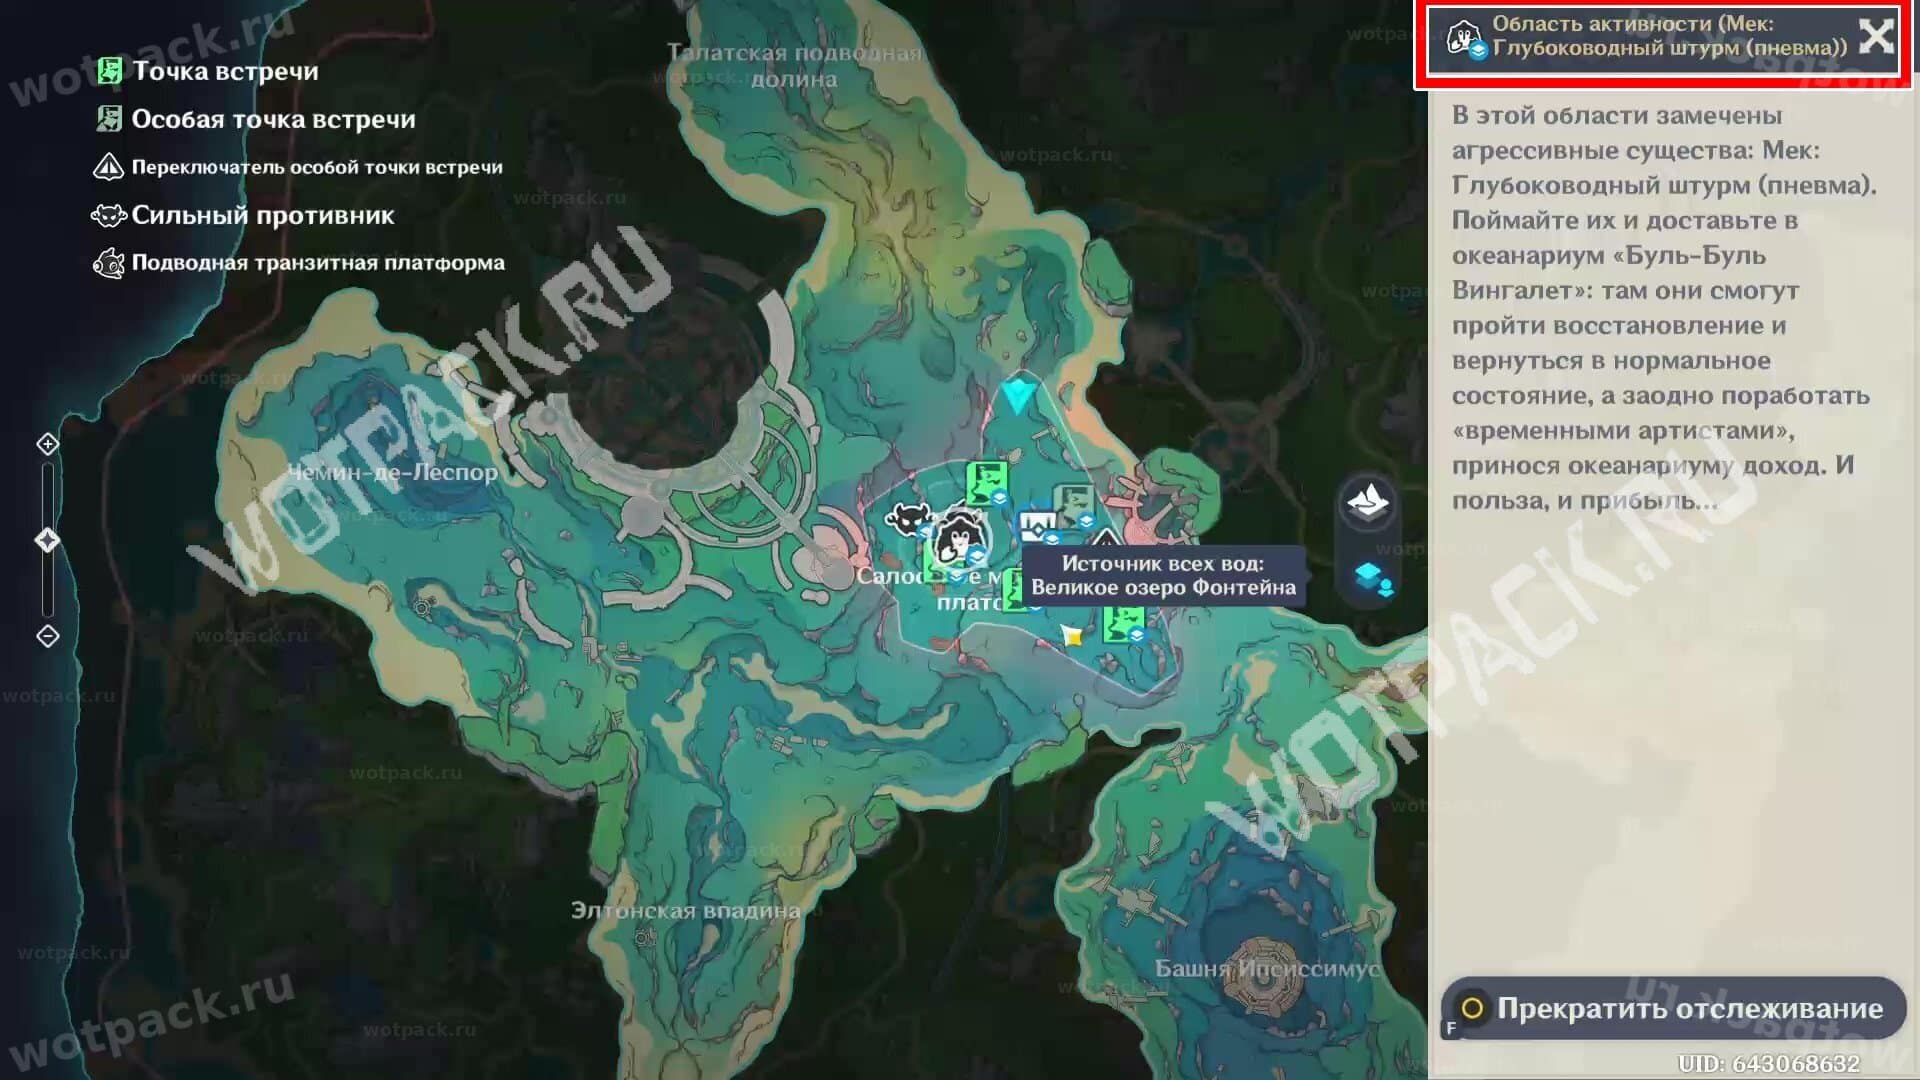
- To find upgrade resources, repeat these steps, but instead of selecting targets, open "Miraculous Effects" in the upper right corner of the screen. Also, find the ability, select the enemy icon, and enable tracking.

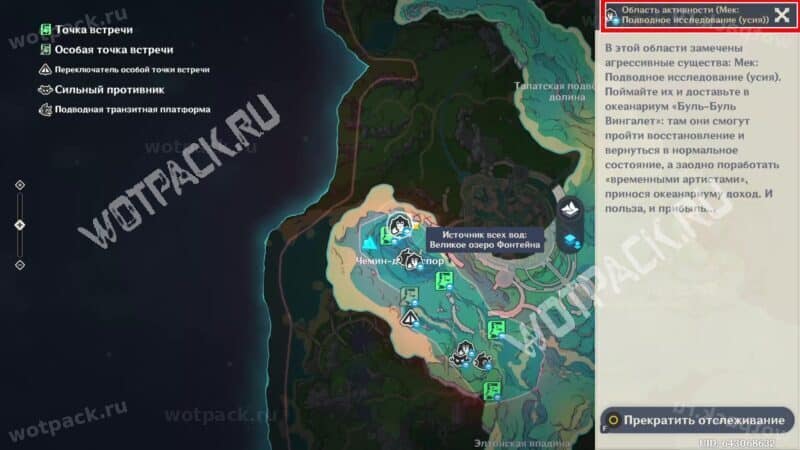
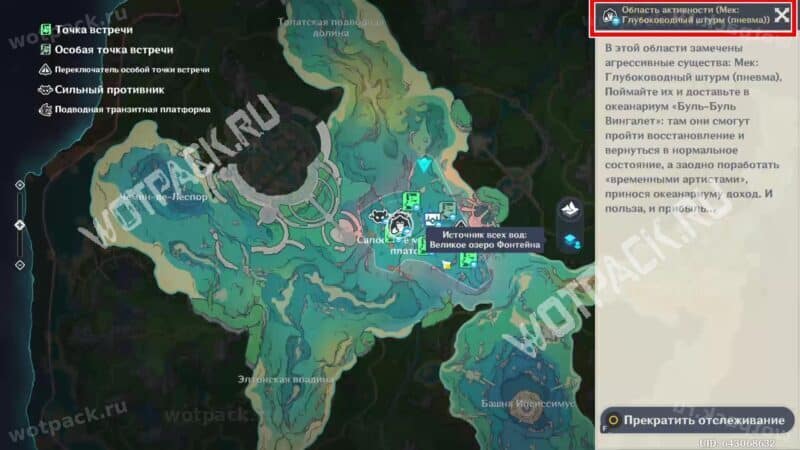
- It will appear on the interactive map under the crab icon. The creature's name is written on the card in the upper right corner.


Rewards
For completing all levels you will receive:
- Primogems × 120;
- Oceanarium popularity ×600;
- mora ×250 000;
- Hero's Wit ×12;
- sacred oil ×16;
- Mystic Enhancement Ore ×24;
- Talent books ×18.
The activity won't be difficult if you understand how to collect trophies in your backpack and take the most valuable materials. Your underwater exploration experience will come in handy as you further explore Fontaine and aid you in combating local legends. Once you've completed your objectives, proceed to other events of the Fontinalia festival.








Thanks for the article. The game's menu is completely inconvenient. It's unclear where to do which quests and what to get.
The idea of the event is good, but the execution, as always, is incredibly stuffy.
I've been rattling around, and they've all been caught except for one piss-stained fish—a green berserker ray. How can it be that there aren't any berserkers in either the 2nd or 4th waters? I've launched in the Pollution stage and waited for the final stage, and I've launched in the normal stage and waited for the 1st Pollution stage—it's as if it doesn't even exist.
In any such event, you can click on the tracking of the desired fish.
I have a rather strange question. How do I break the boulders in the third location? There's no armored crab, at least there are probably good rewards. But I can't finish them off. I tried a normal attack, but it doesn't work. Help!
If it's still relevant: there are cannons there. If you restore them (return the crystal to them + hit them with an E-shot), you'll be able to control them and destroy the boulders.
I can't find the gear from the 4th Aquatoria to put on the stand. Please help me find it and where?
And I can't find the mechanical moon... Random...