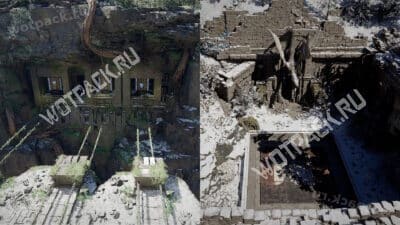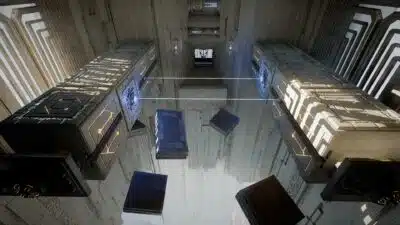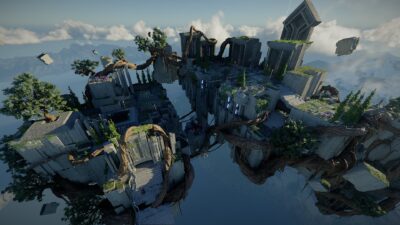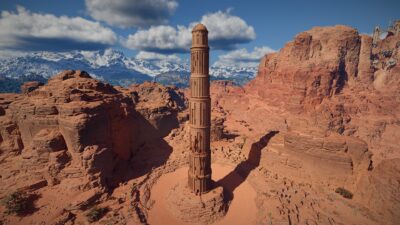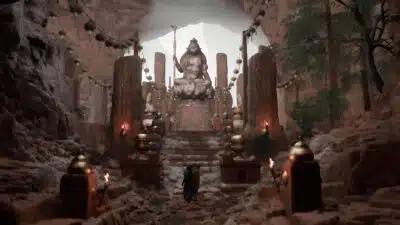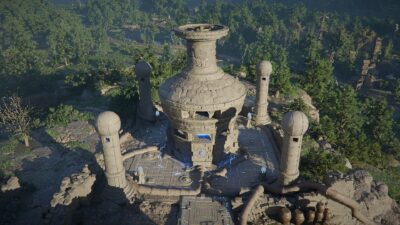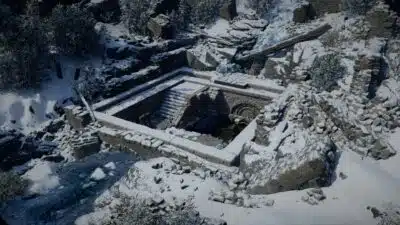
Repairing the stove in the Kilnden workshop is the first task of the fourth chapter in Crimson Desert, where the hero must demonstrate his engineering skills and repair an exploded mechanism. After a wild celebration on Wolf Hill, Cliff is awakened by a distant explosion. Head to Kilnden's workshop, find out what happened, and help Grimnir repair the damage.
Walkthrough of the "Kilnden Workshop Furnace Repair" quest in Crimson Desert
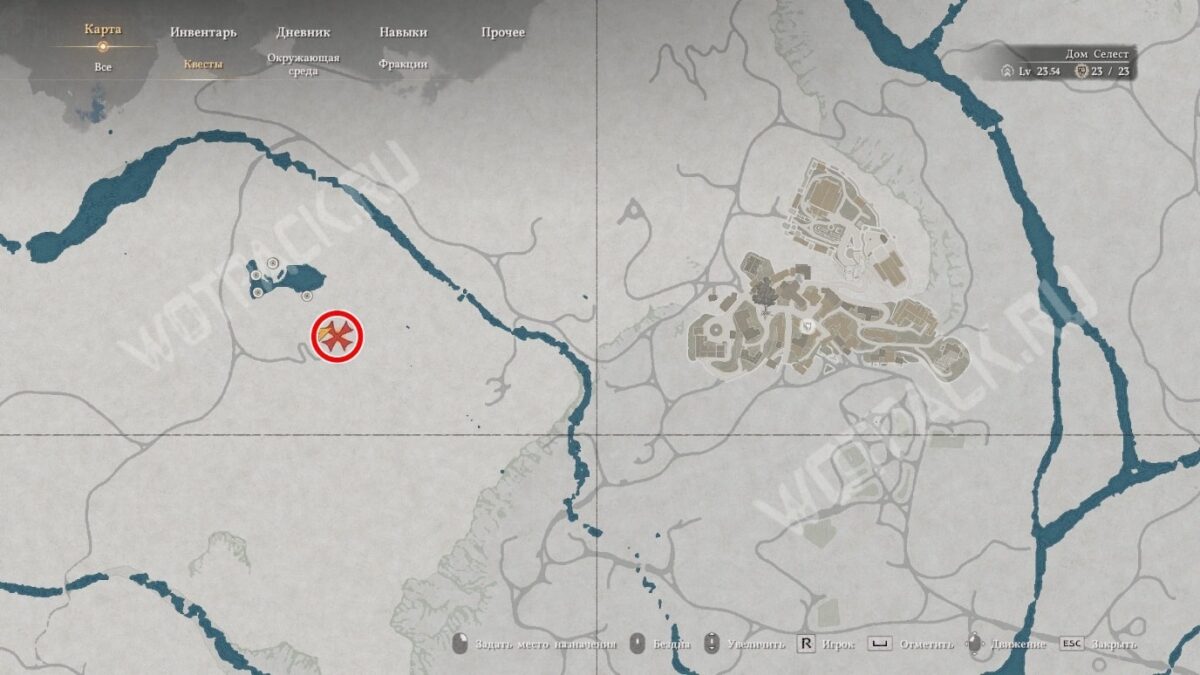
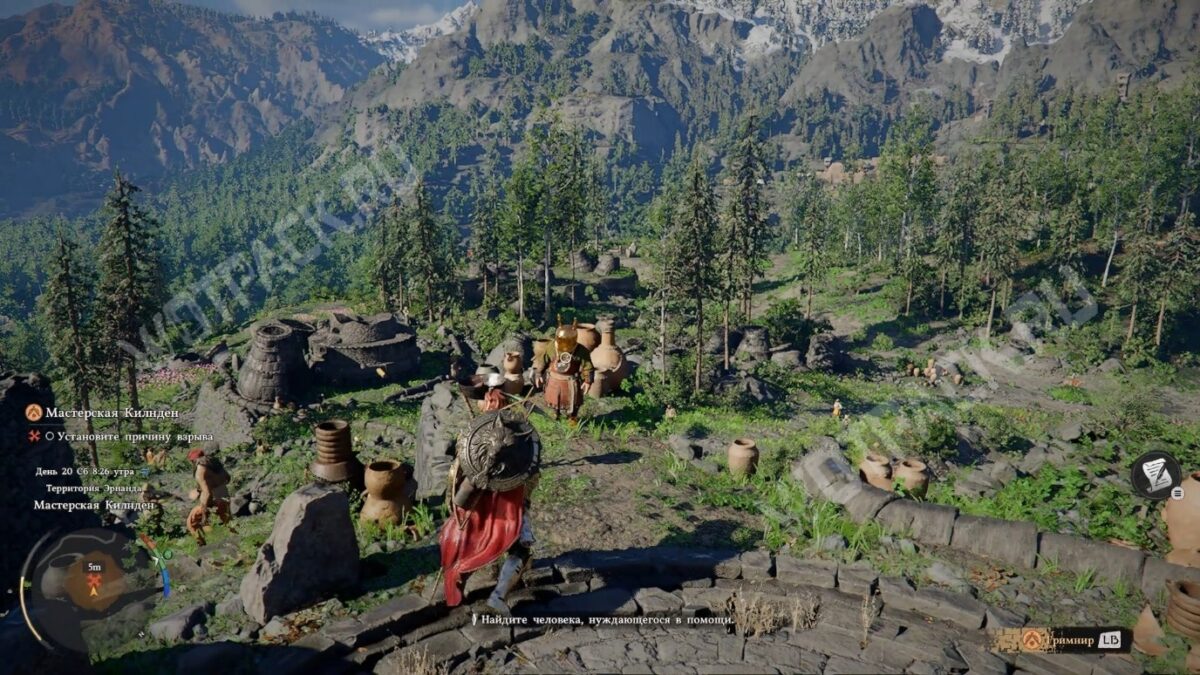
Head to the explosion site west of Ernand and find Grimnir, a dwarf in Vision, who will tell you about the miraculous properties of the pots created in his workshop. Help him repair four ancient devices, and he will reward you with one of his creations.
Start the ancient generator
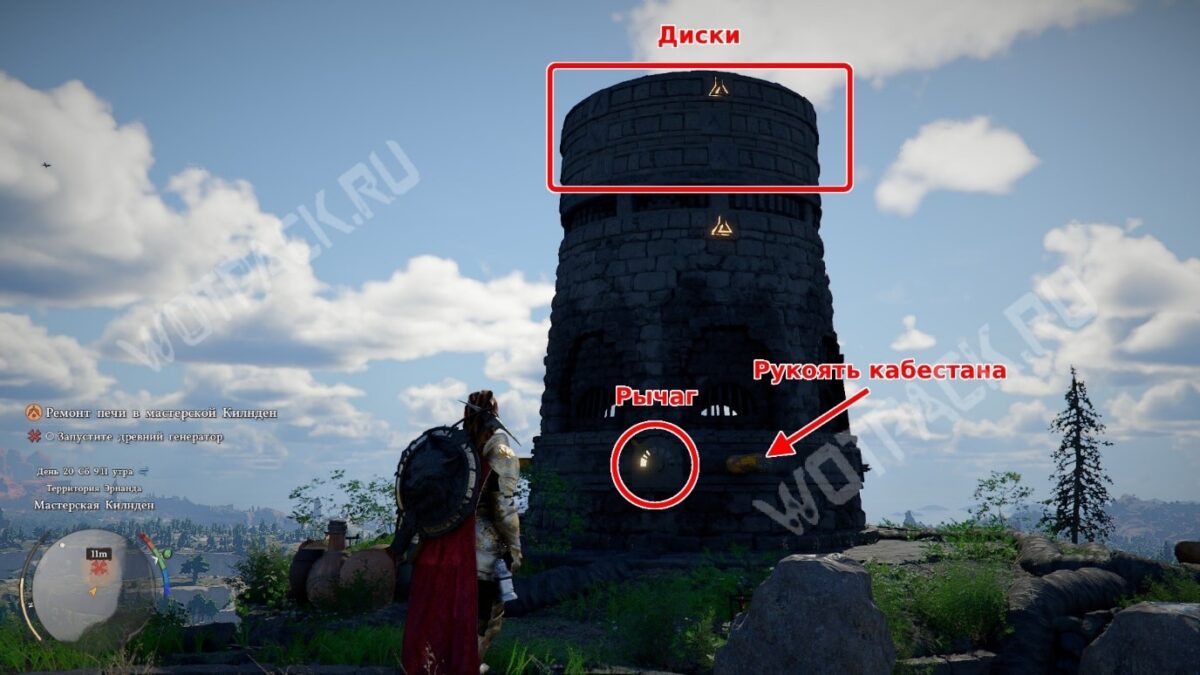
First, activate the ancient generator using the crank. It's located on the same elevated platform as Grimnir. The stone tower has two controls:
- рычаг - switches control between stone disks;
- capstan — rotates the selected disk.
When the lever is set to one of three positions, a disk is selected, and a rune on it lights up. After this, the disk can be rotated using the winch.
The goal is to line up three identical images in a single column. The bottom rune (on the non-rotating section) is always illuminated and serves as a guide. Rotate each section until its illuminated image lines up with the bottom rune.
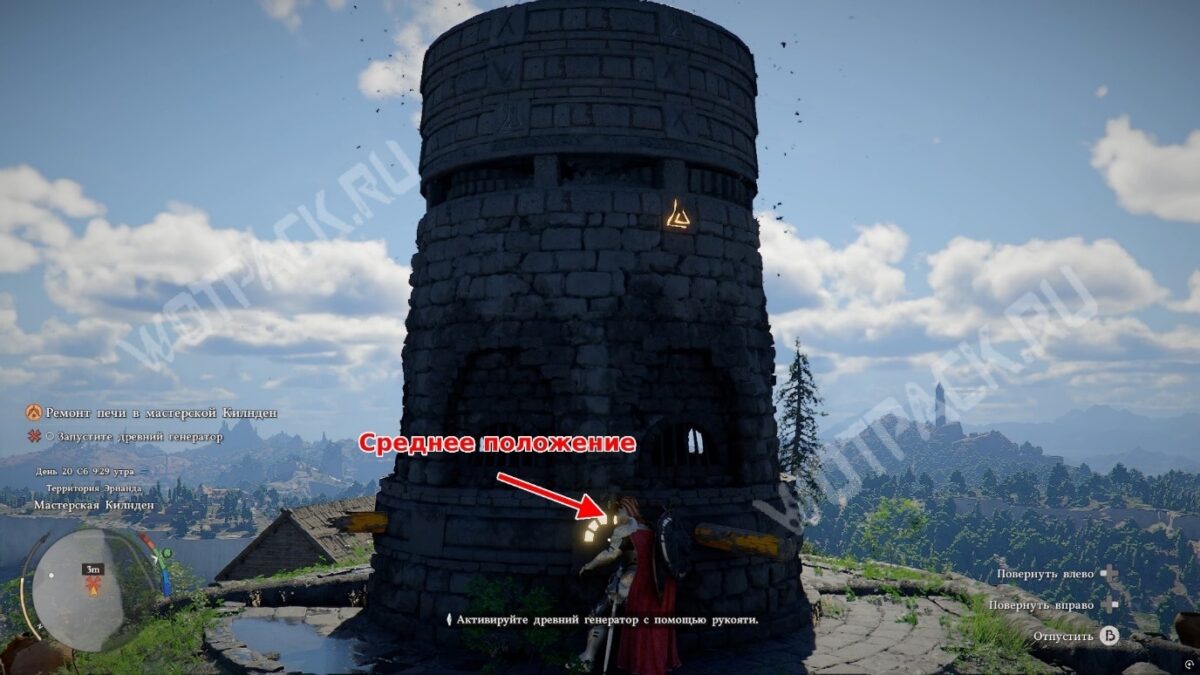
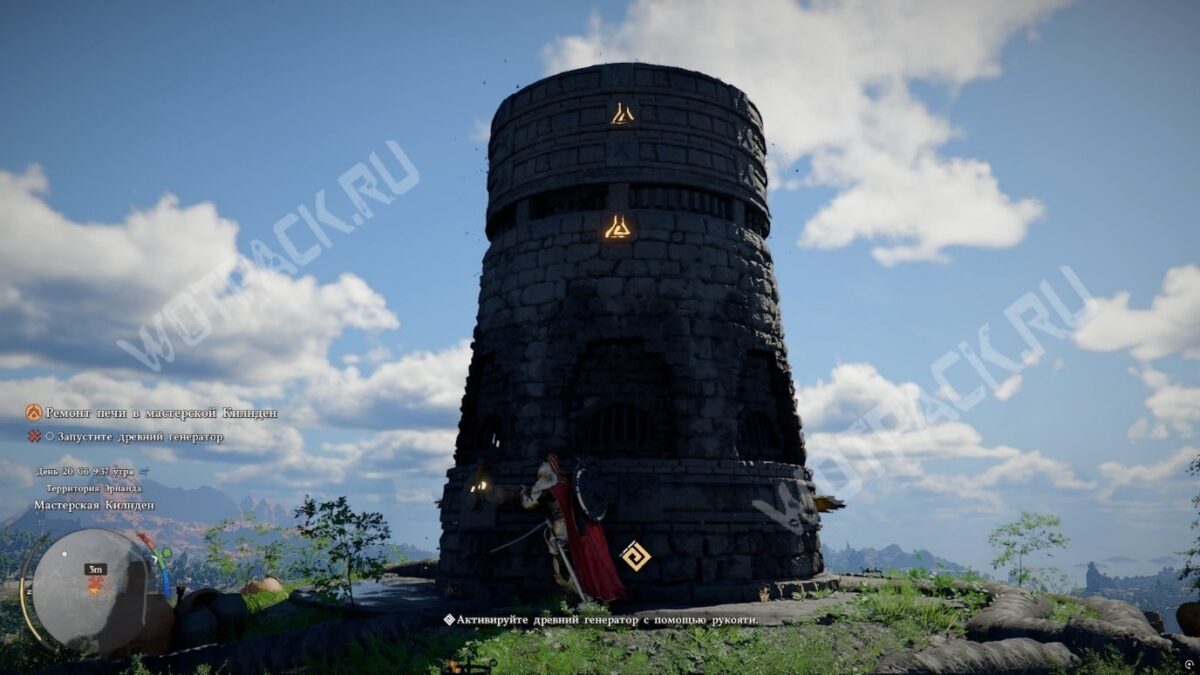
By default, the top image is highlighted—it's positioned correctly. To move the next image:
- Interact with the lever and turn it to the right until it locks into place middle position.
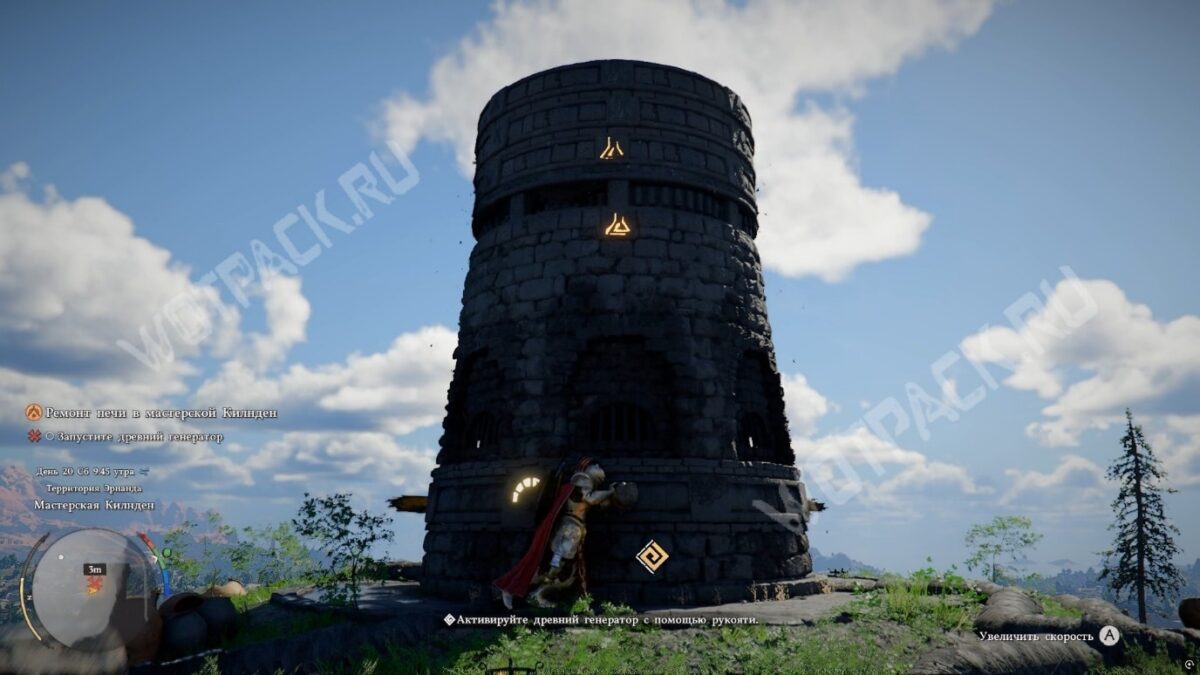
- Push the capstan handle to the left until the rune on the second disk is directly above the lower landmark.
For the third disc:
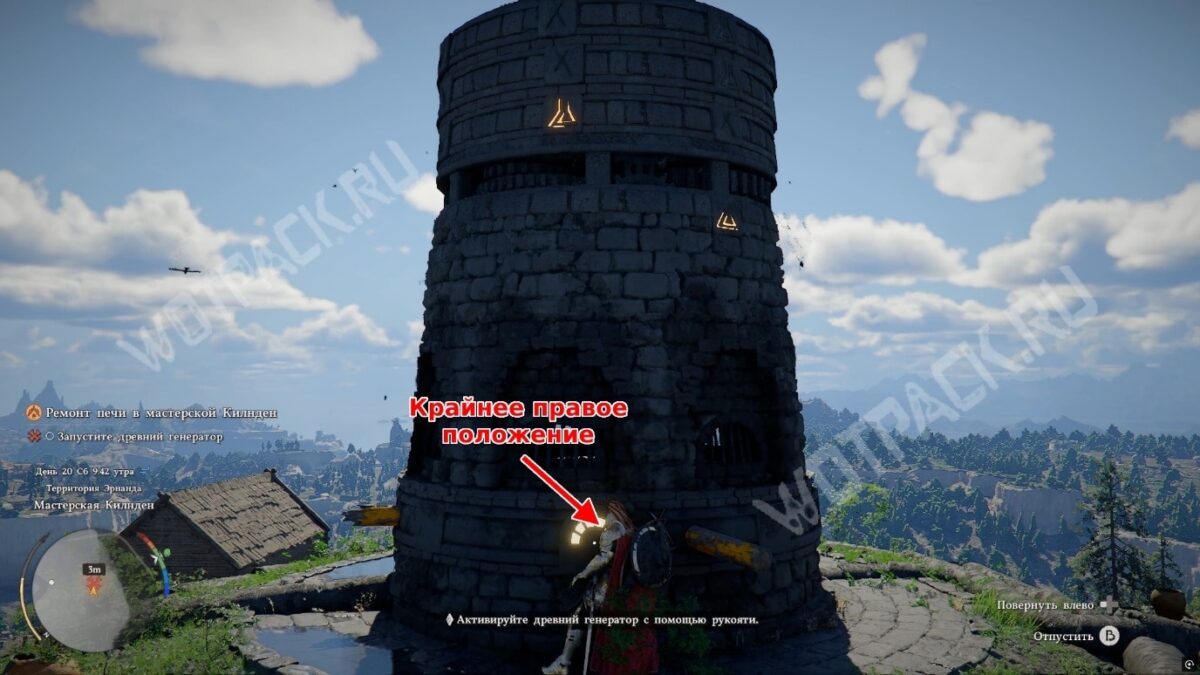
- Take hold of the lever again and put it in extreme right position.
- Push the handle to the right until the picture is aligned with the others.
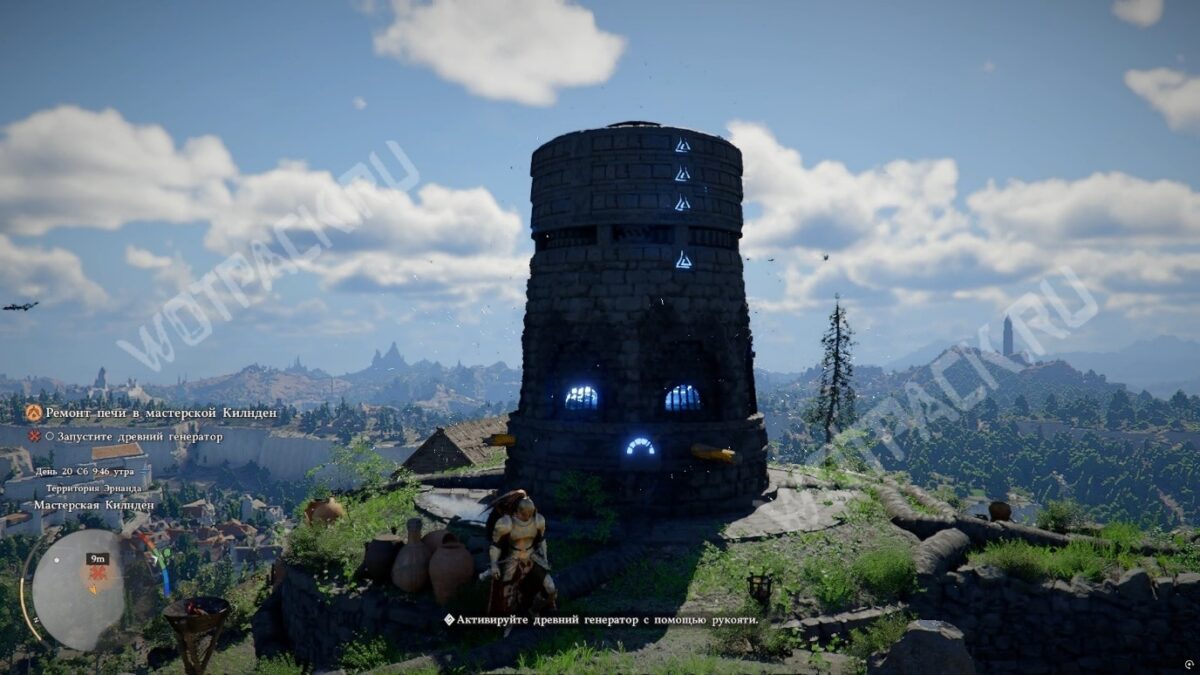
Once you've placed the sections correctly, wait a couple of seconds – the device will start, and all the runes will glow blue.
Reconnect the disconnected oven
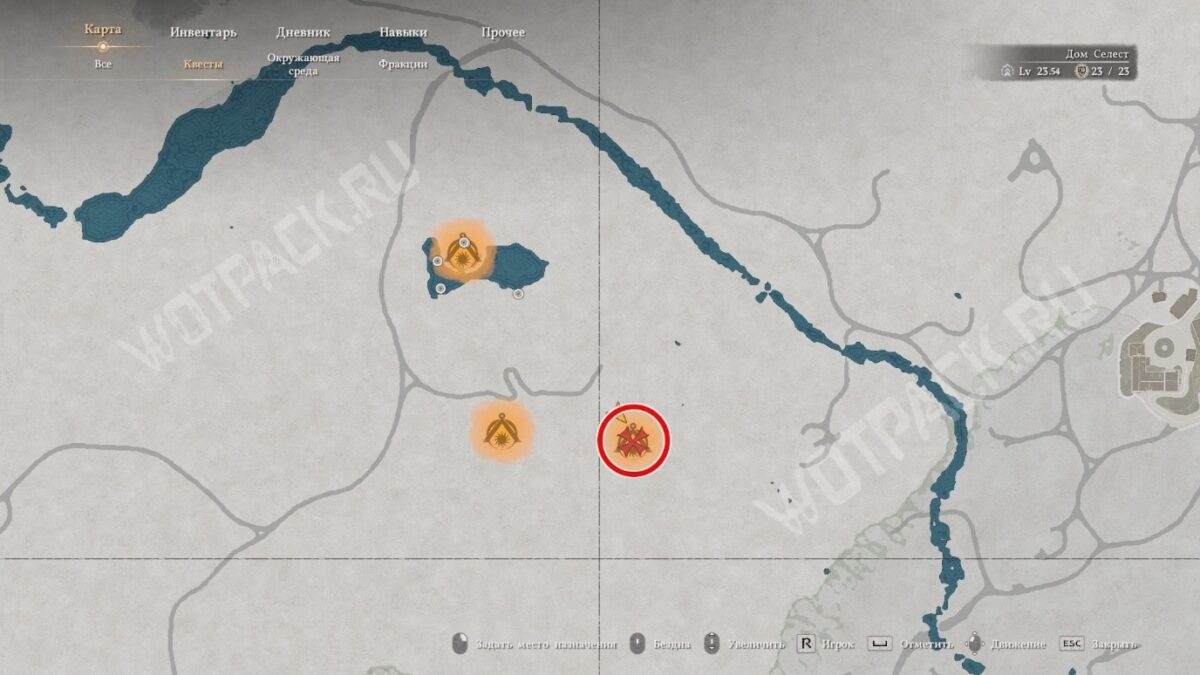
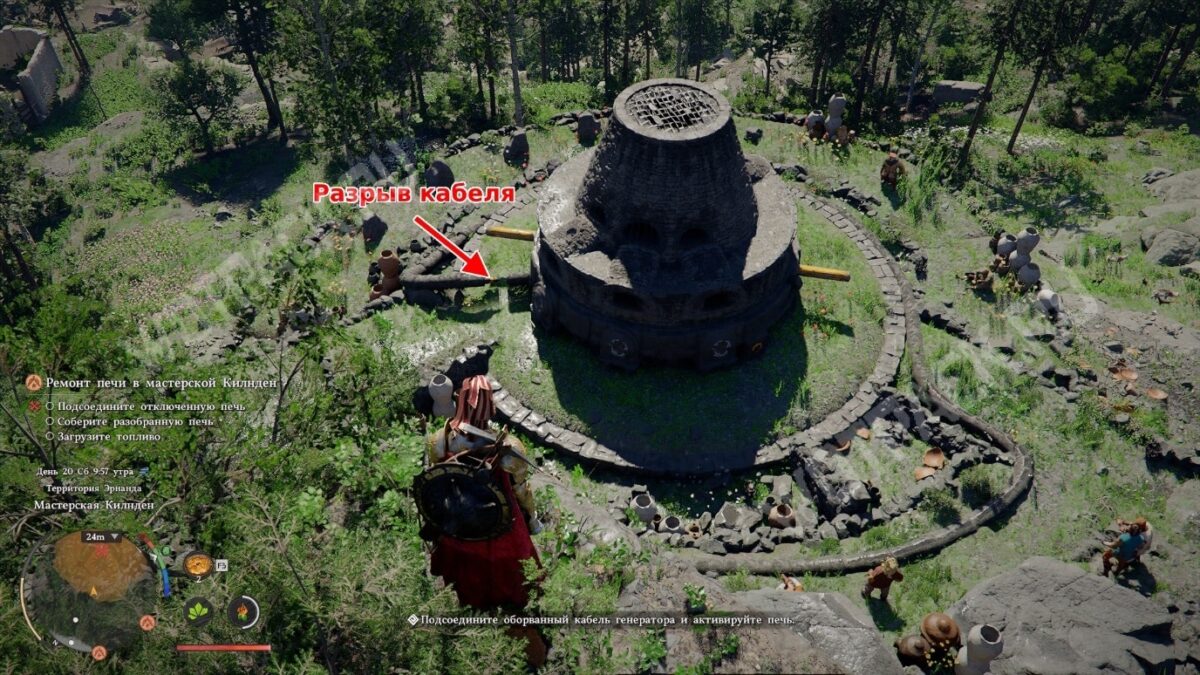
There are three damaged mechanisms around the generator that need repairing. In the southwest is a device with the simplest malfunction—its power cable is disconnected.
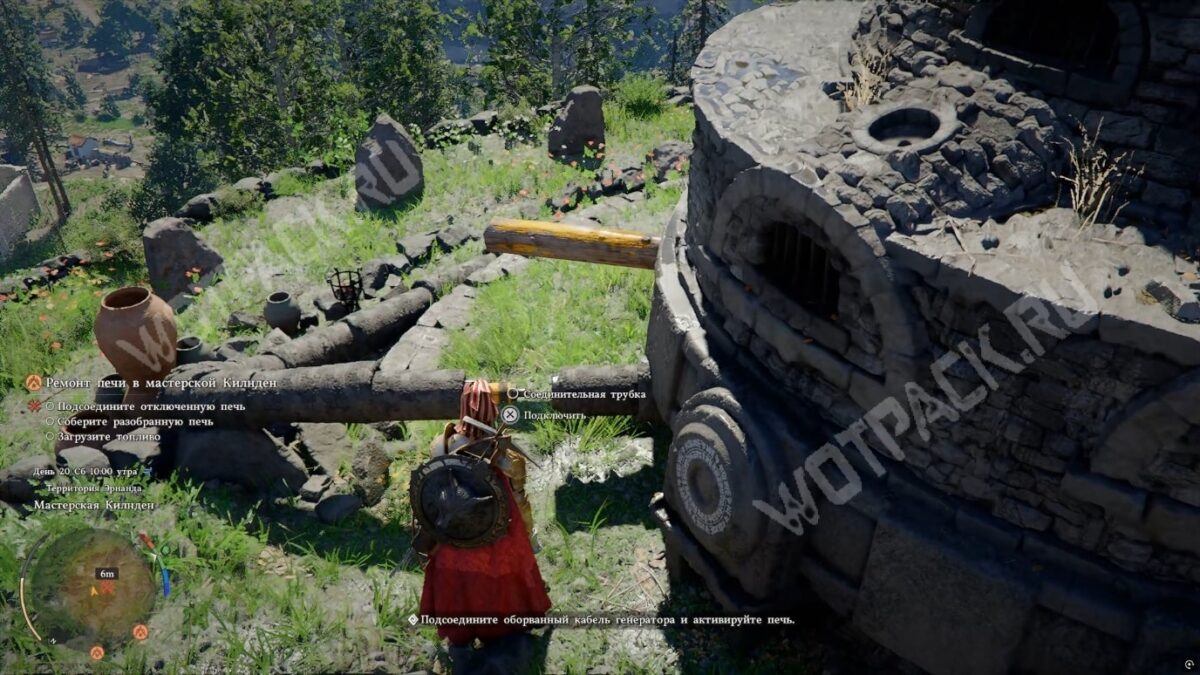
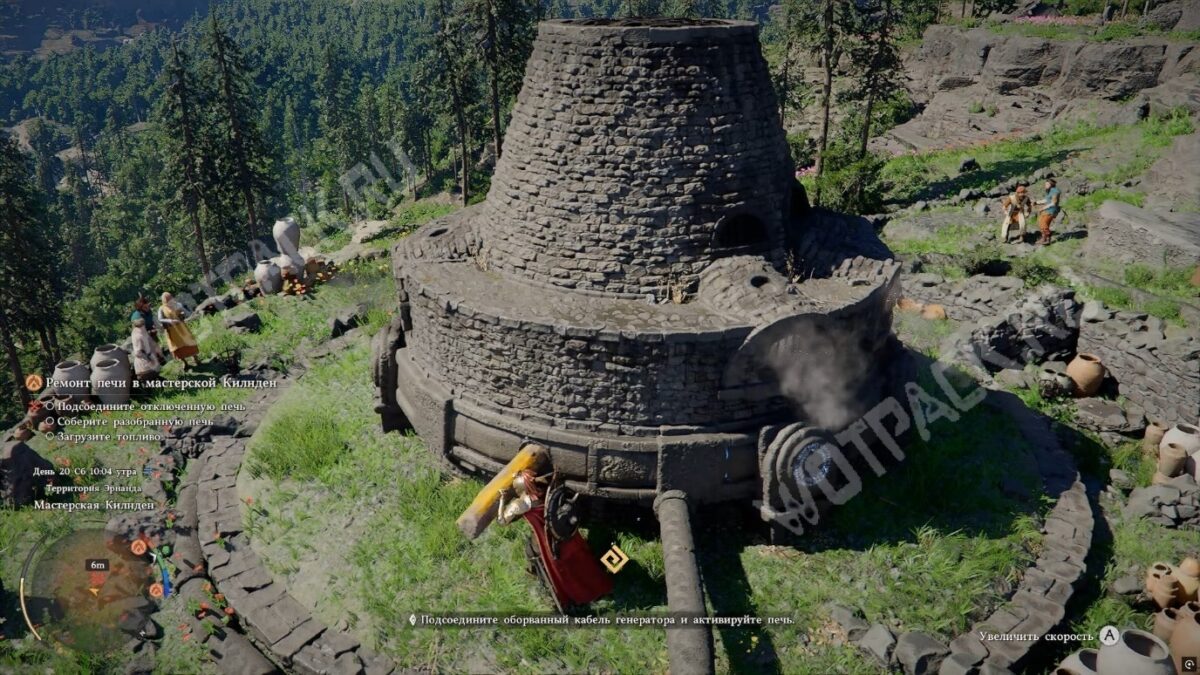
Approach the break and hold down the interaction button. Once the cable is restored, grab the handle and push it all the way to the left.
Assemble the disassembled stove
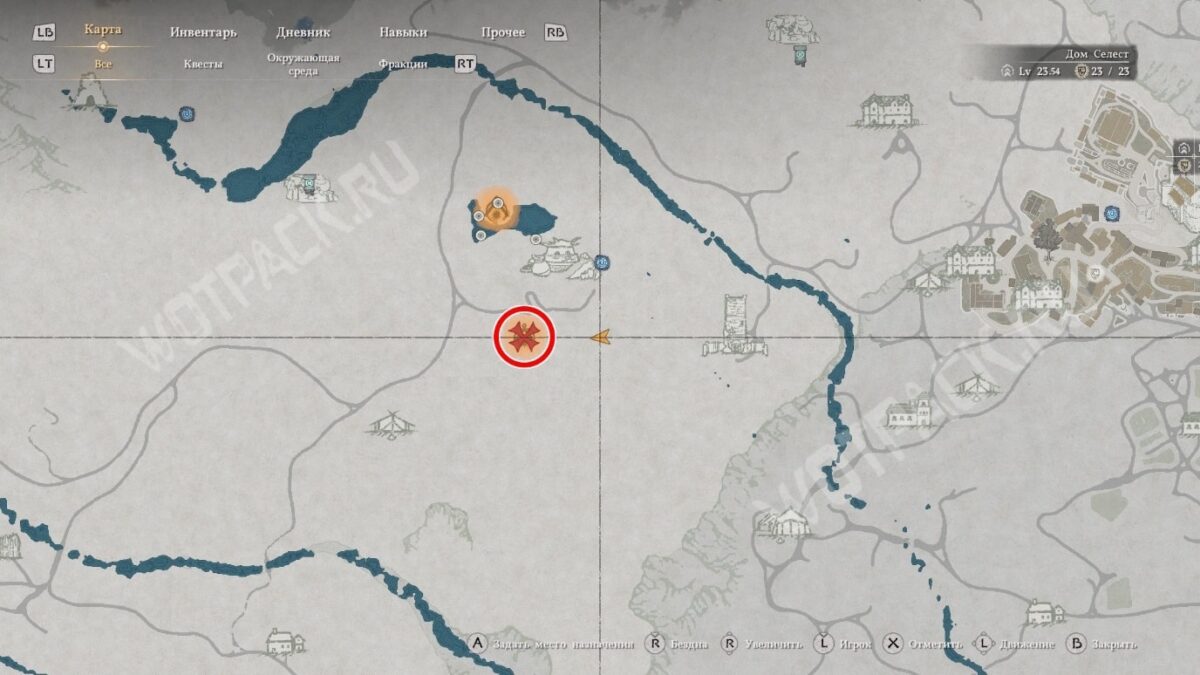
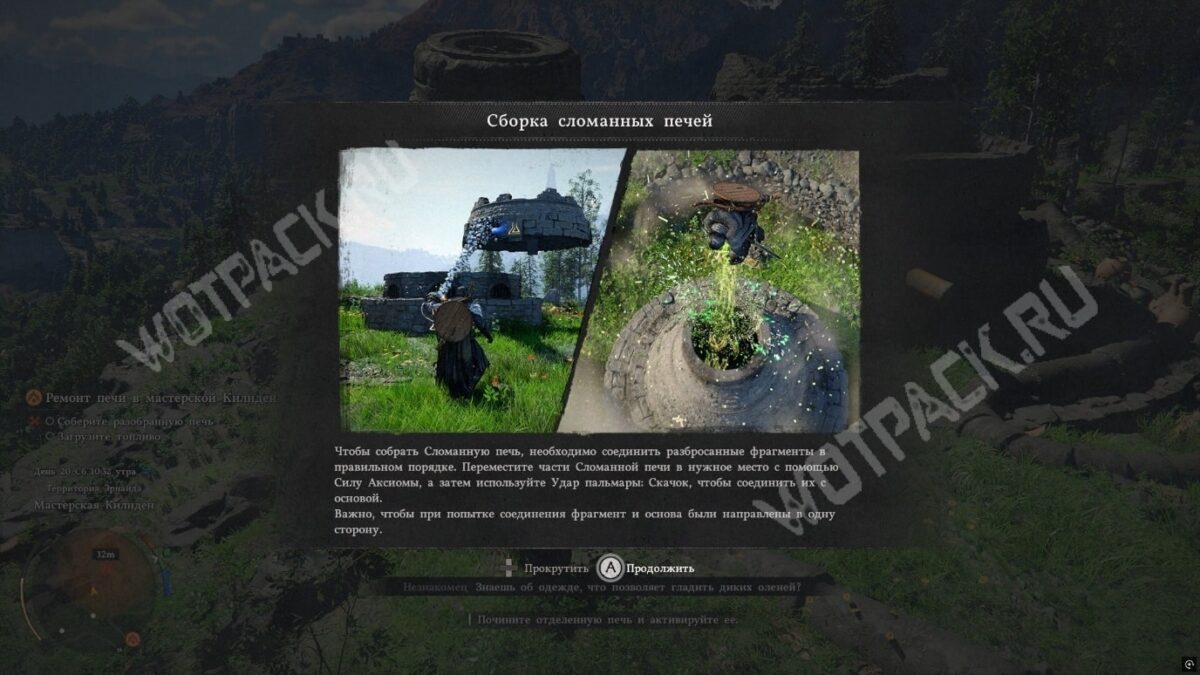
The ancient mechanism to the east was torn into three pieces. The base itself remains in place; the two fragments need to be installed on it.
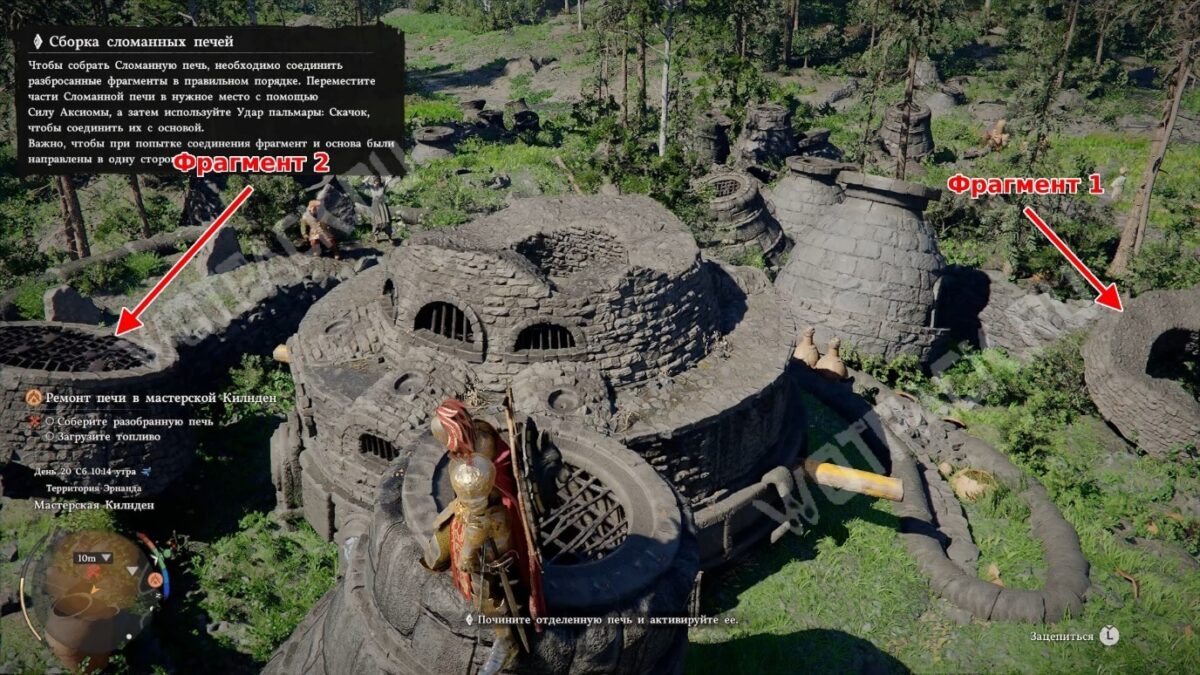
Two pieces are lying nearby among a multitude of odds and ends. Repair the separate furnace and activate it by installing the pieces in the correct order:
- Use the Axiom's power (TAB on your keyboard or the left stick on a gamepad) to lift the first piece—it looks like a ring broken at both ends. Control it with the mouse or the right stick and place it on the base.
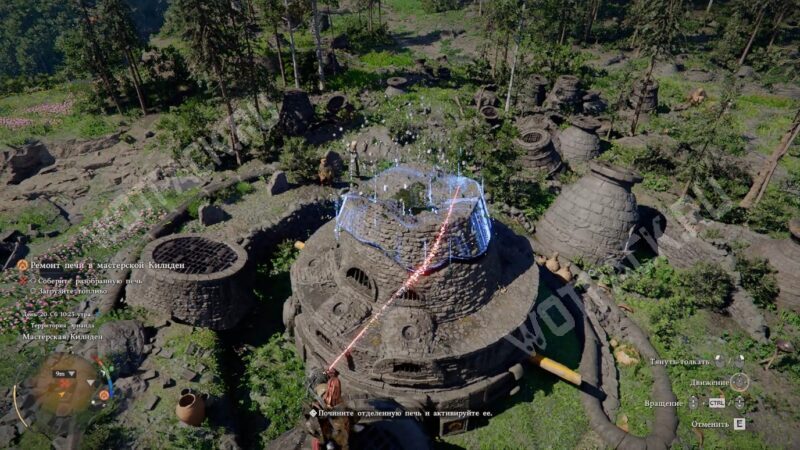
- In the same way, lift the second fragment with the lattice into the air and place it on top of the structure.
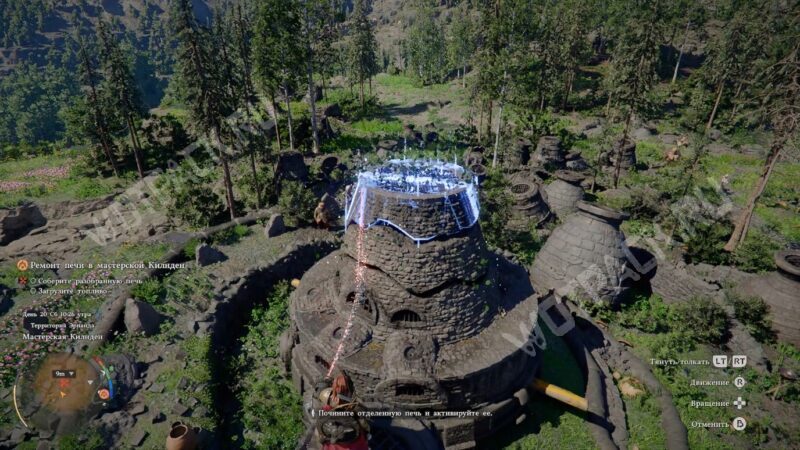
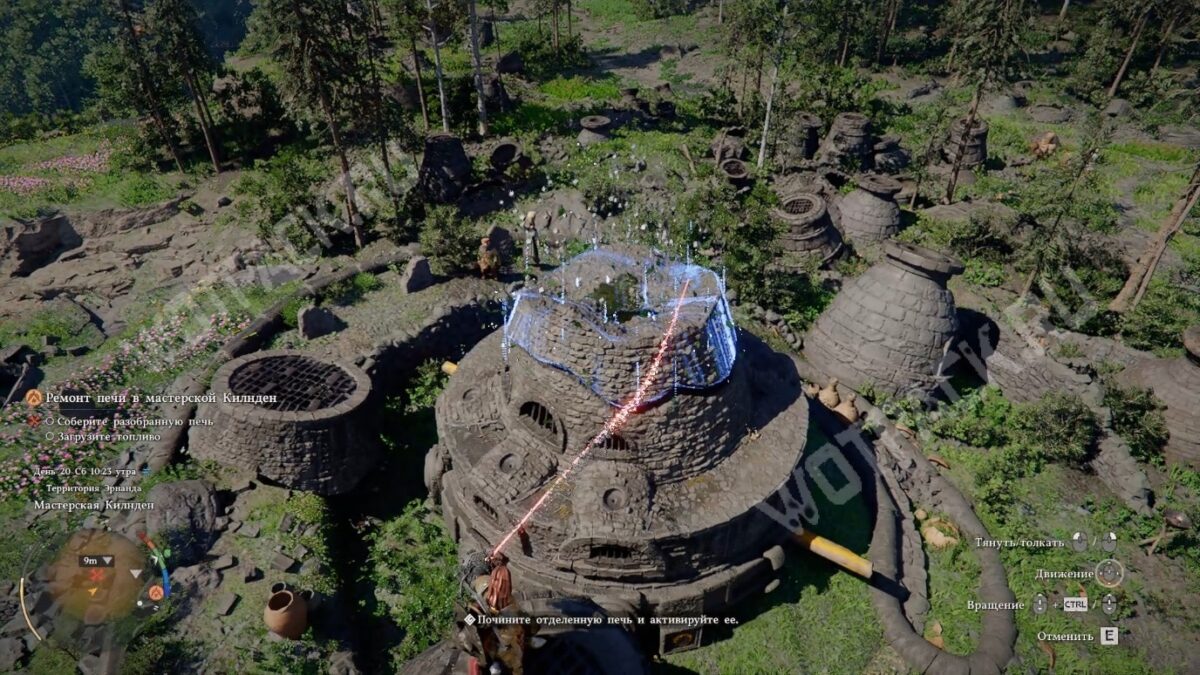
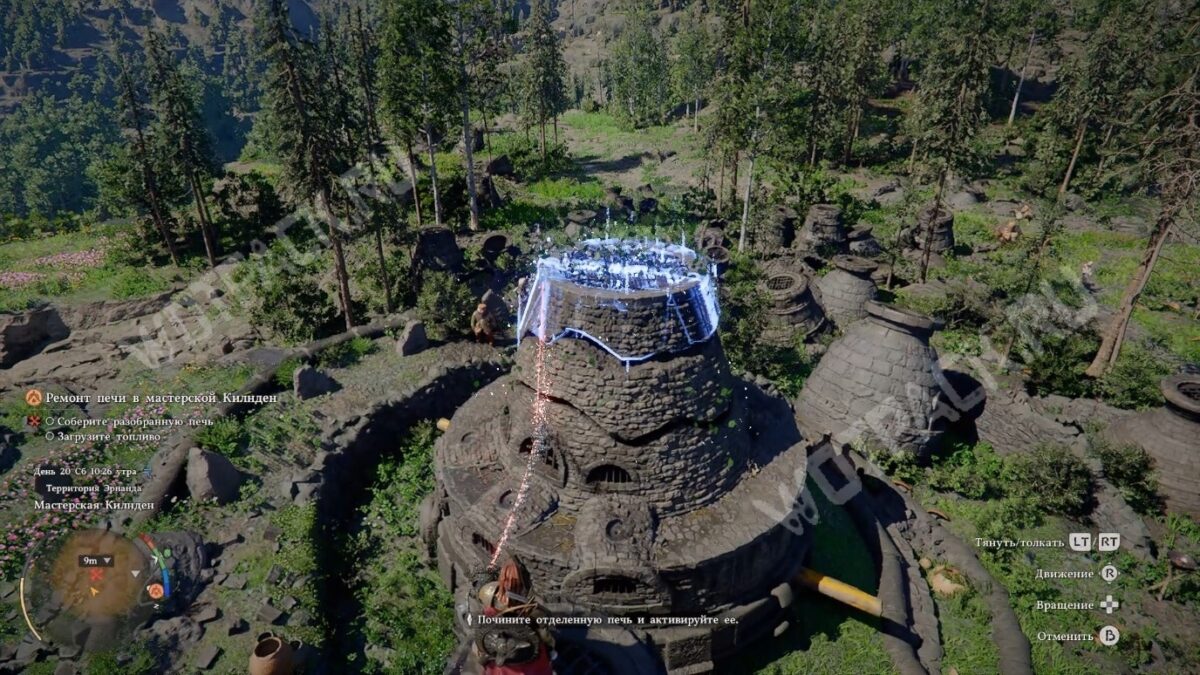
Once both pieces are in place, there will be gaps between them.
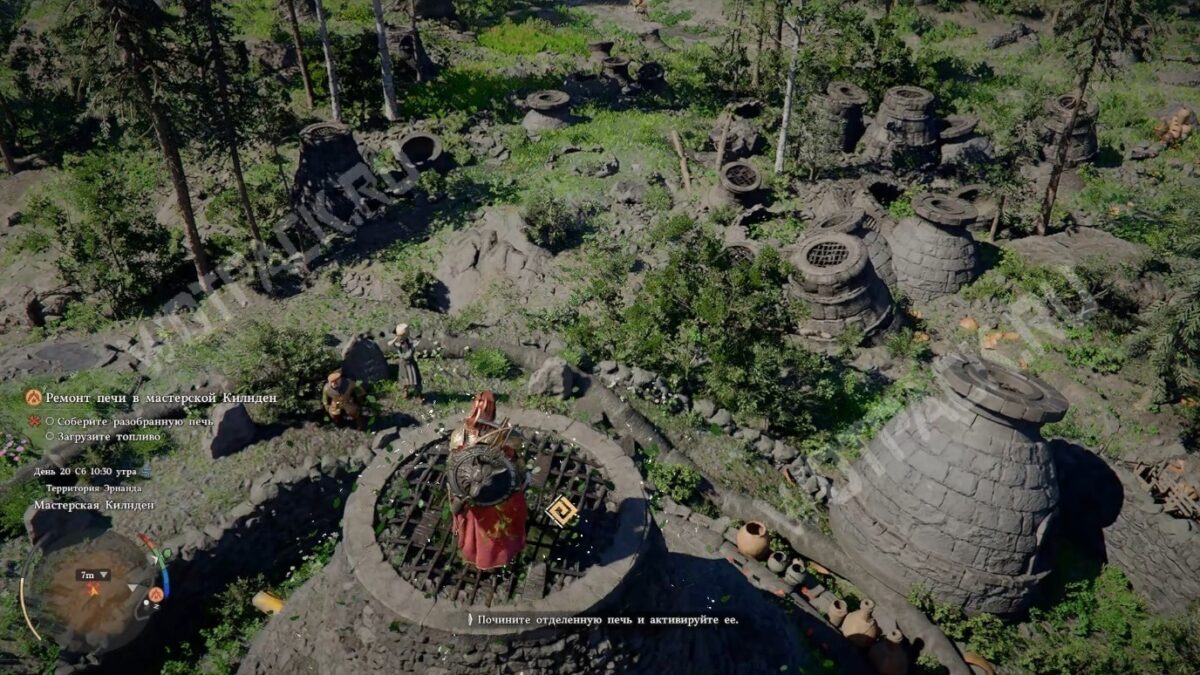
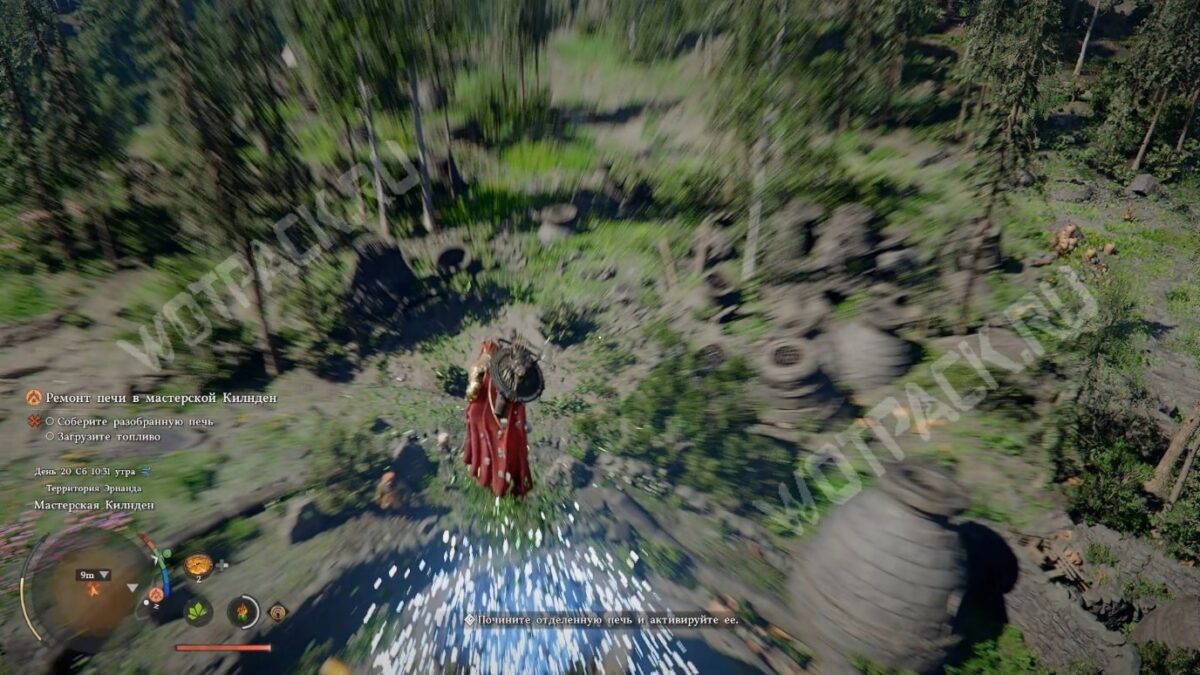
Climb onto the lattice roof, jump and Use Palmara Strike in the airIt's activated by pressing the middle mouse button or the right stick if you're playing with a gamepad. Once you land, the gaps in the structure will be gone.
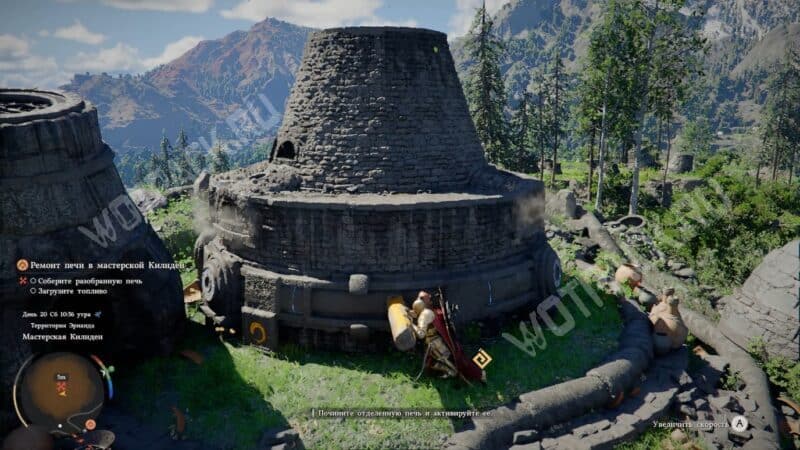
To start the device, push the handle at the base until it stops, as you did before.
Load fuel
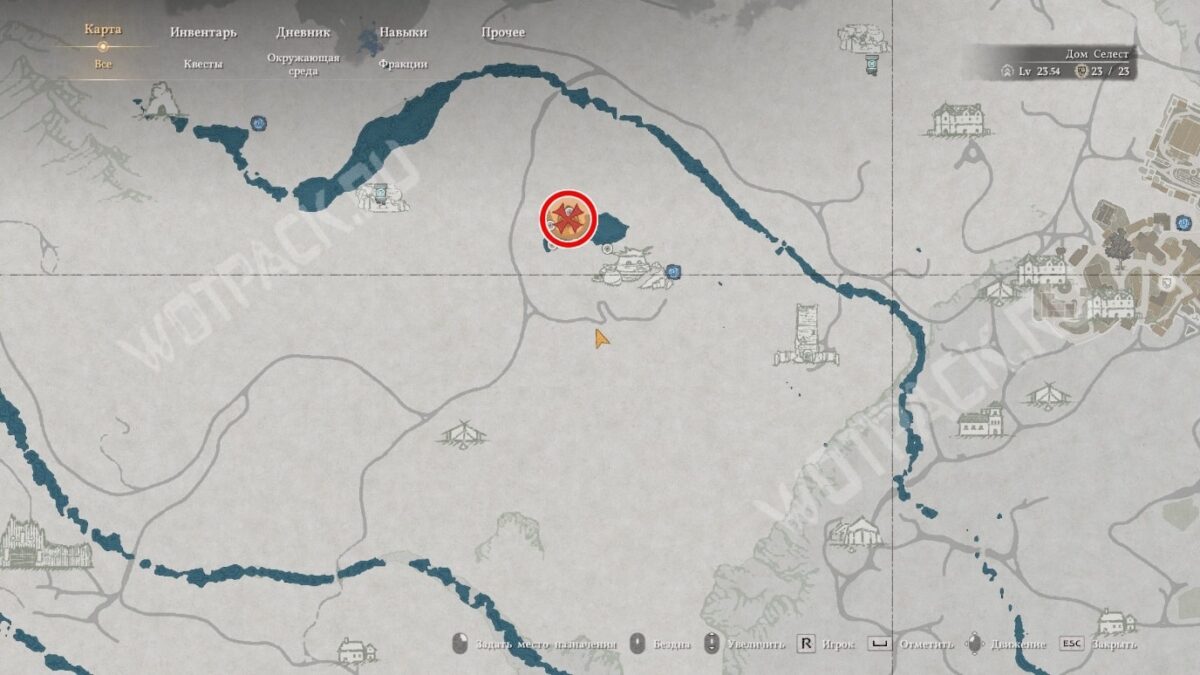
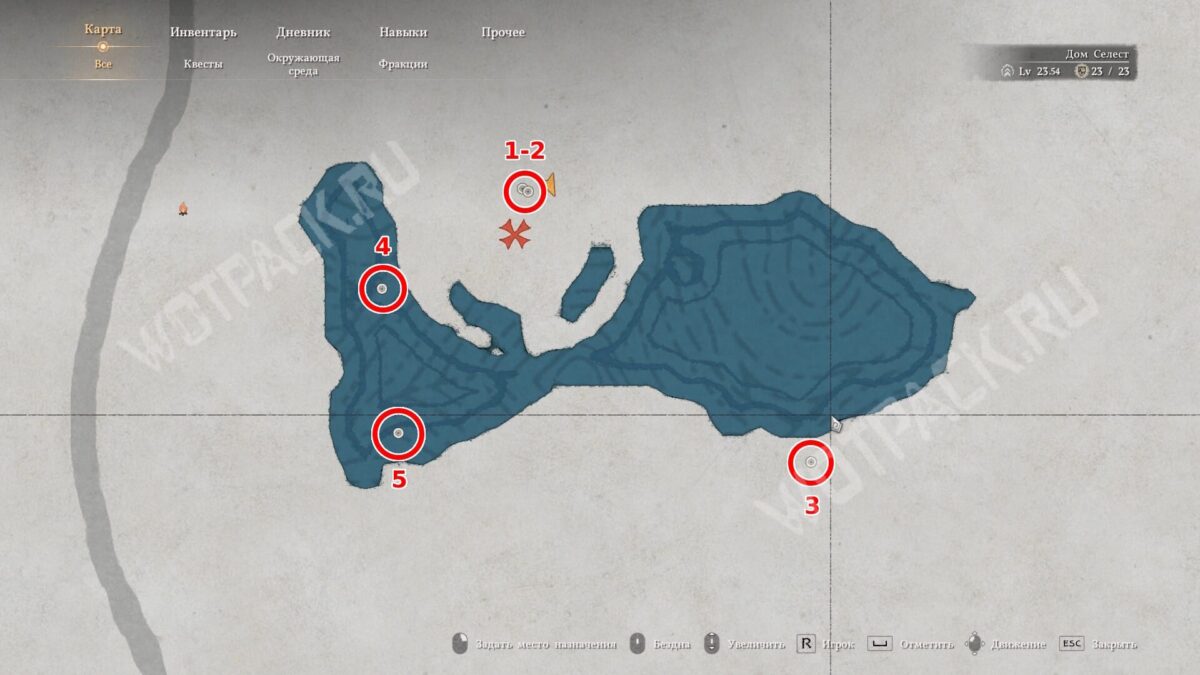
Head to the third mechanism by the pond to the north. The explosion knocked out its power cells. Find the fuel containers and place them in the furnace.
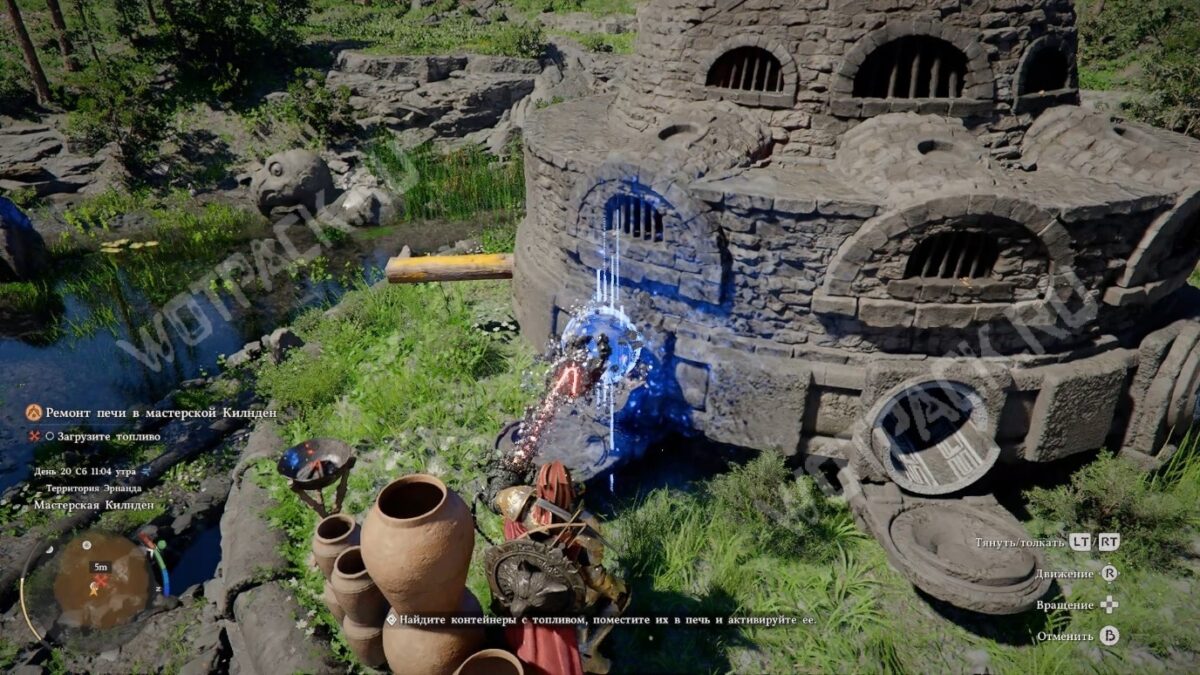
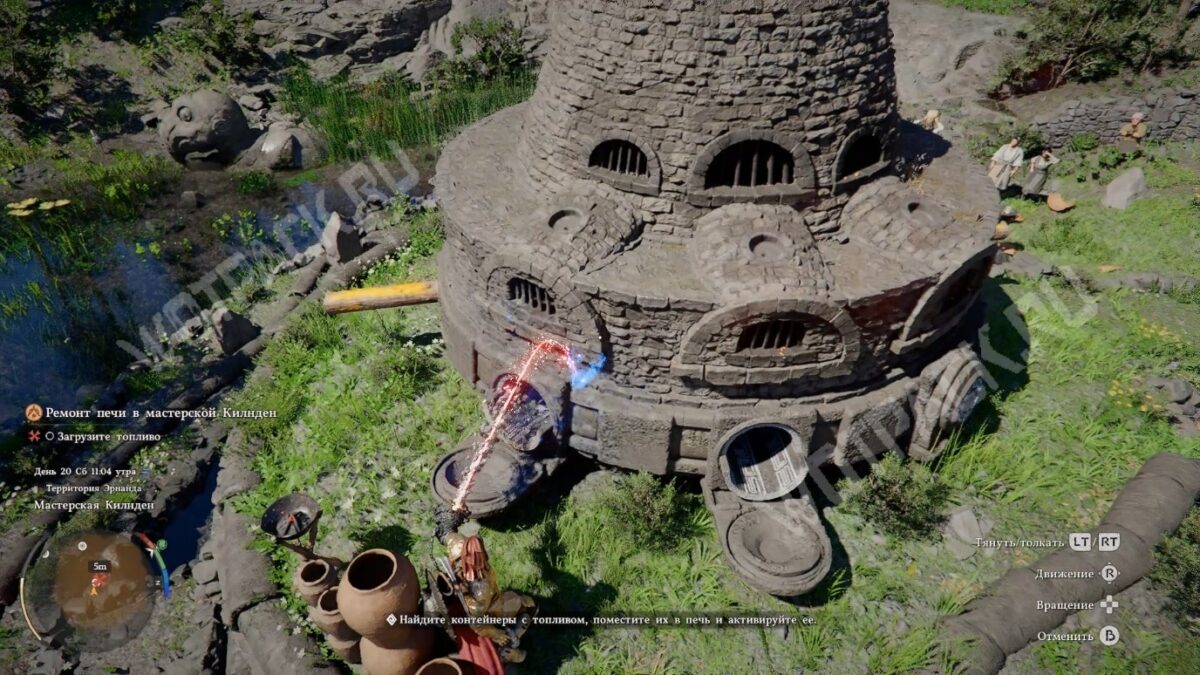
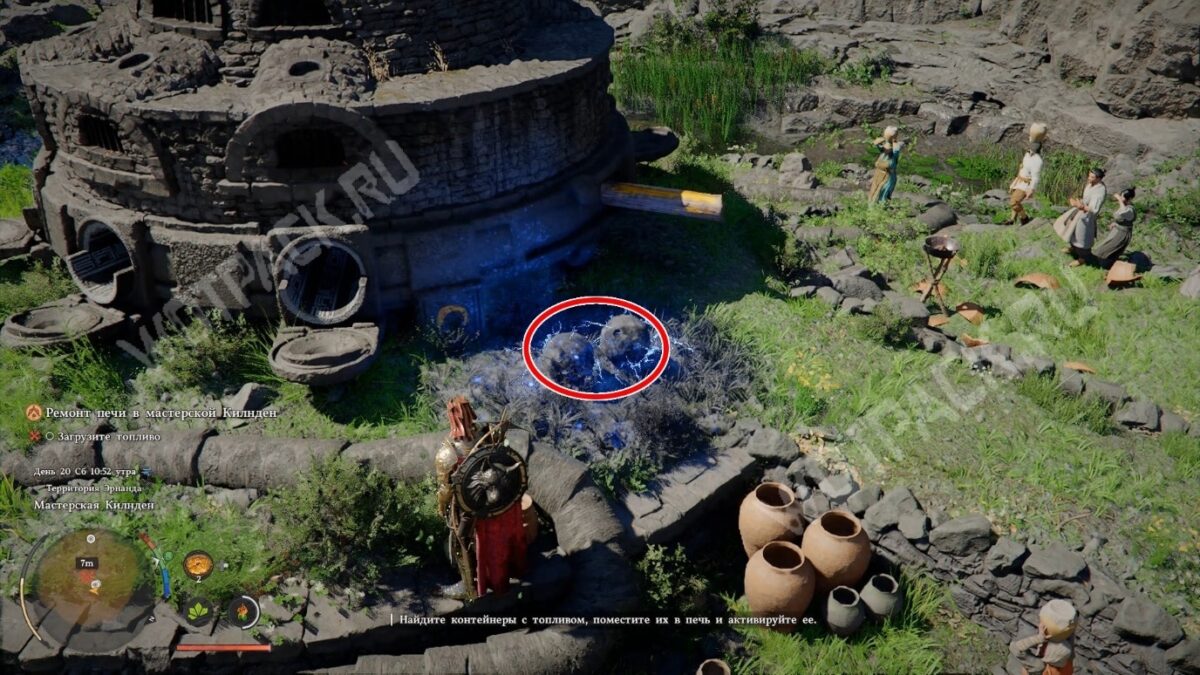
At the base of the mechanism are five round holes with hatches into which you must place the electrified spheres marked on the map. Use the power of the Axiom to lift them and carry them to the device. You can push the fuel deeper by pressing the RMB/RT key.
- There are two balls lying next to the mechanism, place them in the open slots first.
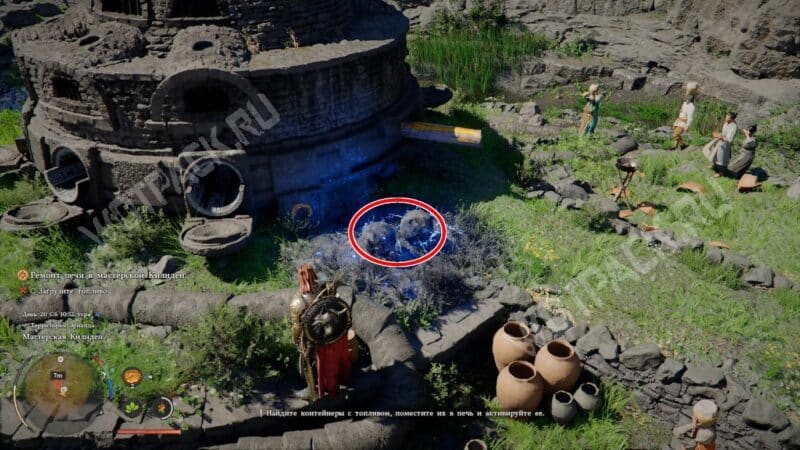
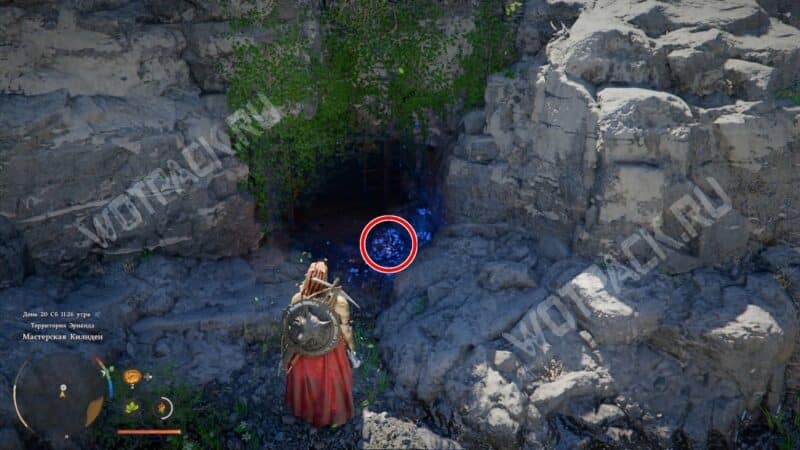
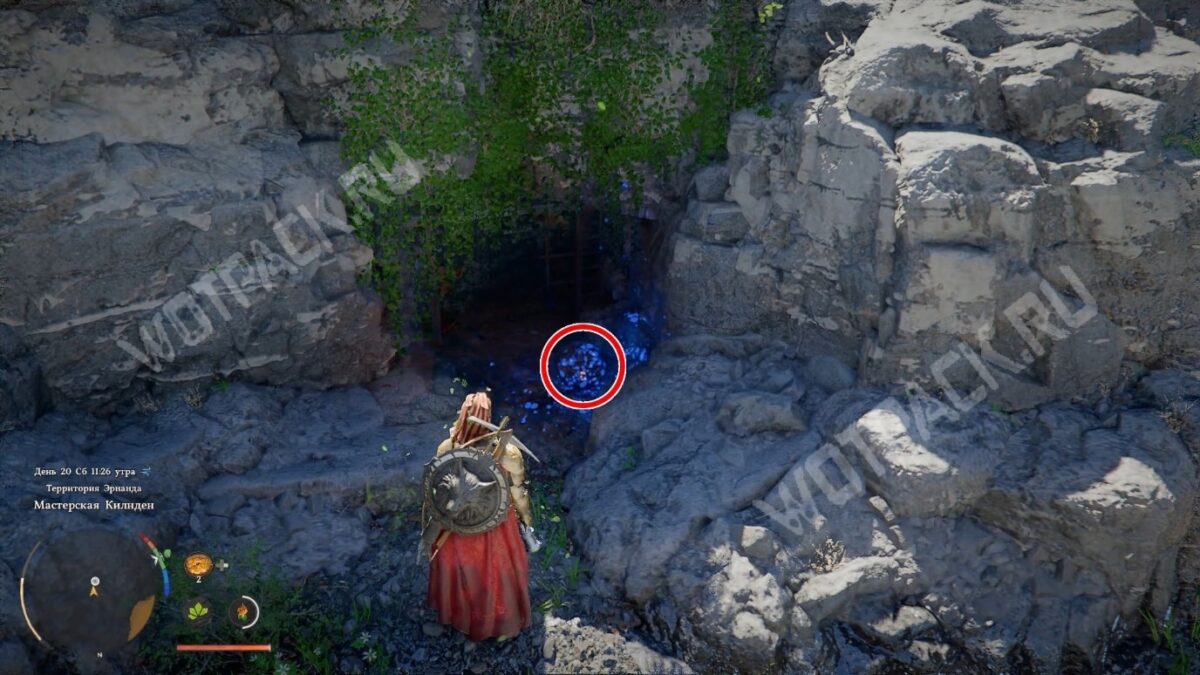
- The third is located in the distance, at the entrance to the cave under the hill where Grimnir stands.
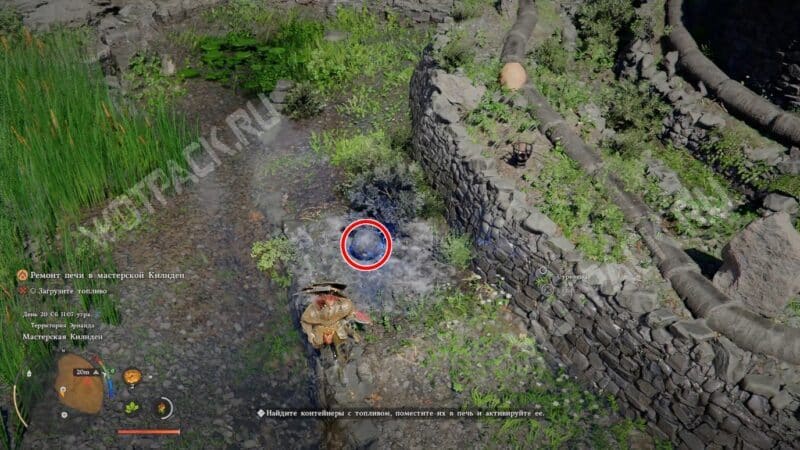
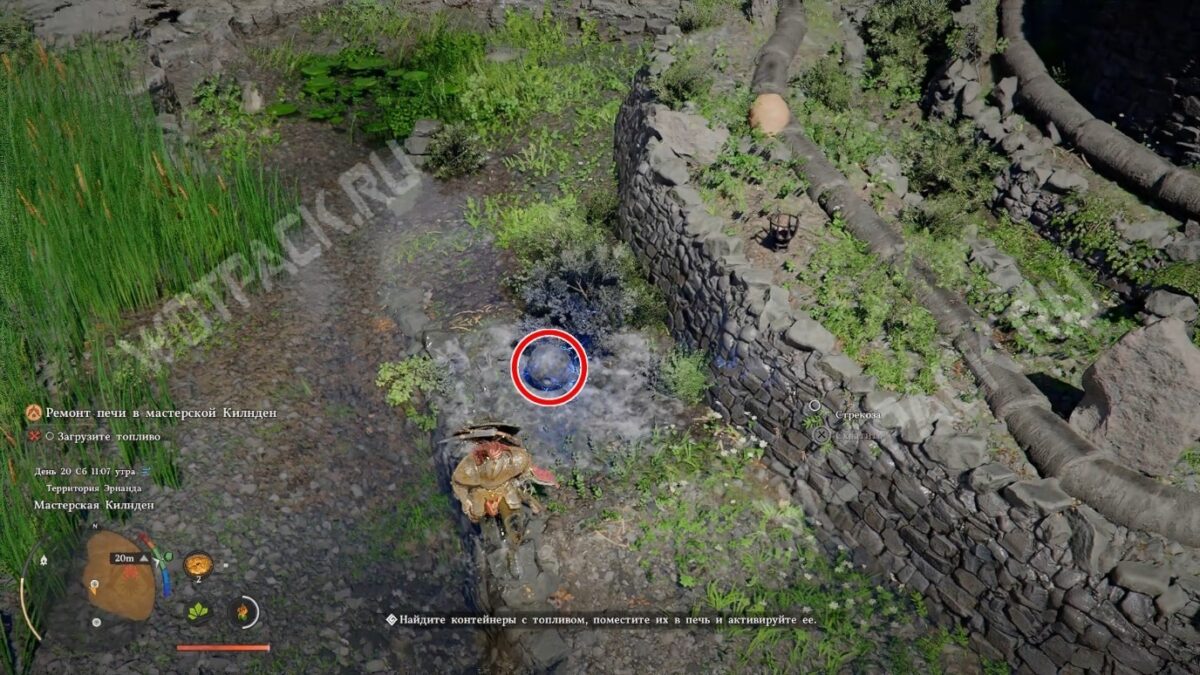
- Pick up the fourth one near the water to the southwest of the broken device.
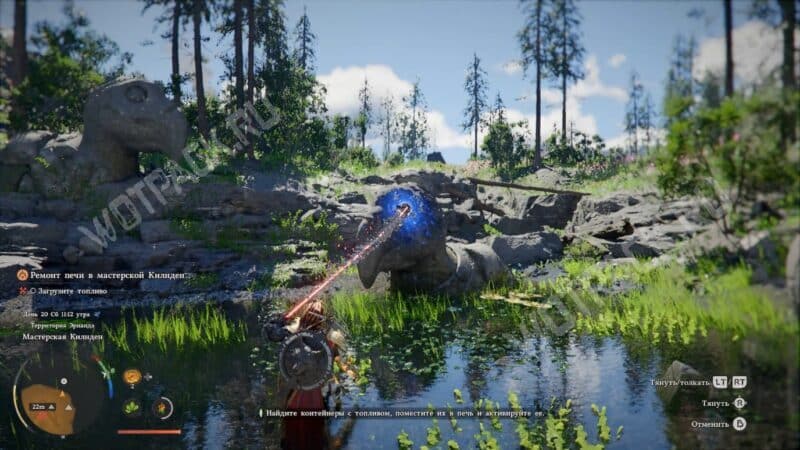
- The fifth one needs to be pulled out of the statue's eye socket. Grab it with the power of the Axiom and pull it toward you while holding LMB/LT.
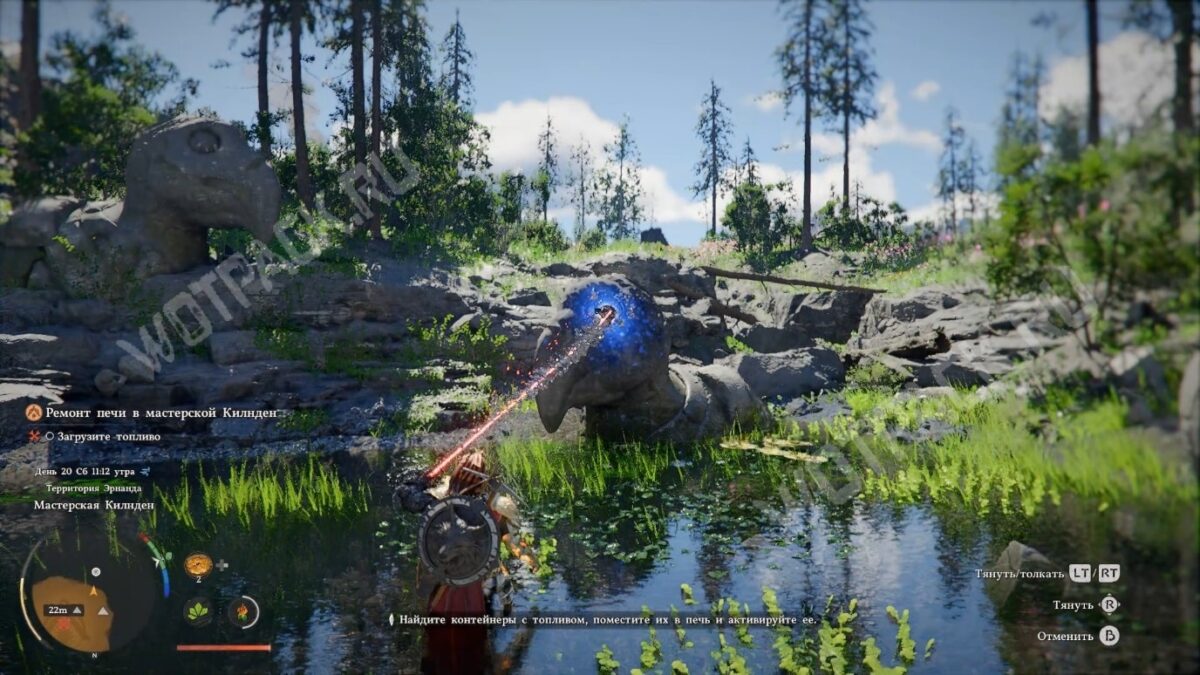
Once all the fuel is in place and there are no open hatches, push the handle to turn on the device.
Rewards
Talk to Grimnir. He'll be very grateful to Graymane for his help, but he won't give you his reward—Yellowbeak's Cast Iron Cauldron—until the next quest. Wait for the dwarf to create the magical item, and then pull it out of the furnace yourself.