
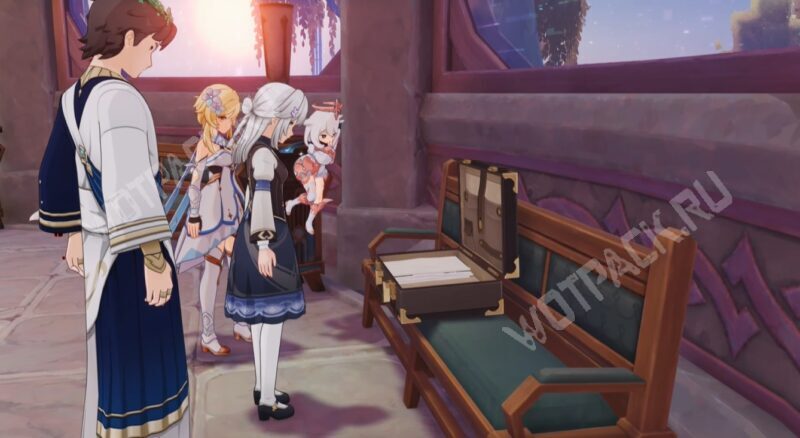
Temple Commemoration Day is a side quest in Genshin Impact, in which you need to explore three zones Asmodeus spacesto find Zeitlind's missing belongings. The dimension guardians have hidden the relics in three areas: Luyan Academy, the Desert Hall, and the Hall of Mahavaipulya. Rescue the "vault" prisoners you encounter along the way and overcome all the challenges to help Romhilda's sister.
How to start the quest
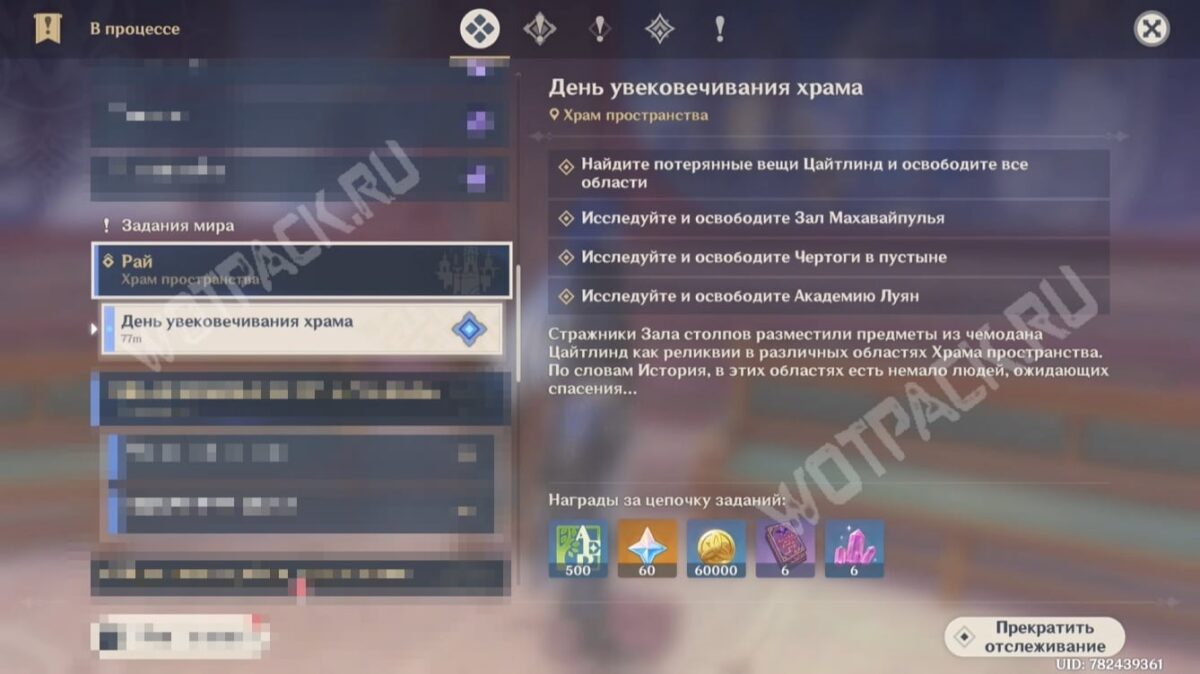
When in the prologue The Wind Has Ceased from the plot A long day in the mountains Defeat the guards in the center of the Hall of Pillars and find the stolen suitcase - the mission will automatically appear in your journal.
Walkthrough for the Temple Commemoration Day quest in Genshin Impact
Visit the main areas of the Celestial Realm and help those in need. In the process, you'll collect all three items.
Find Zeitlind's lost items and liberate all areas
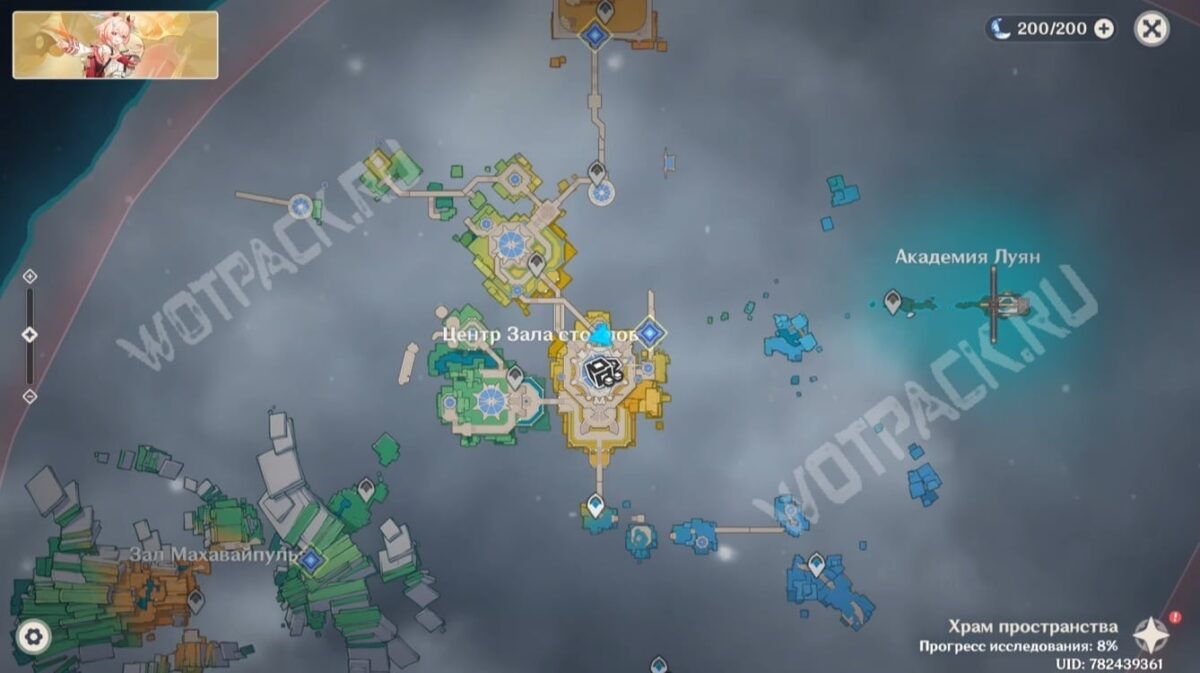
Once you complete the introductory mission, three markers will appear on the map. Each marker contains items belonging to Romhild. You can find Zeitlind's items in three locations:
- Luyan Academy - photo in a gold frame, which depicts the girl's sister.
- Mahavaipulya Hall - personal letters, they were exchanged between sisters when they were far from each other.
- Palaces in the desert - brooch with amethyst.
Explore and liberate Luyan Academy: Long Live Life
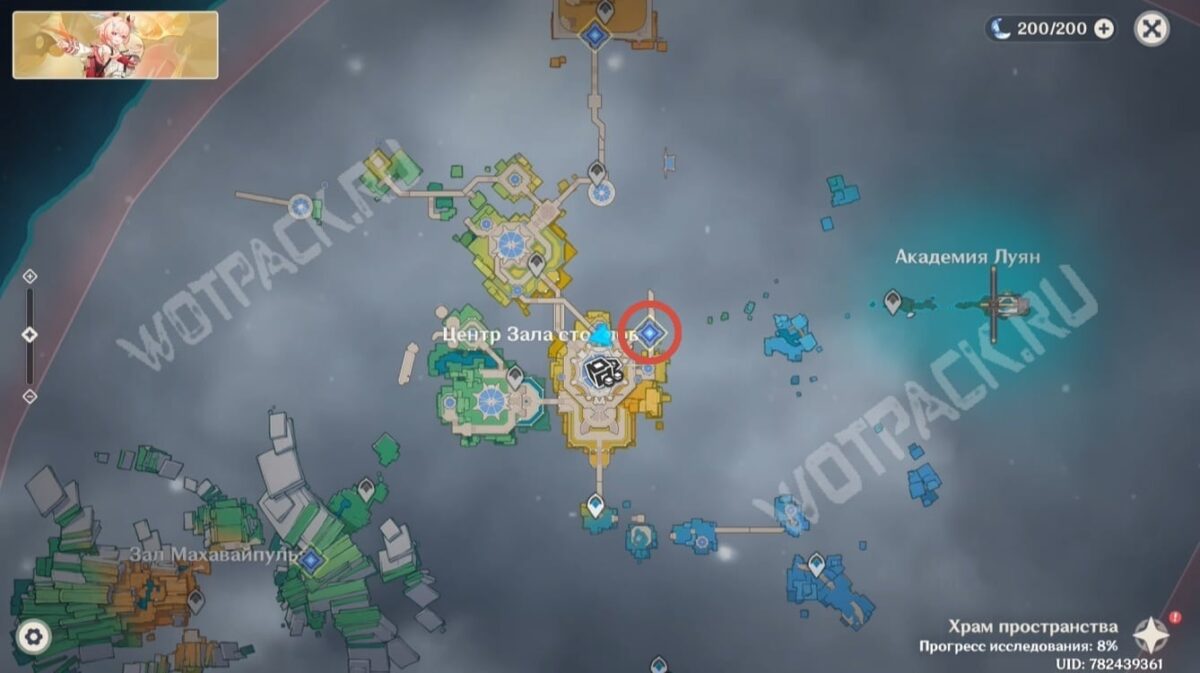
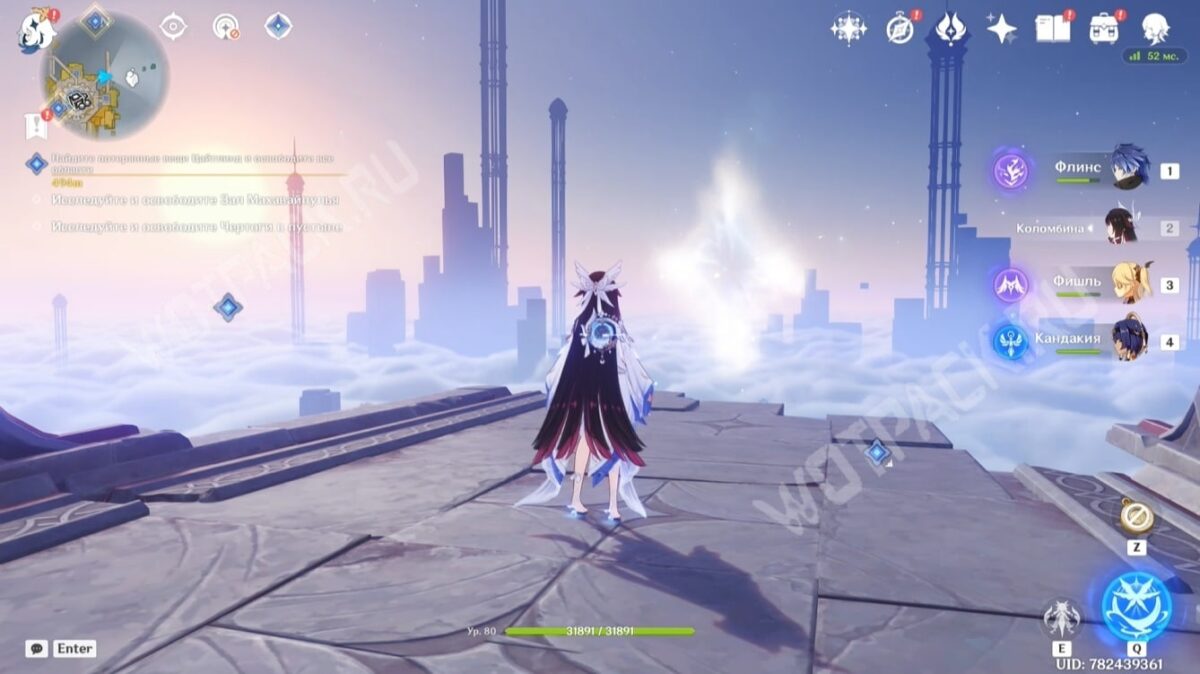
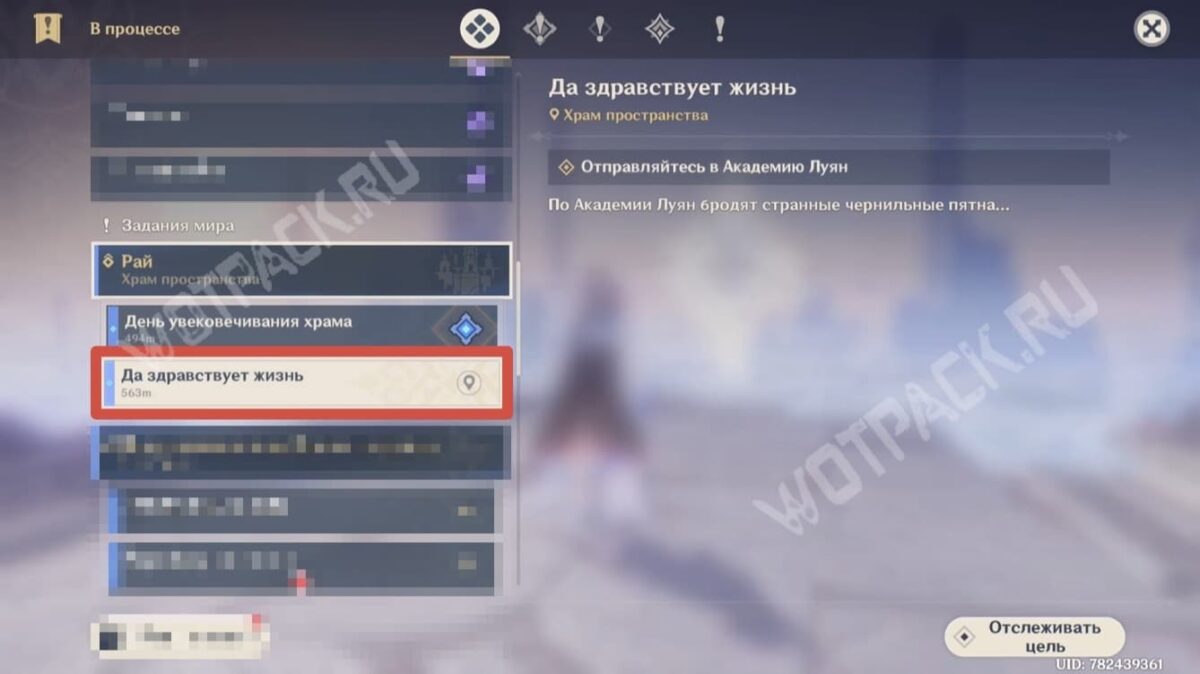
- Starting point: portal on the eastern bridge in the center of the Hall of Pillars.
- Travel time: 30-35 minutes.
- Rewards: Source Stones ×70 and Memory Factors ×10.
- A separate guide: Walkthrough of the mission Long Live Life.
In the northeast of the Hall of Pillars, interact with the energy clot to teleport to the center of art and painting—Luyan Academy. Strange ink stains resembling people roam its grounds.
The space of a miniature landscape
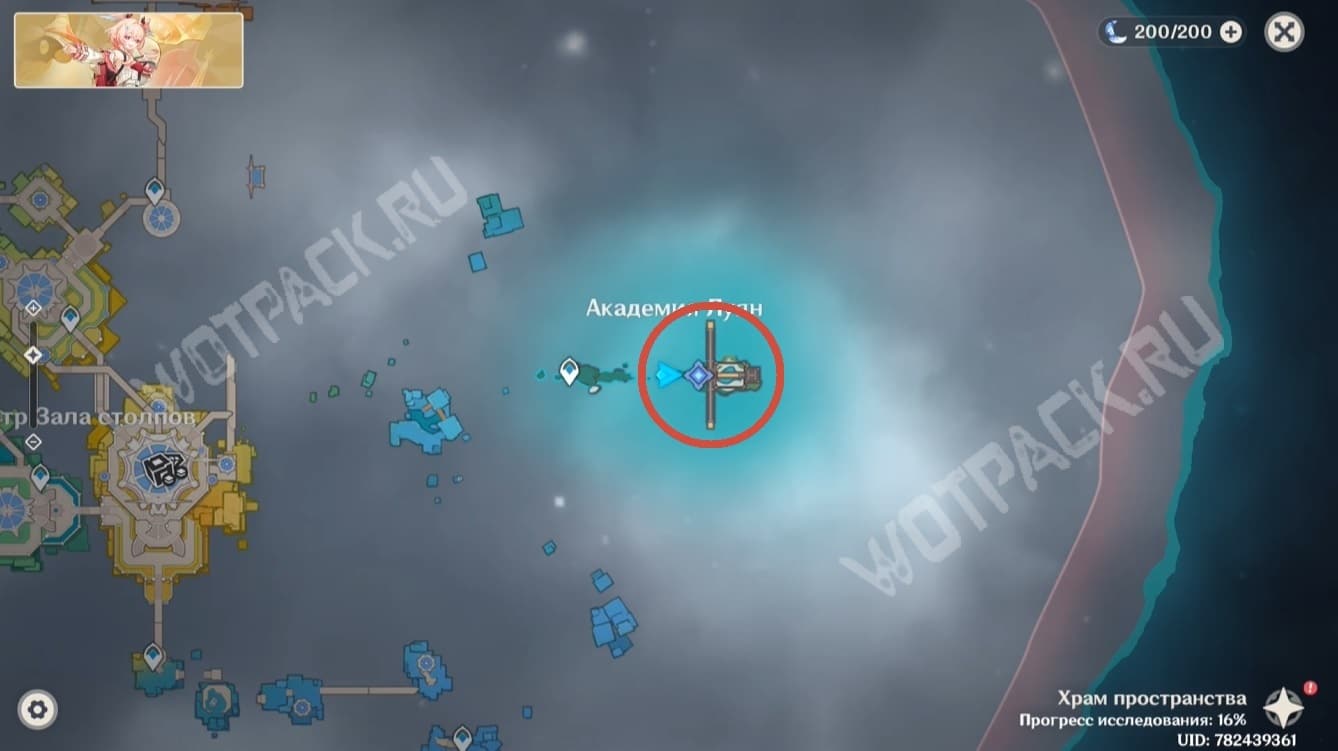
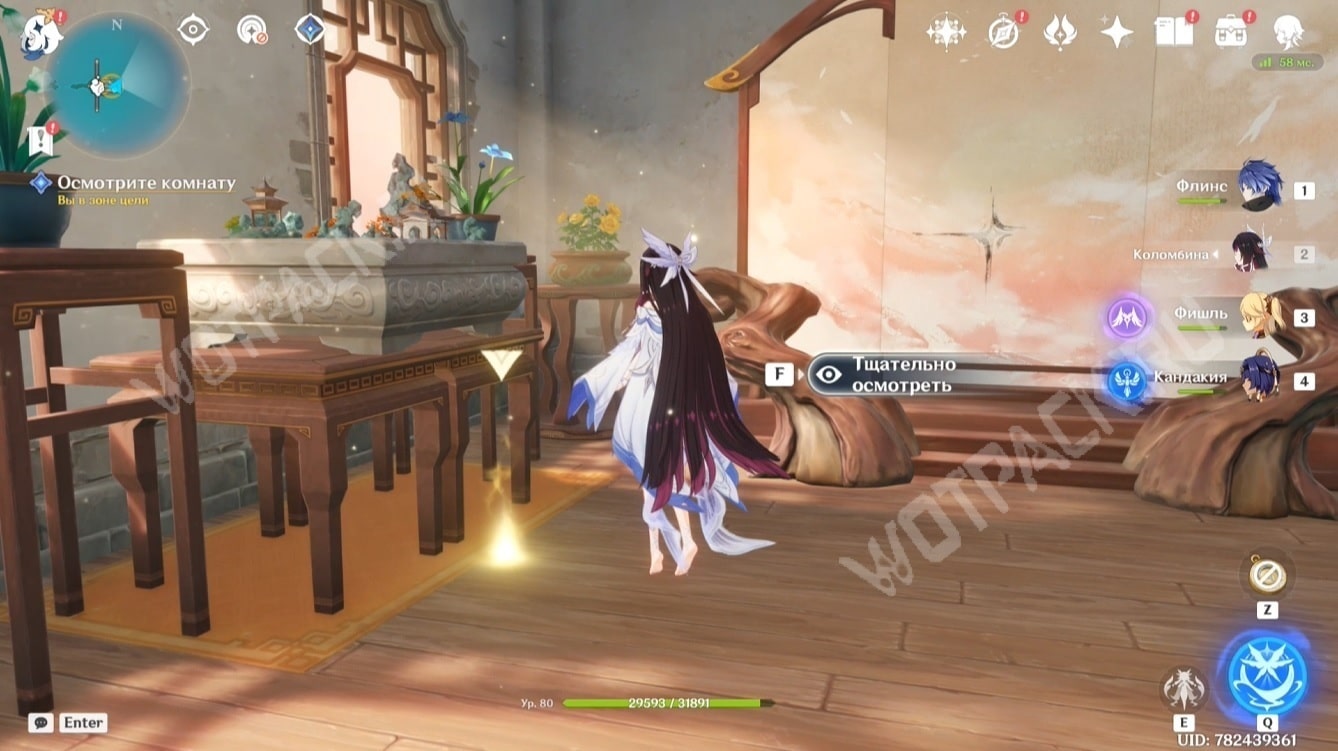
Run to the main building and examine the door, the image of a dim star, and the bonsai tree inside. The final interaction will activate the mechanism and you'll find yourself in a miniature landscape.
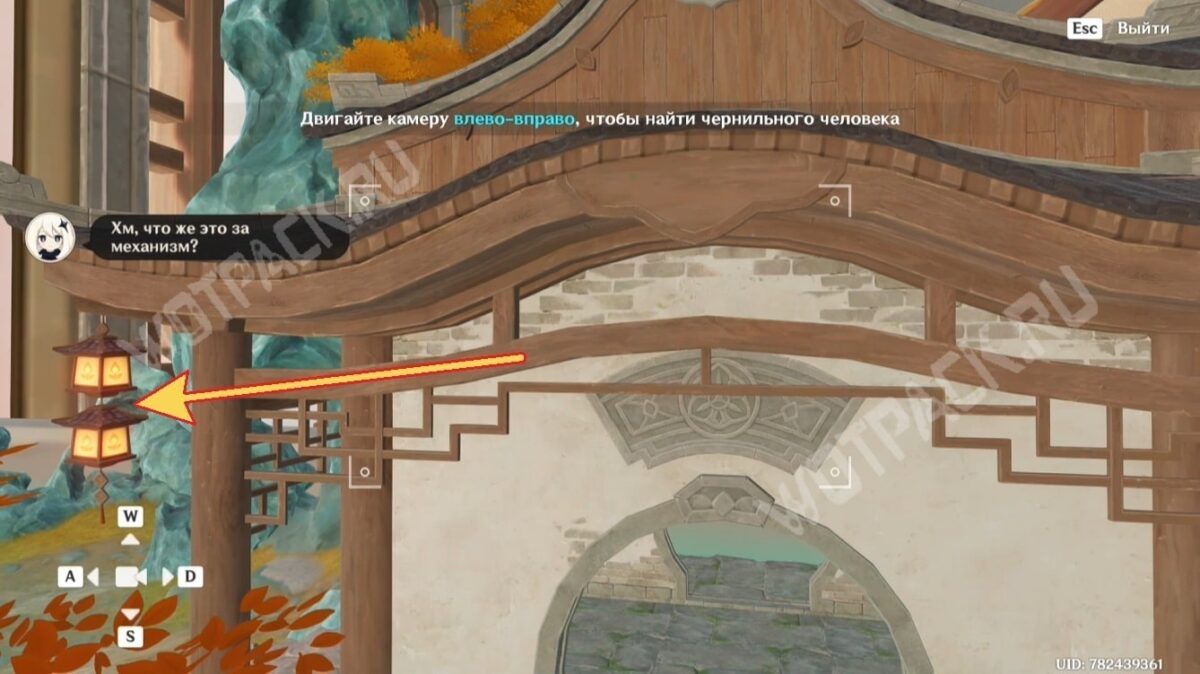
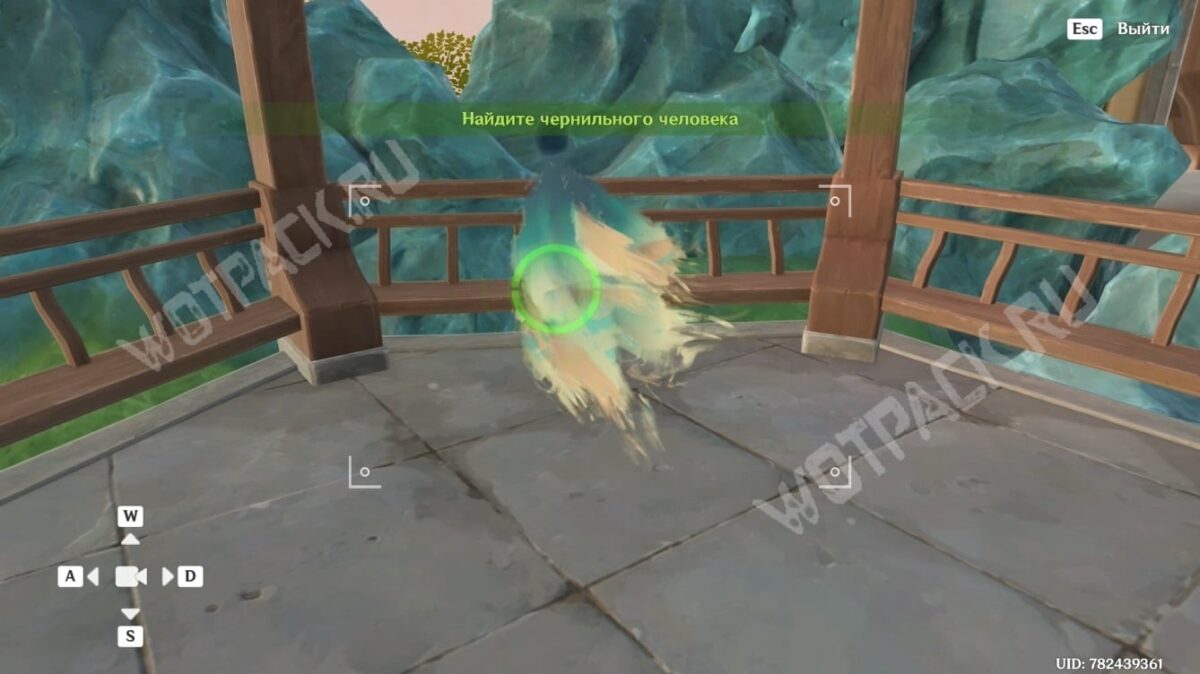
Using the direction key "to the left", get to the gazebo - this is where you will see the silhouette.
Sealed Space Painting 1
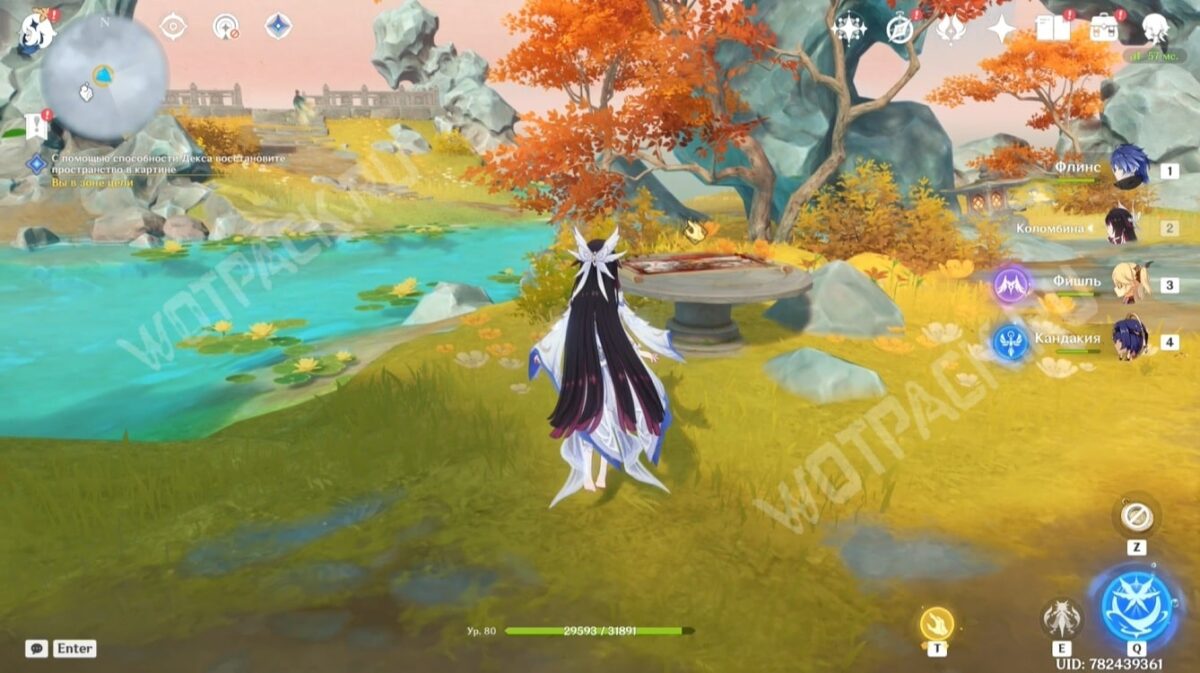
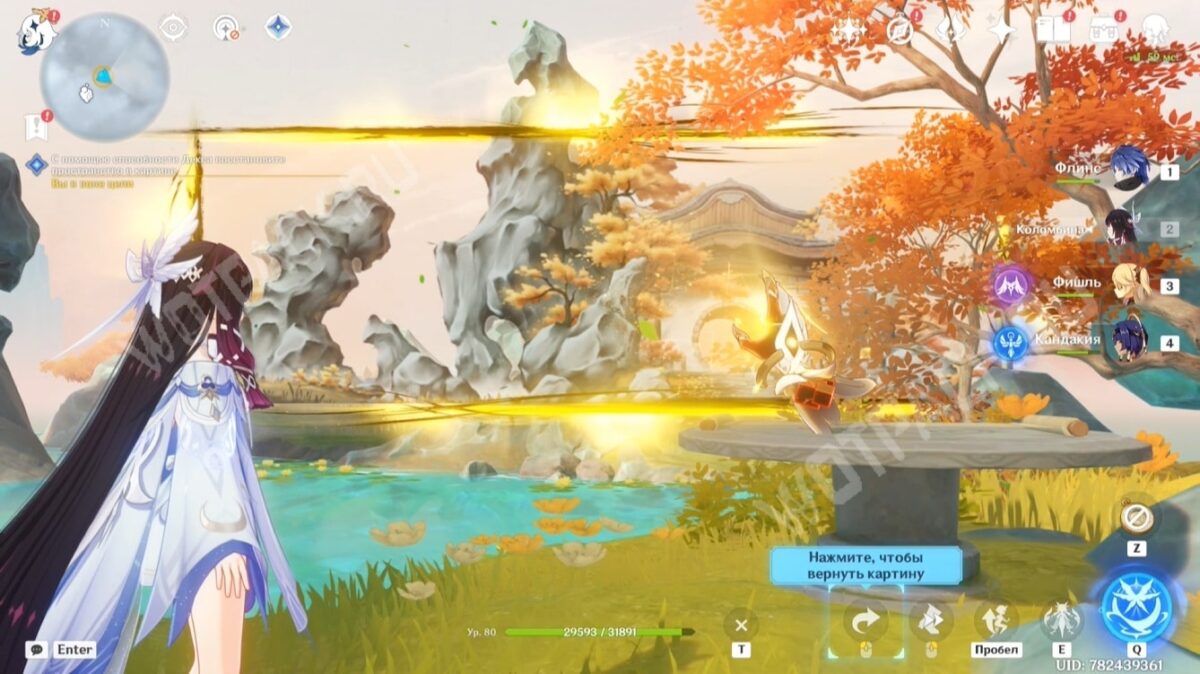
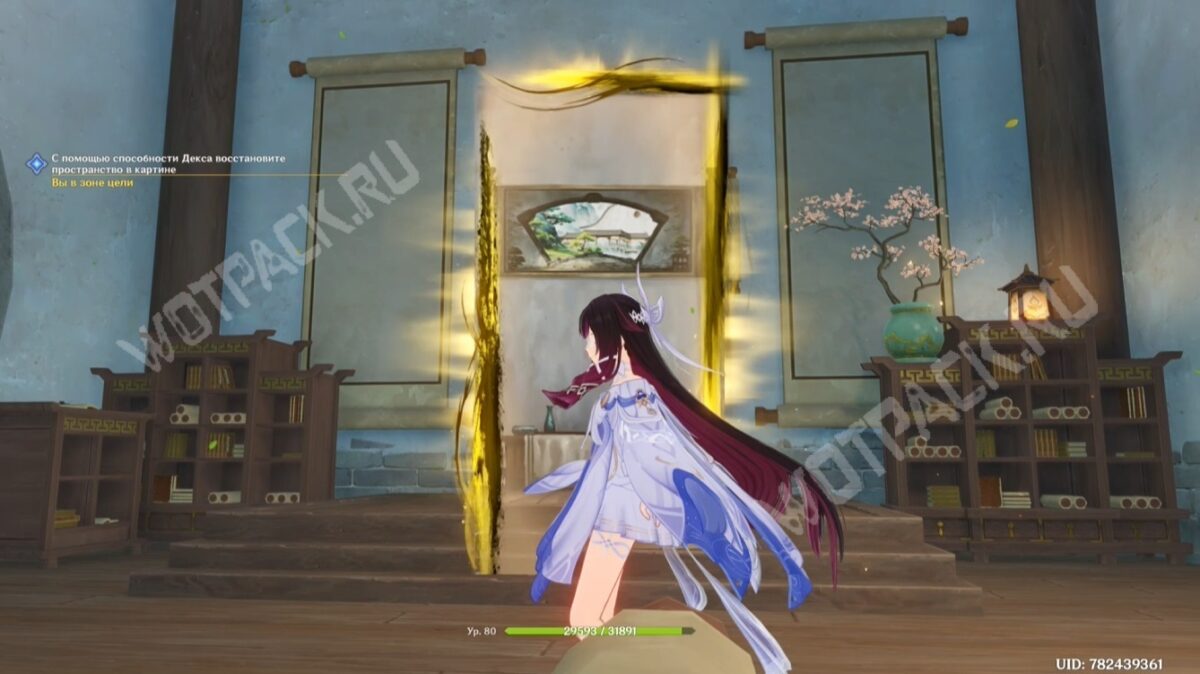
In the garden, continue following the stranger who was cursed by the Watcher of the World's Watchtower. This will lead you to the first challenge of the area. Use your "hand" skill to connect the landscape depicted on the scroll with the surrounding area—connect the rocks, as well as the building's foundation, with the arched passage.
Sealed Space Painting 2
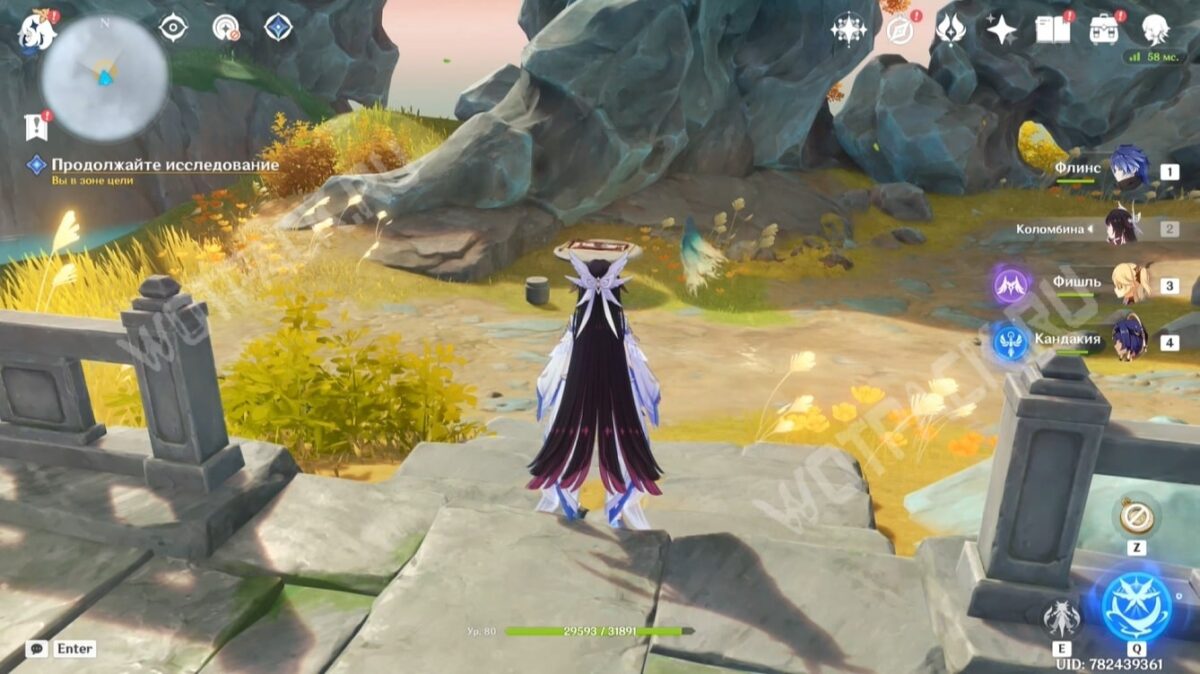
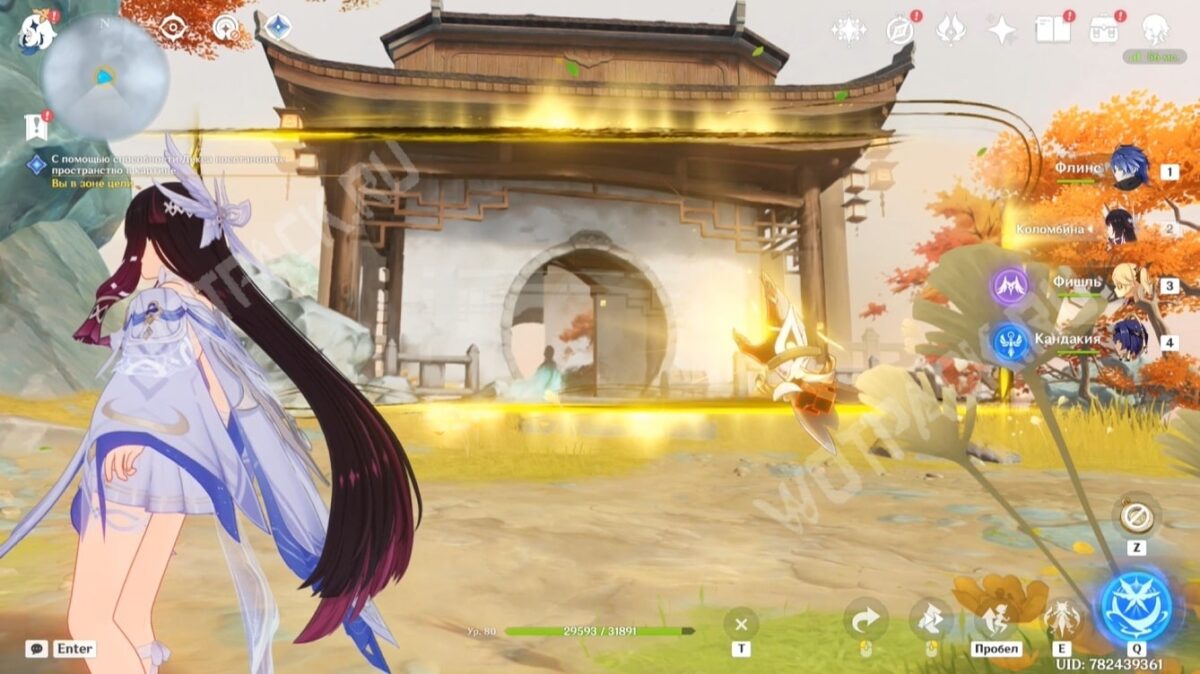
After fighting the Guardians of the Dimension, restore the pavilion and talk to the creator of Daozi.
Sealed Space Painting 3
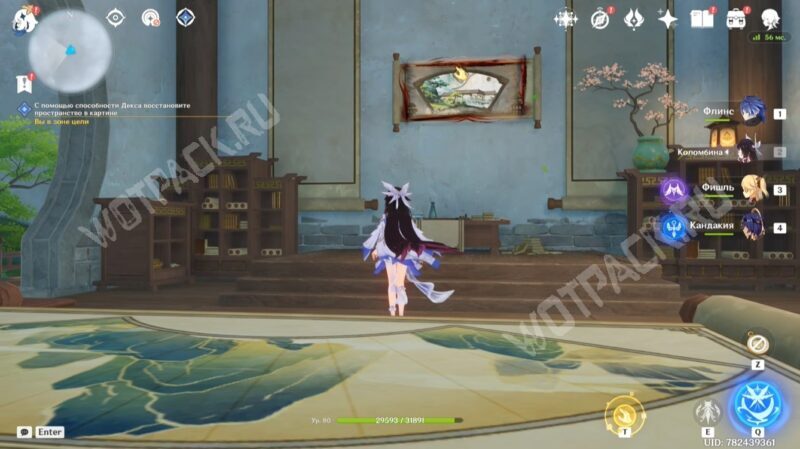
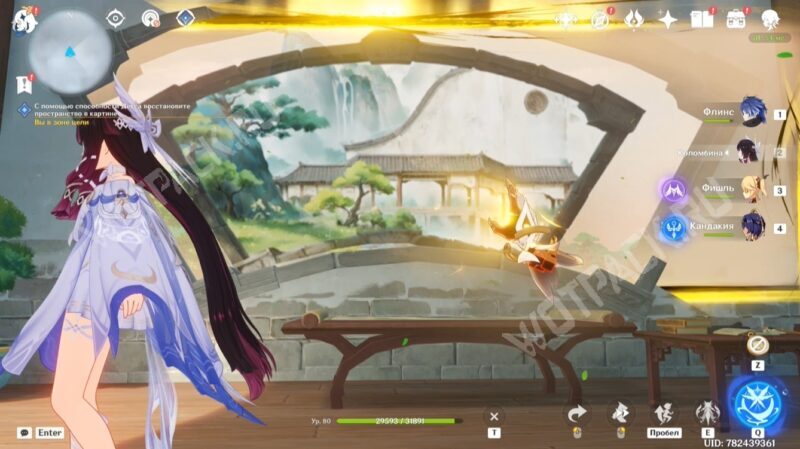
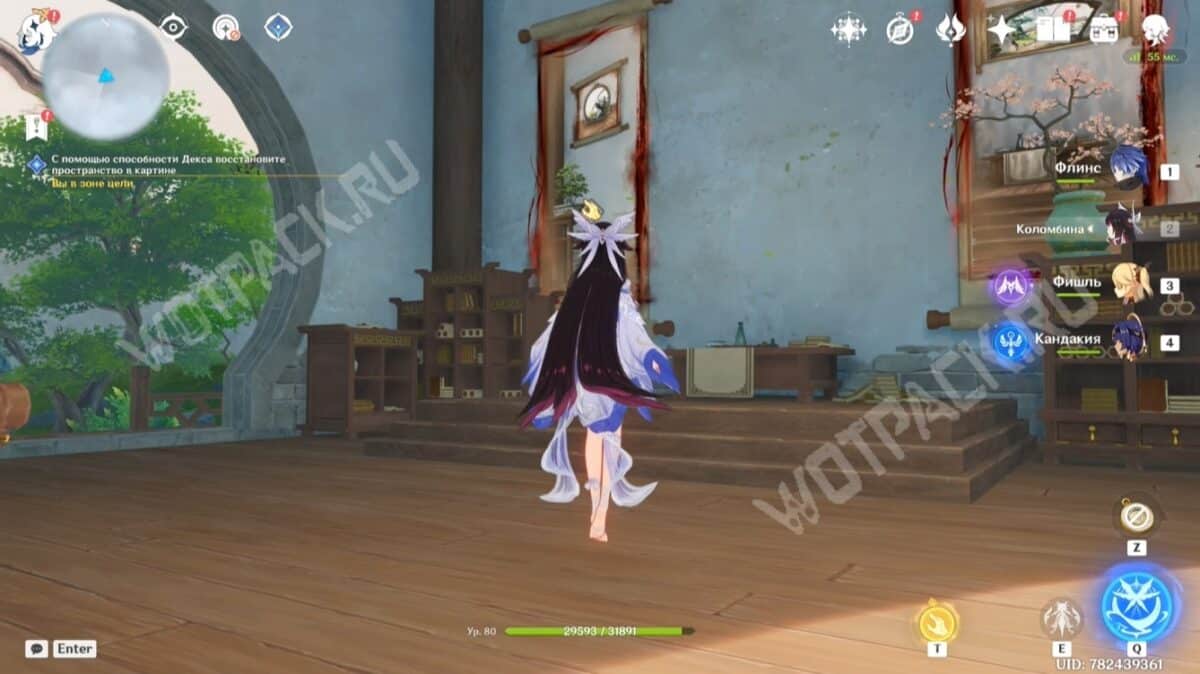
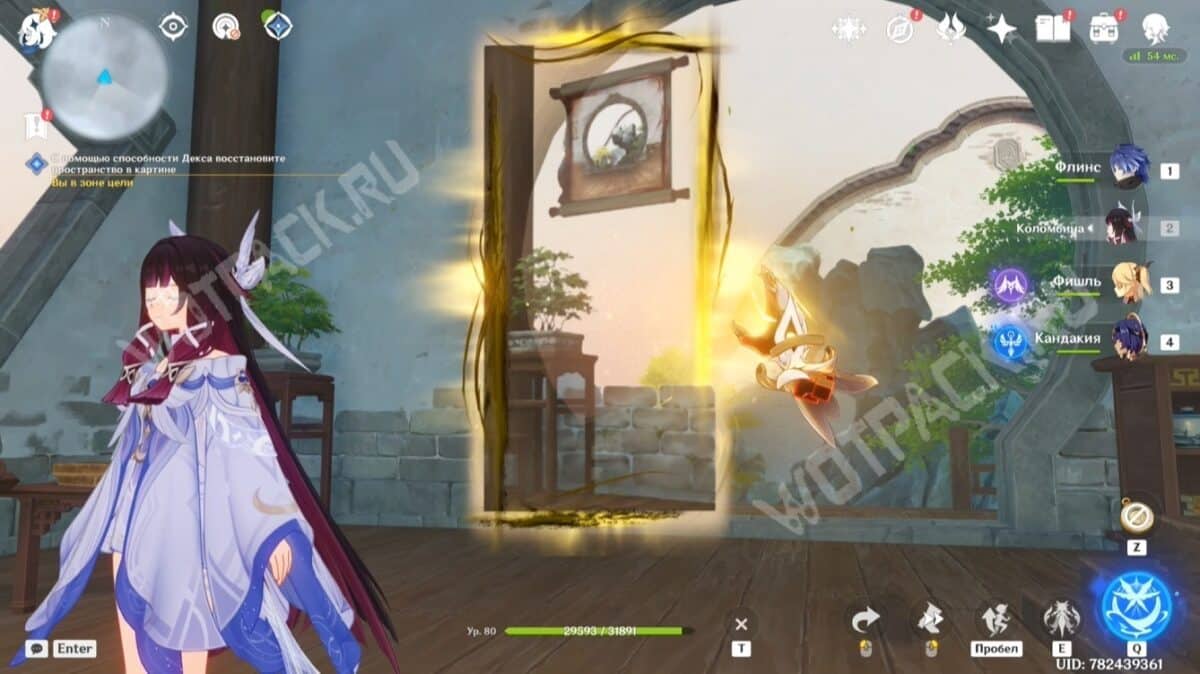
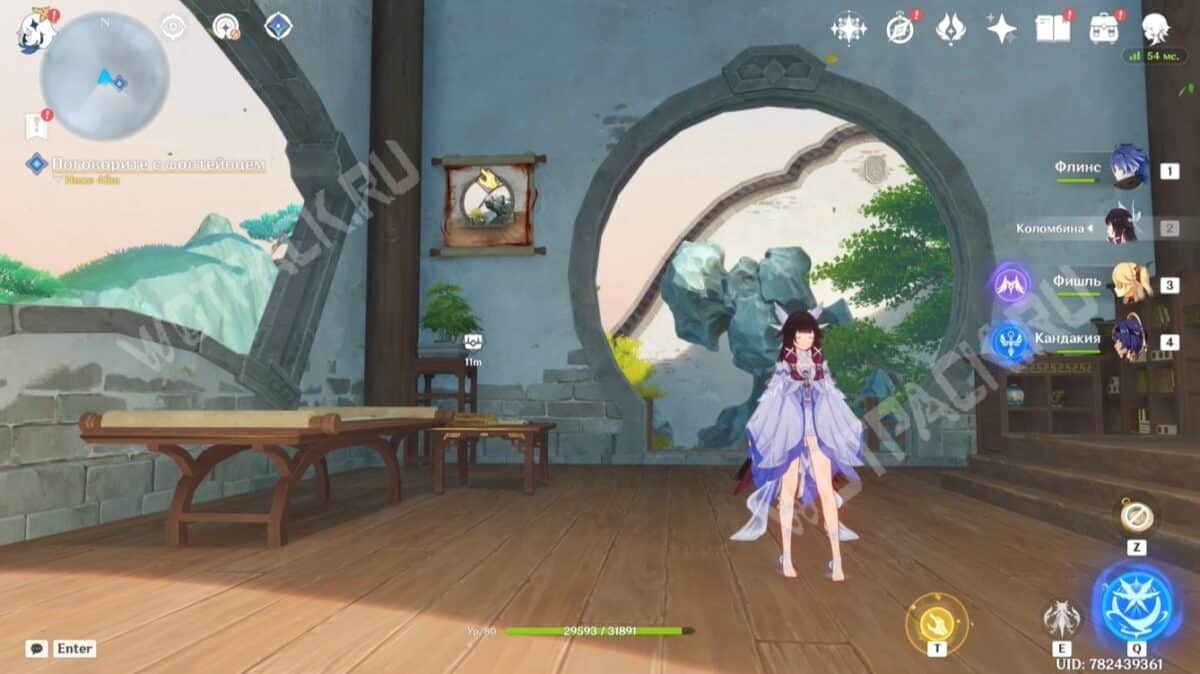
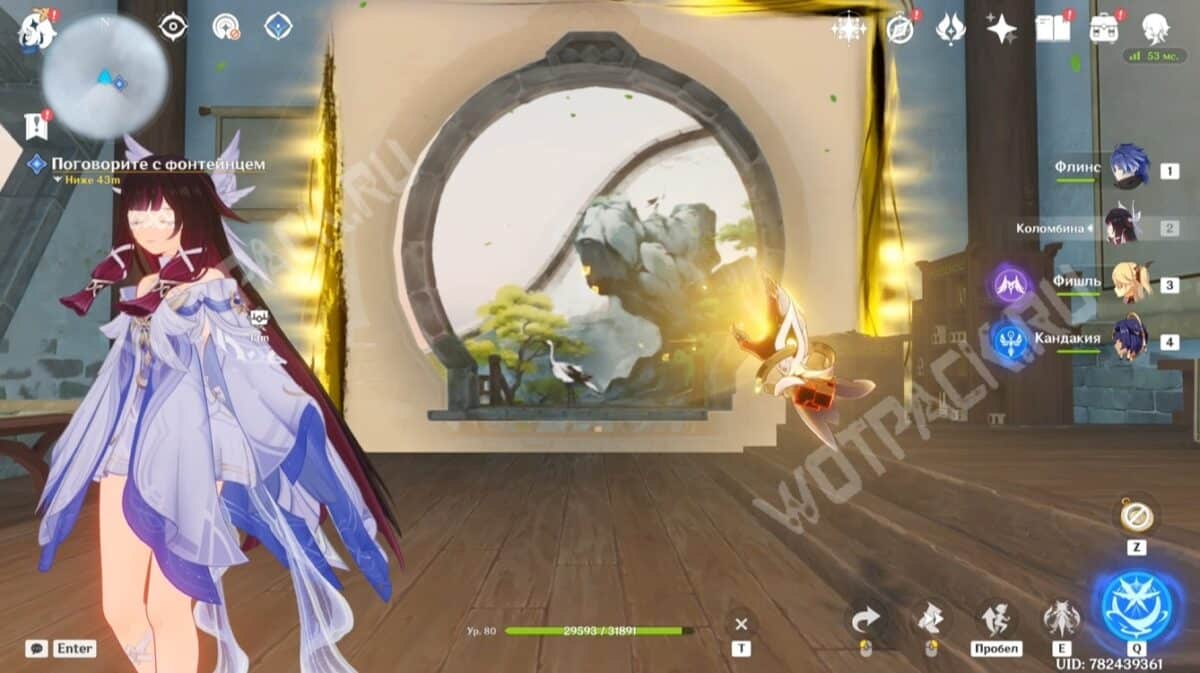
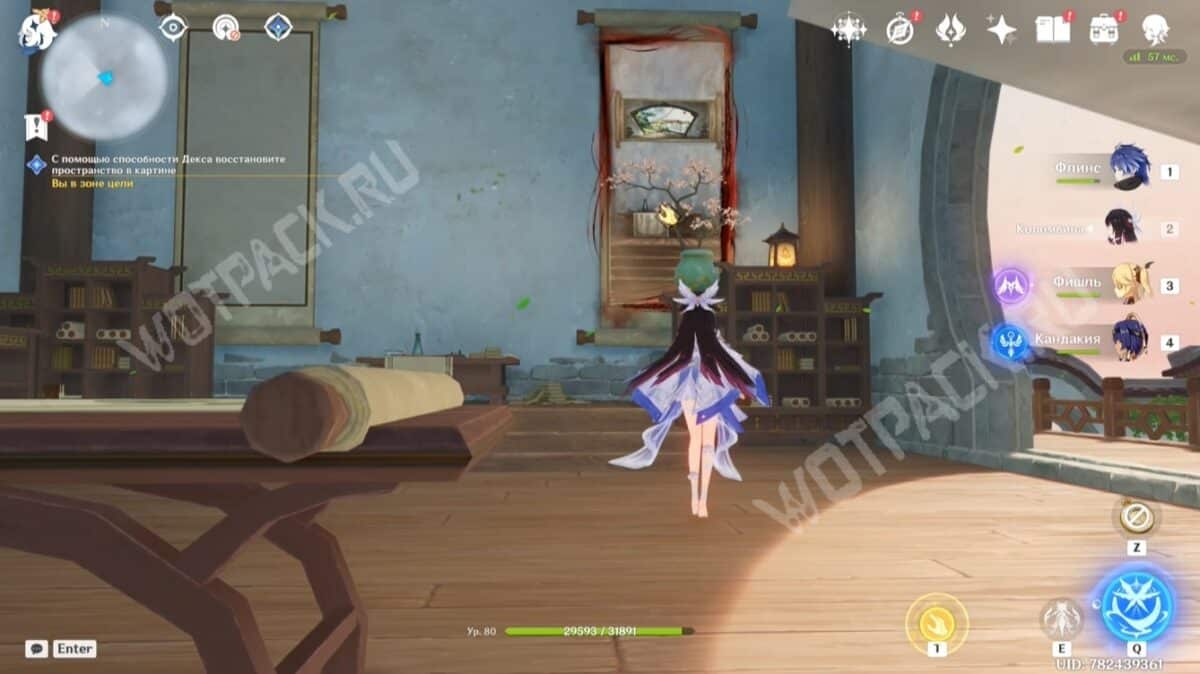
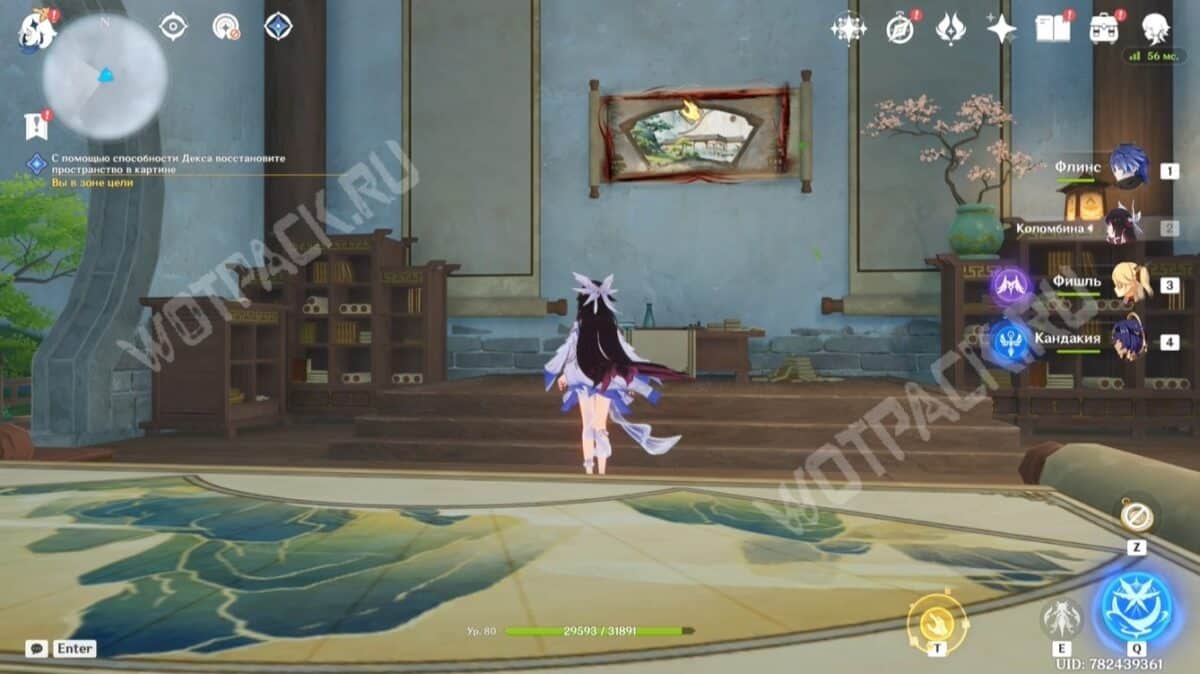
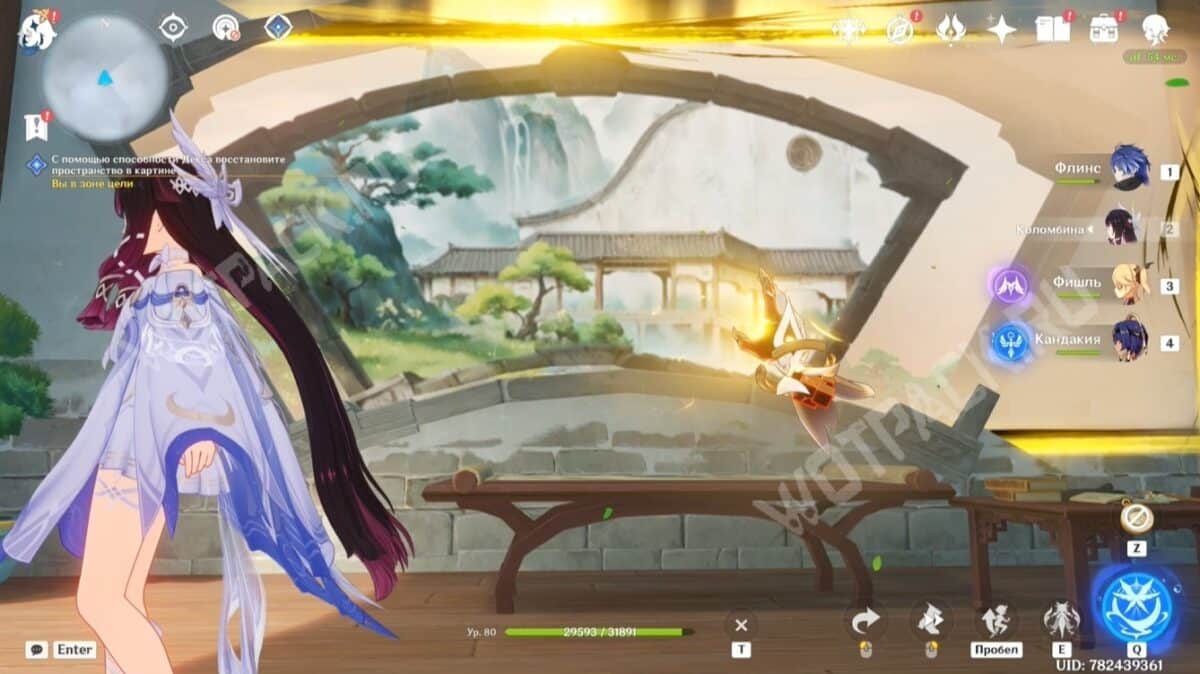
After receiving Zeitlind's first memento and examining the painted landscape in the window, travel to the temple garden. The puzzle is solved in four steps:
- Grab the left canvas and place it on the wall nearby.
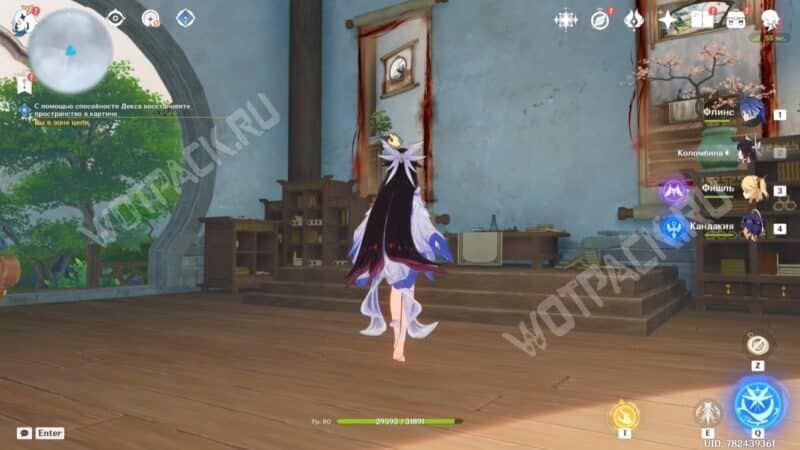
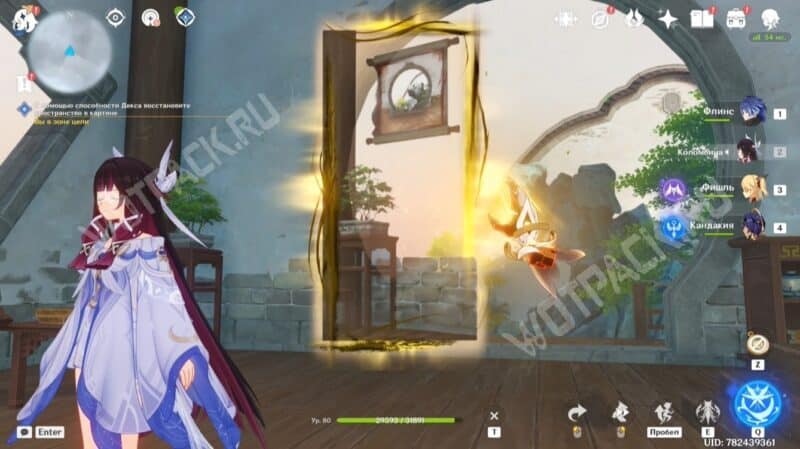
- Afterwards, restore the landscape behind the arch (this is how you will find the first crane from Kano puzzles).
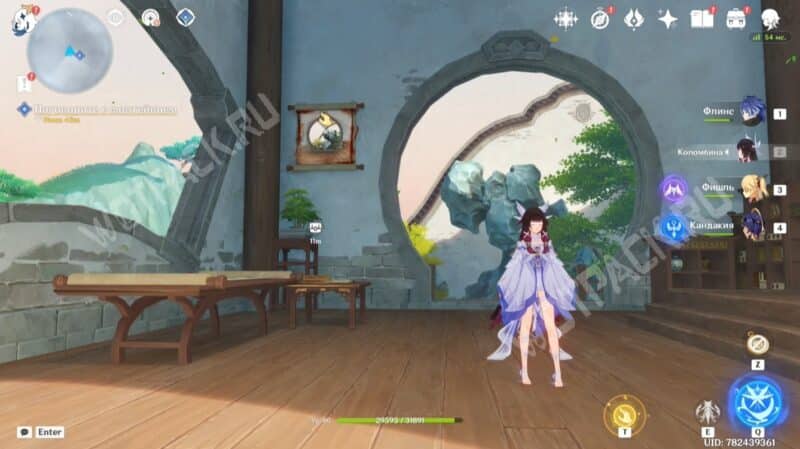
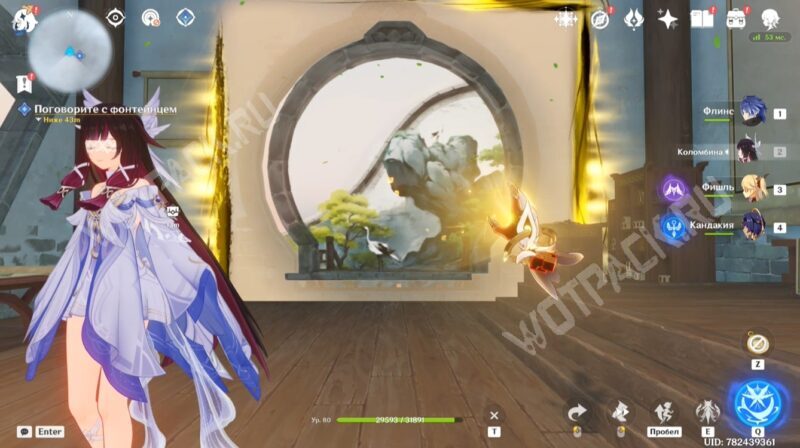
- Bridge the gap between the left and right pieces of art by placing a third scroll on the wall.
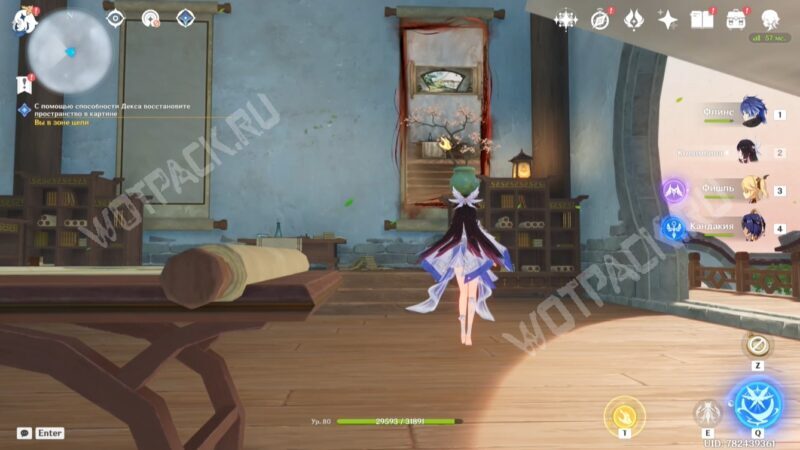
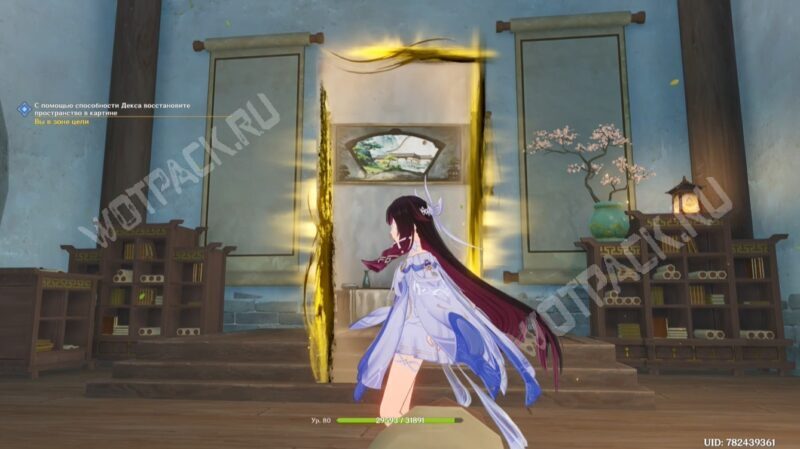
- Grab the last canvas and place it on the window to free Fontaine Mauk.
The Great Escape Challenge
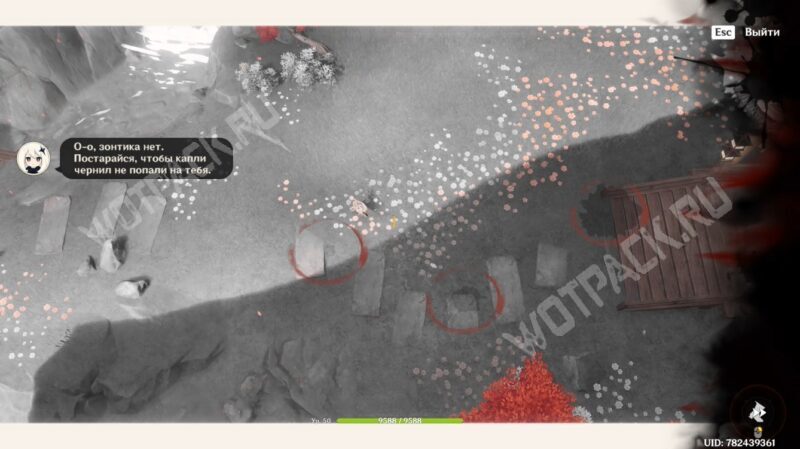
The freed man will lead you to a two-dimensional world where you'll be ambushed. Make every effort to escape the giant ink blob:
- With the help of Nihilite's minion, pave the way to salvation by restoring the environment with scroll paintings placed along the way.
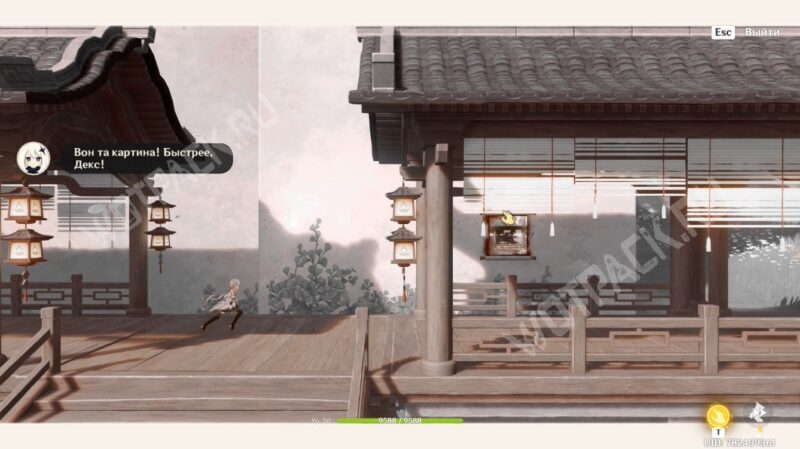
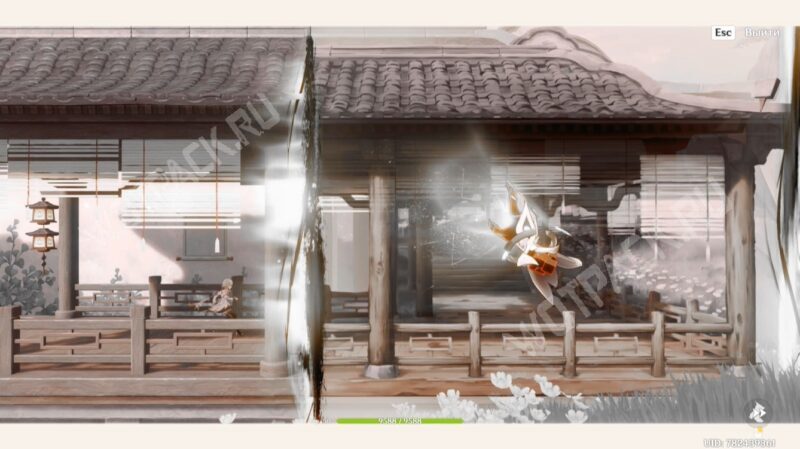
- Avoid collisions with ink blots - they deal damage when hit.
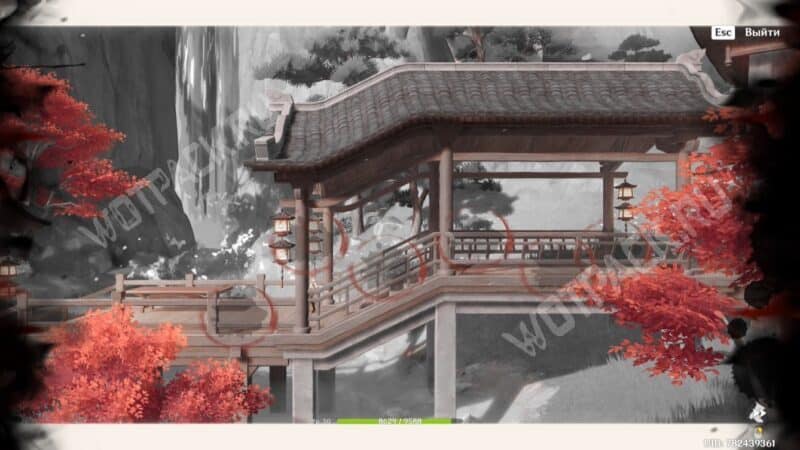
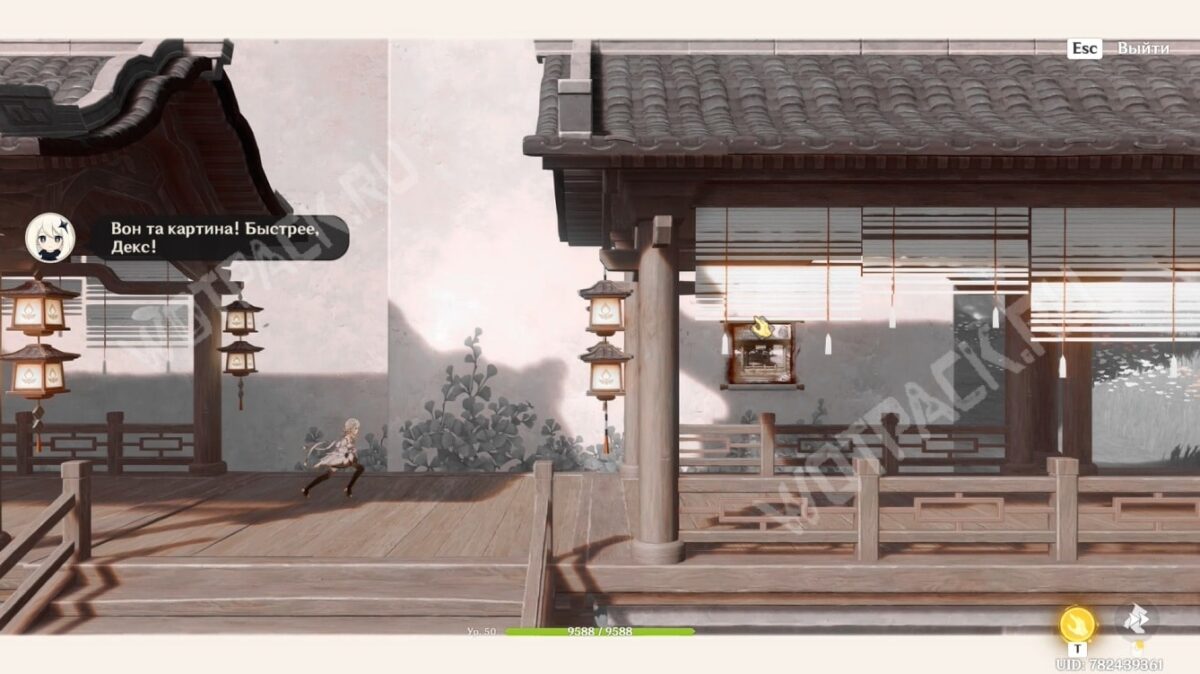
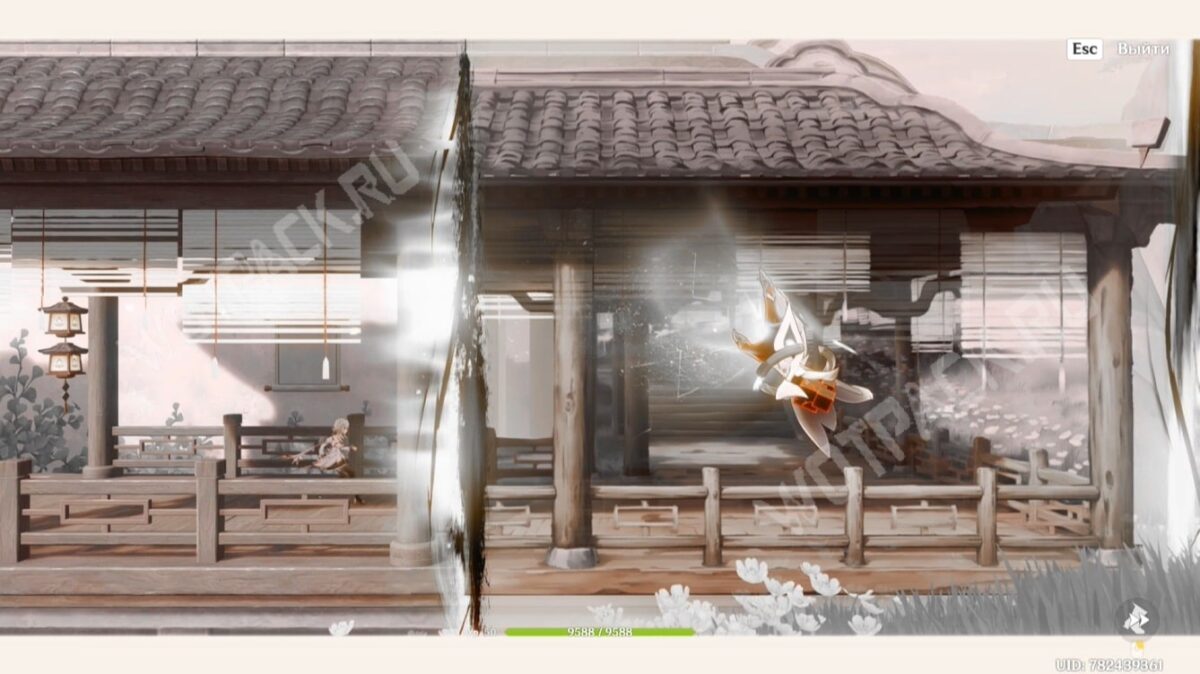
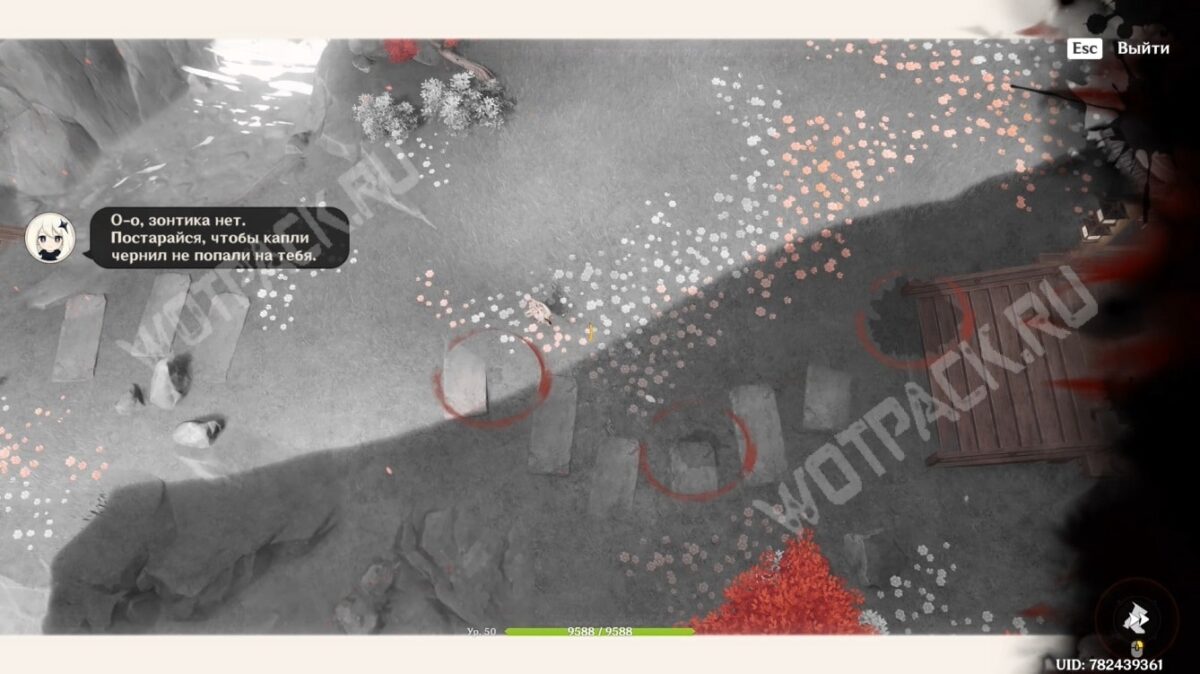
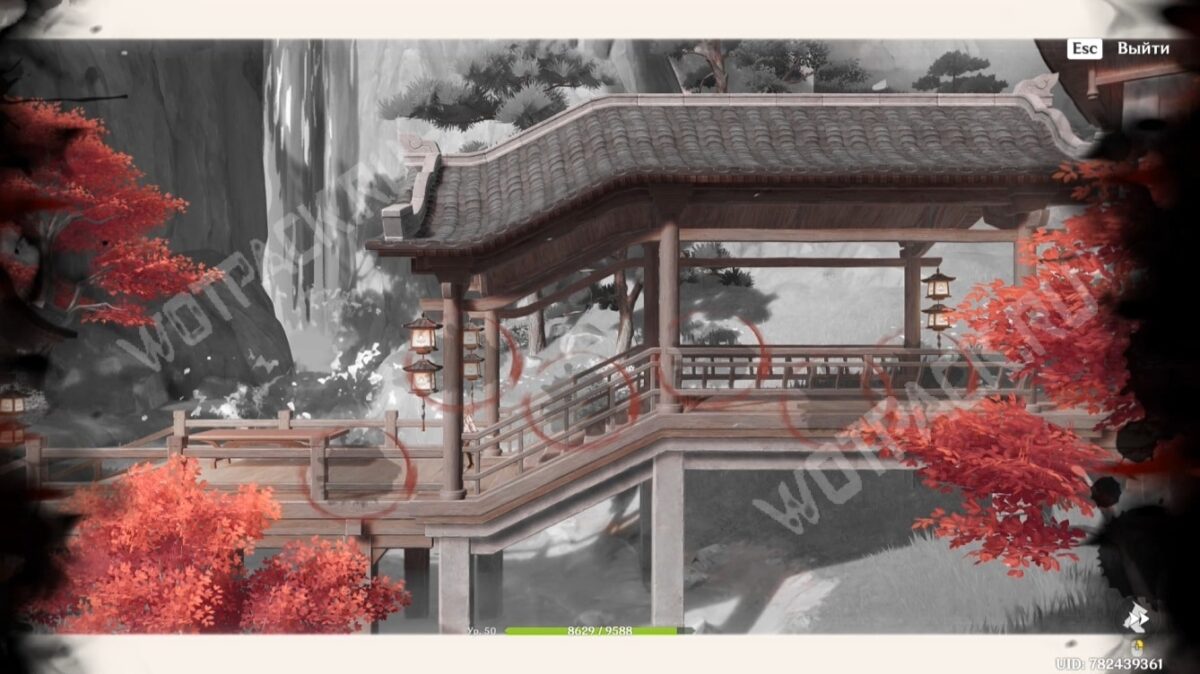
After completing The Great Escape, climb up to the second level of the location and get the final piece of art, which depicts a dim star.
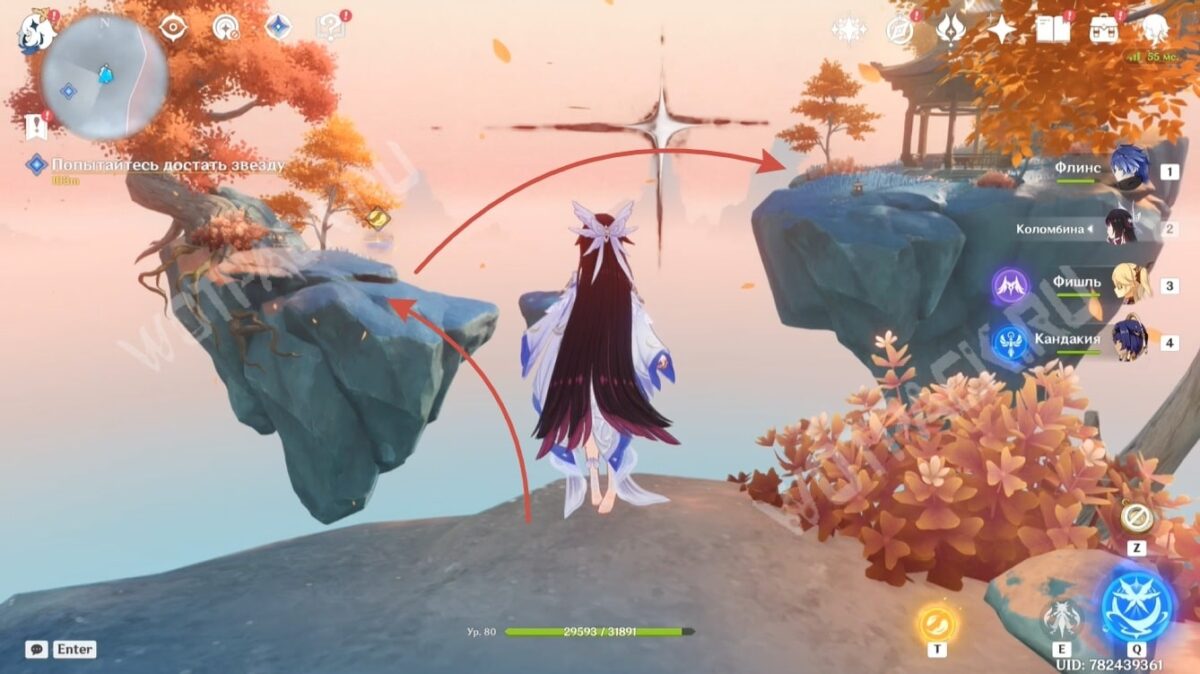
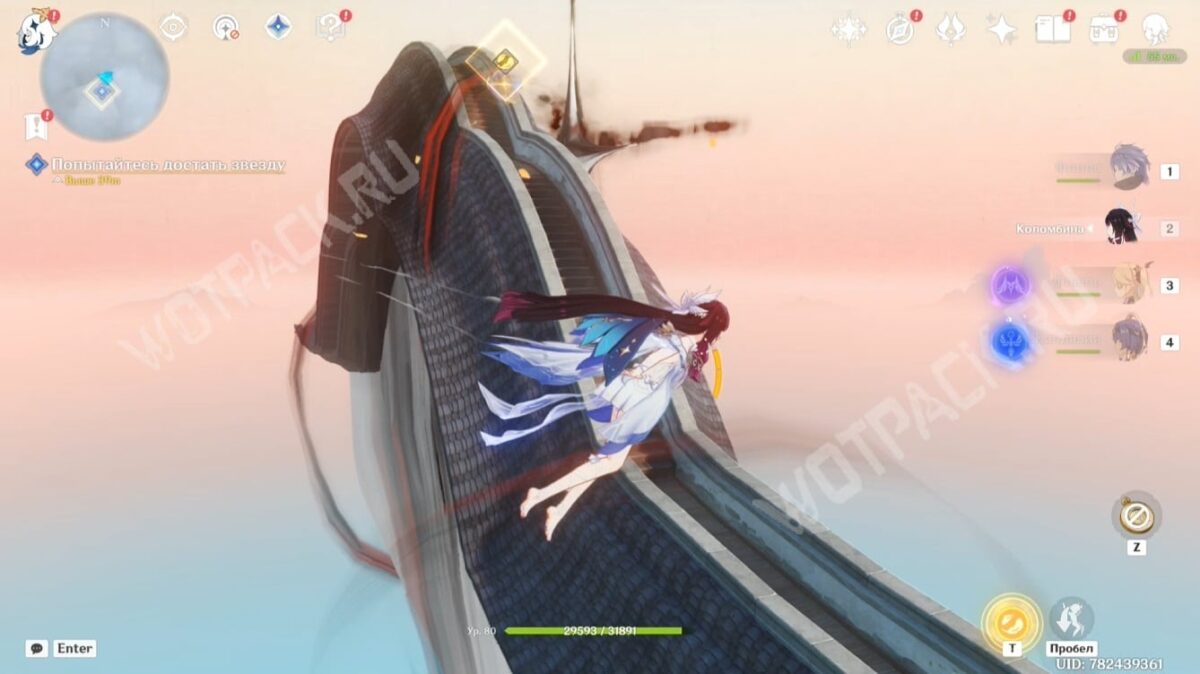
Enter the monastery and take the ink "spark" - this will restore the Luyan Academy.
Explore and liberate the Mahavaipulya Hall: Fake Classics
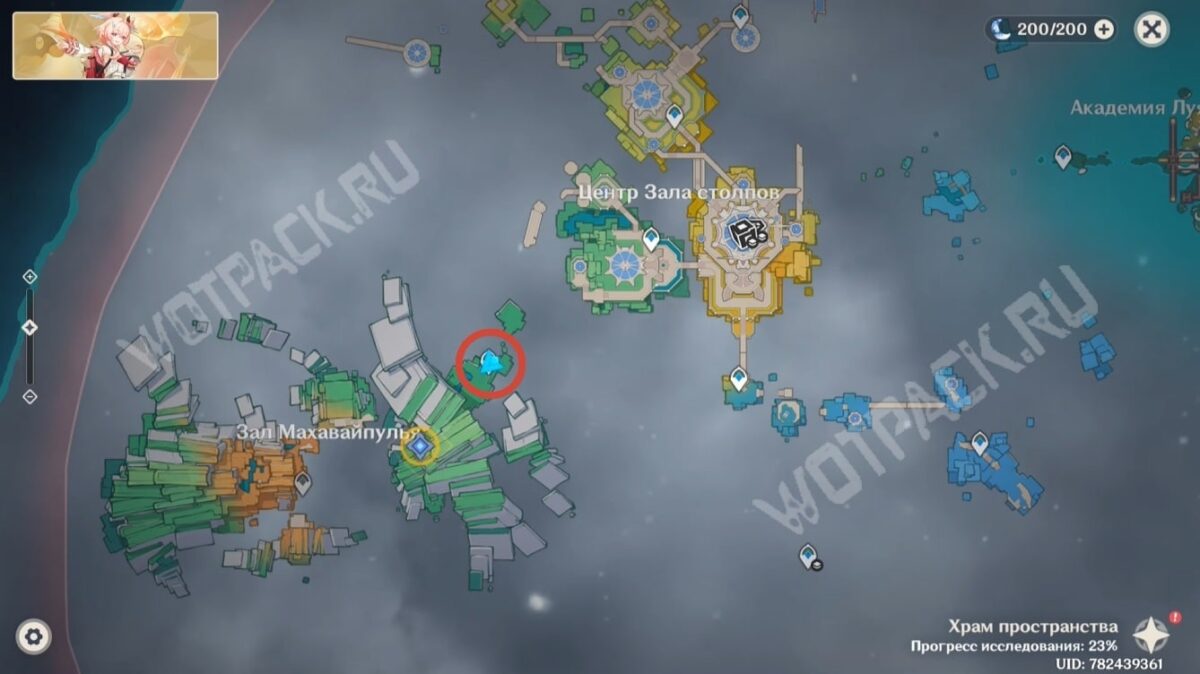
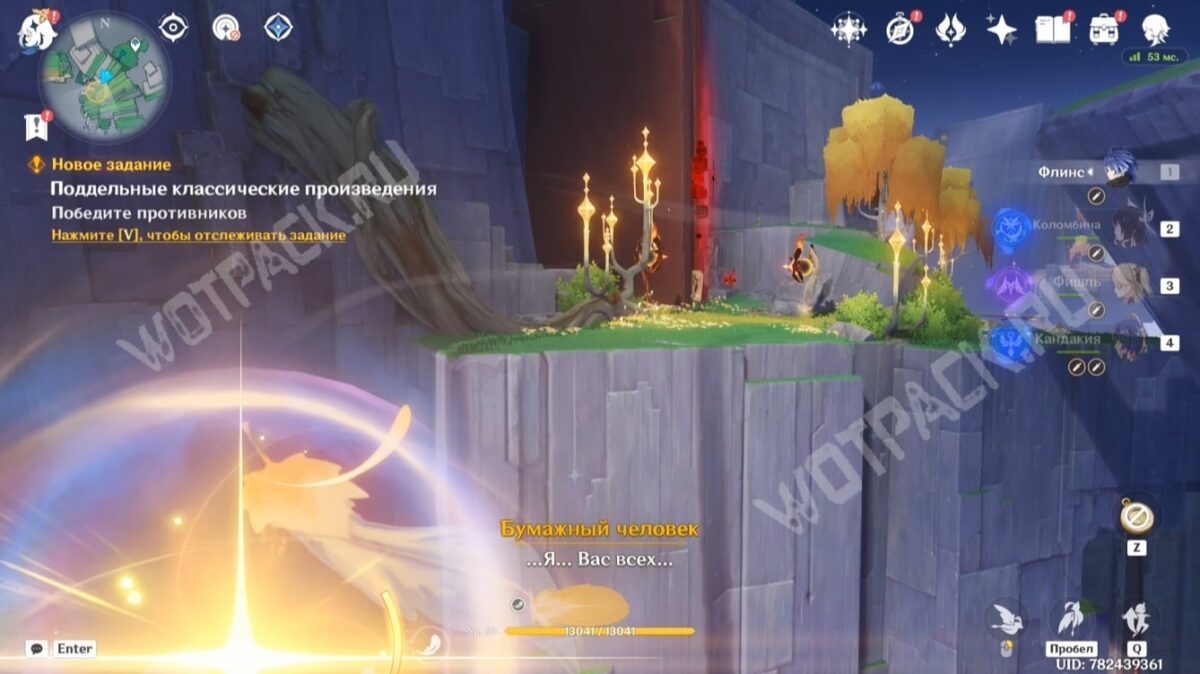
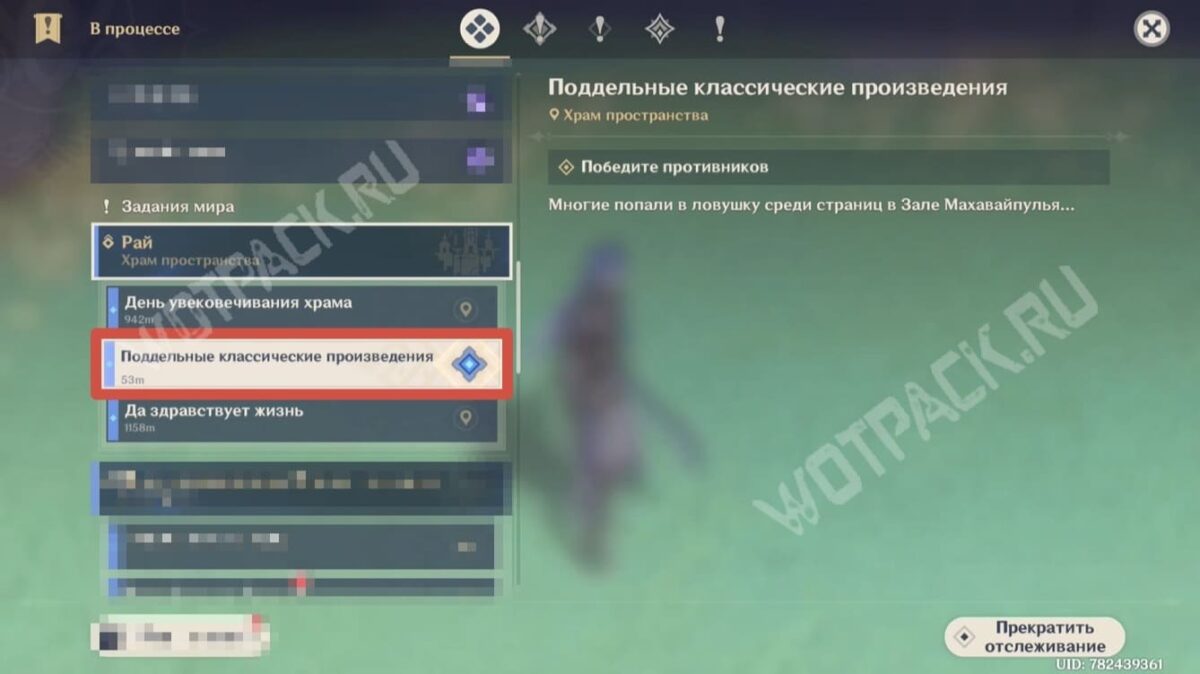
- Starting point: southwest of the first teleporter in Mahavaipulya Hall.
- Travel time: about 45-50 minutes.
- Rewards: Source Stones ×64 and Memory Factors ×10.
- A separate guide: Walkthrough of the Fake Classics mission.
Many innocent souls are trapped on the western island of the sky. Use Cocoon Break to reach the entrance to Mahavaipulya Hall and rescue the paper people.
Save Okikuki, Calceria, and Yu Huangyi
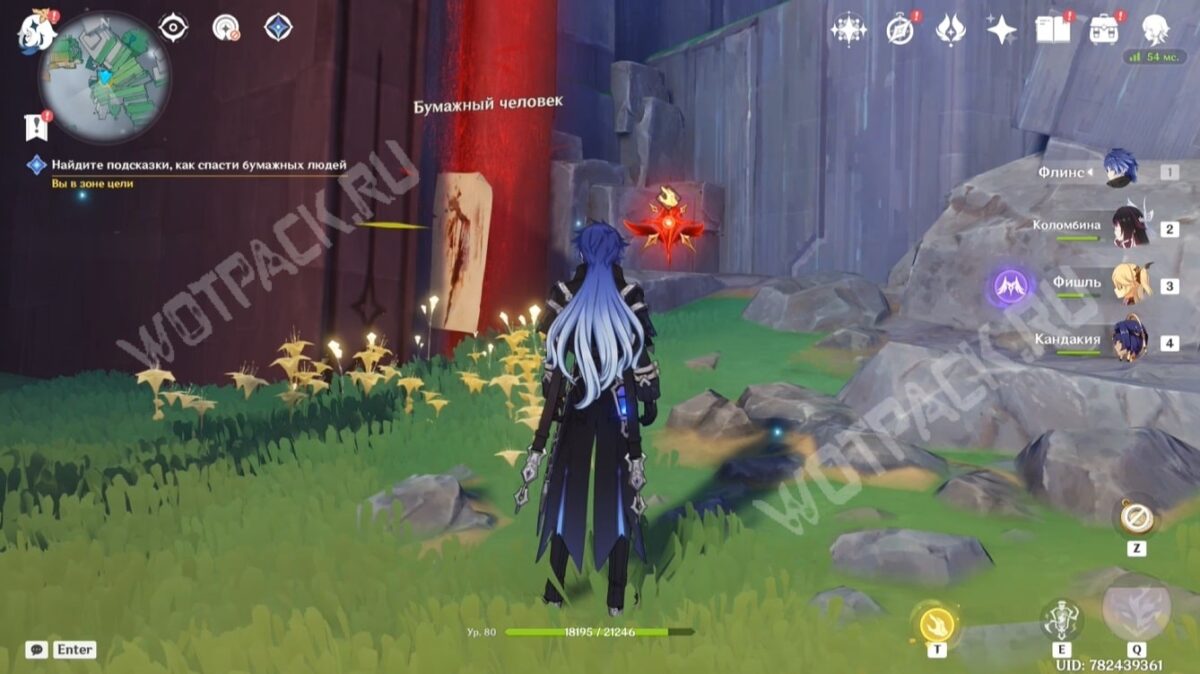
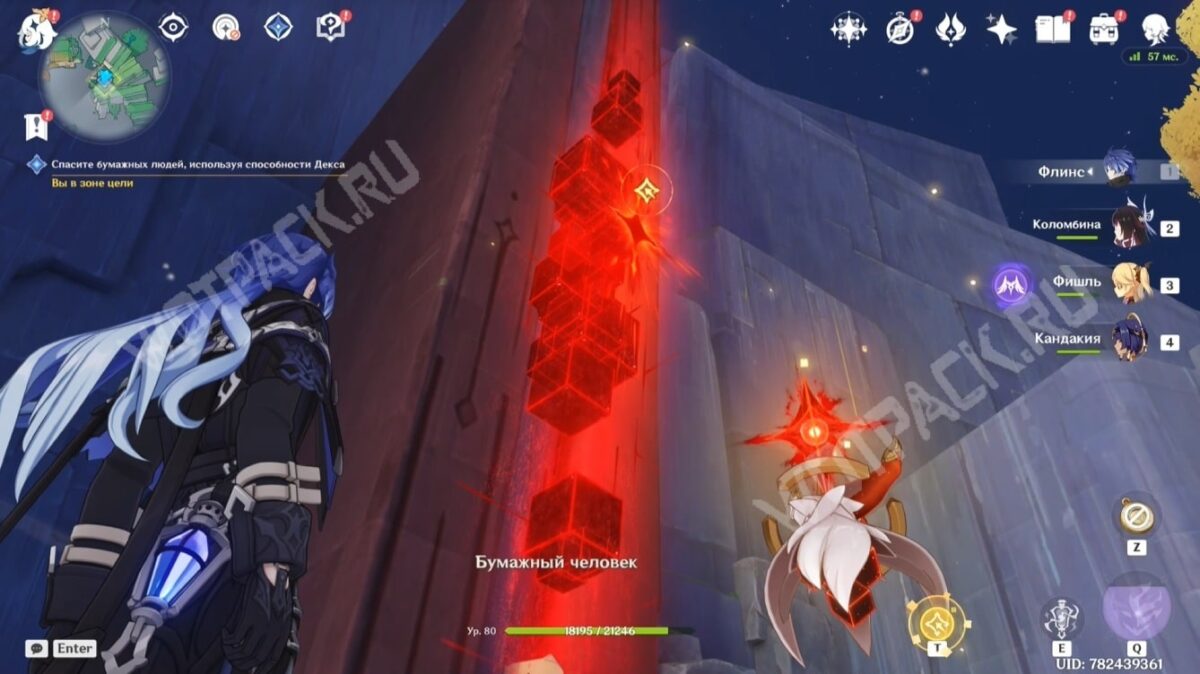
Deal with the Dimension Guardians and lift the curse on the zone's inhabitants. To do this, switch to your "hand," take the clot, and insert it into the hole in the mountain.
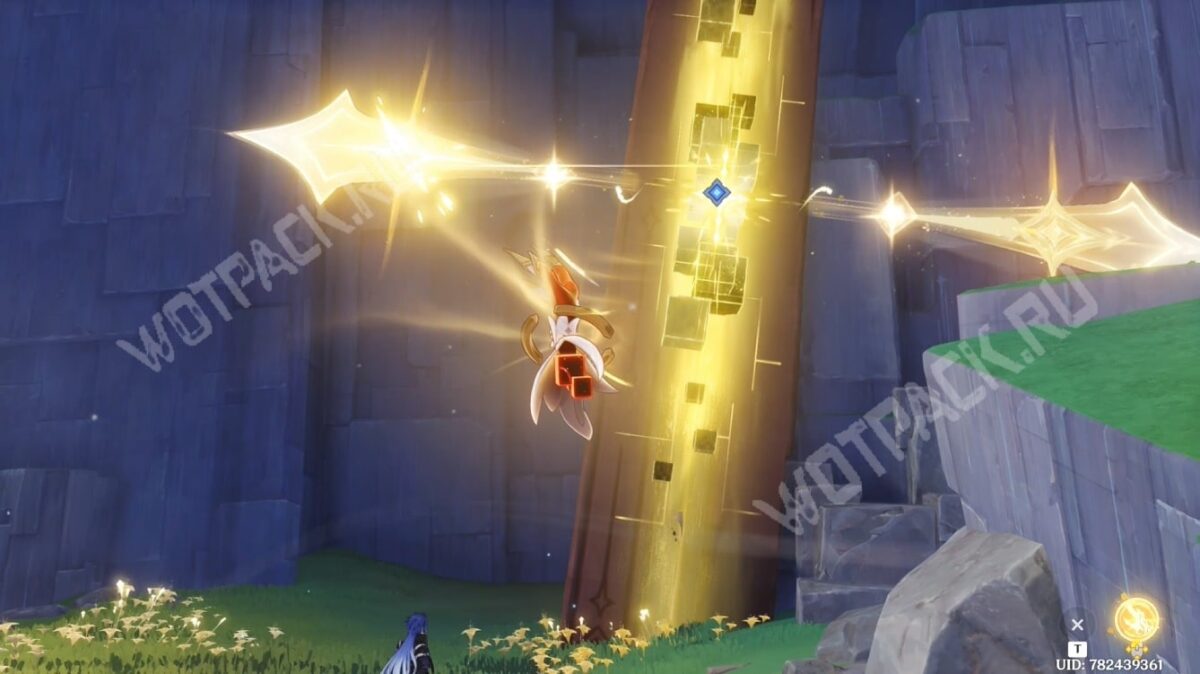
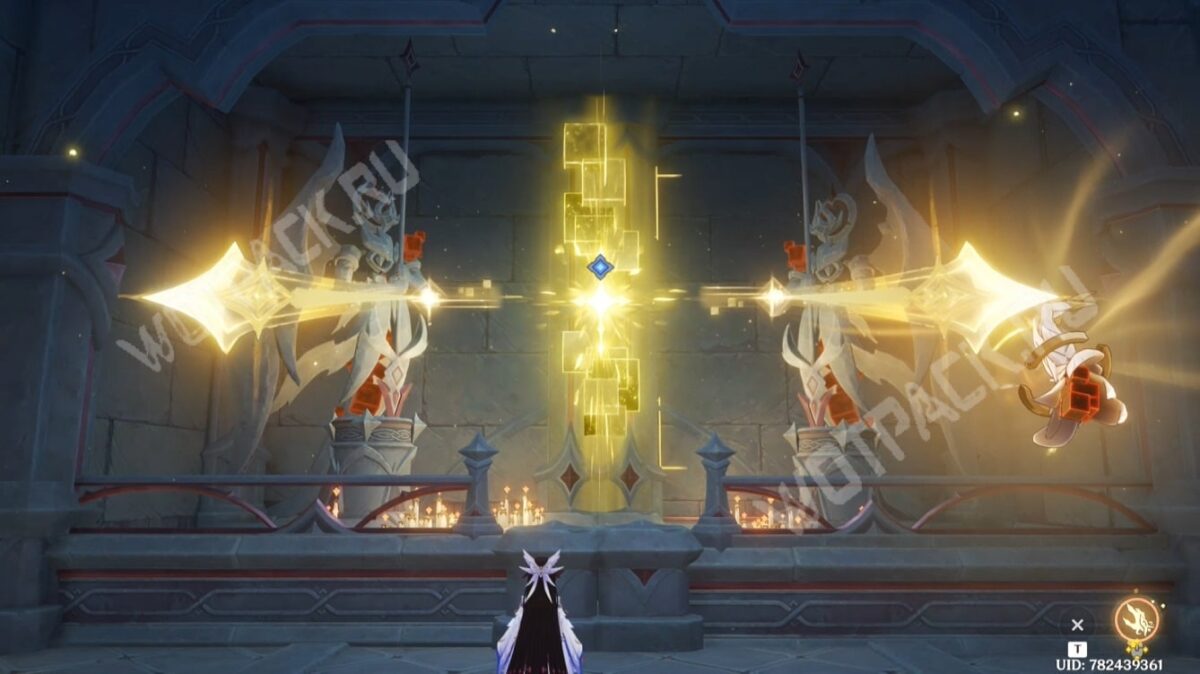
Clear the area covered by the cubic anomaly by pulling to the left or right side.
How to get to the library
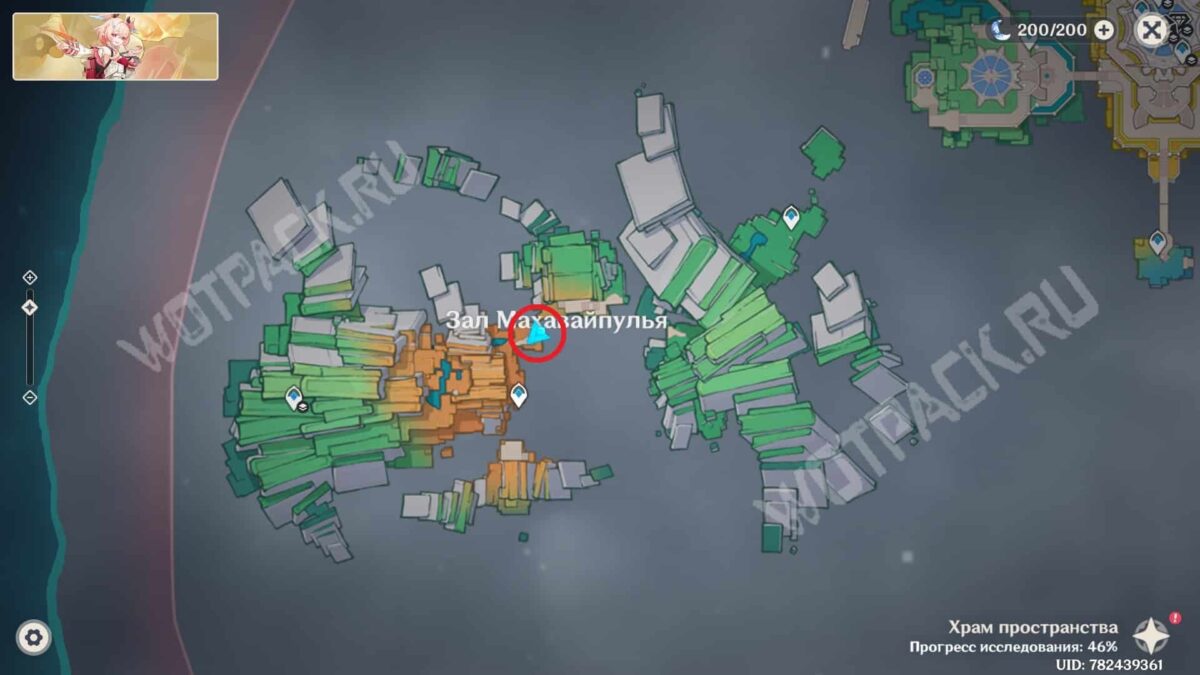
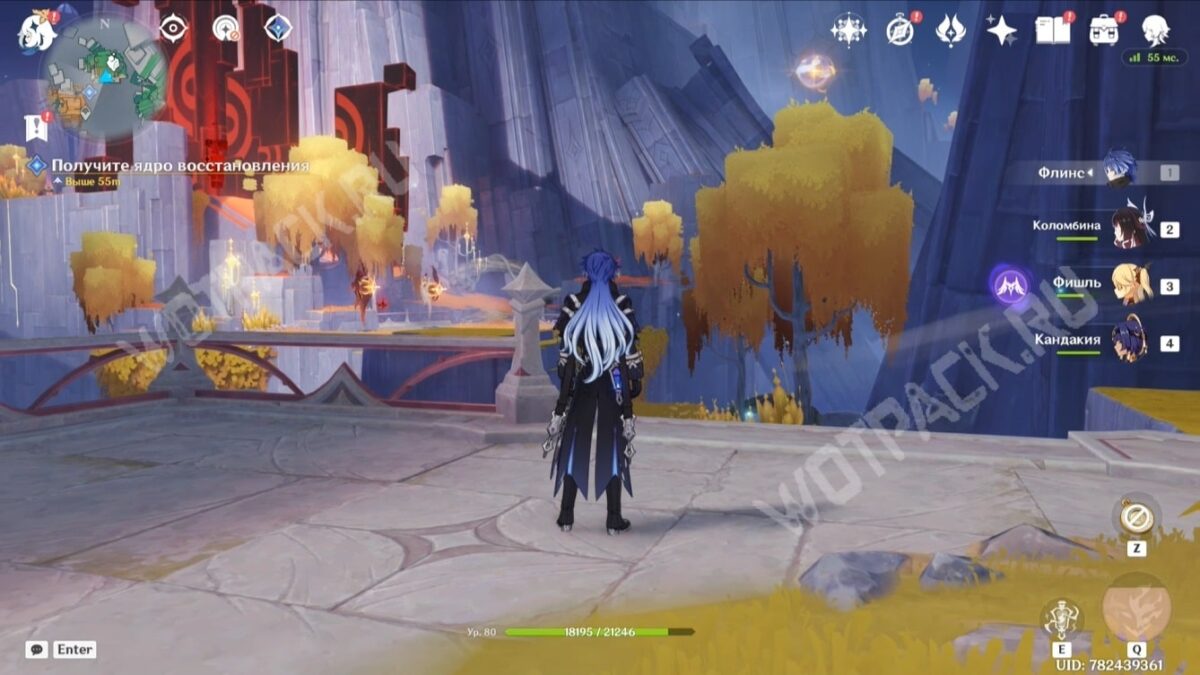
Run towards the second teleporter. As you approach, you'll see two guardians hovering around another energy symbol.
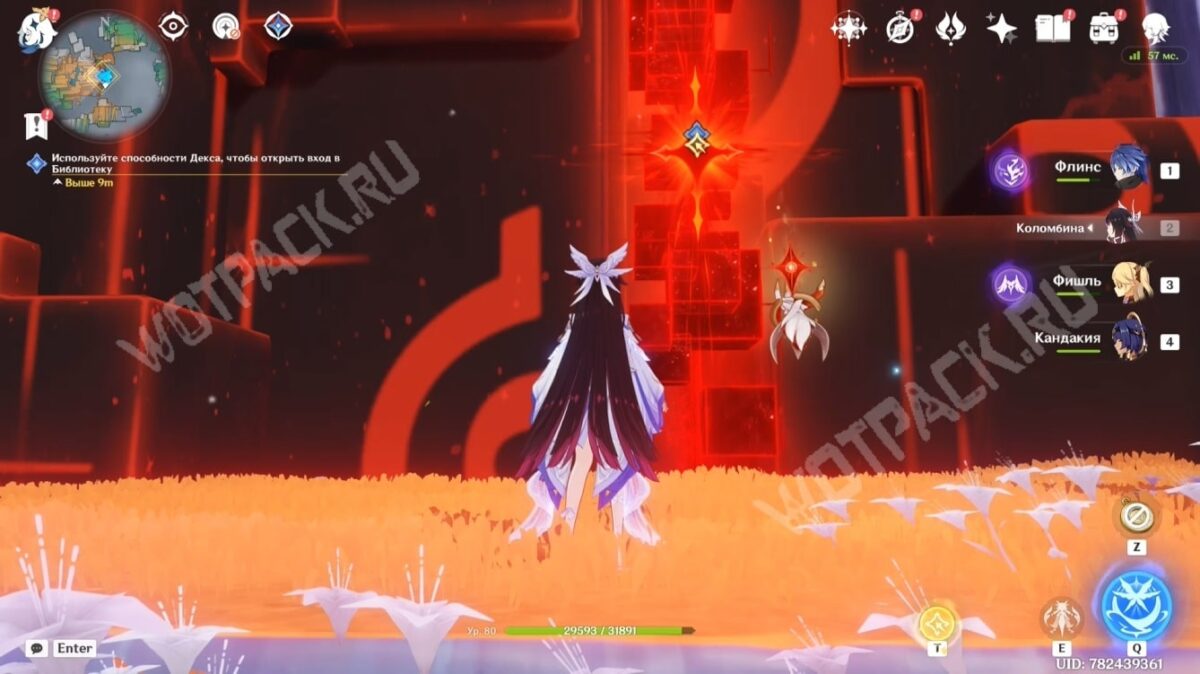
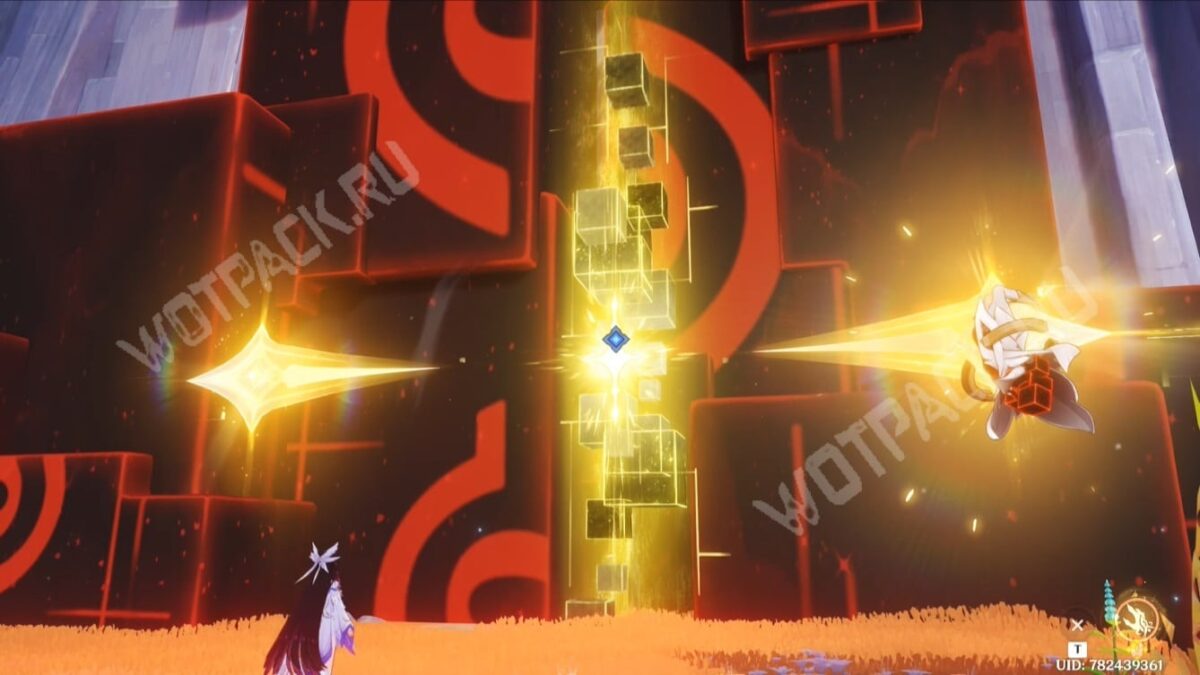
After destroying the enemies, grab the clot and clear the passage to the upper tier.
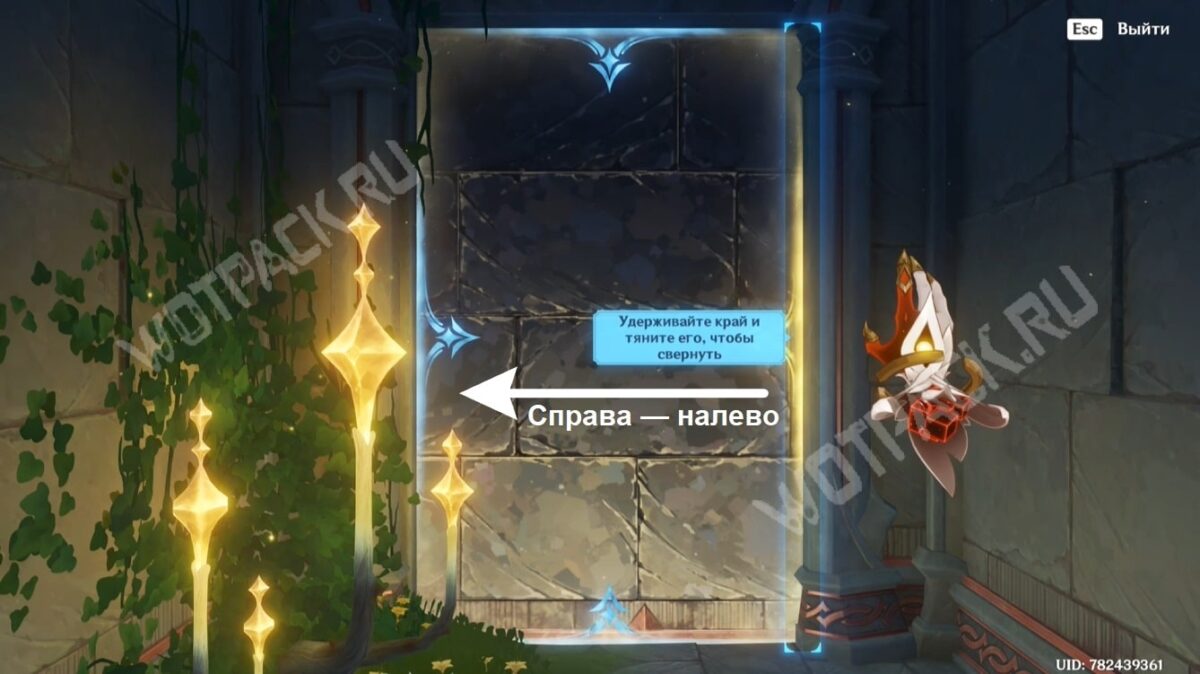
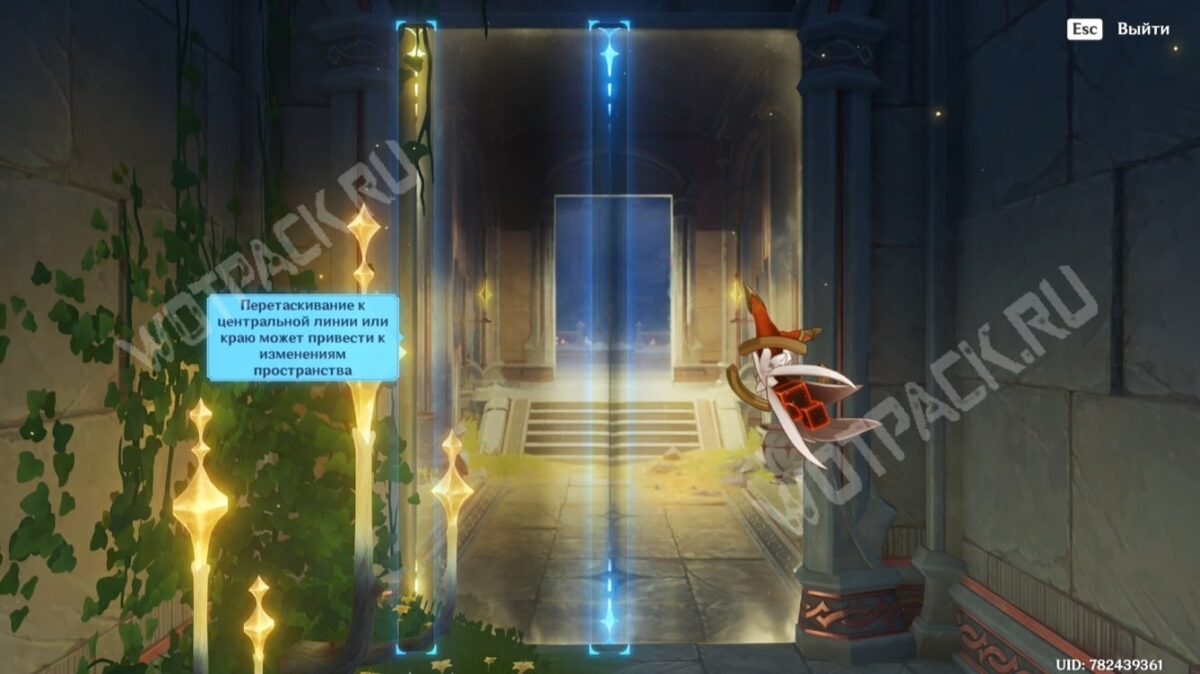
The door to the library will be sealed. "The Great Collection of Books"Activate the puzzle and turn the page. to the right.
Kernel 1
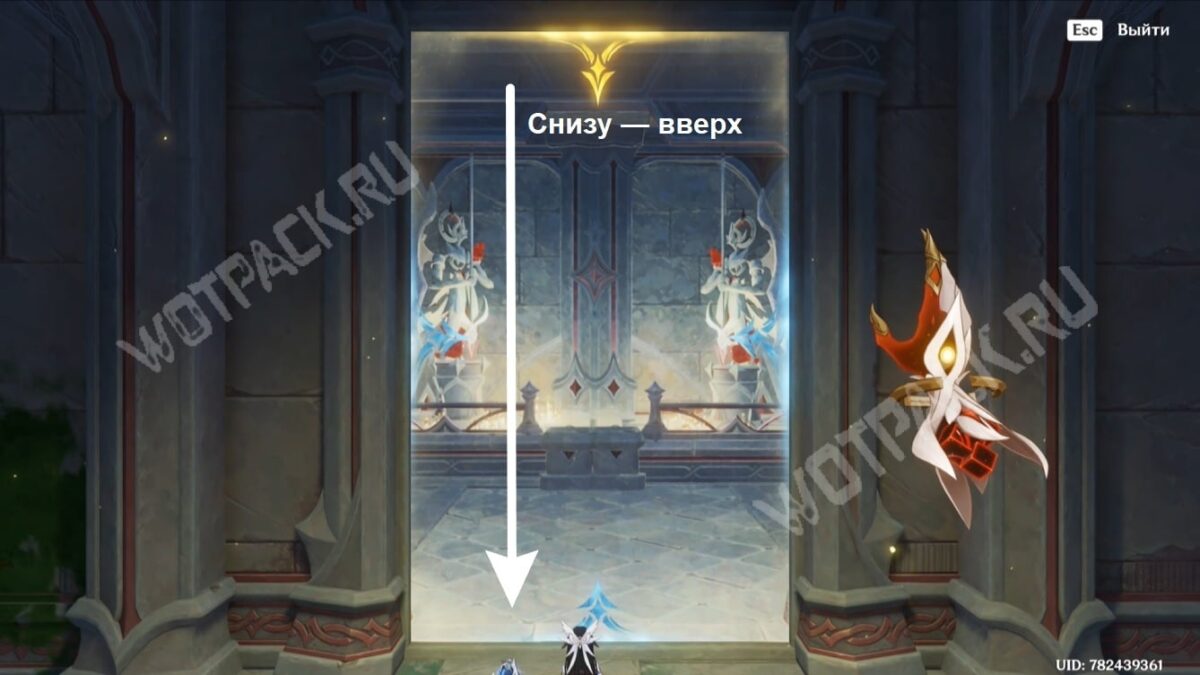
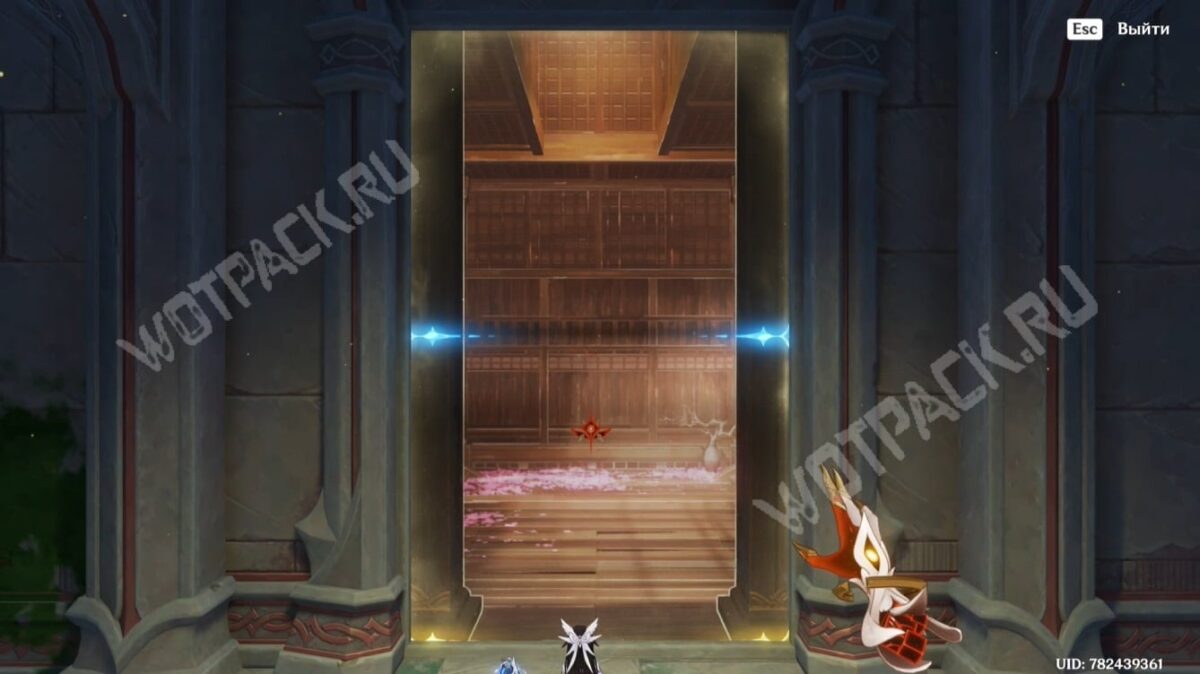
To cleanse the library of corruption, you'll need to find three restoration cores. The first is located behind a sealed space designed in the Inazuma style. Lower the top edge of the "reflection" to access the required room.
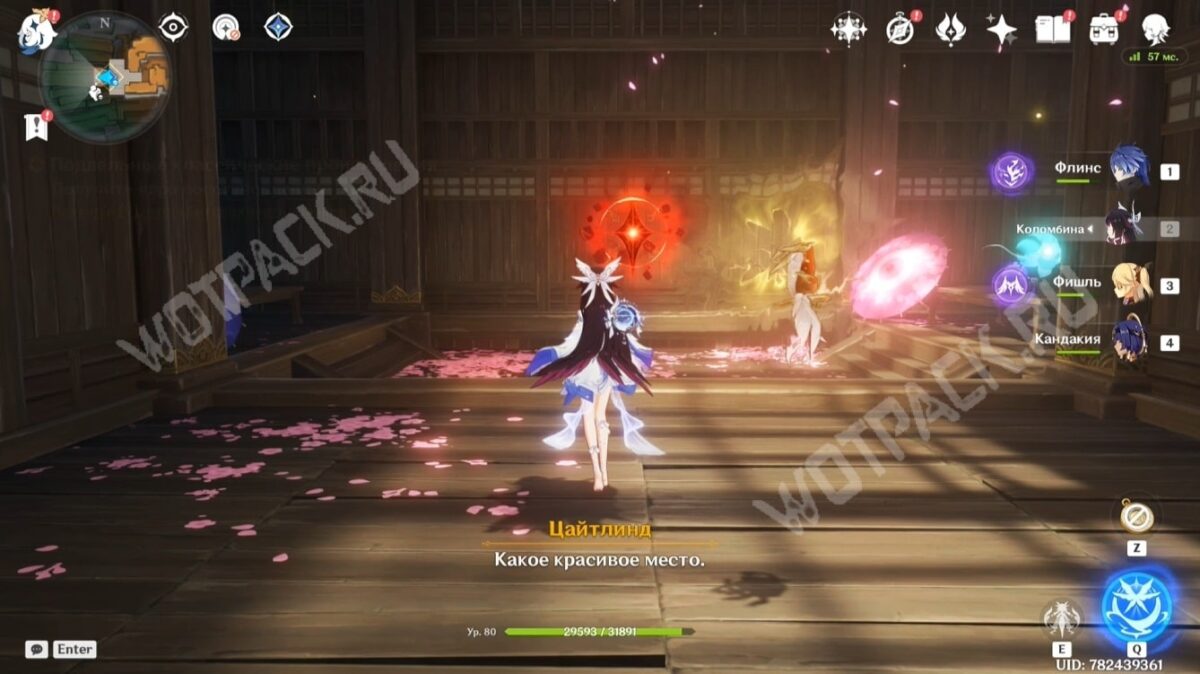
After removing the clot, return the page to its original state and remove the seal.
Kernel 2
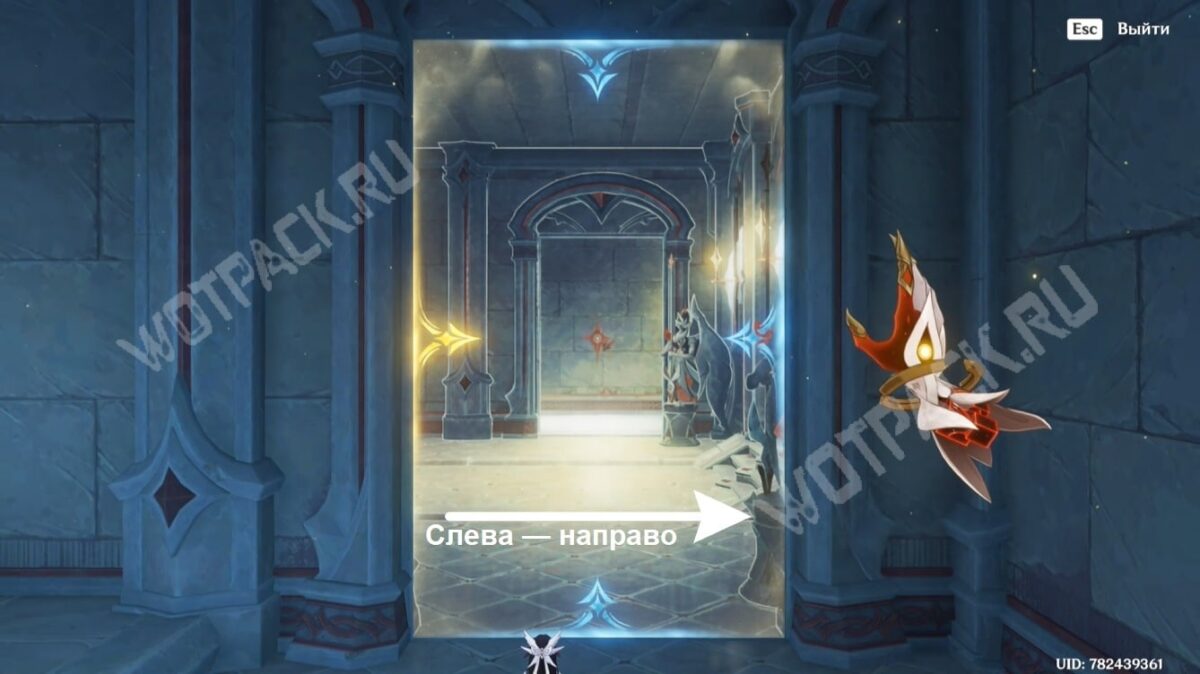
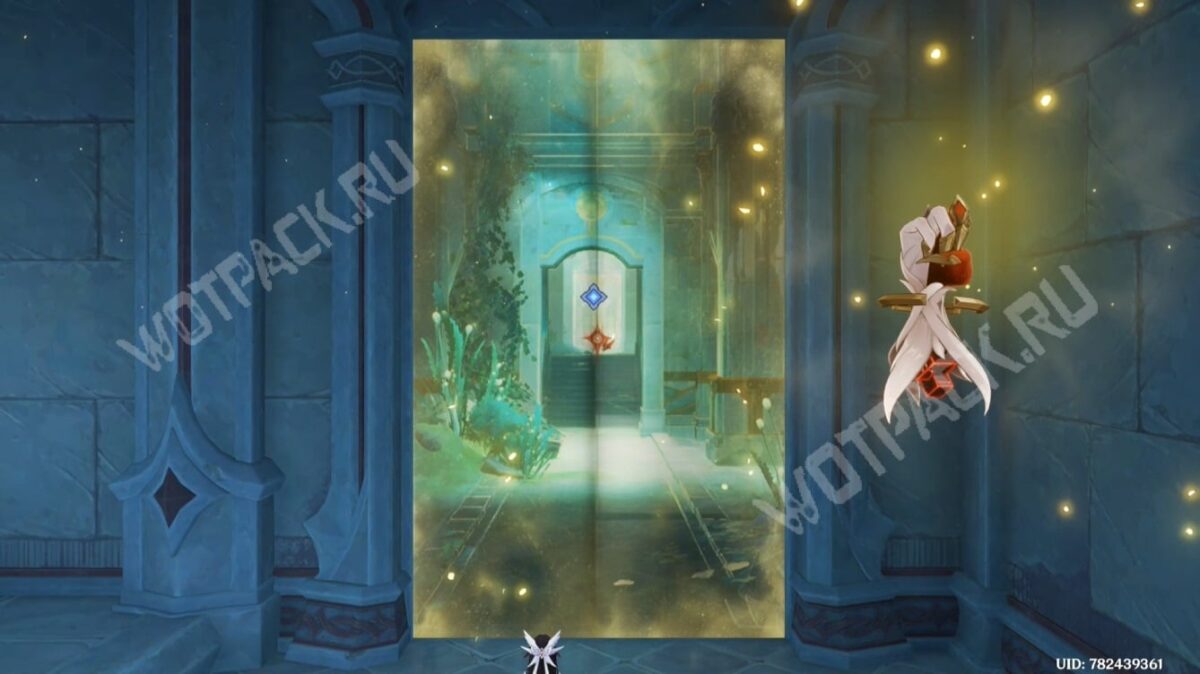
On the second floor, you'll encounter a mirage. Move the space sheet. to the right - this will allow you to explore the hall in dark green lighting.
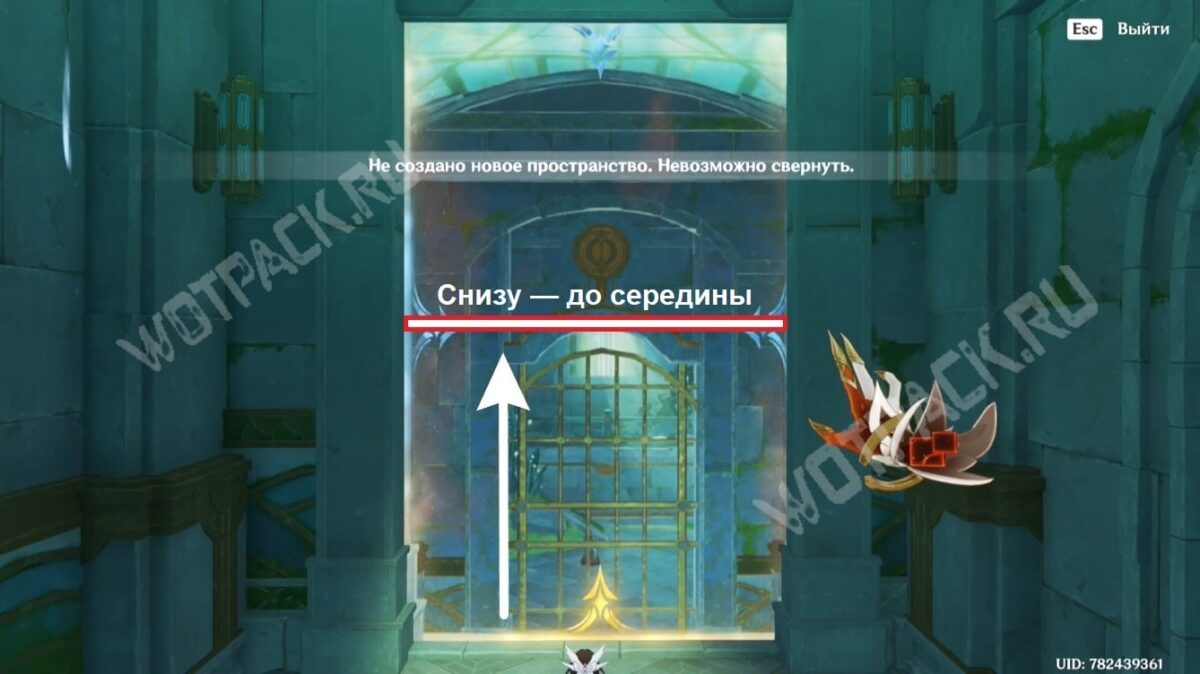
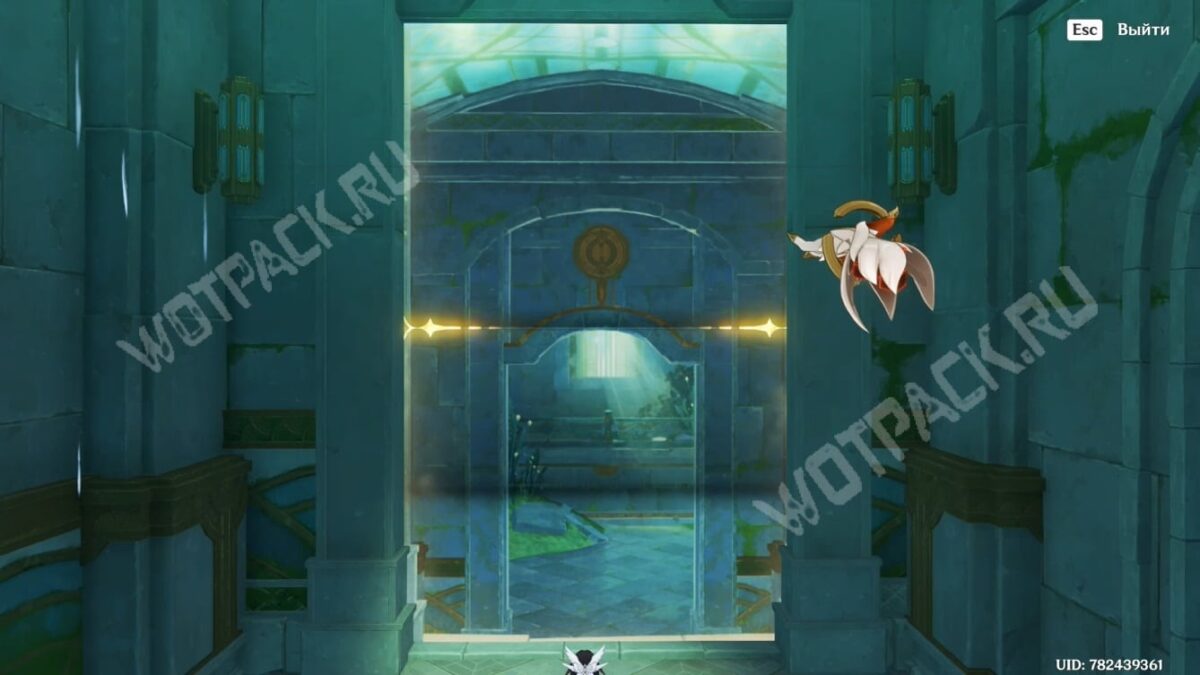
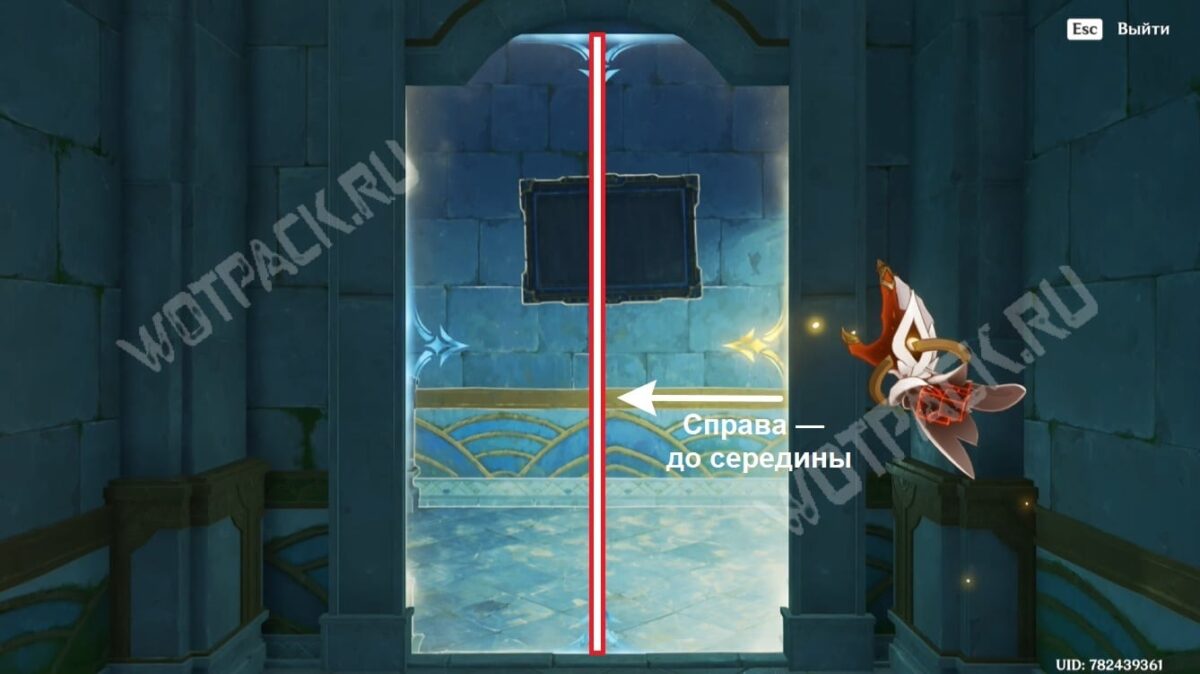
Once you find an incomplete core, move towards the marker and create a new dimension - fold the bottom edge towards the center of the "reflection", that is, to the middle.
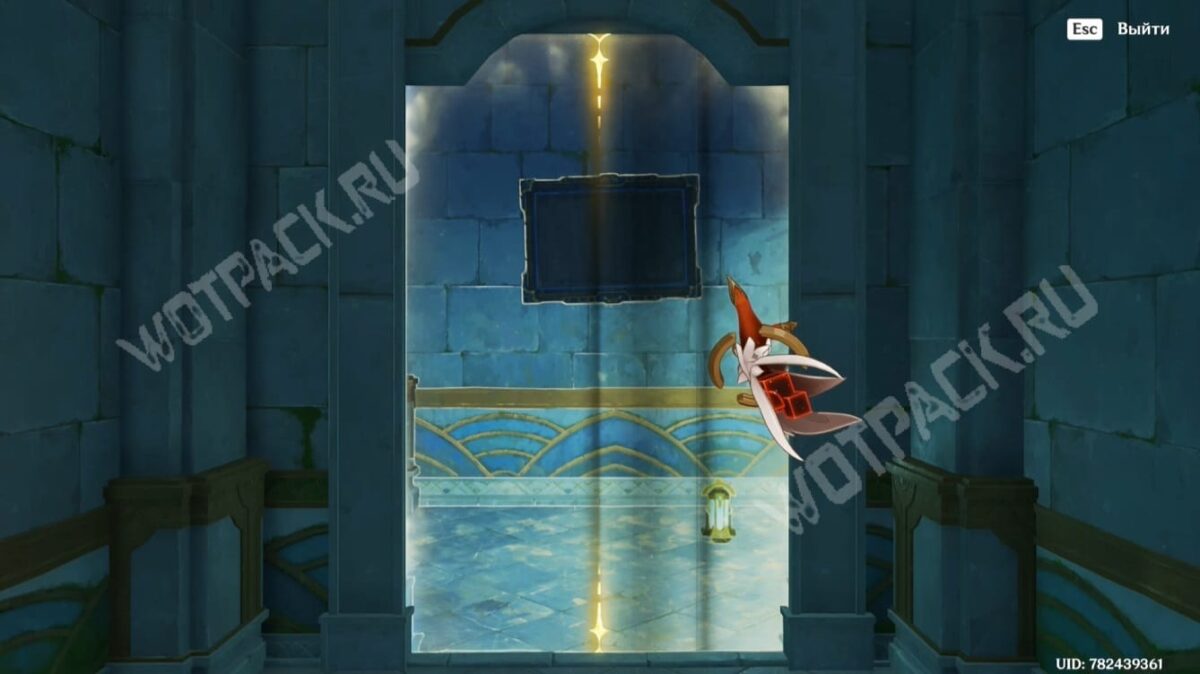
Similar actions must be performed in the next room, where you will find the switched off device.
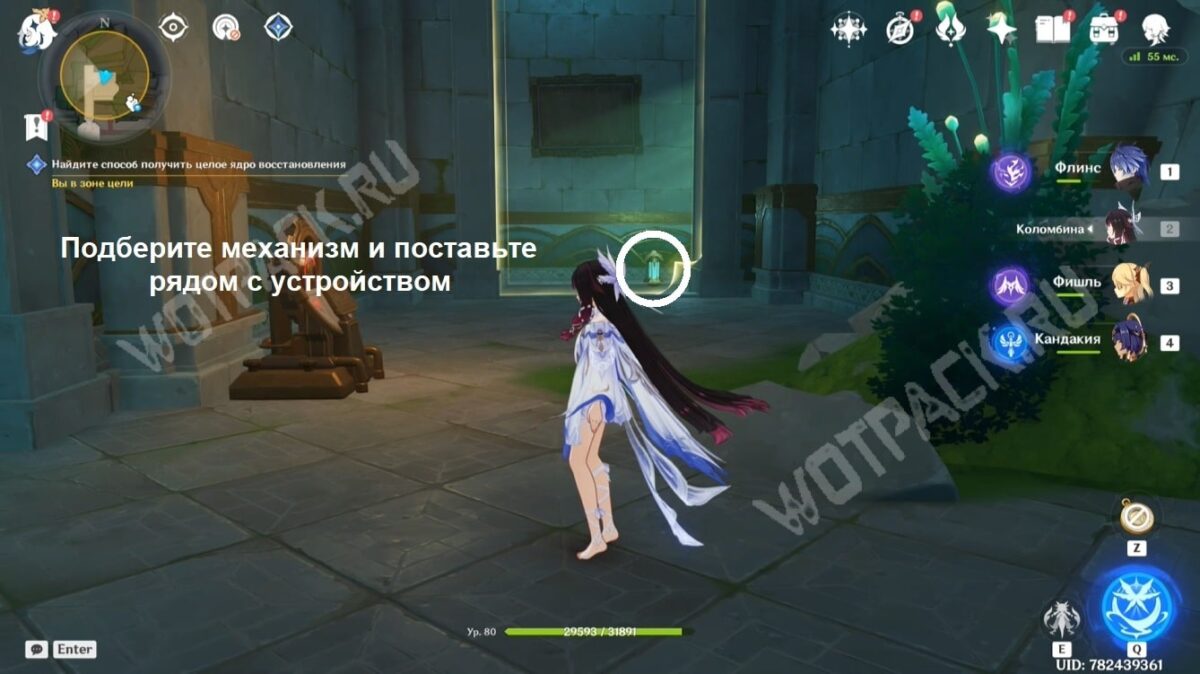
This will allow you to access a corridor with a small mechanism: place this power source next to the device to open the gate.
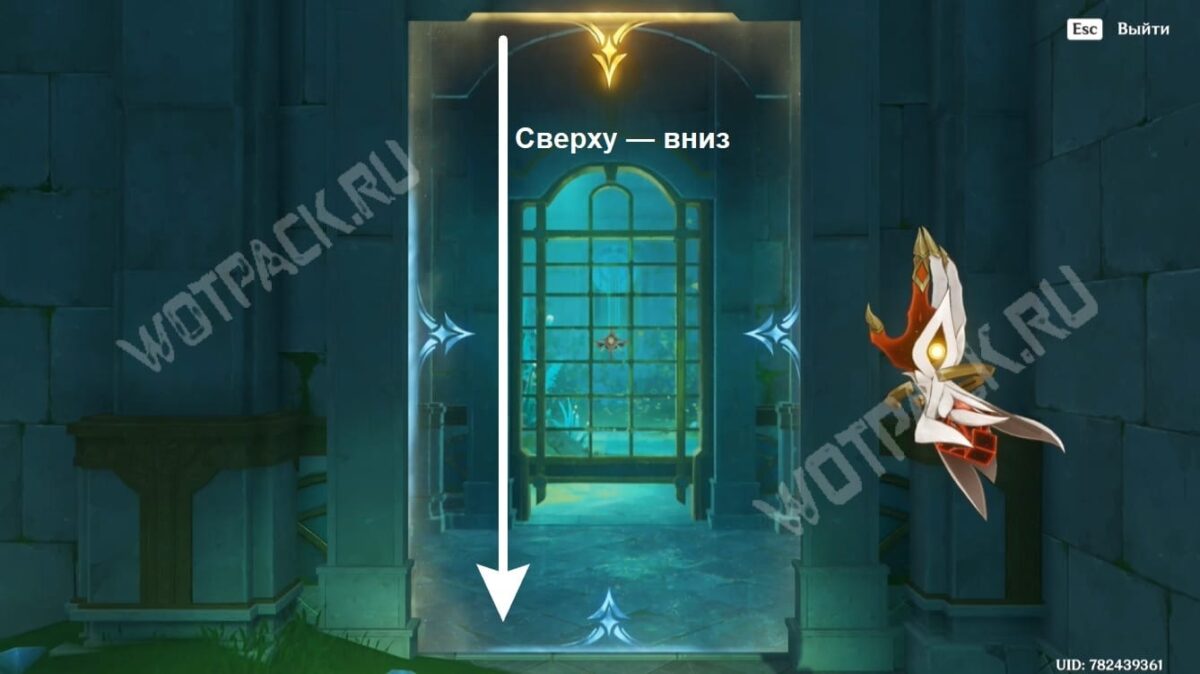
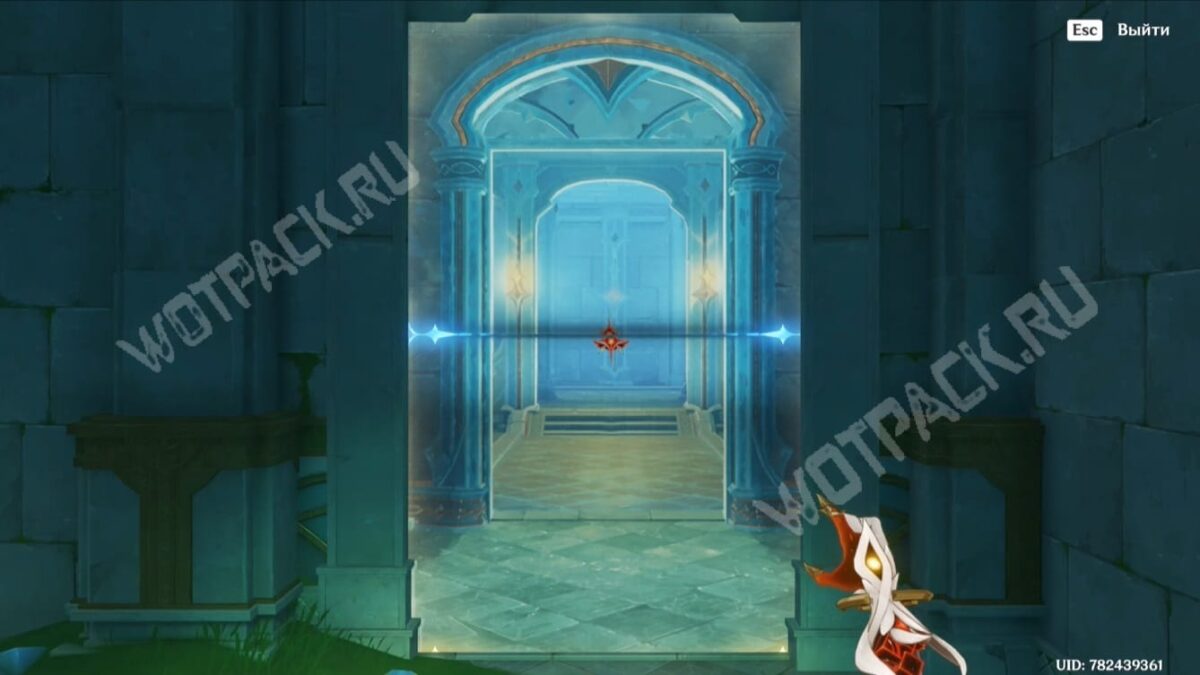
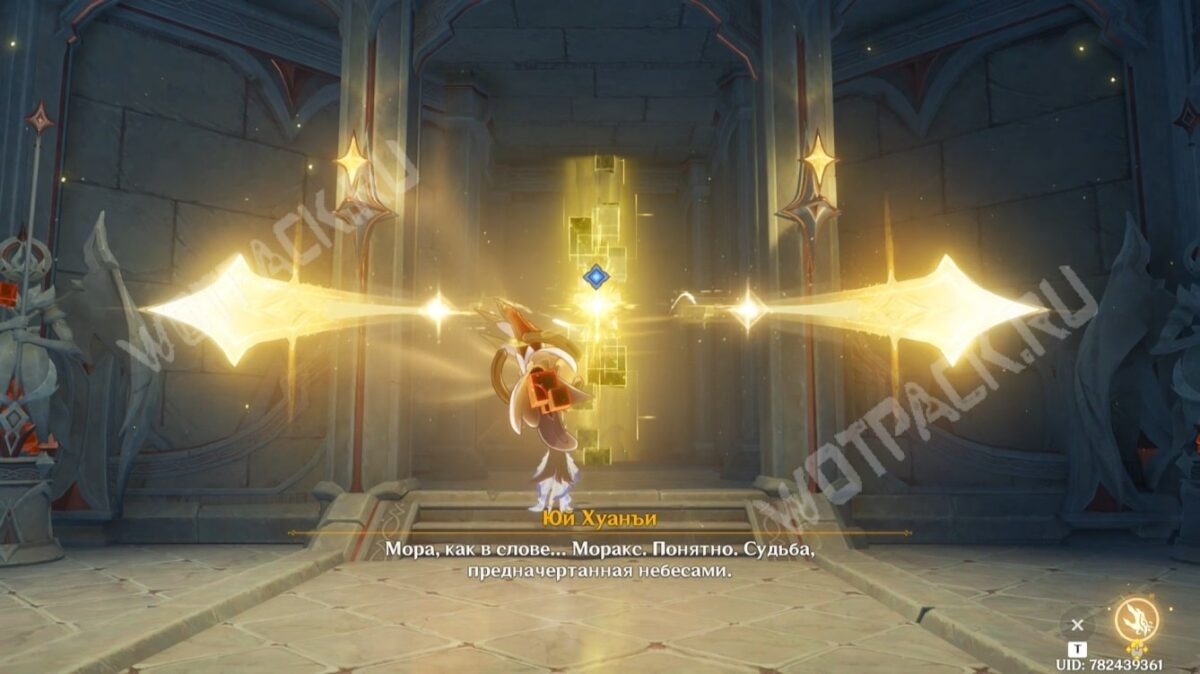
After dealing with the guards who set the trap, collect your reward—a rich treasure chest—and activate the space containing the restoration core. To do this, pull the top edge of the leaf. down.
Core 3 and the "Wonderful World of Books" Challenge
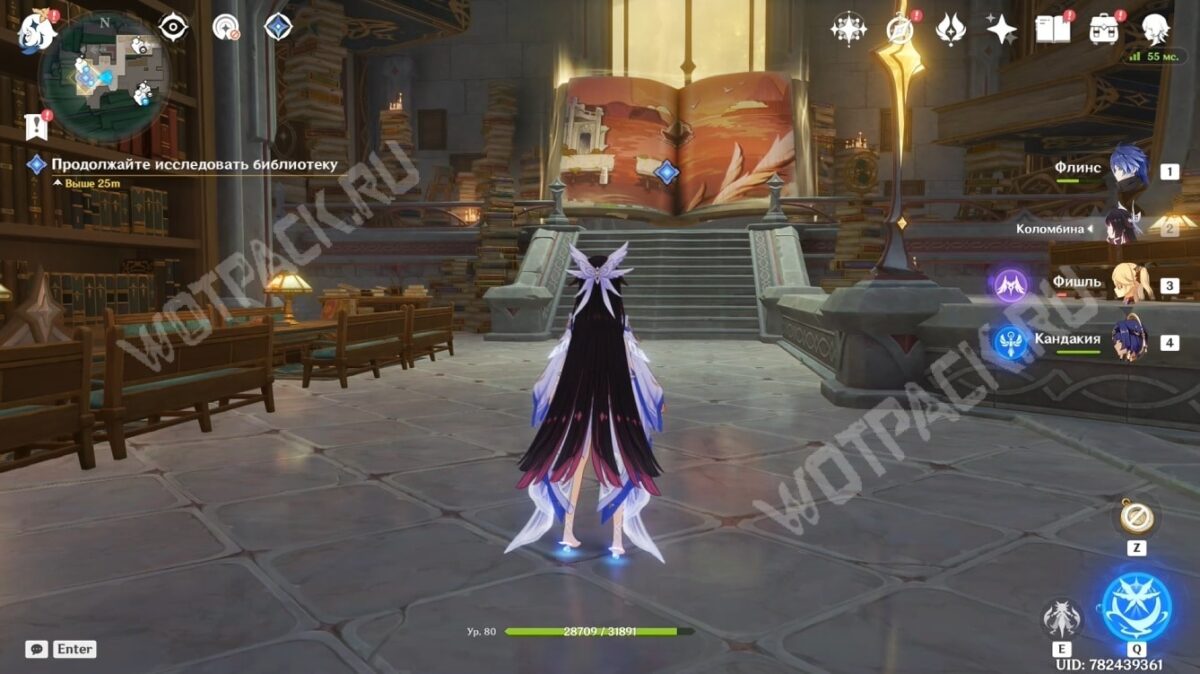
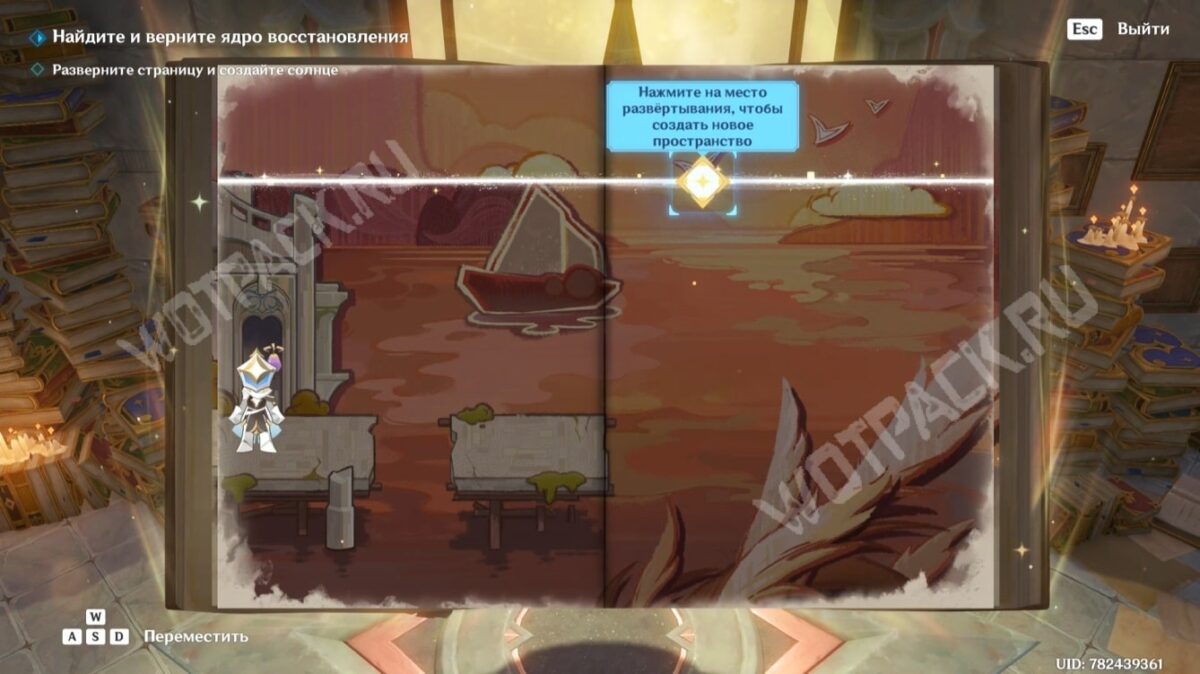
In the main hall of the library, immerse yourself in the work "Erinyes" and click on the deployment point - this will cause the sun to rise in the port.
First page
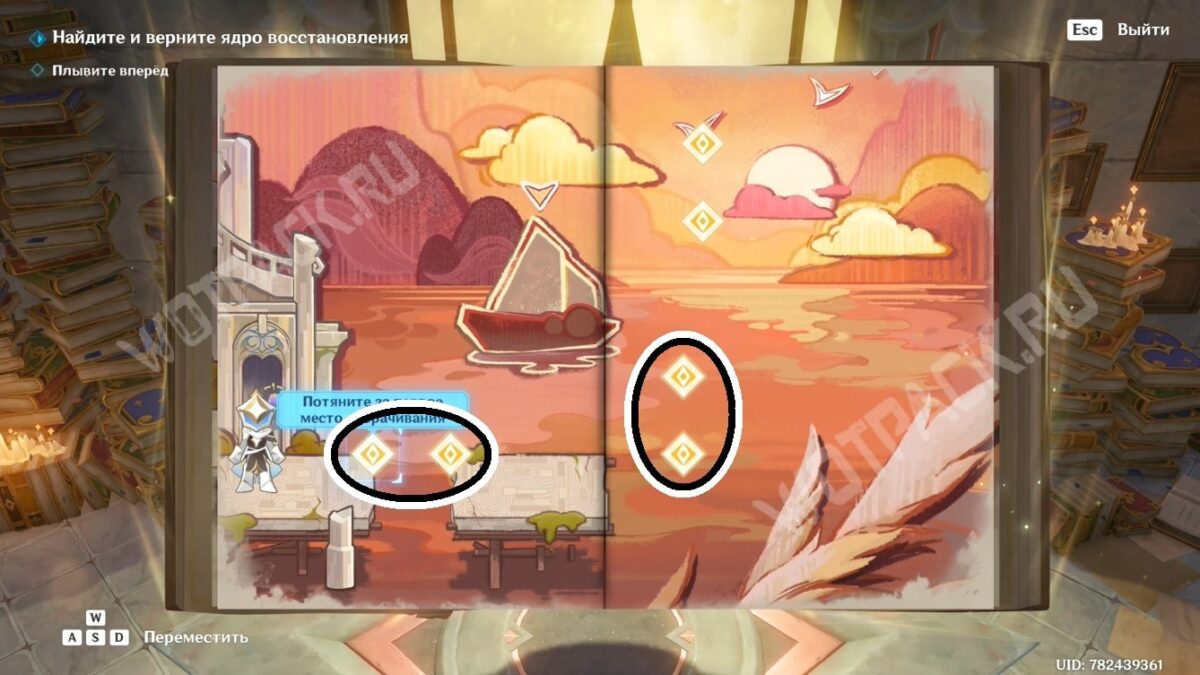
Pull the first and second folding zones - the gap will disappear, and the ship will float to the pier, allowing you to board.
Second page
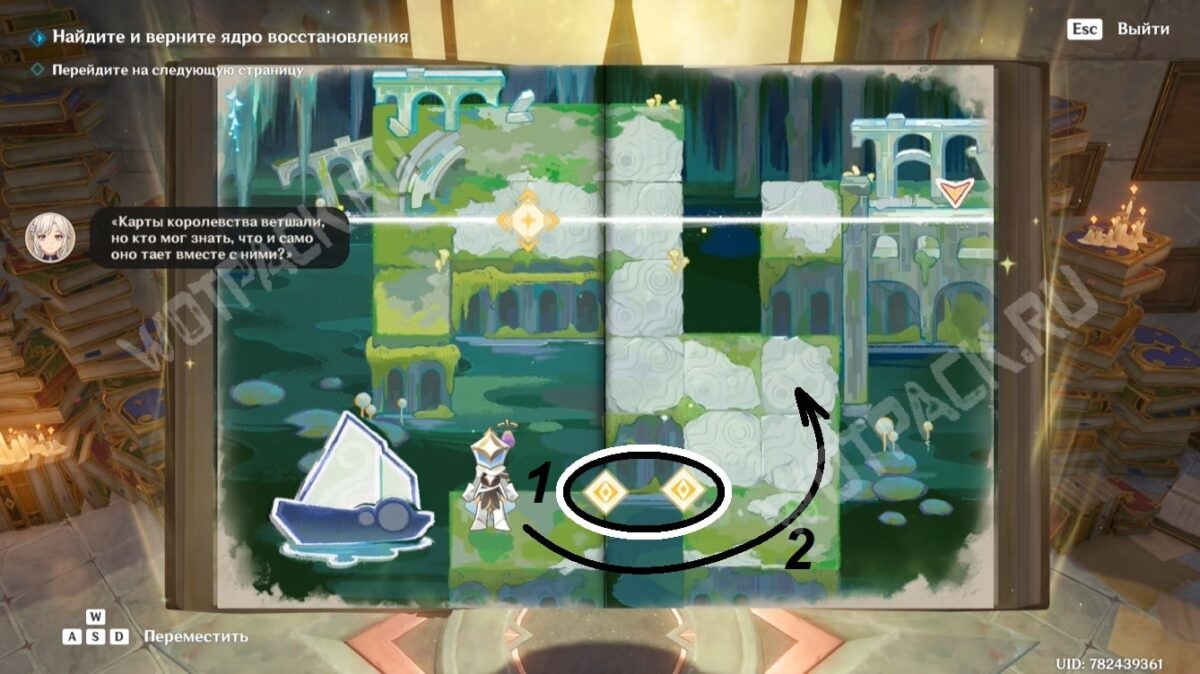
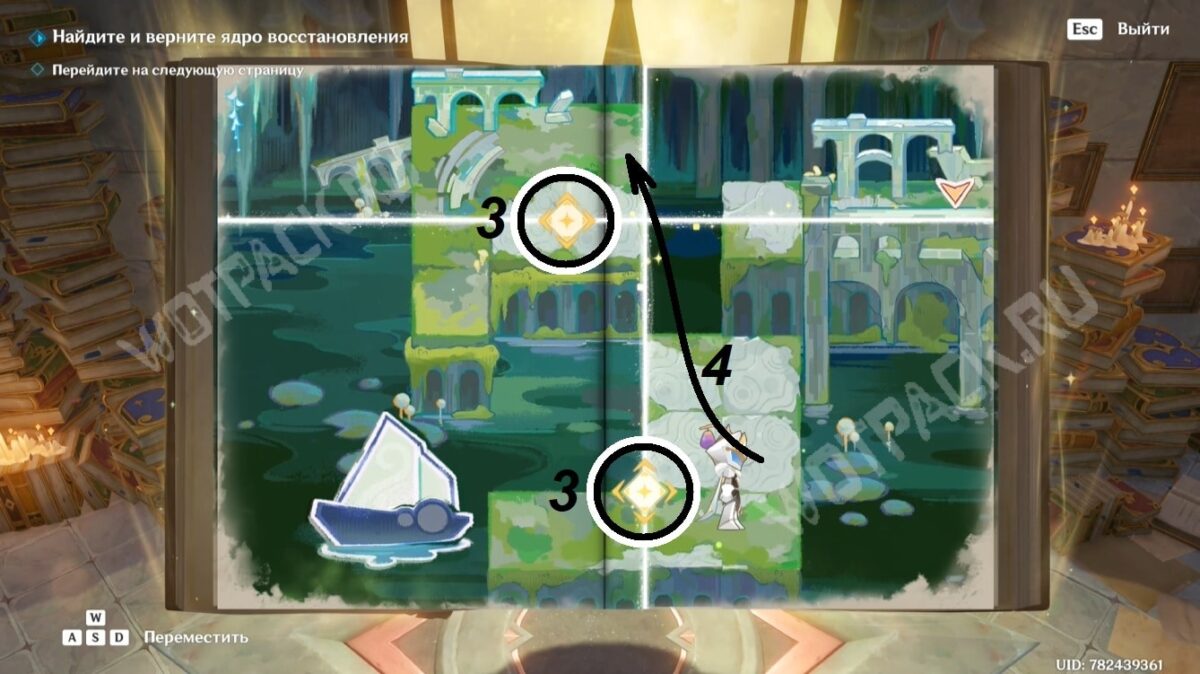
Create a path (1) and cross to the opposite side (2). Click on the deployment spots (3) to reach the upper tier (4).
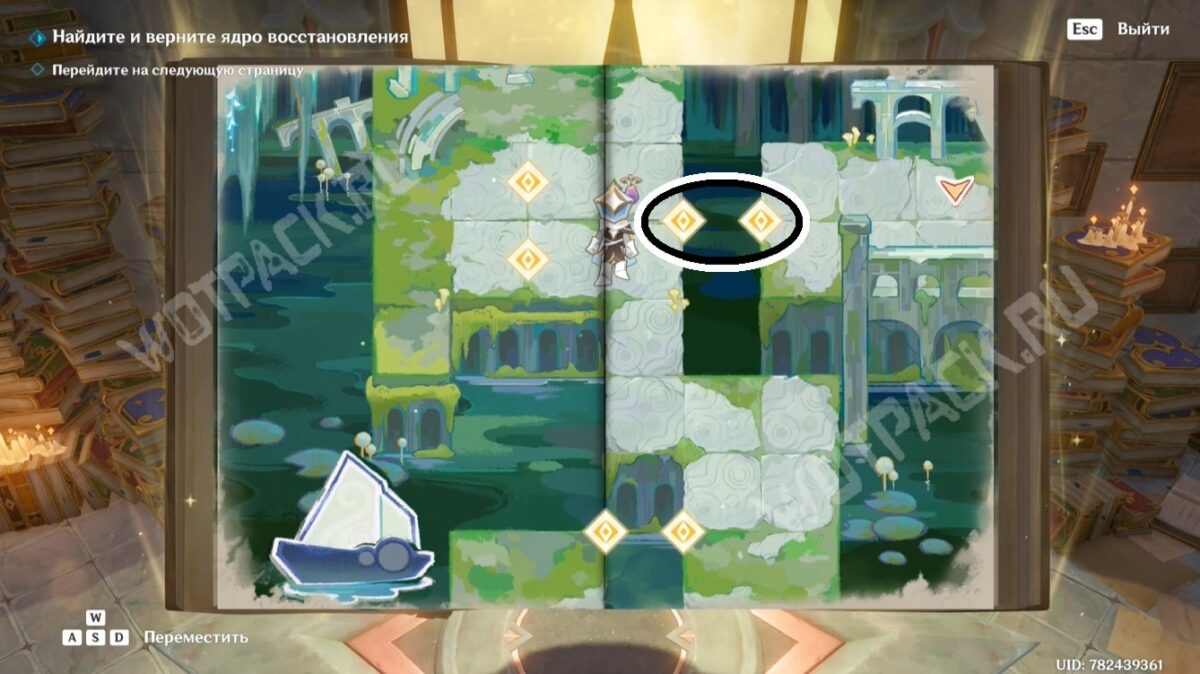
By combining the marked "diamonds", move on to the next area.
Third page
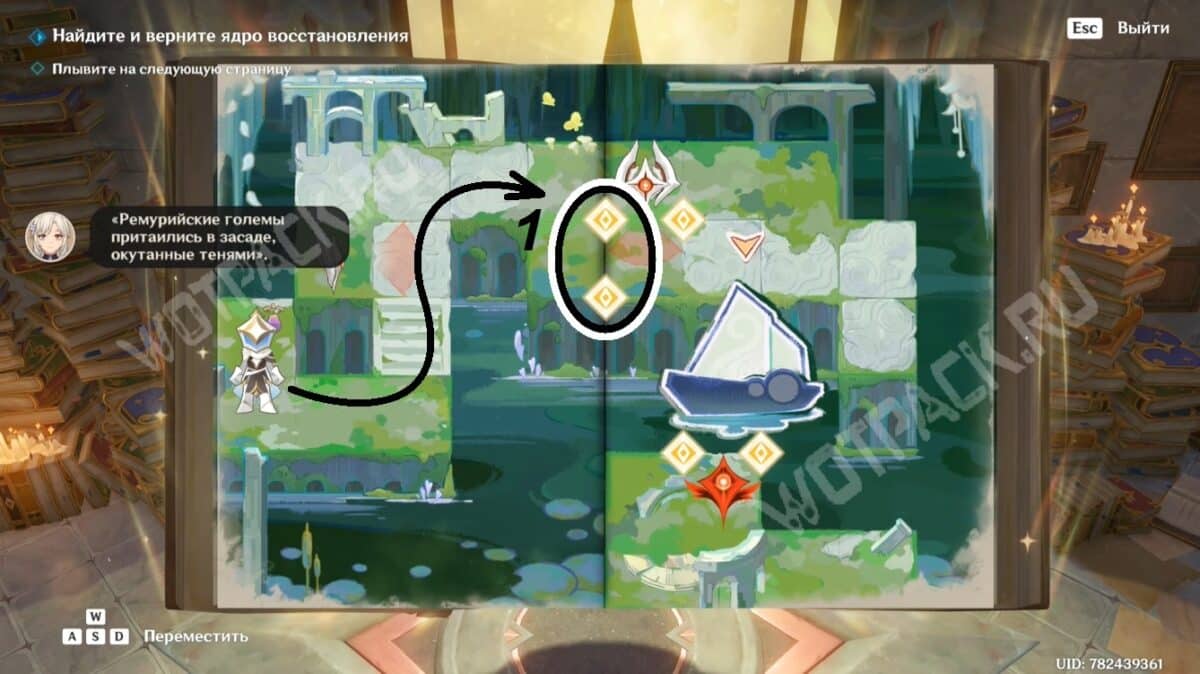
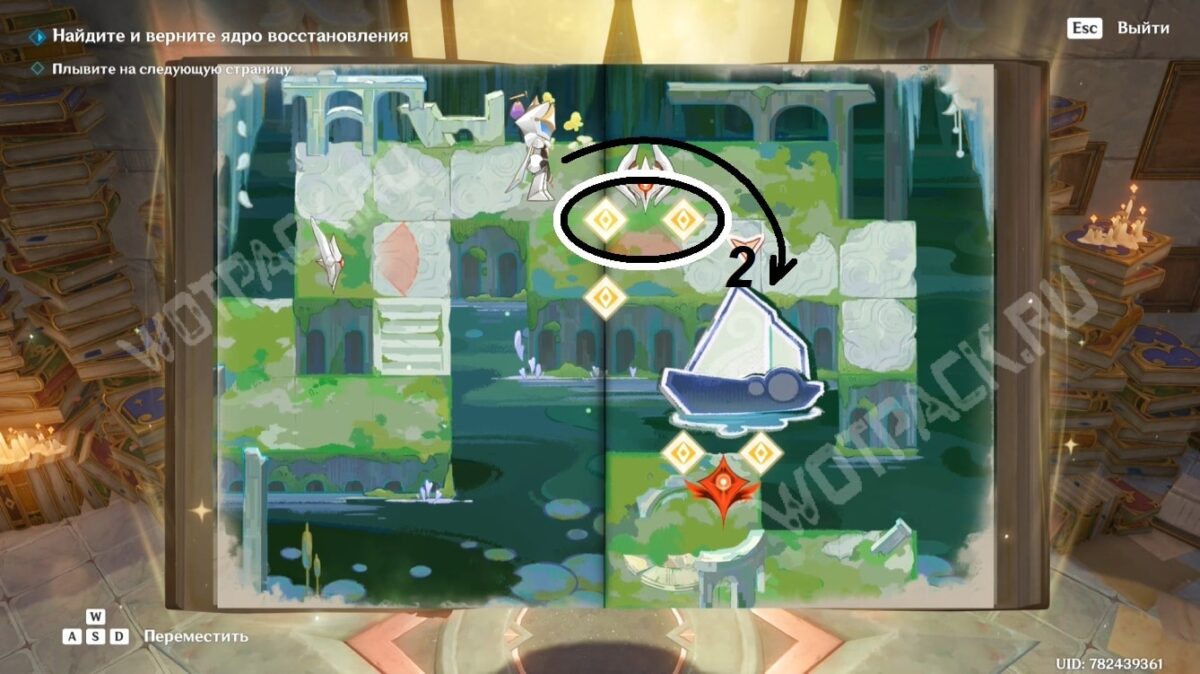
Get to the ship:
- Stack the pieces vertically to dispose of the Remurian Golem lurking in ambush. Rise up and break the connection.
- Repeat these steps for the second opponent.
Fourth page
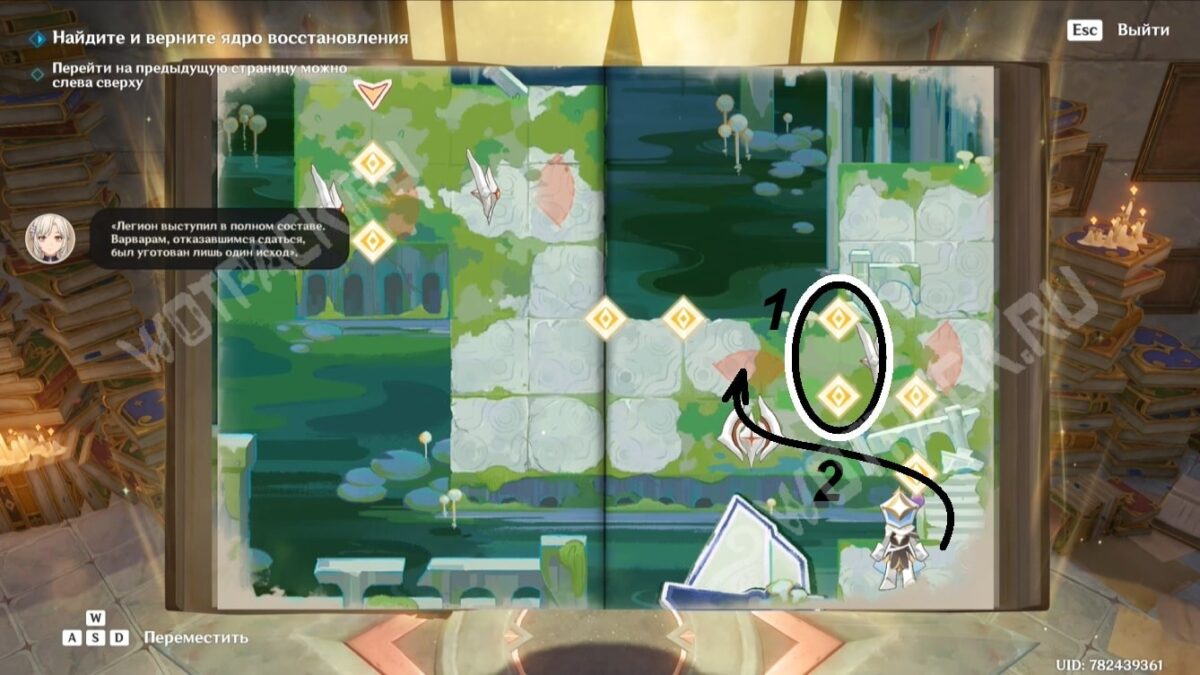
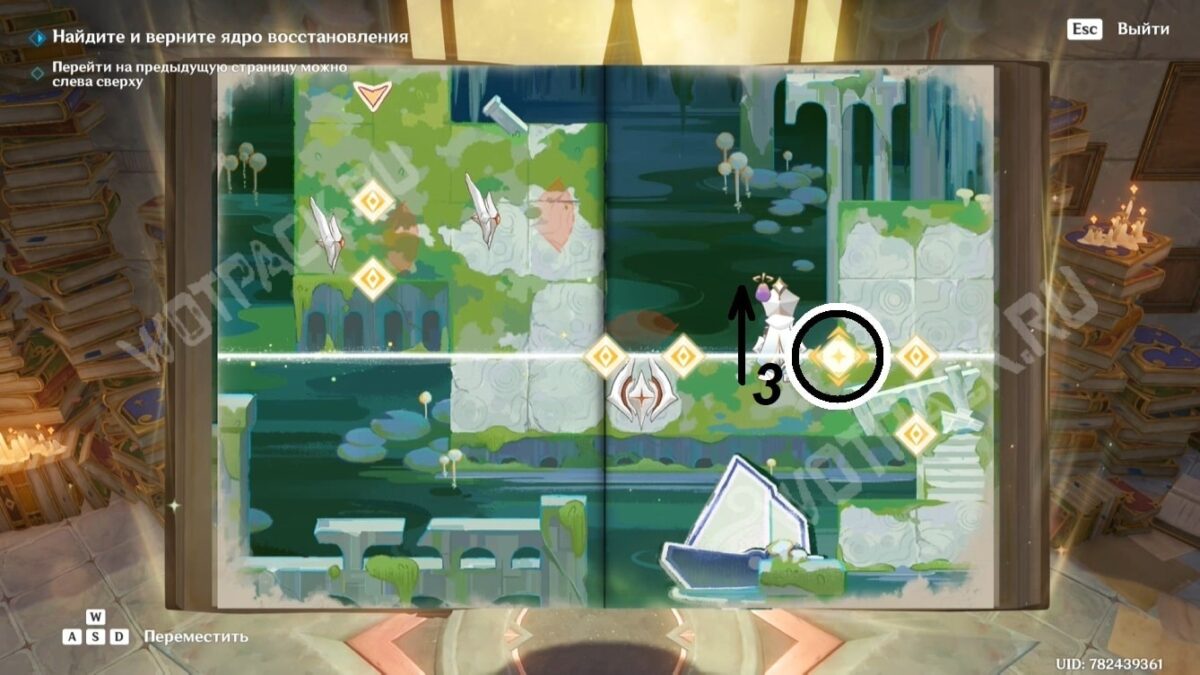
Hide the legion representative watching the right edge of the page (1). Wait for the second golem to move away, then move forward (2). Then, break the fold and climb even higher (3).
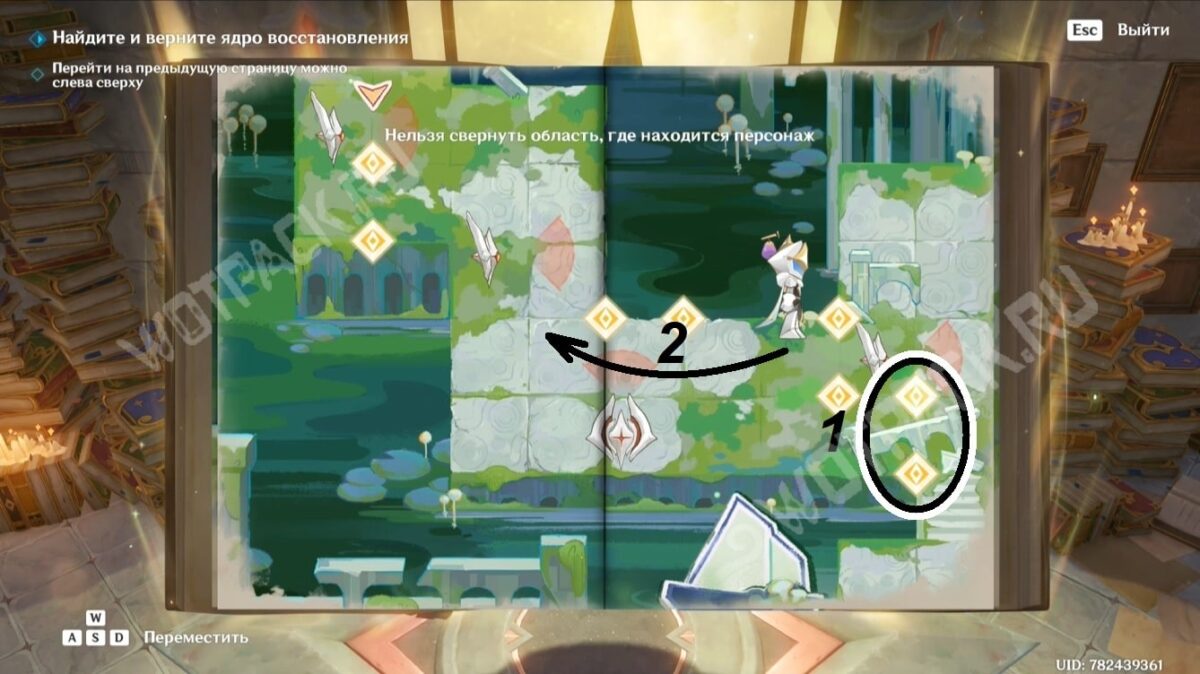
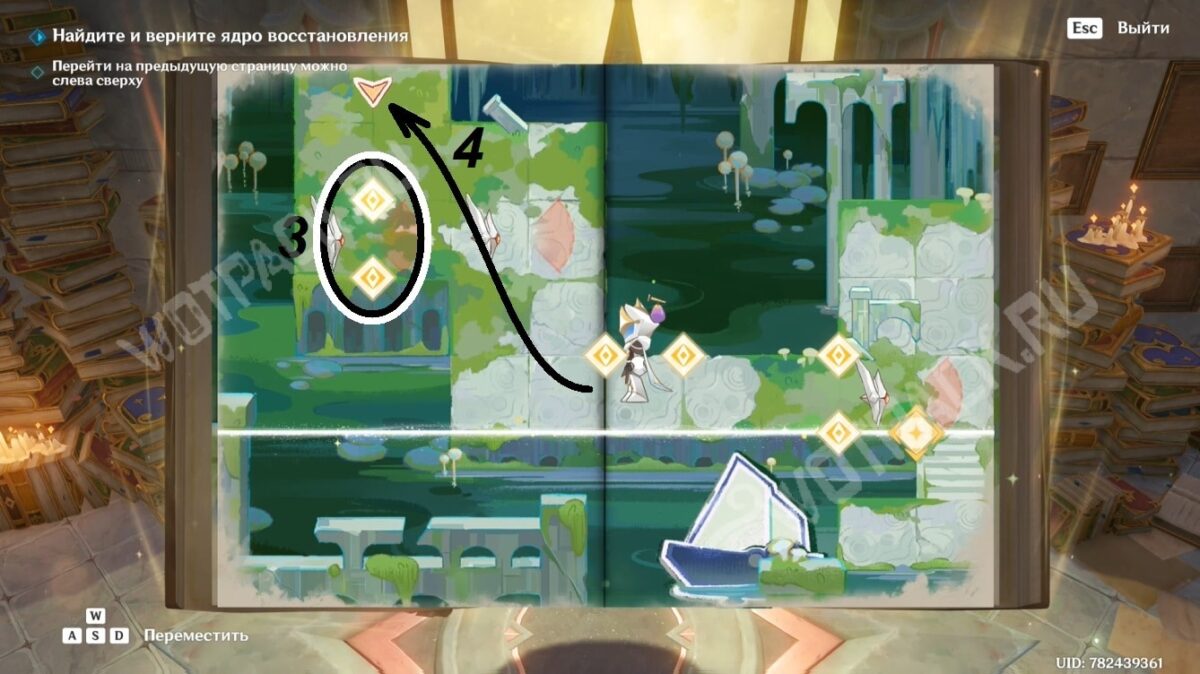
Block the enemy that's constantly moving (1/2). Then repeat the same action against the creatures wandering along the top left edge (3/4)—wait until they're all in a single line.
Page five
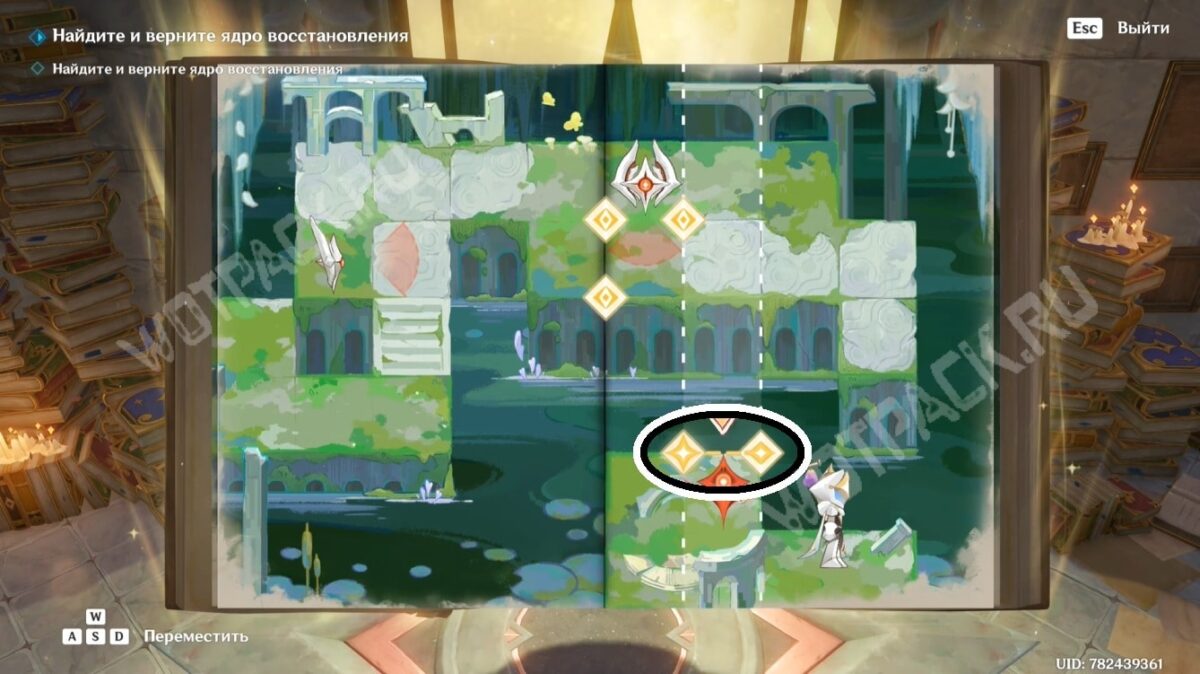
By manipulating the marked place of folding, get to the red clot of energy.
Pages six and seven
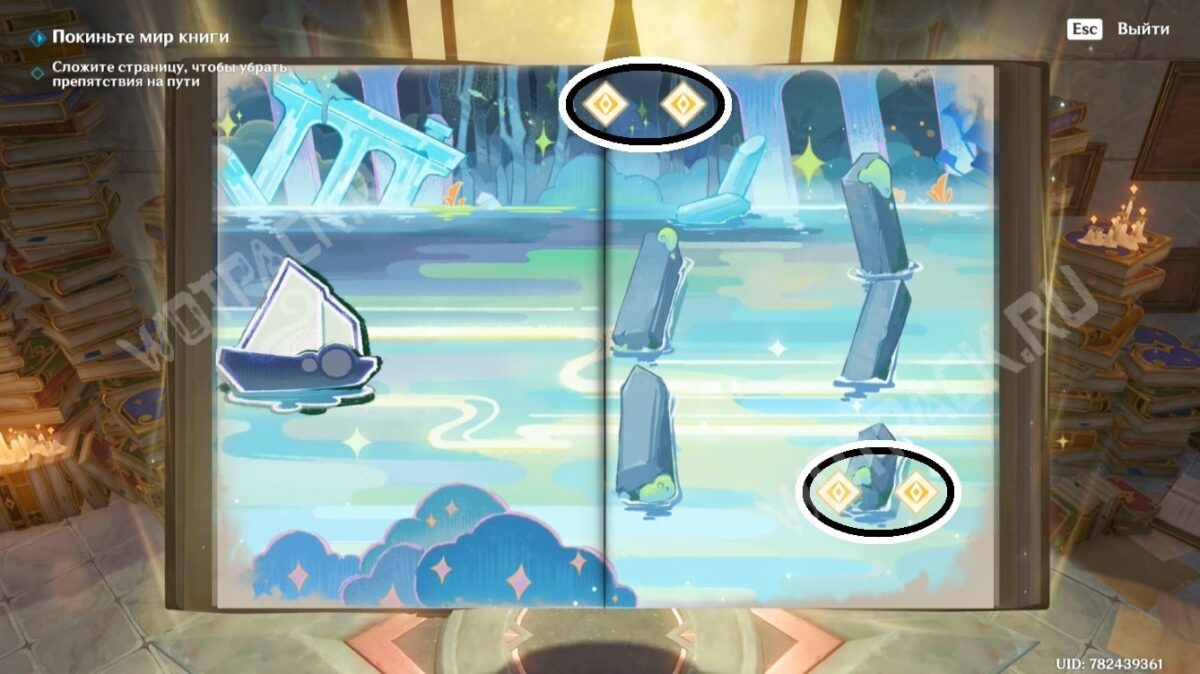

Get rid of obstacles in the way and do not let the cubic anomaly reach the ship.
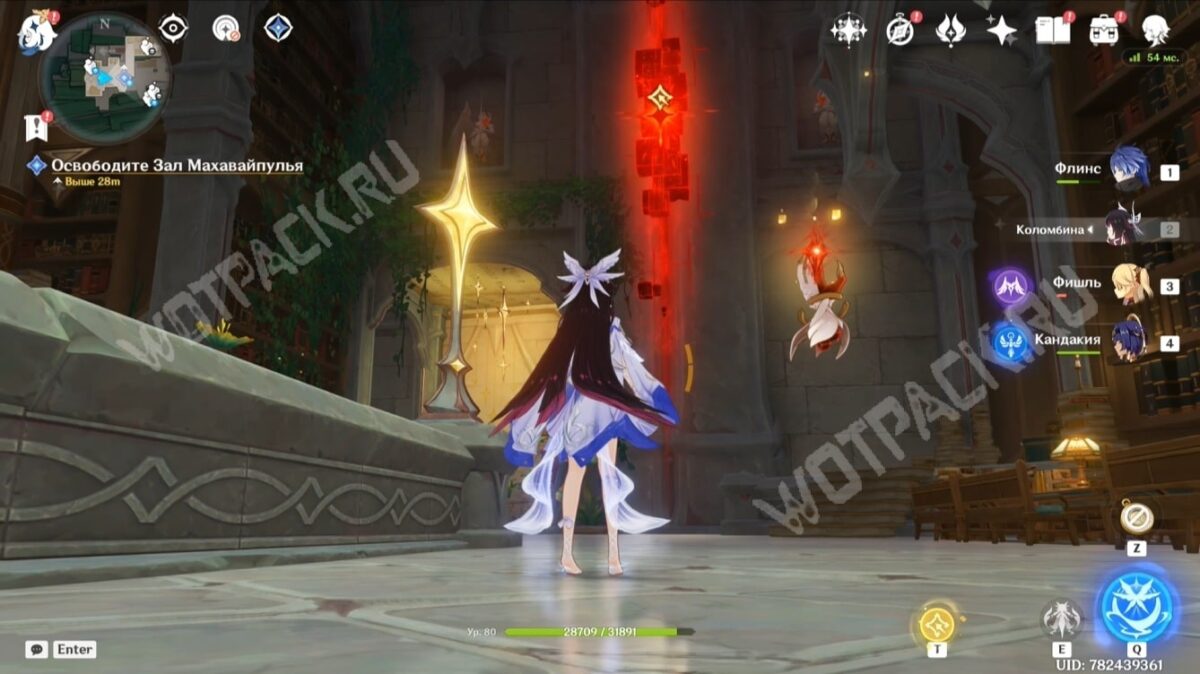
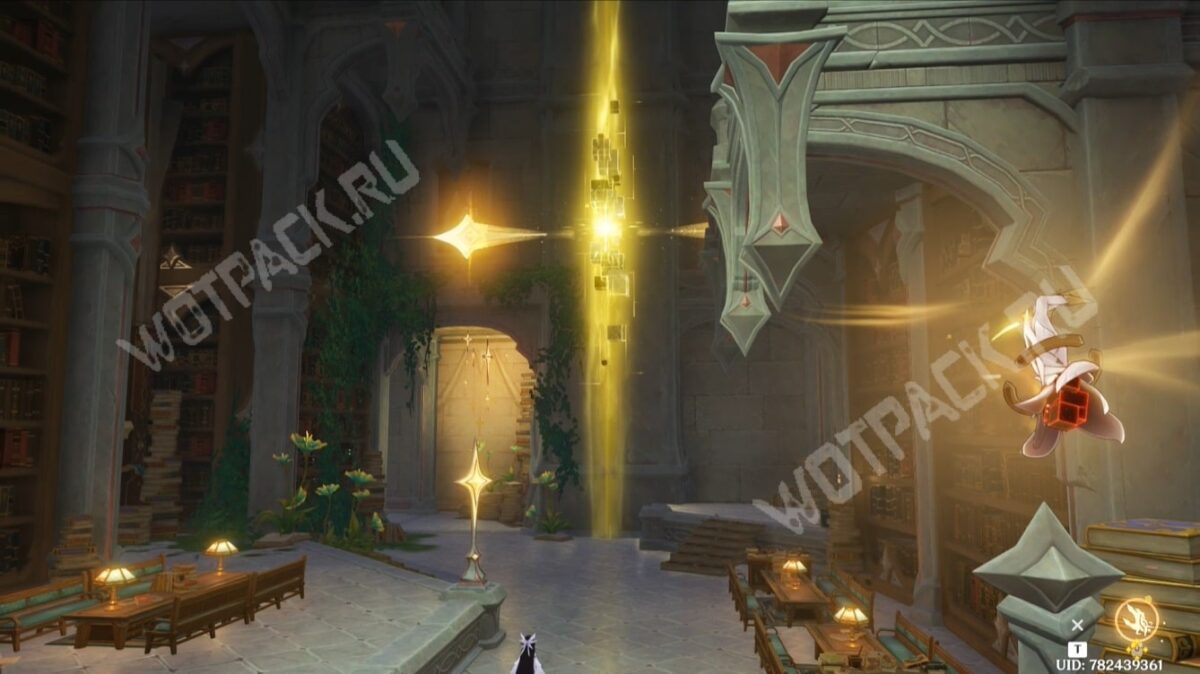
After leaving the memoirs, free the Mahavaipulya Library.
Explore and liberate the Desert Halls: The Unofficial Chronicles of the Desert Halls
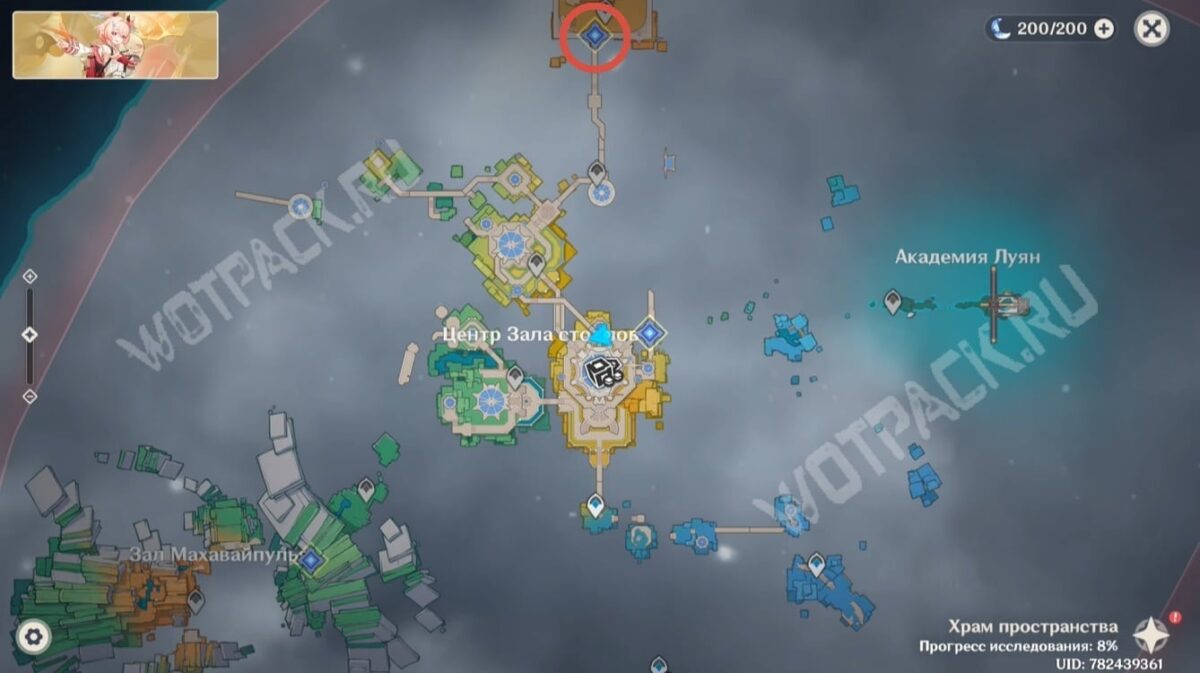
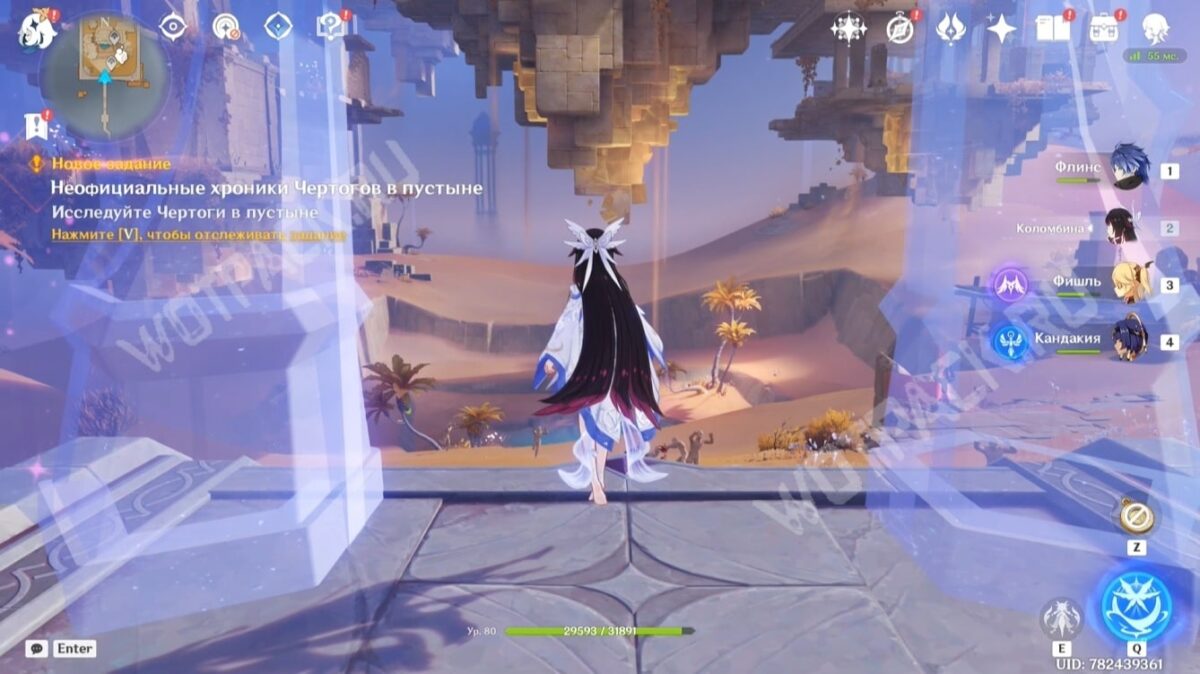
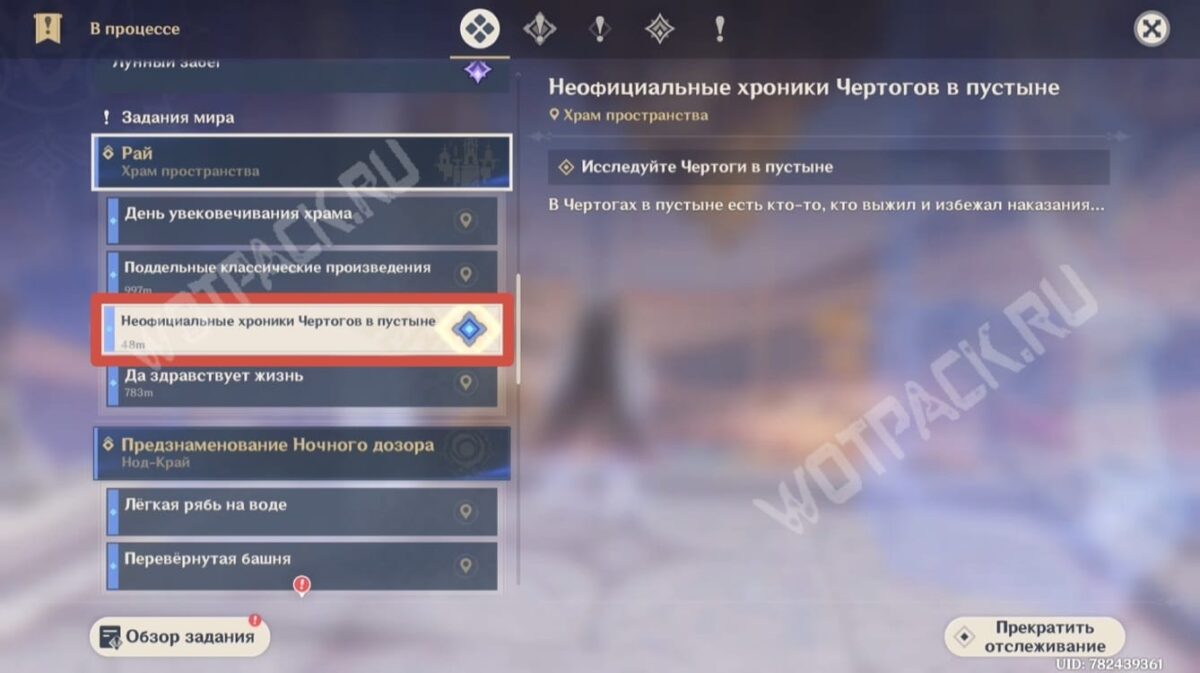
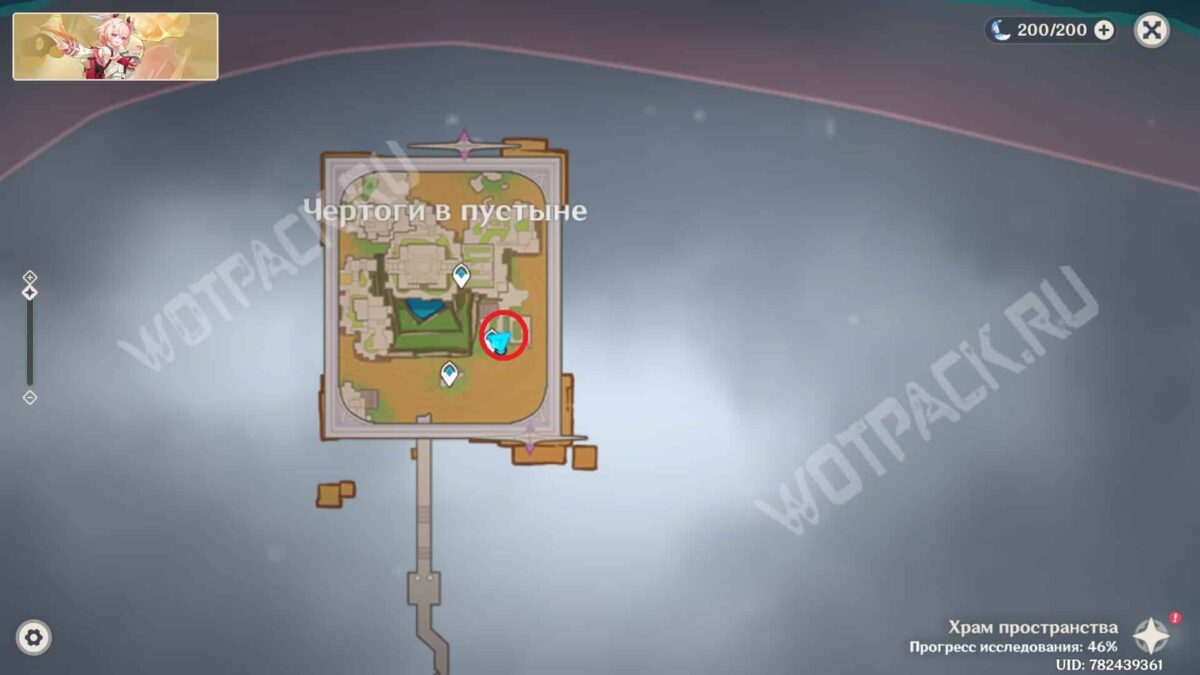
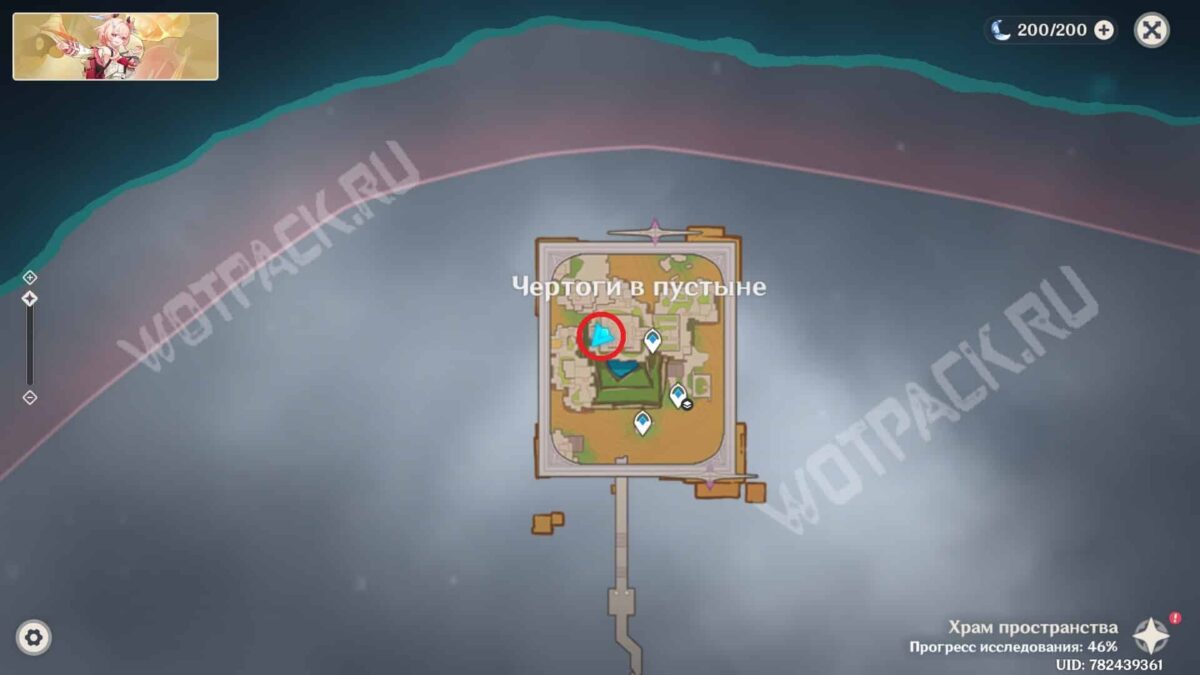
- Starting point: the area north of the center of the Hall of Pillars.
- Travel time: about 30 minutes.
- Rewards: Source Stones ×40 and Memory Factors ×7.
- A separate guide: Walkthrough of the mission "Unofficial Chronicles of the Desert Halls".
Head to the northern part of the location and help someone who managed to escape divine punishment.
Find someone who managed to survive
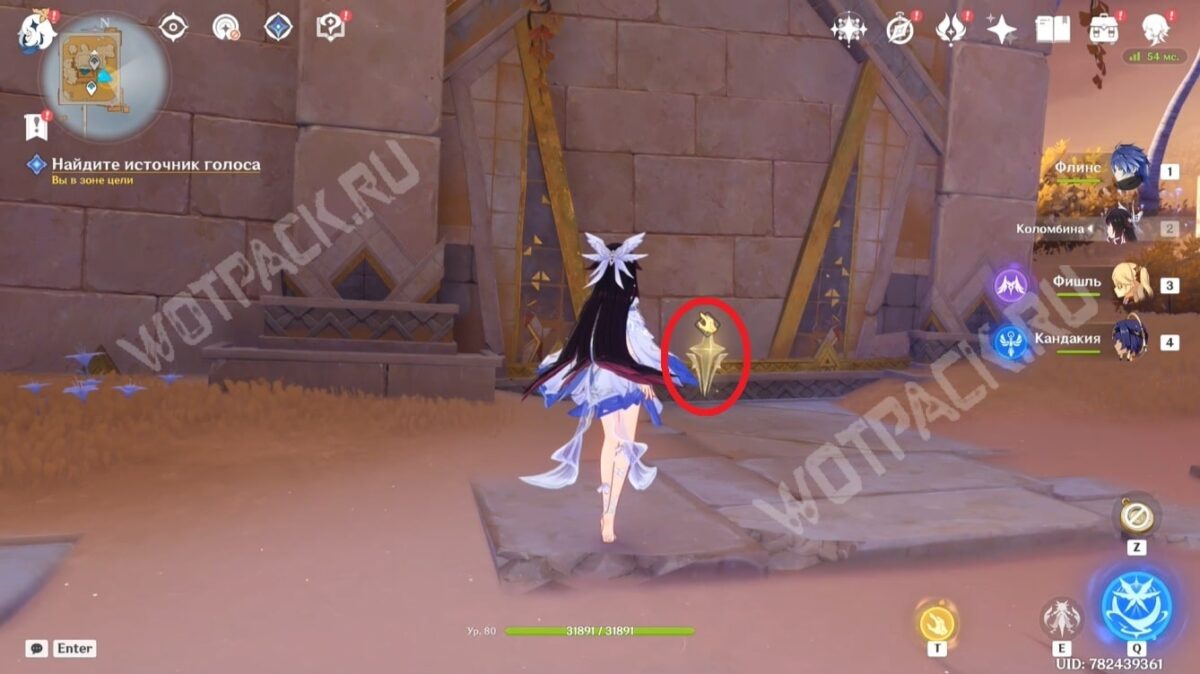
While exploring the new sector, approach the tower in the sands and use your T-skill to capture the gilded object. Inside, you'll find Wenipi, an architect who, before his madness, was constructing Tumarian buildings in the "illusory" desert.
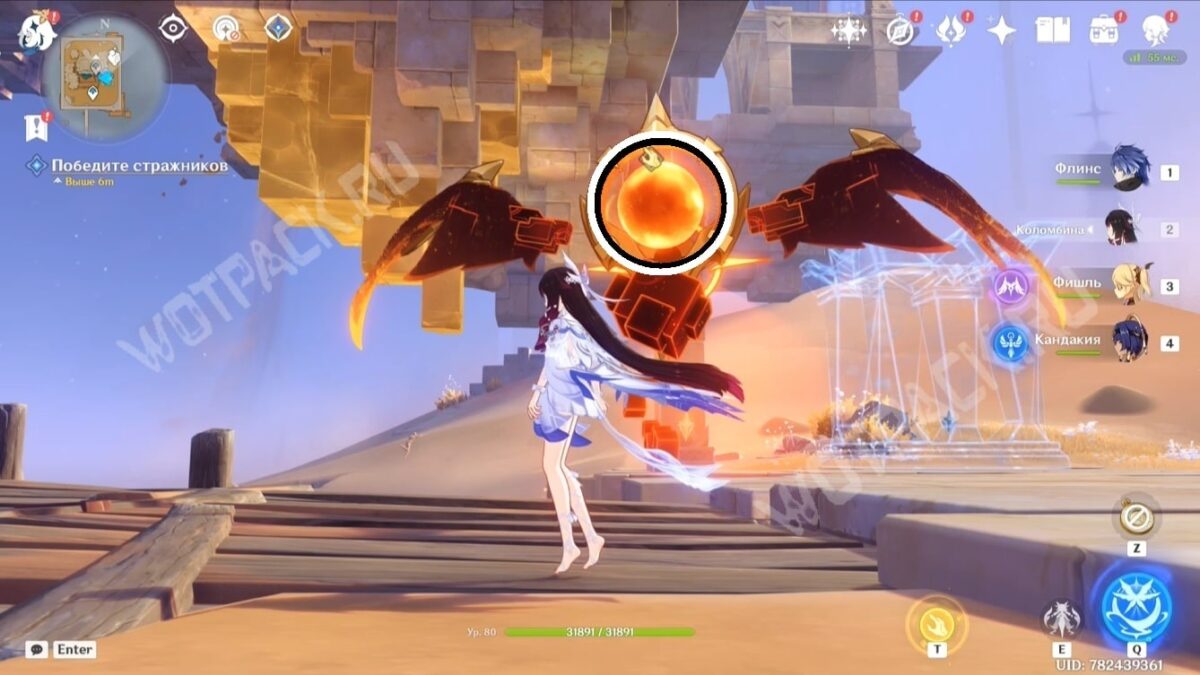
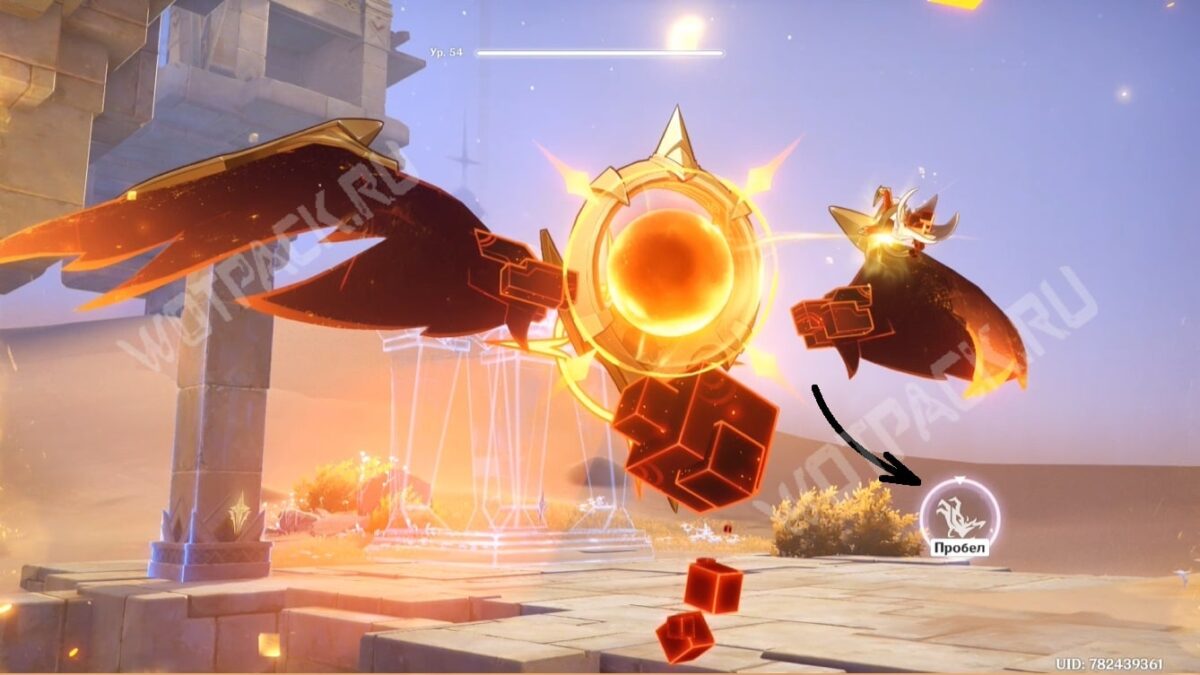
The conversation with the man will be interrupted by the sudden appearance of a guard. Eliminate him by sneaking up to a weak spot from behind and using your ability. Dex.
Find Venipi's friend
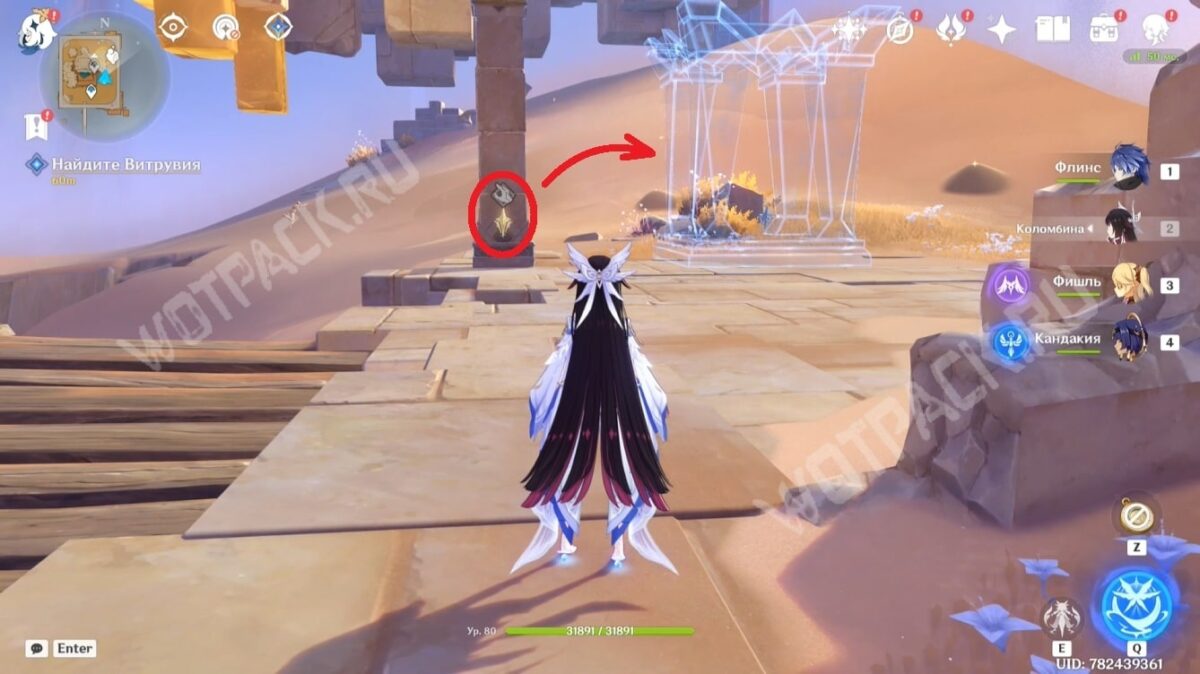
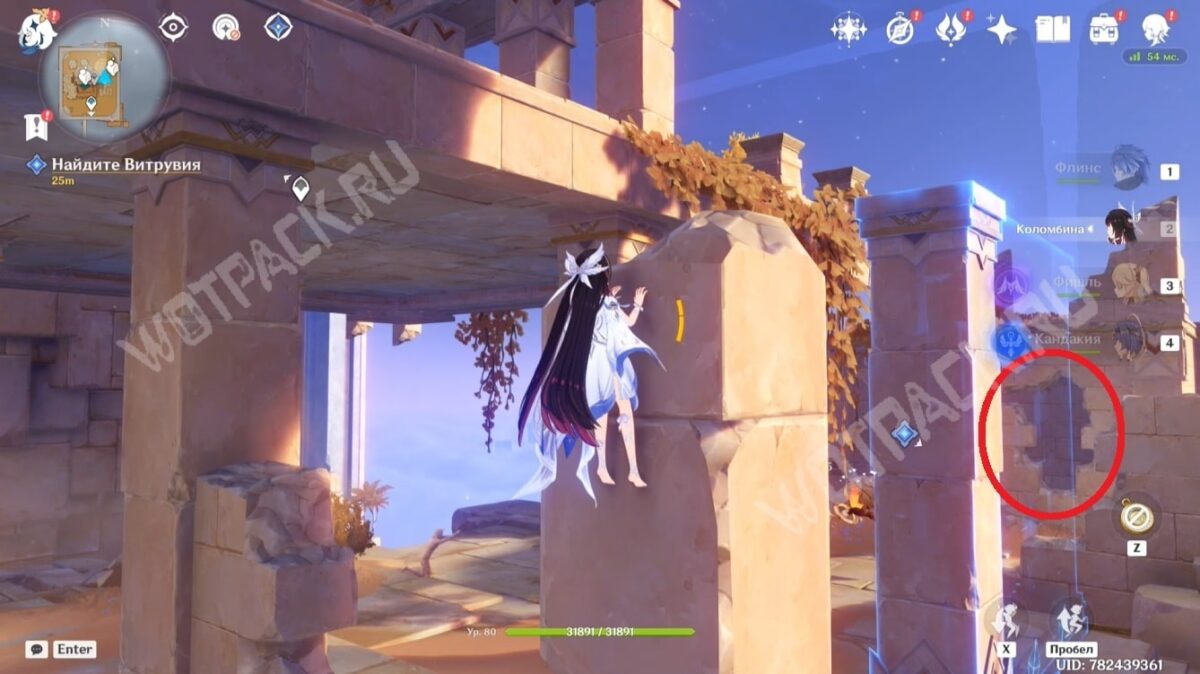
Restore the ghostly structure and ascend to the second level of the location. Vitruvius will be in a tower guarded by two Dimension Guardians.
Help other survivors
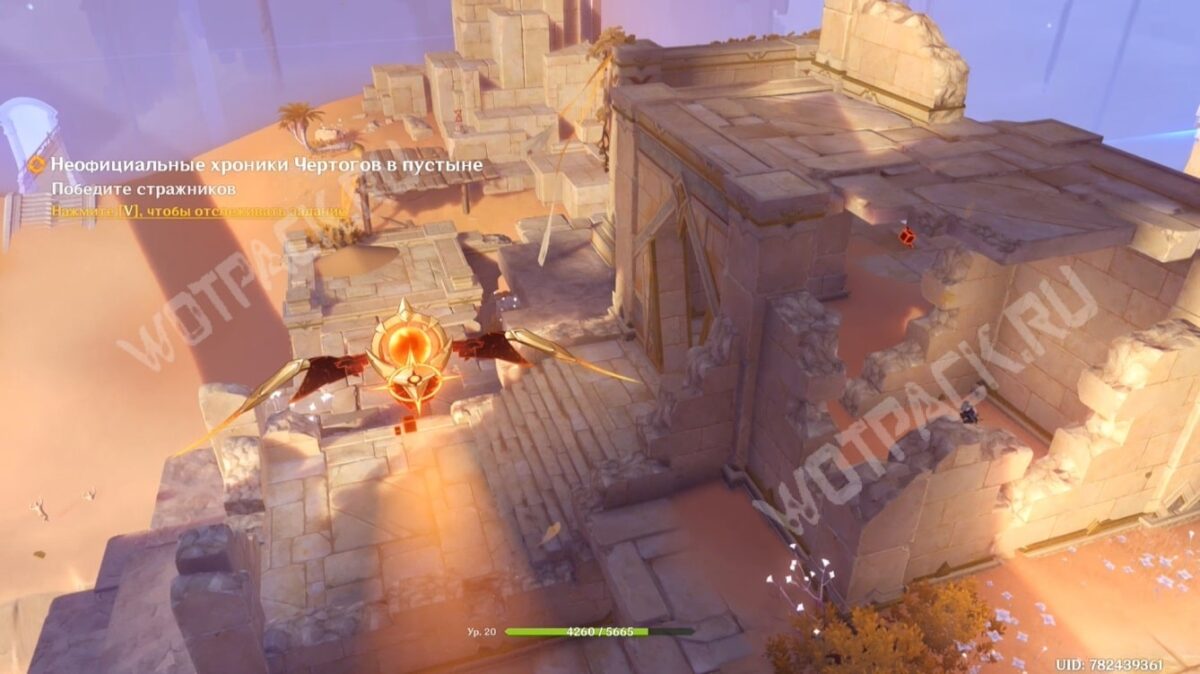
Afterwards, continue searching for survivors. Climb to the portal on the hill and follow the quest marker through the solar temple. You'll see three guards outside:
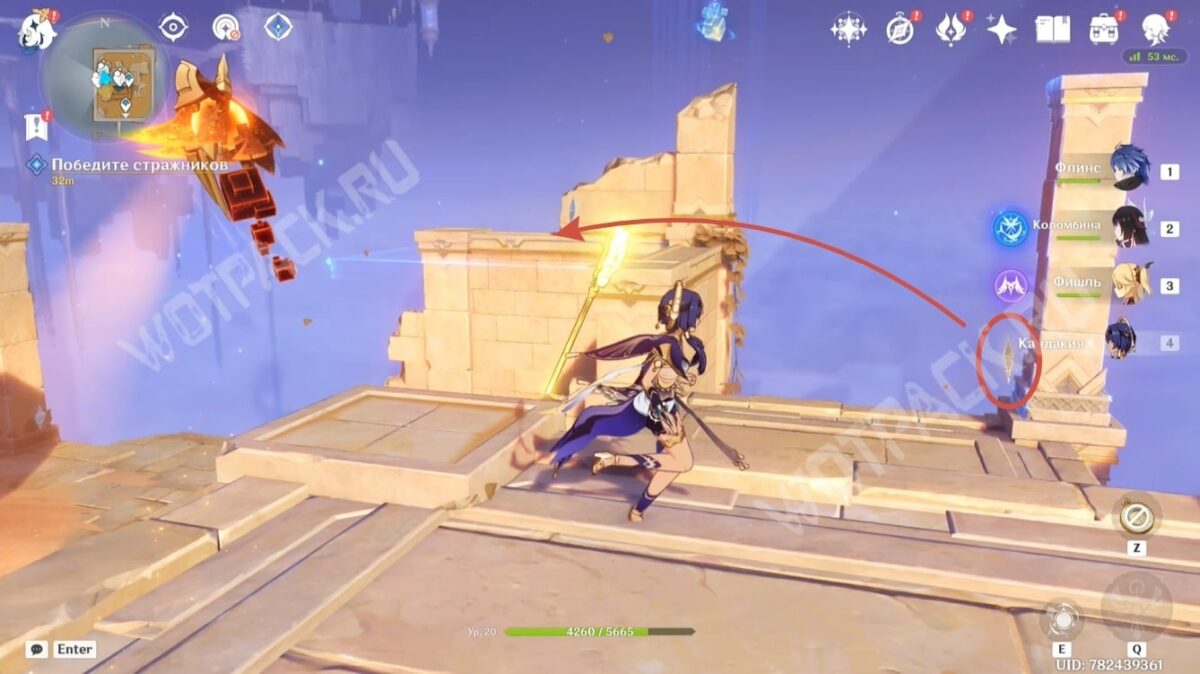
- To destroy the first enemy, capture the pillar on the right and restore the roof of the building - this way you can approach the core and destroy it.
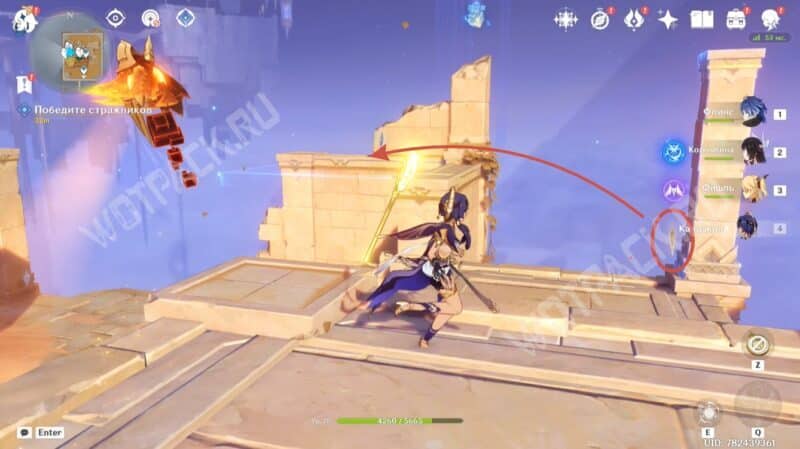
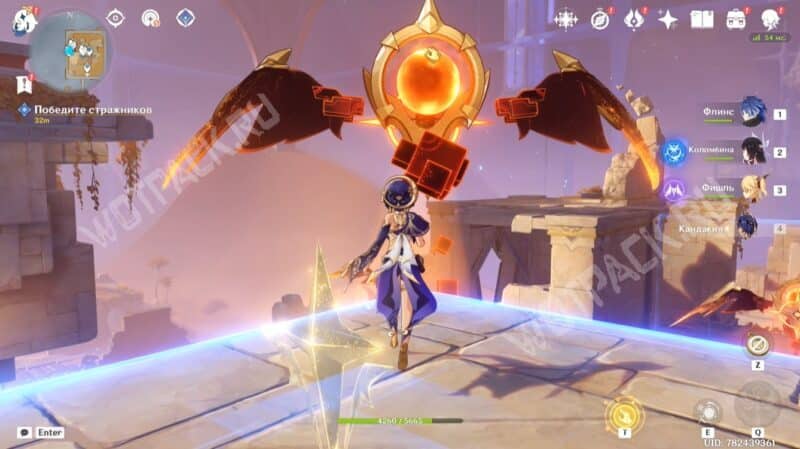
- For the remaining ones, use the building opposite to sneak up on the vulnerability. Note that the Guardian on the left stands still, while the one on the right periodically shifts his view.
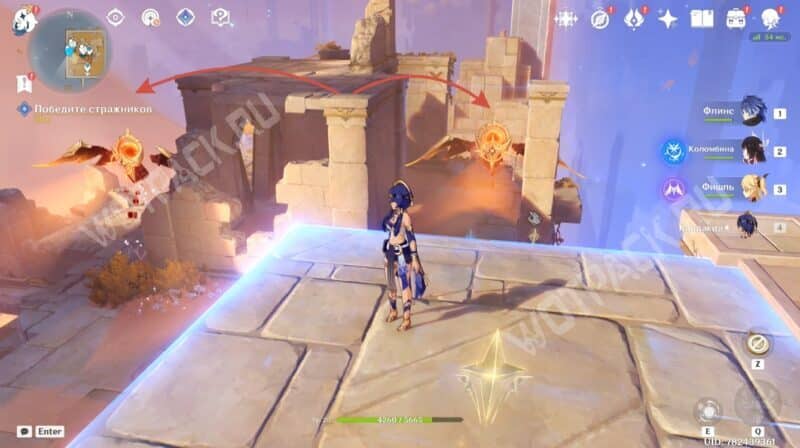

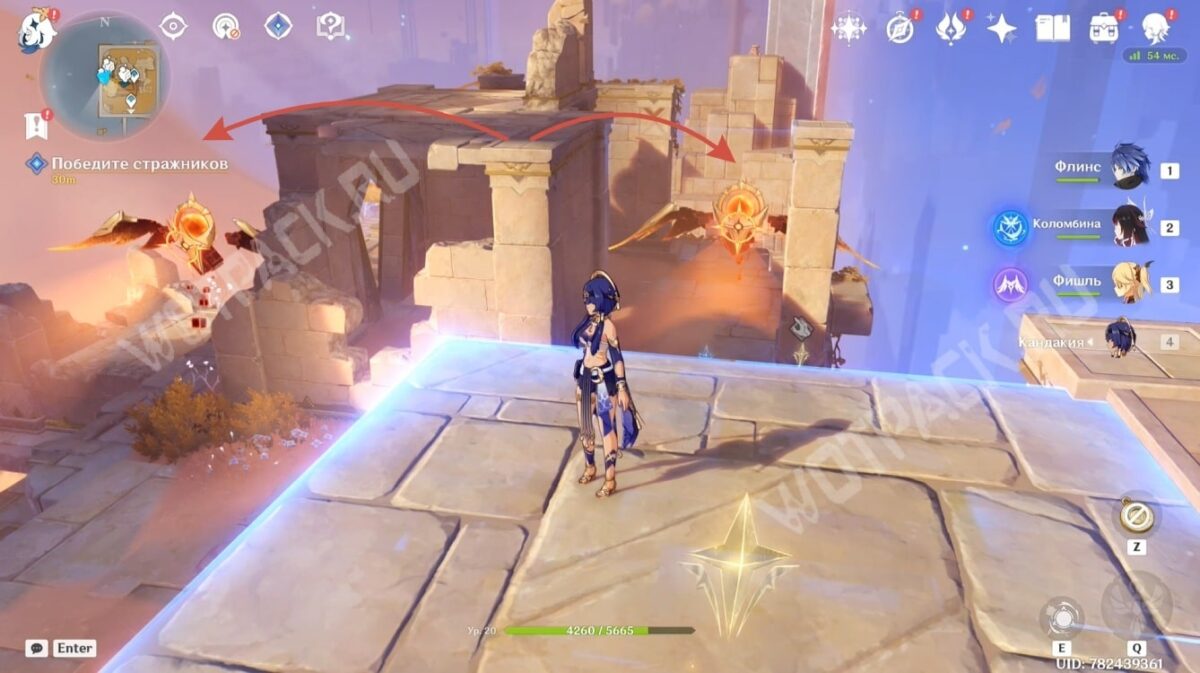
Once everyone is saved, head to the exit of the Halls.
Try to escape from the trapped maze
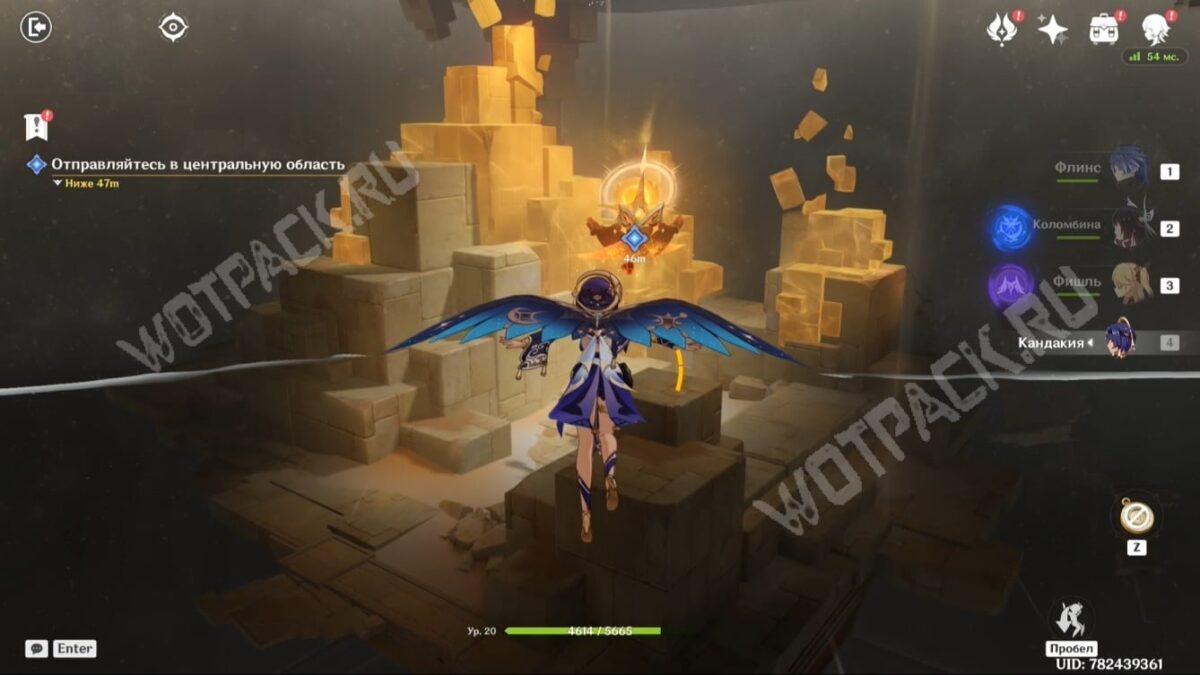
Any attempt to escape the desert will be futile—the master of these territories, the Afar Bird, teleports the rescue team to an underground temple. Glide toward it, only to fall into a trap.
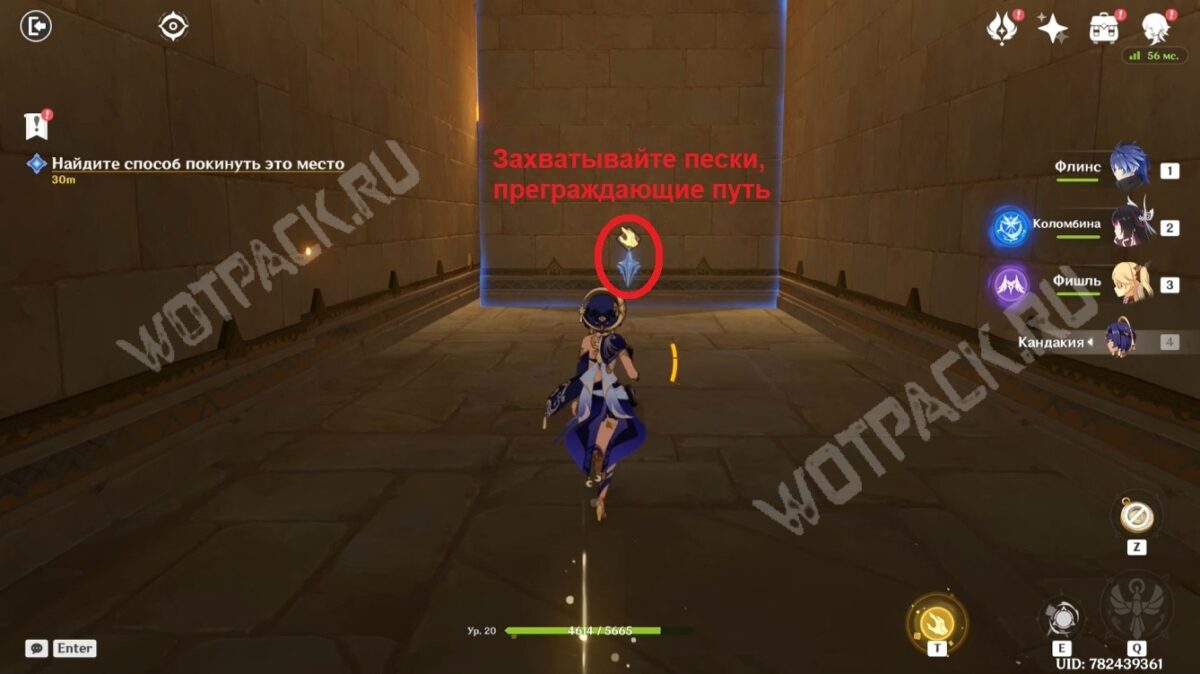
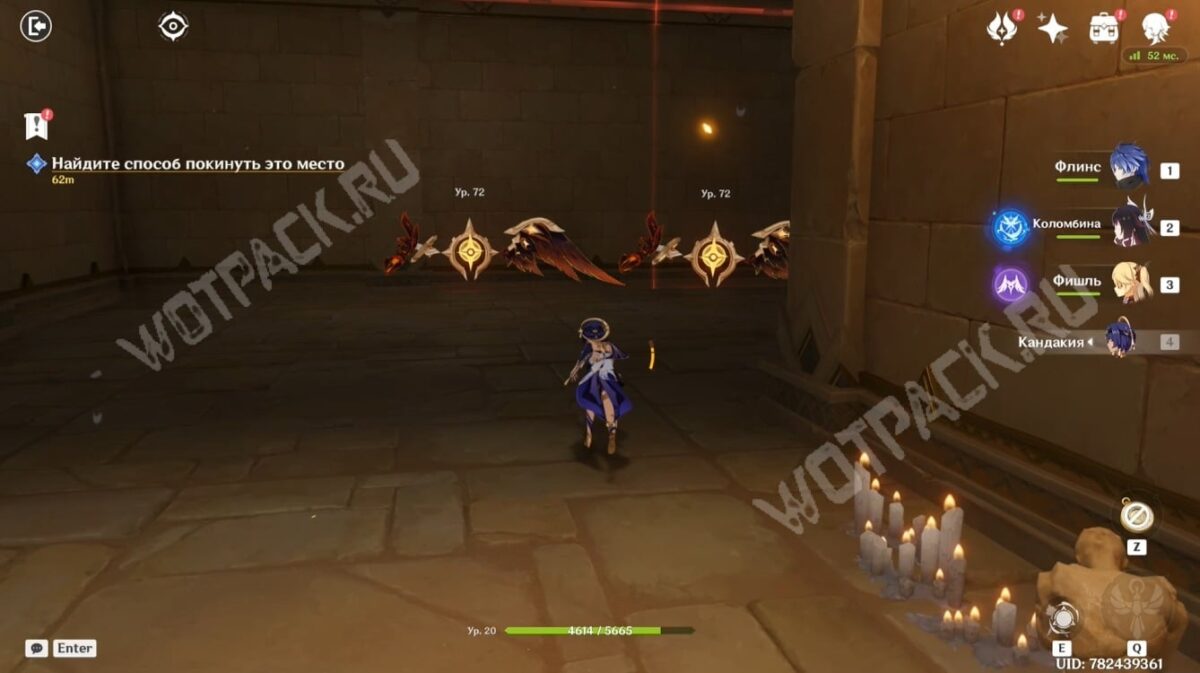
Use Dex's "hand" ability to grab the sands to create a passage and destroy all the guards along the way.
How to defeat the Afar Bird
After leaving the labyrinth, you will find yourself in an arena with a strong elite opponent - Punisher of GomorrahThe following tips will help you fight him:
- Avoid any objects that try to harm the active character and build cover to protect yourself from enemy AoE attacks.
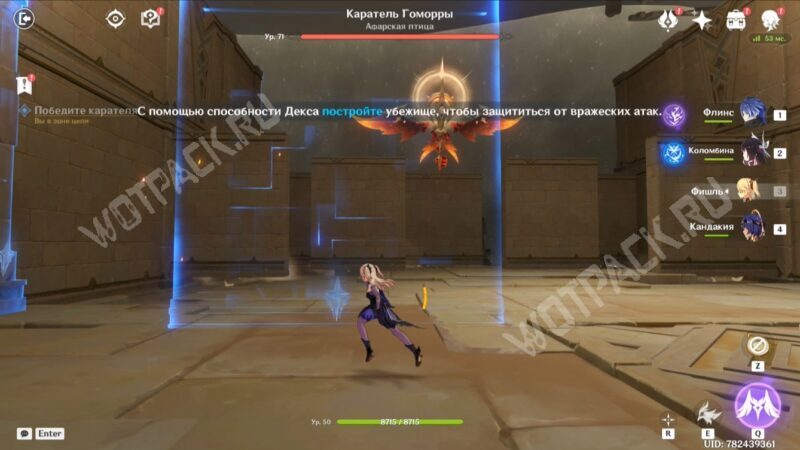
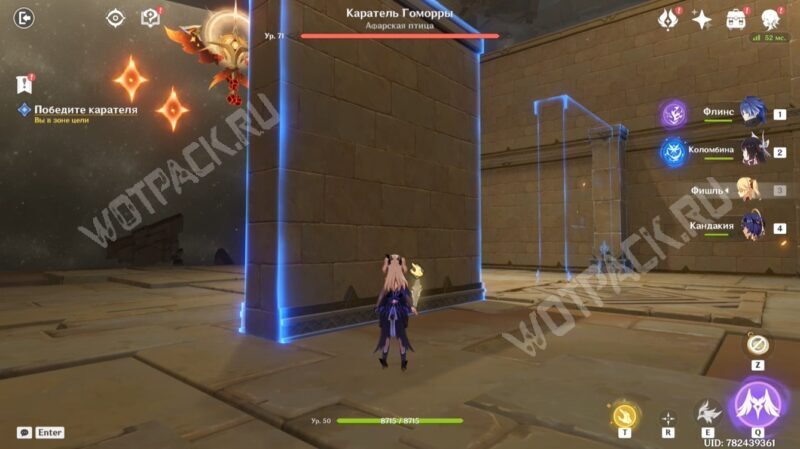
- When the Punisher weakens, run up to him and use your T-skill. After dragging him, don't let go until the space vector charges. Then, actively press the space bar to destroy his defenses and remove 1/3 of his health.
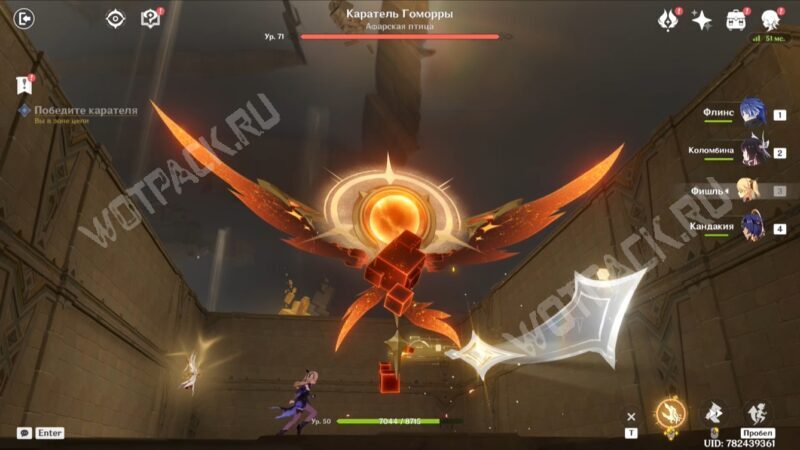
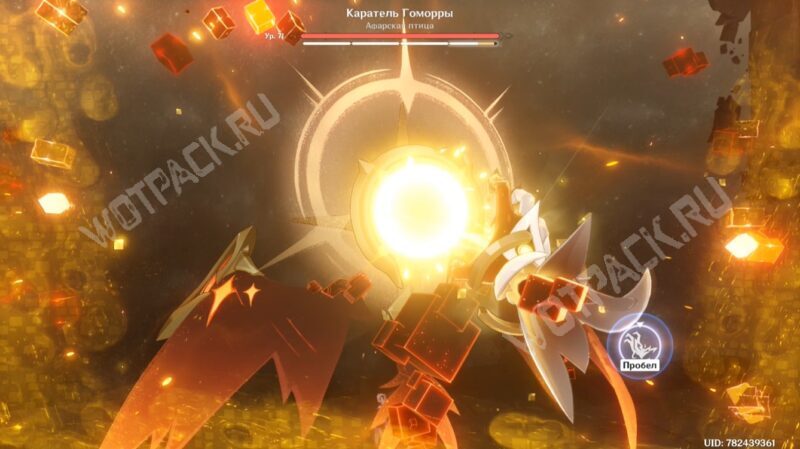
- Get rid of summoned helpers in a timely manner.
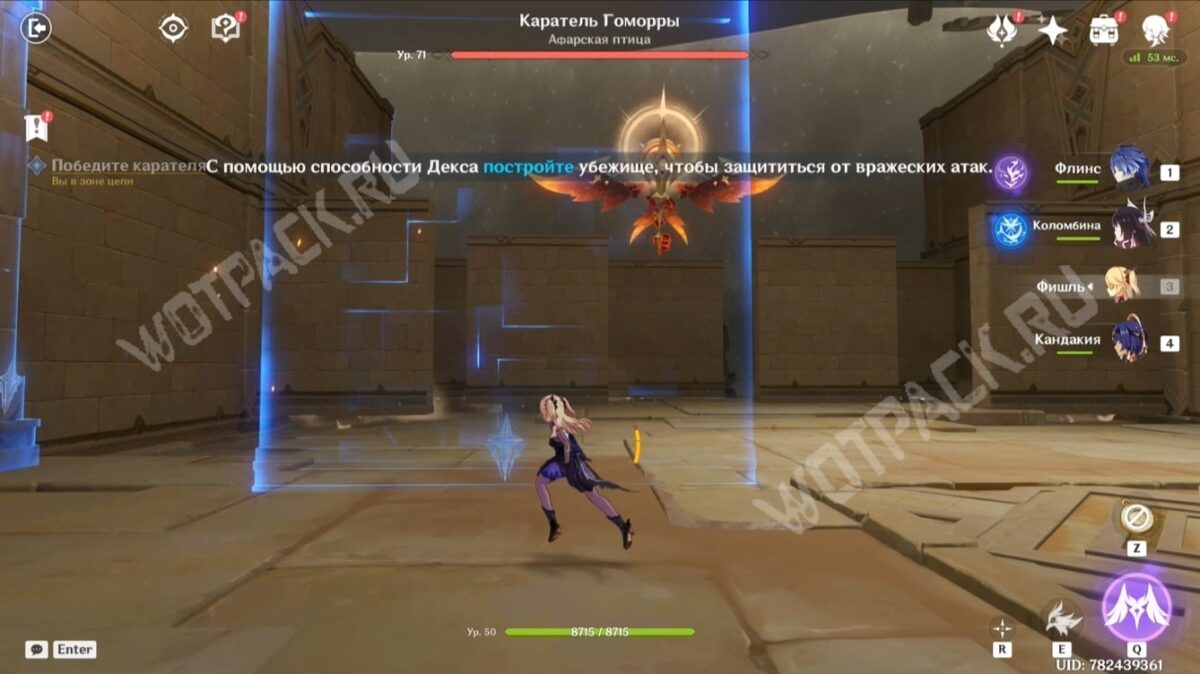
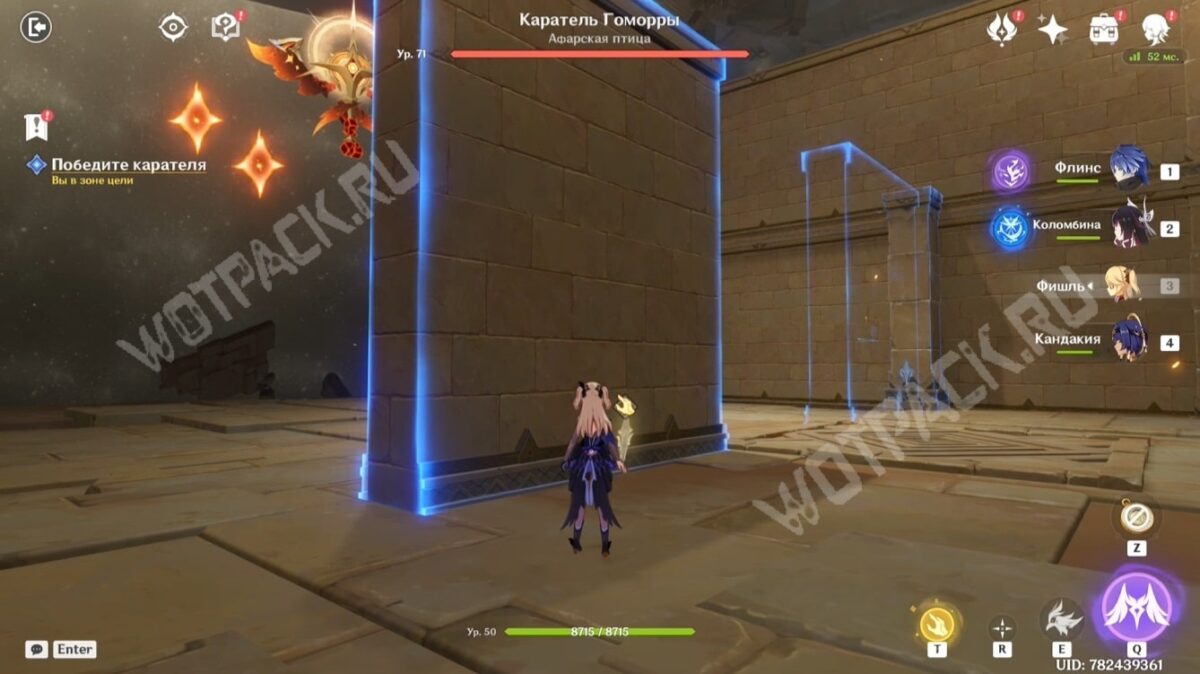
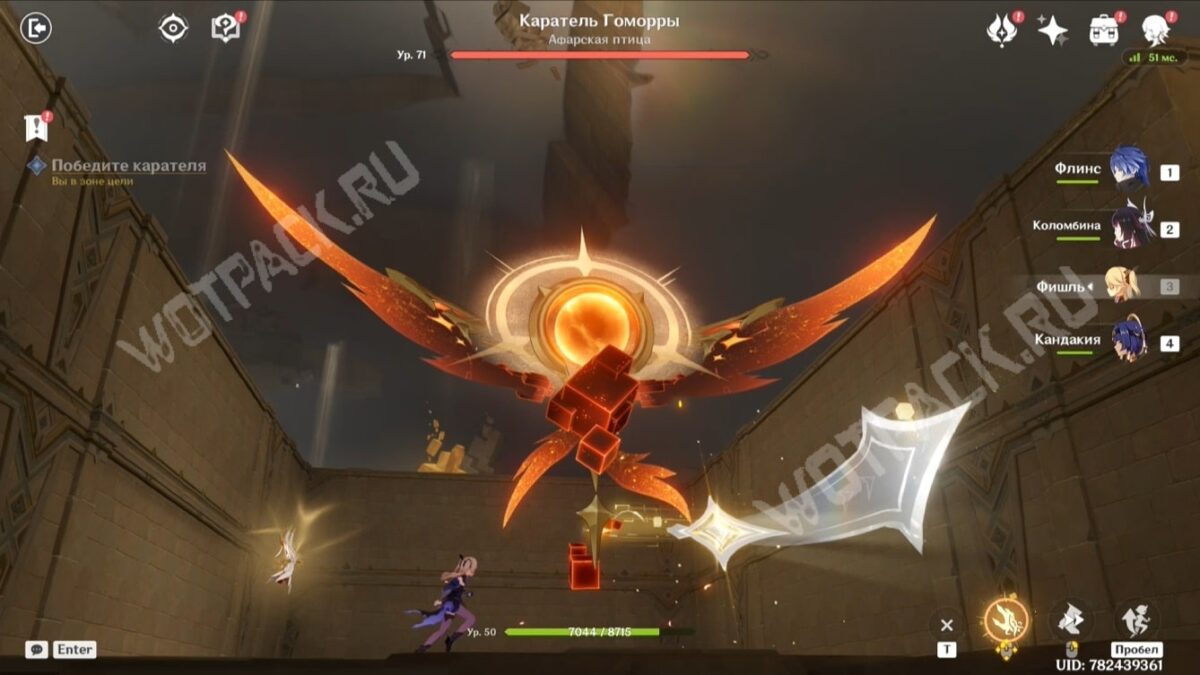
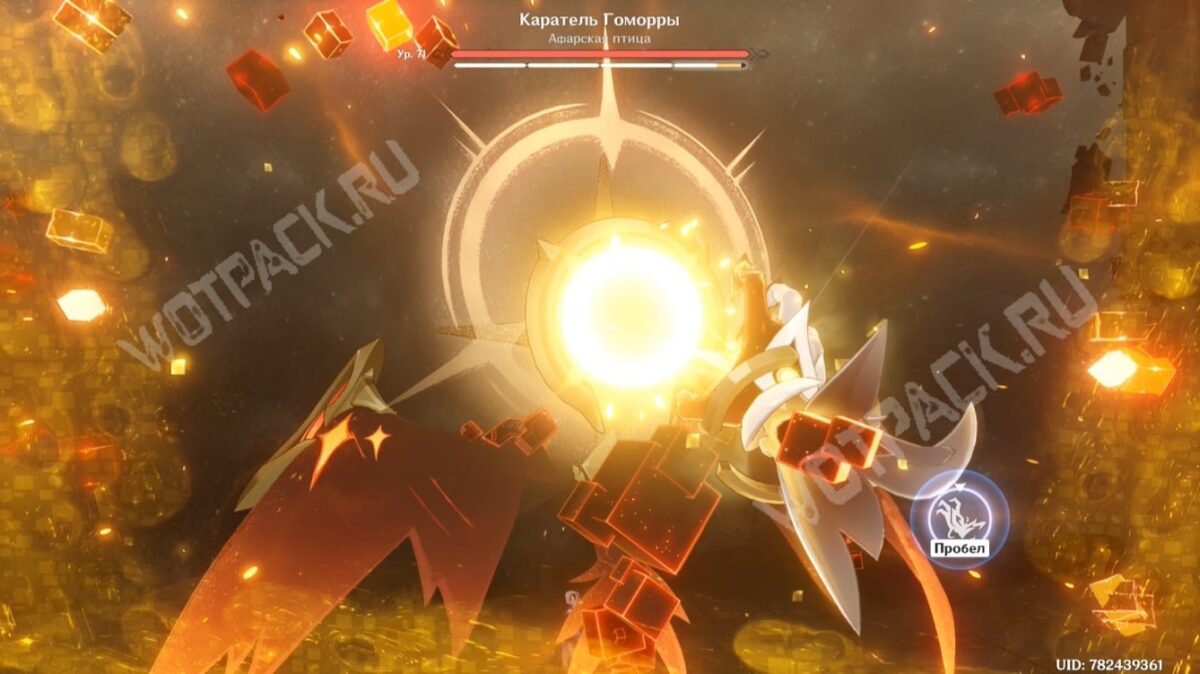
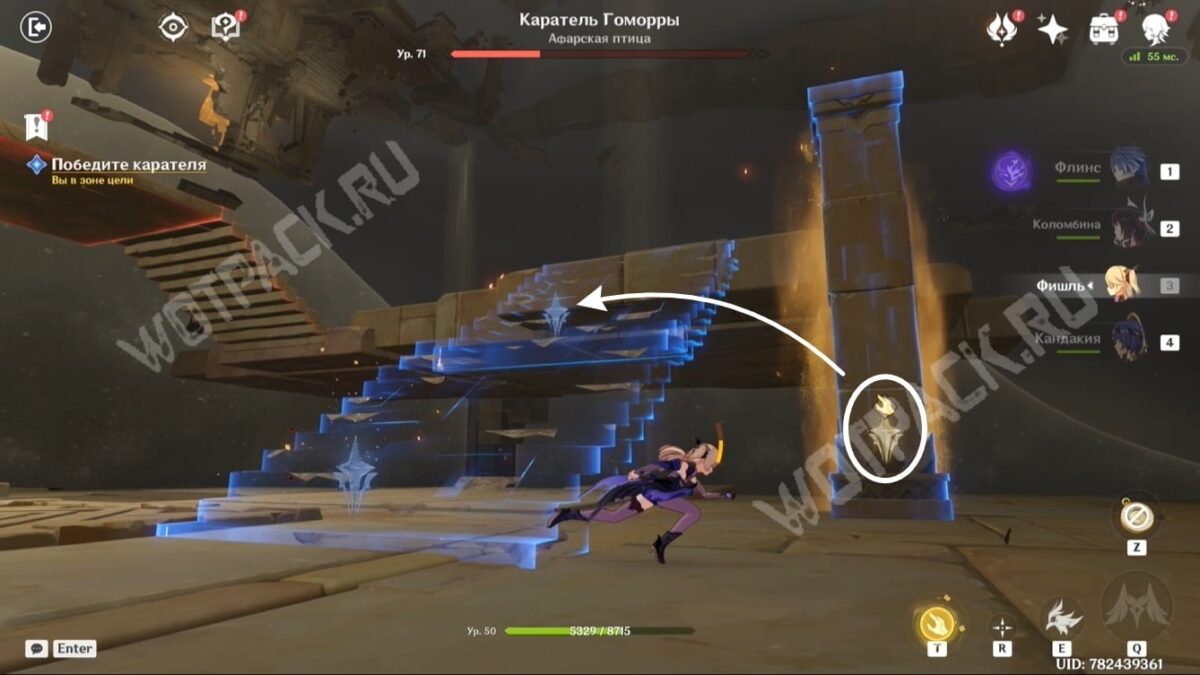
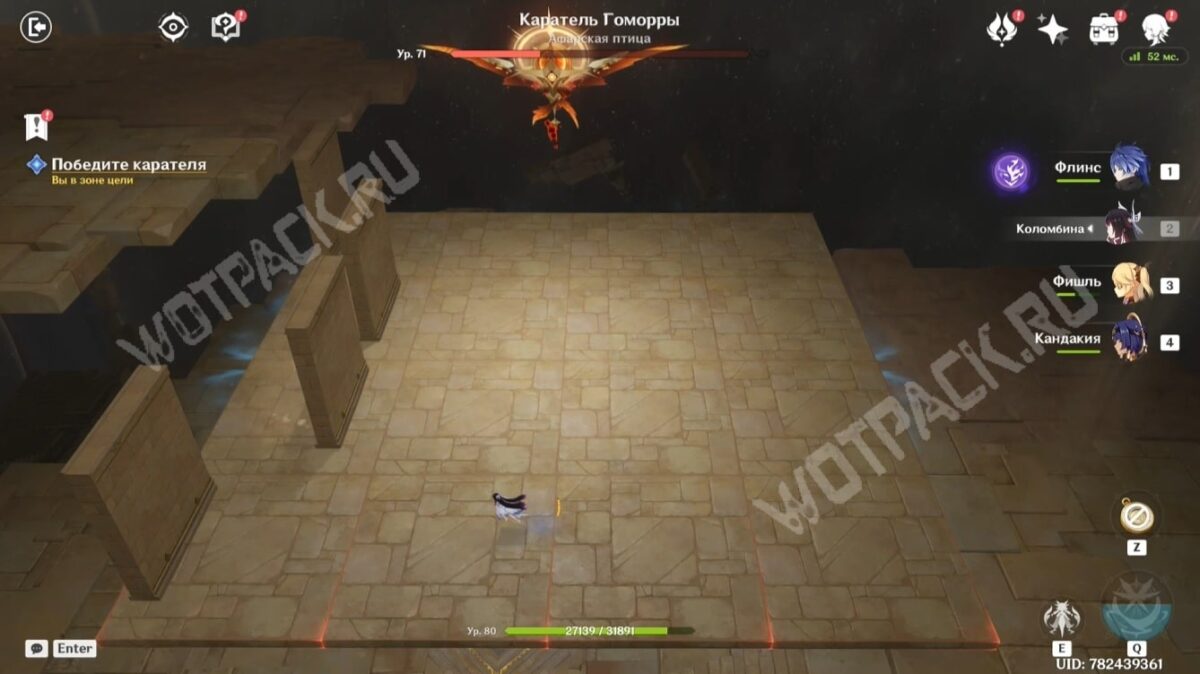
As you move into the final phase, build a ladder and climb up to the next level, where you'll have to dodge the approaching walls several times.
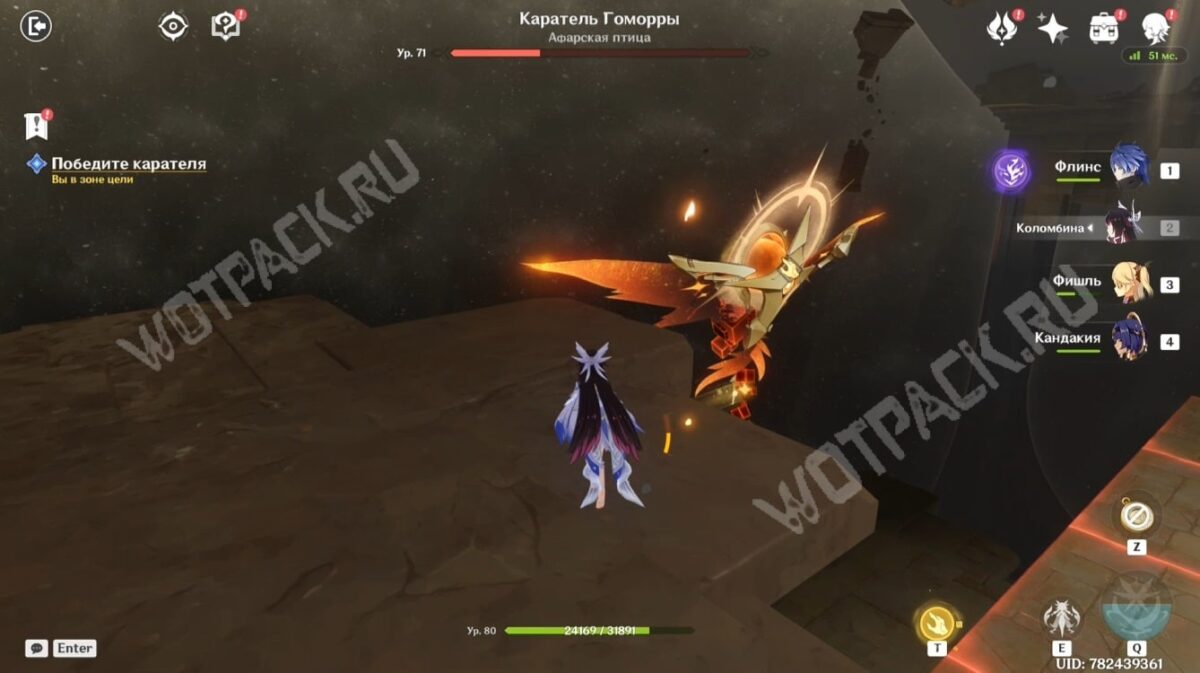
Once you complete the mini-game, you'll be able to run to the Afar Bird and reduce its HP to 0. You'll receive a series of chests as a reward.
Head to the center of the Hall of Pillars
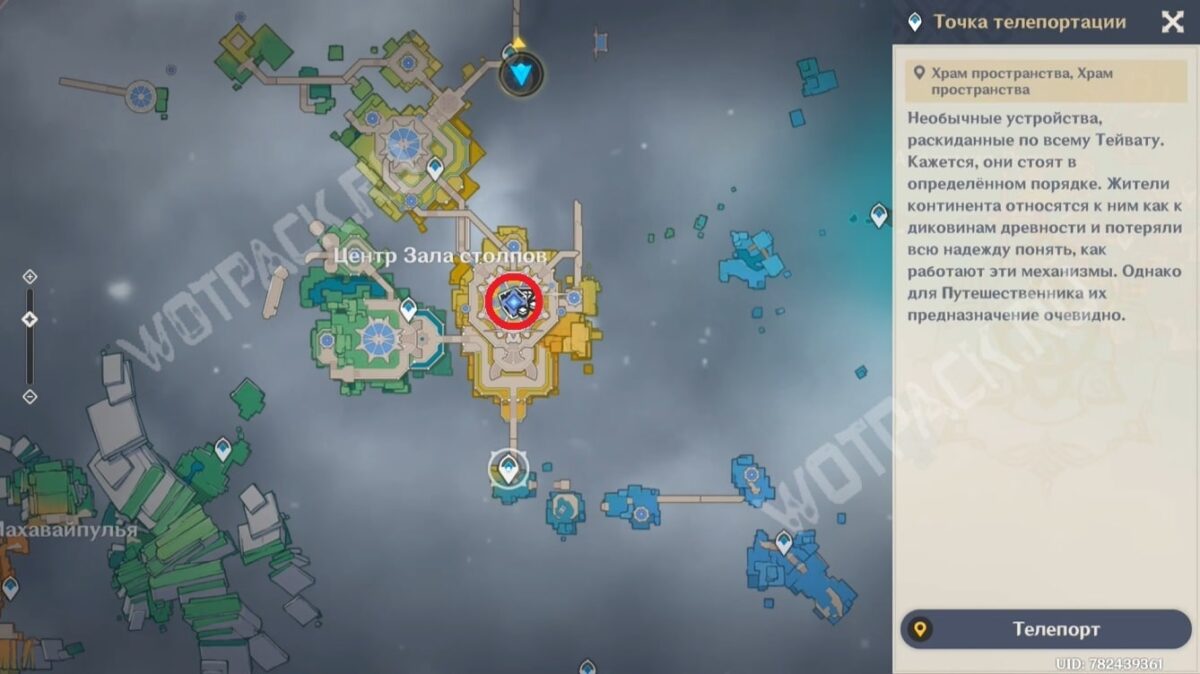
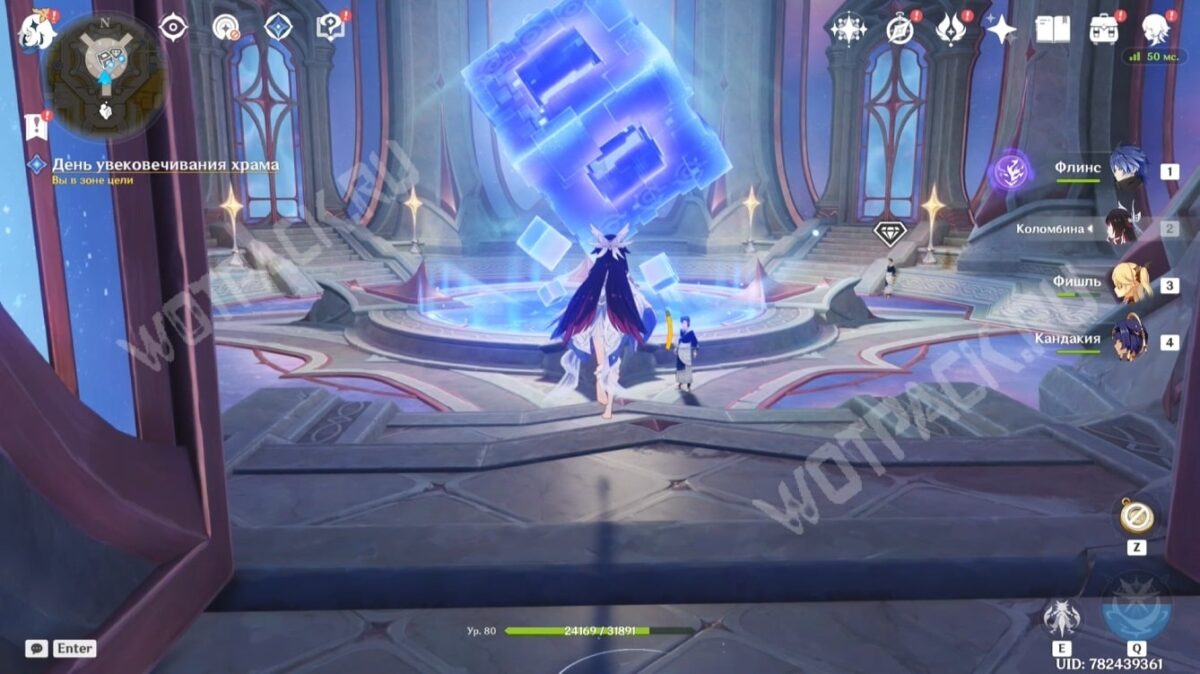
After finding all of Zeitlind's lost items, return to the safe area in the central part of the Hall and speak with Istorius. During the conversation, you'll learn what happened to Ronhilda and decide to resist Melanthus.
The next chapter of the story is Lion's Valor quest in the chains of Hell.
Rewards
By completing the challenges of the three zones, you'll find treasures of varying rarity containing valuable resources. The main reward for completing first chapter of history celestial location above Peak of the winds will be:
- Adventure EXP ×500;
- Primogems ×60;
- mora ×60 000;
- Hero's Wit ×6;
- Mystic Enhancement Ore ×6.
In addition, as part of the adventure, you will open 2 normal, 14 rich, 8 precious and 3 luxury chests, from which you will receive a total of ×174 source stones and memory factors ×27.
In a separate article we collected information about all of them Temple of Space side missions.






What should I do if, when entering the library through a page in the "Day of the Temple's Perpetuation" task, the page doesn't turn, and the space doesn't load or isn't created?
I ran a file check, but nothing happened. The task is still pending, even though everything is completed. I'm thinking of contacting support, since this is such a widespread bug.
What stage are you at? "Leave with Zeitlind"?
Try to complete all the quests in the "Paradise" folder. I couldn't keep up with it because I was busy with the "Long Live Life" quest.
After the 3rd quest (I've completed all 3), I still have the task "find lost items and free all areas", although I've already done everything, and there is no History in the central part of the hall, + the mark is not placed on the map, I don't understand at all what to do
Isn't he standing there in the corridor with Zeitlind?
If the objective isn't updating, try verifying your files and re-entering the game, checking everything, setting the "tracking priority," and so on. If the objective to return to the center of the Hall of Pillars doesn't appear, contact technical support. You've most likely encountered a bug.
I have the same problem, and when I move to the palace in the desert, it says that the guardian has moved. Have you found a solution to the problem?
Anyway, I had the same problem, I wrote to support, they asked me to take a video, and when I teleported to the entrance of the Mahavaipulya hall, I immediately started talking to the NPC stories, and then I completed the quest. I hope this helps you.
+, absolutely the same
All the quests have already been done
where to find things Zeitlind?
You just need to complete all three quests.