

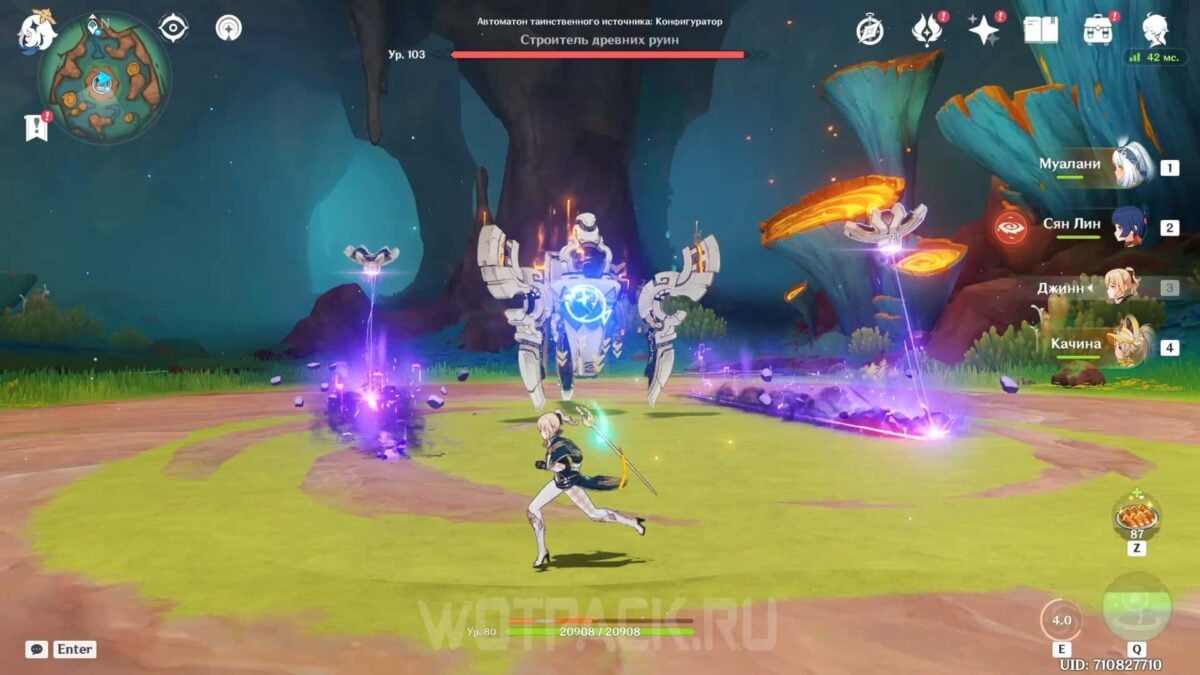
В Genshin Impact World Boss Mysterious Source Automaton: Configurator - a mechanism of an ancient civilization for collecting samples. The enemy has a special mode that activates near the owners of the Blessing of the Night Spirit. It creates special pillars of solid phlogiston, which can only be climbed by characters belonging to the Echo Children tribe.
In this guide, we'll tell you how to unlock the Mysterious Source Automaton: Configurator and defeat it with special heroes and tactics. We'll also tell you what Exaltation Materials drop and which companions require them to level up.
In a separate guide, read the guide to the boss with a similar name - Overseer.
How to get to the Mysterious Source Automaton: Configurator in Genshin Impact
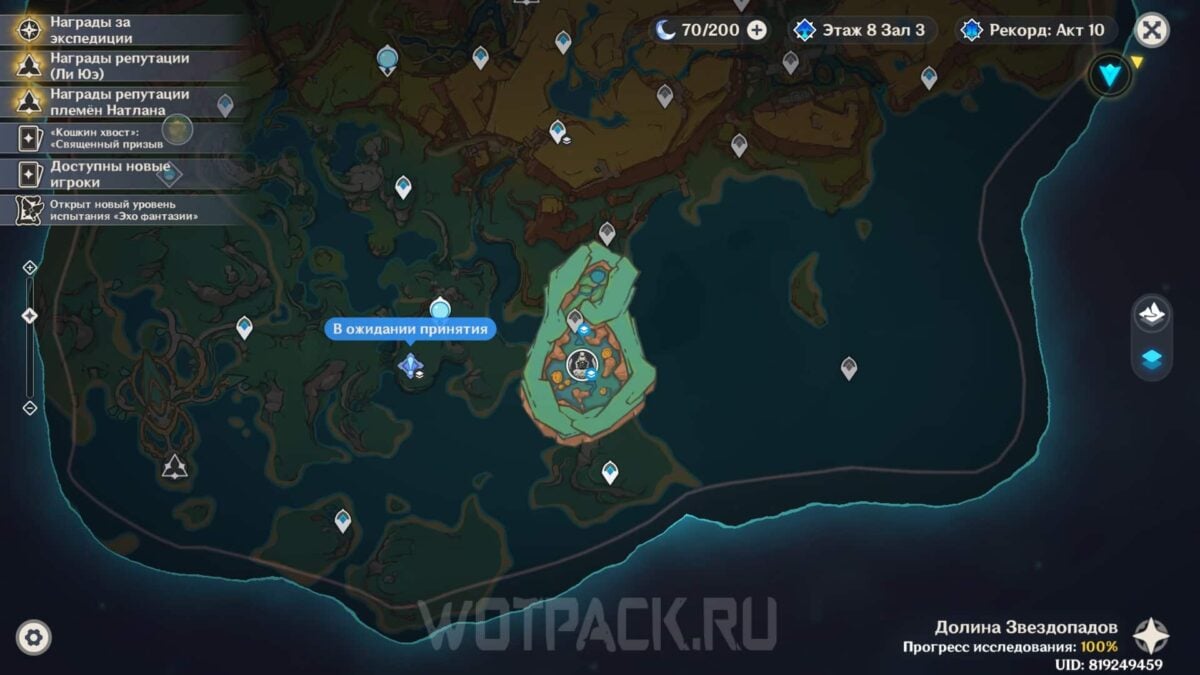
The Mysterious Source Automaton is located in one of the cave locations of Natlan.
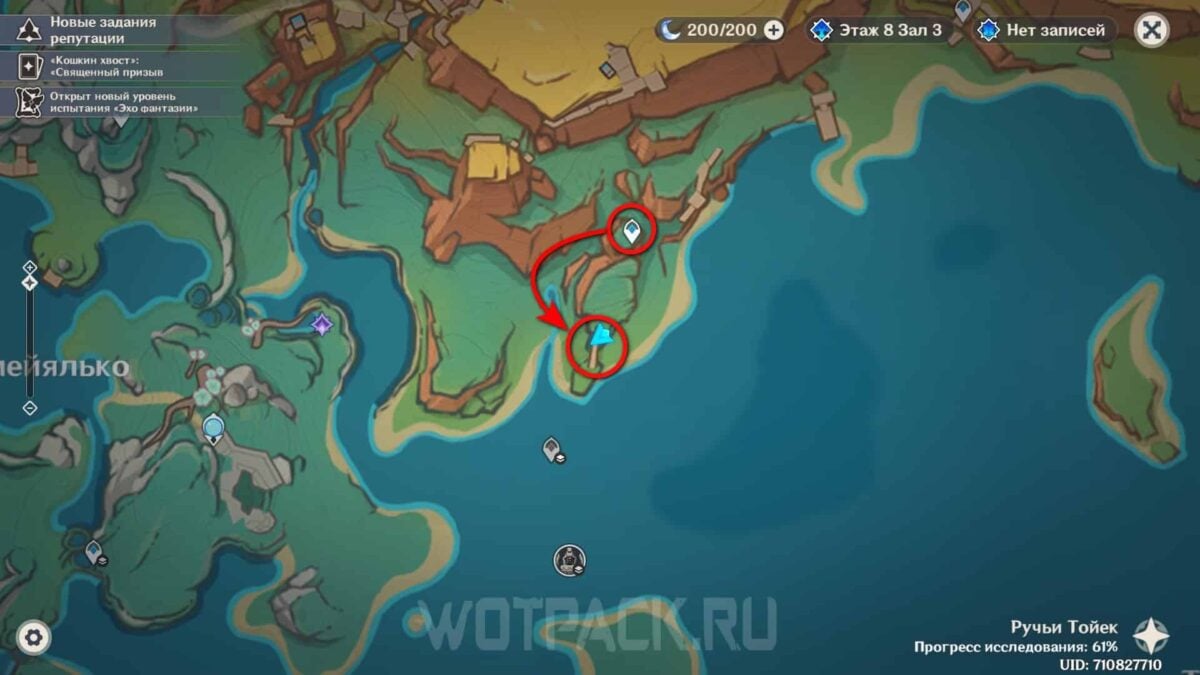
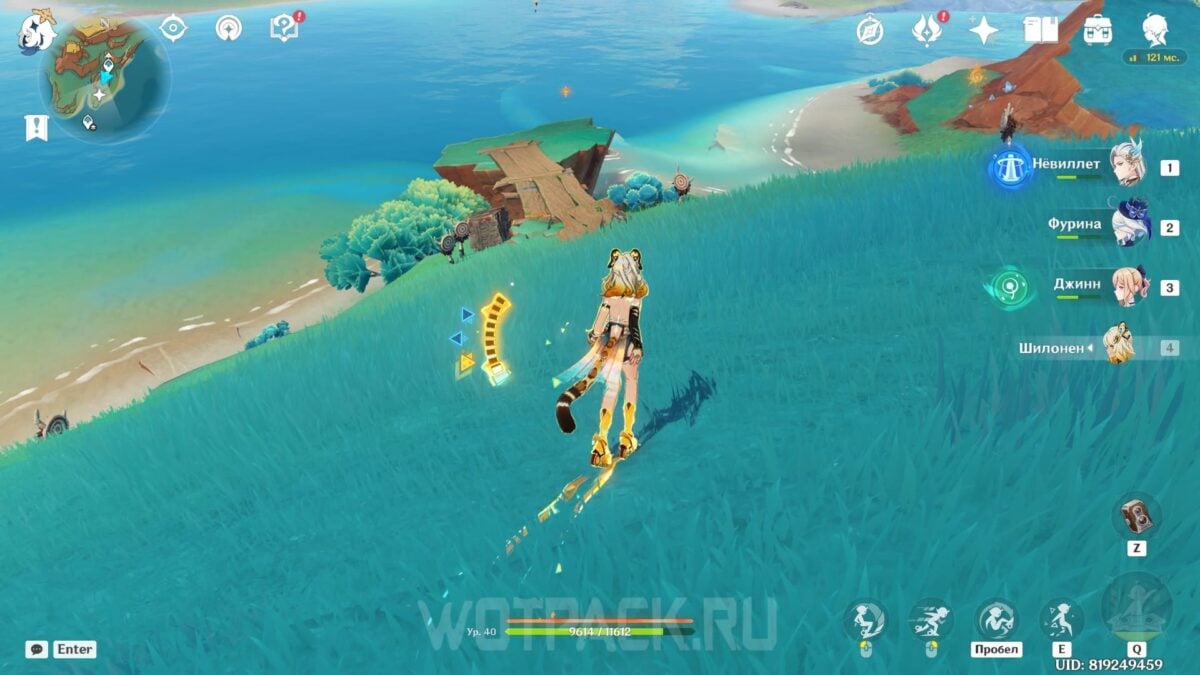
Start your journey from teleport, located on the border between the Toyek Creeks and Coatepec Mountain. From there, head southwest toward a wooden bridge that spans a gap between two small mountains. When you reach the planks, look down.
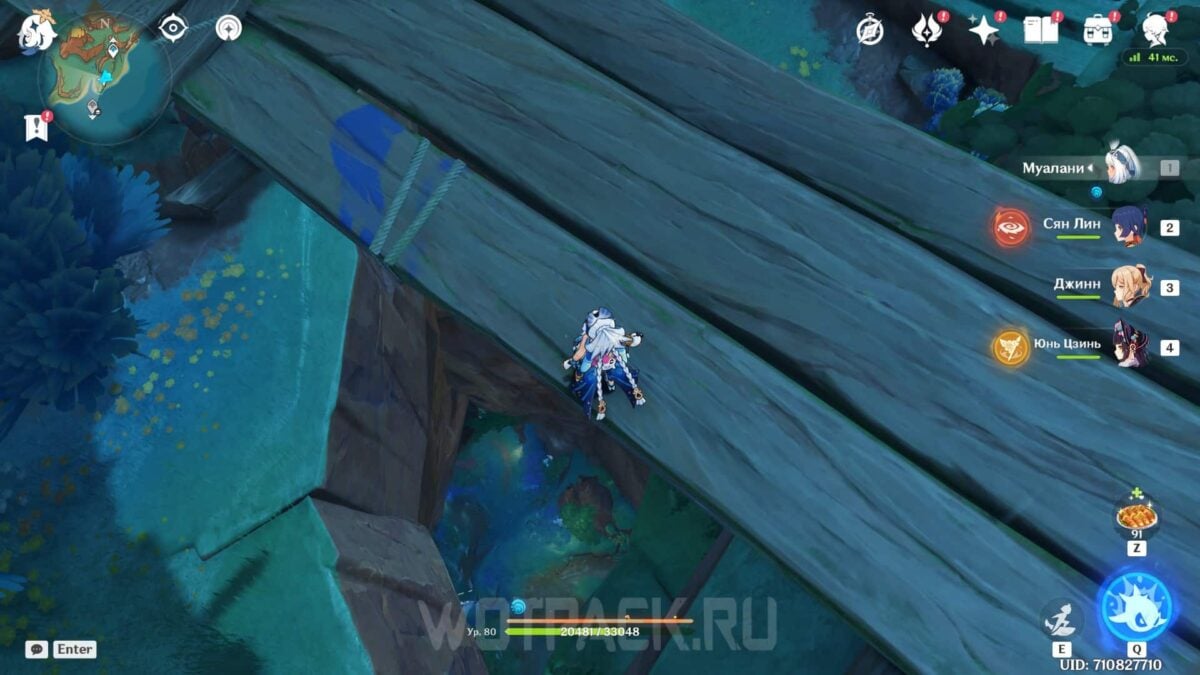
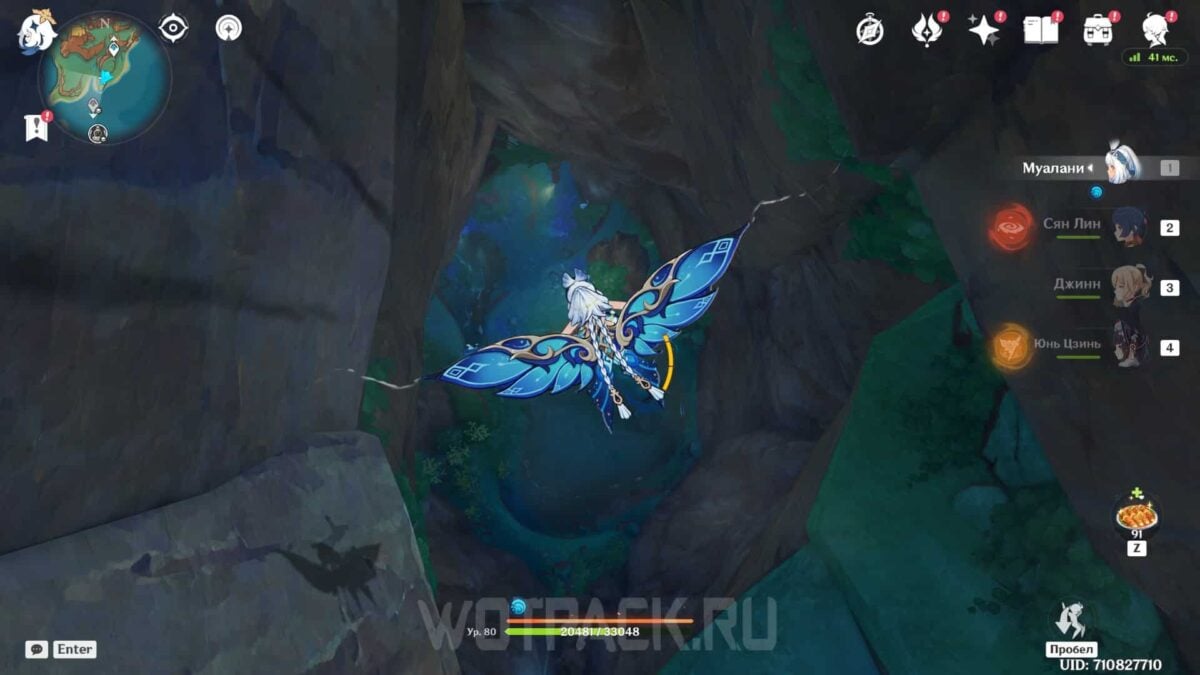
Go down into the cave and go deeper until you reach the underground teleporter.
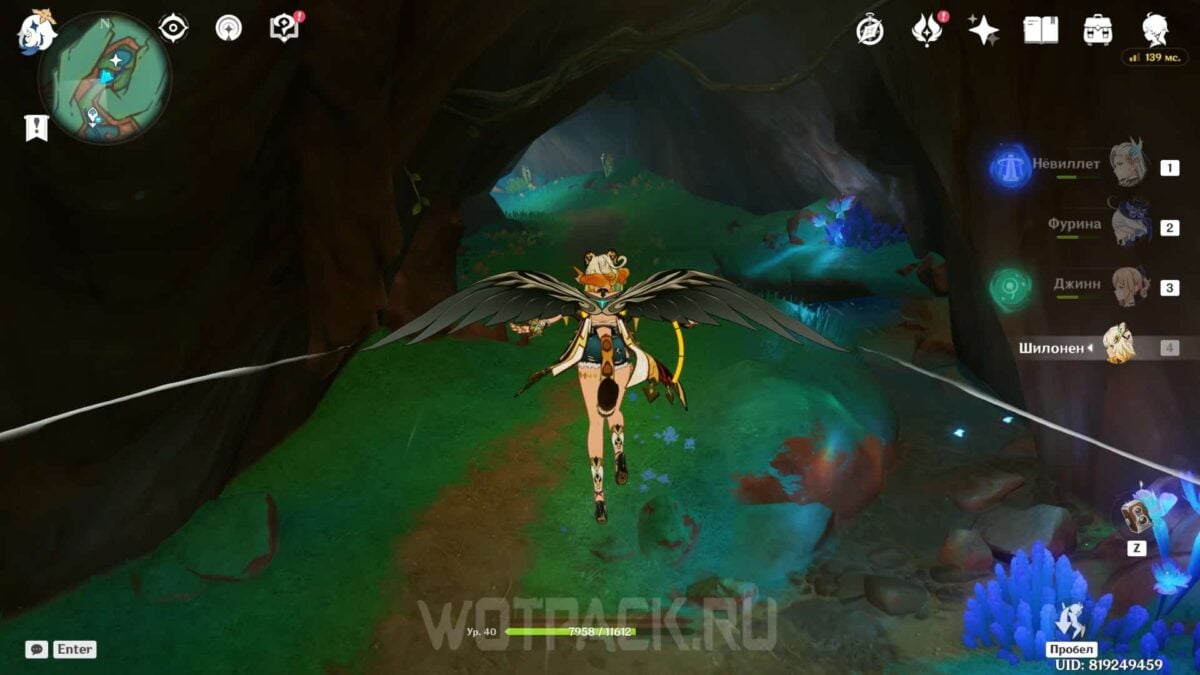
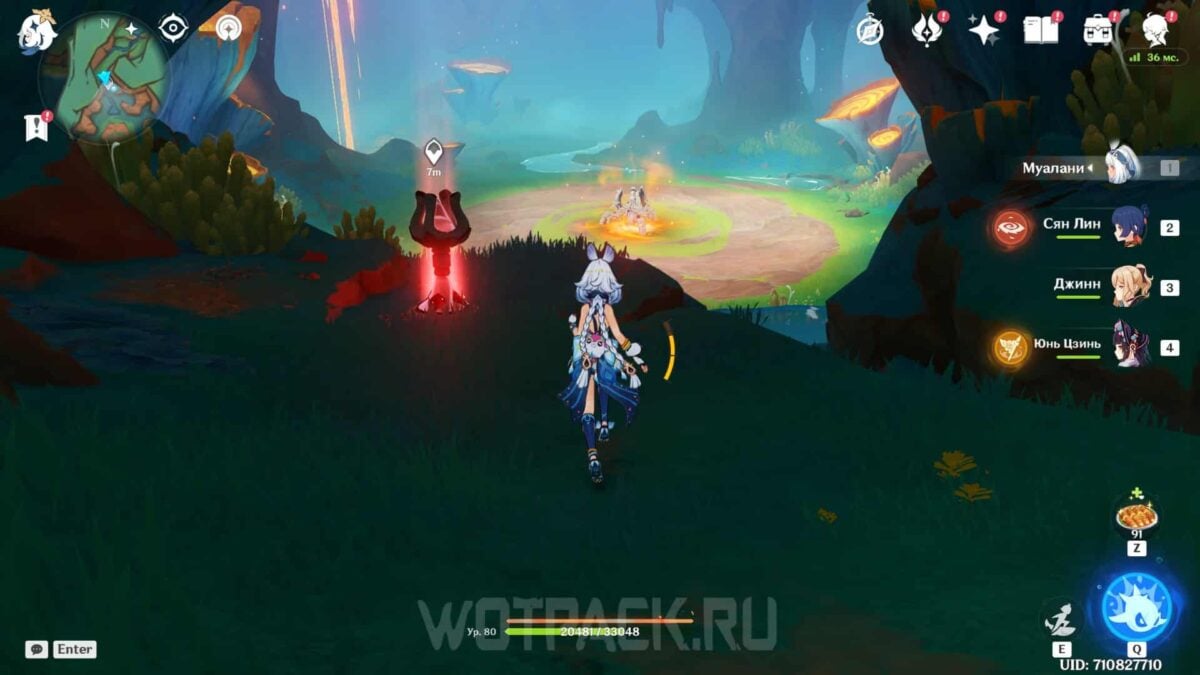
From the point of movement there is a view of a small location where the arena is located.
Who to take into the squad to fight the Automaton of the Mysterious Source: Configurator

Source: https://genshin.honeyhunterworld.com
The boss uses Electro in battle, although the enemy's resistance is the same for all elements and equals 10%. However, at the beginning of the battle, the resistances increase to 60%.
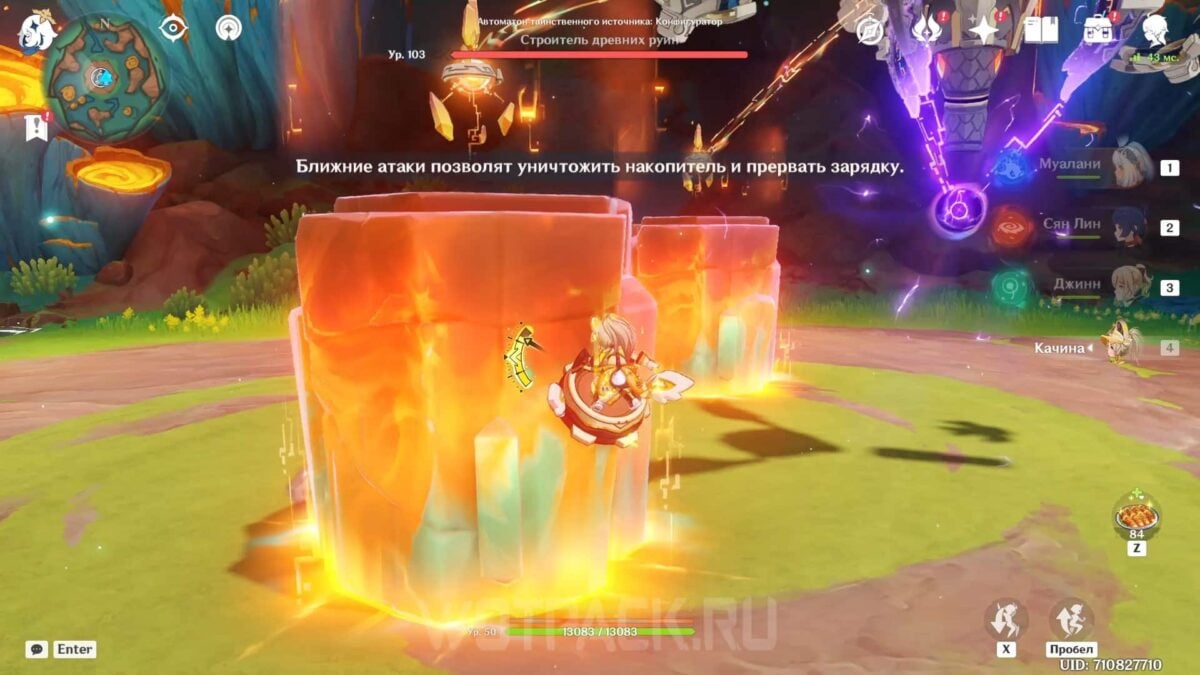
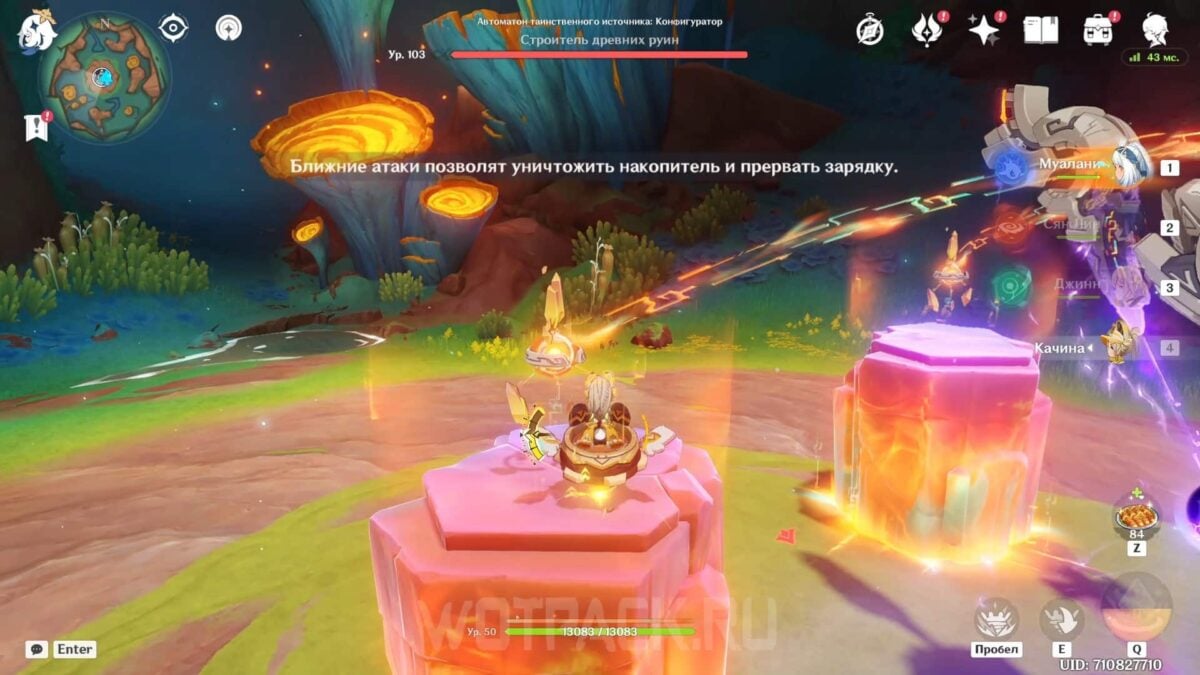
Additionally, the Mysterious Source Constructor begins charging the Spherical Lightning Cannon. The attack can be interrupted by entering the energy field located at the top of the solid phlogiston pillars that the enemy creates and destroying the mechanisms on them with any attack.
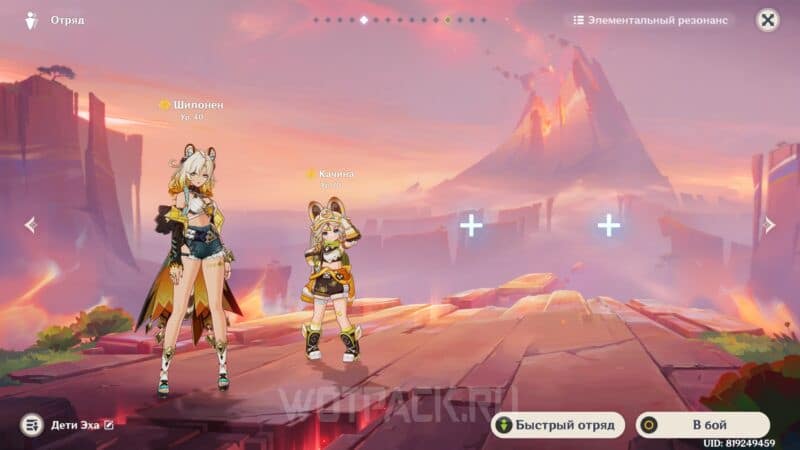
Since only a character belonging to a tribe can climb the pillars on their own Children of Echo, you need to put at least one such hero in your squad in advance. In addition to Geo companions from Natlan, heroes with high jumps can climb the phlogiston pillars, for example, Kazuha, Xianyun, Venti and others, however this is less convenient than the Natlan skills, since there is a chance that the boss will interrupt the jump with an attack.
Interrupting the attack will slightly reduce his HP and lower his resistances. Also, being in the Night Spirit state significantly brings the activation of the enemy's ability closer. Without the Night Spirit state, the Automaton will use its skill after 40 seconds. To fulfill all these conditions, it is recommended to take any Geo companion of Natlan to the squad, for example, the free Kachina.
Choosing Characters
Here is a list of heroes that can be used to defeat the Mysterious Source Automaton. For convenience, they are divided by roles in the team.
Main dps
A character who plays a major role on the battlefield. He can have any element, but it is recommended to take companions who can enter the Night Spirit state to quickly lower the enemy's resistance by triggering his powerful attack:
| Character | Element | Weapon | Effects |
|---|---|---|---|
 Neuvillette |  Hydro |  Catalyst | In battle, he uses powerful charged attacks, attacking Hydro enemies from a distance. By collecting Source Drops, he heals himself, which is useful for unexpected attacks. |
 Tartaglia | Hydro |  Bow | The skill changes the stance from close to long range, which will allow you to avoid enemy attacks. Elemental Explosion will allow you to throw an instant powerful blow to one target. |
 Alhaitham |  Dendro |  Sword | A melee fighter who fights with normal or Dendro-charged attacks after activating an elemental skill. His ability allows him to quickly move close to enemies, and his ultimate attacks an area. |
 Tighnari | Dendro | Bow | Plays off charged shots that hit Dendro. Speeds up the charging of hits by activating the skill. His elemental burst also hits one target hard. |
 Hu Tao |  Pyro |  Polearm | Pyro damager, spending his HP. Hu Tao plays through charged strikes, depending on the level of health. Heals himself with the ult. |
 Yoimiya | Pyro | Bow | Pyro main DD, attacks with fast normal hits under infusion. Convenient because it can deal a lot of damage to one target from a distance without taking damage. |
 Raiden |  Electro | Polearm | A versatile Electro damage dealer who can be either a main DD or an element applicator or "battery". Electro attacks from his pocket along with an active ally, and his ult hits hard and restores the team's energy. |
 Mualani | Hydro | Catalyst | Enters the Night Spirit state and begins to move on a surf shark, placing marks on enemies. The basic attack activates the marks and painfully hits one target. Convenient in battle with bosses not only for damage to one enemy, but also for its high ability to dodge. |
 Ayato | Hydro | Sword | Can't boast of attacks as powerful as the previous heroes, but he consistently and quickly hits Hydro from his hand after activating the skill. His ult also allows him to join the team as a Hydro applicator for reactions. |
 Kinich | Dendro |  Claymore | Dendro is a damage dealer who fights in the Night Spirit stance. Kinich clings to enemies and hits under infusion. It is advisable to make squads for him using Burning or Bloom. |
 Clorinde | Electro | Sword | Has gameplay similar to Harlequin, tied to Life Debt, but requires healing to maintain the debuff. In combat, enters a stance with E, and then attacks with normal shots. |
 Ganyu |  Cryo | Bow | Cryo DD, who uses charged bow shots in combat that hit an area. Can also act as a convenient sub-DD for applying Cryo status. |
 Ayaka | Cryo | Sword | Deals high Cryo numbers with both normal and charged attacks under infusion, as well as with a skill or ult. Since bosses are not susceptible to Freeze, it is better to compose a party for Ayaka in this case using other reactions. |
 Navia |  Geo | Claymore | A Crystallize reaction damage dealer that increases his numbers from absorbed crystals. He does best in teams that can inflict a lot of elemental status. |
 Wanderer |  Anemo | Catalyst | Uses Anemo attacks and also enters a state that allows him to fly. He is able to easily dodge enemy attacks and attack them at the same time. |
 Arlecchino | Pyro | Polearm | A strong Pyro damage dealer who plays through the Life Debt mechanic, which gives her infusion and prevents her from healing. Deals high damage, but requires careful gameplay. |
 Wriothesley | Cryo | Catalyst | Another Cryo damage dealer who attacks mostly in melee and uses normal and charged attacks. Spends his HP, but also restores it. |
Sub dps
Secondary damage dealers that help the main DD hit and weaken the enemy:
| Character | Element | Weapon | Effects |
|---|---|---|---|
 Kachina | Geo | Polearm | A sub-DD for Night Spirit teams, capable of attacking with Geo both on the field and from the pocket. Can climb the pillars of solid phlogiston that the boss places. |
 Yelan | Hydro | Bow | Hydro sub-dd, playing from the ult. Deals his own damage from the pocket and buffs the active ally. Moves quickly with E-shka. |
 Xingqiu | Hydro | Sword | Budget version of Ye Lan. Attacks without being on the battlefield, reduces incoming damage and slightly heals the active hero. |
 Furina | Hydro | Sword | A versatile heroine who, depending on her stance, can attack with E-type creatures or heal allies. Also provides strong buffs to the team. |
 Xiangling | Pyro | Polearm | Uses an elemental explosion to deal high Pyro damage to an area. Used primarily to trigger or close reactions. |
 Dehya | Pyro | Claymore | Creates a field and attacks both from the pocket and on the battlefield with the ult. Diverts some of the incoming damage, increasing the team's survivability. |
 Nahida | Dendro | Catalyst | Sub-DD for Dendro Reactions. Places marks on enemies that activate when reactions are triggered, and increases elemental mastery of allies with an elemental explosion. |
 Emilie | Dendro | Polearm | A secondary damage dealer, most often seen in Burning squads. Creates an area where Dendro constantly hits. |
 Yae Miko | Electro | Catalyst | Places totems that periodically attack the enemy Electro. Removes them with an ult and deals high damage. |
 Fischl | Electro | Bow | Summons the raven Oz, who, alone or together with an active partner (if there are constellations), deals Electro damage to enemies and gives a lot of status for reactions. |
 Rosaria | Cryo | Polearm | A sub-DD tied to a small area of the ult that gives a Cryo element to reactions. Also increases the crit chance of allies depending on the value of this stat itself. |
 Kazuha | Anemo | Sword | Draws in enemies and inflates elements. Absorbs any element except Dendro and Geo with the ult. Set Wearer Viridescent Venerer. |
 Sucrose | Anemo | Catalyst | Performs the same functions as Kazuha, but instead of an elemental buff, it increases the elemental mastery of allies and wears Thrilling Tales of Dragon Slayers. |
Supports
Support allies that are needed not so much for their own damage, but for distributing buffs, healing or shields:
| Character | Element | Weapon | Effects |
|---|---|---|---|
 Zhongli | Geo | Polearm | A strong shielder that keeps allies virtually unharmed. Also reduces the resistances of nearby enemies. |
 Yun Jin | Geo | Polearm | Increases numbers from normal attacks, and if constellations are present, the speed of strikes. Absorbs part of incoming damage with E and pumps up energy for the team. |
 Thoma | Pyro | Polearm | Pyro is a support hero who provides the team with a reliable shield. With C6, he increases the numbers of normal attacks. |
 Yaoyao | Dendro | Polearm | Summons a Yuegui bunny that, depending on the HP of allies, either heals them or attacks enemies. |
 Kuki | Electro | Sword | Spends some of his health and creates an area around himself that heals squad members and affects nearby enemies with the status. Useful for triggering reactions with Electro. |
 Xilonen | Geo | Sword | Geo buffer that reduces enemy resistance to party members' elements. Like Kachina, it can climb phlogiston structures. |
 Kokomi | Hydro | Catalyst | Heals the team with a skill from the pocket or with normal attacks during the ult. Works well as a support or driver if needed. |
 Sigewinne | Hydro | Bow | Doesn't apply much Hydro status, but has a strong heal. Also will enhance sub-DD skills that work from the pocket. |
 Bennett | Pyro | Sword | A versatile support that provides attack power and heals allies within a limited area. |
 Baizhu | Dendro | Catalyst | Dendro is a support that heals the entire team, provides shields, and applies a status for subsequent reactions. |
 Diona | Cryo | Bow | Cryo shield and healer in one person. When using Sacrificial Bow will serve as a battery. If there are constellations, it gives mastery of the elements. |
 Layla | Cryo | Sword | It has a strong shield and is also a reliable Cryo applicator for reactions. |
 Jean | Anemo | Sword | A strong Anemo healer who can use his ult to restore HP to the entire squad at once. He can wear the Viridescent Venerer set and inflate the elements. |
Top Teams
Squad options for fighting the Mysterious Source Automaton: Configurator:
| Character 1 | Character 2 | Character 3 | Character 4 | Features |
|---|---|---|---|---|
MualaniTartaglia Ayato | KachinaXilonen | Xiangling | KazuhaSucroseJean | Group through the reaction of Steam with different Hydro damagers. Geo ally on the second slot will help to quickly weaken the boss, climbing on the columns of phlogiston. Anemo hero inflates the elements or absorbs them for reactions. On Xiangling, you need to get a high level of elemental mastery. |
| Kinich | EmilieNahida | ThomaDehya | Kachina | A squad with Kinich through the reaction Burning. Pyro status on the boss is applied by Toma or Dehya, they also protect the squad. Emilia or Nahida cause Burning and maintain it. Kachina is needed to weaken the enemy during the ult, which he will enter faster due to Kinich's Night Spirit. |
| AlhaithamTighnari | Nahida Dendro MC | Kuki | FischlYae MikoRaiden | A team with Dendro as a melee or ranged damage dealer. In this team, all companions cause various reactions with Dendro and Electro, and resonances increase elemental mastery and speed up energy regeneration. |
| Clorinde | FischlYae MikoRaiden | SigewinneKokomi Barbara | Furina | Squad via reaction Charged, as well as Electro and Hydro resonance. Since all sub-DDs summon creatures, Sijwin will significantly increase their numbers. However, if Sijwin is not on the account, she can be replaced by any Hydro healer. |
| NaviaRaiden | Xiangling | Bennett | YelanXingqiu | A versatile team with sub-DDs playing from elemental explosions from the pocket. As a damage dealer, you can put Navia through Crystals or Raiden. |
| Wanderer |  Faruzan | GanyuRosaria Kaeya | ThomaDehya | A squad with a Wanderer and an Anemo boost from Faruzan. Cryo and Pyro heroes not only attack from the pocket, but also provide attack power and crit chance to Scaramuccia from his passive skill. |
| Arlecchino | XianglingDehya | BennettThoma | KazuhaZhongli | Mono-Pyro squad with Harlequin and Pyro Resonance. For support, you can put Bennett for the attack power buff or Toma if you have constellations. For the last hero, choose Kazuha for Dispersion or Zhongli for resistance cut and a strong shield. |
| WriothesleyGanyuAyaka | Xiangling | Bennett | XilonenKazuha | Since Freeze doesn't work on bosses, Cryo damage dealers can play through Status Melt from Xiangling and Bennett. The last slot can be filled with Kazuha or Shilonen, but the girl is a priority, as she will help weaken the boss if he activates his ability after 40 seconds from the start of the fight. |
Budget teams
Several F2P teams of heroes available to all players:
| Character 1 | Character 2 | Character 3 | Character 4 | Features |
|---|---|---|---|---|
 Amber | Xiangling | Kachina |  Lynette  Noelle | A group led by Ember, who fights from a distance. Xiangling helps her and gives Pyro Resonance. Kachina, as in the previous squad, weakens Automaton. The last slot can be used to put a companion for Dispersion or a shield healer. |
| Kachina | Xiangling | Barbara | Kaeya | Xiangling and Kaeya attack from the pocket, dealing heavy damage with their ultimates and causing Melt. Kachina helps them both on and off the field, and also weakens the boss by climbing the Phlogiston Pillars. Barbara heals the team. |
Ancient Ruins Builder Attacks and Abilities
During combat, the Mysterious Source Automaton: Configurator attacks Electro with targeted shots and area-of-effect attacks.
Shot in the air
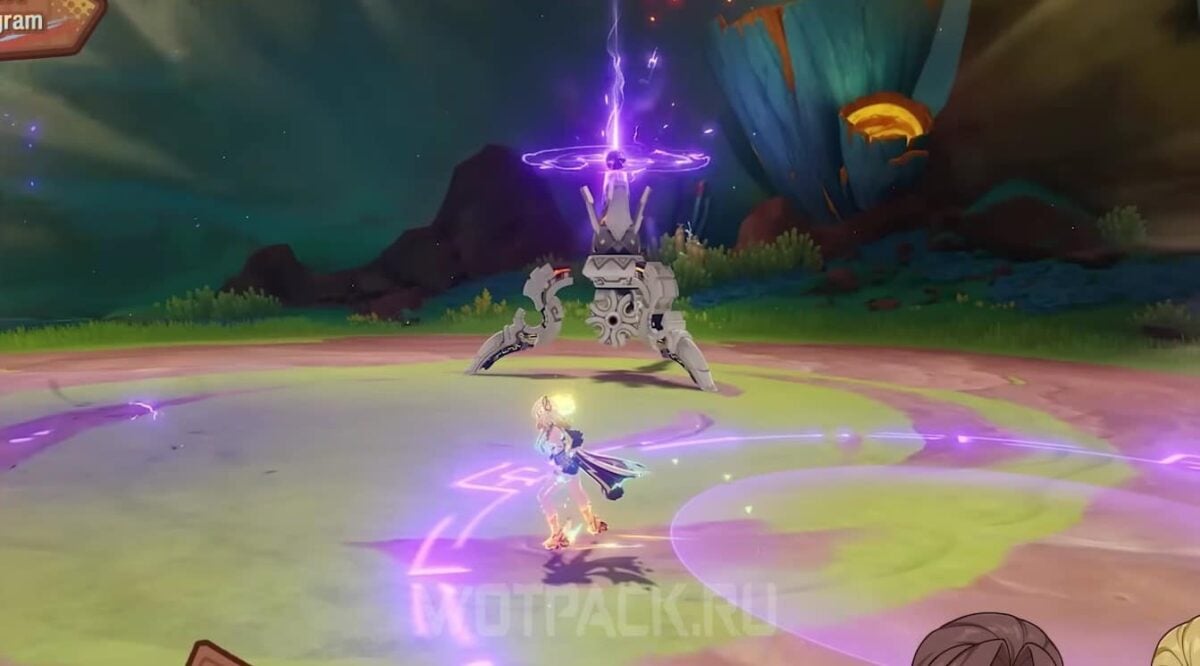
Charges up Electro energy and shoots it upwards. After a few seconds, the energy returns to the ground, striking in an area. Watch the mark on the field to avoid HP reduction from the enemy's attack.
Aimed Shot
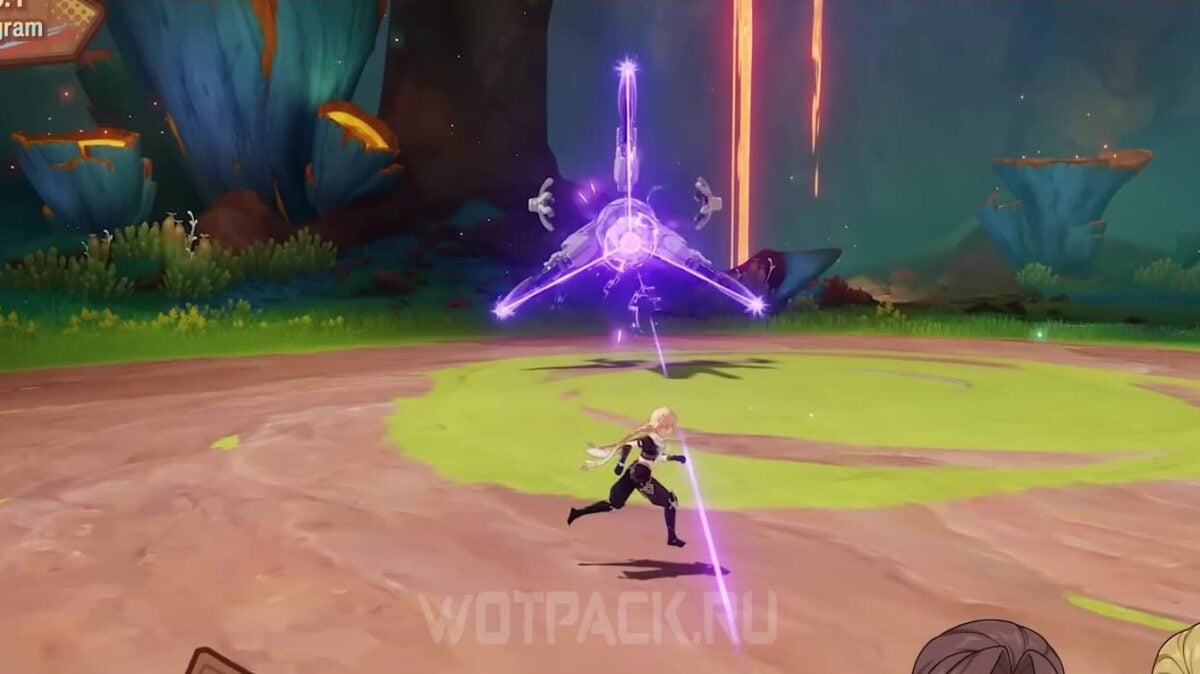
The Ancient Ruins Builder aims his laser at his active teammate, then fires a powerful strike in a straight line.
Moving
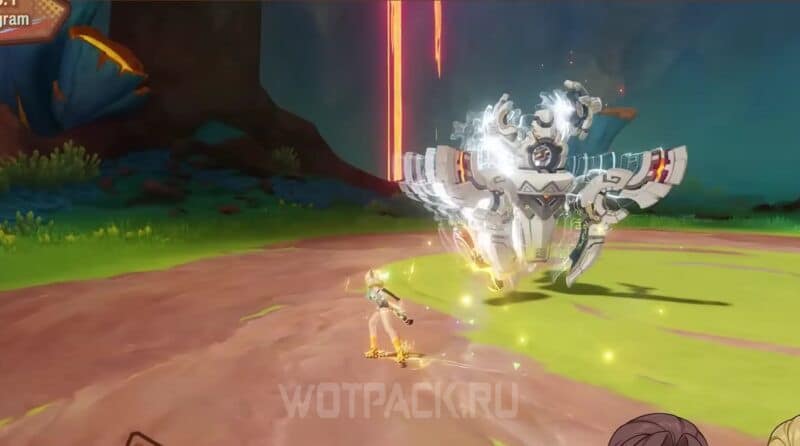
The enemy dashes and approaches the hero to perform a melee attack.
Laser Circular Strike

Summons two Electro Lasers that spin around.
Electric projectiles
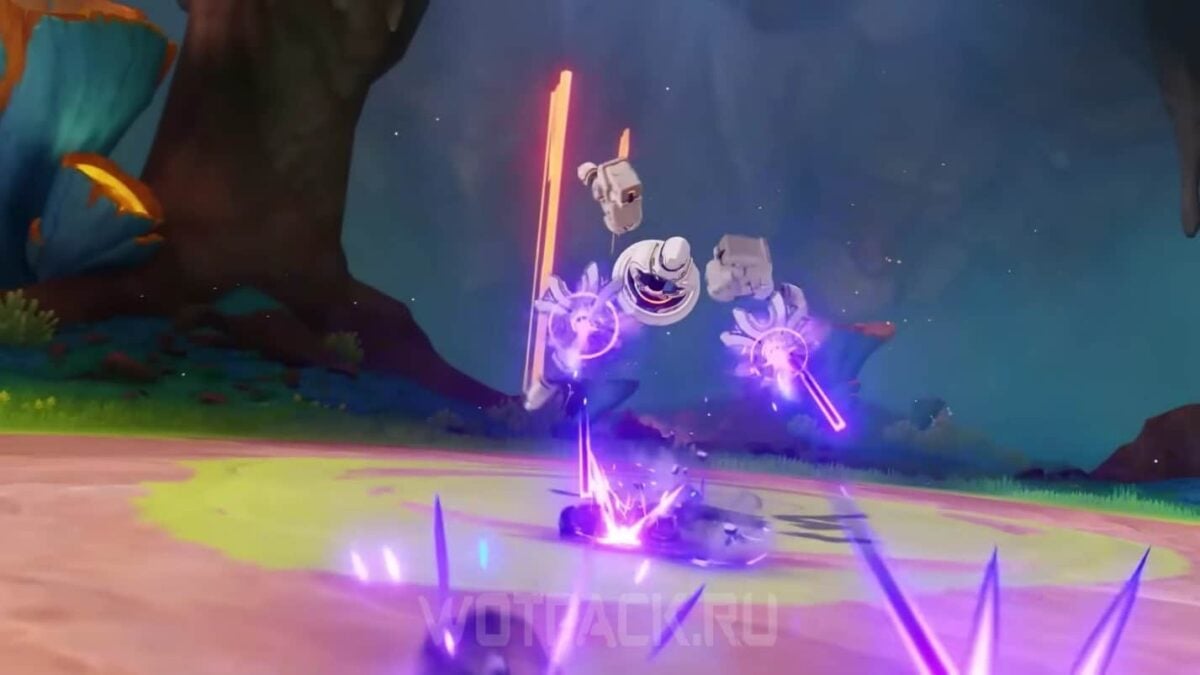
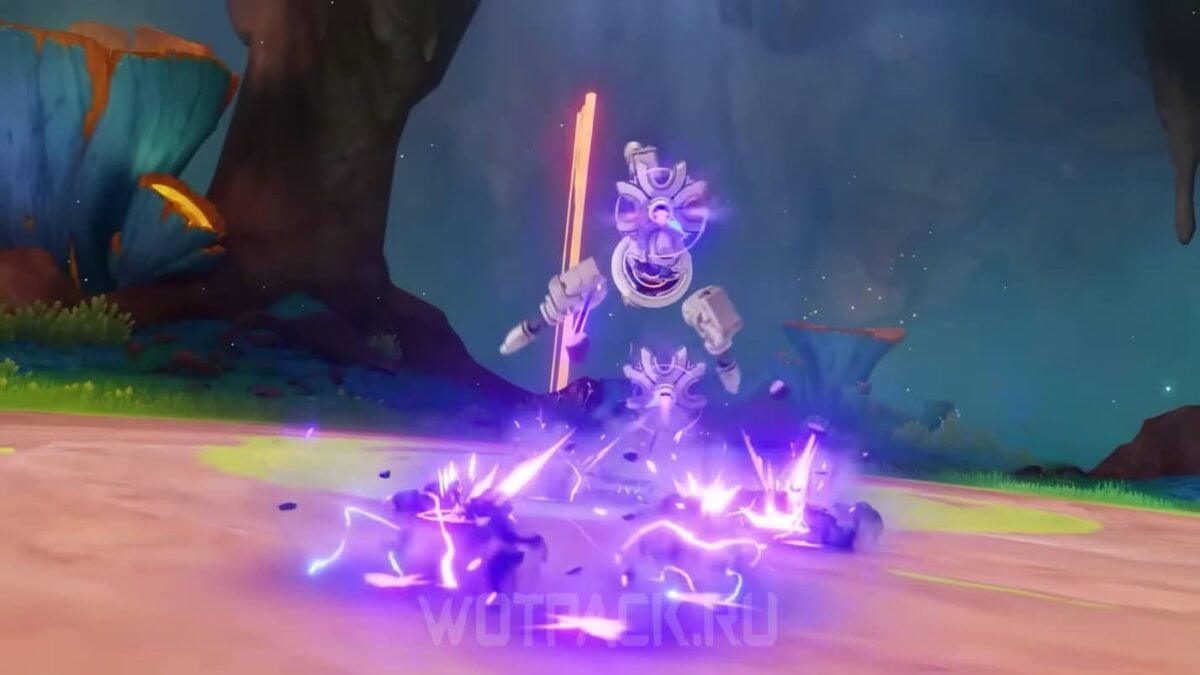
Uses two of his weapons to fire Electro projectiles in an area in front of him for a period of time.
claw strike

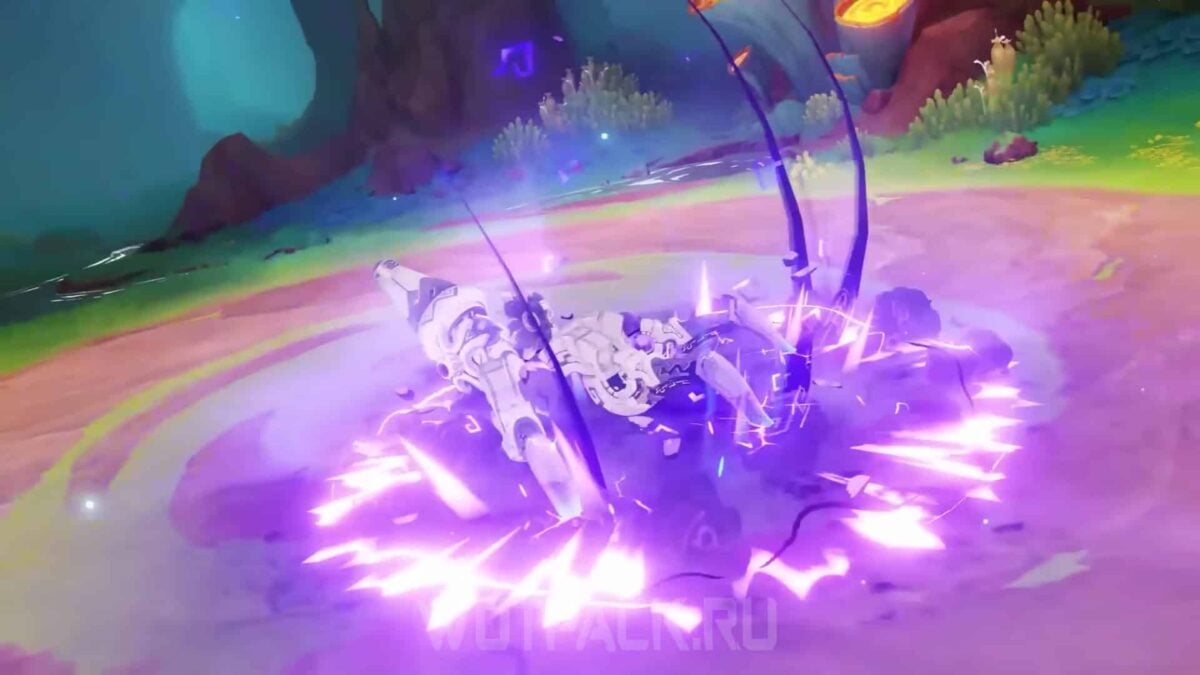
Transforms into a paw with three claws that are charged with Electro. After a moment, it drops to the ground and powerfully hits the area.
Laser strikes in a straight line
Hit with two lasers in parallel lines in different directions, first vertically and then horizontally. Most often attacks before the cannon charges.
Adaptive countermeasures
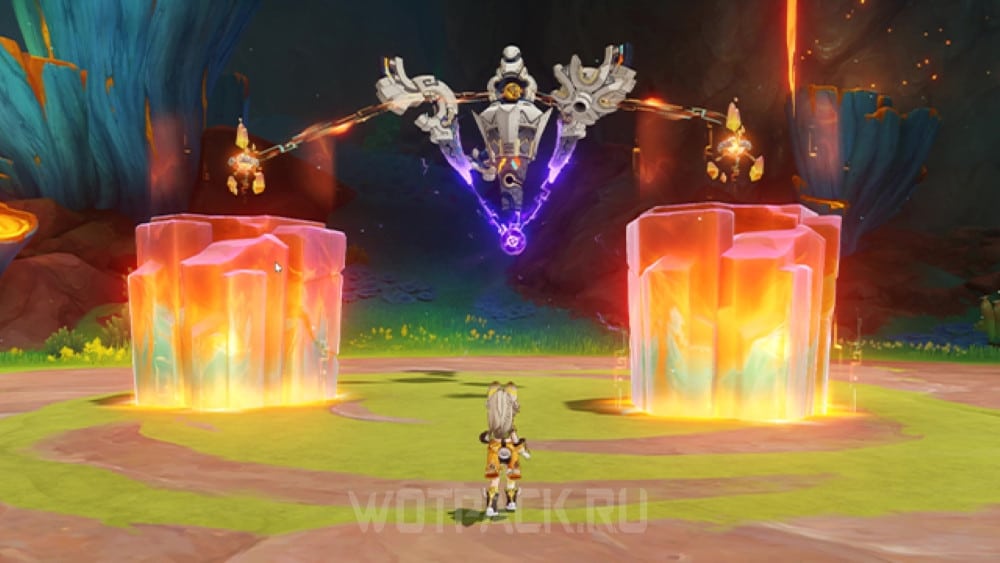
Begins charging the Spherical Lightning Cannon and summons two pillars of solid phlogiston with energy fields on top. Climb onto the phlogiston and stand in the field to interrupt the ability's charge.
Spherical Lightning Cannon

If the charge fails to be interrupted, it unleashes the power of Electro Lightning across the entire arena.
How to Beat Ancient Ruins Builder in Genshin Impact
Since the skills have some peculiarities, familiarize yourself with them in advance to make the battle with him easier and easily defeat the Mysterious Source Automaton: Configurator.
Before the fight, use potions and food with buffs
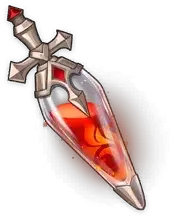


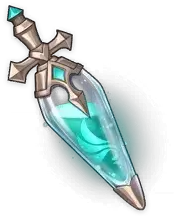

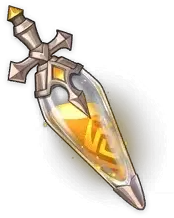

The table shows the most beneficial dishes for the buff. There are many recipes in the game to strengthen the characters, you can cook any other option depending on your resources.



Include characters from the Echo Children tribe in your party
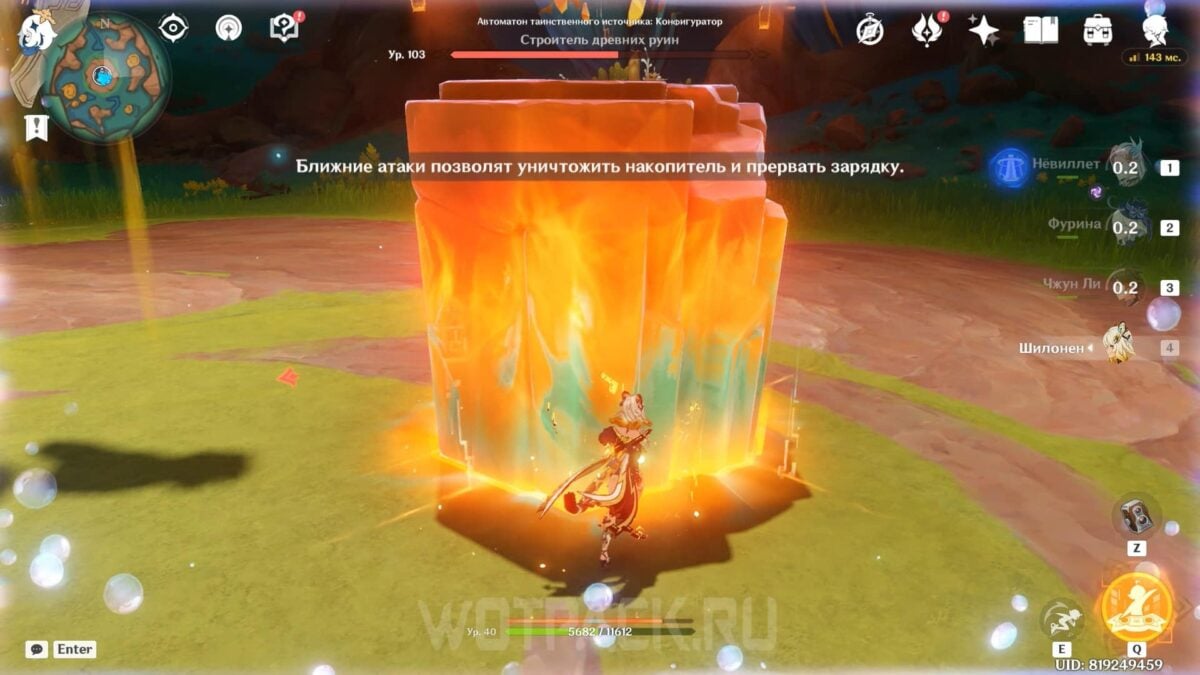
If you can't defeat the boss within 40 seconds before his ult activates, put a Geo hero from Natlan on your team, who can climb onto the solid phlogiston summoned by the Automaton. If the hero enters its energy field and destroys the accumulator, the enemy will lose some HP and also have reduced resistance to the elements.
Interrupt the charges
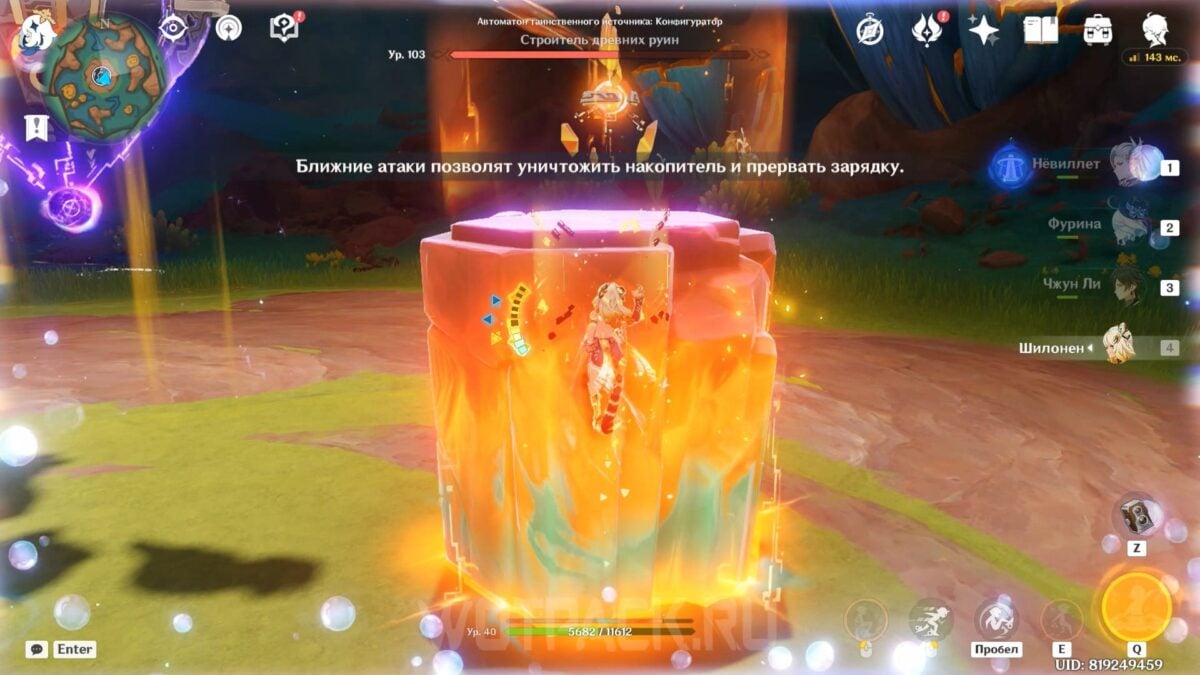
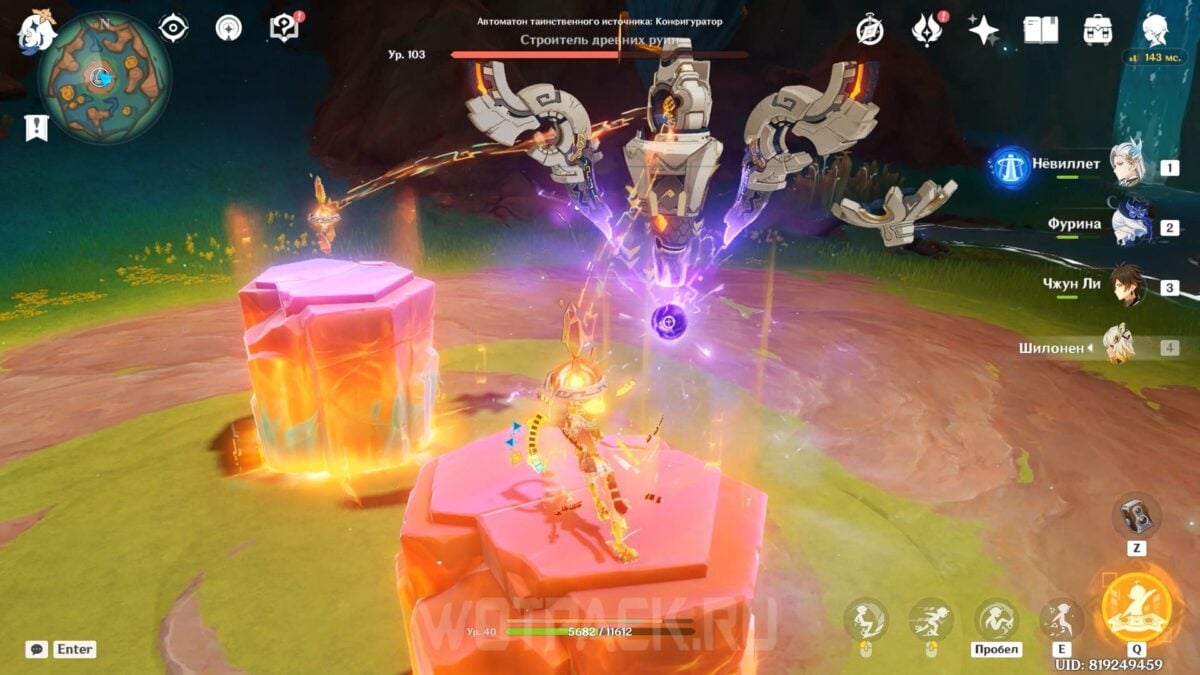
Climb onto the resulting ledges to destroy the mechanism on them and paralyze the Ancient Ruins Builder.
Use supports
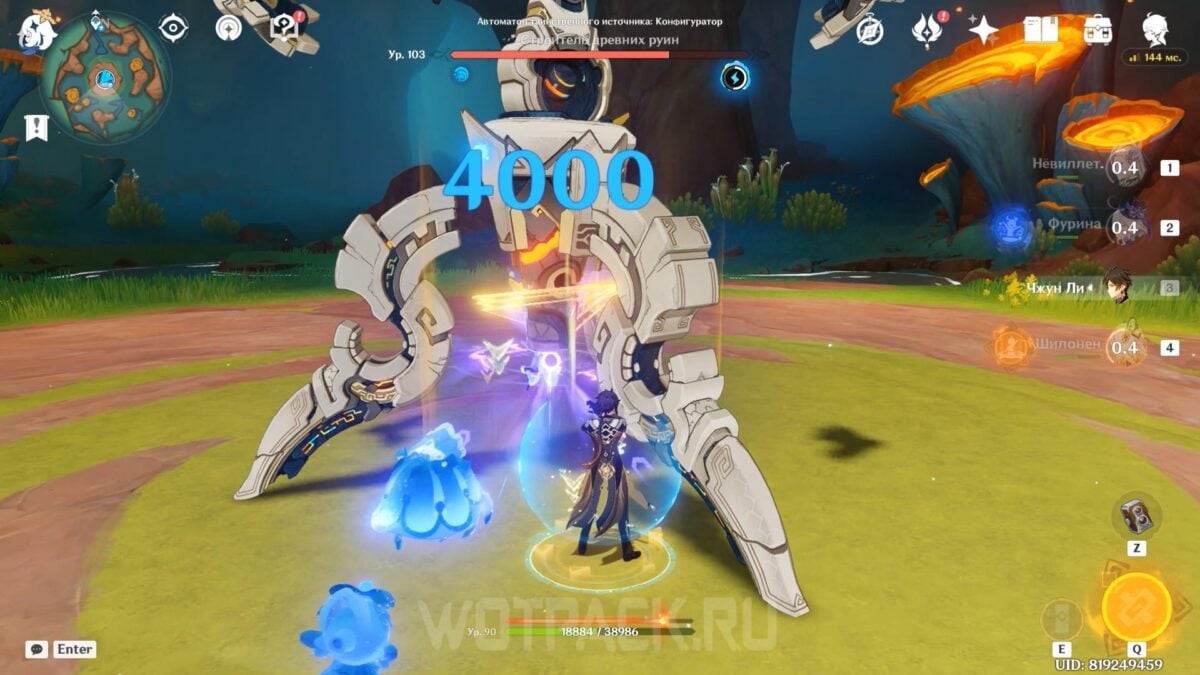
The boss has many targeted attacks or area attacks. If you can't dodge, use shield or healer abilities to help your team survive the incoming damage.
Boss Achievements
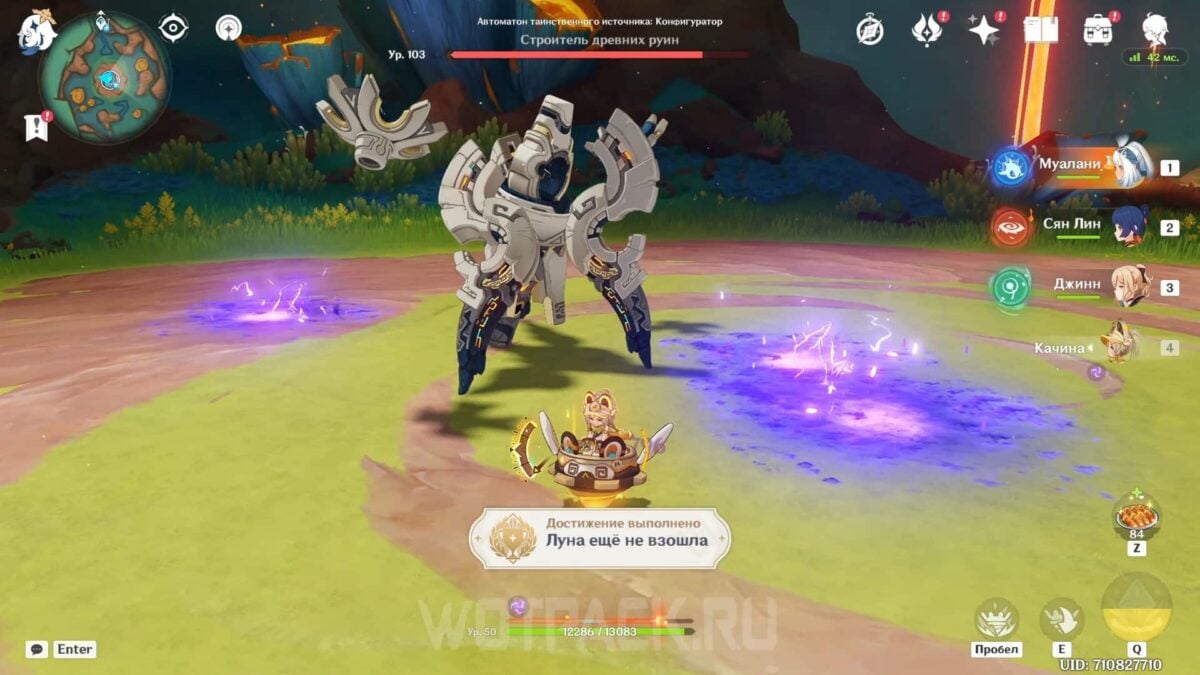
There is only one achievement available for defeating an enemy: "The Moon Has Not Rise Yet."
The moon has not risen yet
Condition of achievement: While the Mysterious Source Automaton: Configurator is charging its Sphere Lightning Cannon, break the accumulator and interrupt the process. Reward: 5 Primogems.
To complete the achievement, wait for the enemy to start performing the Adaptive Countermeasure attack. You can speed it up by hitting the Automaton with a character in the Night Spirit state. Use the Echo Children abilities to climb onto the solid phlogiston and break the accumulator by entering the energy field and attacking the mechanism with any melee attacks. You need to do this on both ledges at once.
Rewards for defeating the Mysterious Source Automaton
After defeating the Mysterious Spring Automaton, an Artery Flower will appear on the field, which can be opened by spending 40 Resin. The following resources are available from it:
- Adventure EXP ×200.
- Companionship EXP и mora.
- The core of the mysterious source with a golden inscription is the material for the exaltation Xilonen, Mavuiki и Lan Yan.
- Slivers, fragments, chunks and gemstones of Vajrada Amethyst - resources for upgrading Electro companions.
Artifacts:
- 5-4⭐Gladiator’s Finale.
- 5-4⭐Wanderer's Troupe.
- 4-3⭐Exile.
- 4-3⭐Instructor.
- 4-3⭐Healer.
- 4-3⭐Lightning Shaman (Crown of the Mind).
We hope this guide helped you get to the Mysterious Source Automaton in Genshin Impact and kill it. Write comments, if you have any questions about the battle. Read various game guides, and also read a special article where we have collected World and weekly opponents.







And can Varesa beat him?
Xian Yun climbs okay
Would it be okay to go with a team of Lan Yan as a driver (she's on the field and auto-attacks, activating the abilities of supports and sub-DDs), Xingqiu, Fischl, and Kachina (for the pillars)? Or who can be substituted for whom, considering the account doesn't use legendaries?
This boss ruined the previous abyss for me. There are no leveled-up characters from Natlan, and there won't be any in the future. But this time, I came up with a counter. Zhong's Pillar. You can place it next to the boss's pillar, climb it, and jump to the right one. Then, with the same old guy, hit the mechanism and jump to the second pillar. You have plenty of time to pull off all these shenanigans.
Last time I tried to do this with Ka Ming, but in the end he didn't jump as high.
Sitlali jumps, but be careful with the stamina